Blog
A little bit of anything and everything that's part of
creating, enjoying, and living a simpler life!
creating, enjoying, and living a simpler life!

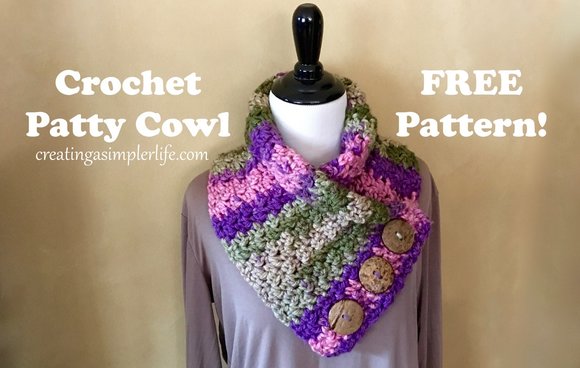
This lovely cowl is named after my friend Patty who I really have to give a lot of credit to. She is pregnant (yea!) and she decided to learn to crochet so she could make her own special baby blanket! What better reason could there be to learn how to crochet? Anyway, she was doing a new stitch I had never tried and of course I had to figure out how it was done and what it would look like! So I used this simple new stitch and made this cowl I named after her :-)
Enjoy! Supplies:
Directions:

Super simple!
Check out our two other FREE cowl patterns: (click the picture to go to pattern)
Thanks for visiting!
Check out our other FREE crochet patterns here! We have some great Crochet Boards on Pinterest too! Sincerely,
0 Comments
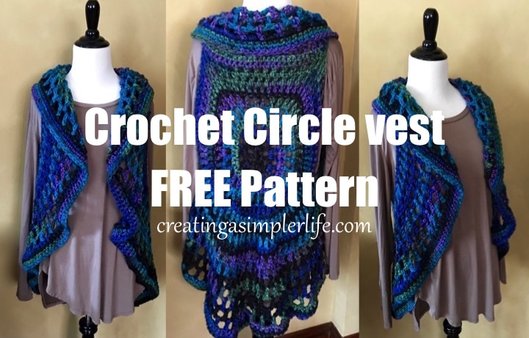
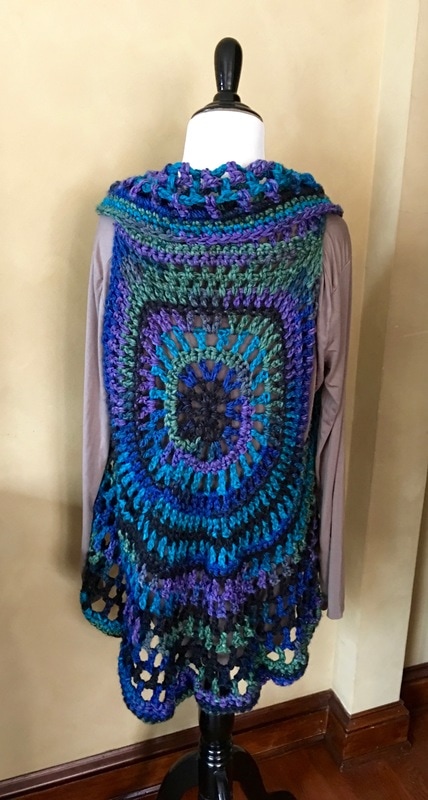
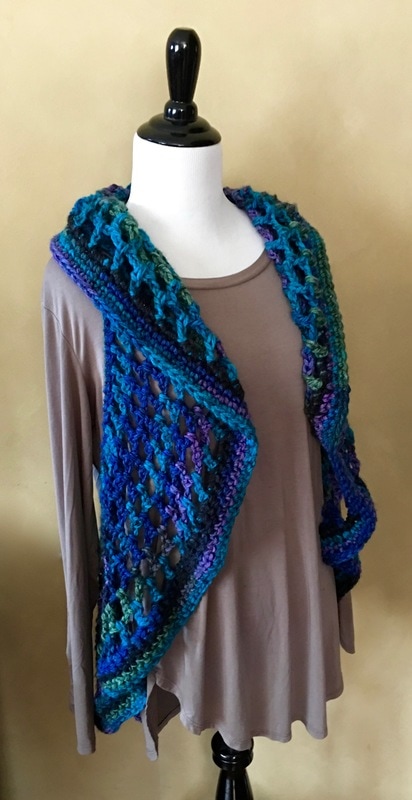
Oh so simple! Love this circle vest. I will attempt to write out directions, but know that it really depends upon the stitch, the yarn used, and how much you increase each time around. The more you increase, the more of a 'bustle' you will end up with in the back.
Supplies:
The Basic Pattern:
I love this vest because it is so simple that I can work on it while watching television with my husband!
Thanks for visiting!
Check out our other FREE crochet patterns here! We have some great Crochet Boards on Pinterest too! Sincerely,
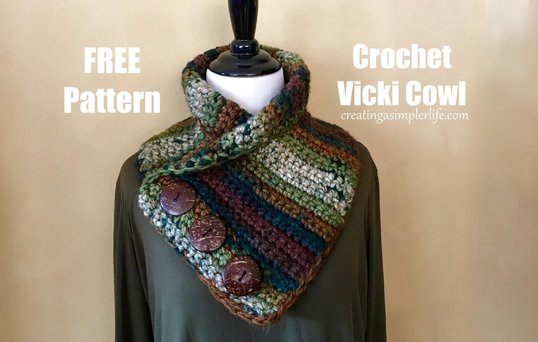
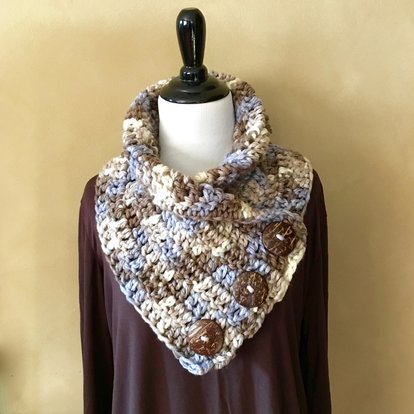
Thank you to my good friend Vicki for sharing this wonderful idea with me!
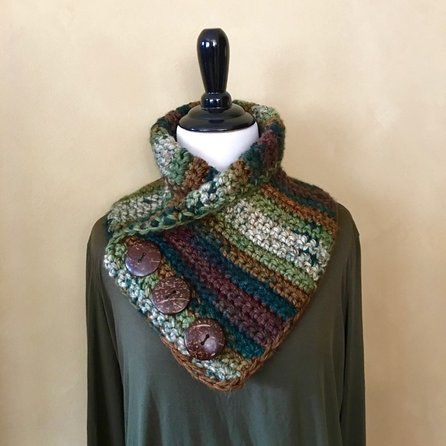
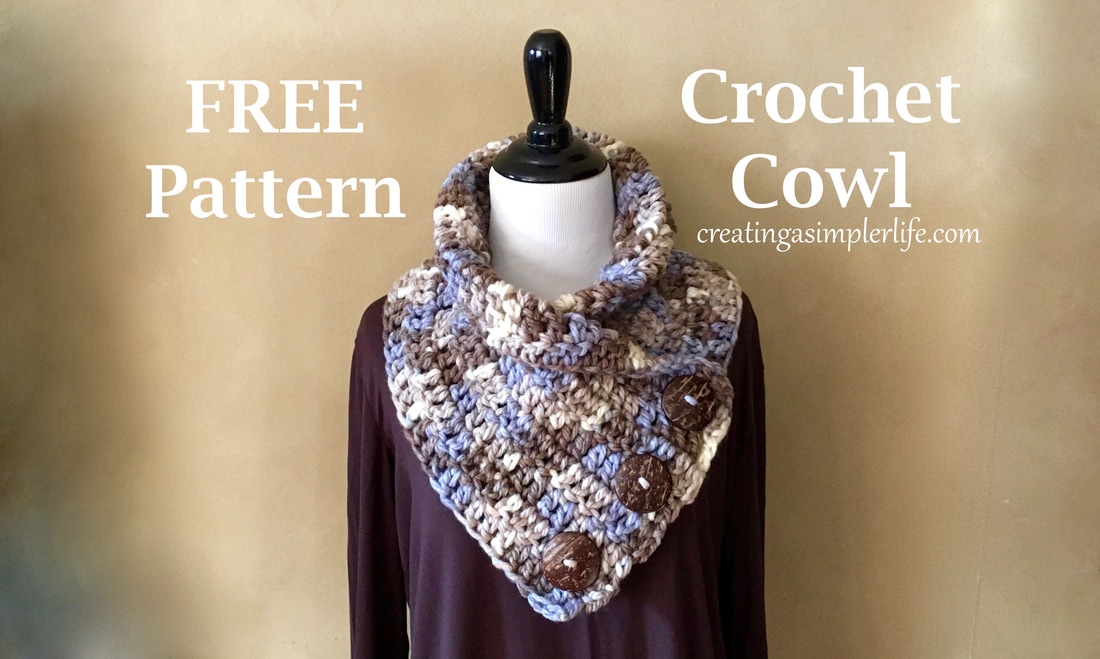
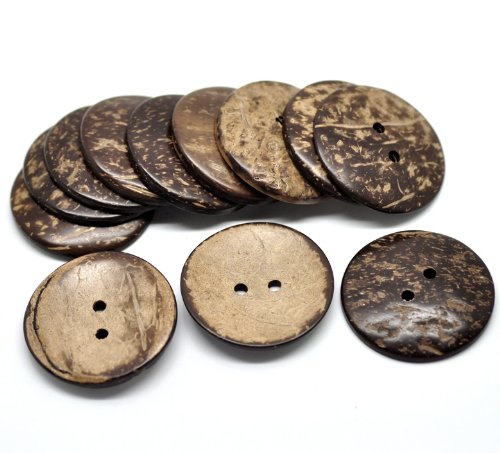
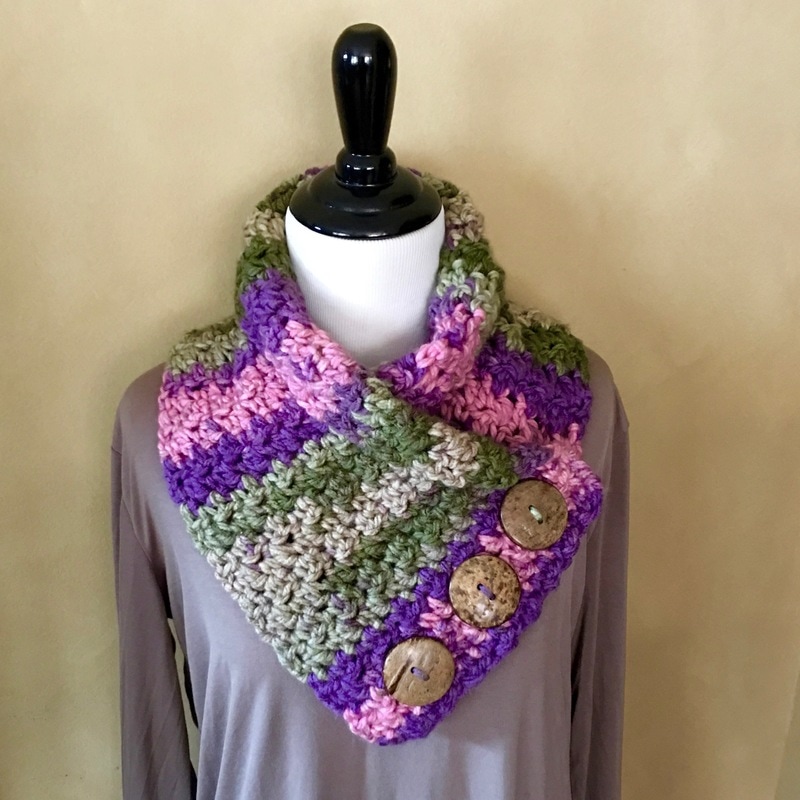
This cowl is super simple to make and looks great on! What a great winter accessory. I love wearing mine with simple matching long sleeve t-shirts from Amazon. The buttons are carved from coconuts which makes it even better! The yarn is Loops & Threads Charisma - a nice soft somewhat bulky yarn made for scarves. It is also machine washable and dryable! Supplies:
Super simple!
Thanks for visiting!
Check out our other FREE crochet patterns here! We have some great Crochet Boards on Pinterest too! Sincerely,

This is a simple crochet cowl that can be completed in just an hour or two while watching television at night. So quick and simple and so many compliments when worn!
This pattern is a great one for beginners because it only requires two stitches: chains and double crochet. New to crochet and need help? Check out the Crochet Guru on You Tube. She has video tutorials on just about every stitch you could ever want to know! Supplies Needed for Simple Cowl:
Directions for Simple Cowl:
Basic Cowl Dimensions are: 9-10" wide by 32-33" long.
Super simple!
Two more FREE cowl patterns coming soon:
Thanks for visiting! Check out our other FREE crochet patterns here! We have some great Crochet Boards on Pinterest too! Sincerely,
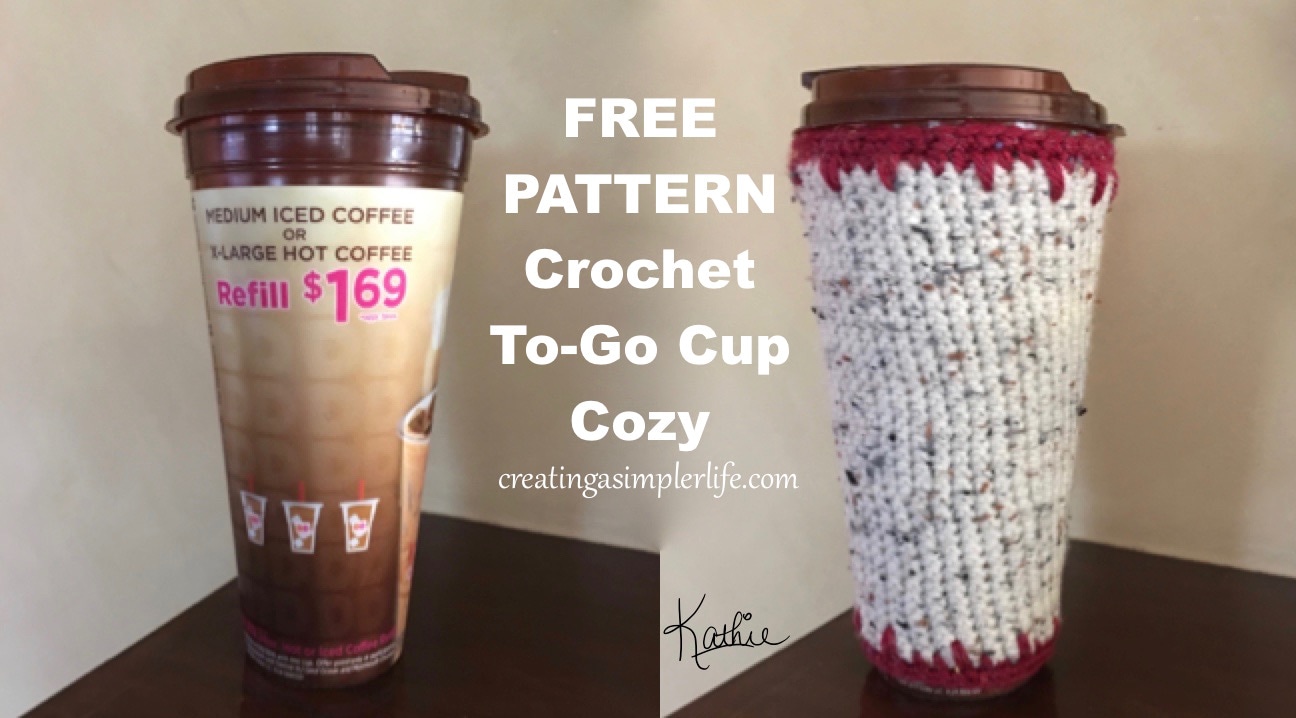
I simply had to have it. I couldn't find this size, and type, to-go cup anywhere else. All the 24 oz to-go cups I could find were more like thermoses with insulating properties, handles, and weird shapes and lids. I wanted a cup that is light weight, easy to clean, and was as close to being like the styrofoam cups with lids that I was so used to using for so many years. Yup, I am talking about the Dunkin Donuts 24 oz reusable to-go cup. To my knowledge they only offer it once a year and I knew I had to have it despite the fact that I am not fond of Dunkin' Donuts coffee. I simply wanted their cup so when they became available again, we went there with our coupon in hand and purchased it! It is my absolute favorite to-go cup! I use it every morning on my way to work when I stop at the local gas station and fill it up for $1.25 - less than what Dunkin' Donuts would have charged me!
The only problem with the mug was, well, it says Dunkin' Donuts on it. Of course I had to change it with a nifty little crochet cozy! It was super simple to make using some of my leftover yarn around the house. 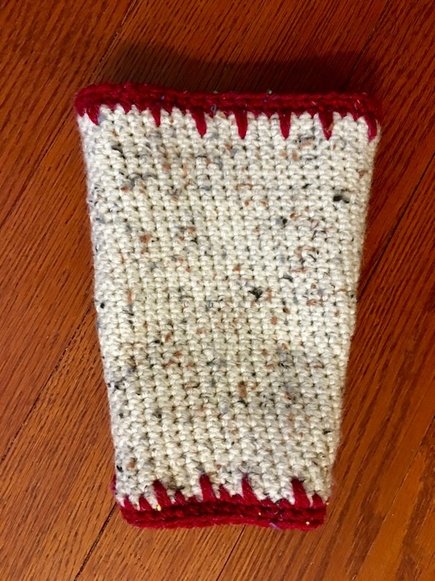
Dimensions for 24 oz. Cup: 3.75" width at bottom, 6.0" width at top, and 7.5" high.
Supplies needed:
Here is the basic pattern made with red heart yarn:
Super simple and I love it!
Thanks for visiting!
Check out our other FREE crochet patterns here! We have some great Crochet Boards on Pinterest too! Sincerely,
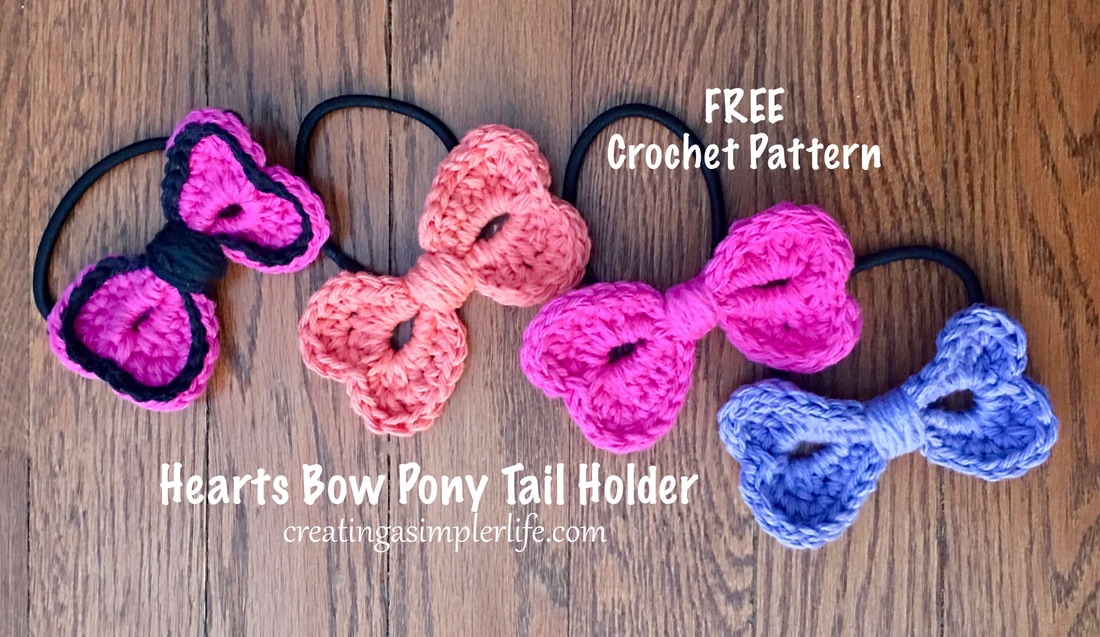
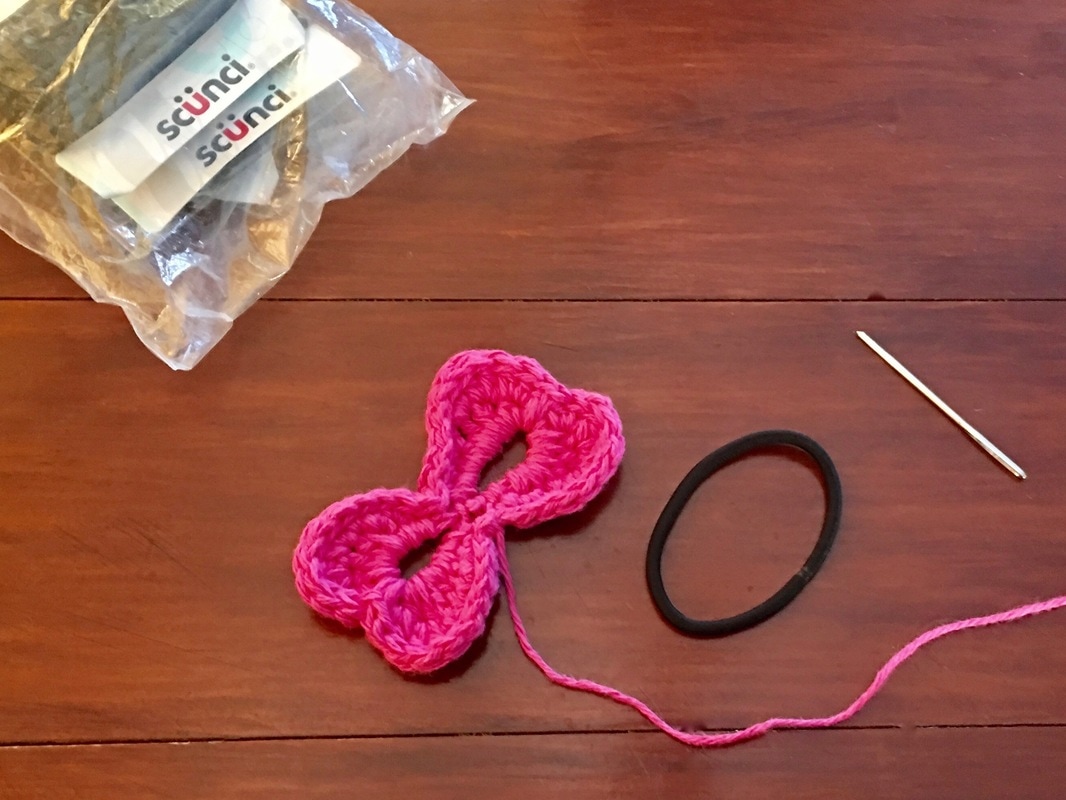
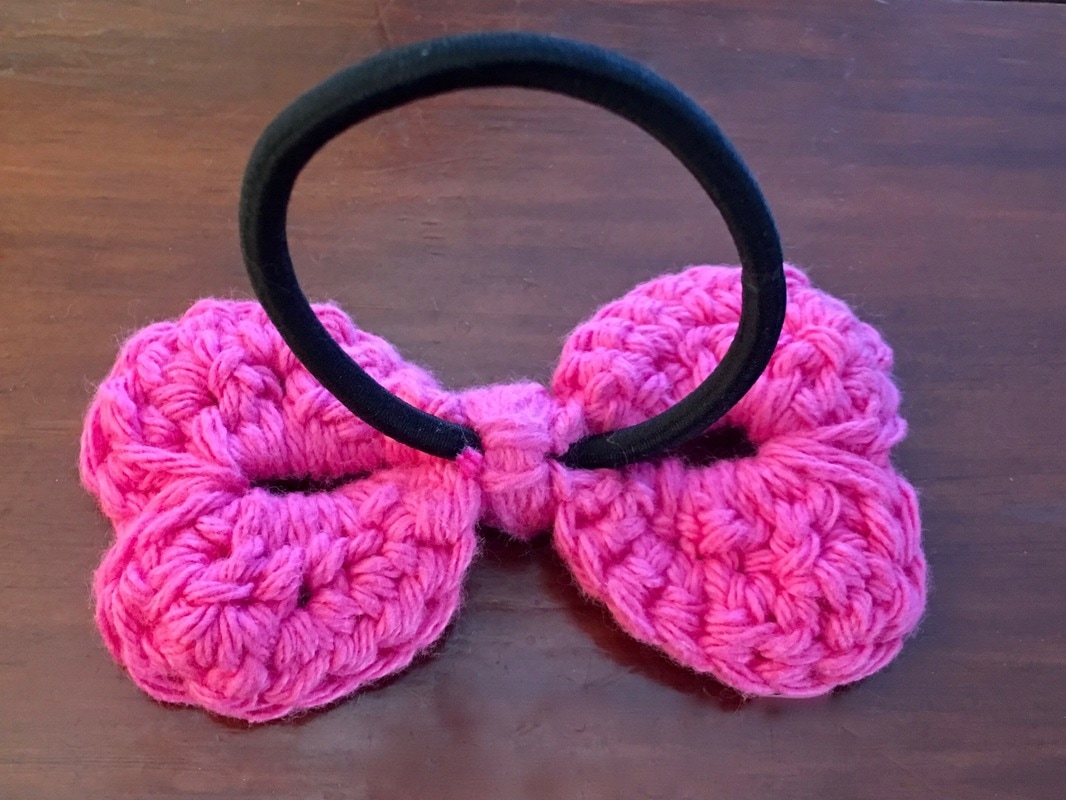
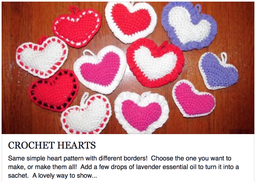
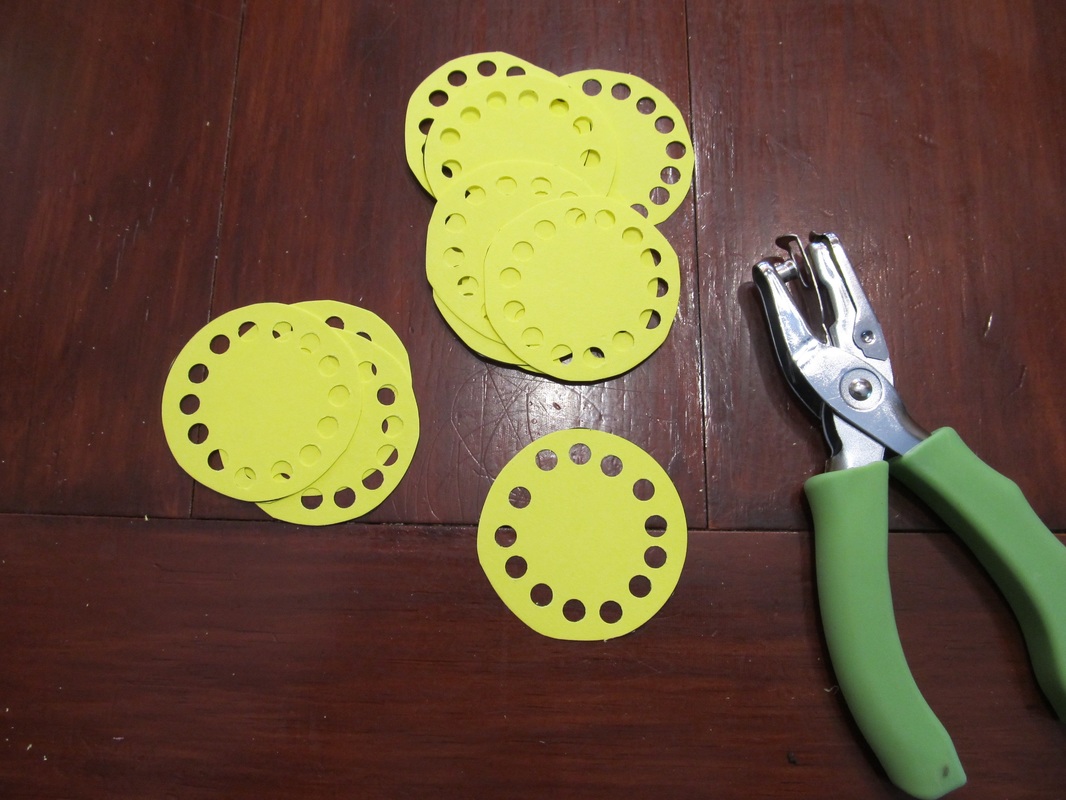
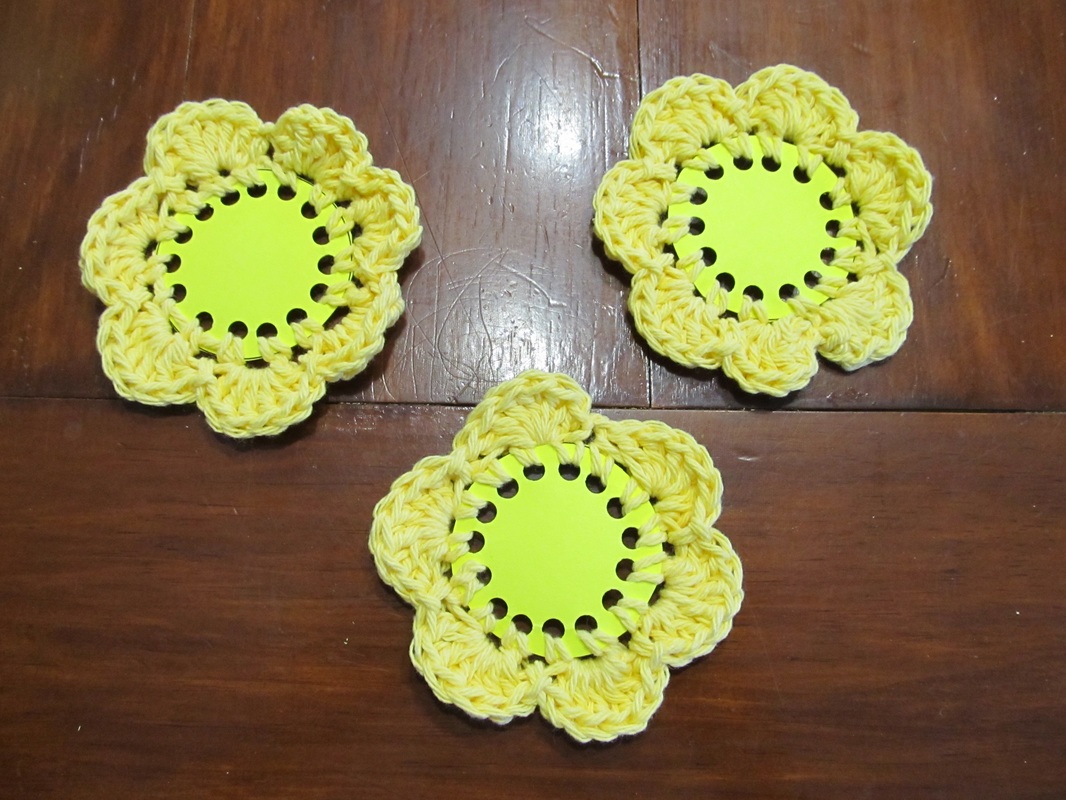
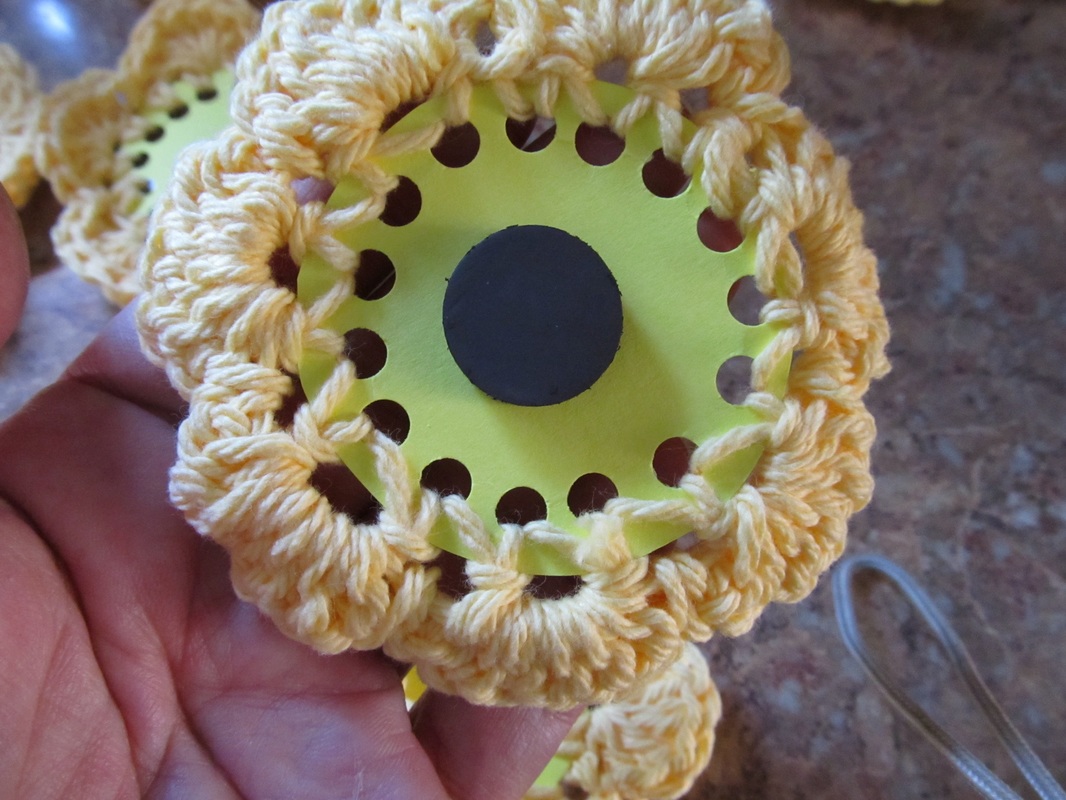
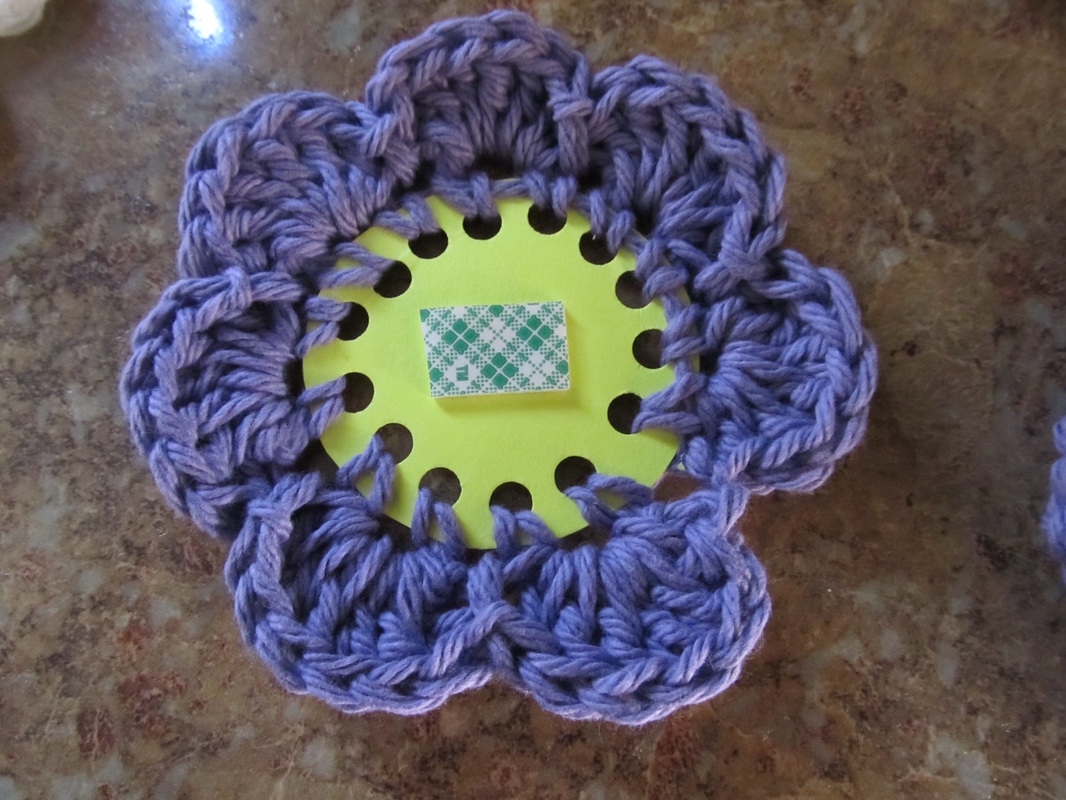
These crochet hair bows are so simple to make and absolutely adorable! The finished bow is about 2.25" high by 4 inches wide. When the center was completed I wrapped in a scunci hair band! So simple!
Stitches used
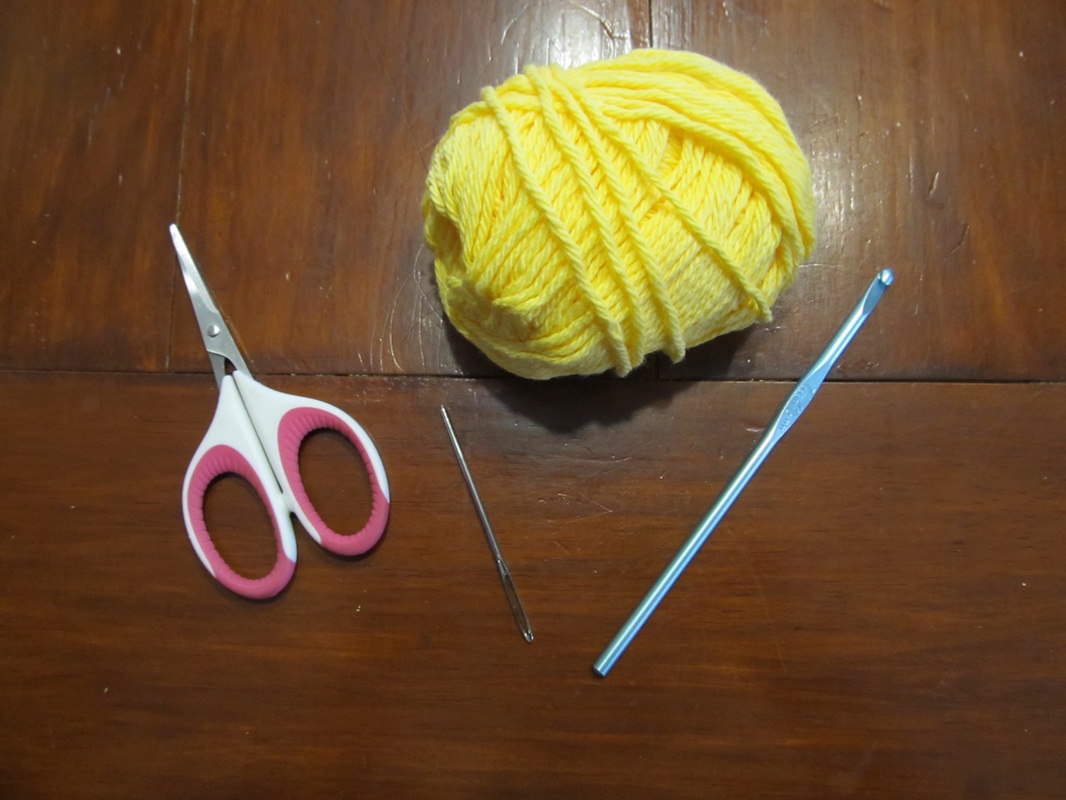
Supplies:
Directions:
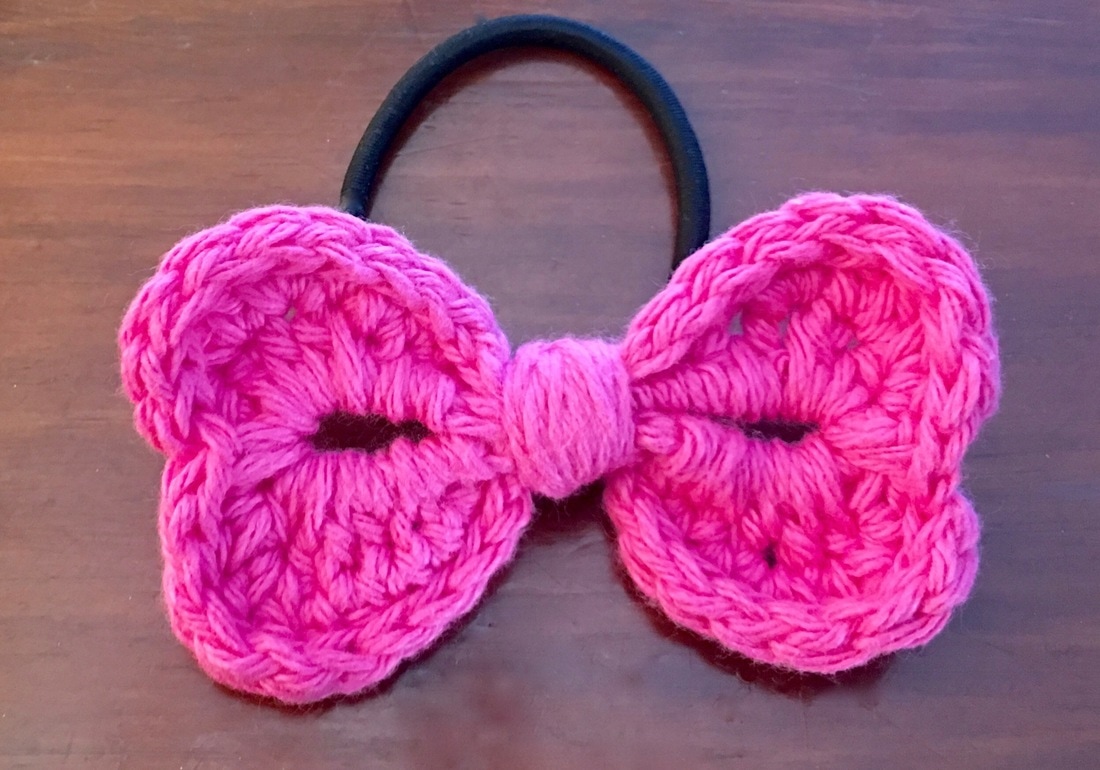
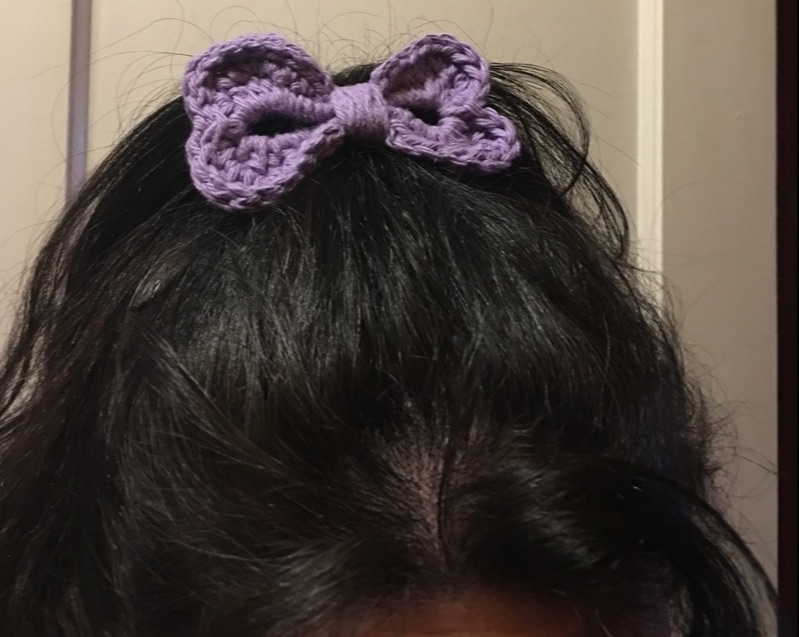
Alterations:
Make it larger or smaller by using a different size crochet hook and thicker or thinner yarn. Have fun! Thank you to Rebel Skein for the original pattern! I did make some changes on the second row so the hearts would be more 'full" but you can find the basic pattern I started from here: Crochet Hearts Hair Bow. Check out our Free plush hearts crochet pattern: Just click on the picture for the link below!
Thanks for visiting!
Check out our other FREE crochet patterns here! We have some great Crochet Boards on Pinterest too! Sincerely,
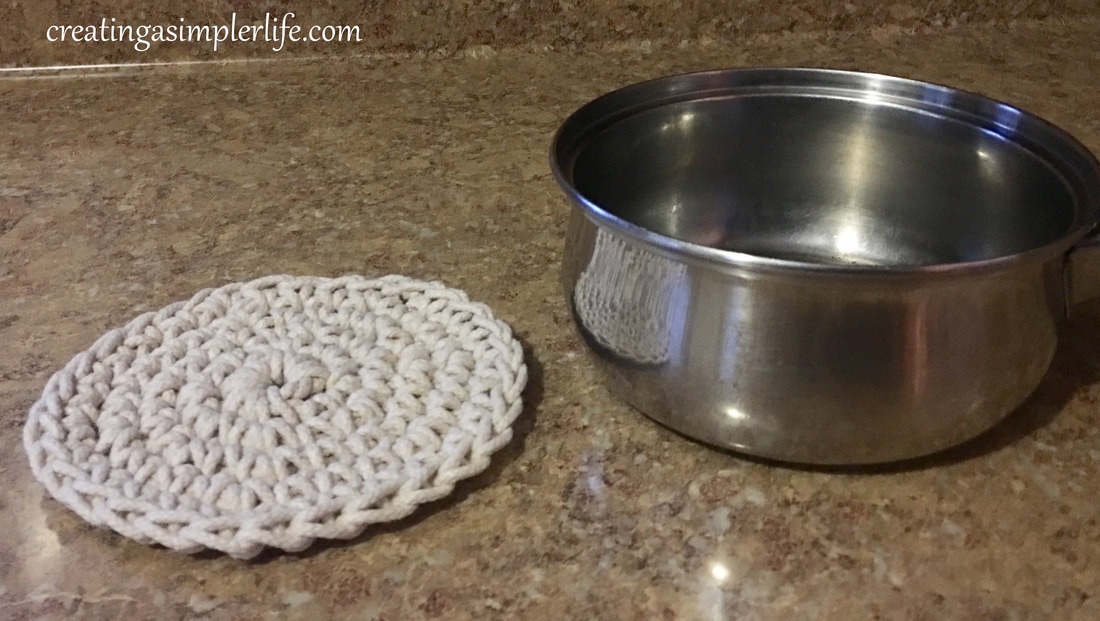
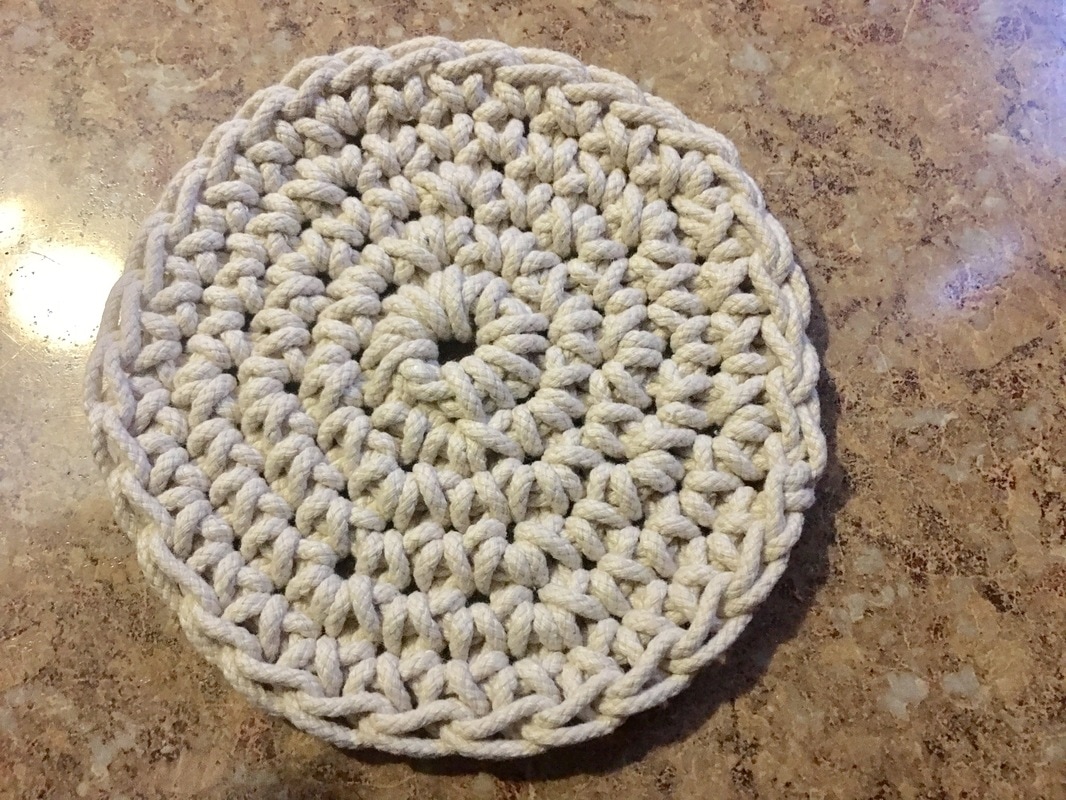
Simple, light duty, rope trivet....so simple it literally took me about 10 minutes to make and it fits my sauce pot perfectly :-)
Supplies: 6 mm hook 1 pkg. of 1/8" x 45', 20 lb cotton/poly rope. Directions: Crochet 5 chains and connect for center loop Row 1: Single crochet 8 times into center and mark the last stitch Row 2: Single crochet twice in each of 8 stitches around (total 16) Row 3: Single crochet in next two stitches, then do two sc in next, then one, then two - repeat around Row 4: Single crochet in next there, then two sc in next, repeating around until near the end of the rope. Finish off by doing a loop stitch and knotting off.
Thanks for visiting!
Check out our other FREE crochet patterns and ideas and follow us on social media :-) Sincerely,
So our Christmas went a little differently than planned for this year. Unfortunately my mom fell leaving my house to go to my sister's on Christmas Day. As she lay on the ground we weren't sure how bad it was or what to do. It didn't take long however to realize that it was worse than we thought. As we waited for the ambulance to arrive we slipped a mat under mom, covered her with blankets and put pillows under her head and leg. I have to say that she maintained a great attitude the entire time! Look, she is even smiling!
NOTE: Feel free to skip the post and scroll to the bottom for the FREE pattern!
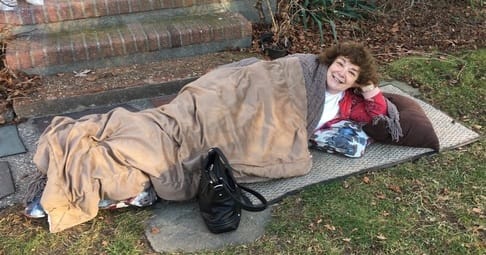
Mom maintained, and continues to maintain, a positive attitude!
After five (yes, 5) hours in the emergency room, several x-rays, and even a cast, mom returned home to share the news that she had broken her ankle and her lower leg...not the big bone in the lower leg, the smaller one (we found out later that she actually has three breaks!). But still, it's her leg! She was told surgery would be required within about a week. And still, she continued to maintain a positive attitude! This is also where she shared that she wanted to go home for the surgery.
Now, after just watching my mom struggle into my house on crutches I just knew this wasn't going to work. She had also twisted her other ankle and could not put all her weight on it. I just couldn't picure her using the crutches up in the Adirondacks on ice and snow! But where on earth could I locate a wheelchair at 8:00 PM Christmas Day night? I sent out a personal 'Wheelchair Needed' post on facebook and so many friends responded with ideas and even offers for wheelchairs. See how social media can be beneficial? Anyway, the big problem was that mom and dad were leaving at 7 AM the next morning. Mom, with her amazing positive attitude, was still following through with her original plans to visit my sister and her fiance in Riverhead, then take the Orient Ferry to New London and visit my Aunt Terri in New Hampshire! A broken leg and ankle was not going to stop my mom - go mom! But I needed to get her a wheelchair because the crutches were not happening. Well, here's a FREE shoutout to the 24 hour CVS in West Islip and the young lady who answered the phone. Thank you! Thank you! Thank you! She was extremely patient with my distress and after putting me on hold several times, she finaly located a portable wheelchair that could be purchased. My husband and I immediately drove there and it was absolutely perfect! 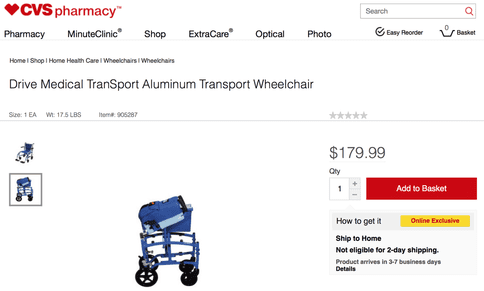
Thank God for the 24 hour CVS in West Islip!
This small, foldable, portable wheelchair was a Godsend. It's easy to fold and unfold, fits in any car, and simple to push around on any terrain. There were only a few small problems that, with my mom's independance and positive attitude, needed to be resolved.
The first was the brakes. They were difficult for mom to reach so my cousin Billy in New Hampshire cut a small PVC tube she uses to reach back, slip over the lever, and put the brakes on. We call this apparatus the "Billy Club" in honor of my cousin Billy who invented it (with my dad's help!). Once she had the Billy Club, now it needed to be transported around with her so I just 'crocheted' a small base and holder strap that allows it to be hung on the front of the chair. Easy access for mom to put it in and take it out. So simple! The only other big problem was the 3 steps into my parents' house in the Adirondacks. A ramp that folds sideways solved it. It's actually two pieces of a snowmobile ramp that my parents already had. We just affixed it to the porch and fold it open to get the wheelchair down or up it. Since it is for snowmobiles it has a slip 'proof' surface. Perfect! All problems solved! 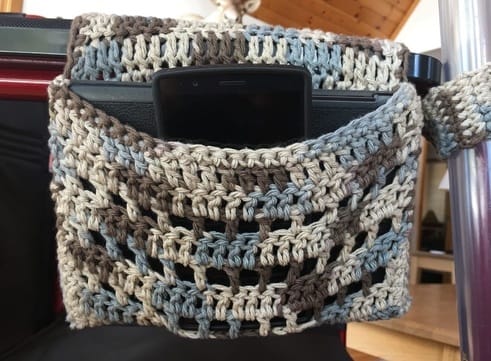
Close-up showing pocket with an 8" Samsung tablet and smart phone in it.
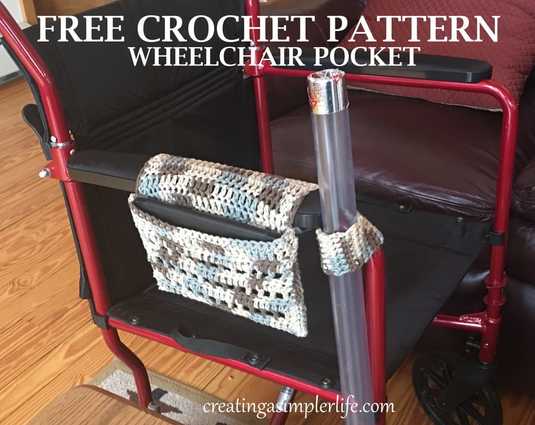
After all of that my mom jokingly said that she had seen a lot of wheelchairs where the women have little holders for their phones and things and I immediately said, "I can do that!" It took less than an hour to crochet up a perfect little tablet holder and sew it onto the arm of the chair. Of course it is permanent, but I was in a rush. Feel free to alter this simple creation in any way!
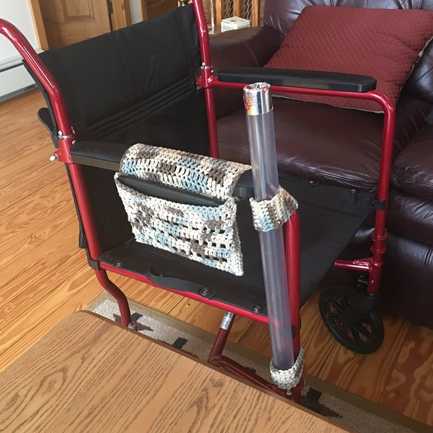
Completed "Billy Club" holder and Tablet/Phone Pocket.
Materials:
Instructions:
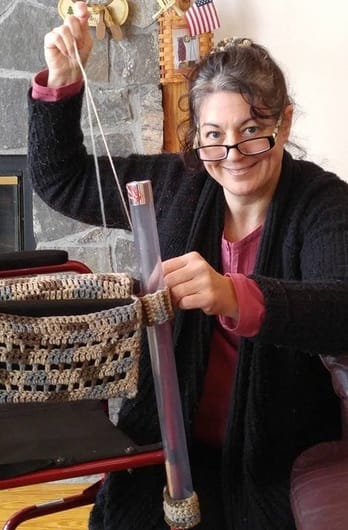
Here I am connecting the "Billy Club" holder to the Tablet/Phone Pocket.
Thank you so much for visiting.
Check out our other FREE Crochet Patterns :-) I wish everyone a safe, happy, and healthy New Year in 2017! Sincerely,
Need a simple heartfelt last minute gift? Then this is perfect! Want a nice throw for the holidays? Then this is perfect too! The fleece blanket is sold by Rite Aid and is very reasonably priced. And of course, if you are like me, you don't buy anything for the marked price....you wait until it is on sale! These fleece blankets were not only perfect to crochet a border on, but they were a great deal at 50% off!
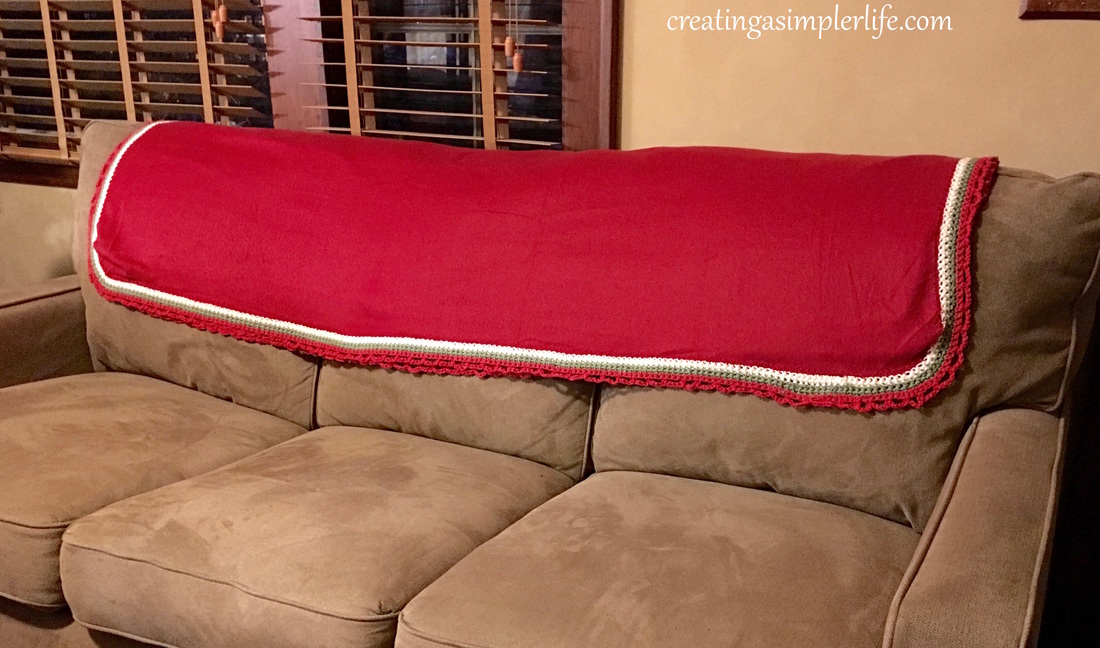
What makes them even better is the fact that they already came with a stitched edge that was so easy to just start crocheting into and around. I simply crocheted a single crochet border around all sides, adding a few extra stitches at the corners. This blanket was 2 single crochet rows of cream colored cotton, 2 single crochet rows of green cotton, 1 single crochet row of red, and finaly the last row was 1 single crochet, chain 5, skip 2 and single crochet again. The same pattern was repeated around. So simple, and really so nice! 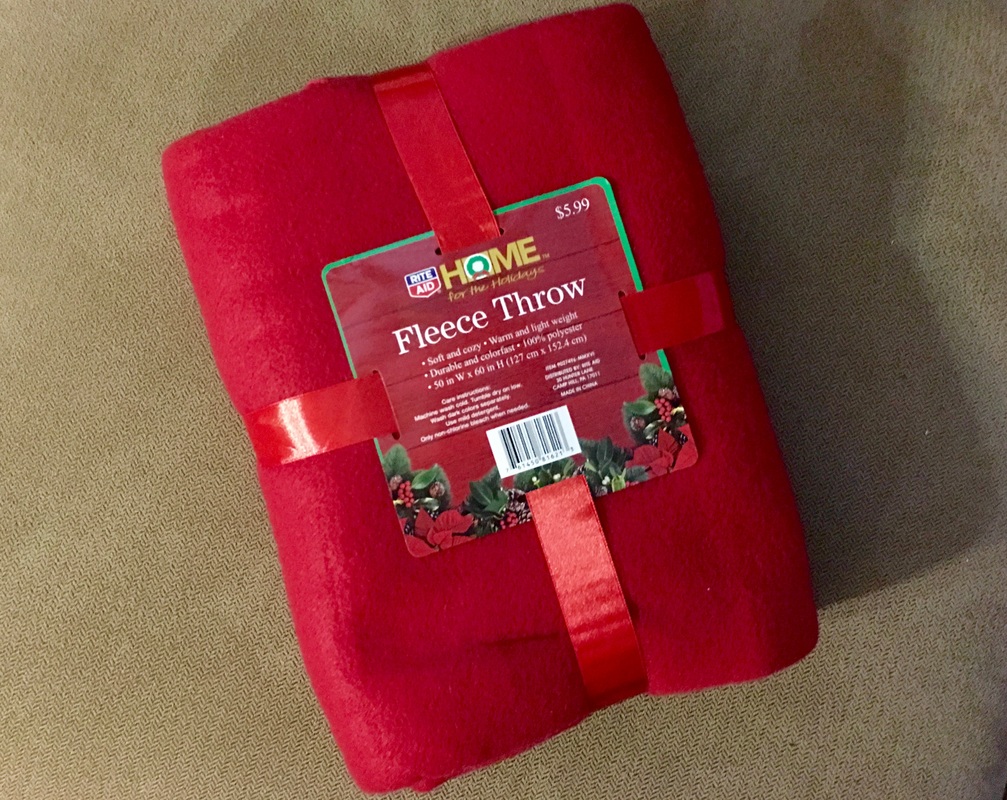
$5.99 regular price...$2.99 at 50% off!

Comes with the stitching around the edges! A huge time saver...you can just start crocheting into the stitches!
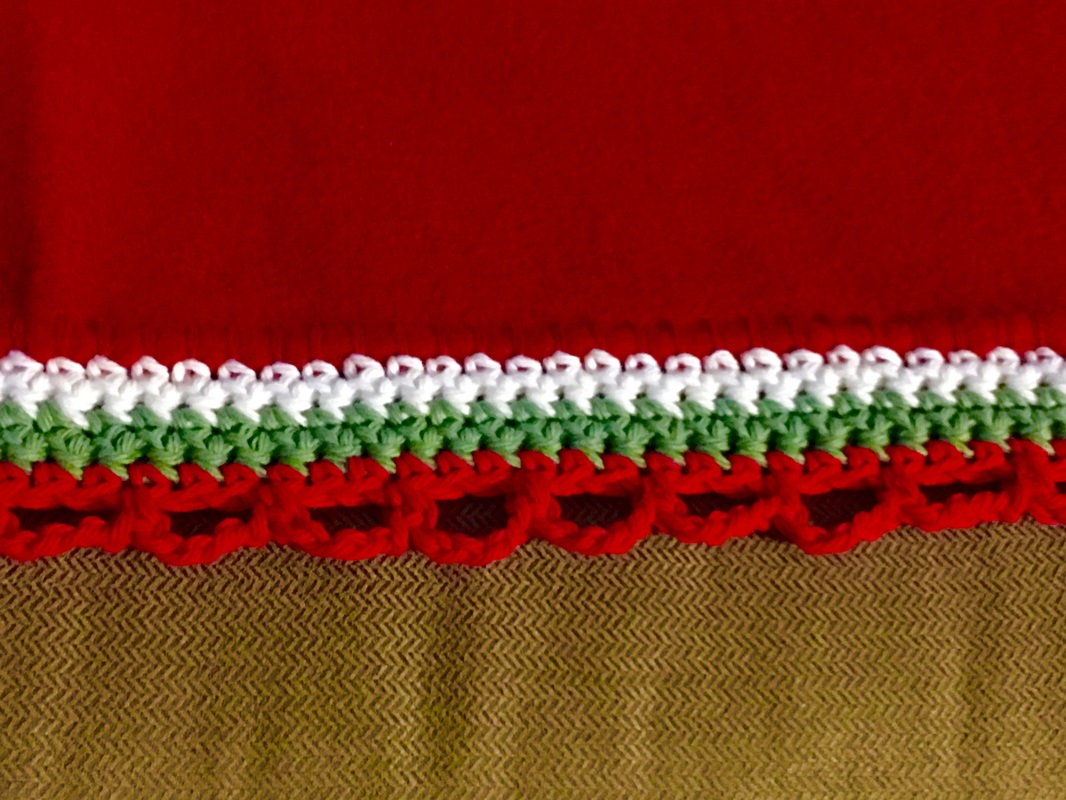
Finished edge: 5 rows of single crochet and a finished edge of 1 sc, chain 5, skip 2 and sc again.
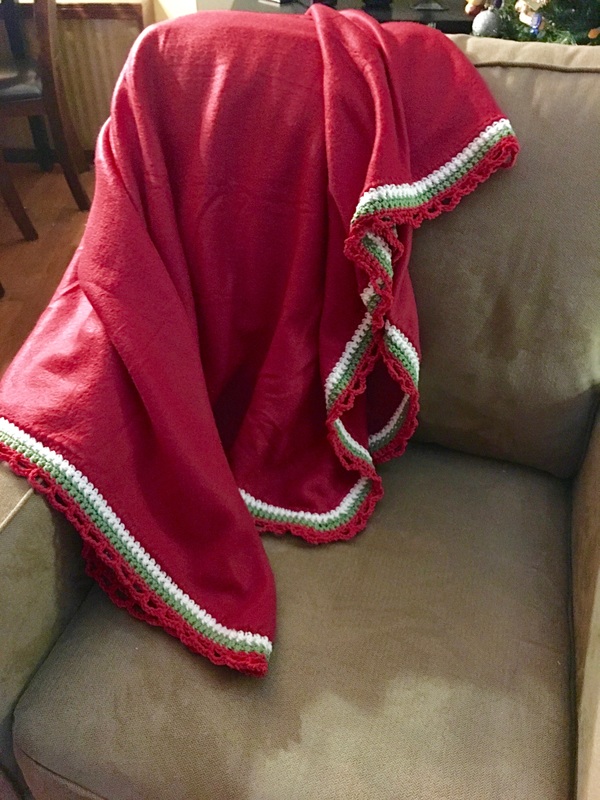
Makes a great throw for the holidays :-)
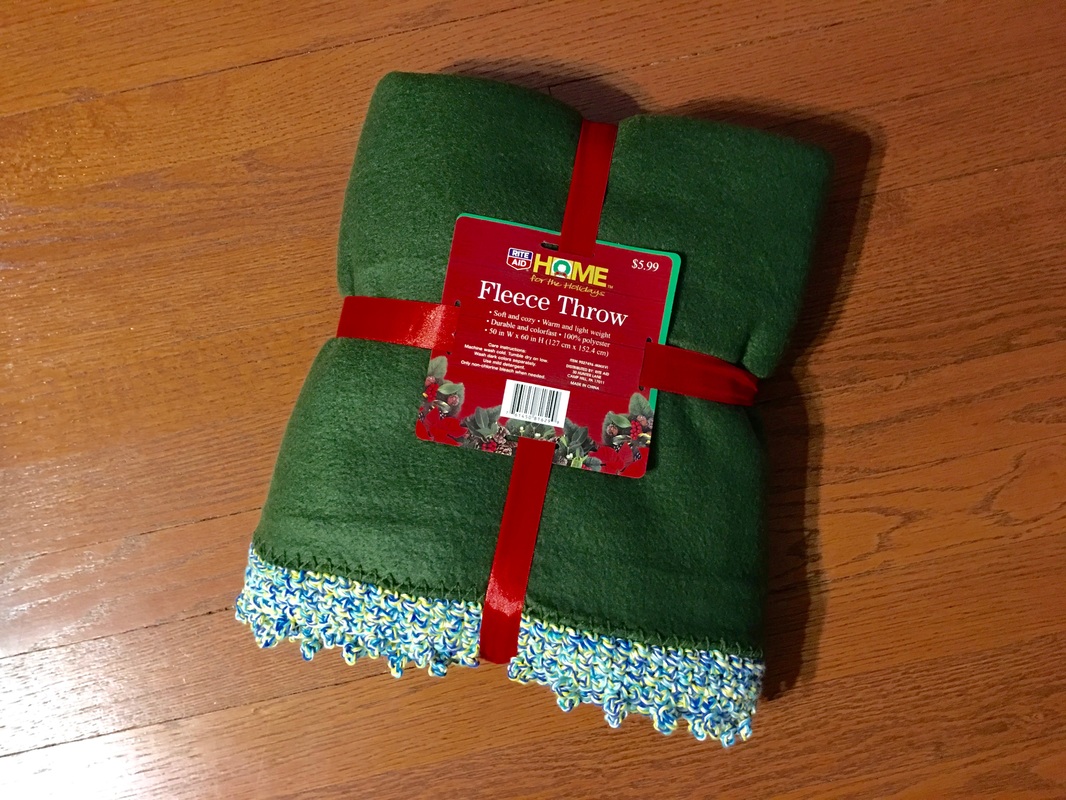
Alternate colors and repackaged to give as a gift. I want to make a new label to wrap it with that says "Hand Crocheted Border"
Merry Christmas and Happy New Year!
Check out our Christmas Stocking Post - they match the red throw I made for our couch above! Thanks for visiting:-) Please follow us on soical media and sign up for e-mail below! Sincerely,
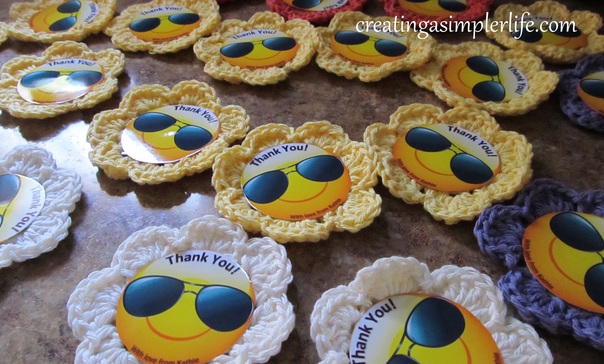
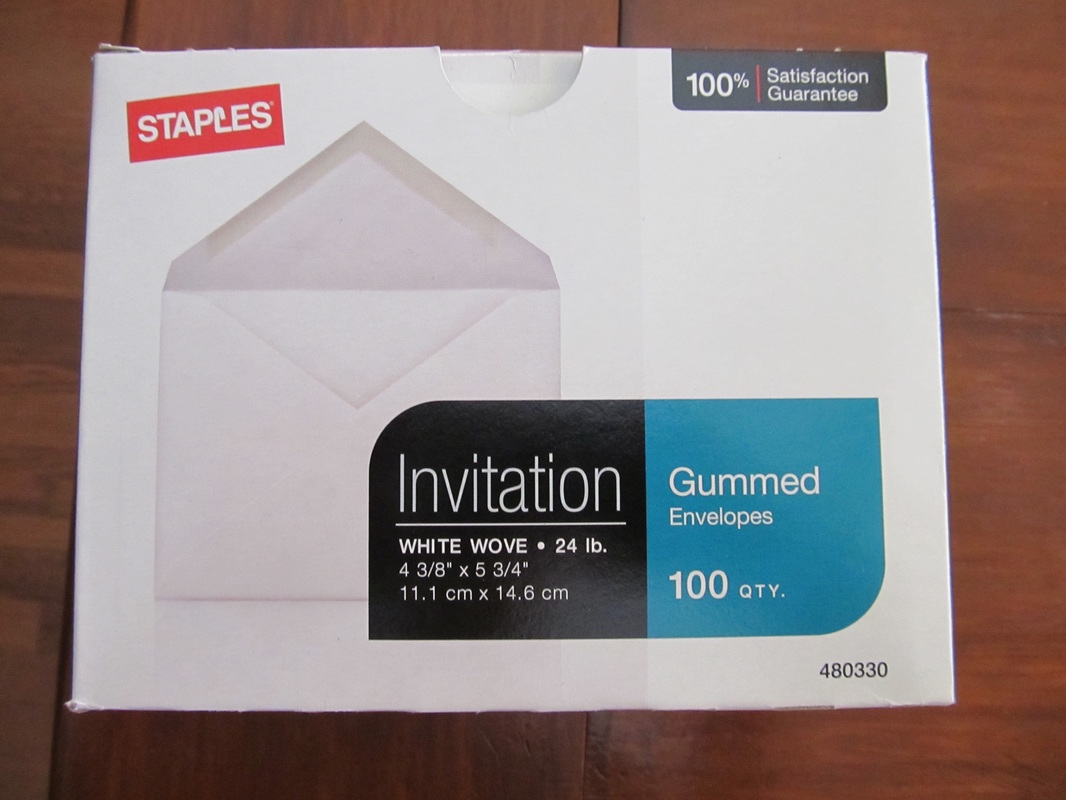
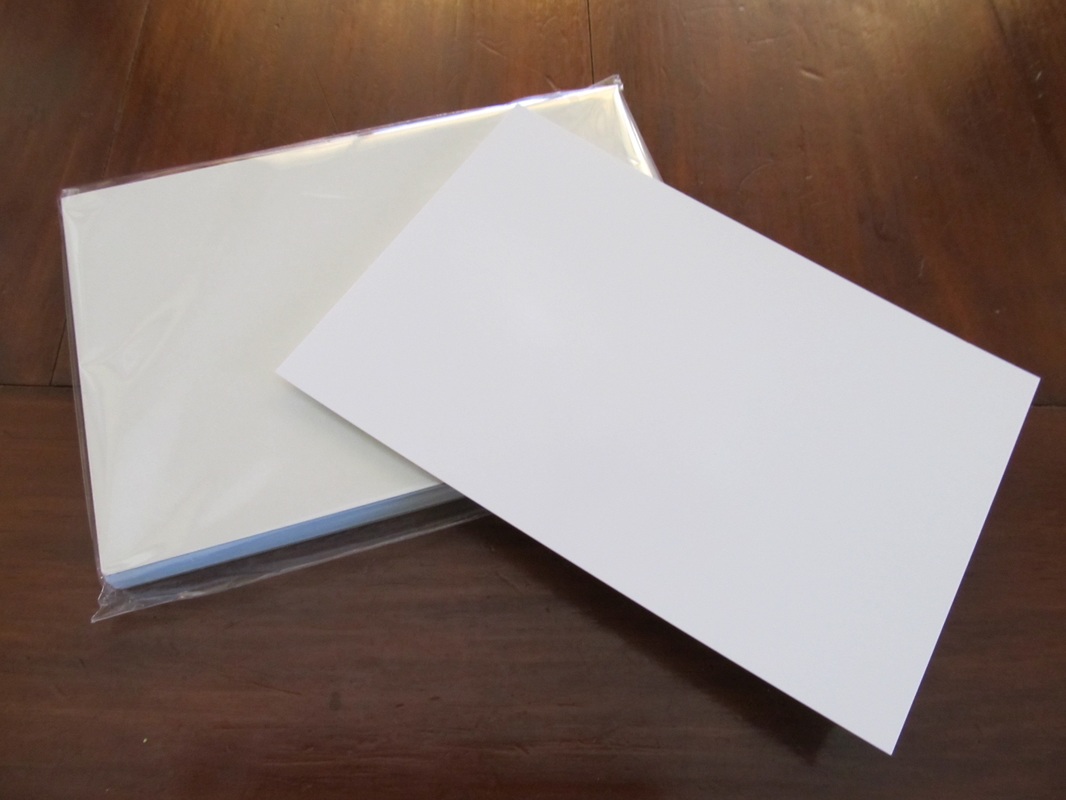
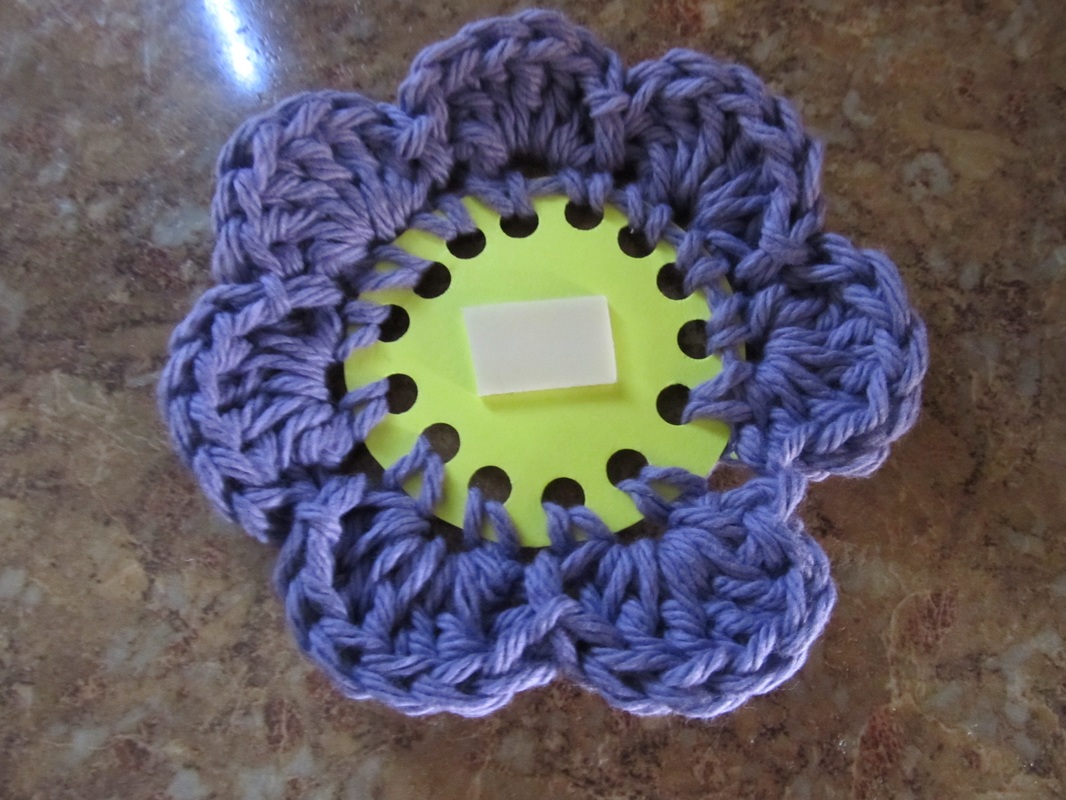
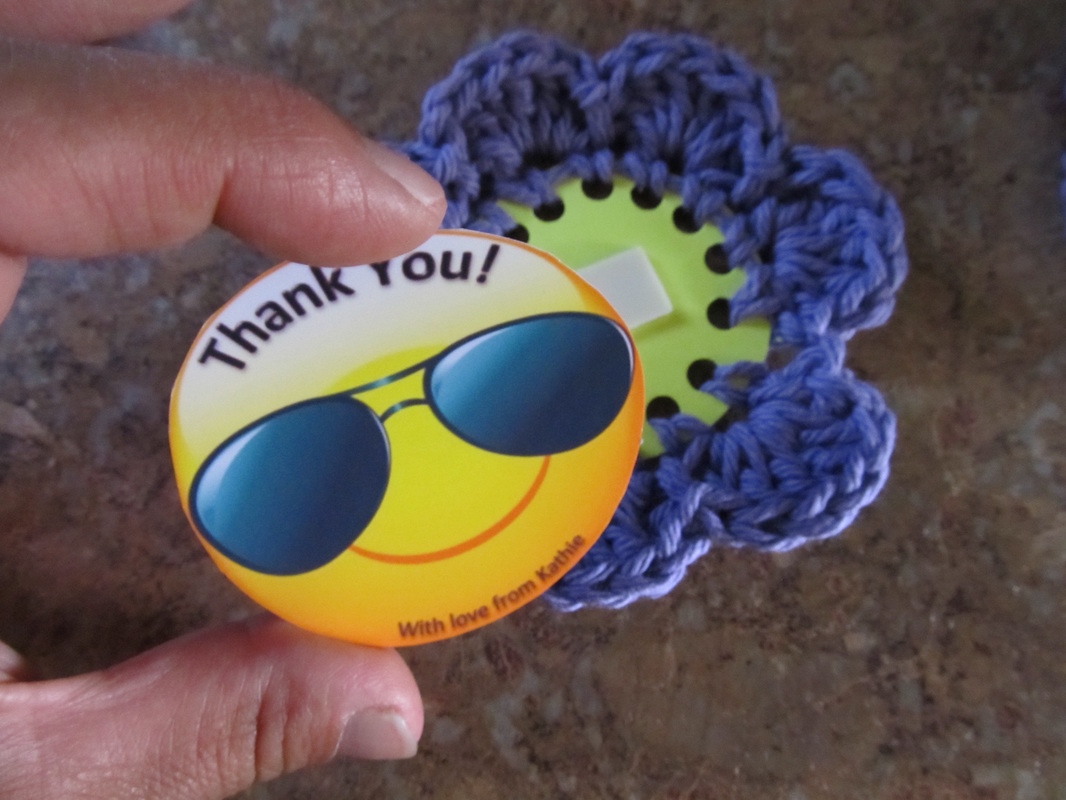
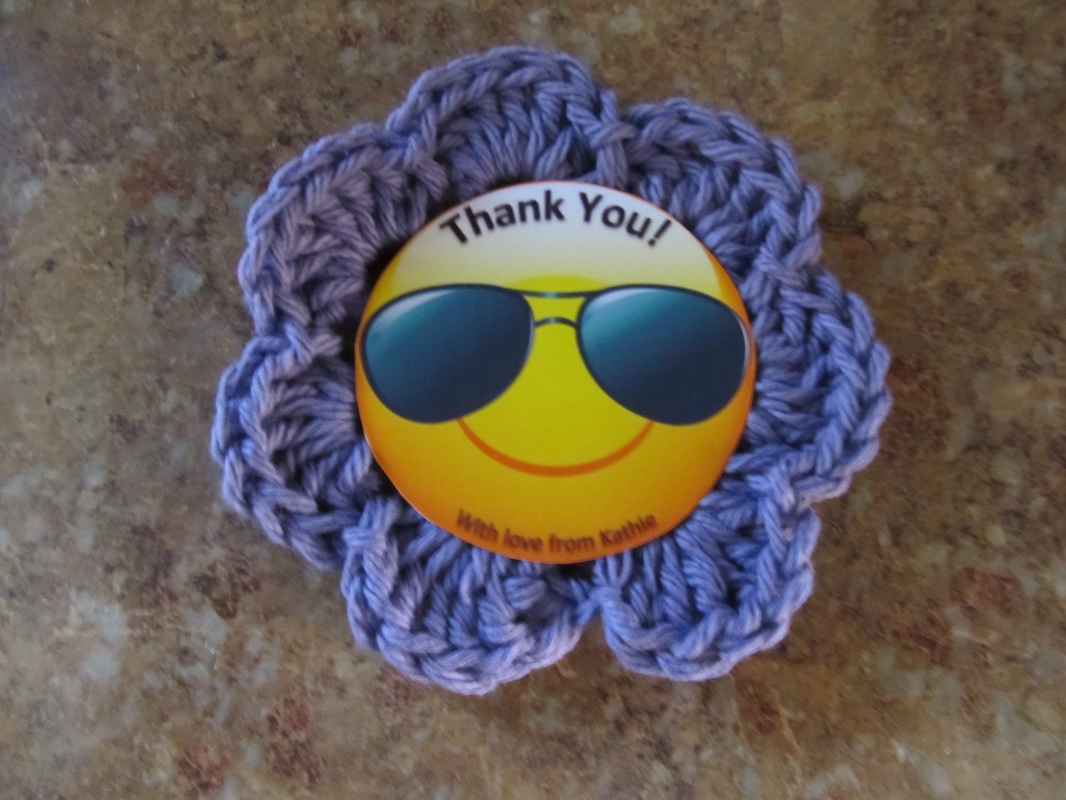
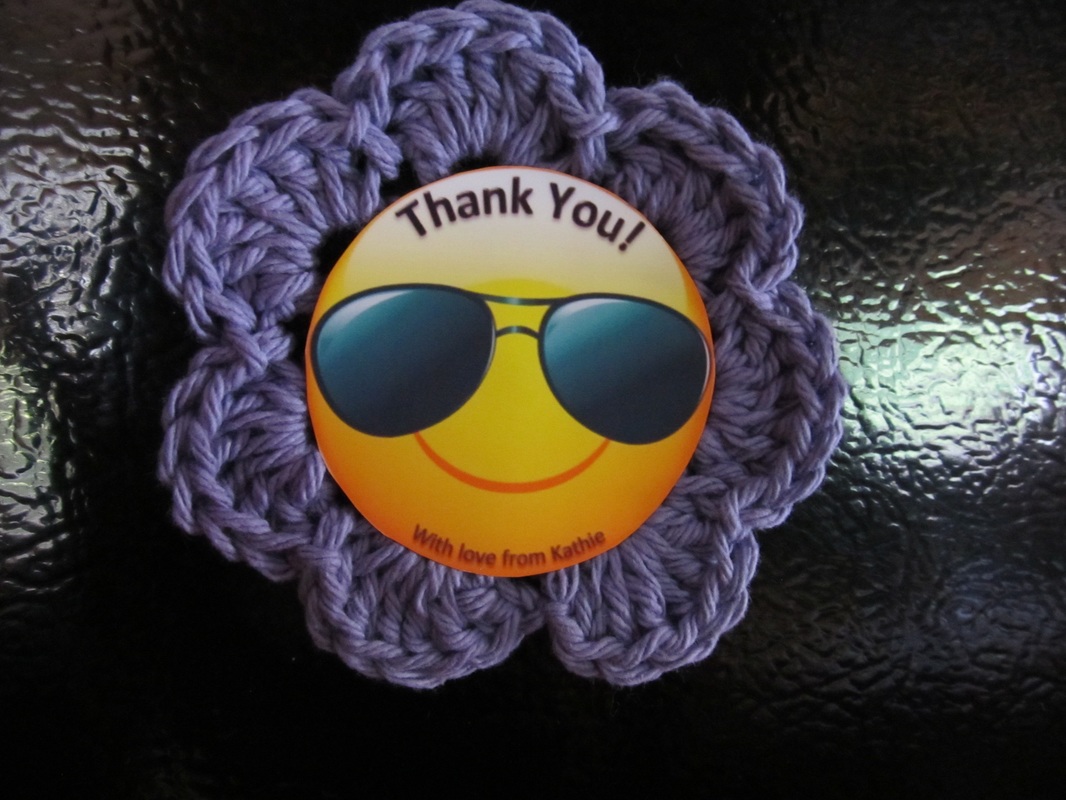
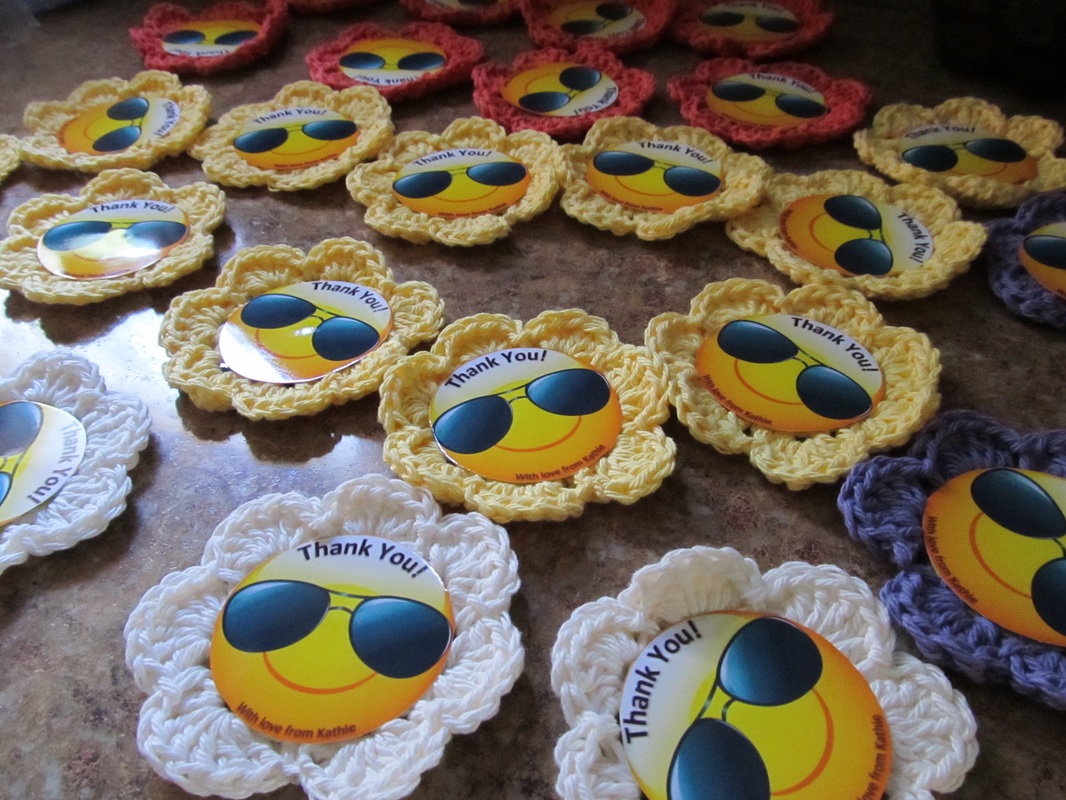
As most of you know I recently turned 50 and my husband threw me a wonderful backyard pool party at our house. I already posted about the DIY Bubble Favors we gave out, so check that out if you get a chance. Anyway, call me old fashioned, but I still believe in sending out thank you cards and of course, if you know anything about me by now, I can't just send out any card. It has to be extra special! And that is what todays blog post is about - the magnetic thank you's I recently made and sent out to everyone that celebrated my 50th birthday with me!
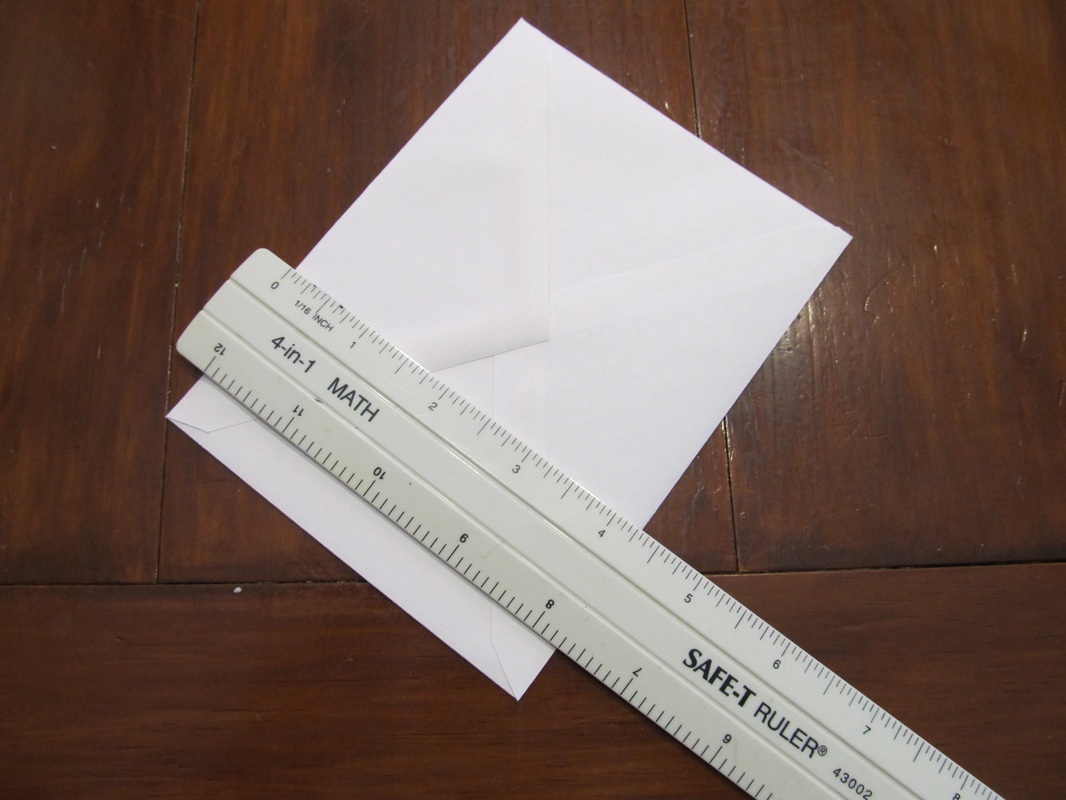
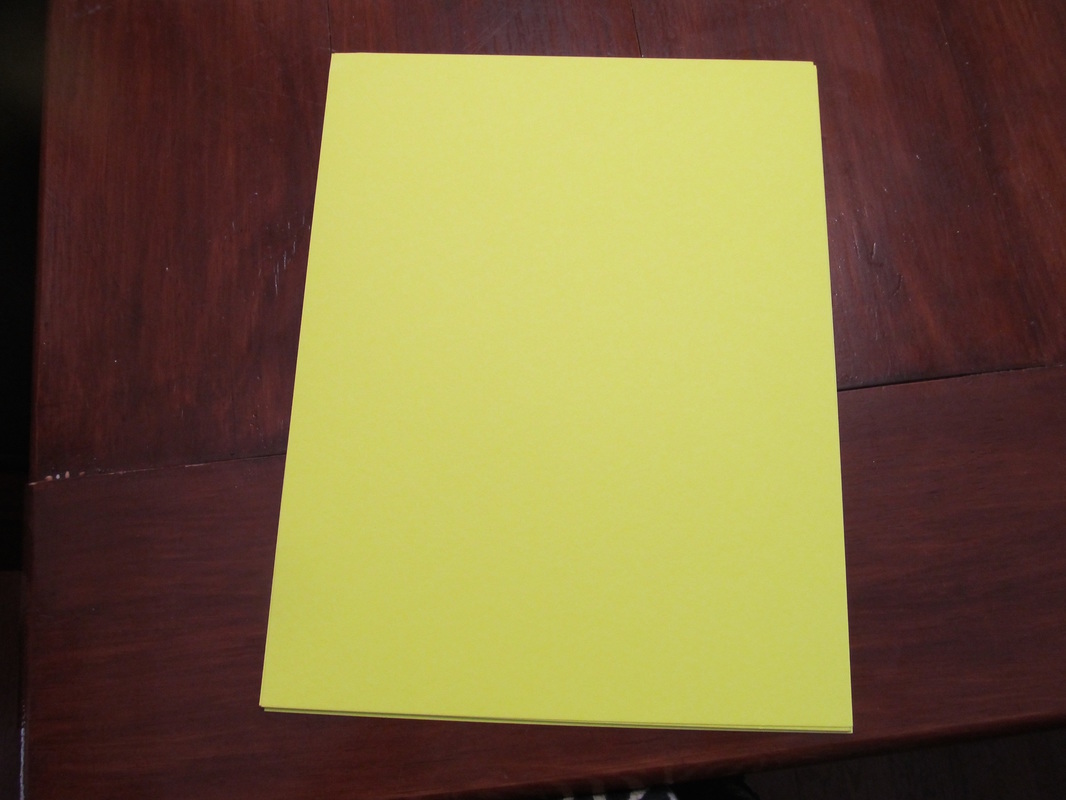
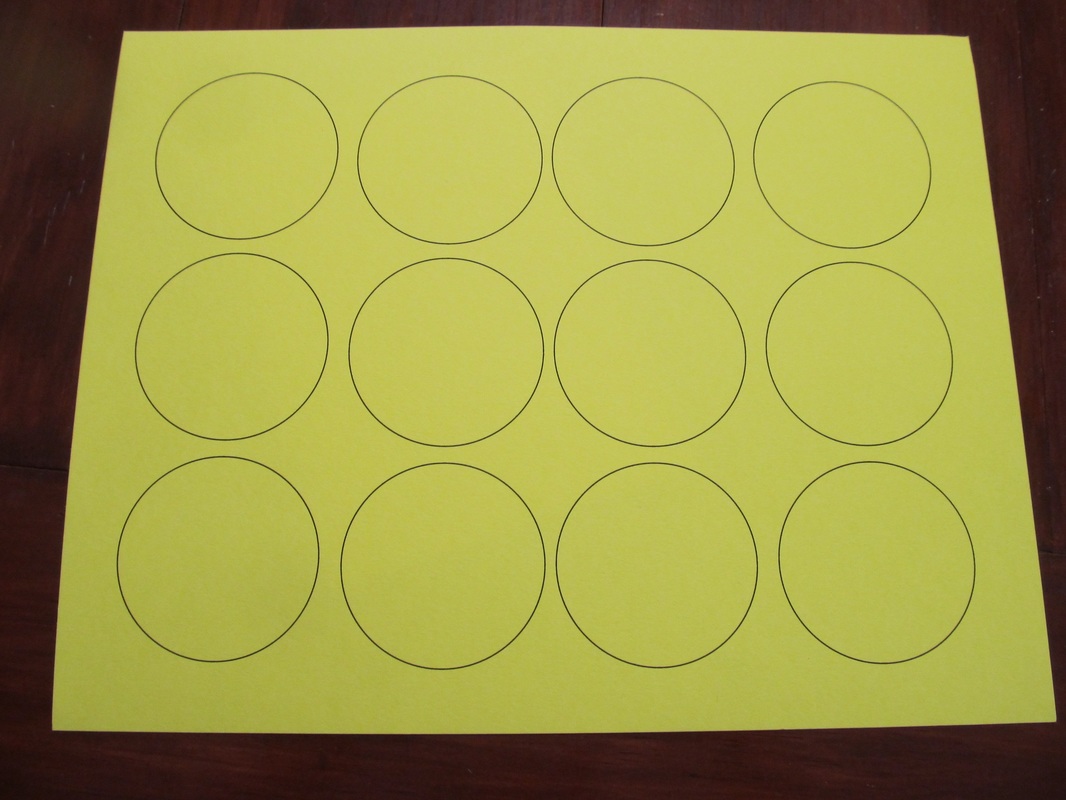
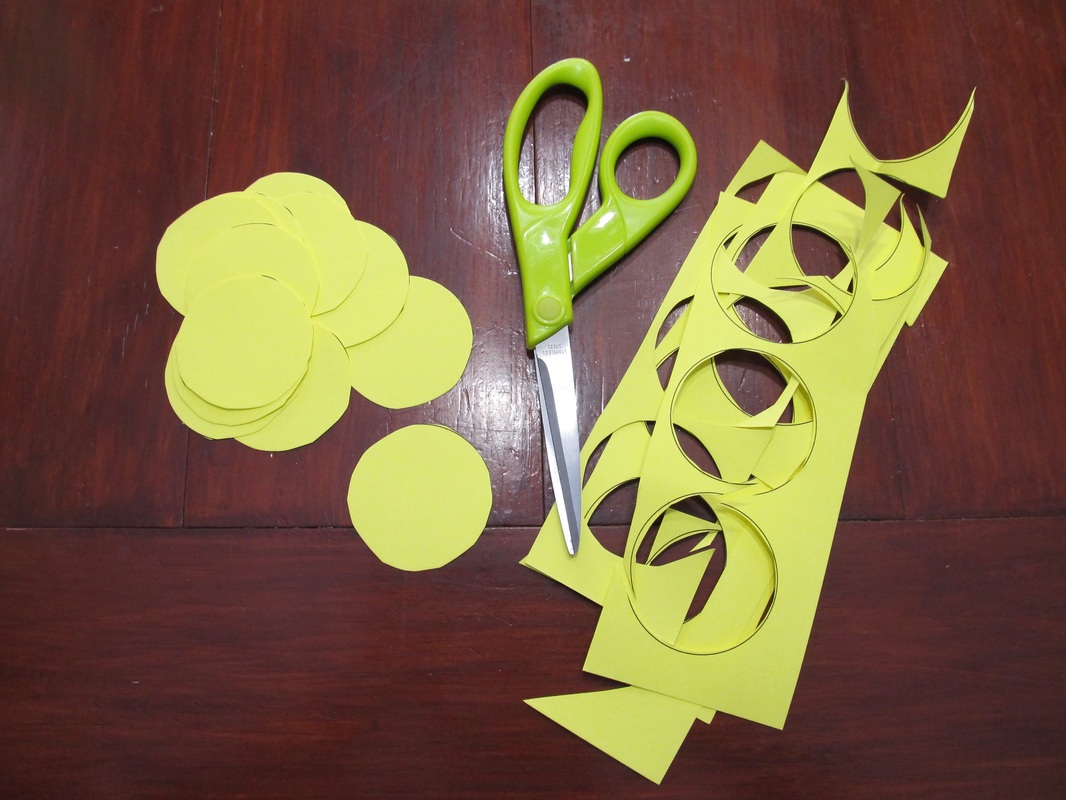
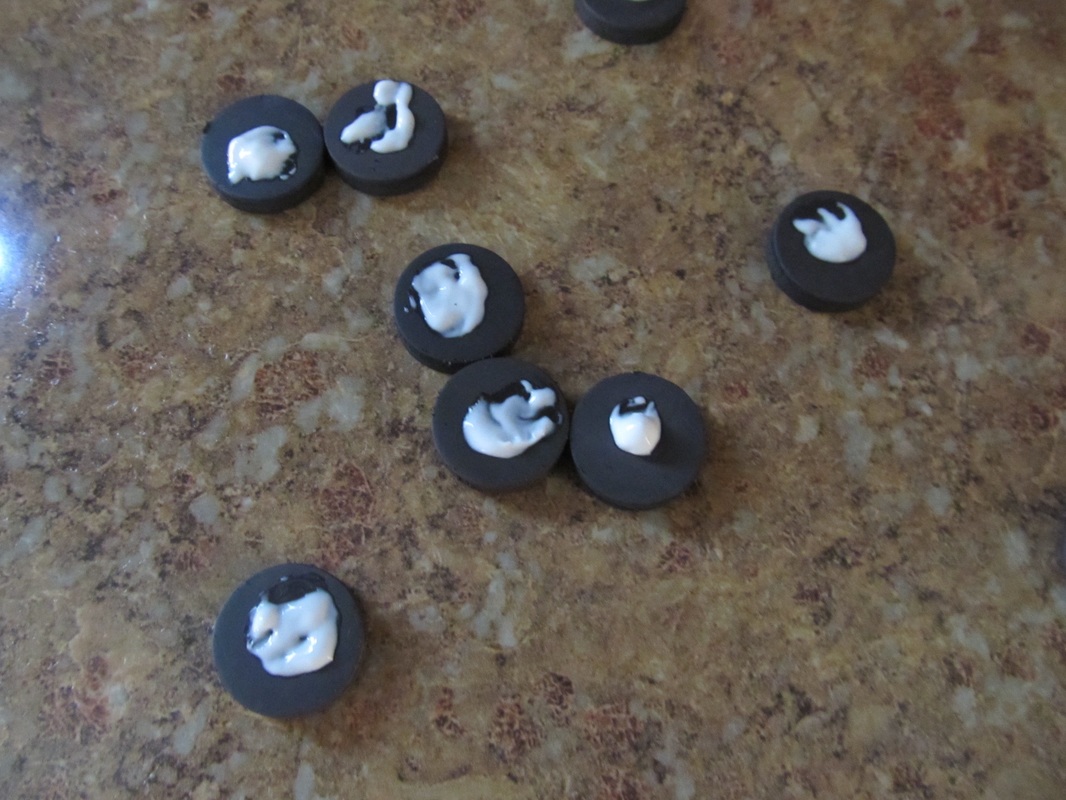
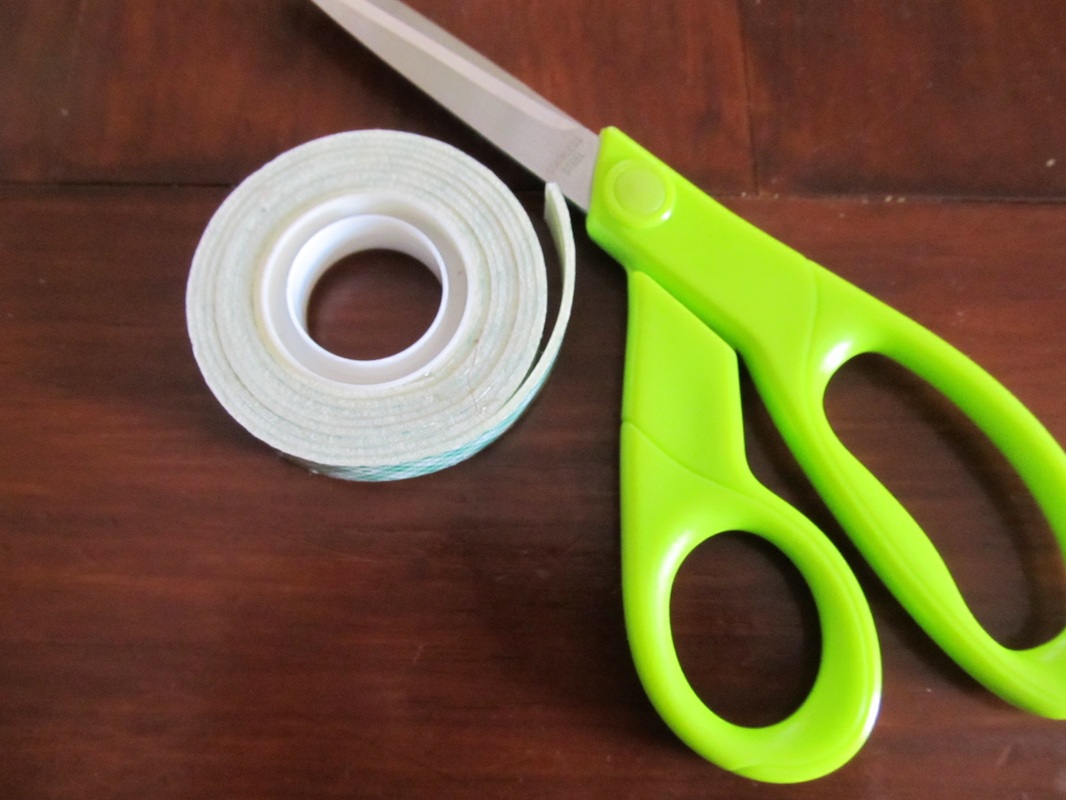
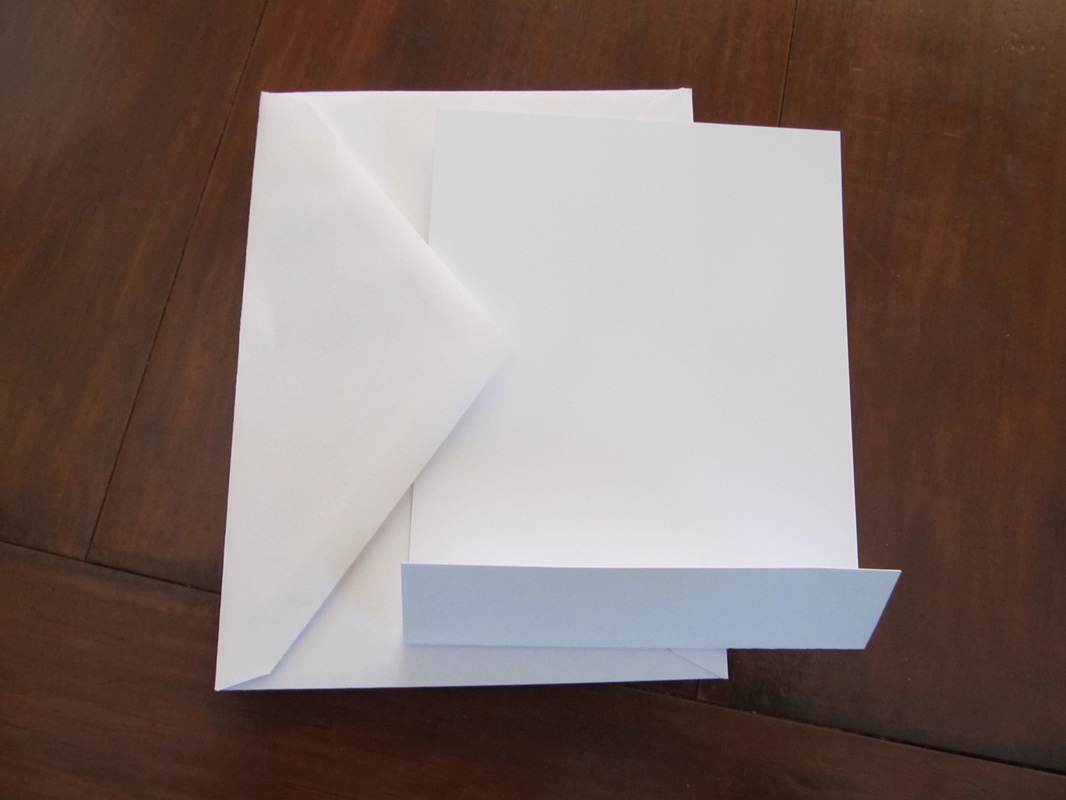
Since nothing goes to waste in our house, I already had all the materials. In fact, I had been waiting for a good reason to use some of them! The only thing I had to buy was stamps :-) Supplies:
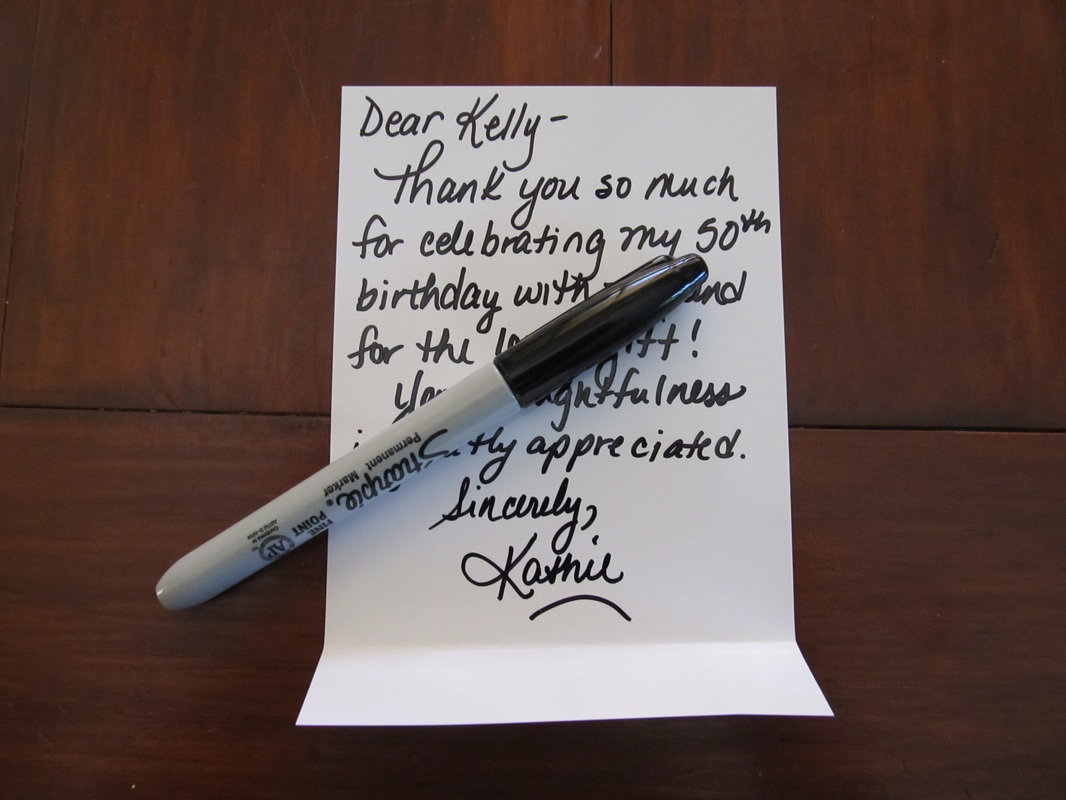
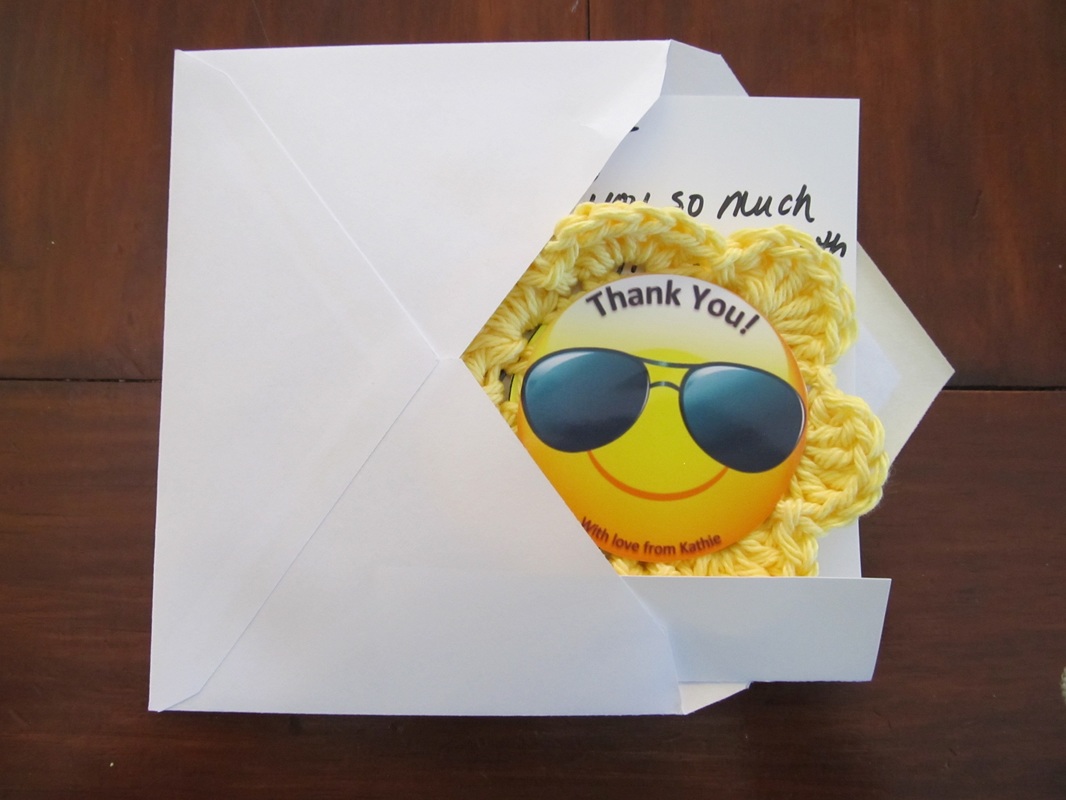
How:
Thank you for visiting!
If you like to crochet then check out the our FREE crochet patterns here! Also check out the many crochet project patterns on our Pinterest Boards Crochet ONLY and Crochet for the Kids! Please feel free to comment, e-mail, or contact me through my Facebook or Google+ pages and follow us too :-) Sincerely,
|

Hi there! I'm Kathie, the author behind Creating A Simpler Life blog. I'm excited to share our longterm projects (and planning) toward building our future retirement homestead in the Adirondack Mountains of New York. In the meantime I will be sharing all the other little things we do that are part of creating our simpler life!
Categories
All
Archives
July 2020
|


 RSS Feed