Blog
A little bit of anything and everything that's part of
creating, enjoying, and living a simpler life!
creating, enjoying, and living a simpler life!

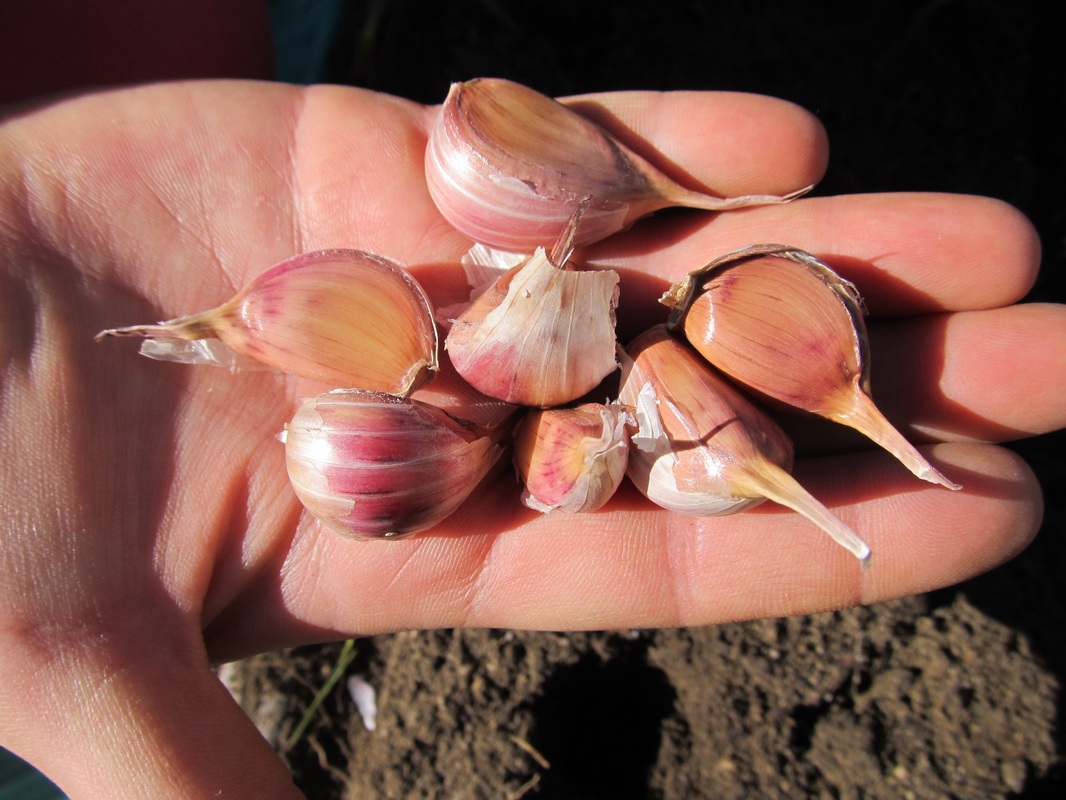
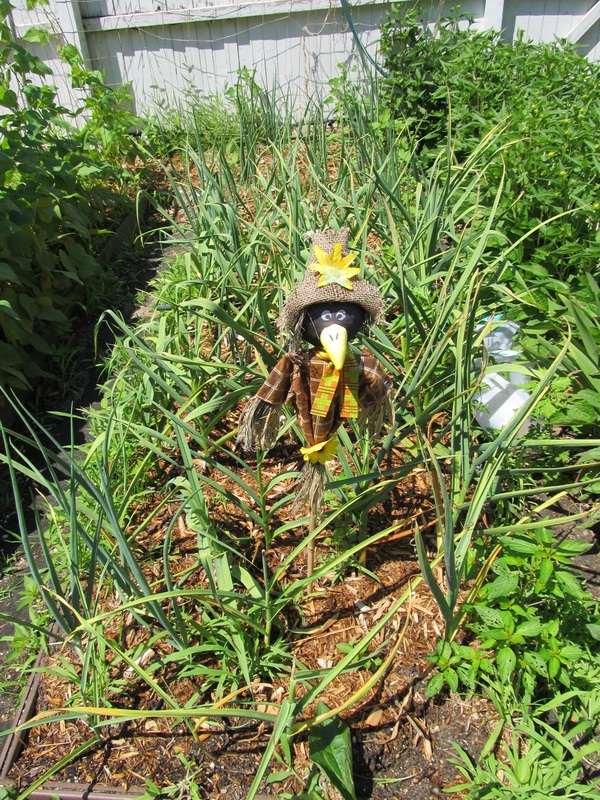
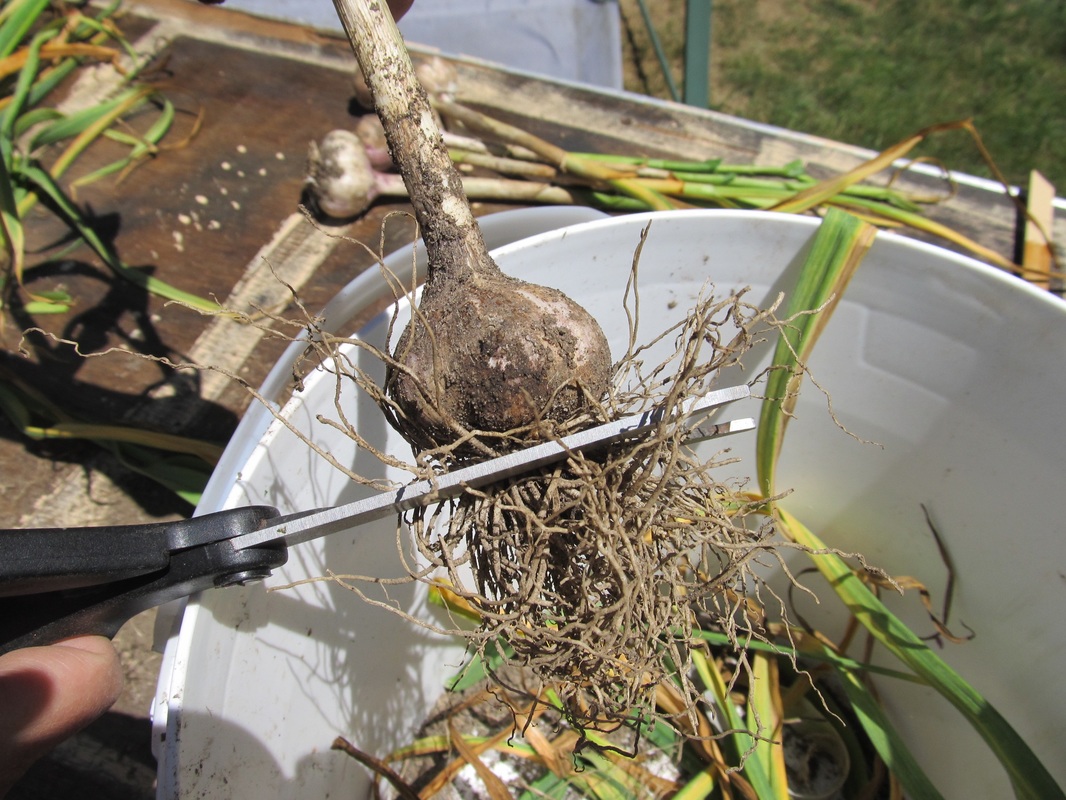
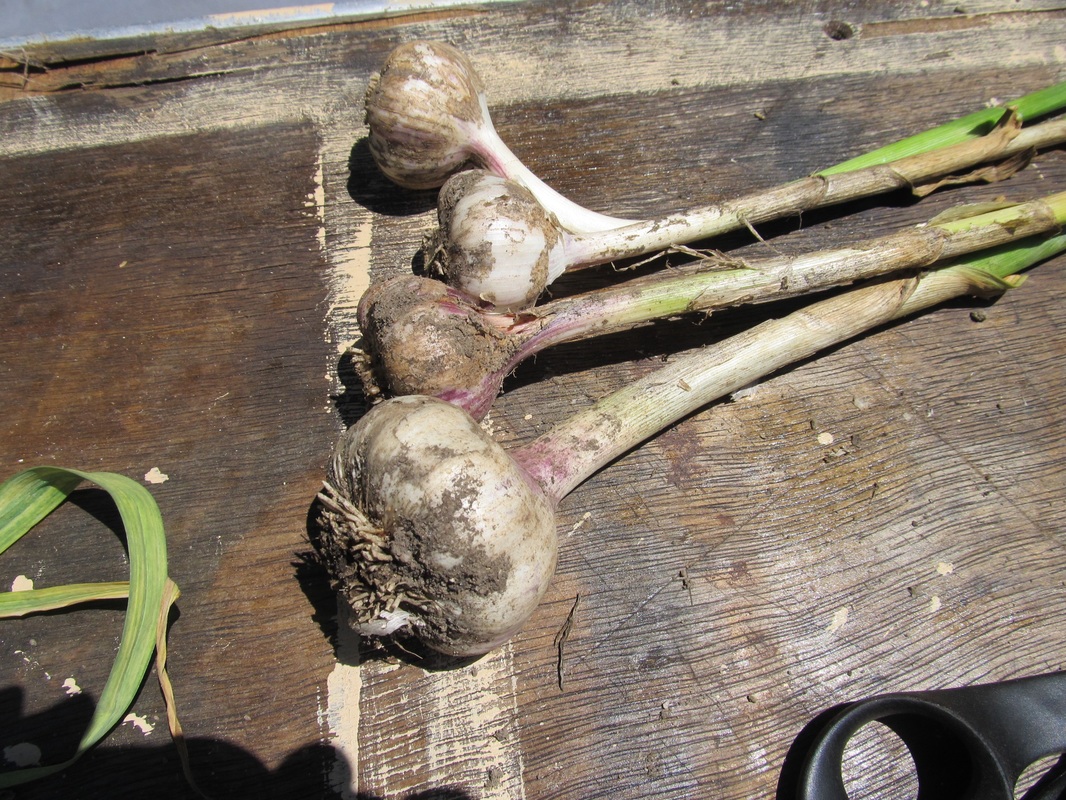
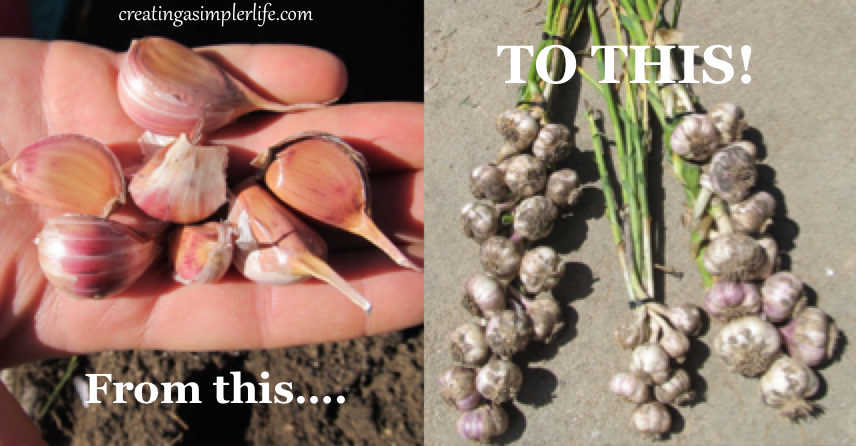 It's been about a month since we harvested the garlic scapes, and ate them, and that means it's now time to harvest the actual garlic and store it until we are ready to use it! And of course, after planting, maintaining, and harvesting garlic from start to finish, for the first time I might add, I can only wonder why more people don't do it too! Here's how simple it was:
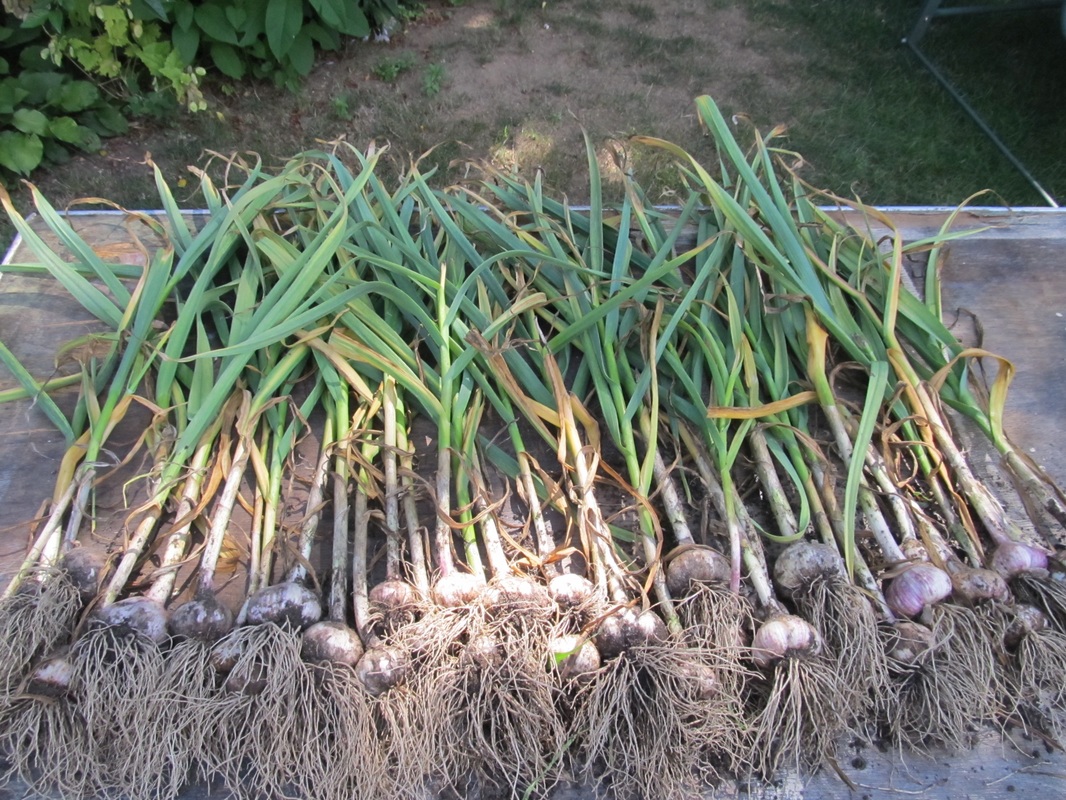
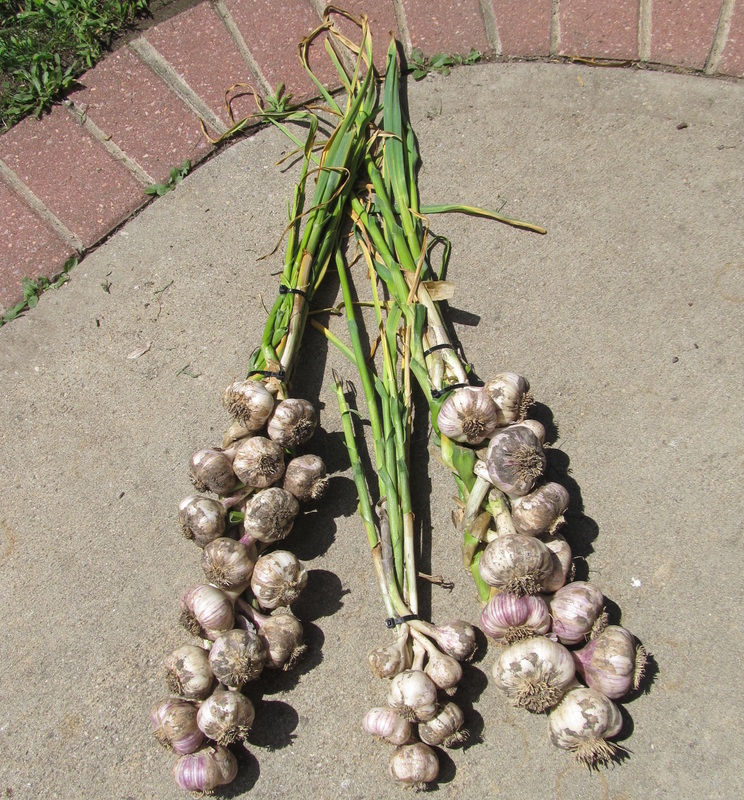
Just an end note: I had basically been told that braiding hardneck garlic was not possible and so I initially planned on using pantyhose to try and store it (this is what I stated in my post about planting the garlic in the fall), but I decided to try braiding it anyway. This was my first time braiding any garlic and I have to say I am very happy with the results! They are not so much braided but more like 'twisted' together so that they all stay in place when held together with a tie. However they look braided, and whatever and however I did it, well, it worked! Now I just need to hang them in a dry, cool location until needed! We are set for the winter :-) Here are our other posts about planting and harvesting these garlic bulbs we just harvested:
Thank you for visiting! If you like what you see please like and follow us! Sincerely,
0 Comments
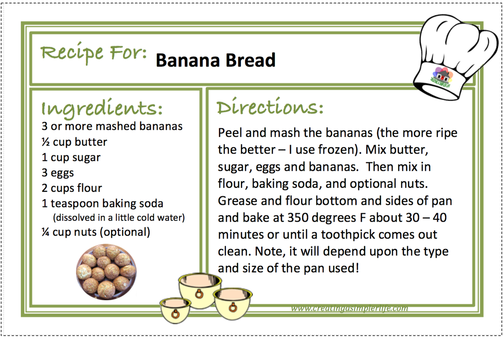
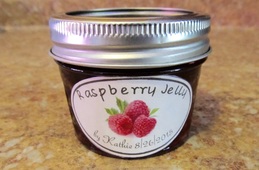
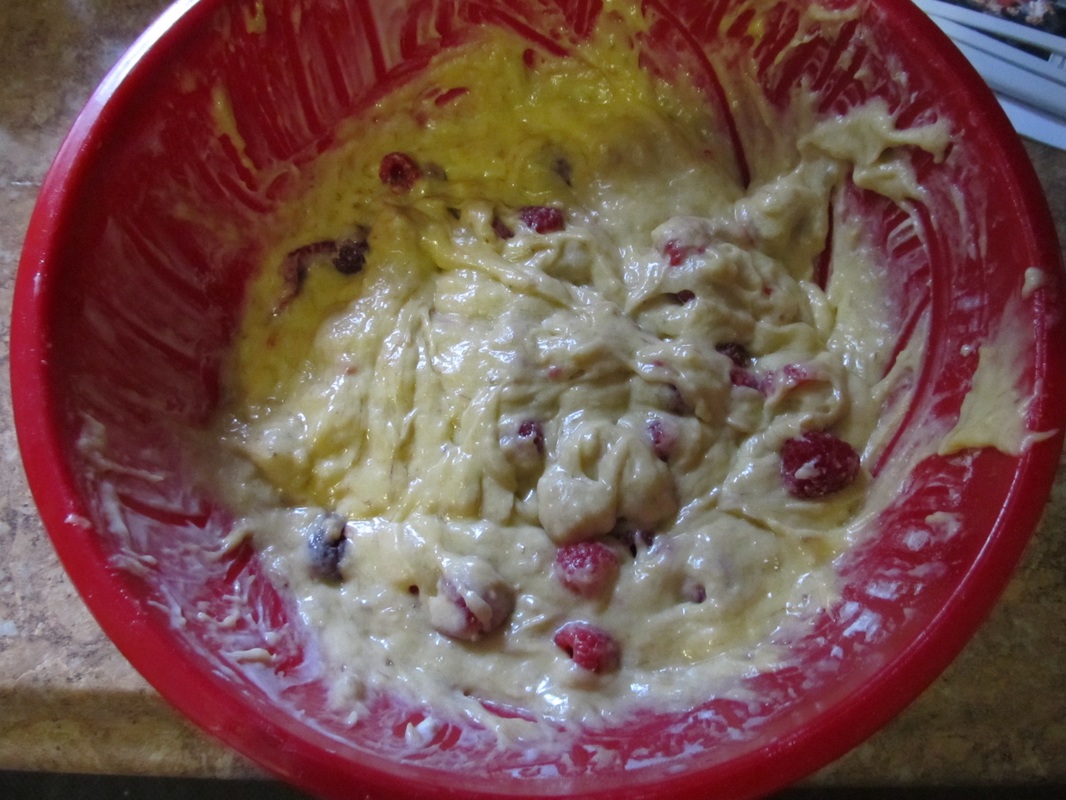
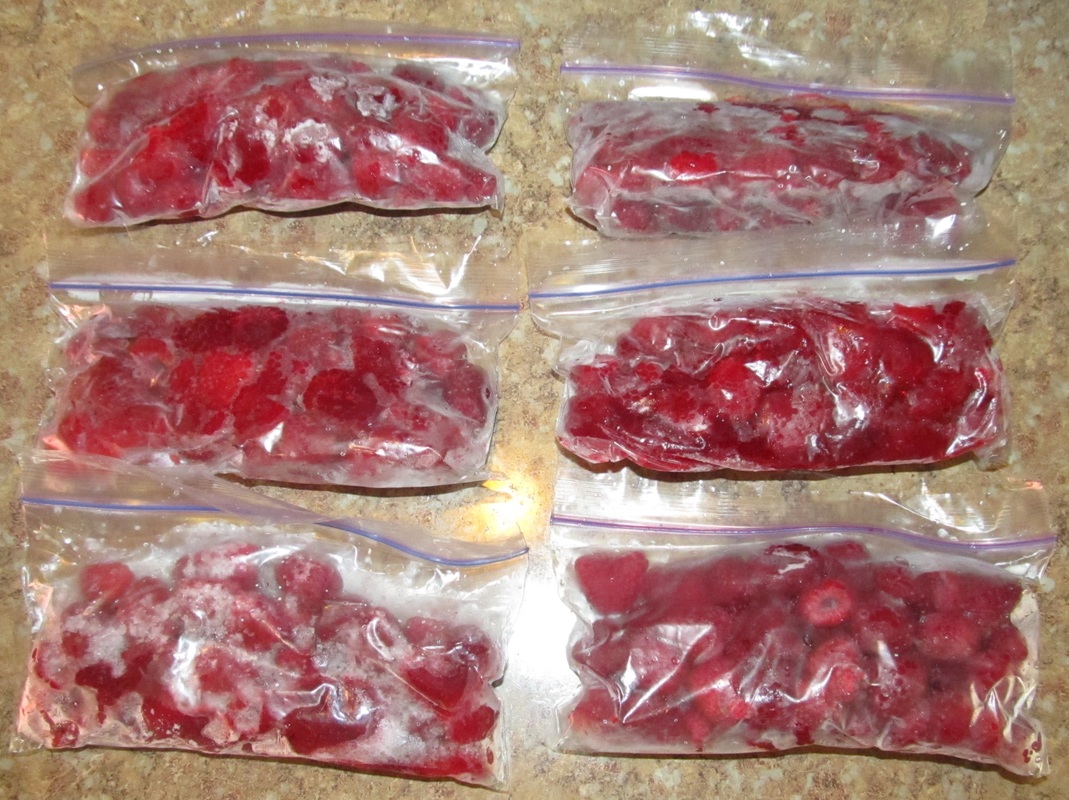
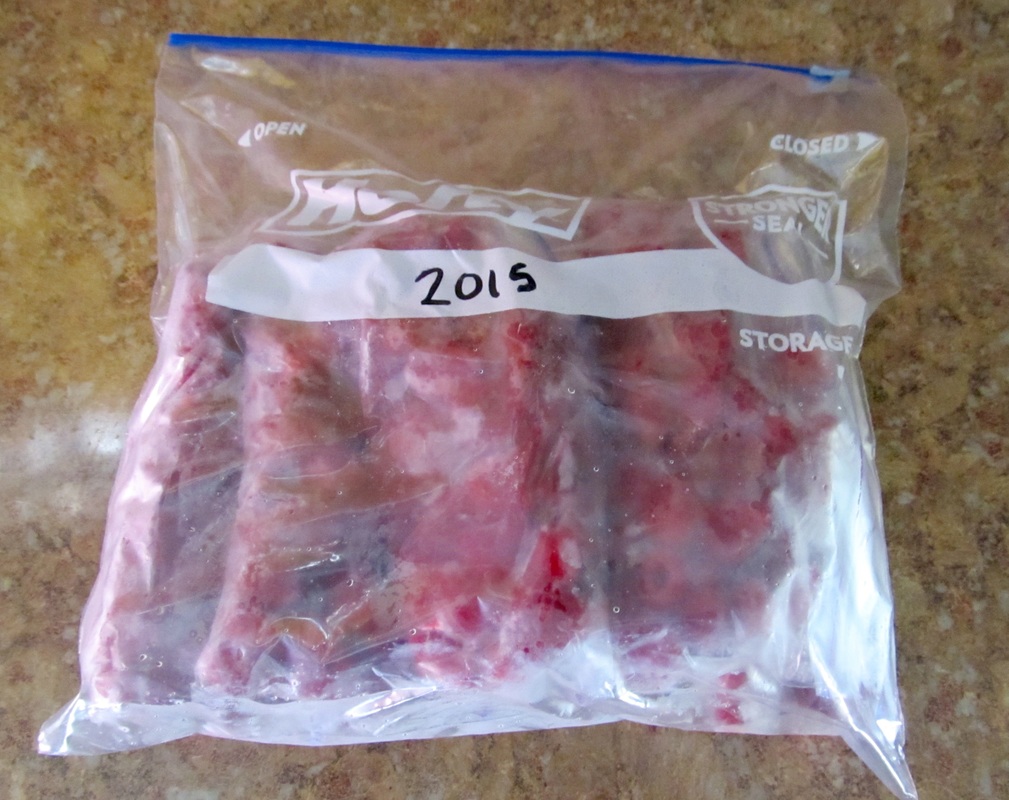
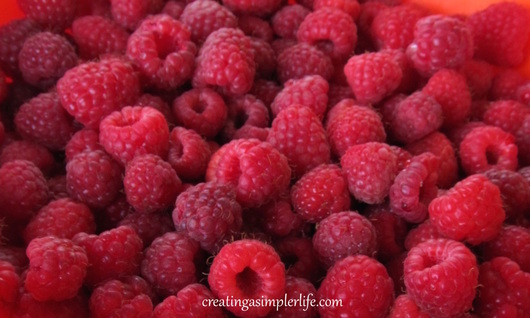 It's raspberry time again and we have been steadily picking a pint or more a day from our backyard bush! I love our raspberry bush because we actually get two (2) harvests a year! Read my post Growing Your Own Raspberries if you are interested in learning more because todays post is about what we do with all those fresh raspberries! Whether you grow your own or buy them fresh, the certainly are healthy and delicious! 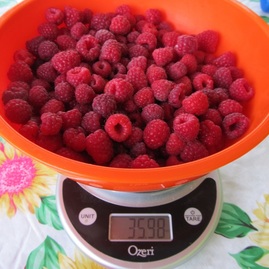 How we use our fresh raspberries:
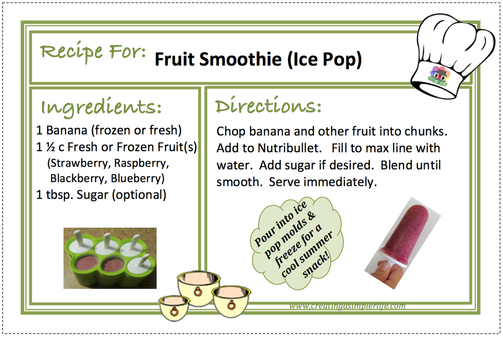
 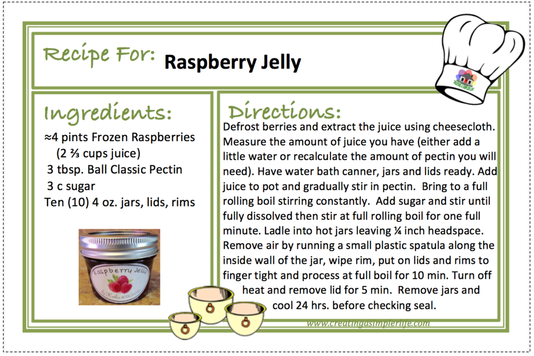 Other ways to use fresh raspberries:
Do you have a favorite way to use fresh raspberries? Please share! I would love to hear from you :-) Thanks for visiting. Sincerely,
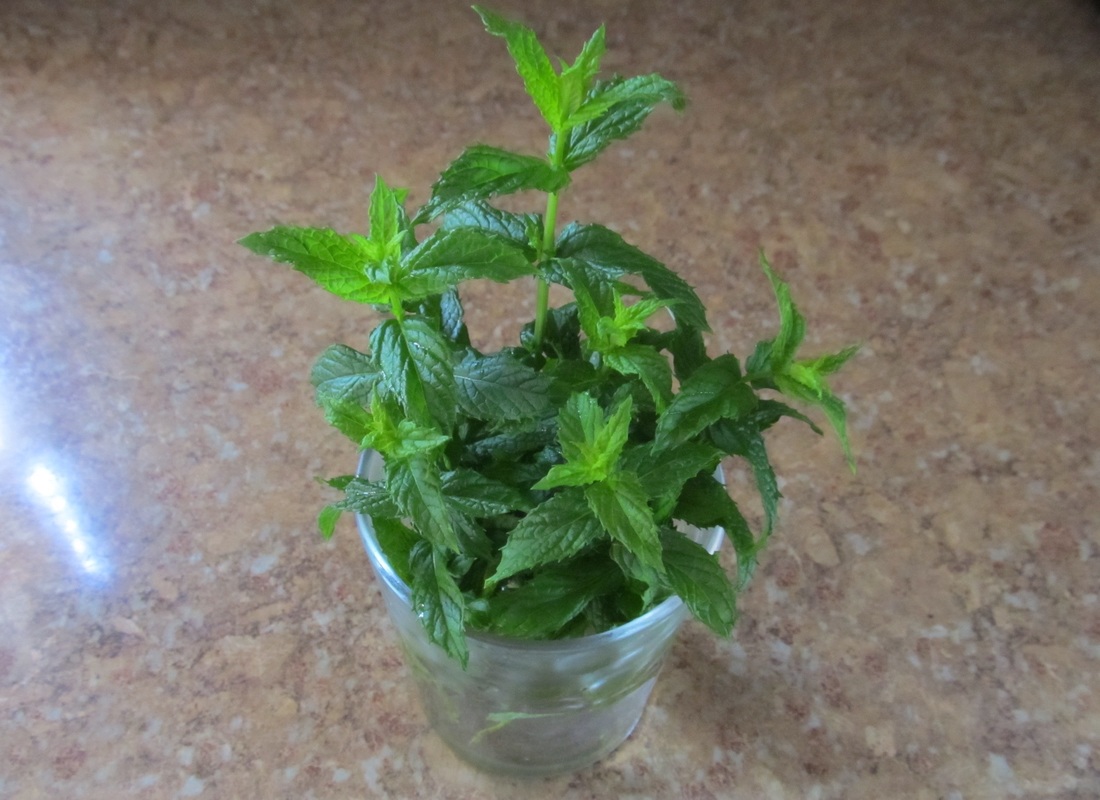
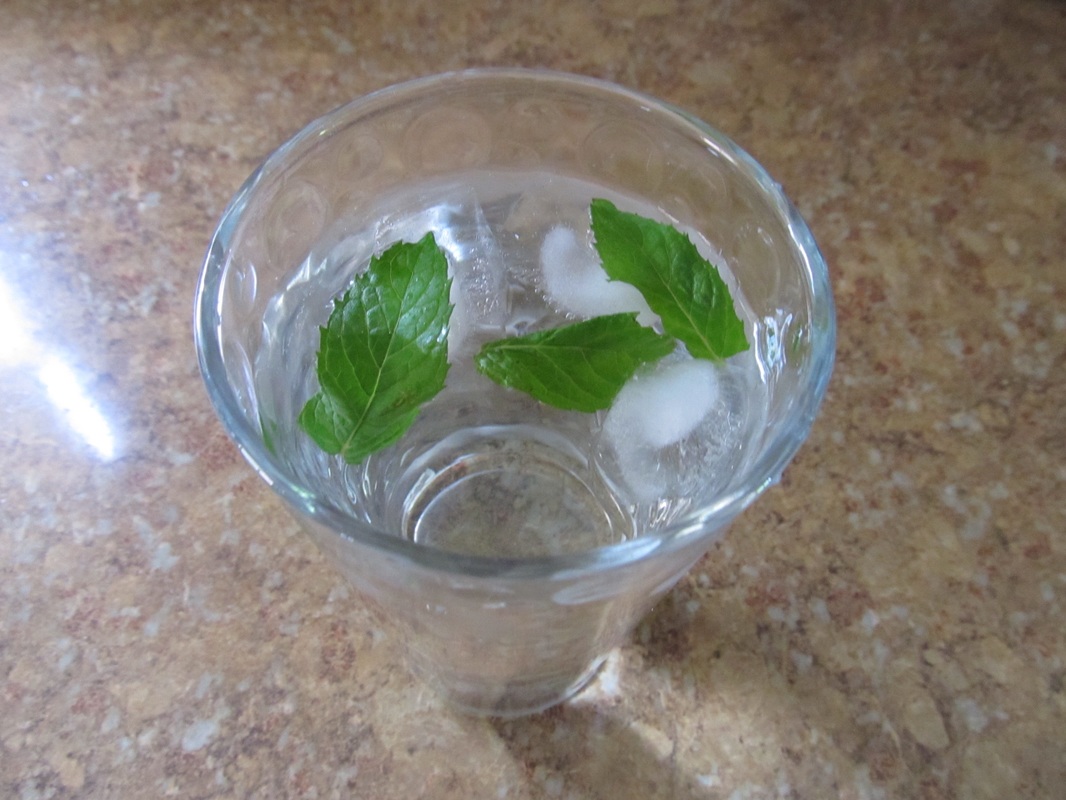
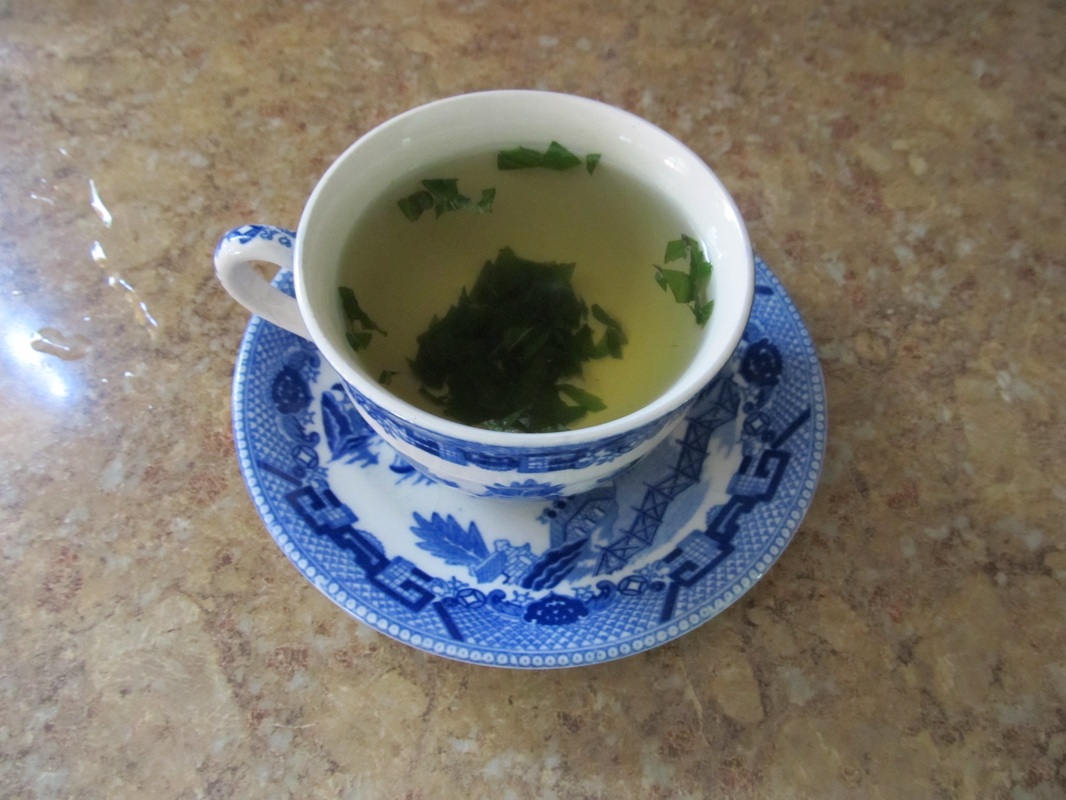
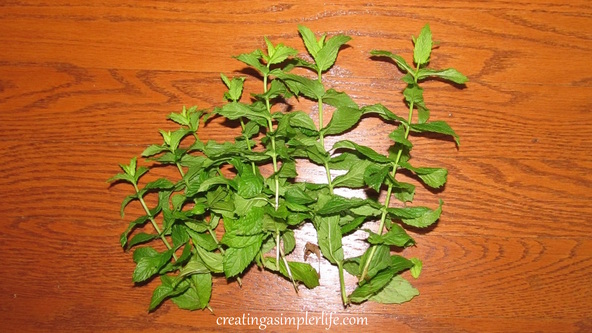 Do you have fresh peppermint growing in your yard? If you do then you might be frustrated with how quickly it grows and spreads. How about finding a positive in all that spreading peppermint? It is edible after all and there are MANY ways you can use it to your advantage! Don't have peppermint in your yard? You can also buy it fresh or dried in the store but you would be best served to just get one small plant at the store or from a friend and plant it in a sunny location in your yard. Pretty soon you will have a lot more growing and you can take advantage of the benefits every day too!
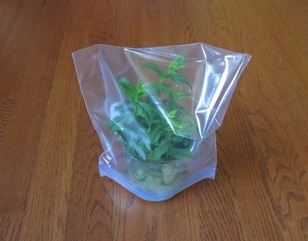
Picking & Storing the Leaves:
A few ways (my favorites) to use Peppermint:
Thanks for visiting! Sincerely,
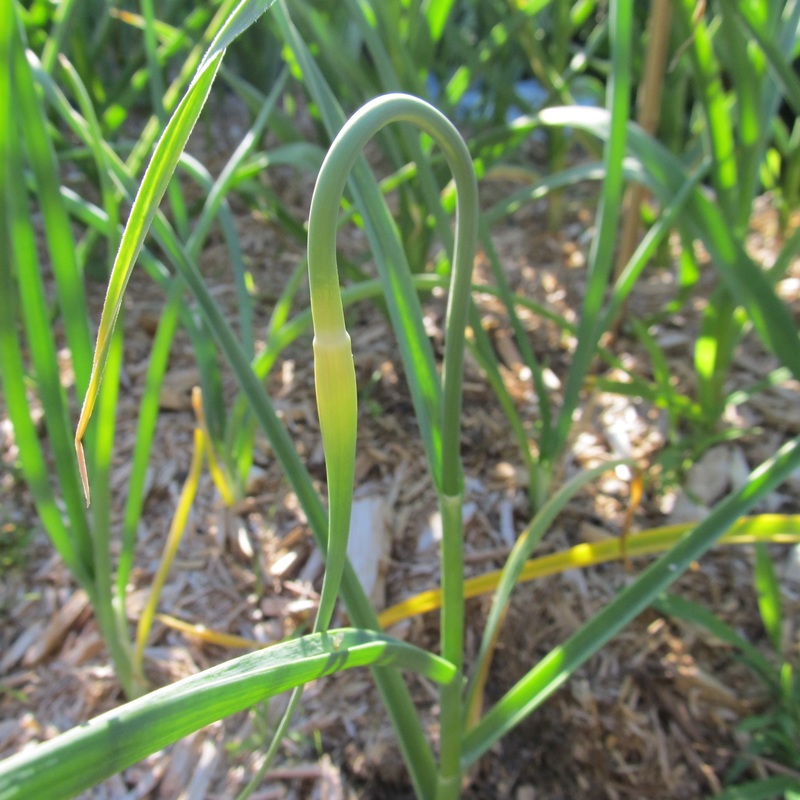
In the fall we posted about planting our garlic. It currently continues to grow however it has recently grown curling flower buds called garlic scapes and it's time to harvest and eat them! 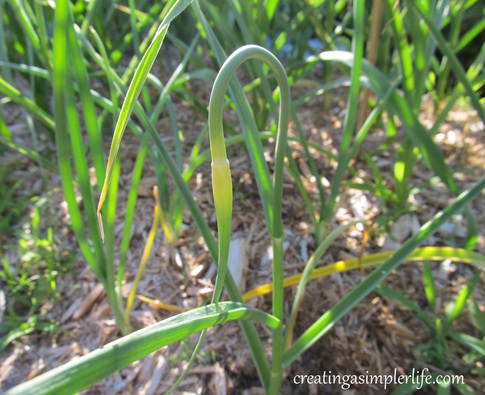 A garlic scape is the flower bud and attached curling stem of the hard-necked garlic plant. The entire curl and bud are removed around late June before it flowers and while it is still curled to promote larger bulb growth. When you see it curled, remove the entire stem and bud as far down (close to the leaves) as possible without breaking the leaves. 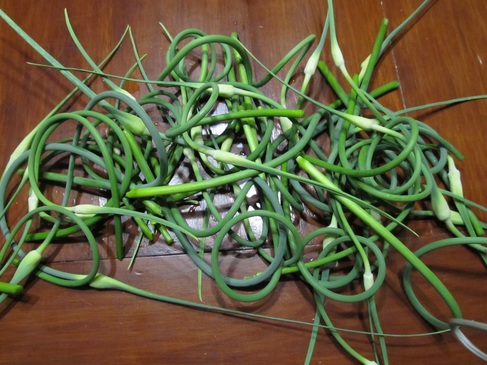 Harvested Curling Garlic Scapes The garlic scape smells like garlic, tastes like garlic, seems like a scallion, has a texture similar to asparagus, and can be eaten in any way that garlic itself is eaten! In my opinion, it would be a shame to waste the garlic scapes, especially since they are considered a delicacy in other countries! Bonus for my family :-) 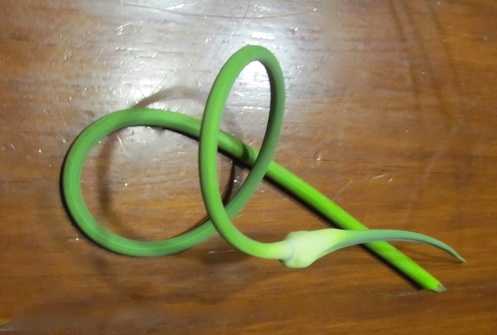 One Curling Garlic Scape Some recipes for cooking garlic scapes: 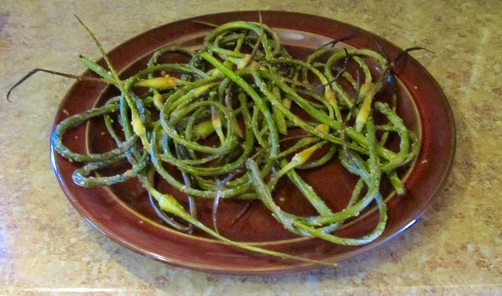 Parmesan Oven Roasted Garlic Scapes Too much to eat all in one day? No worries, you can store the garlic scapes in a paper or produce bag in the refrigerator for several weeks to a month! If you have a lot that you know you won't eat within the month (like me) then you can freeze them as well! You can choose to blanch them or not, however I just put them in quart size freezer bags, suck out as much air as possible, and put them in the freezer. So simple!!! Stay tuned for our next post "Harvesting Garlic." Follow us on social media or e-mail us so you don't miss it! Thank you for visiting :-) Sincerely,
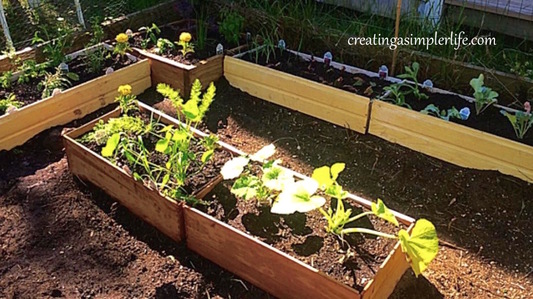 What a quick and simple way to create a small raised bed garden anywhere! I have to be honest, this is not my idea. It is actually my daughters and I couldn't be more proud of her! She rents to live on Fire Island each summer so she has never been able to have her own garden. However, this year she came up with an ingenious idea: repurposing old dresser drawers into small raised garden beds! So simple! What did she do?
What makes this idea so awesome:
And of course the absolute best part of all this? My daughter will be eating organic home-grown vegetables and herbs all summer long :-) Please follow us on Facebook, Instagram, Pinterest and/or Google Plus! Thanks for visiting :-) Sincerely,
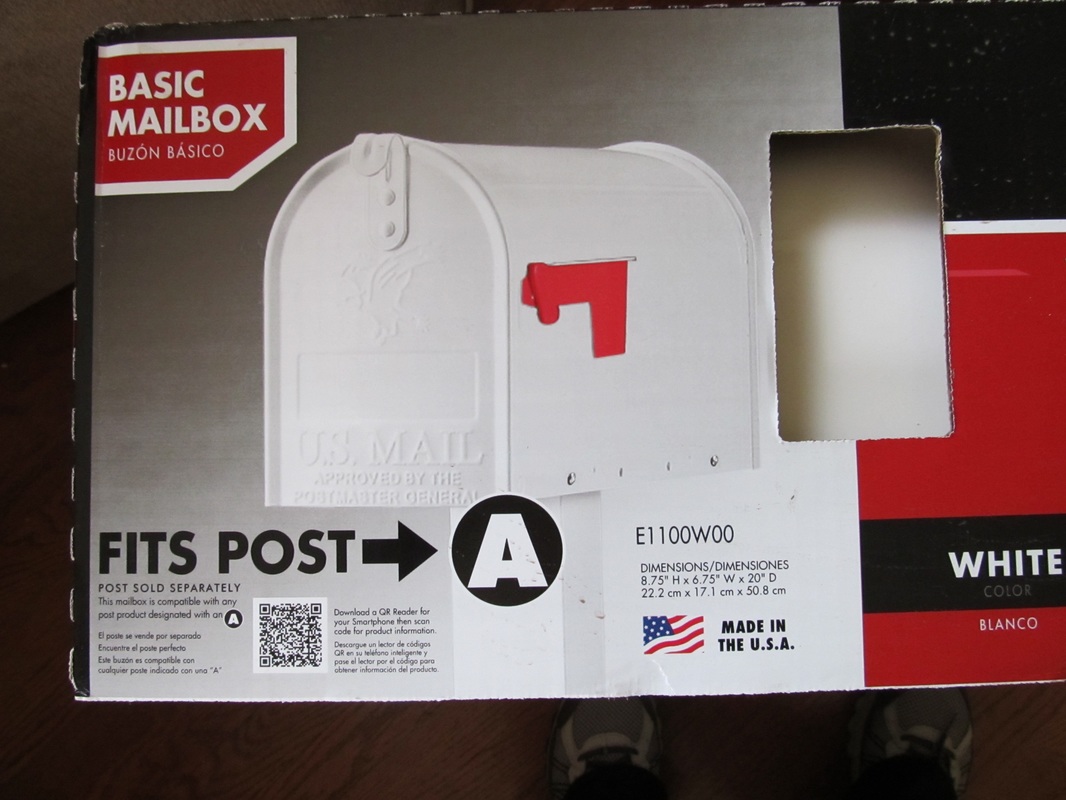
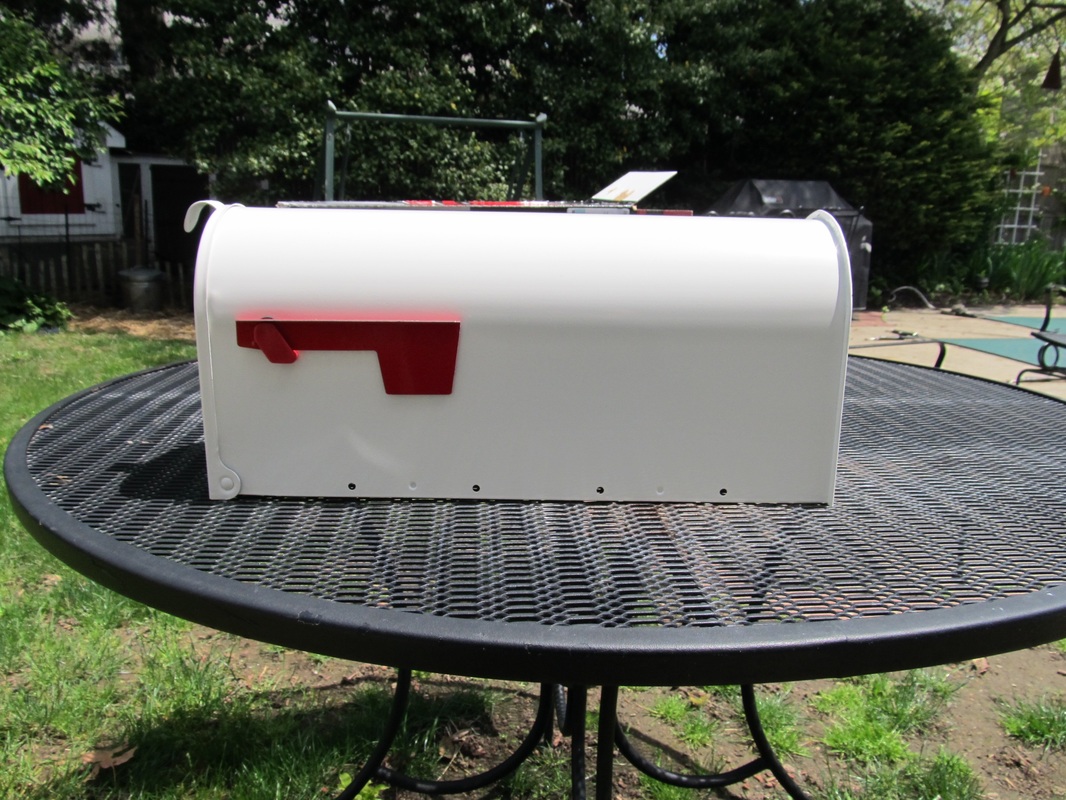
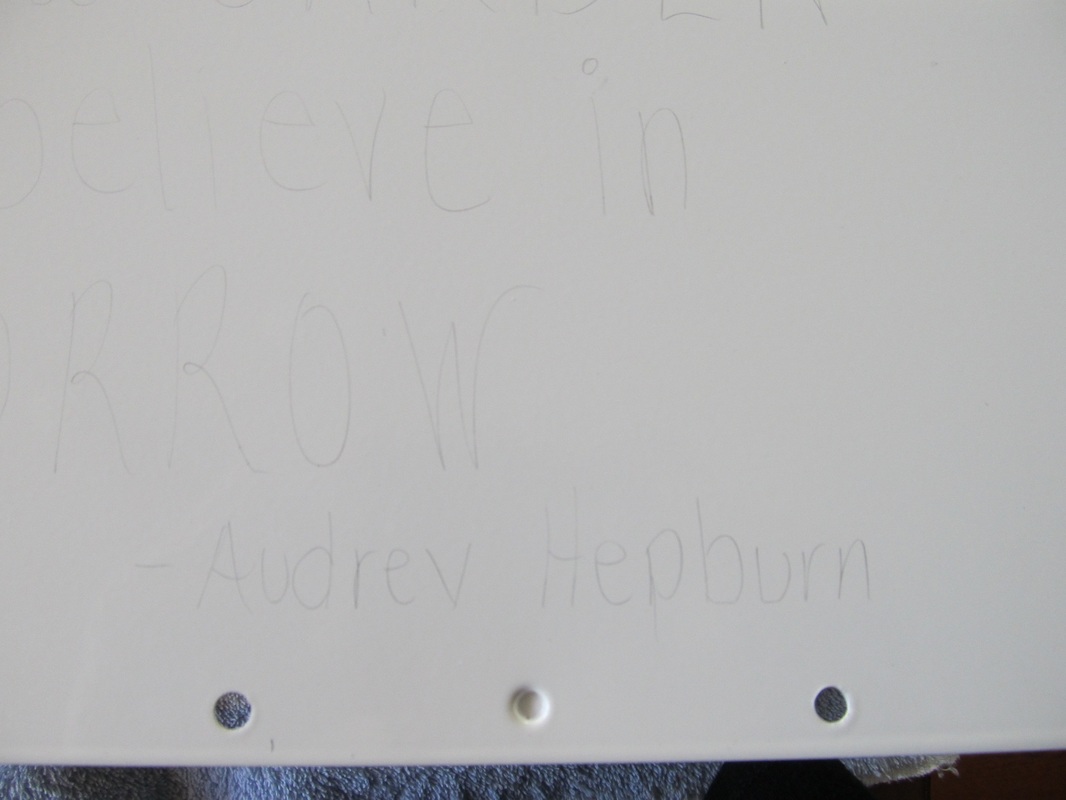
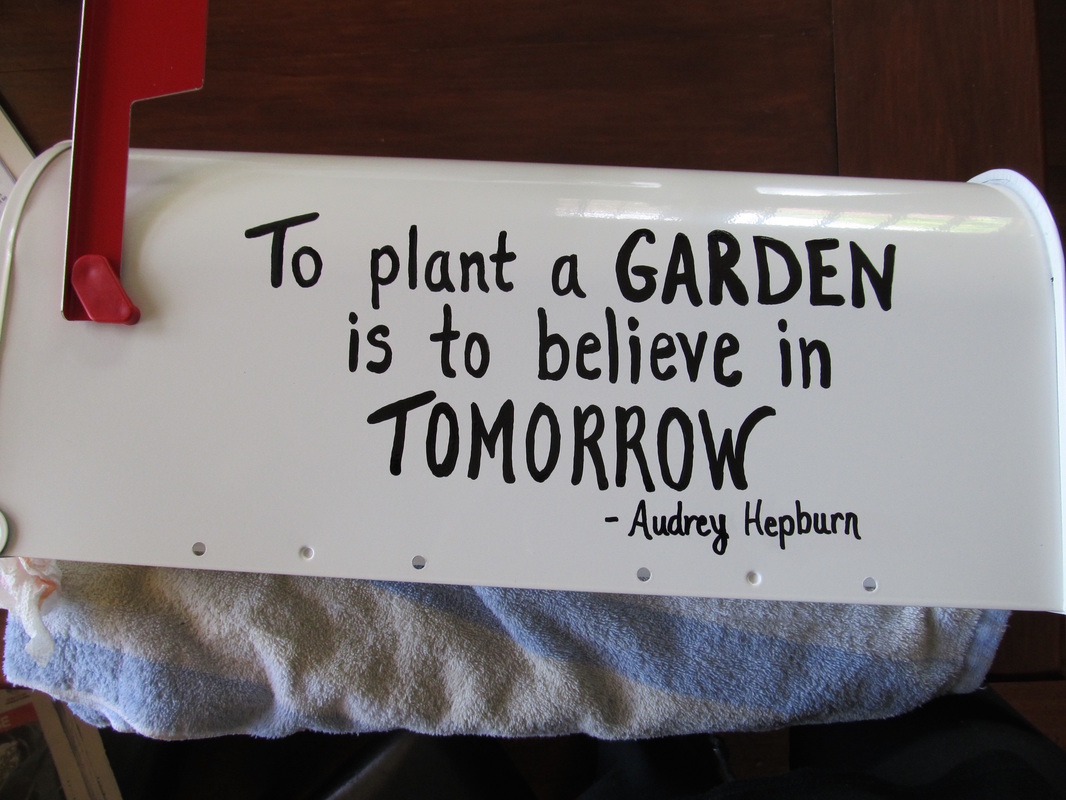
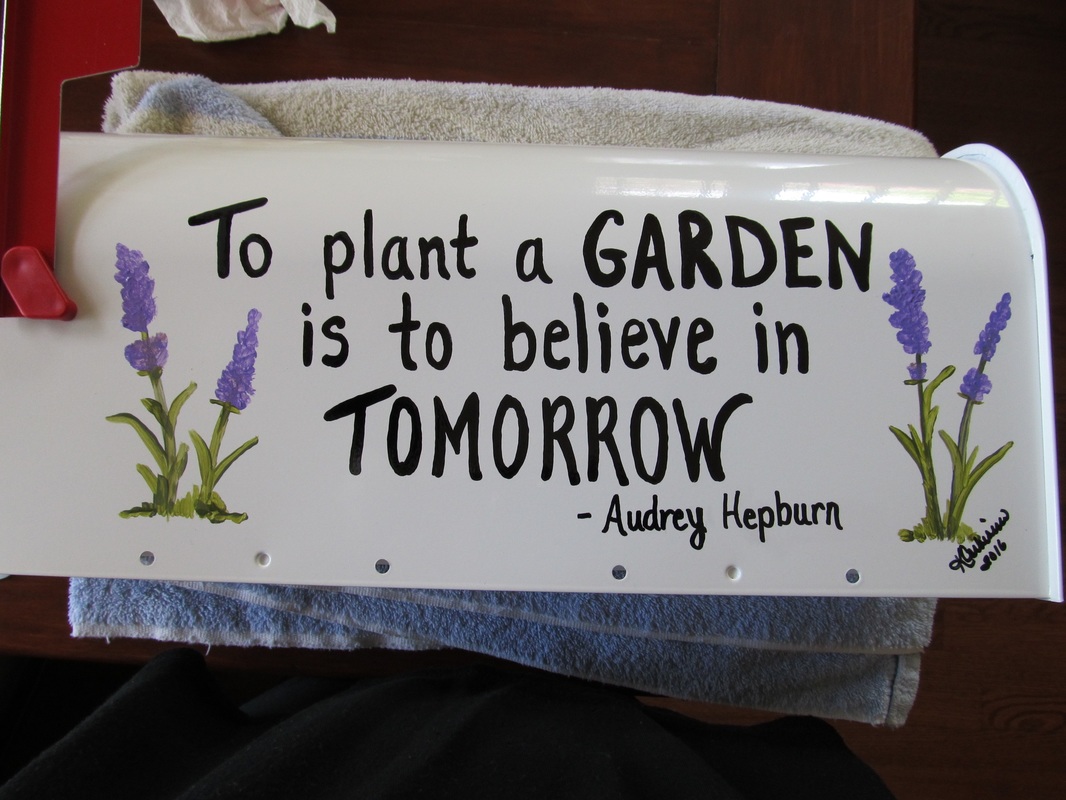
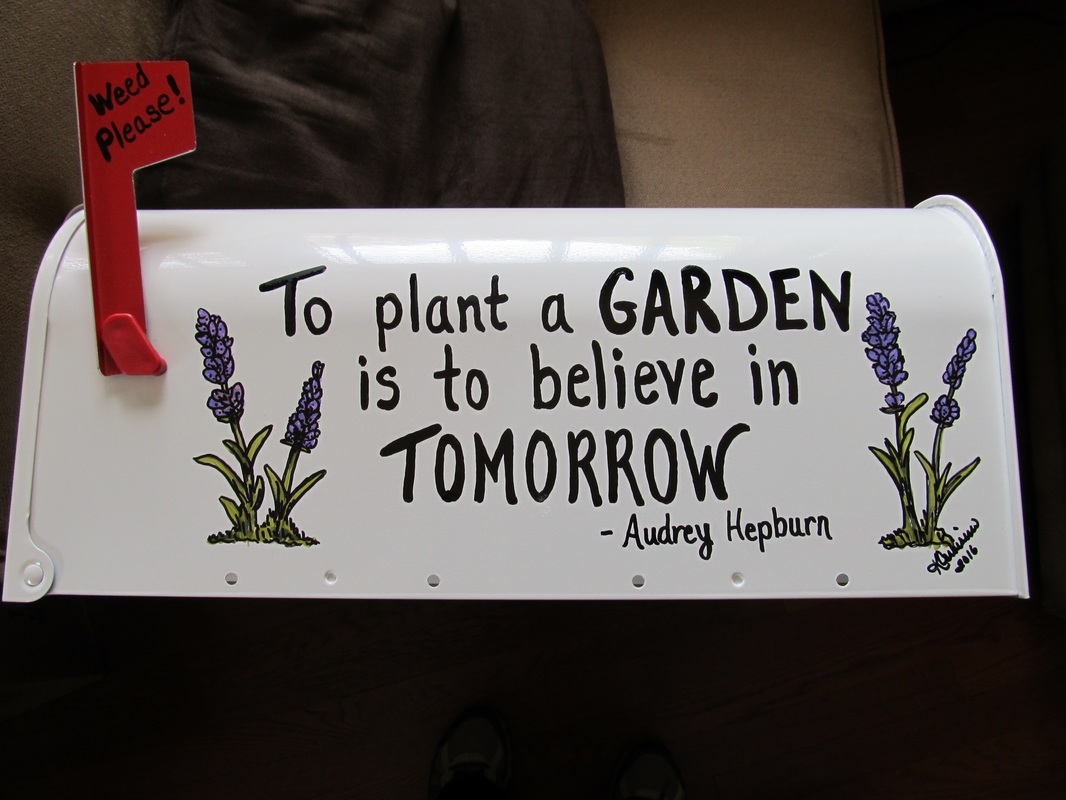
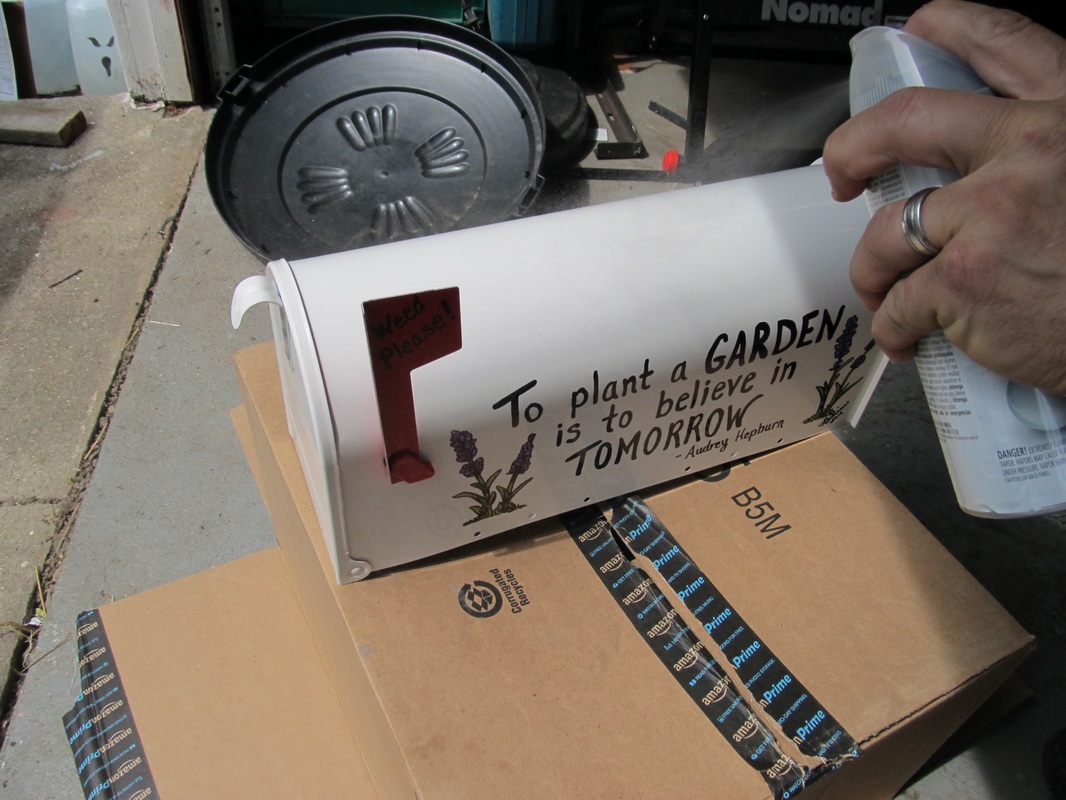
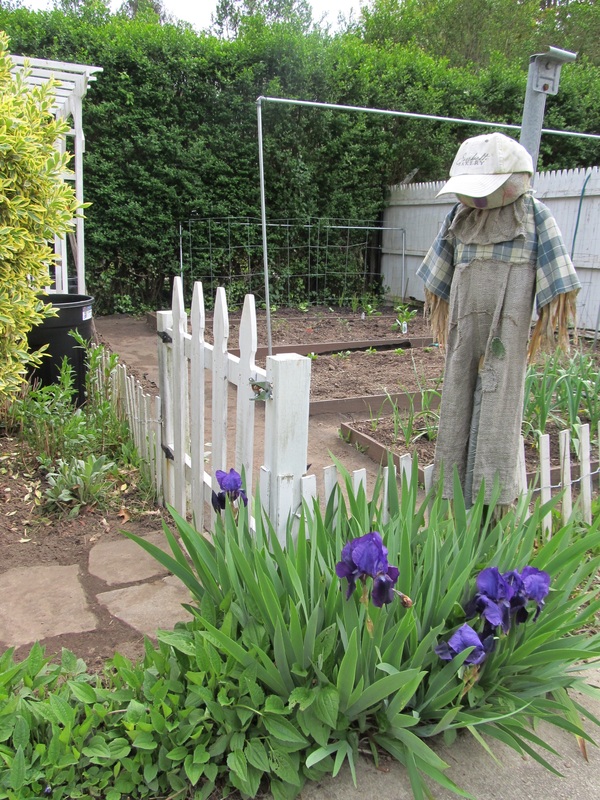
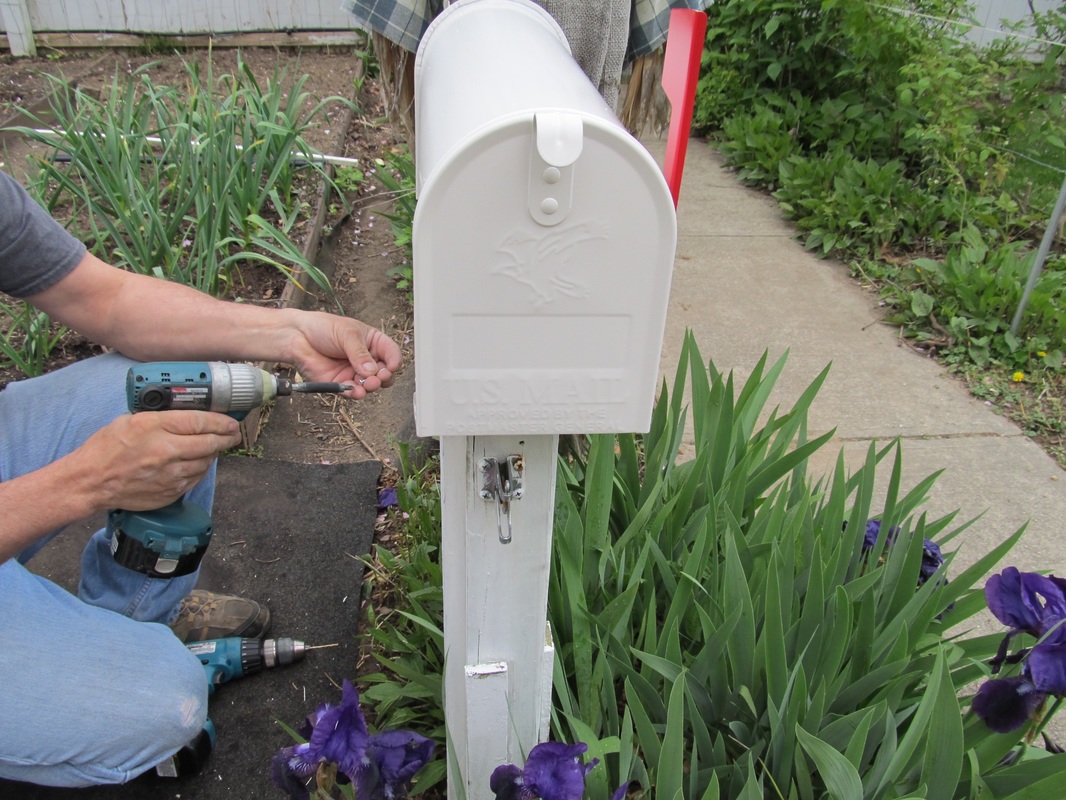
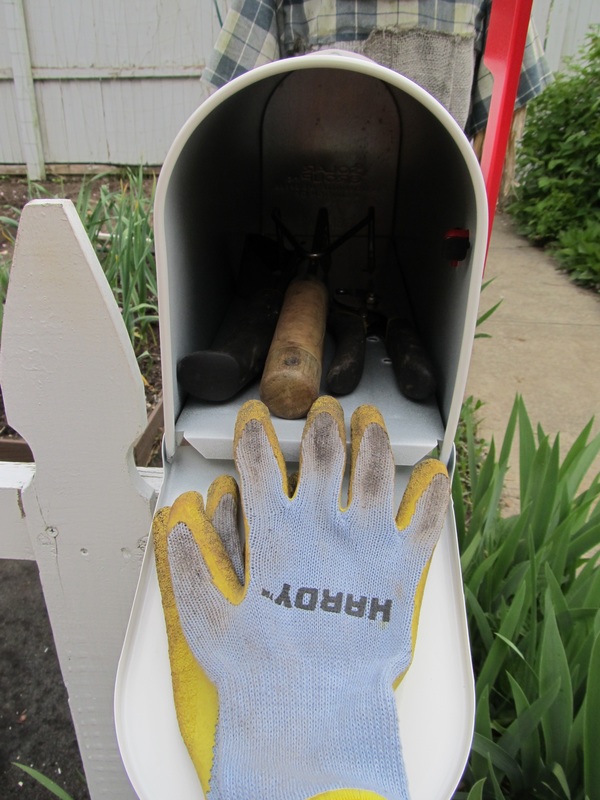
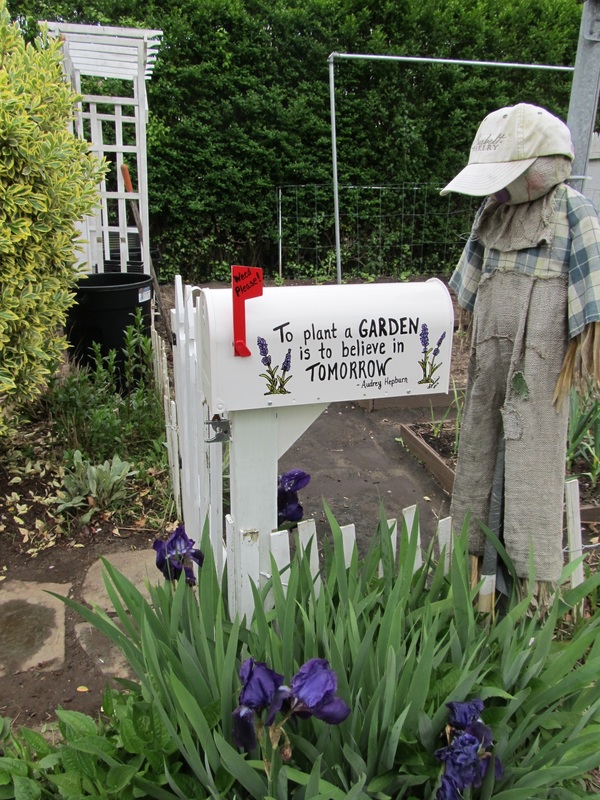
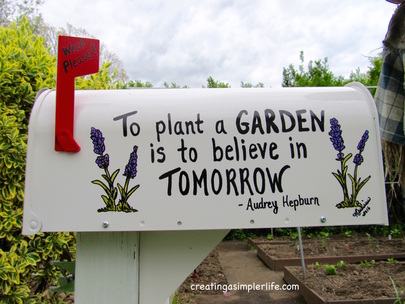 We are all about simple here, and well, I needed a way to make my 15 minutes a day garden maintenance even simpler! I was tired of having to get out the garage key, then walking to the garage to get my gloves and tools, and then walking across the yard to the garden to do quick weeding and maintenance every day. It felt like a total waste of my time. Since our garden is small and we are limited on space, I needed to find an option for storing these simple tools other than a shed. After googling for ideas, I found this gem (original source at end of post)! Simple, inexpensive, and exactly what I needed! This is such a simple idea and we already had the post on the side of our garden gate so adding a mailbox to it was no big deal. And, best of all, the side of the mailbox was a 'blank slate' that allowed me to be creative :-) Total cost: $18.99 + tax (cost of mailbox at Home Depot). I already had the paints and everything else we needed! So simple!
Thanks for visiting! If you liked this, please consider following me on social media :-) Sincerely,  Source of Original Idea: Hometalk - Garden Mailbox Toolshed
FIVE PLANTS THAT DON'T HAVE TO BE CONSIDERED A WEED! 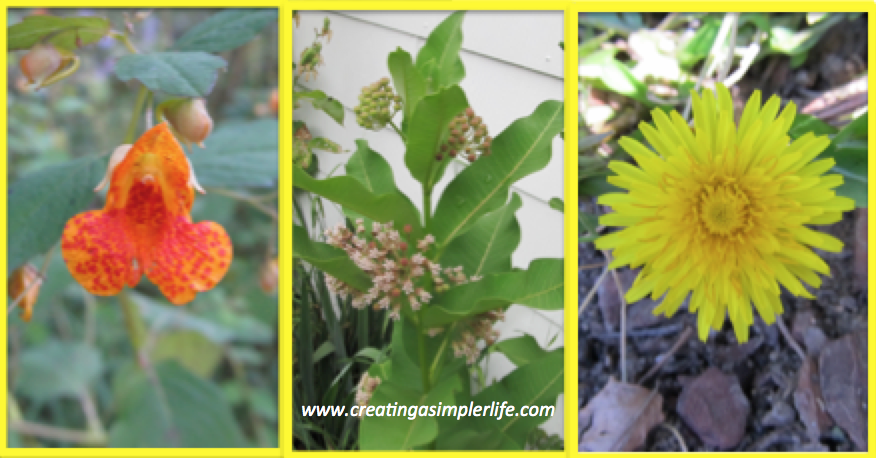 Keeping the garden and yard weed free is NOT SIMPLE, but there is a simple solution: Keep them! There are many uses for weeds other than getting 'rid' of them. Some can be eaten, some attract butterflies, and others are medicinal. No matter what the use, it's really only a weed if you decide you don't want it! So, think about creating a simpler life in the yard by keeping some :-) Definition from Merriam-Webster: Weed: a plant that is not valued where it is growing and is usually of vigorous growth; especially : one that tends to overgrow or choke out more desirable plants. Here are my favorite five plants that don't have to be considered weeds: 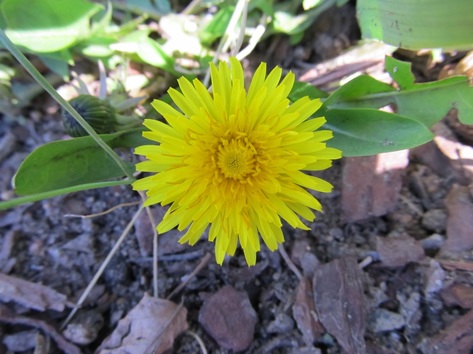 1. Dandelion
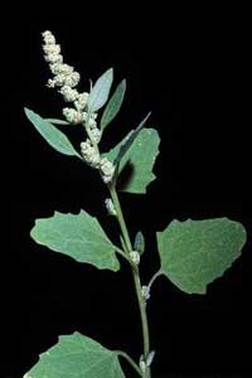
2. Lamb's Quarters
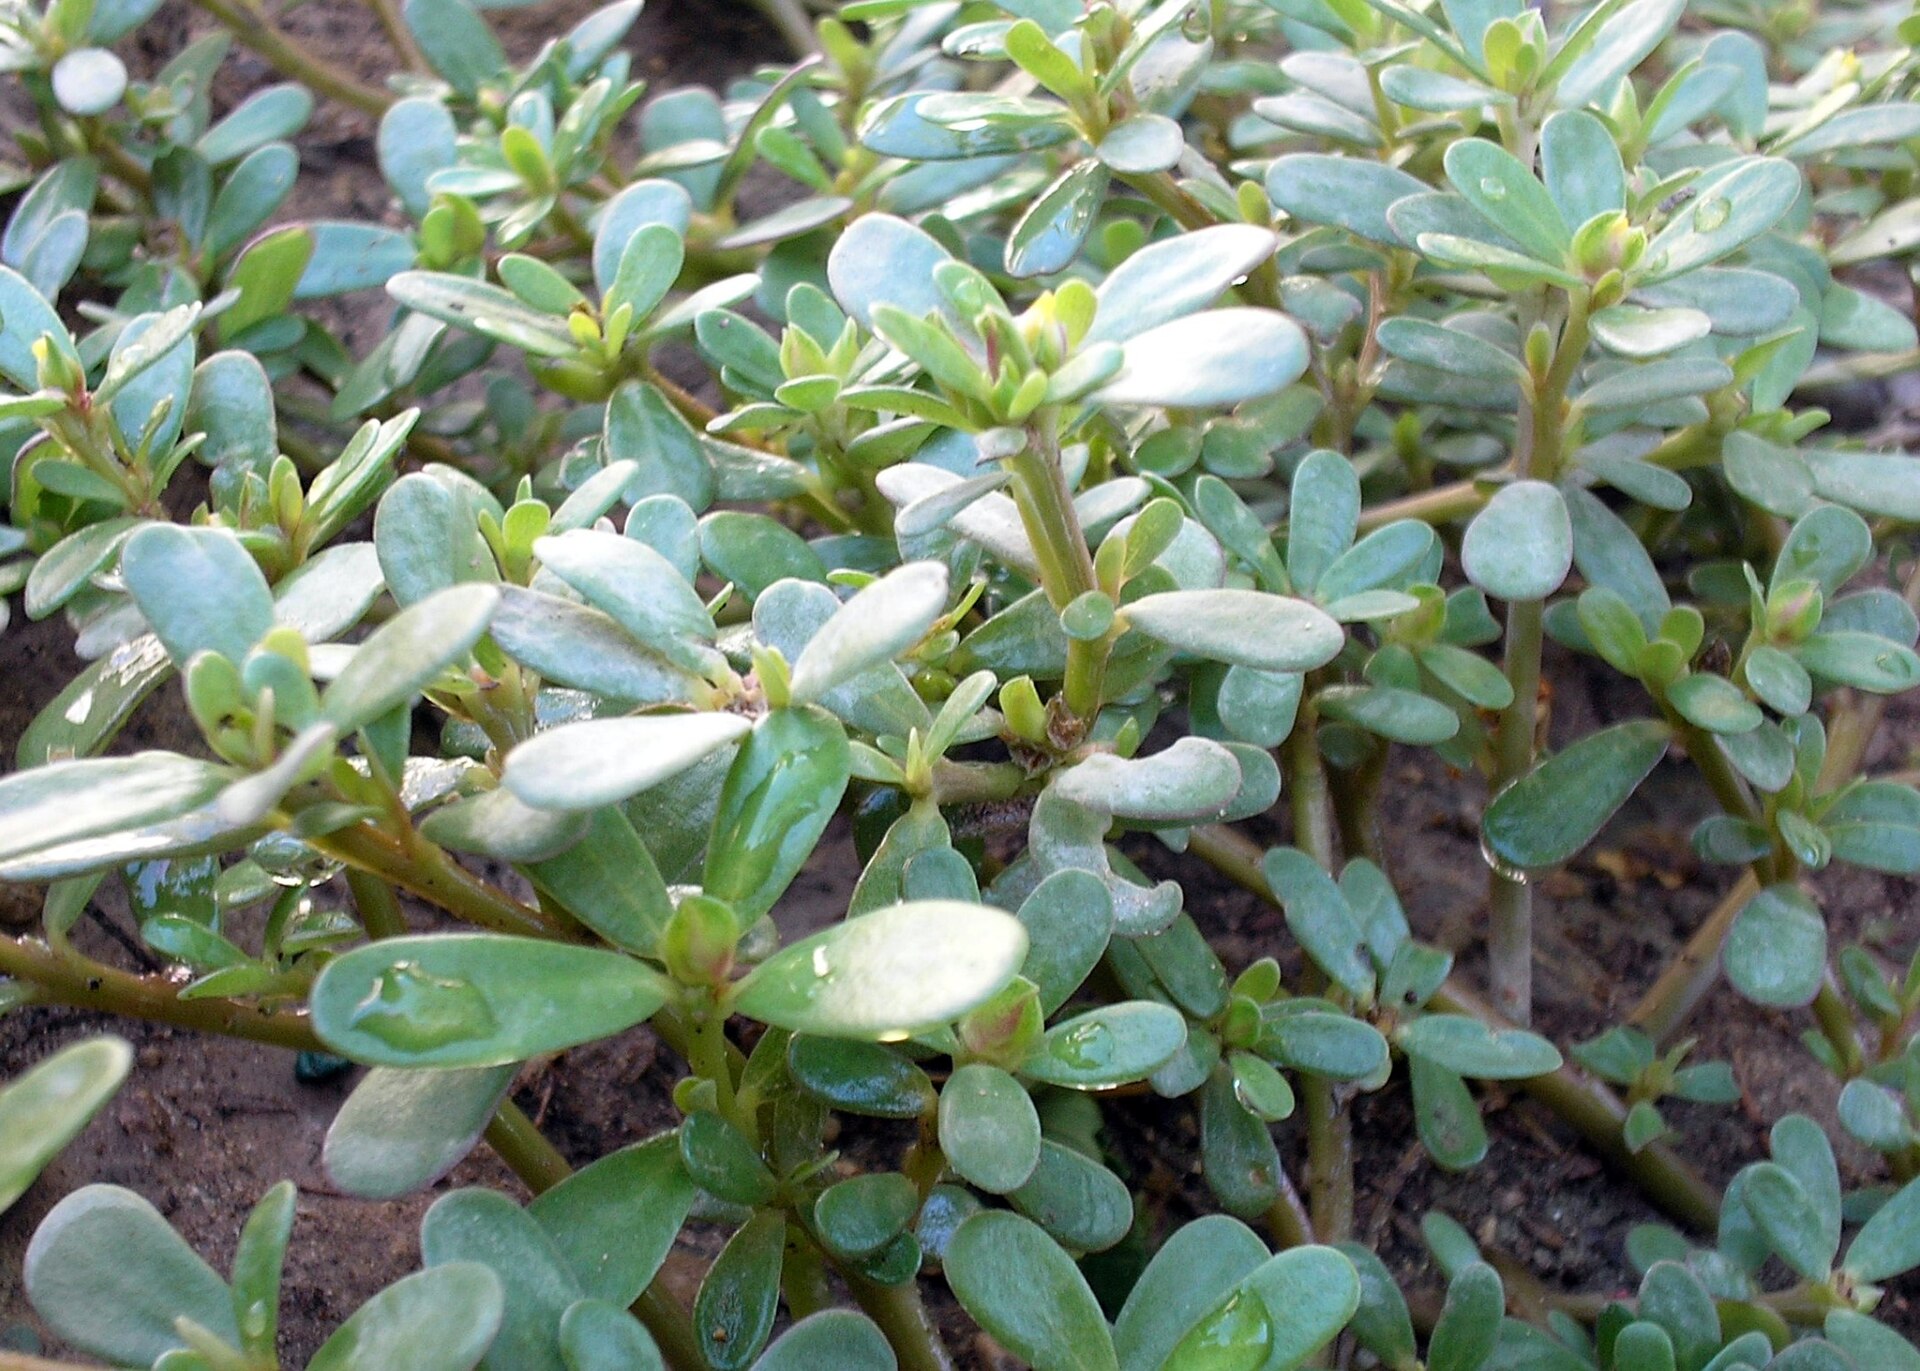
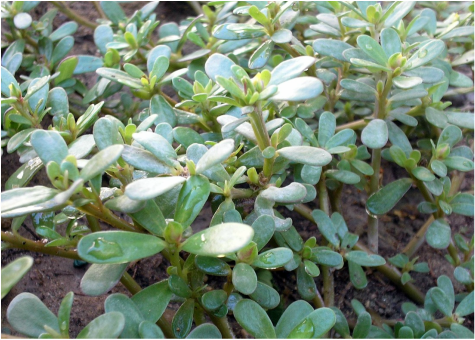 Image from 1920px-Portulaca_oleracea.JPG 3. Purslane
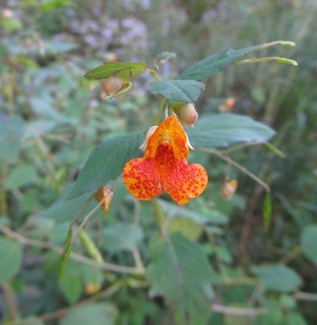 4. Jewelweed
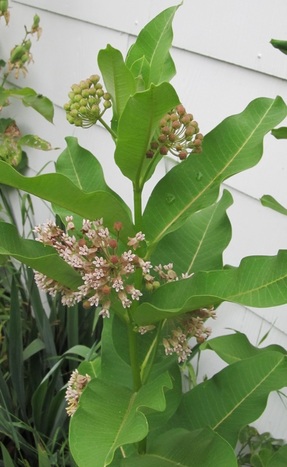 5. Milkweed
Disclaimer: Please learn to carefully identify any plant before using or eating it in any way. This post is meant to provide information about possible uses for what may or may not be considered a weed. This post is not meant to be used for identification purposes. Thank you for visiting! Sincerely,
I have been collecting pictures of all the different flowers that bloom every year from spring to fall in our yard. In anticipation of enjoying them again this year I put a few of my favorites together in a slide show and thought I would share them :-) Hope you enjoy them as much as I do! Thank you for visiting! Check out the other flowers and plants we grow in our yard on our What We Grow page and/or visit our Flower Gardening Board on Pinterest! Sincerely,
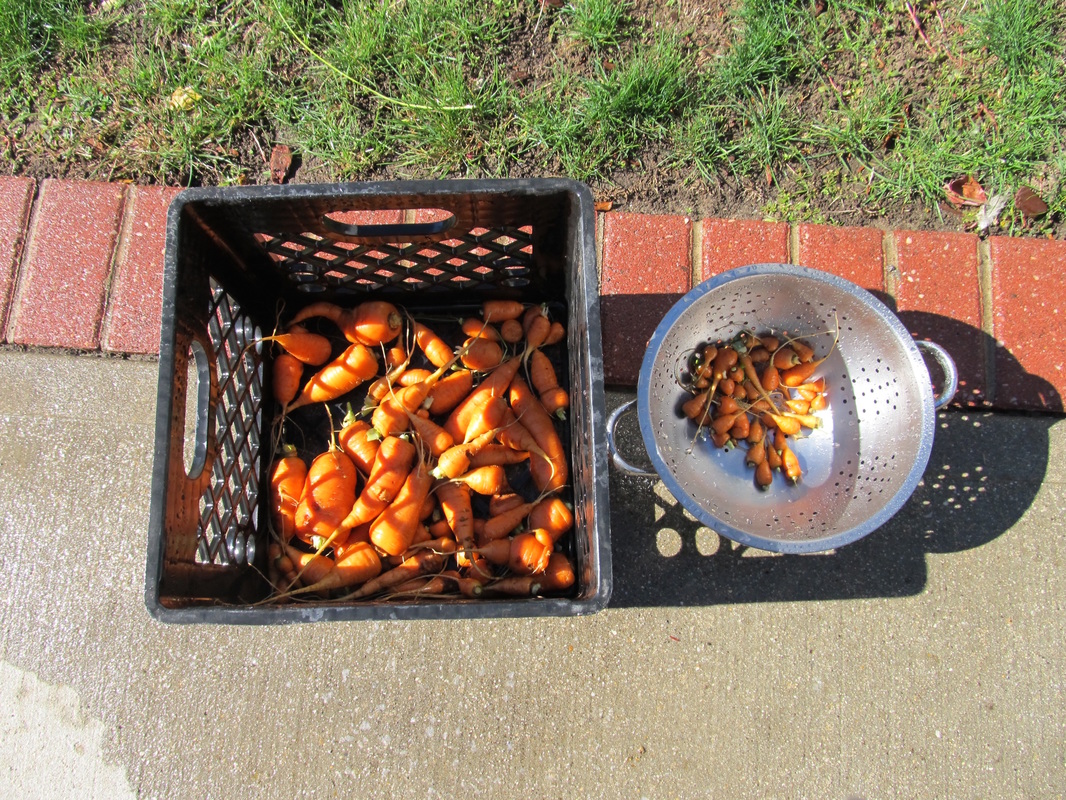
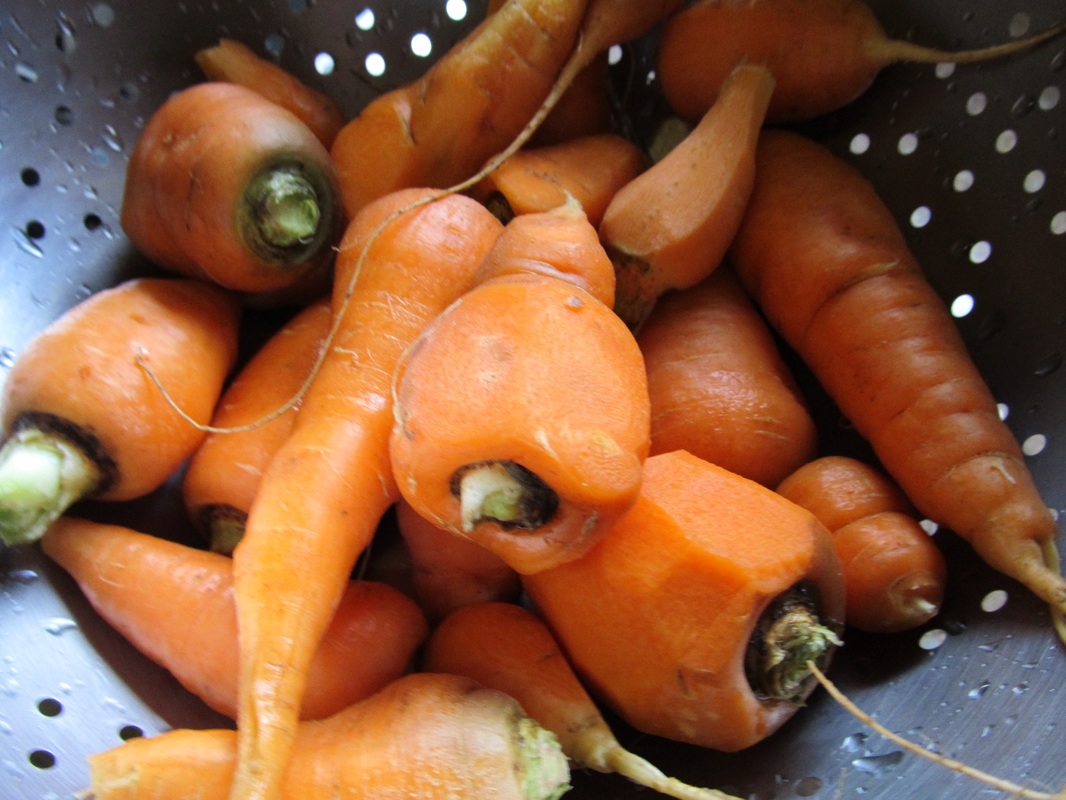
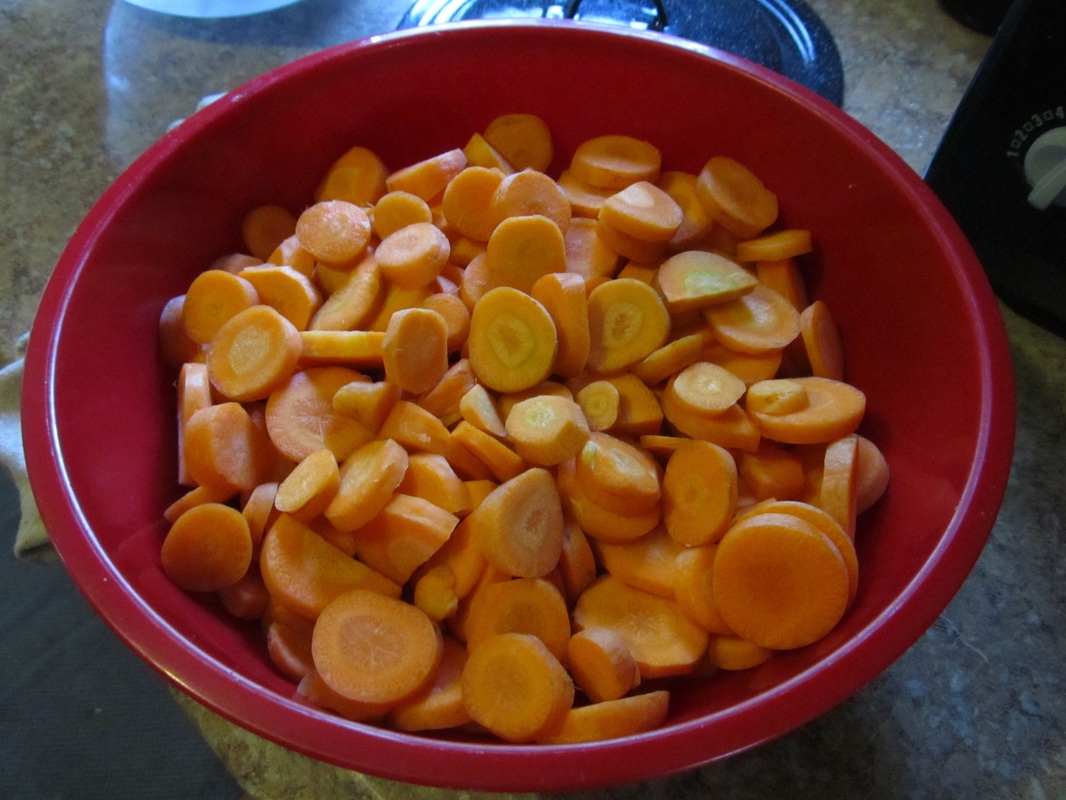
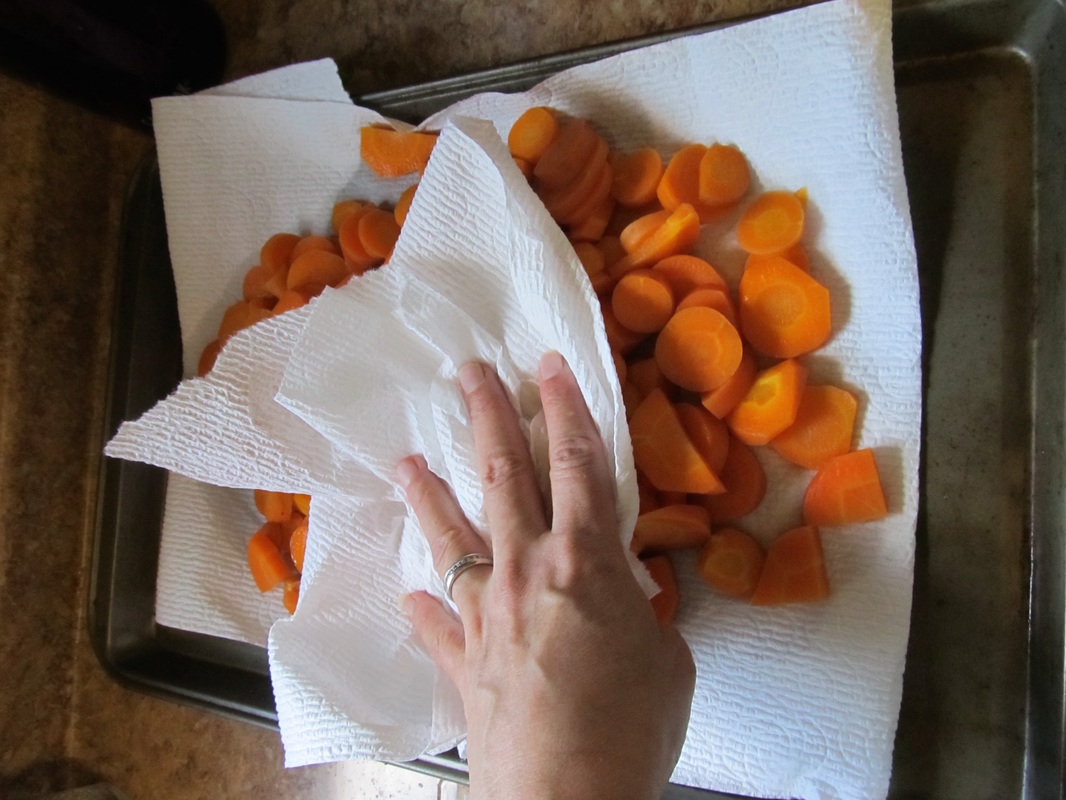
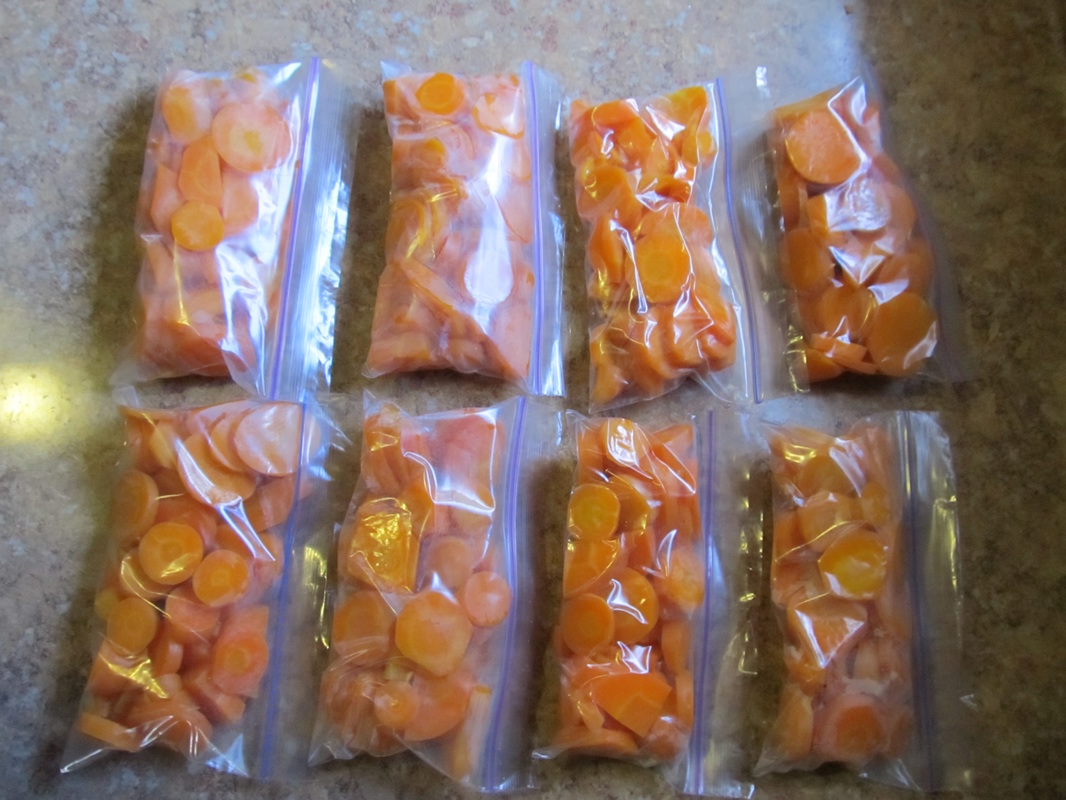
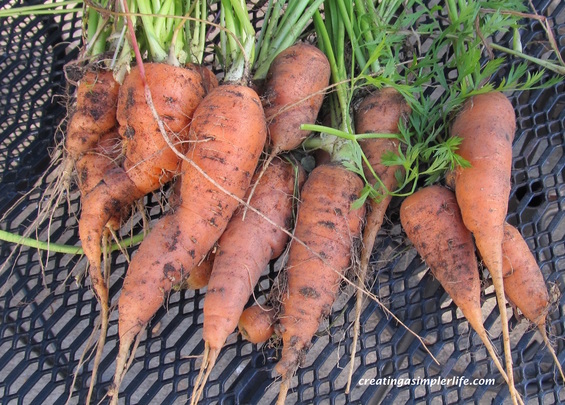 We started pulling our carrots this past weekend and I have to say that it is a really great feeling to know that you can grow your own food. Carrots are probably my second favorite vegetable to grow because they are so easy. Other than preparing the soil by making sure it is loose to about a foot or more down, we literally just plant seeds and forget about them until the fall. How simple is that? This past weekend we pulled about 3.5 pounds of carrots out. After washing and chopping them up we were left with about 3 pounds to blanch and store in the freezer. Next weekend we will pull more, and probably the weekend after that as well. Boy do I love having my own garden, even if it is small :-) Here's our very simple method to freezing them for the winter:
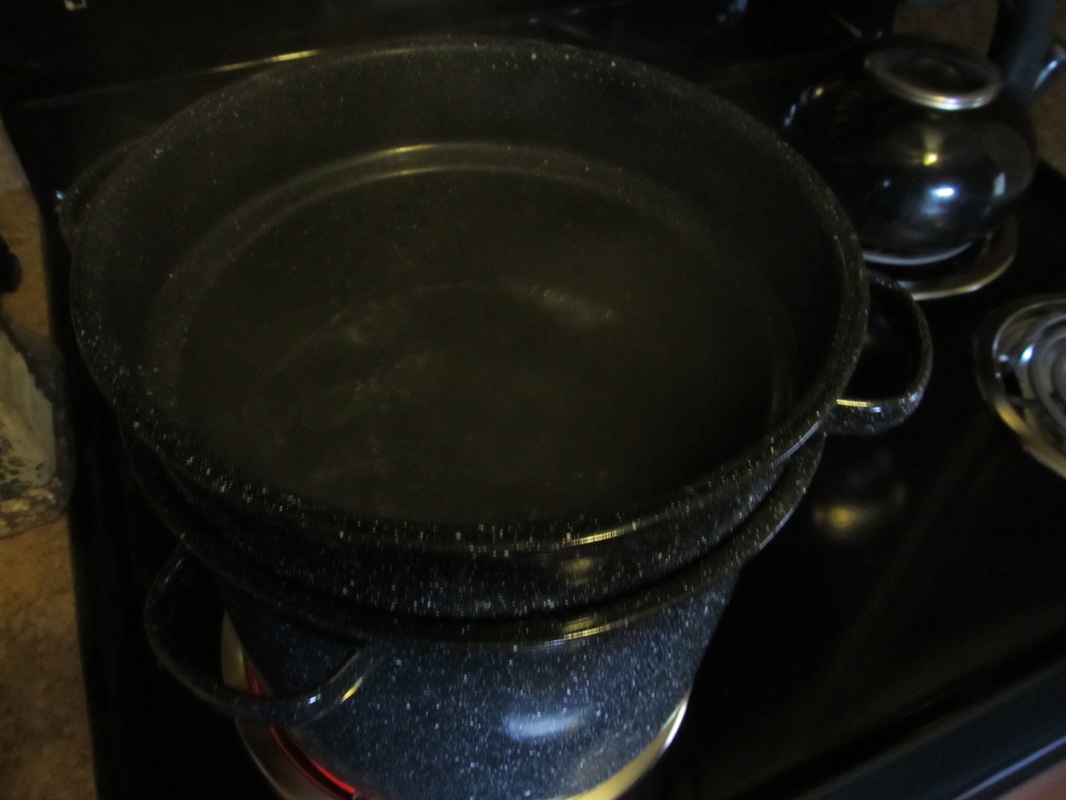
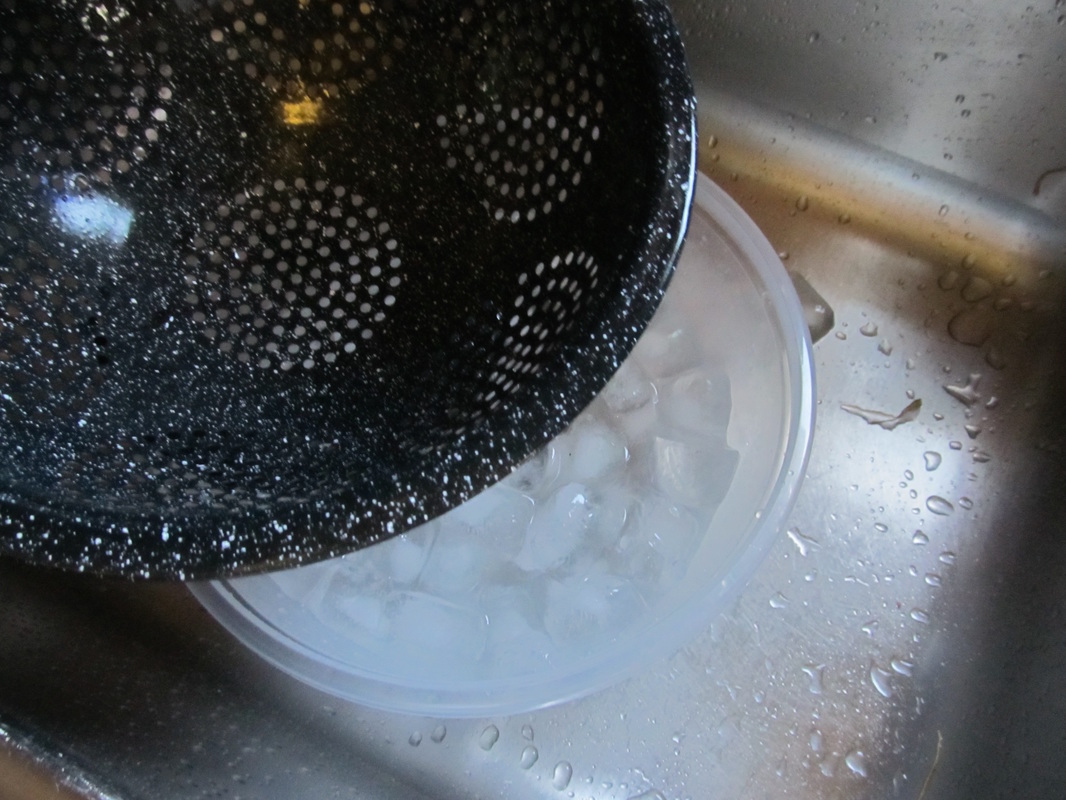
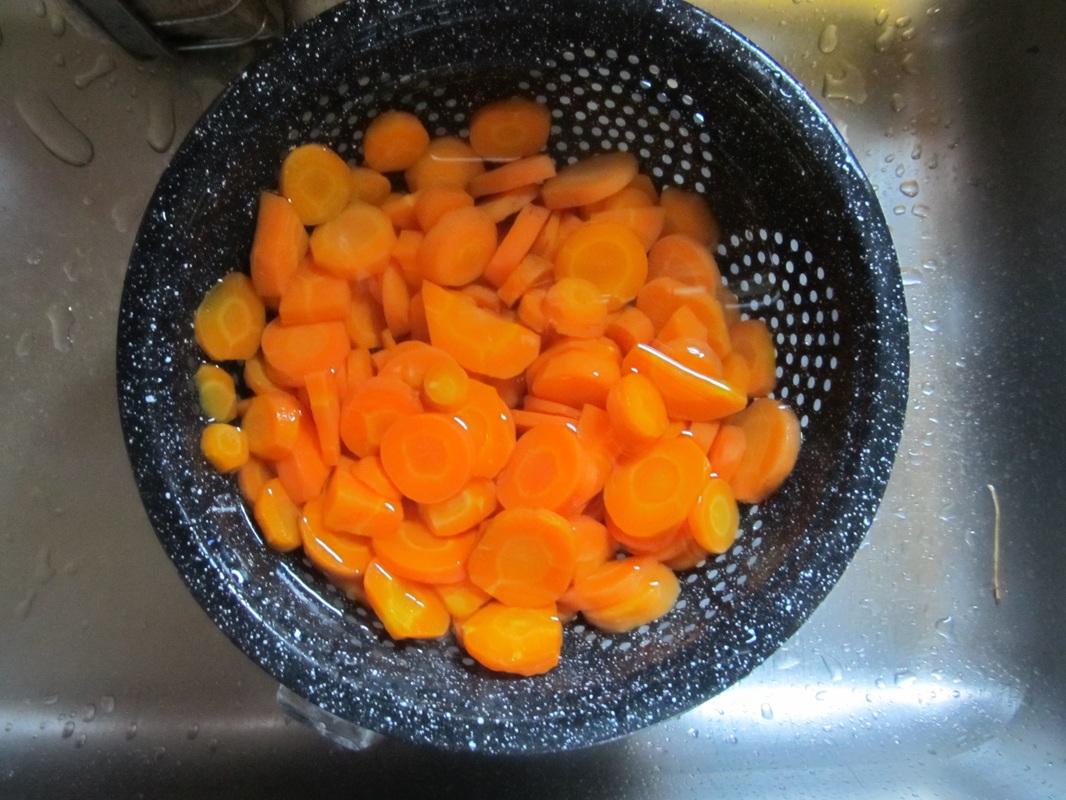
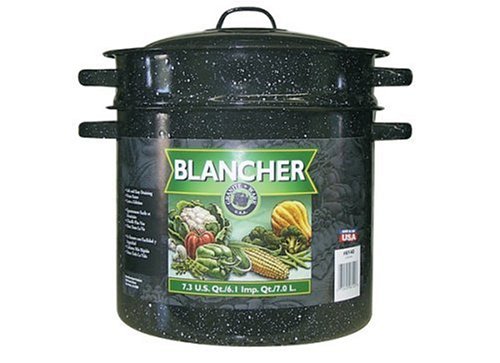
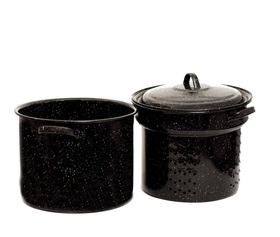
Freezing carrots is that simple! FYI - To make blanching simpler, we use the Granite Ware Blancher (affiliate link) below. It comes with the pot, the lid, and the basket which makes it so simple to quickly remove vegetables! Of course this is not necessary, however it does make it so much easier!
Thank you for stopping by. Please like and follow us on Facebook! Check out more posts about Fresh Food Preservation!
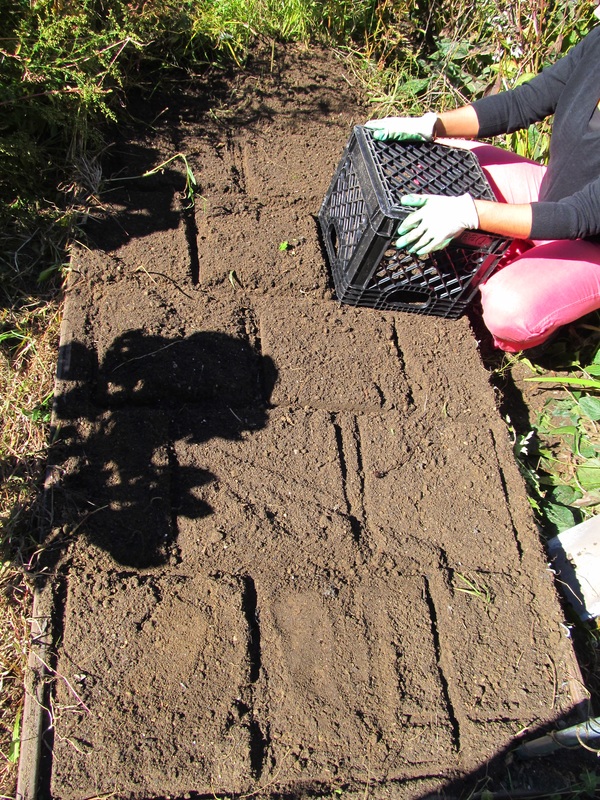
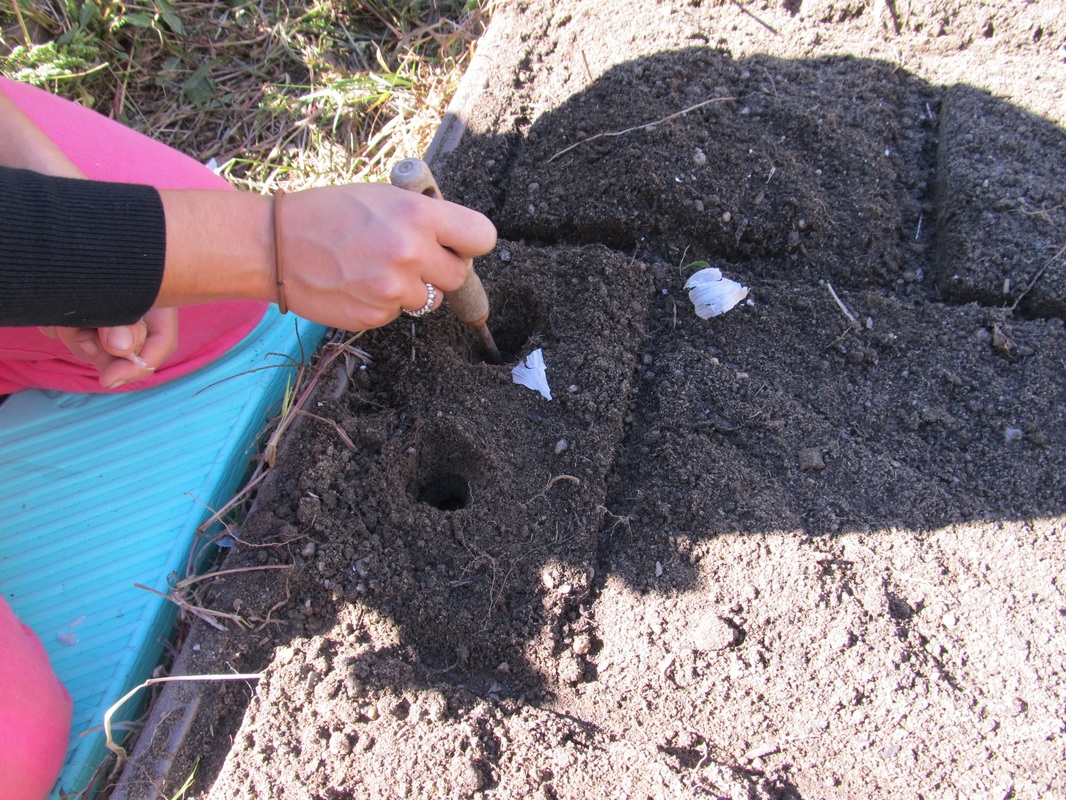
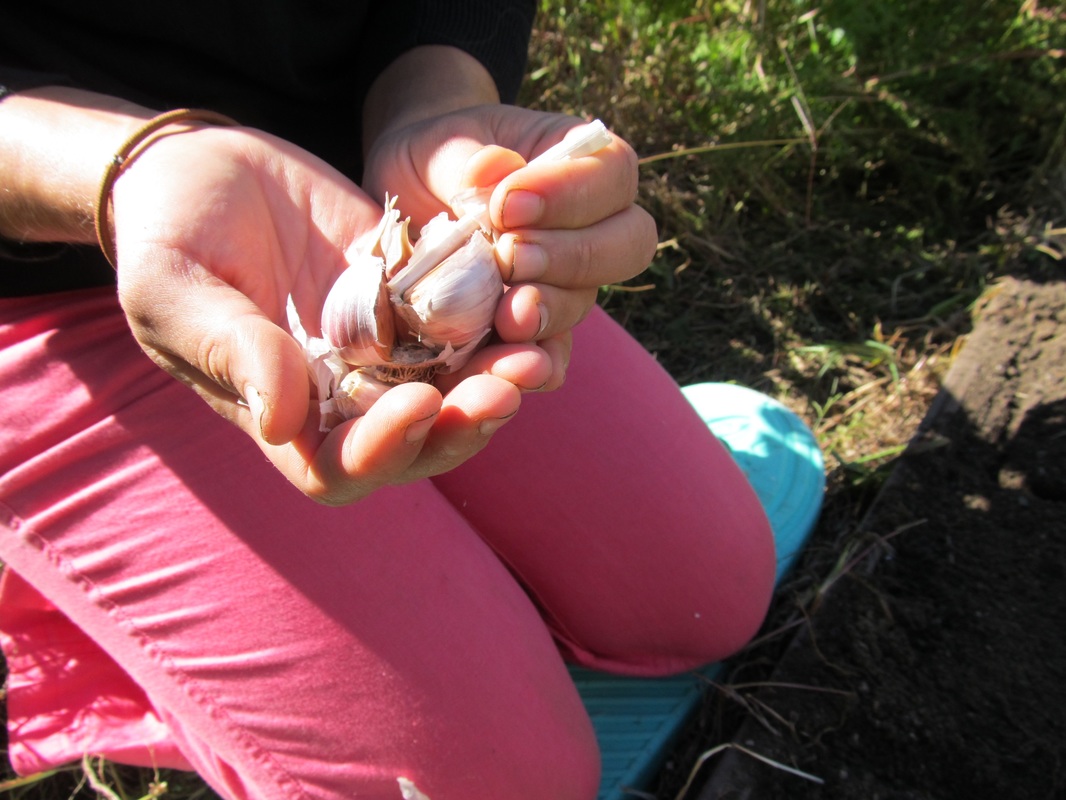
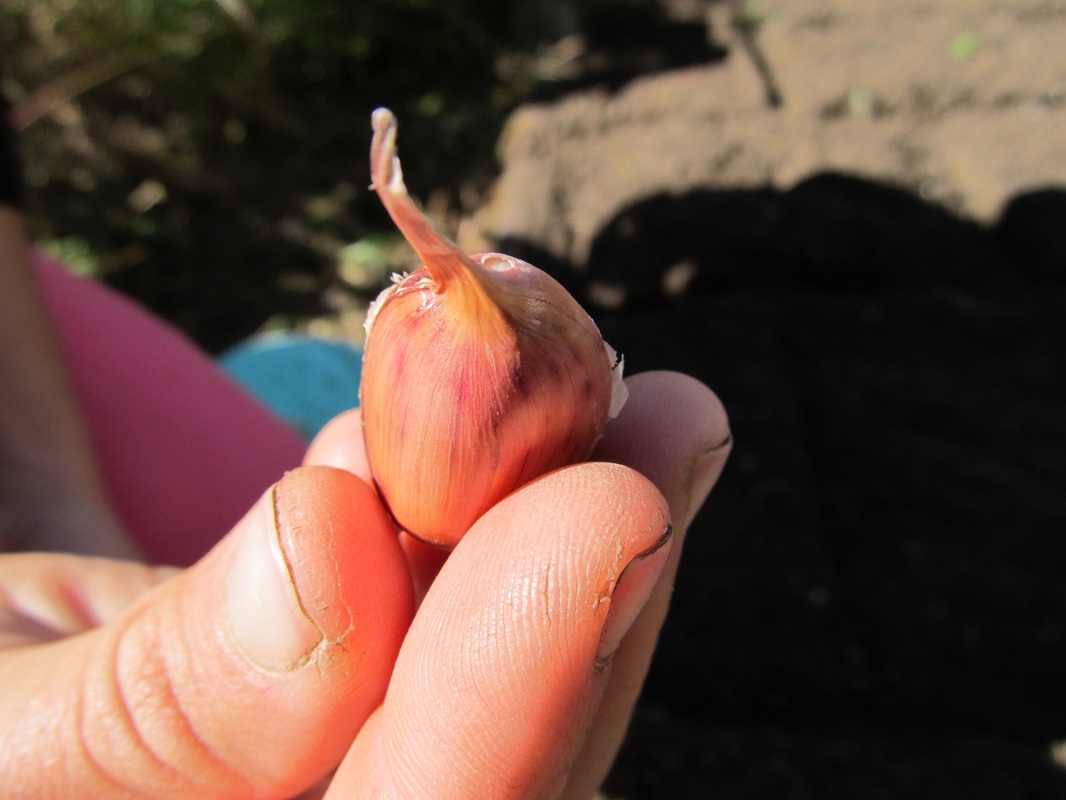
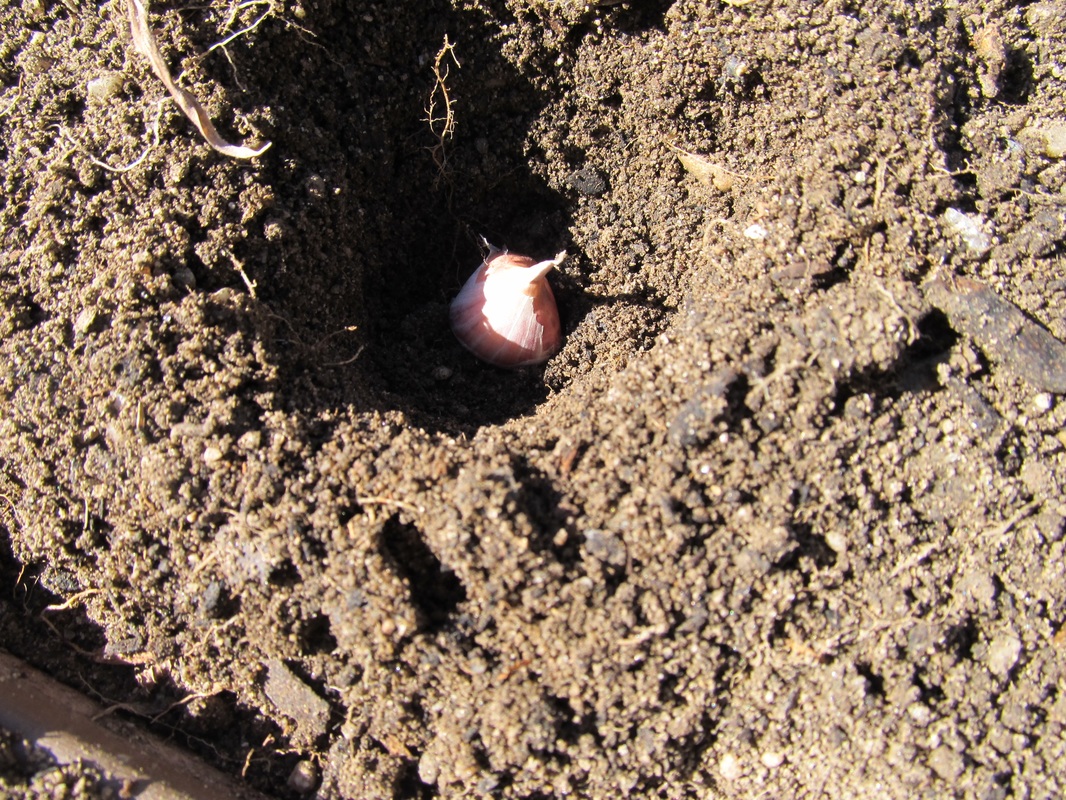
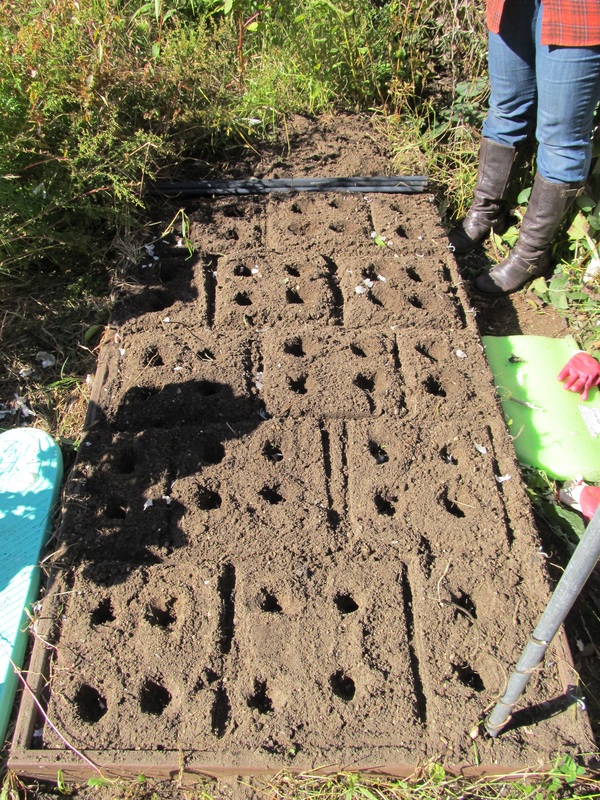
 Fall is the time to plant your garlic. We just ran to the local organic store and purchased hardneck Rocambole and Purple Striped garlic grown upstate NY for $11.99 lb. Living in New York with fairly harsh winters, the hardneck is the easiest and hardiest to grow. However, keep in mind that the hardnecks have a stiff stem that cannot be braided. Yes, it is expensive garlic, but it is worth it because each single clove will yield a full bulb! Here's how my daughter and I planted our garlic:
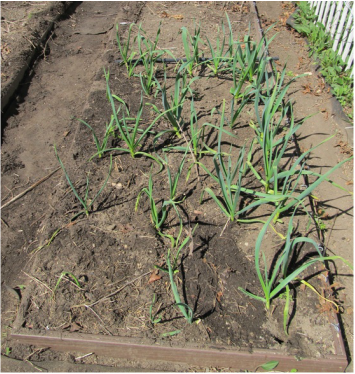
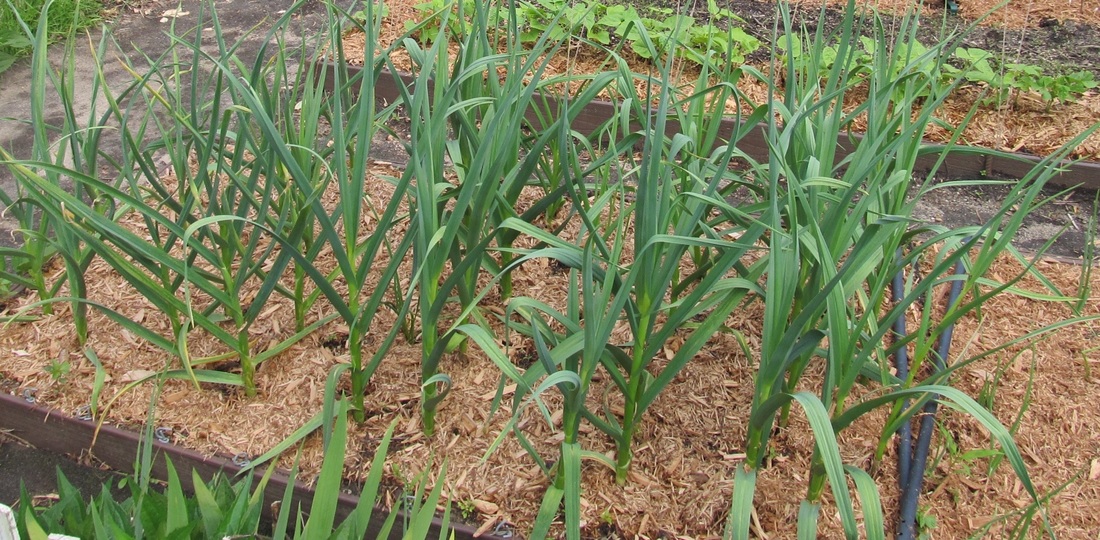
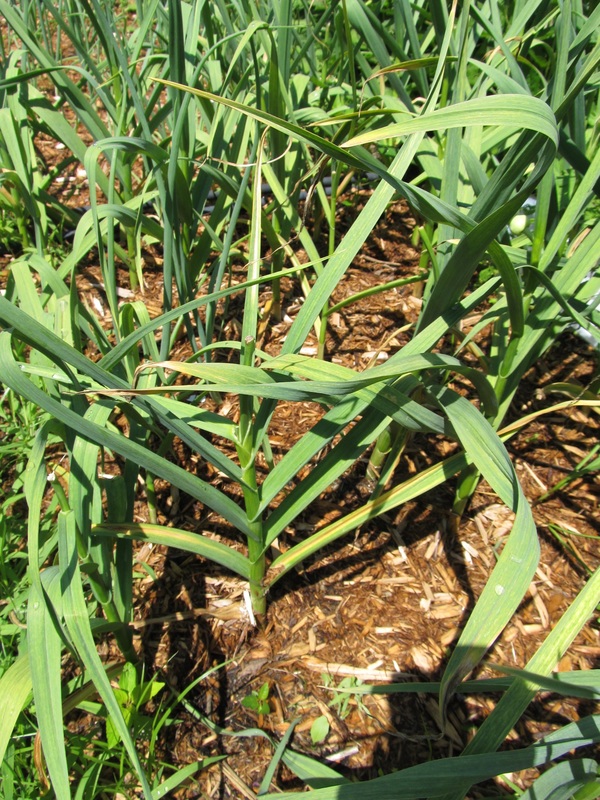
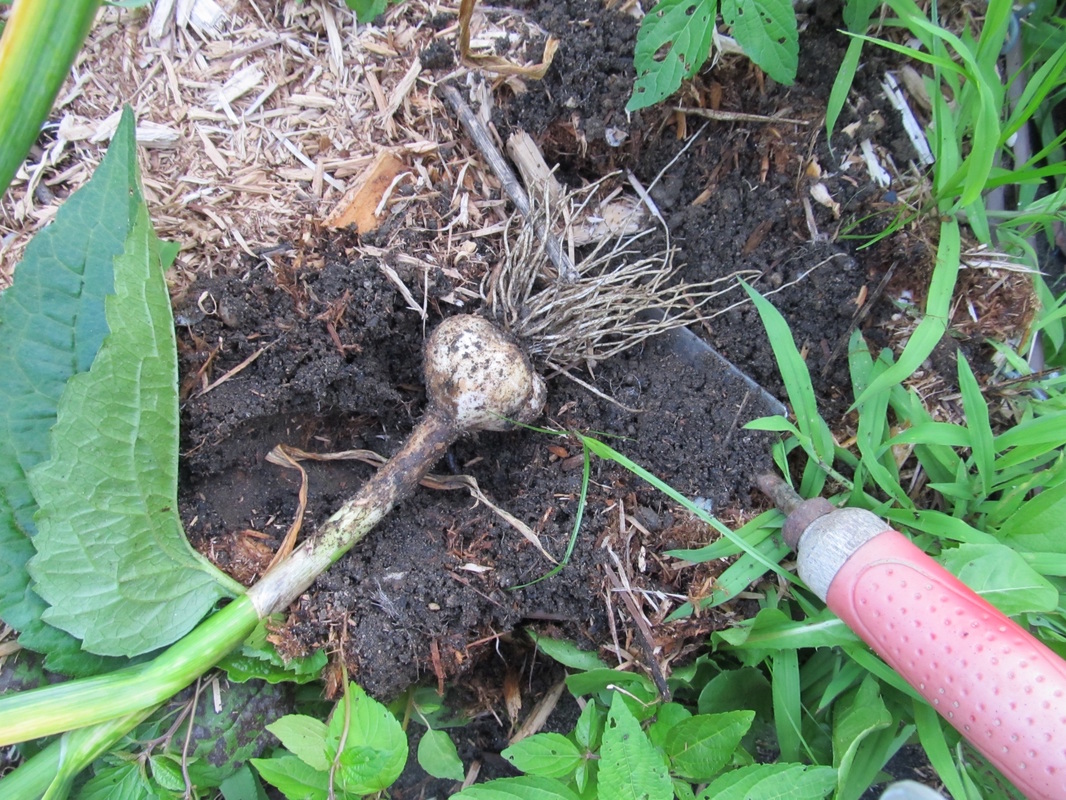
Be sure to keep the area weeded. In the spring you should see shoots coming up. There is controversy over whether or not to cut off the flowers and curly greens (called scapes), however I like to keep it simple and leave them alone the way nature intended. You can however cut them off if you plan on using them for cooking or eating. Harvest the garlic in the late spring or early summer (time frame can vary depending upon the climate) when the lower leaves have all turned brown. The top leaves should still be a little yellow-green. Be very careful when removing the bulbs so as not to bruise them in any way. Dry loose soil is best for removal. Just dig around them a little bit and scoop them out from underneath. After harvesting do not wash them. Just gently brush off the big chunks of dirt and put in a dry warm location until the outer skin becomes papery. When they are done drying out, which takes about two weeks, cut off the tops and store them anywhere that is dry and at a comfortable temperature (between 55°F and 65°F). Since this garlic cannot be braided, it is usually stored in a basket or paper bag. However, I actually read a very interesting post about storing onions using old pantyhose (with a knot in between each one). I think it may work for garlic as well so I want to try that this year. I plan to just hang it in my cellar! Check out how to store onions in pantyhose from "Mavis Butterfield at 100 Dollars a Month." For more information on growing and harvesting garlic check out Cornell Gardening at http://www.gardening.cornell.edu/homegardening/scene568b.html Thank you for visiting! Stay tuned in the spring for Harvesting and Storing Garlic! Please like and follow us!
|

Hi there! I'm Kathie, the author behind Creating A Simpler Life blog. I'm excited to share our longterm projects (and planning) toward building our future retirement homestead in the Adirondack Mountains of New York. In the meantime I will be sharing all the other little things we do that are part of creating our simpler life!
Categories
All
Archives
July 2020
|


 RSS Feed