Blog
A little bit of anything and everything that's part of
creating, enjoying, and living a simpler life!
creating, enjoying, and living a simpler life!

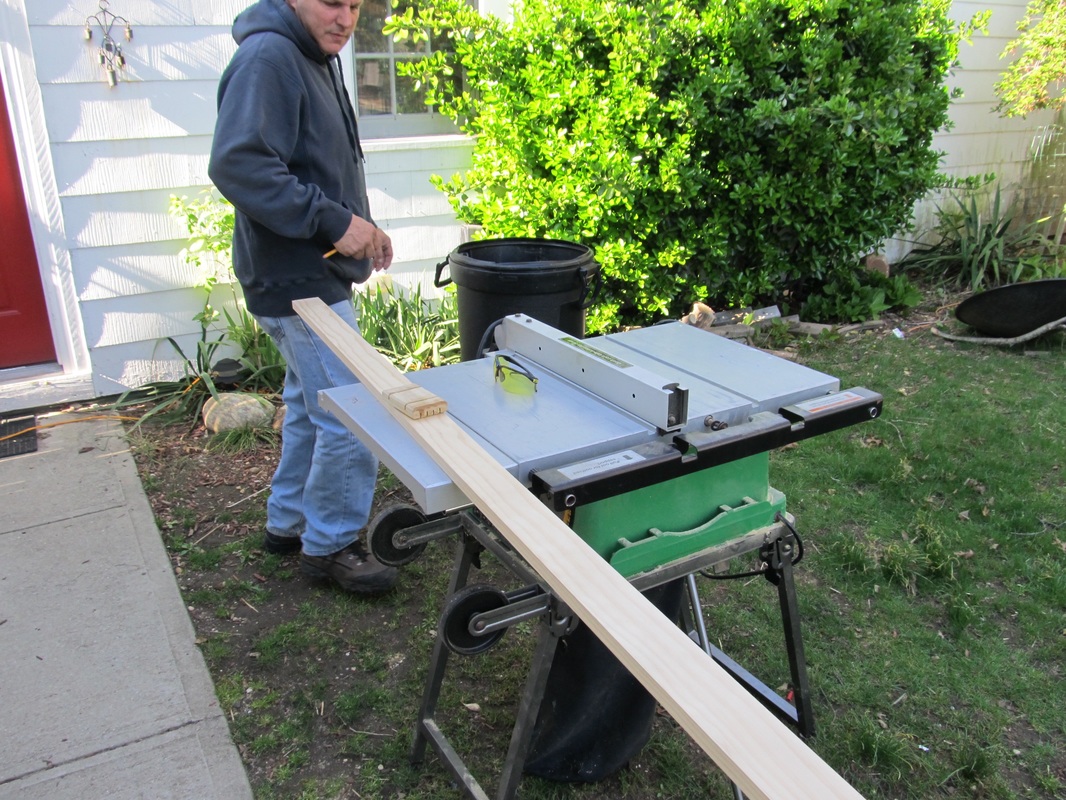
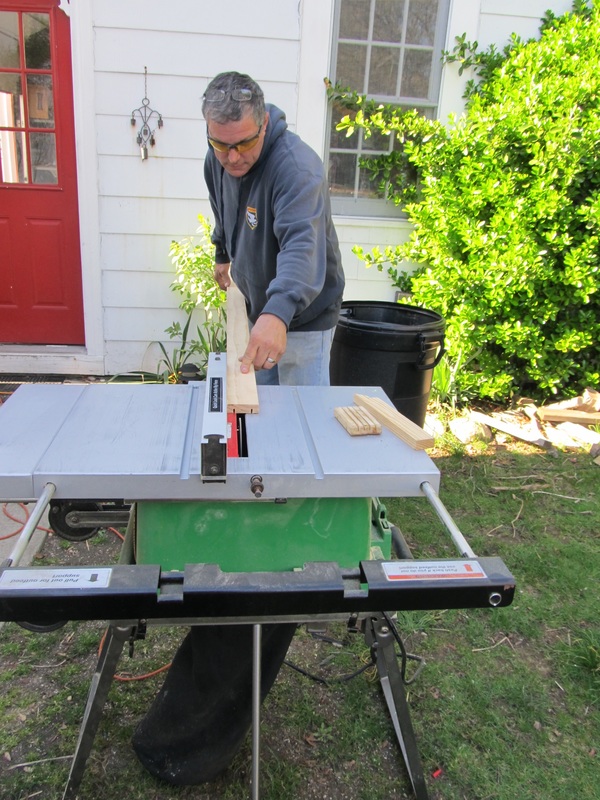
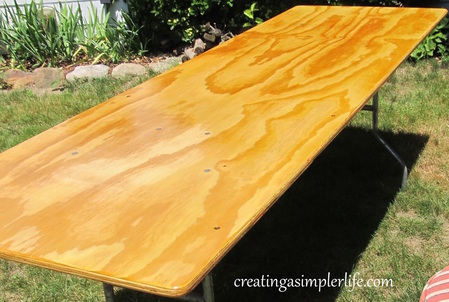 We have had an old wood banquet table for about 10 years. We use it outside every summer for all our parties and entertaining and believe me it has been through just about everything. We acquired it well-used (from someones garbage I believe) and just cleaned it up and use it year after year. At one point we even purchased laminate to cover the top with and that helped it to last a few more years. Unfortunately this year when we took it out we realized it was getting pretty ratty looking. The laminate had come loose from the wood and bubbled in a lot of places and the metal edges were actually pretty sharp. My nephew even ripped his favorite dragon ball z shirt on the corner at our annual Father's day barbeque and we felt really bad about that (We sewed the hole in the shirt and bought him a new one too!). We kind of knew the table would have to go eventually so we were prepared to one day have to throw it out. But I really didn't want to, and neither did my husband. A new banquet table would cost us around $90 and yes, that would be much easier, but in my opinion, and his, not the best option. We really try hard not to throw out a lot of garbage and we are both avid do-it-ourselfers (Is that even a word?). If we can find a better use for something or redo it then we keep it and do exactly that. So, naturally we decided to keep that old 8' banquet table and redo it. We kept the good parts and replaced the moldy, staple riddled, ruined laminate covered wooden top. And even better, we didn't even throw out that old top....we ripped off the bubbled laminate and repurposed it to be used on the saw horses as a work table! Now we use it for painting and other projects with no worries about ruining it. Bonus for us and less garbage for the dump! Total cost of redoing the table: $40 Total cost of not having to throw anything out: priceless! Watch the video below to see how we did it! And yes, it was a joint effort between my husband and myself! Pretty much everything we do is! See how easy it was? So next time, before you just throw something out, think about all the ways you can use it or redo it first and just maybe we can all work to save the world with one less piece of garbage at a time.... Check out more ideas on our Pinterest Repurposing and Recycling Boards! Thanks for visiting! Like what you see? Then please consider following us on social media for more interesting ideas that help in creating and living a simpler life for you and your loved ones! Sincerely,
0 Comments
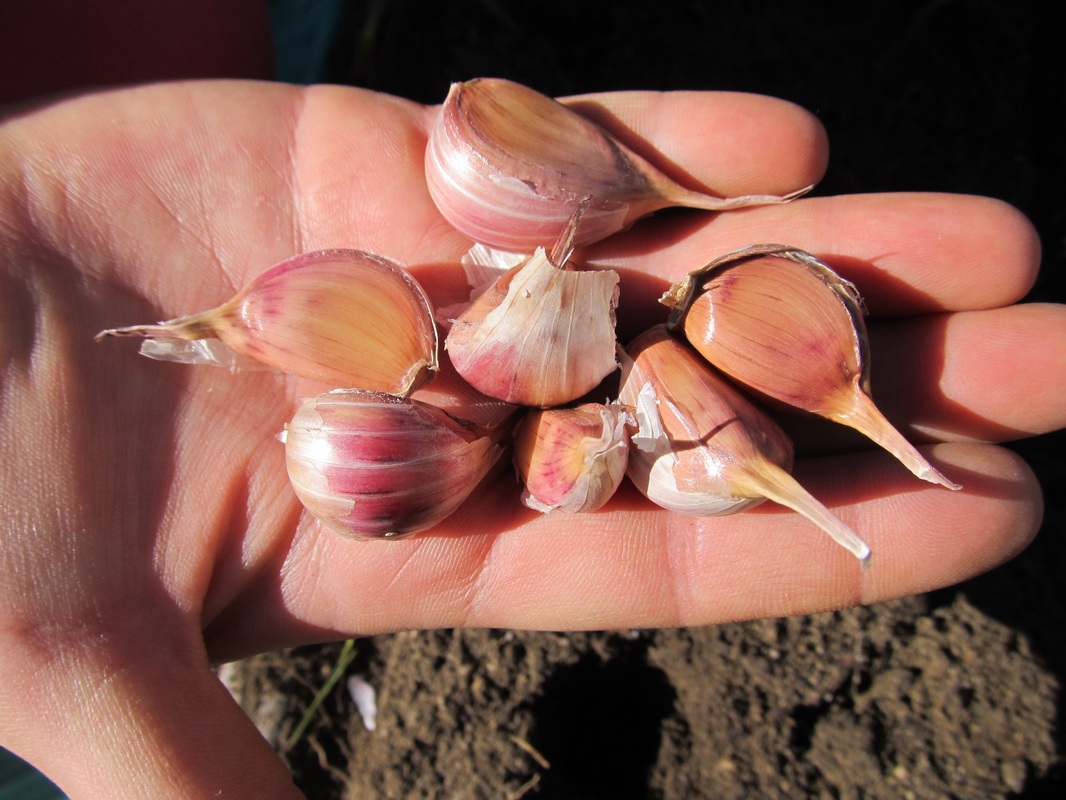
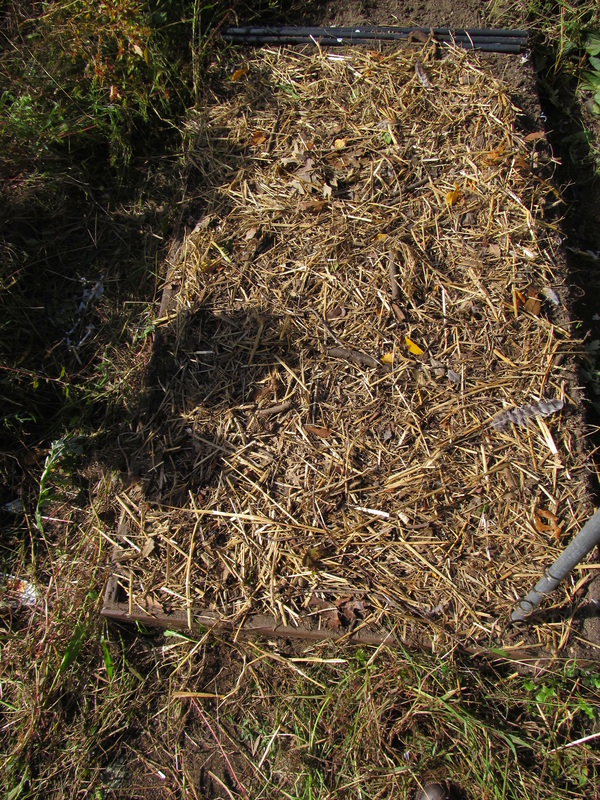
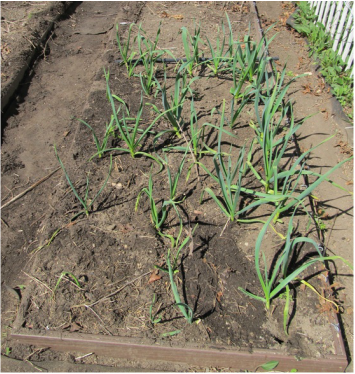
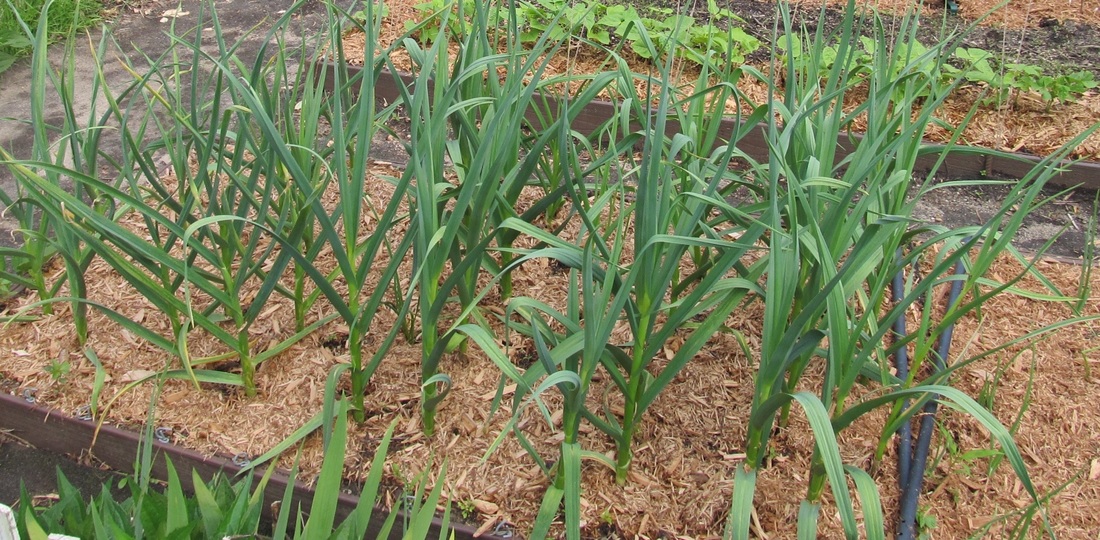
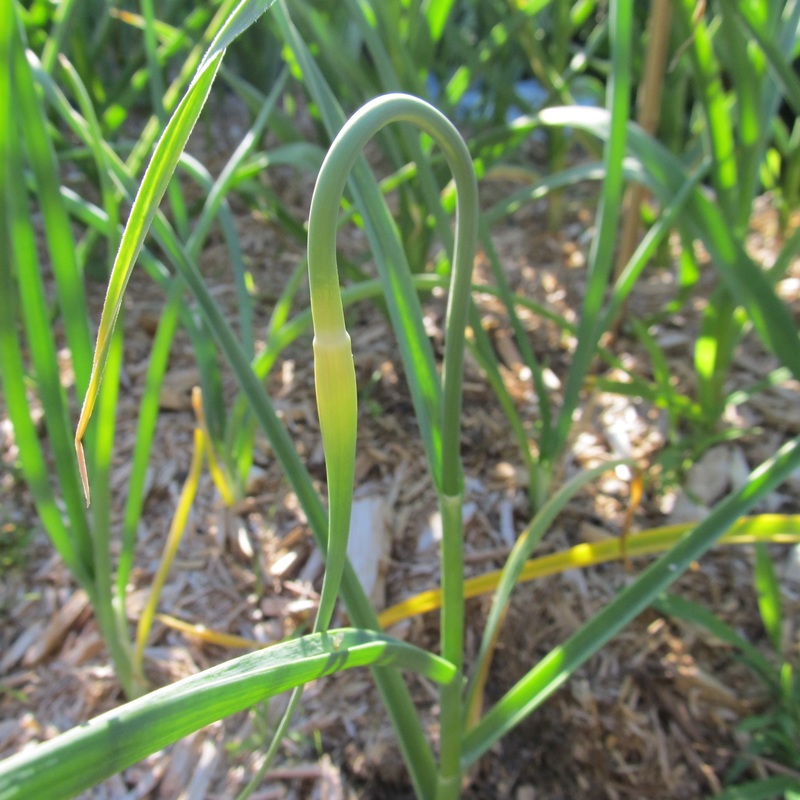
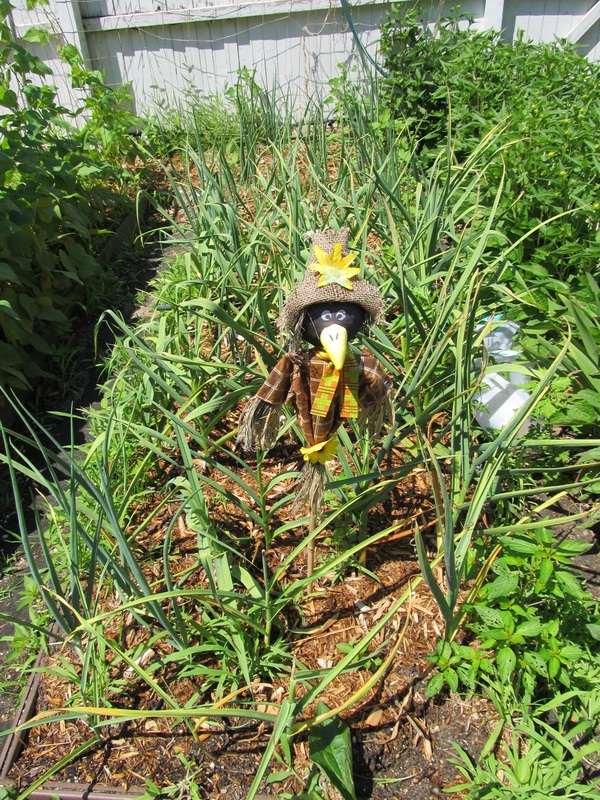
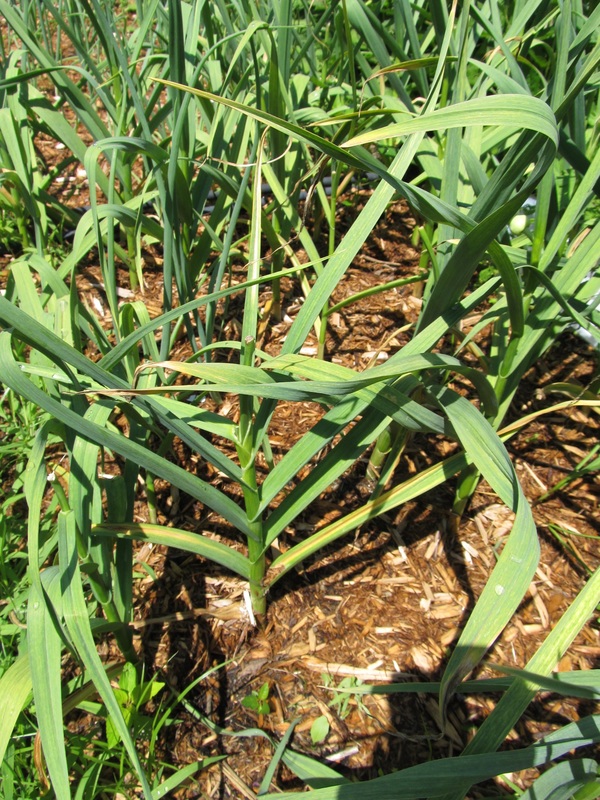
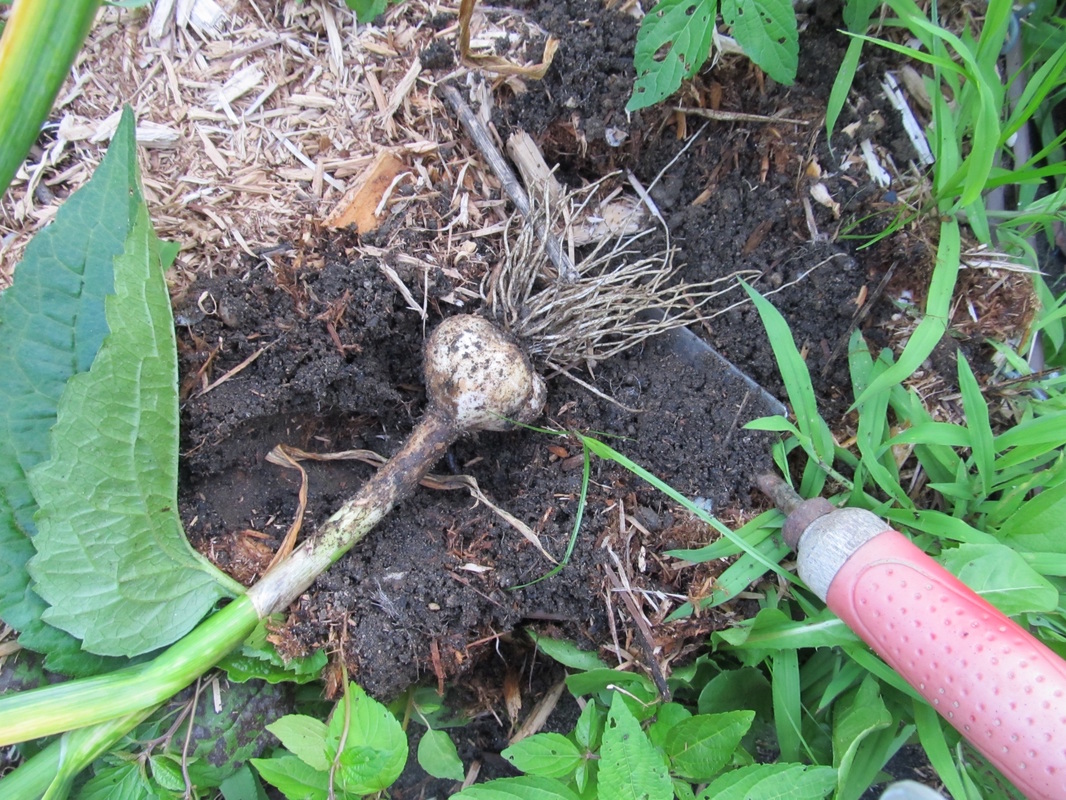
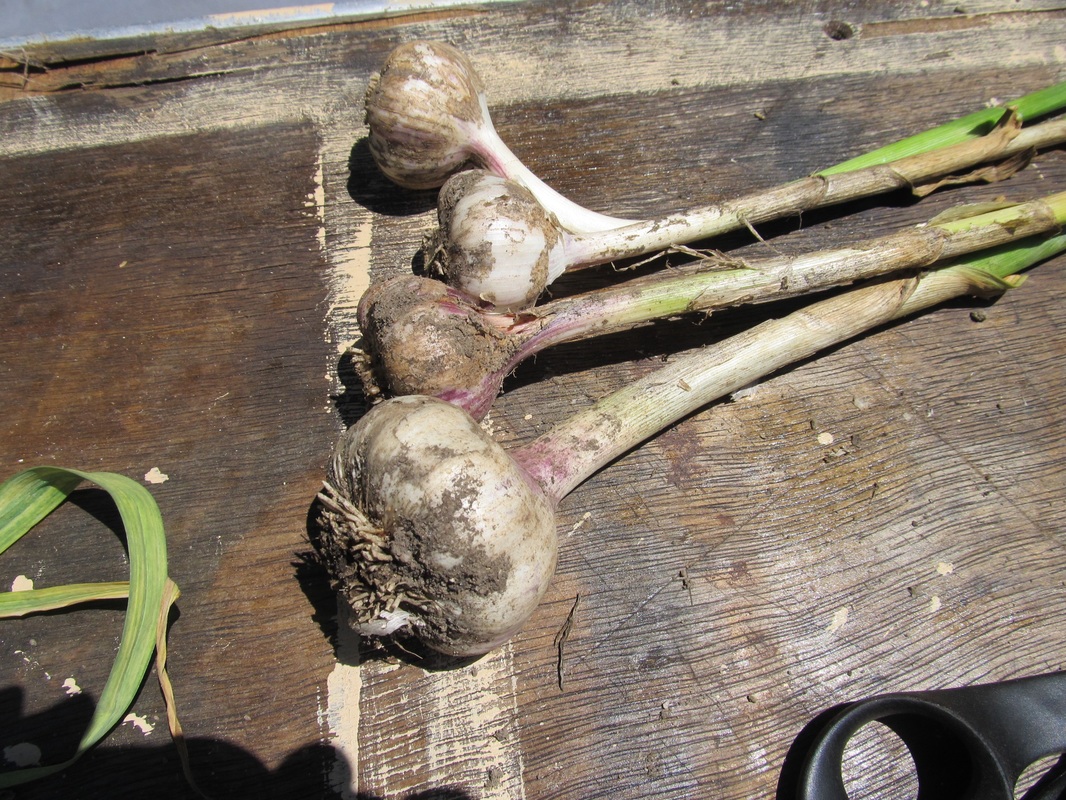
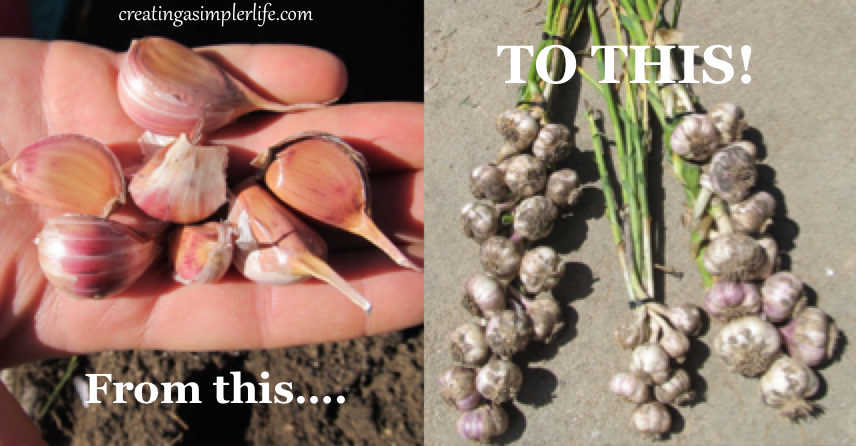 It's been about a month since we harvested the garlic scapes, and ate them, and that means it's now time to harvest the actual garlic and store it until we are ready to use it! And of course, after planting, maintaining, and harvesting garlic from start to finish, for the first time I might add, I can only wonder why more people don't do it too! Here's how simple it was:
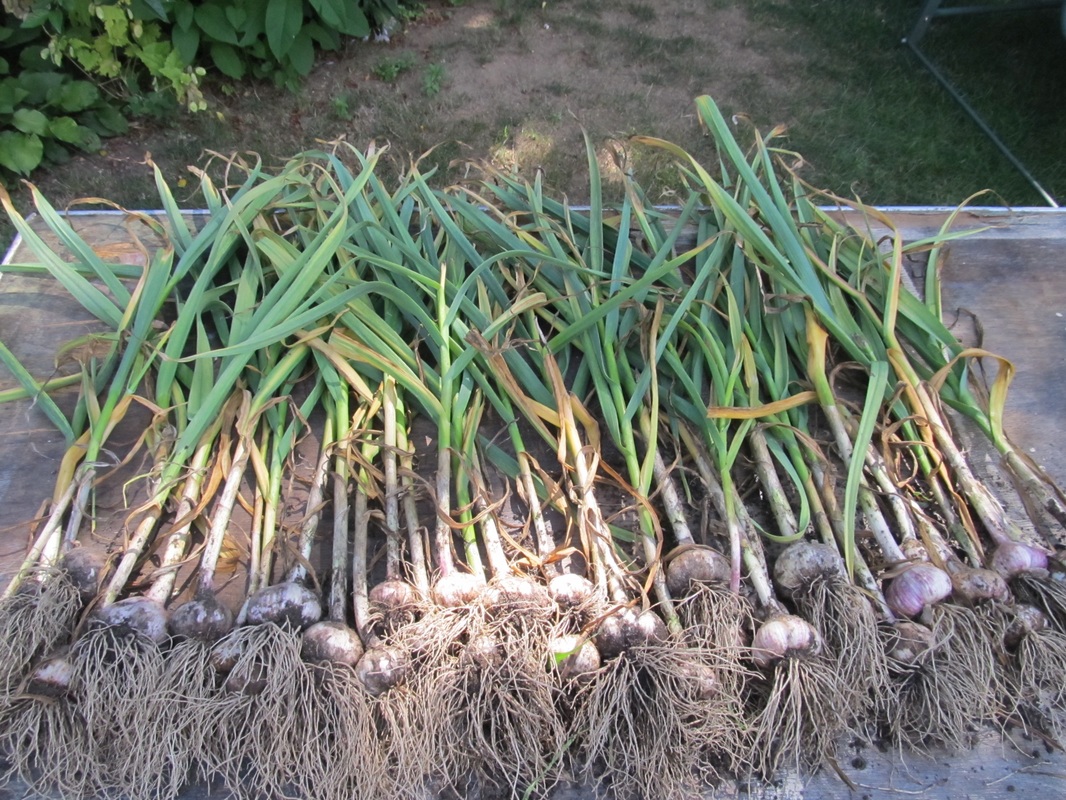
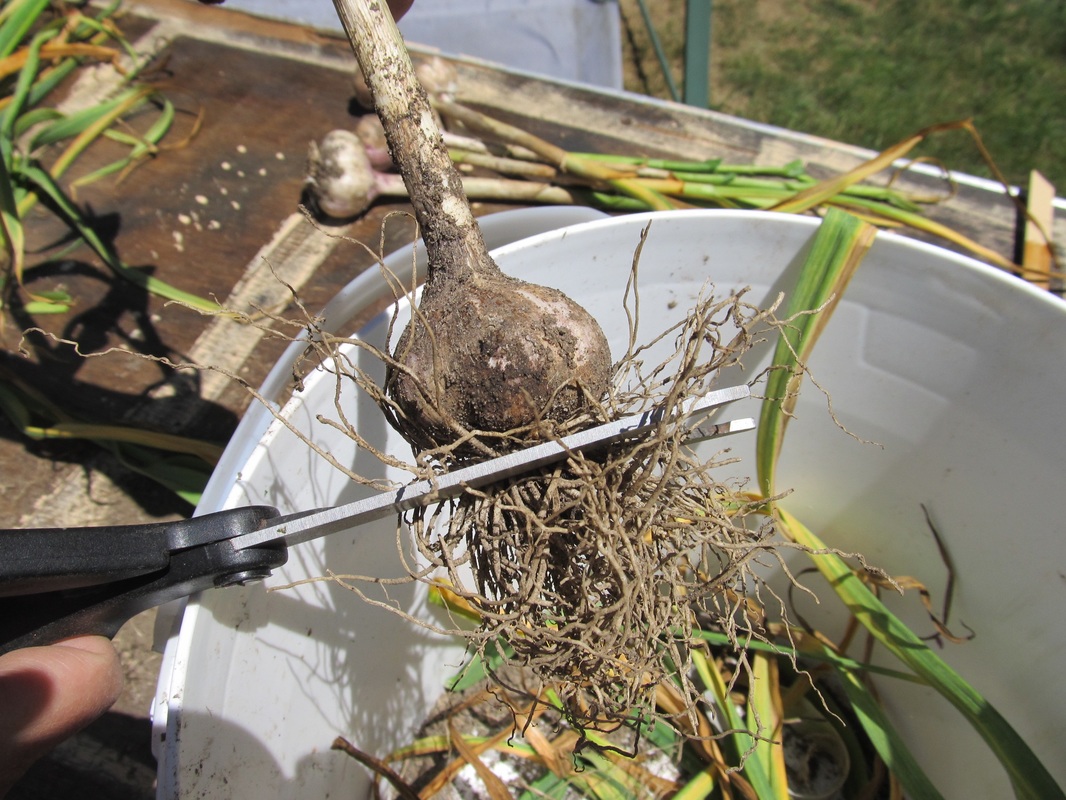
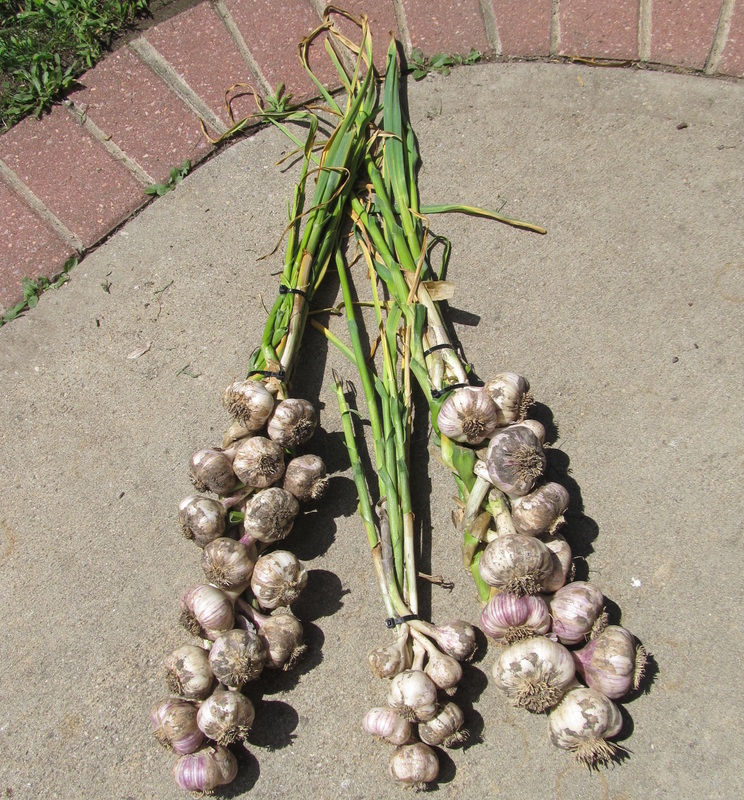
Just an end note: I had basically been told that braiding hardneck garlic was not possible and so I initially planned on using pantyhose to try and store it (this is what I stated in my post about planting the garlic in the fall), but I decided to try braiding it anyway. This was my first time braiding any garlic and I have to say I am very happy with the results! They are not so much braided but more like 'twisted' together so that they all stay in place when held together with a tie. However they look braided, and whatever and however I did it, well, it worked! Now I just need to hang them in a dry, cool location until needed! We are set for the winter :-) Here are our other posts about planting and harvesting these garlic bulbs we just harvested:
Thank you for visiting! If you like what you see please like and follow us! Sincerely,
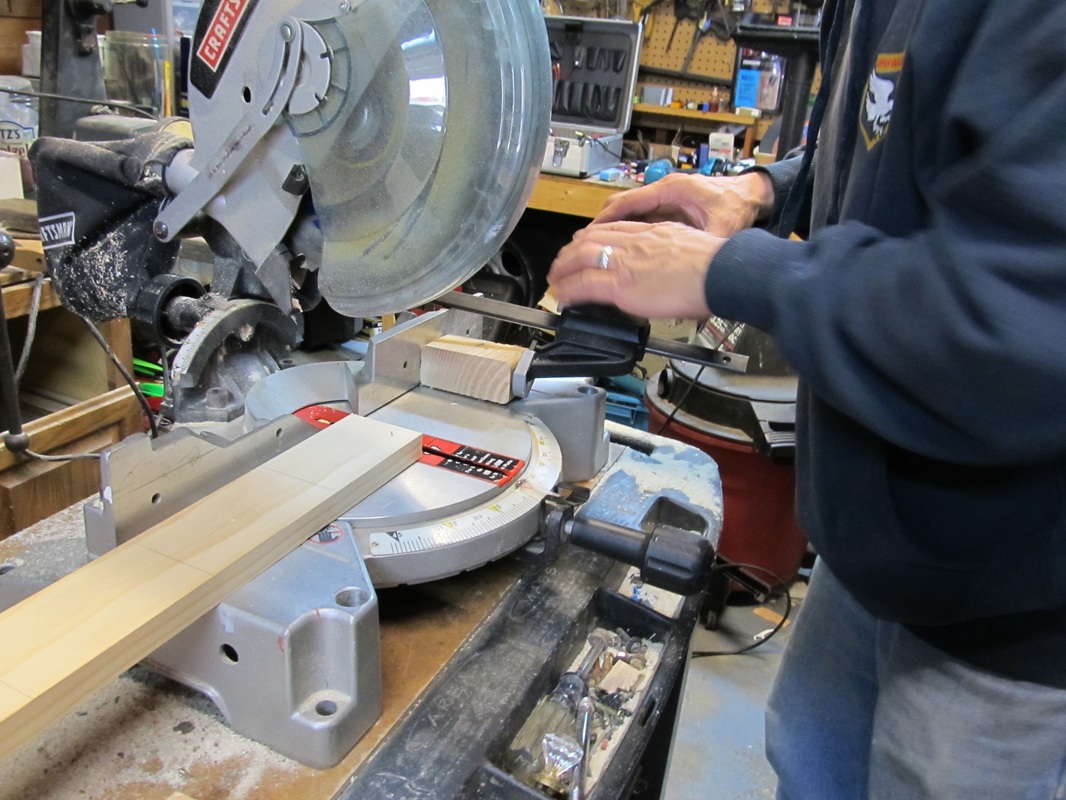
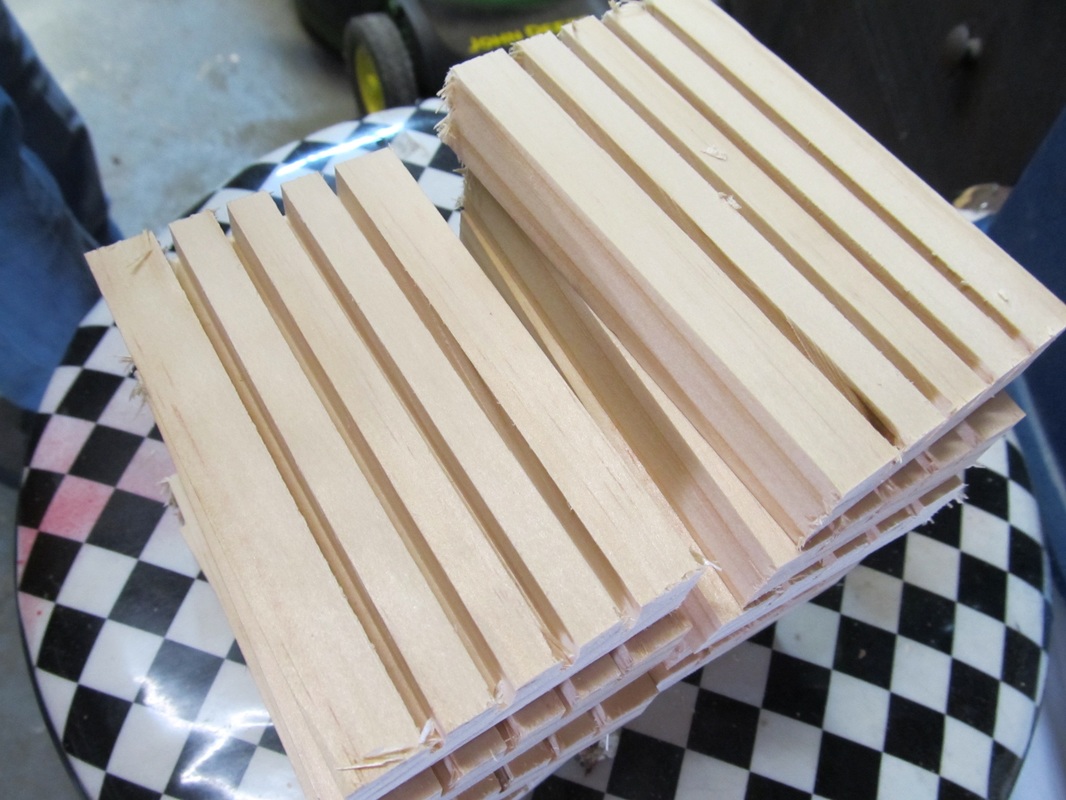
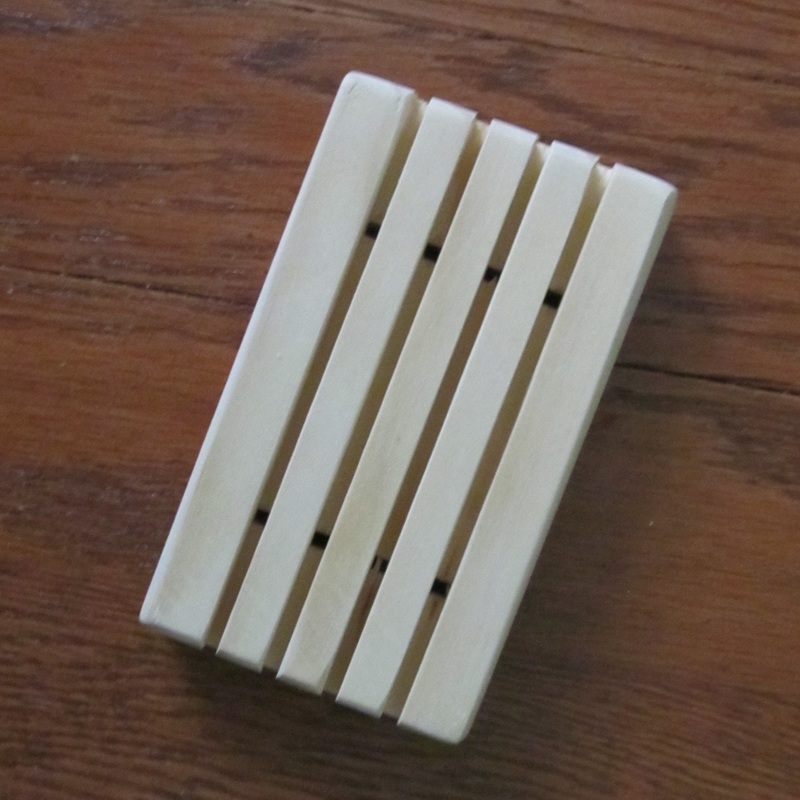
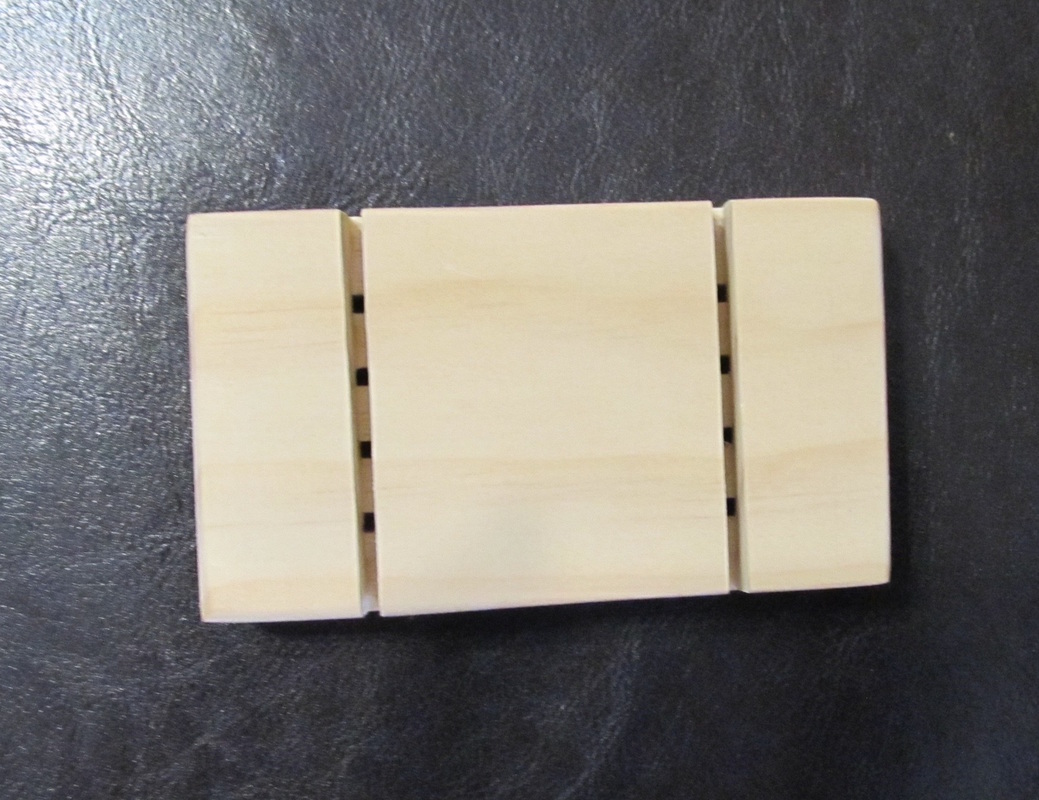
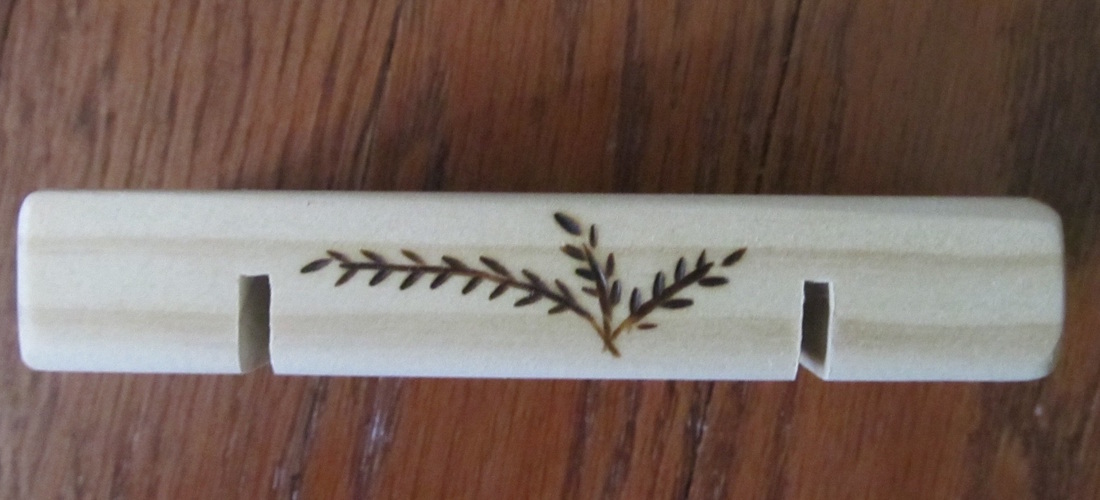
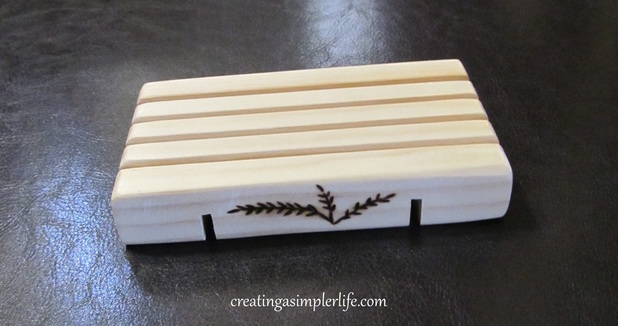 There is nothing better than a sustainable clear pine soap deck, well in my opinion anyway :-) But they are great and here's why:
Supplies Needed:
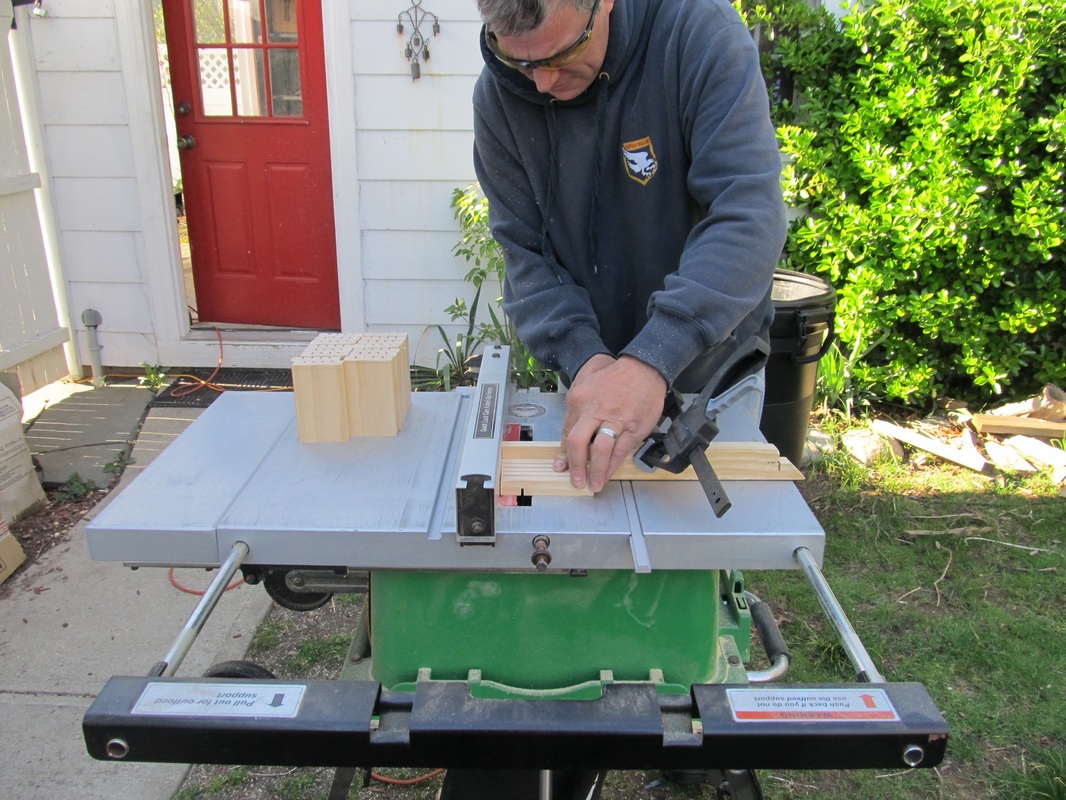
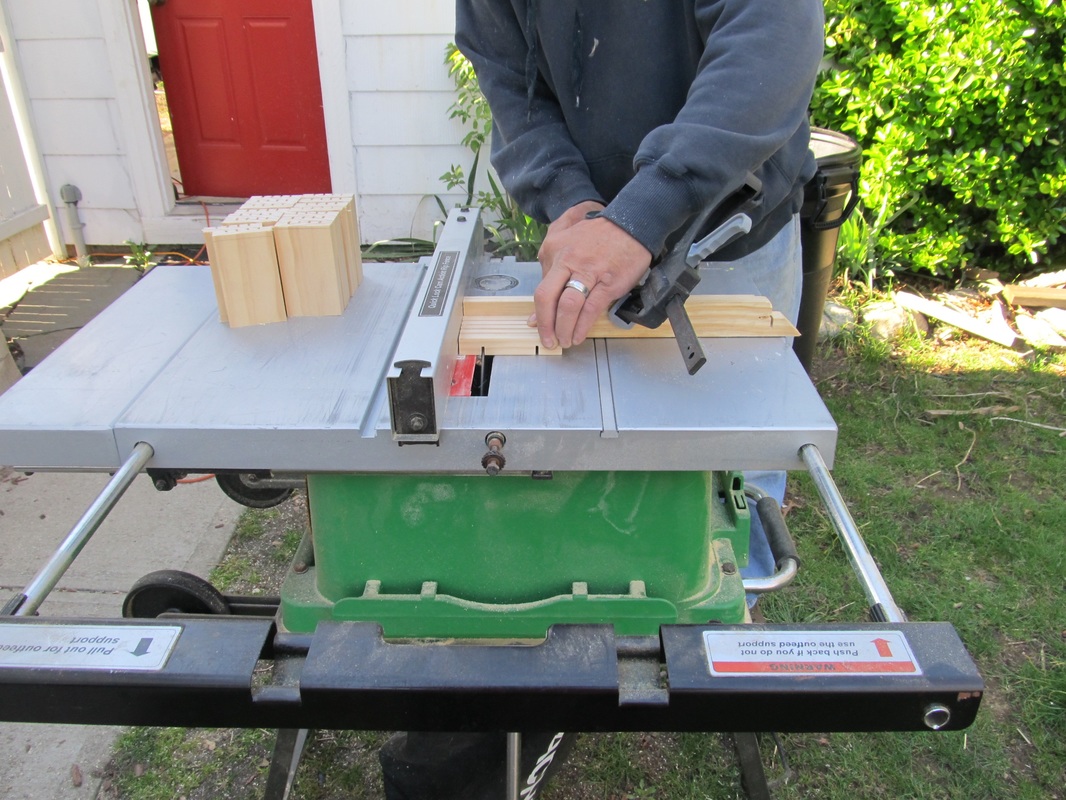
How We Make Them:
Watch this video by my husband of how we make our soap decks!
Thanks for visiting! Please consider liking and following us... we would really appreciate it :-) Sincerely,
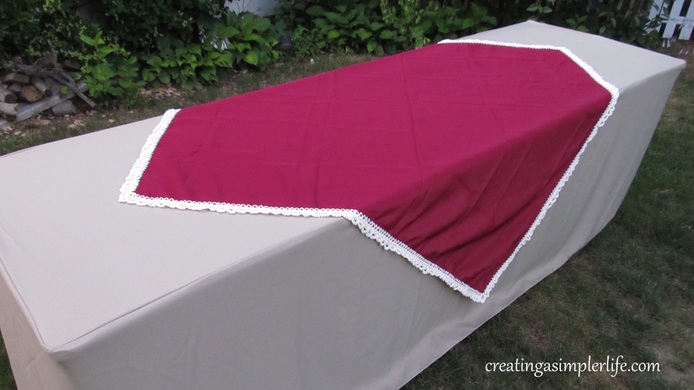
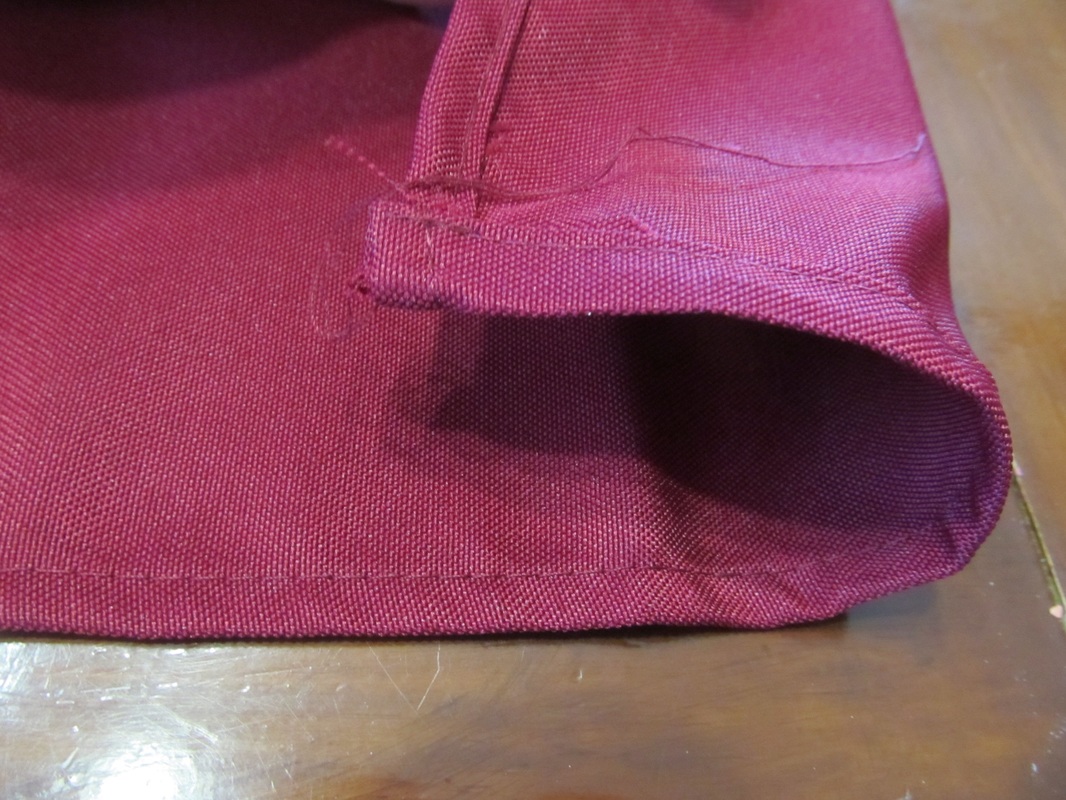
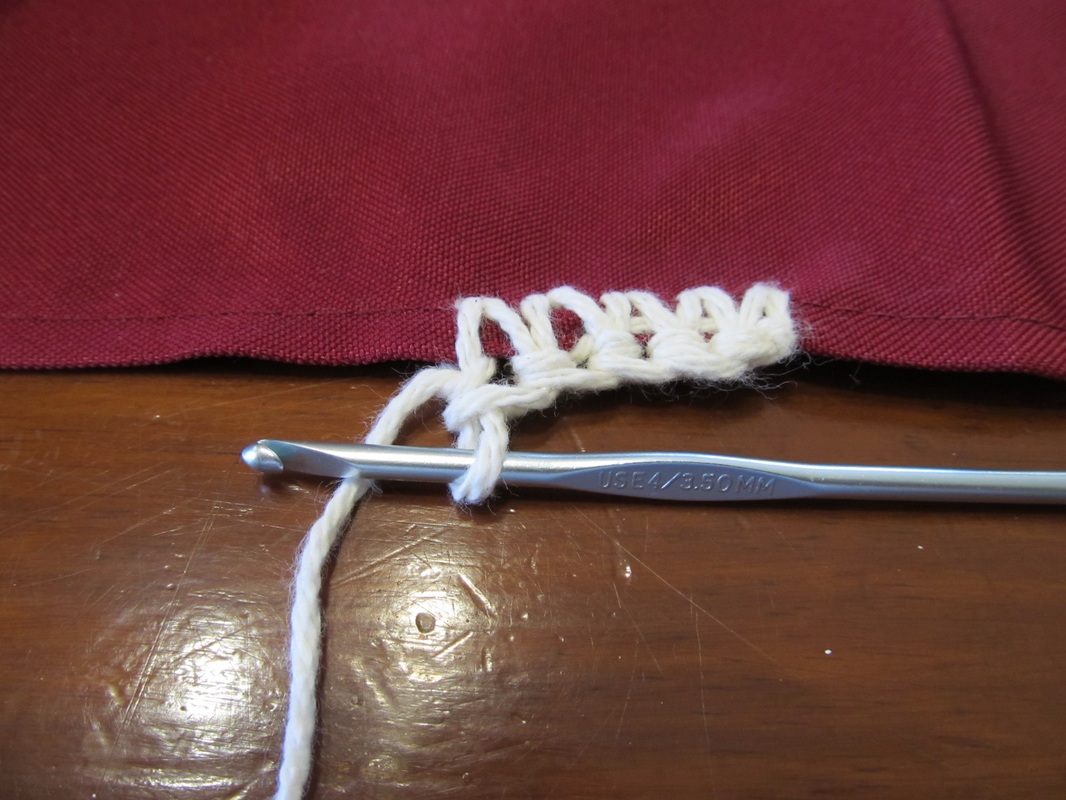
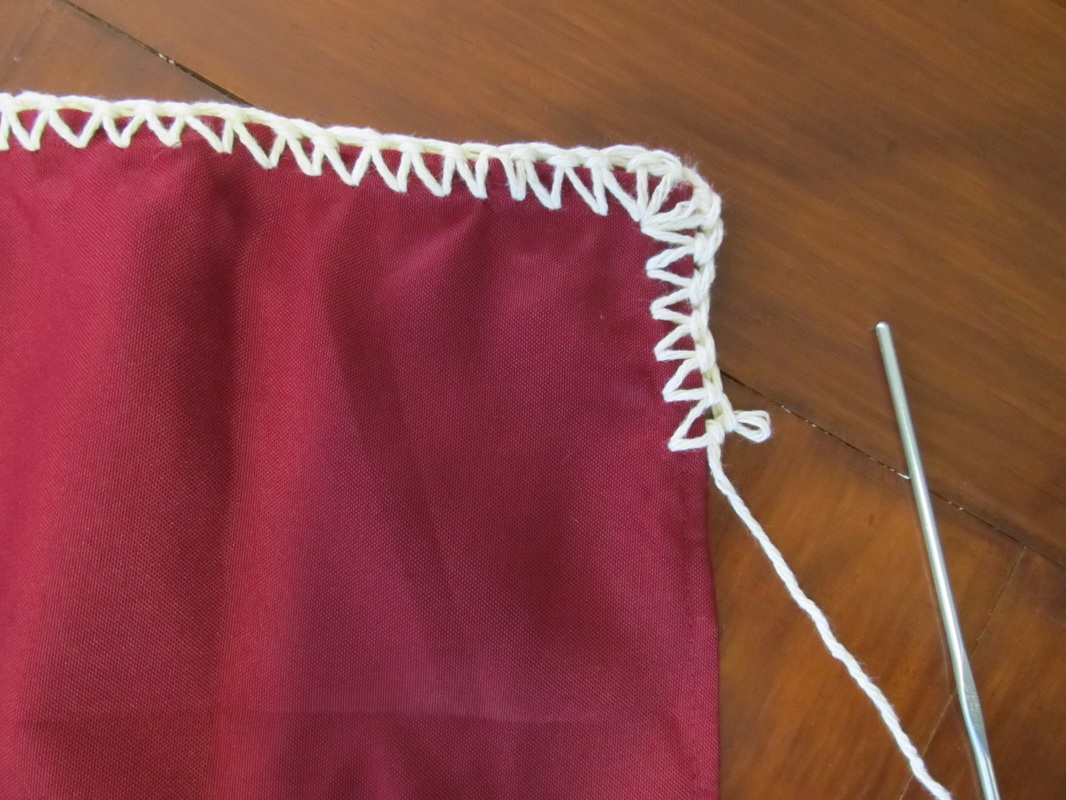
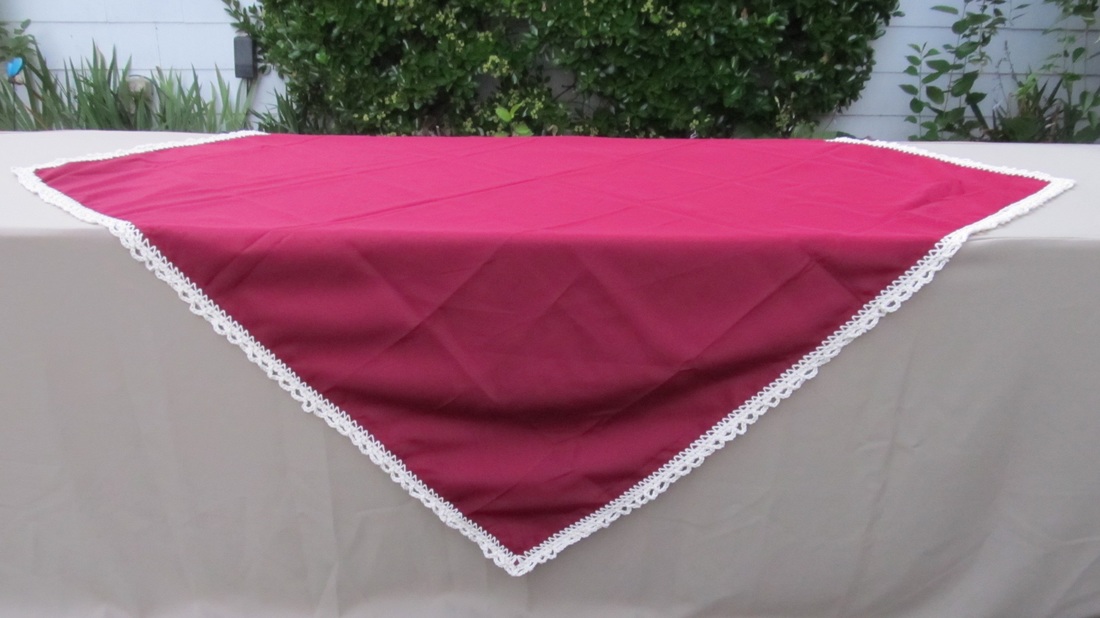
I wanted a tablecloth to decorate my table at craft fairs. Not just any tablecloth because that would be too easy. I wanted something simple, but also different. Something that would stand out and say "this table is special, come and see!" I wanted a tablecloth that attracted some attention and that could potentially start a conversation with potential customers. So of course I had to make it myself. Hence this post and how I created this simple crochet border tablecloth, which of course was exactly what I wanted!
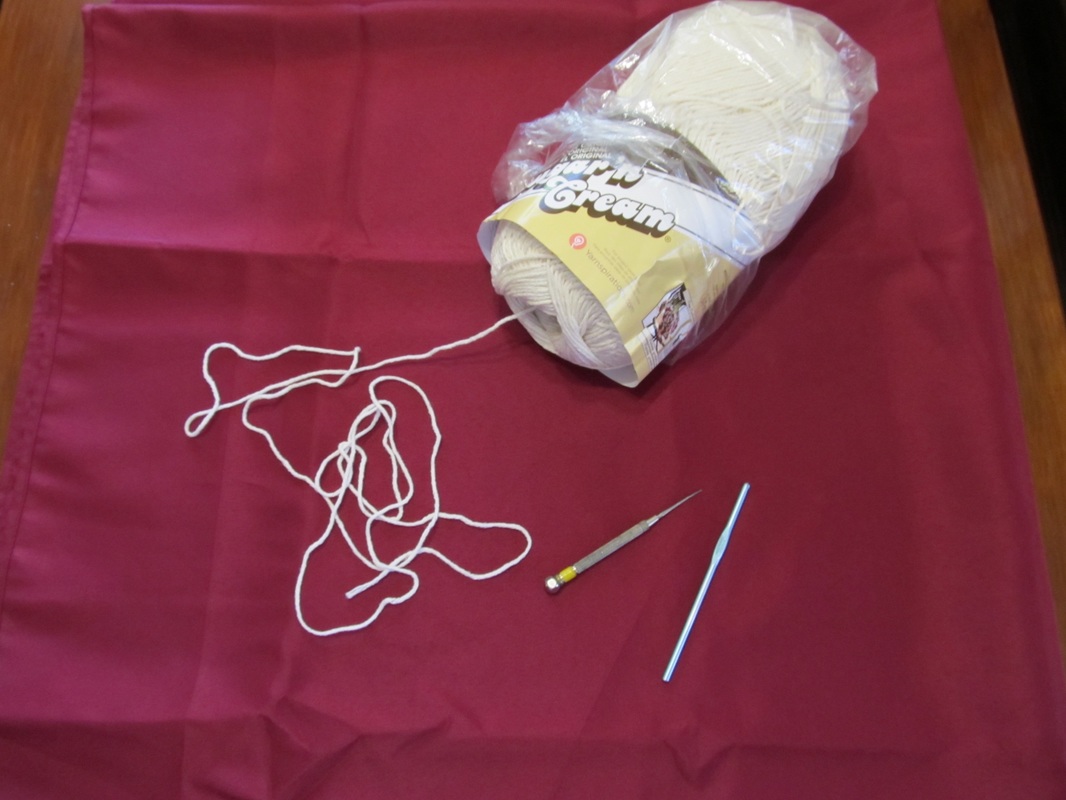
Supplies:
54" square tablecloth (affiliate link) 100% cotton Sugar n' Cream yarn (about 5 ounces) Awl Size 4 crochet hook Size 4.5 crochet hook Scissors Yarn needle
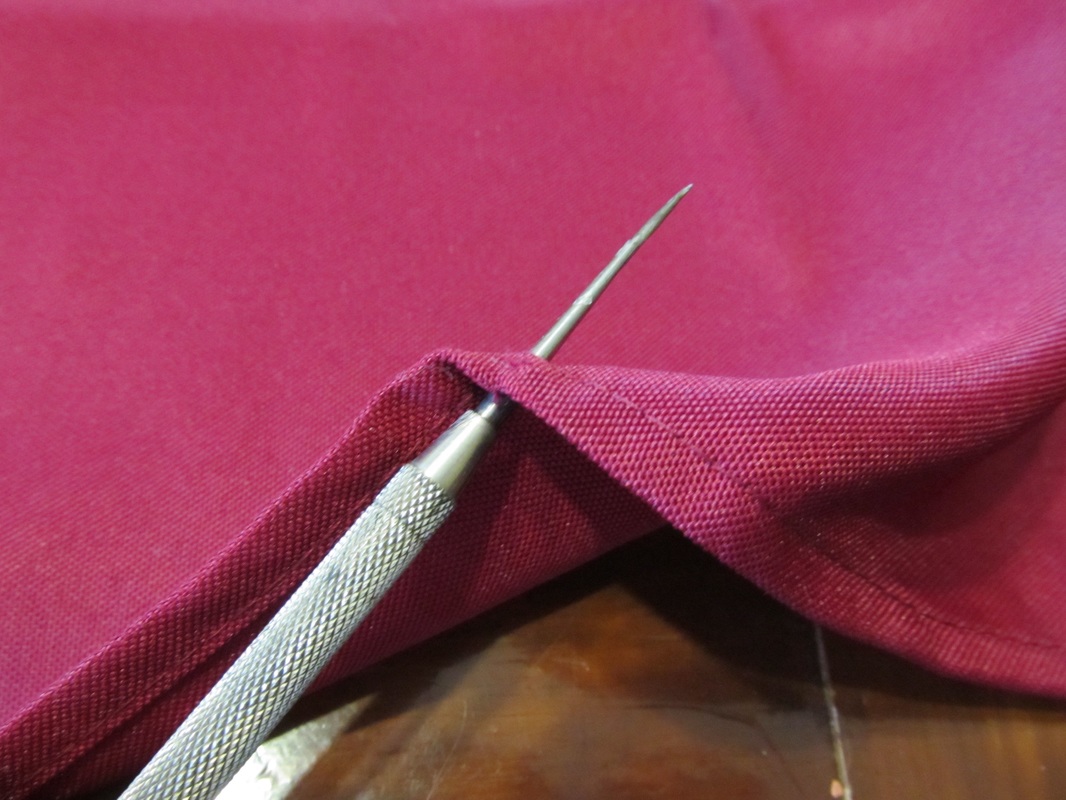
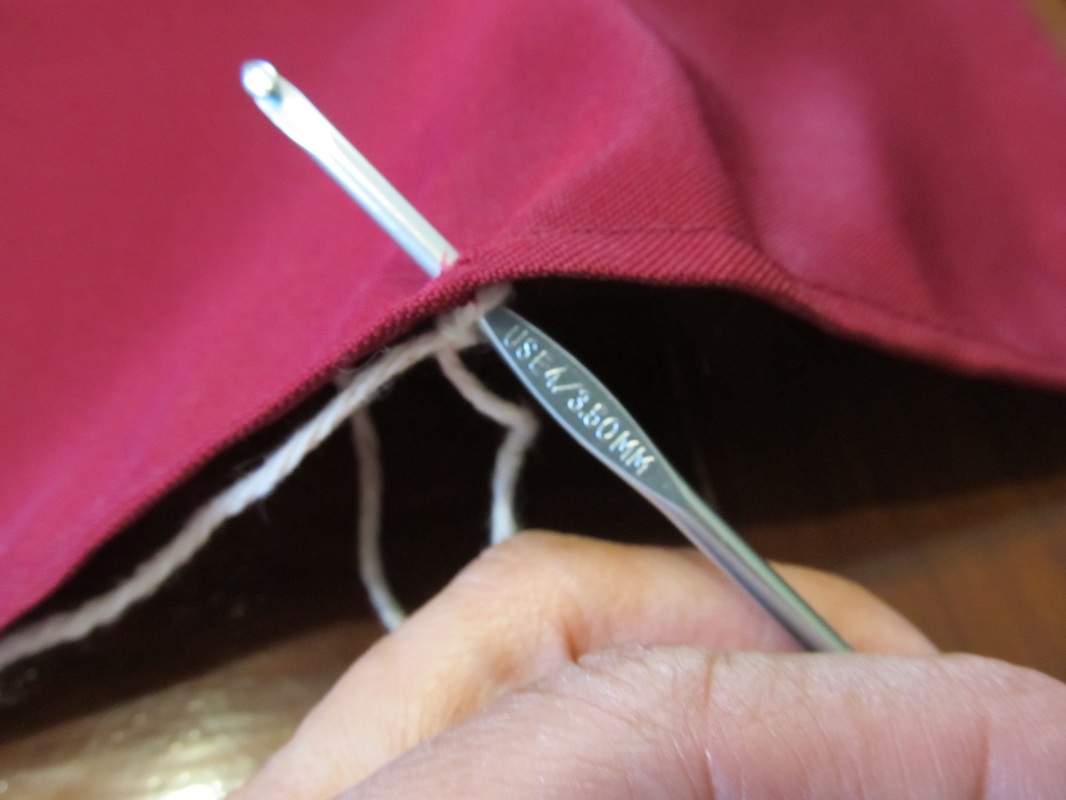
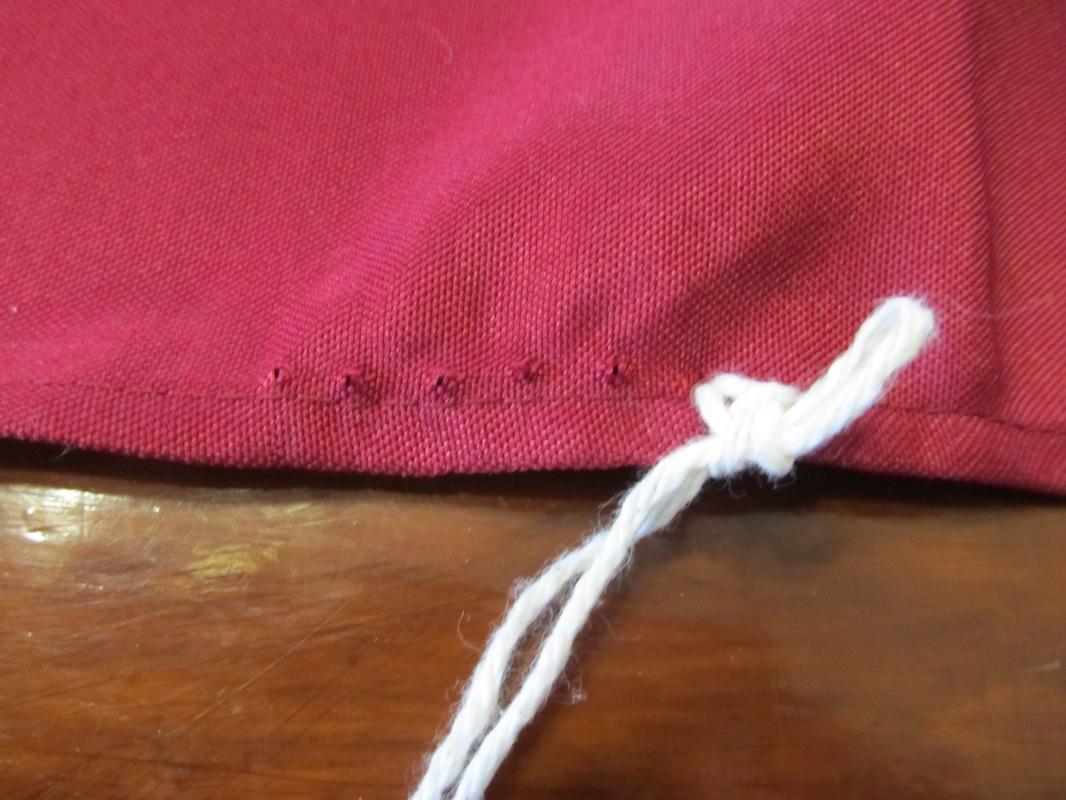
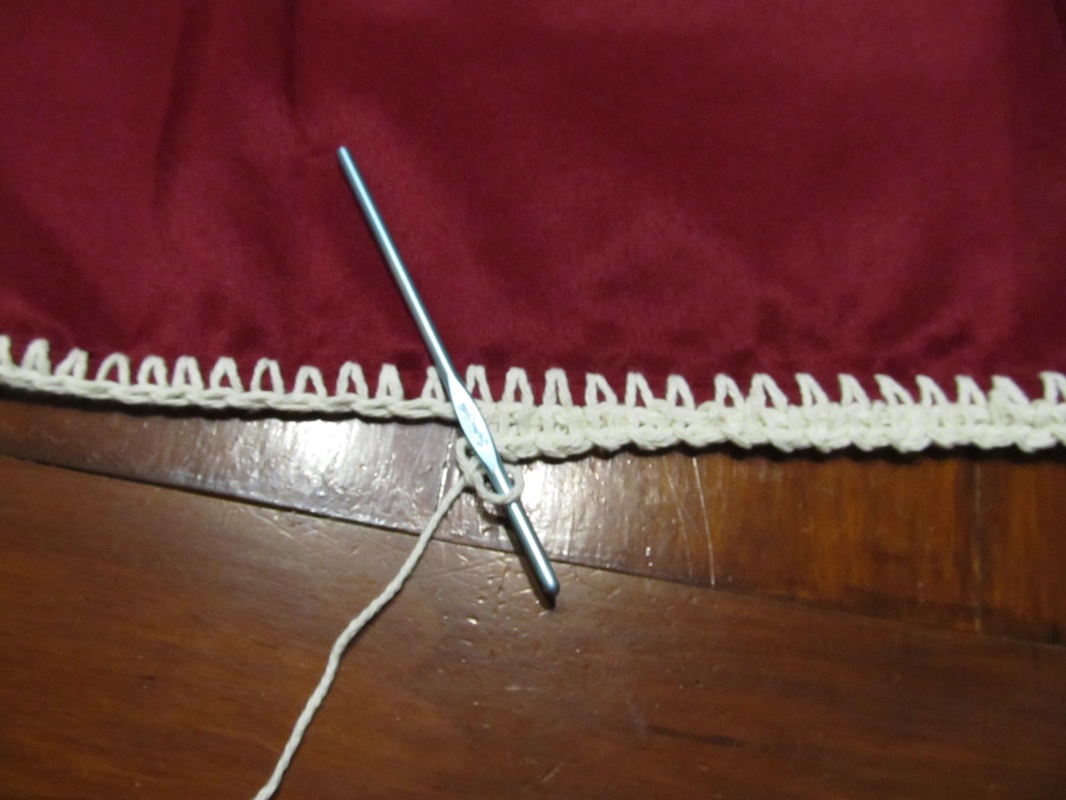
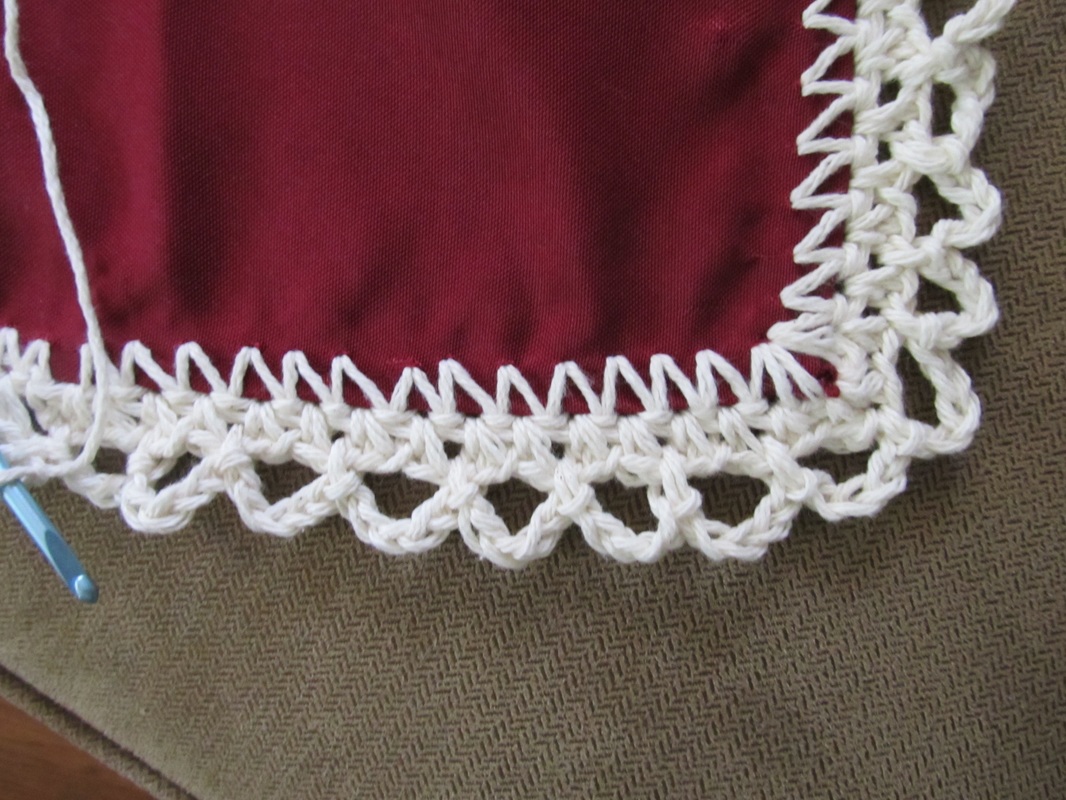
How I did it:
So simple!
Thank you for visiting!
Check out the our other FREE crochet patterns here! Also check out the many crochet project patterns on our Pinterest Boards Crochet ONLY and Crochet for the Kids! Please feel free to comment, e-mail, or contact me through my Facebook or Google+ pages! Sincerely,
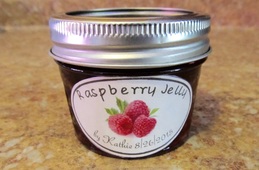
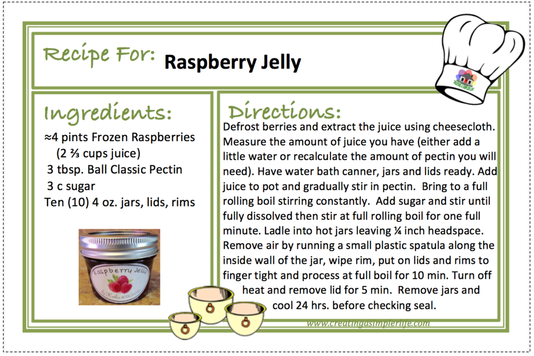
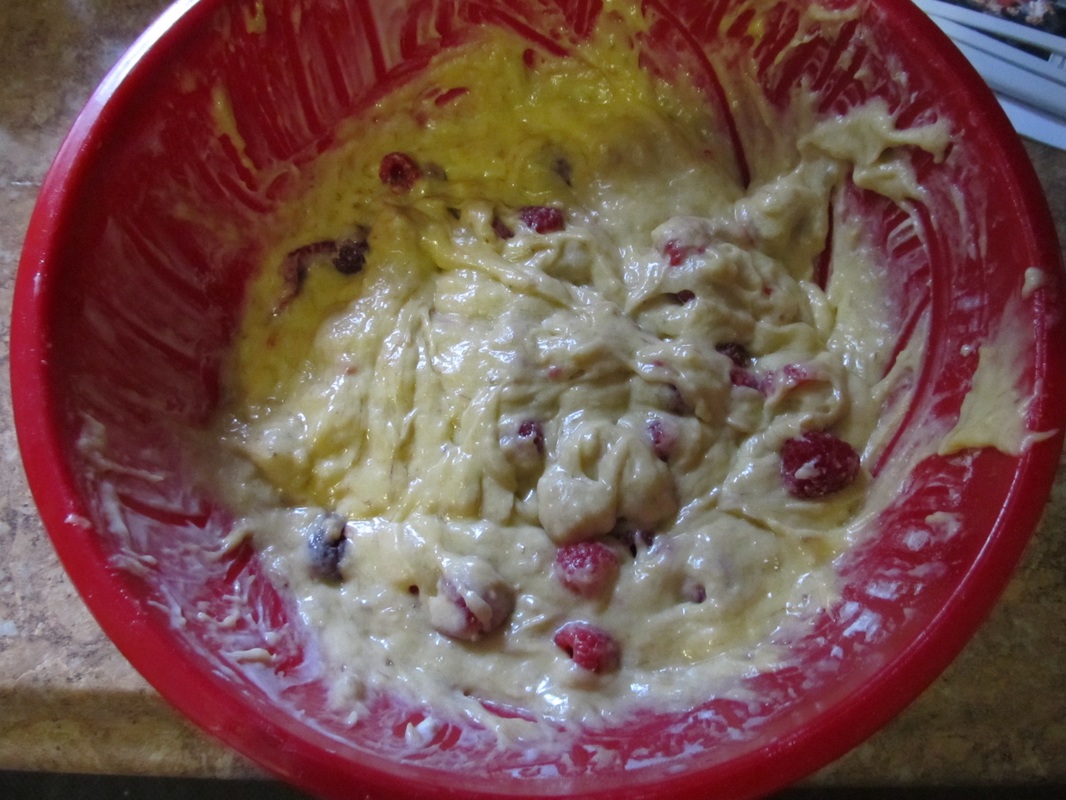
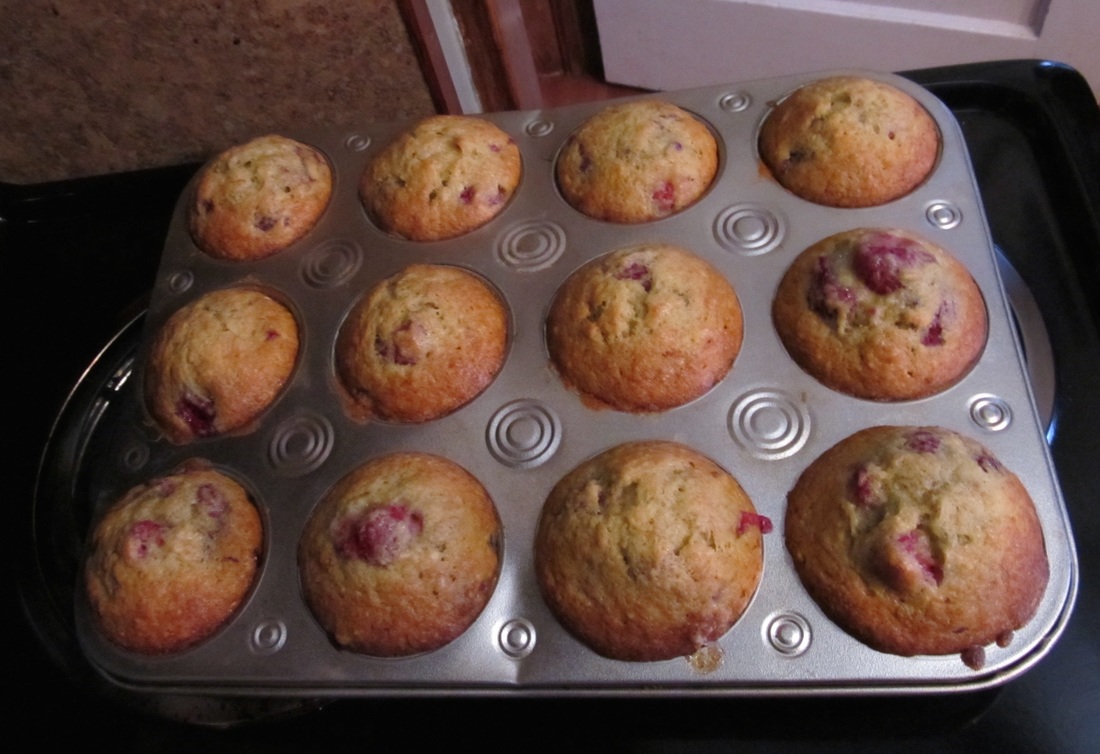
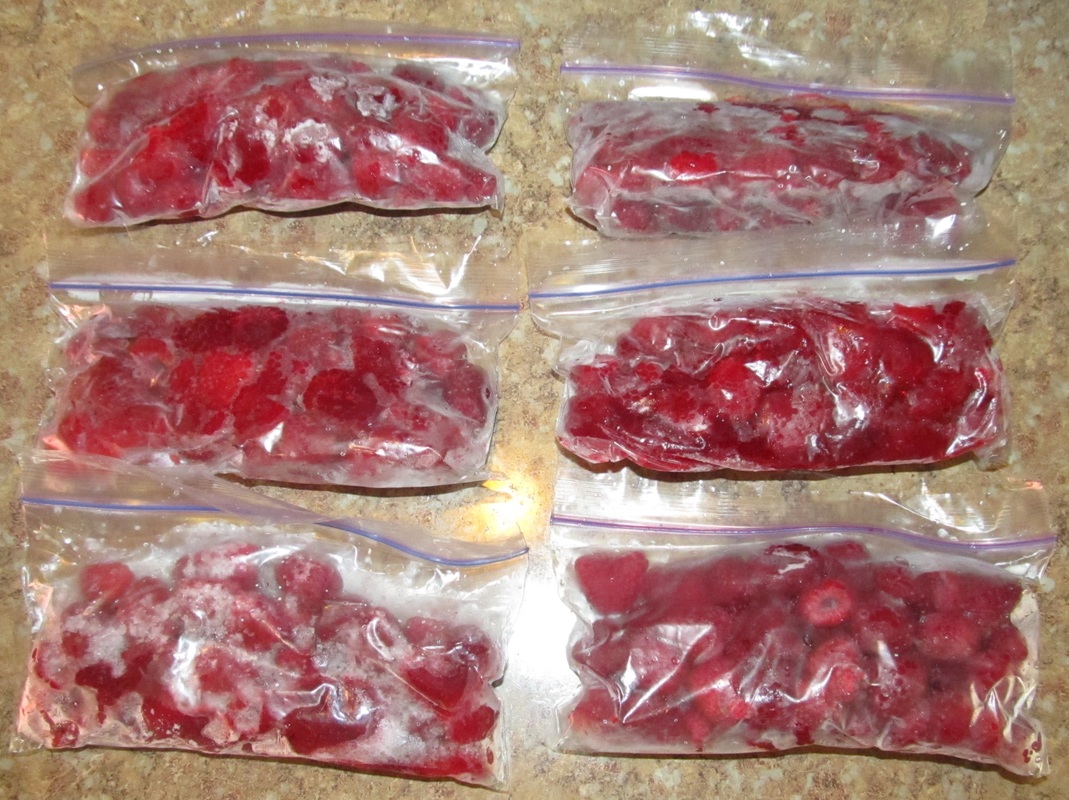
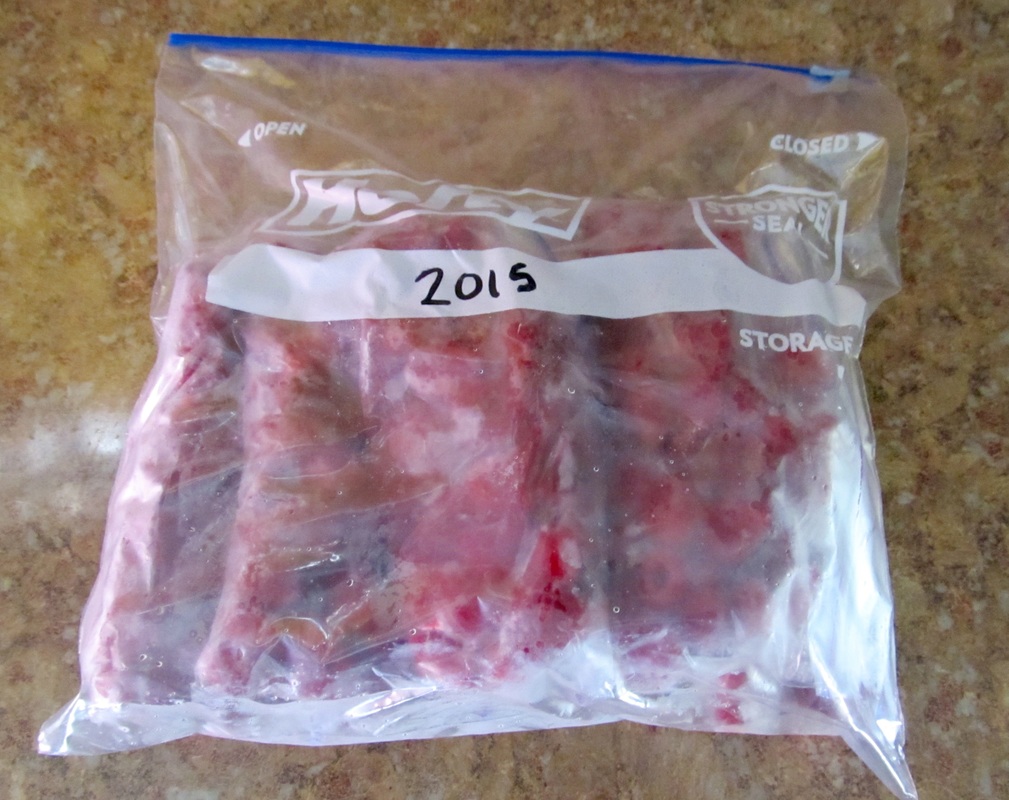
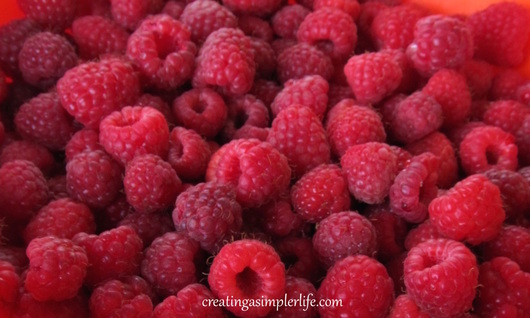 It's raspberry time again and we have been steadily picking a pint or more a day from our backyard bush! I love our raspberry bush because we actually get two (2) harvests a year! Read my post Growing Your Own Raspberries if you are interested in learning more because todays post is about what we do with all those fresh raspberries! Whether you grow your own or buy them fresh, the certainly are healthy and delicious! 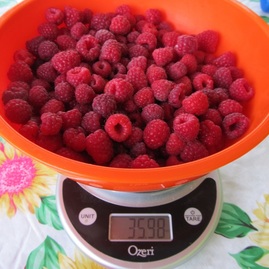 How we use our fresh raspberries:
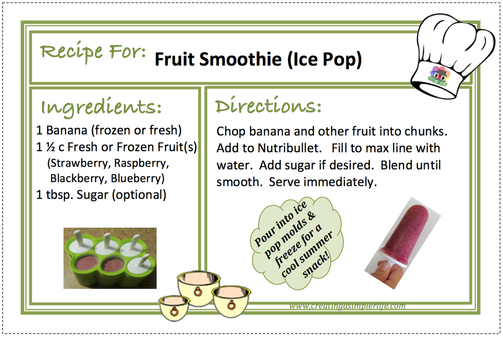
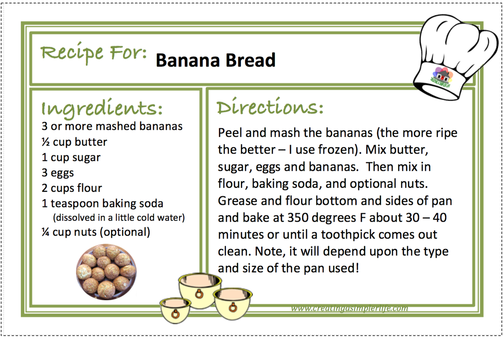
  Other ways to use fresh raspberries:
Do you have a favorite way to use fresh raspberries? Please share! I would love to hear from you :-) Thanks for visiting. Sincerely,
|

Hi there! I'm Kathie, the author behind Creating A Simpler Life blog. I'm excited to share our longterm projects (and planning) toward building our future retirement homestead in the Adirondack Mountains of New York. In the meantime I will be sharing all the other little things we do that are part of creating our simpler life!
Categories
All
Archives
July 2020
|


 RSS Feed