Blog
A little bit of anything and everything that's part of
creating, enjoying, and living a simpler life!
creating, enjoying, and living a simpler life!

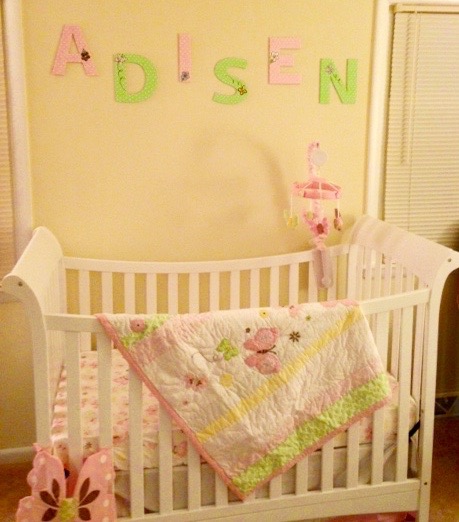
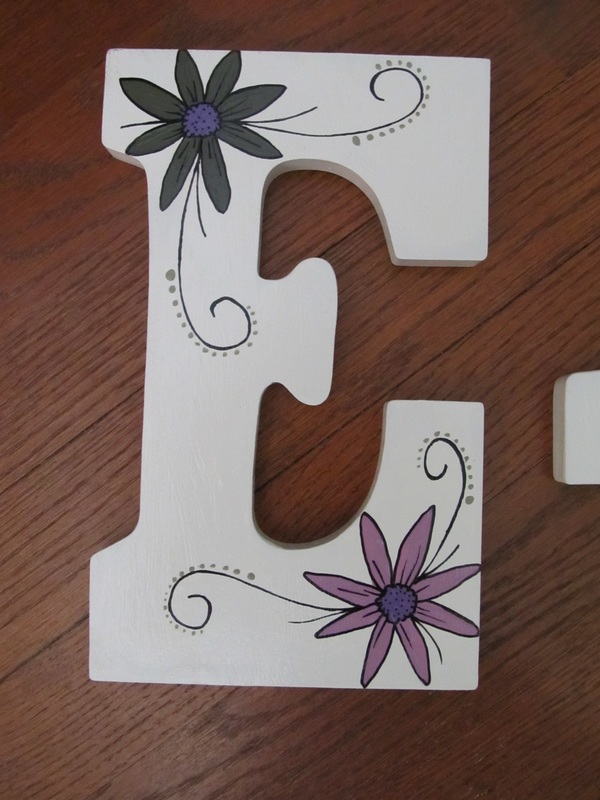
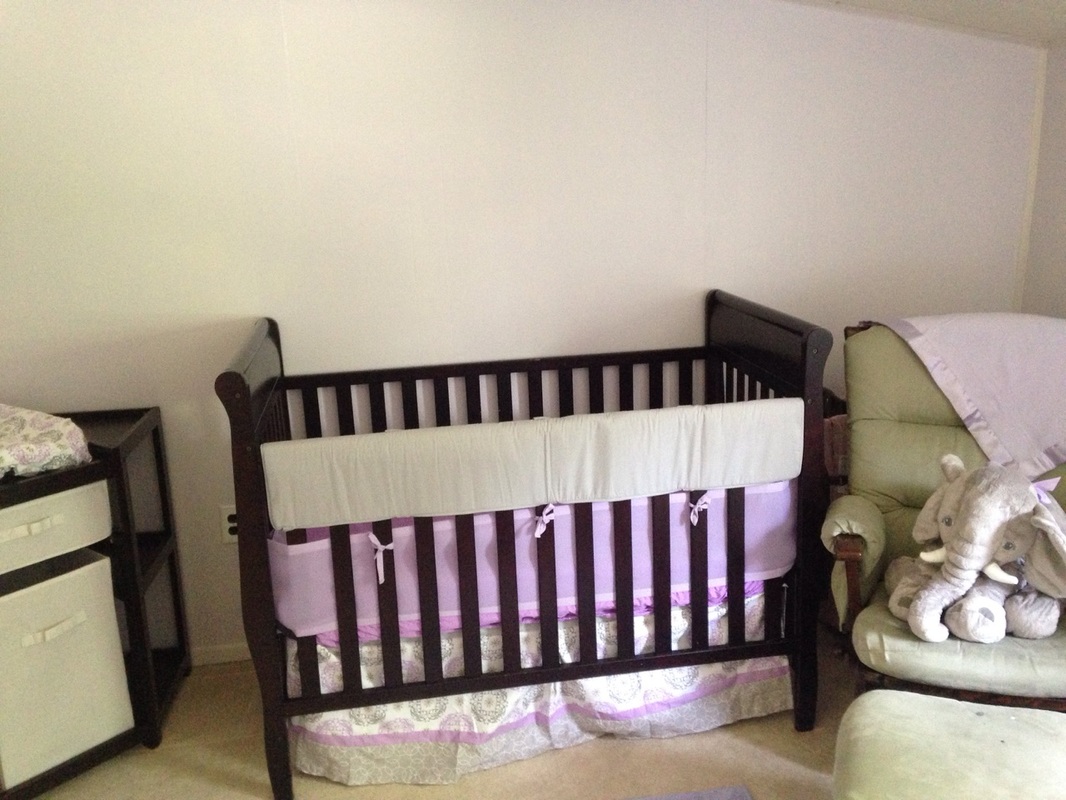
My daughters good friend has two children, the youngest of which was born recently. This friend of my daughters is very special to me because she has been in my daughters life since the 4th grade and she was also in my Girl Scout troop - yes I was a Girl Scout leader (I am also a lifetime Girl Scout!). For the first child my daughter asked if I would help her to paint the letters of the child's name to match the crib bedding her friend chose, and of course I said yes! After looking at some pictures of the bedding we came up with a color scheme and decided butterflies. We wanted the letters to be just different enough, but still match the room and I think we did a pretty good job as you can see in the picture below.
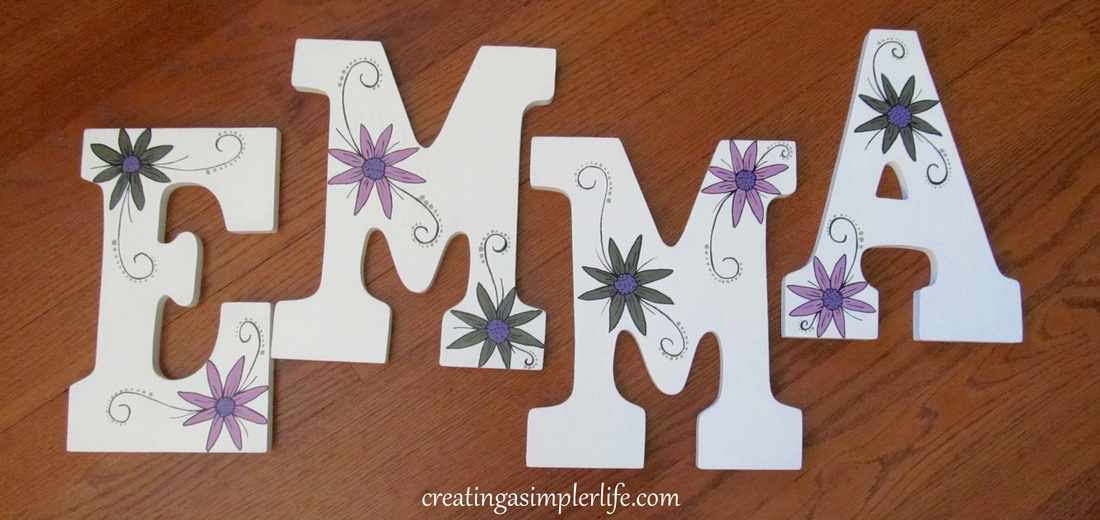
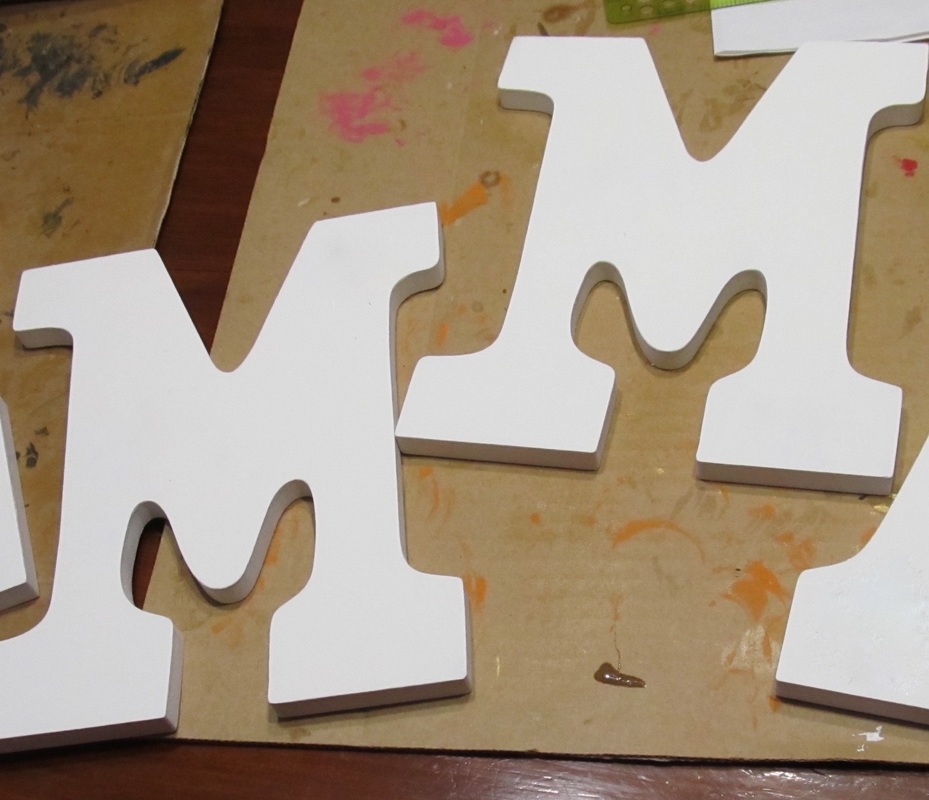
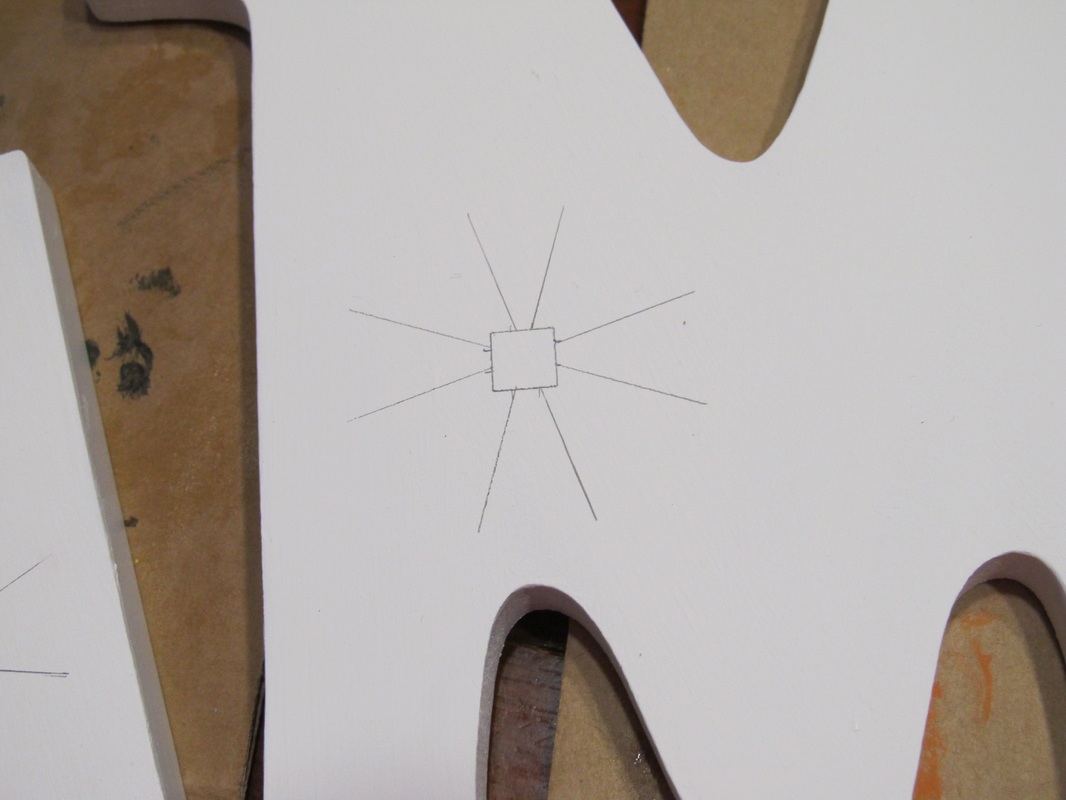
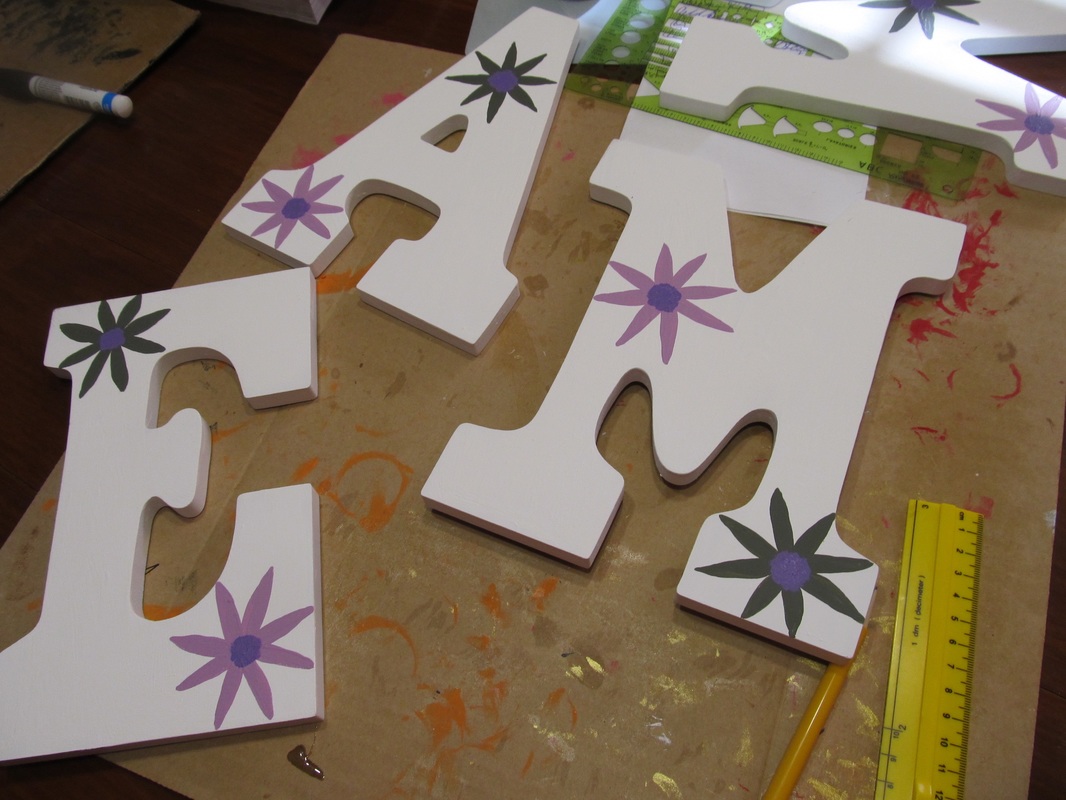
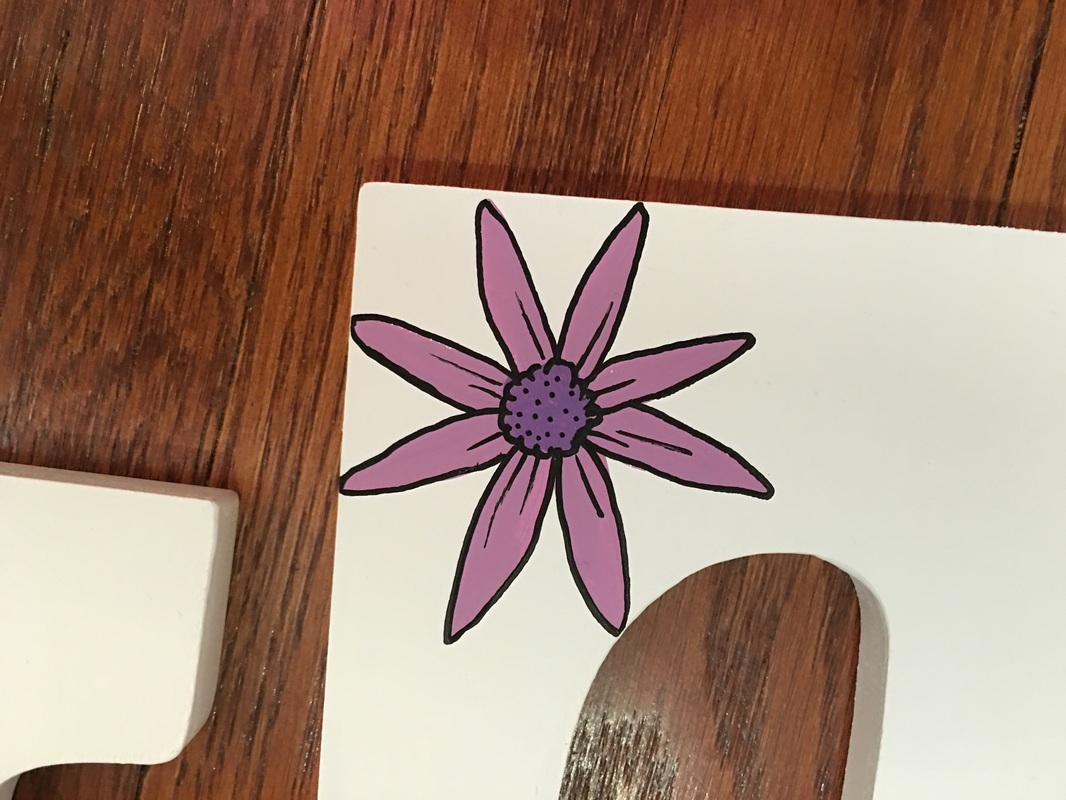
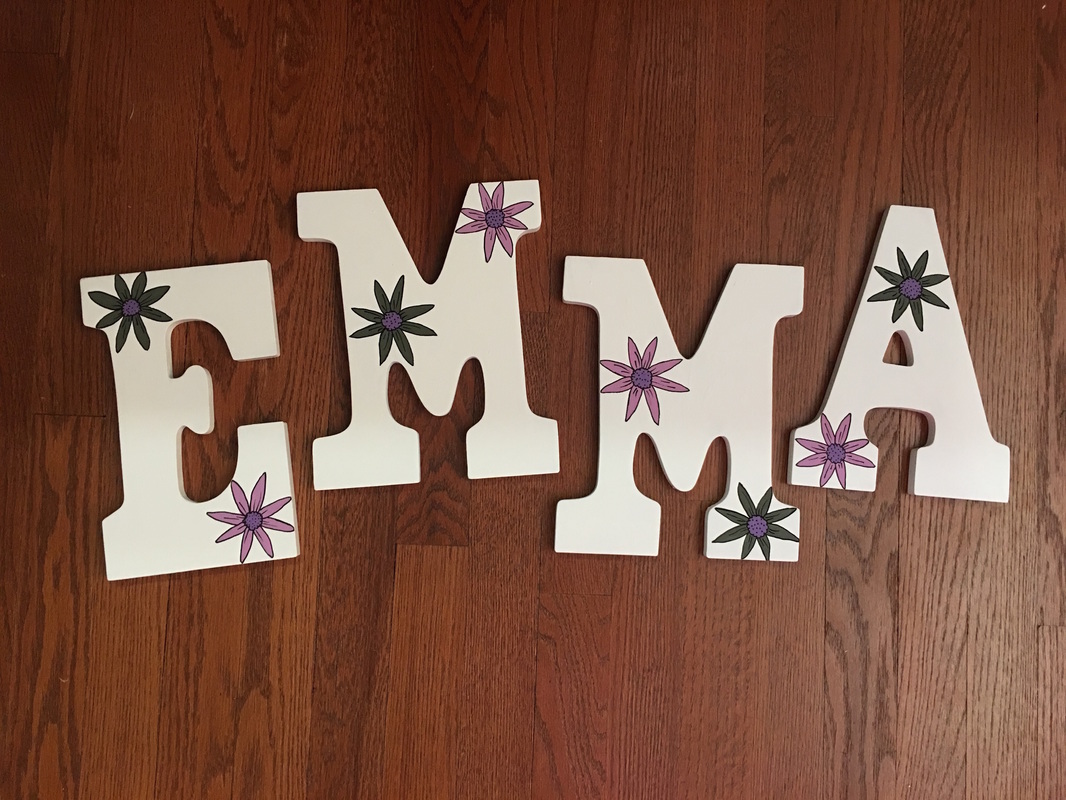
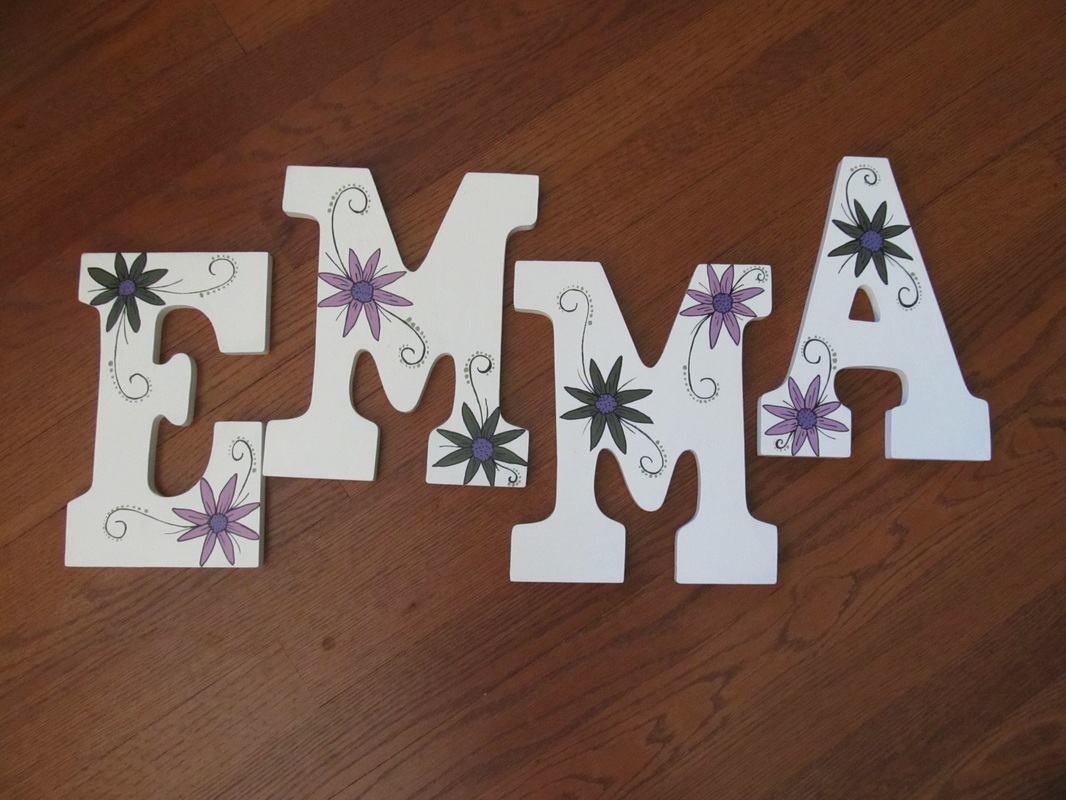
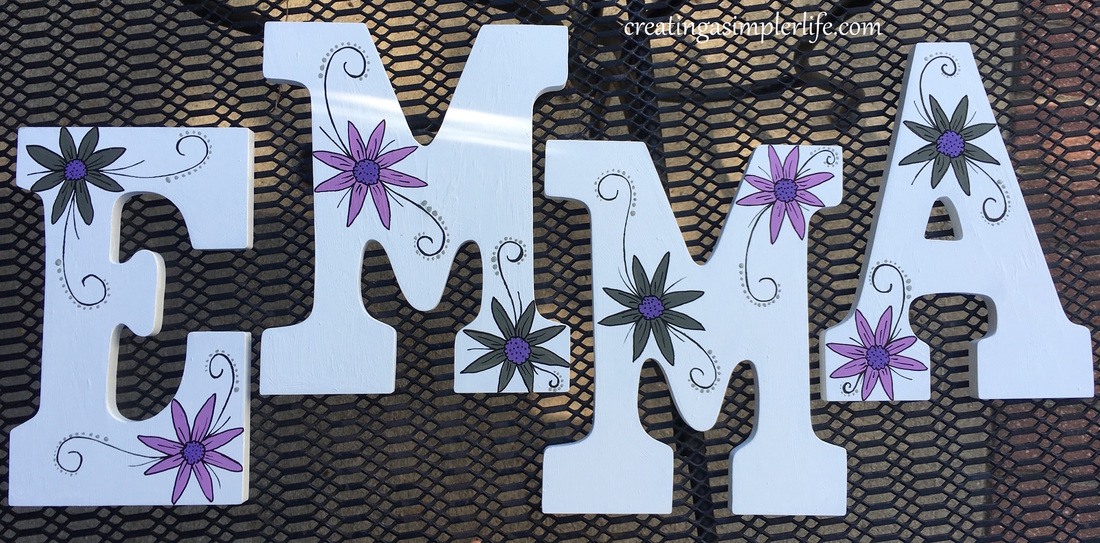
So of course when child #2 was born we needed to make more letters - fair is fair, right? So once again we got right to work on trying to match the bedding....this time it was flowers! Again, we wanted them to match just enough, but still be original and...... I think they came out pretty good!
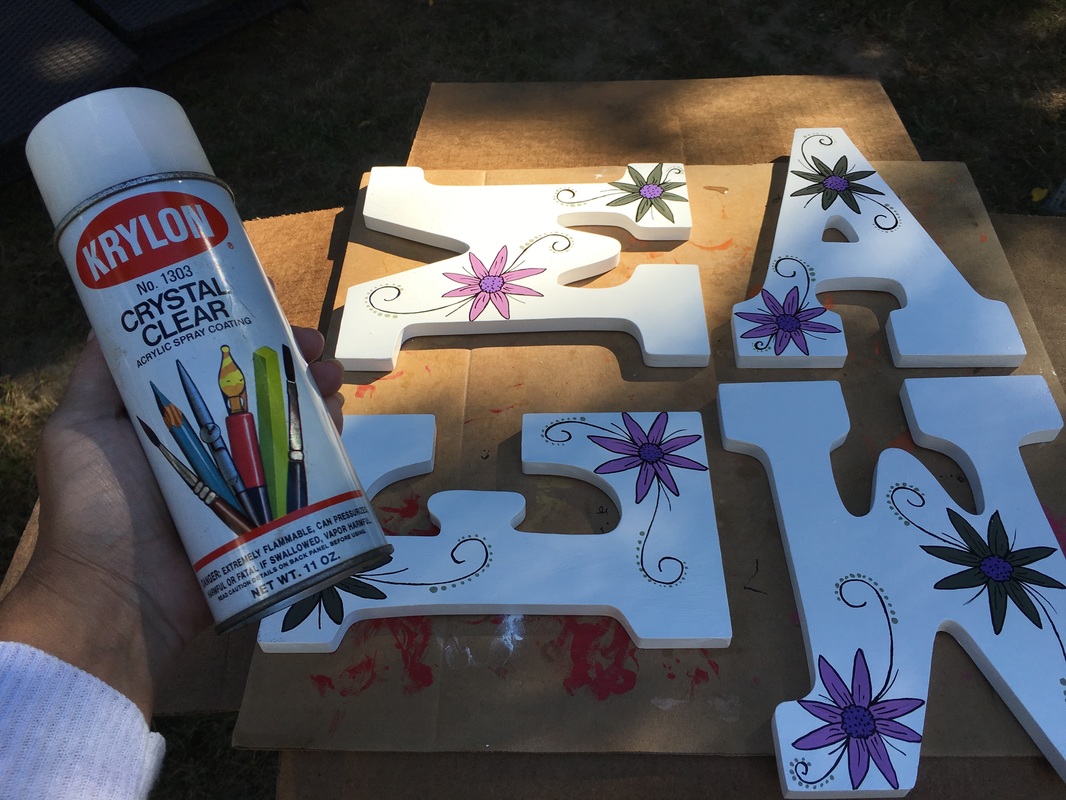
Once the colors and design are decided on, the process is really pretty simple!
Here's what we did:
Thanks for visiting!
Check out our other DIY crafts and projects on our website or on Pinterest! Sincerely,
0 Comments
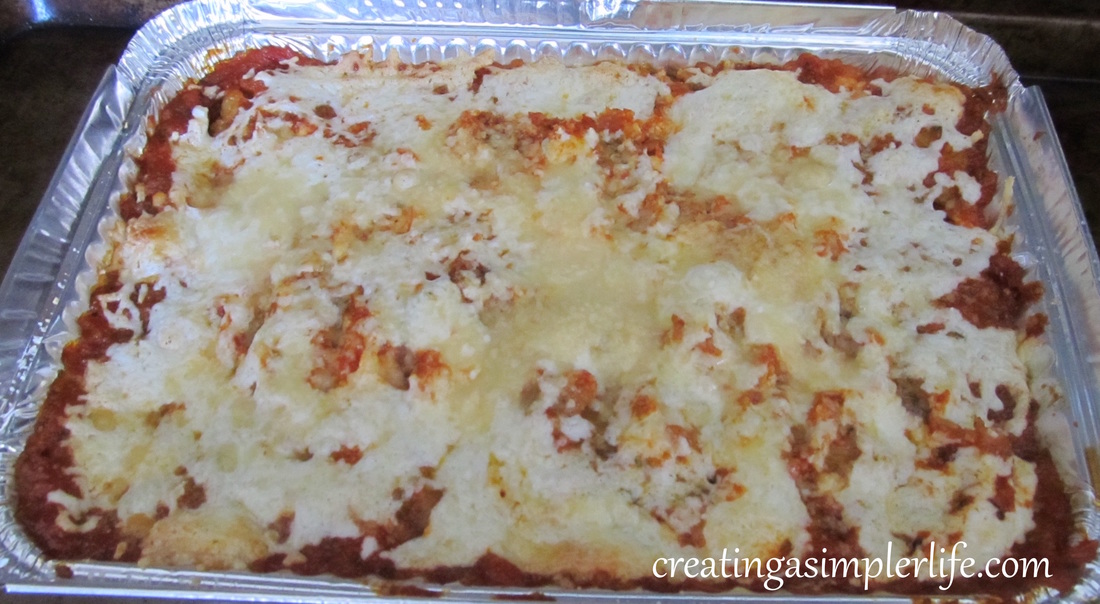
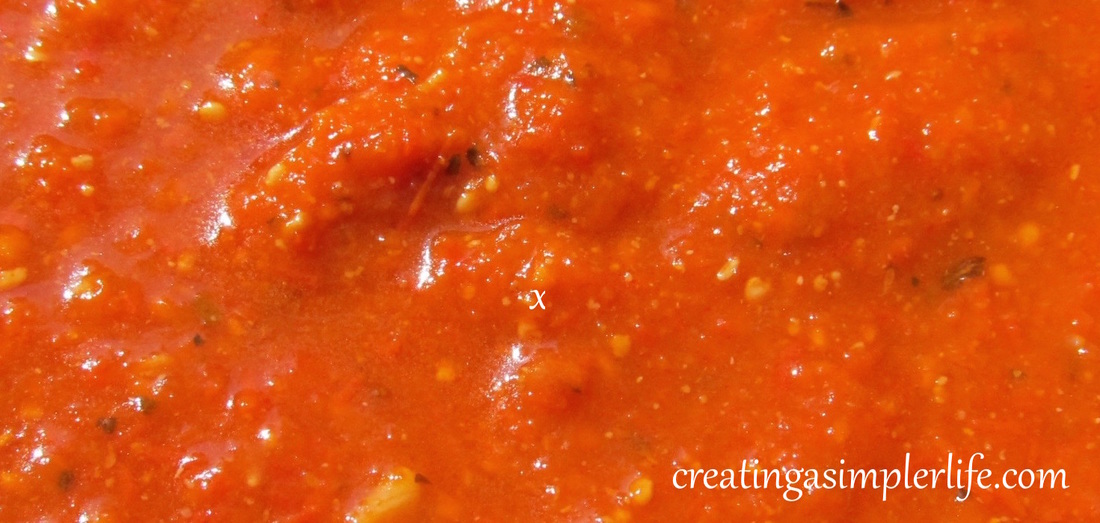
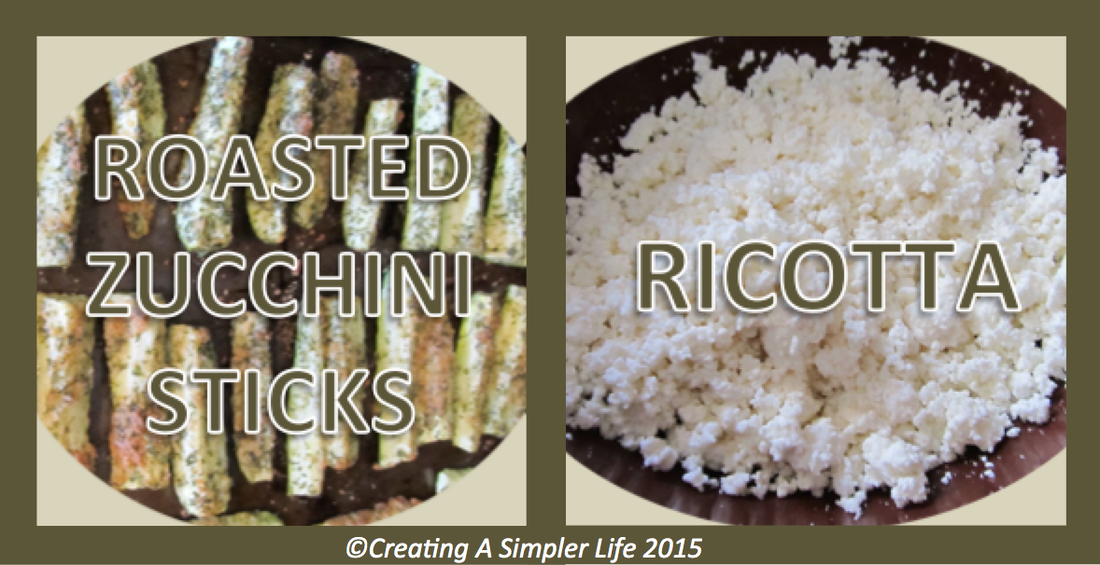
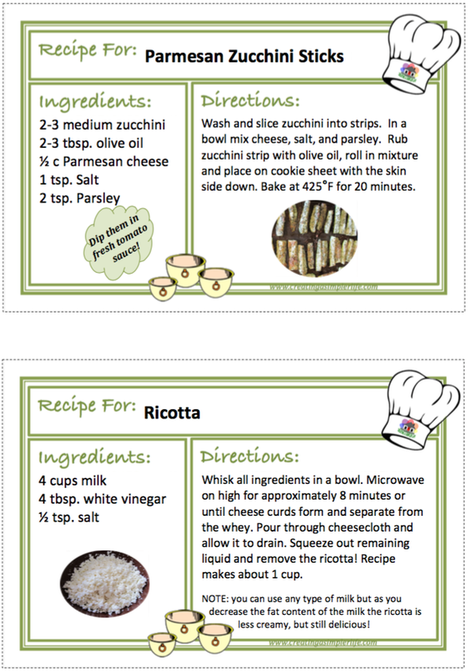
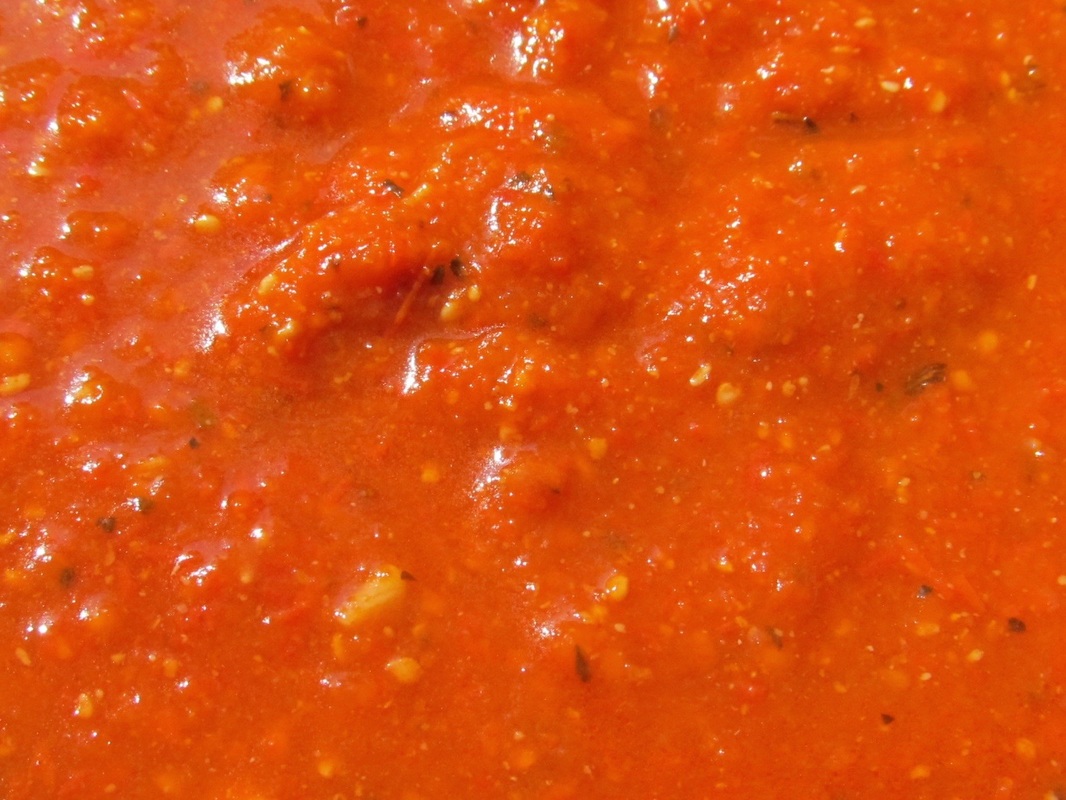
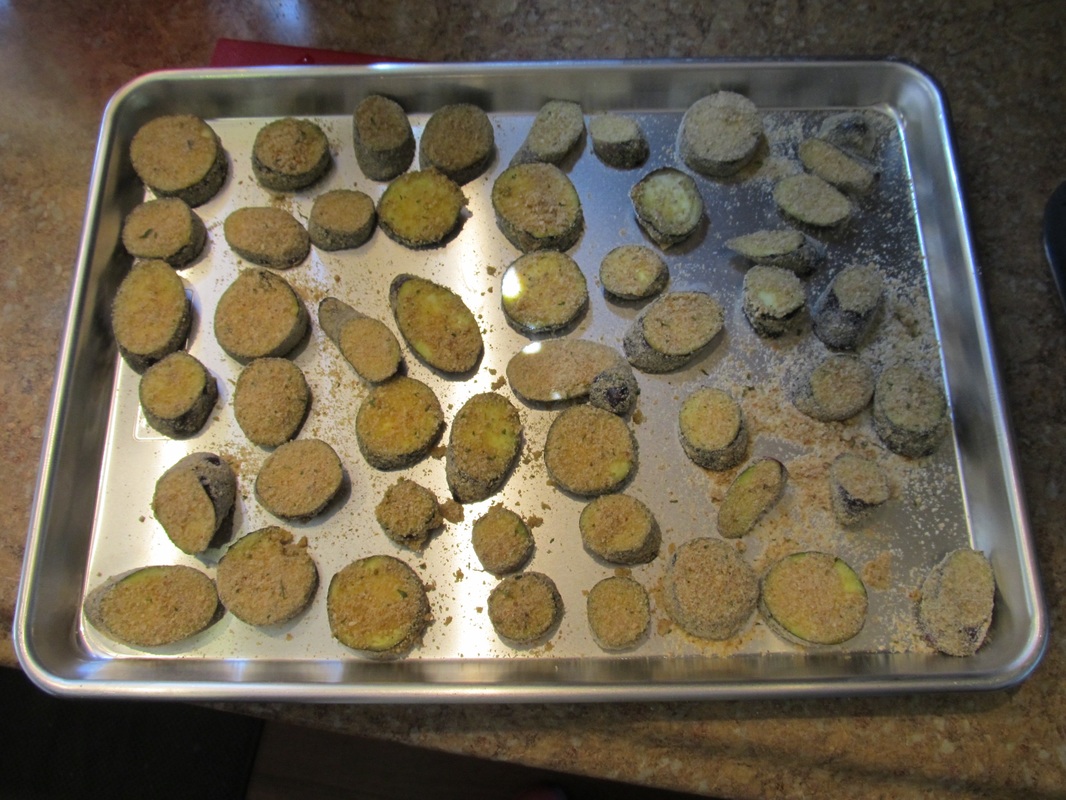
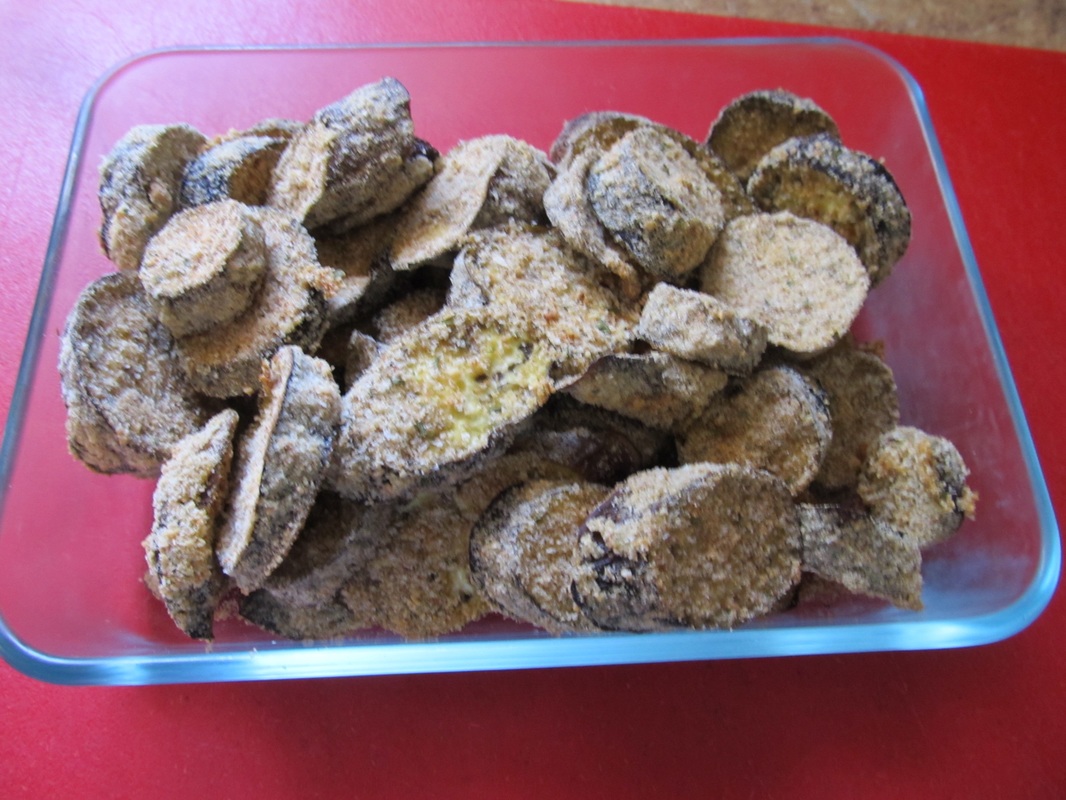
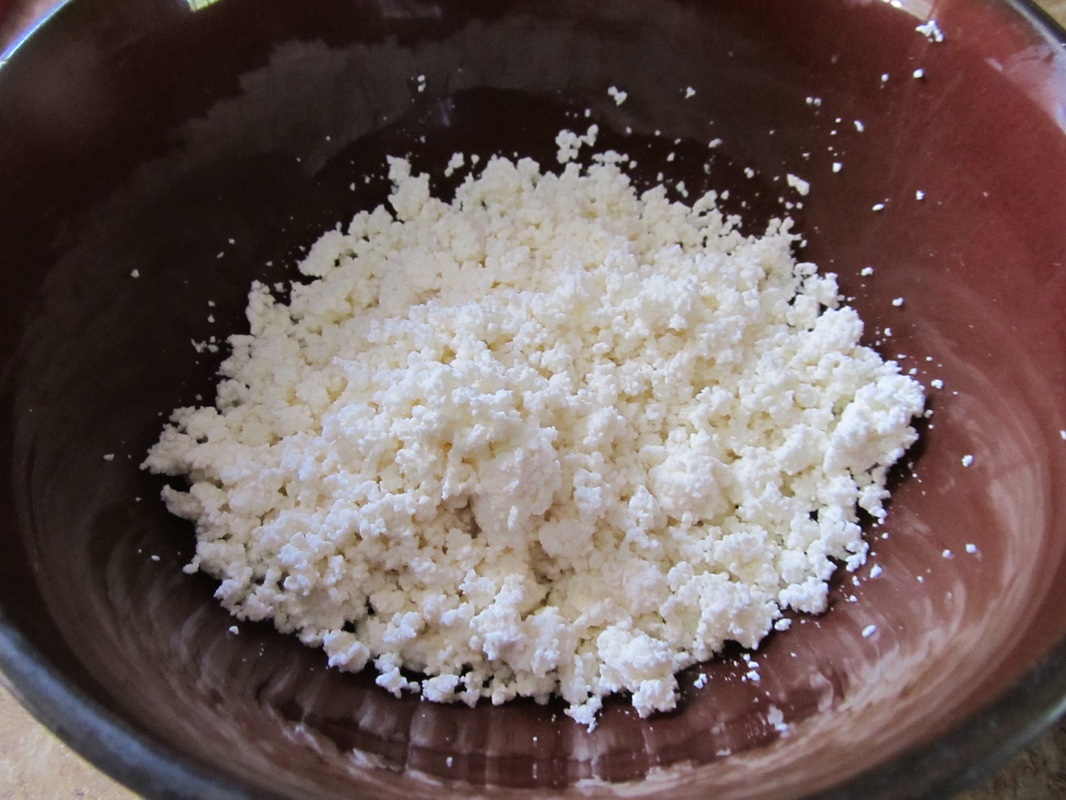
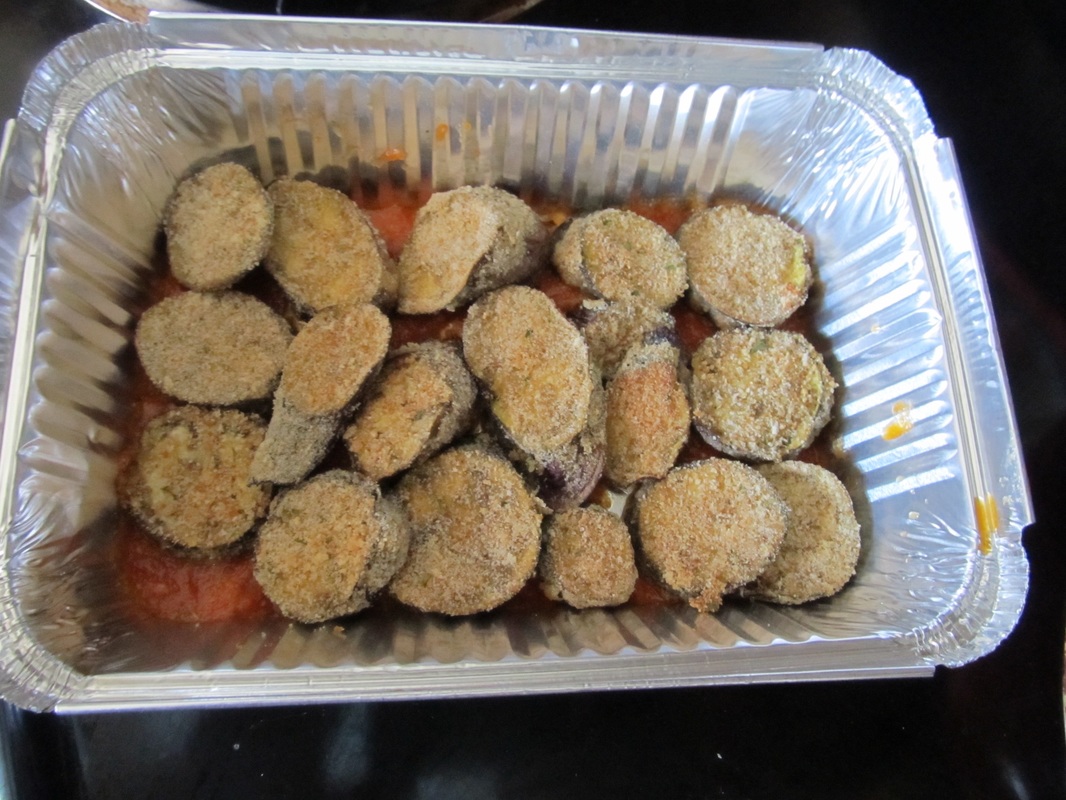
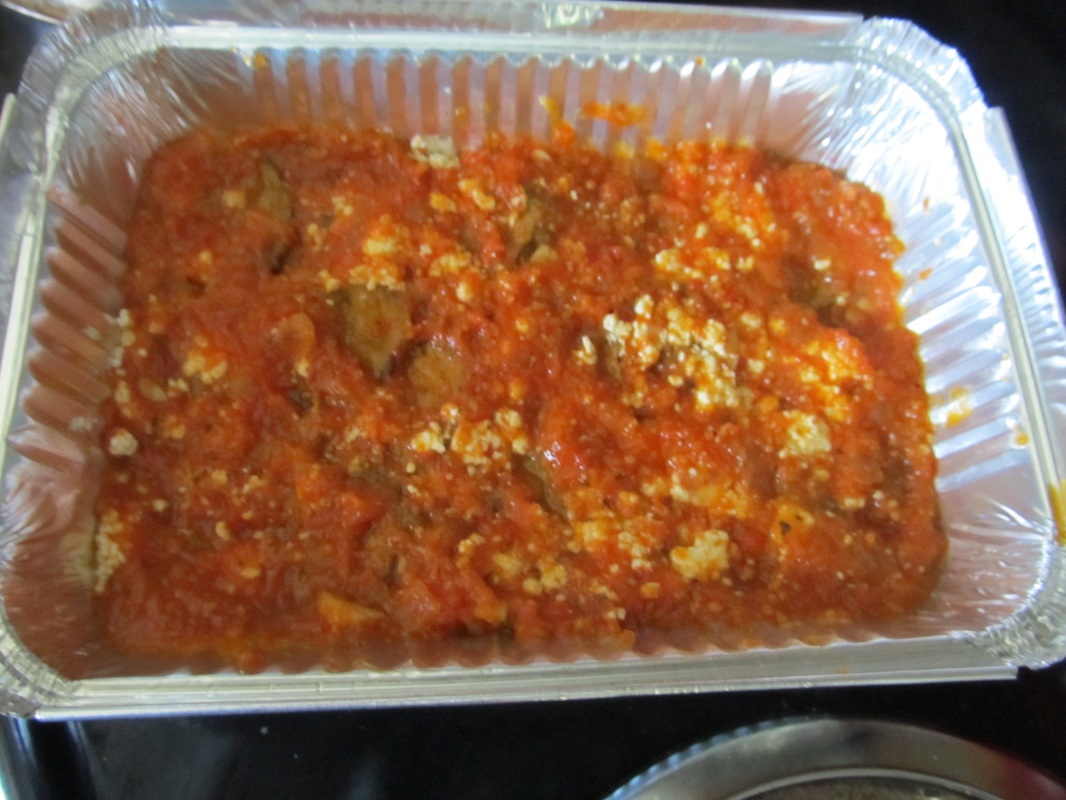
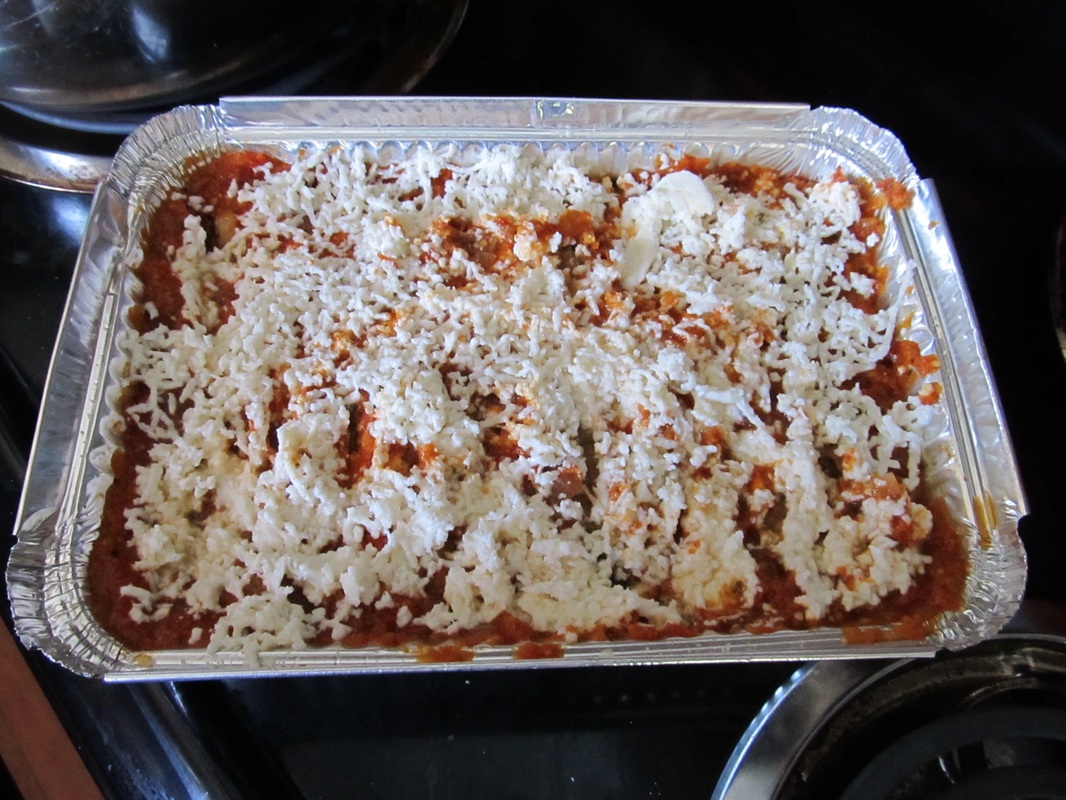
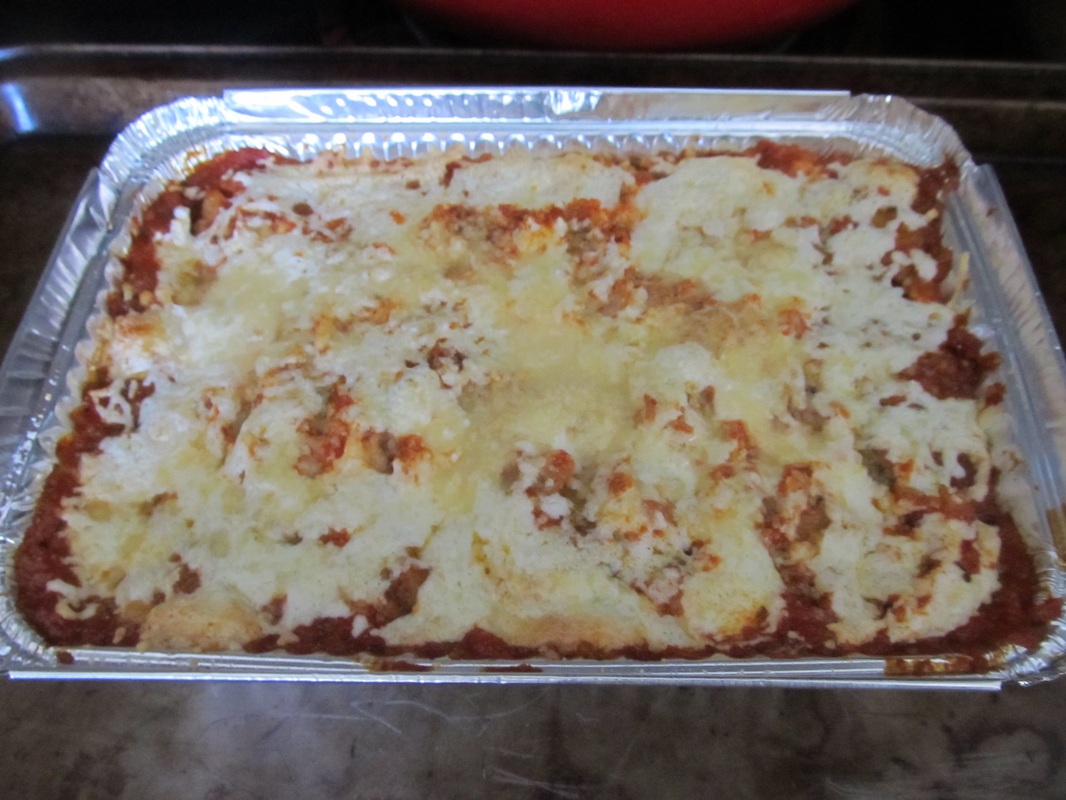
There is nothing better than fresh food made from scratch! This eggplant parmesan was made with all natural and fresh ingredients, most of which was grown right in my backyard! The sauce is made fresh from cherry tomatoes I picked, the ricotta is made from scratch, and the eggplant is right out of the garden! I also used fresh grated parmesan cheese and fresh mozzarella. There is nothing better! Simply delicious :-)
Simply delicious!
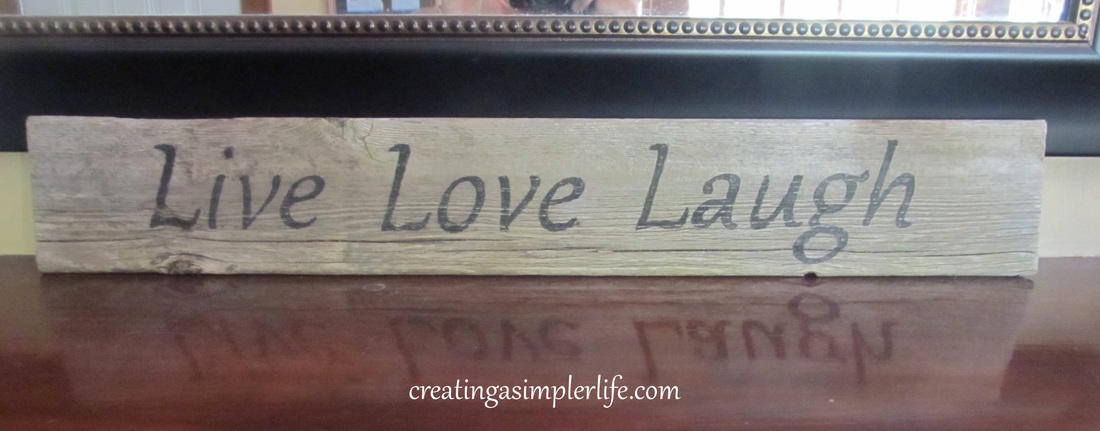
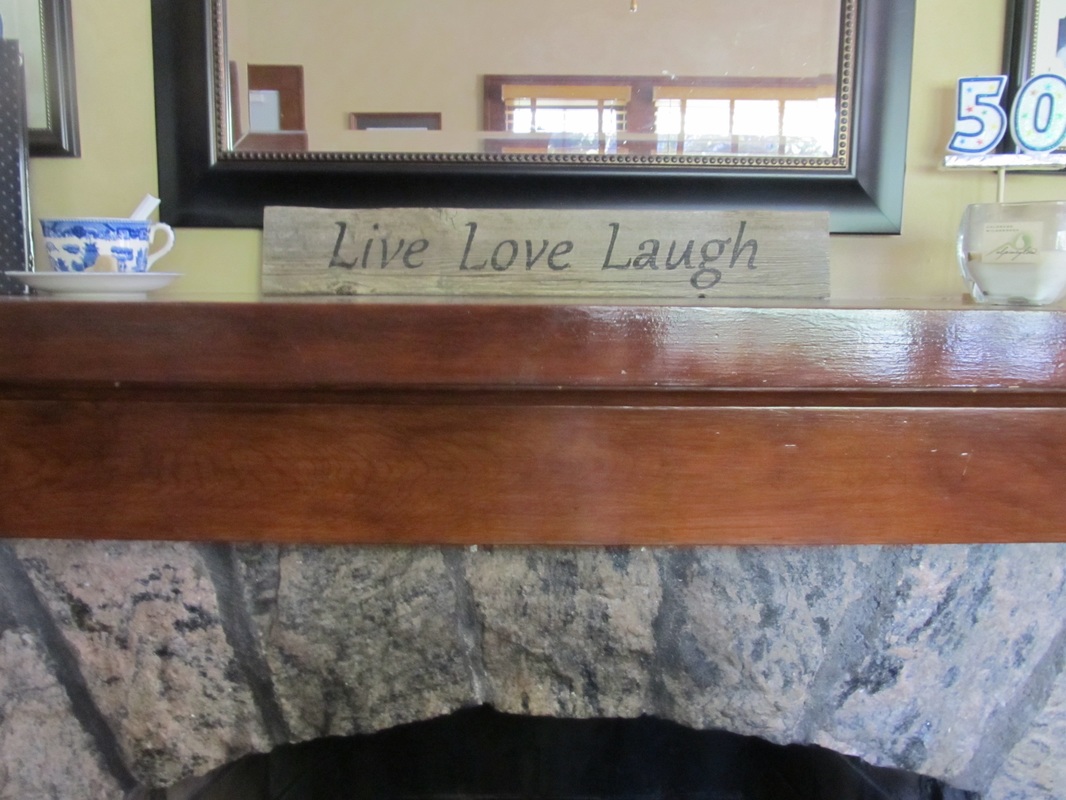
I had always loved these old looking signs but never really thought about making my own until I came across a Pinterest Pin on how to do it yourself. Then when I really started doing some research I actually came across several different ways they could be done. I settled on the method I use below because it really is simplest and I had all the materials to get started right away. I absolutely love the results and can't wait to make many more as gifts for the upcoming holidays. I am even working on a sign for my craft fair booth!
Many thanks to Tammy at Homespun Happenings for the post "I Made A Sign." I couldn't have done this without you! Supplies needed:
DIY RUSTIC SIGN LETTERING YOUTUBE VIDEO TUTORIAL:
|
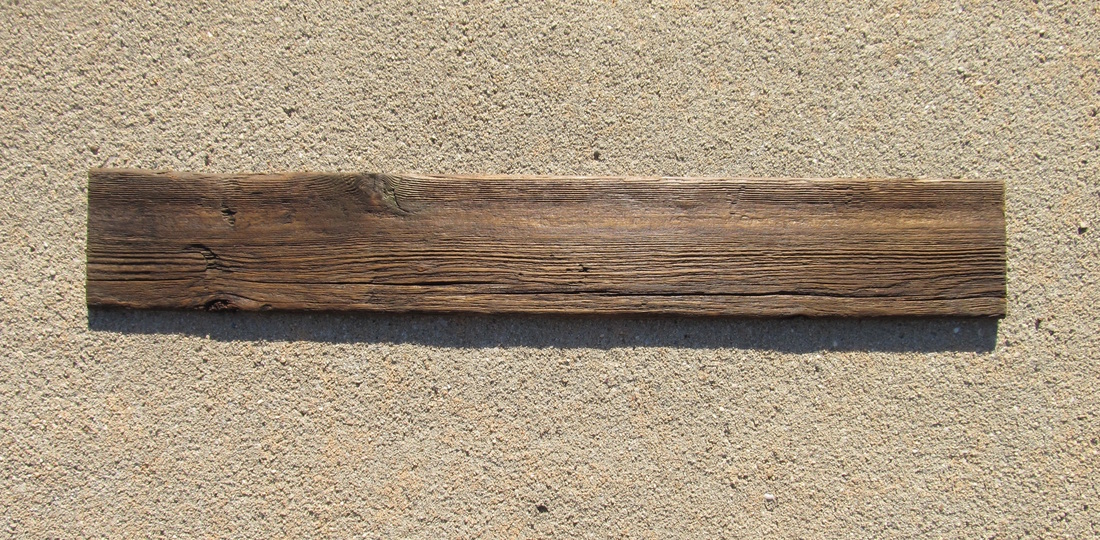
Wash wood and let dry in the Sun.
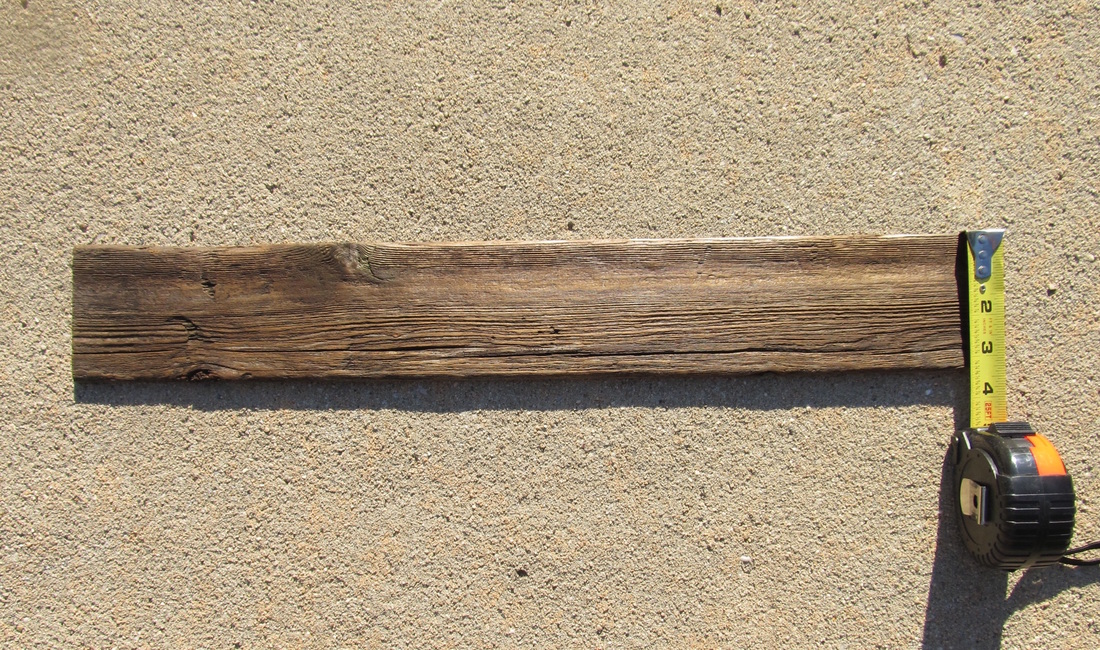
Measure height.
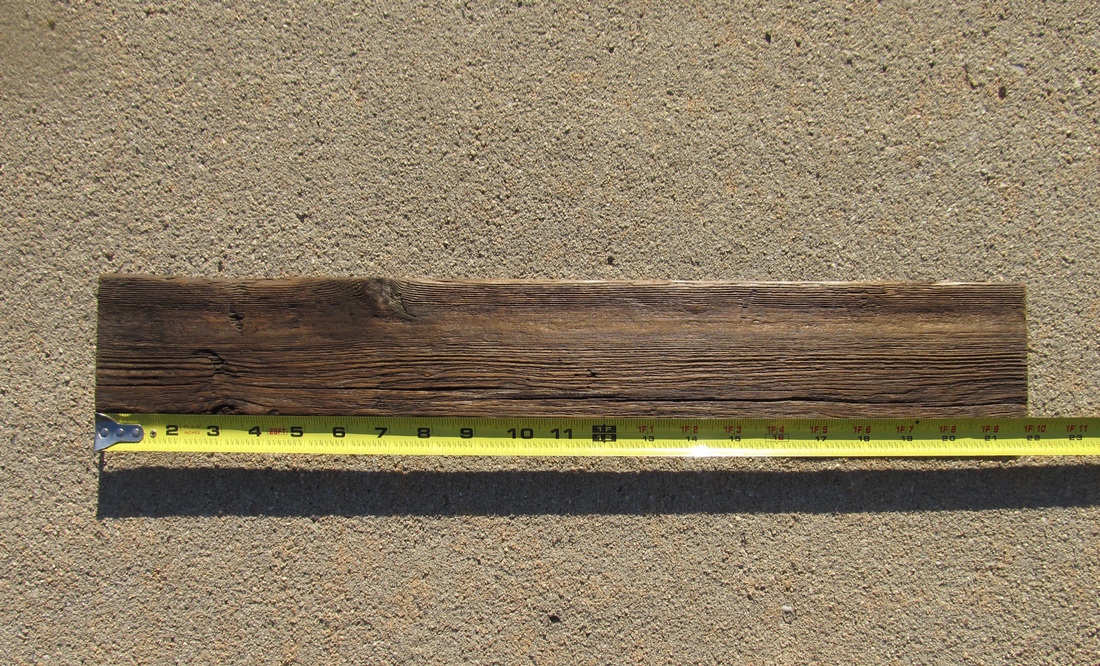
Measure width.
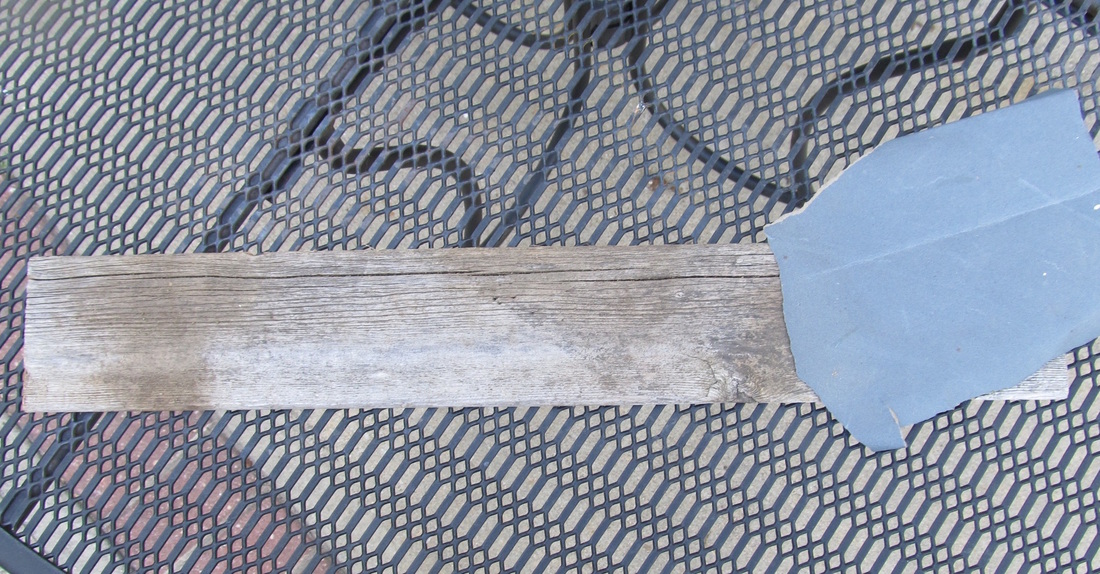
Sand lightly.
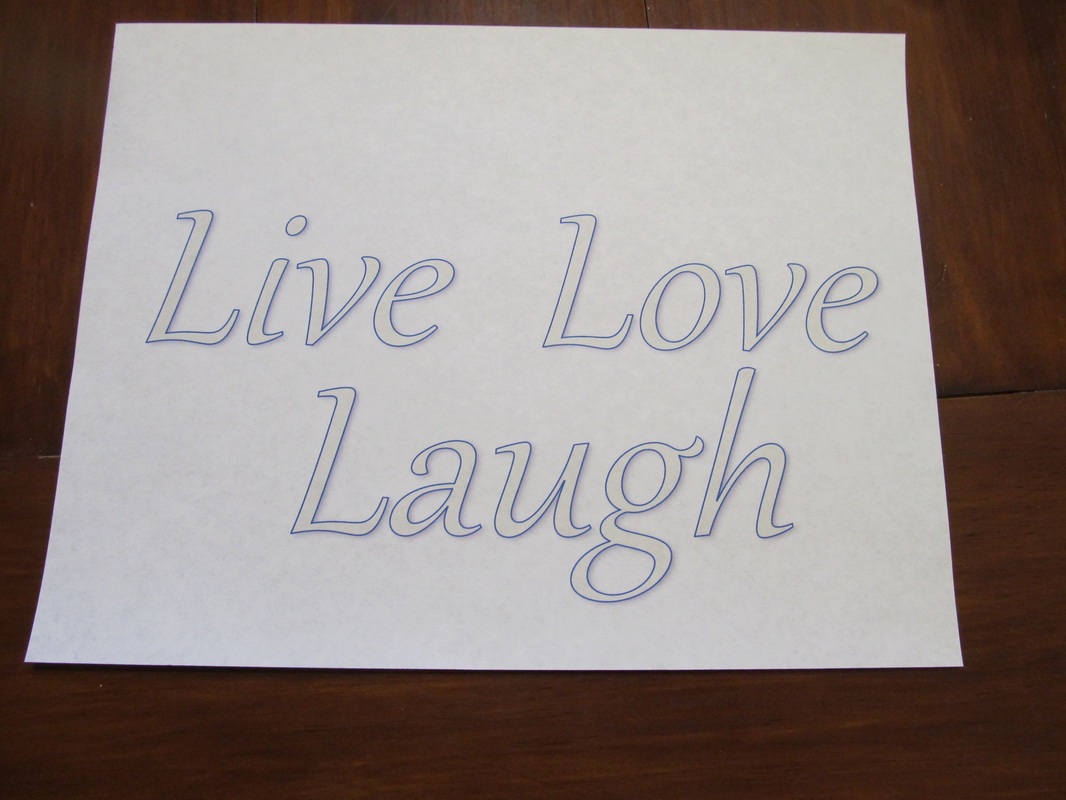
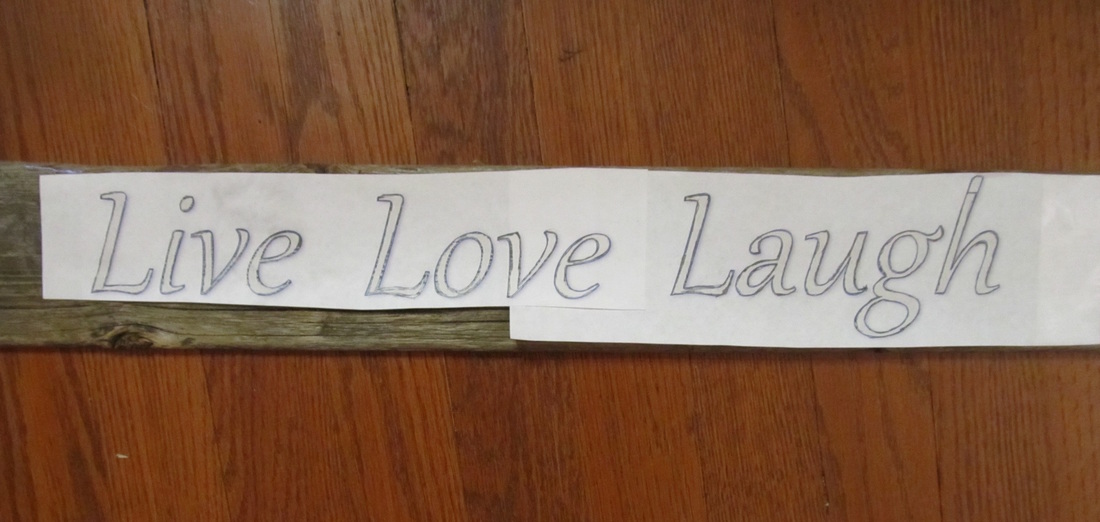
Print out words in the correct height and length for the sign.
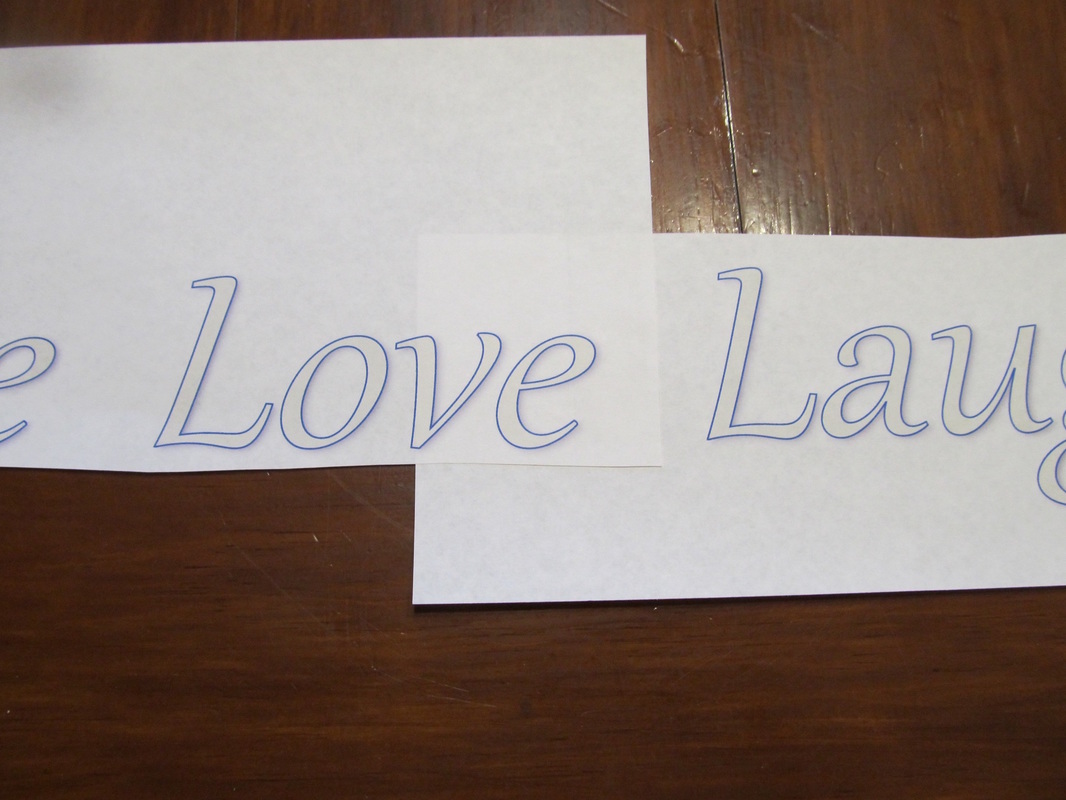
Cut words out and tape together.
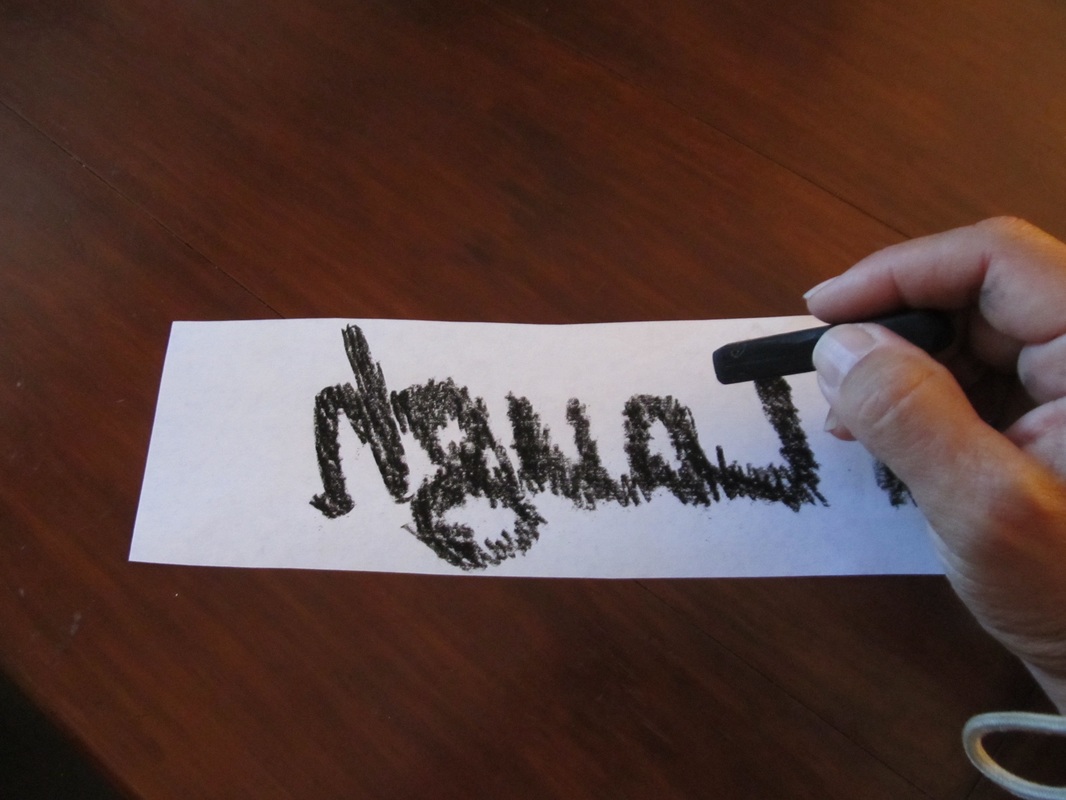
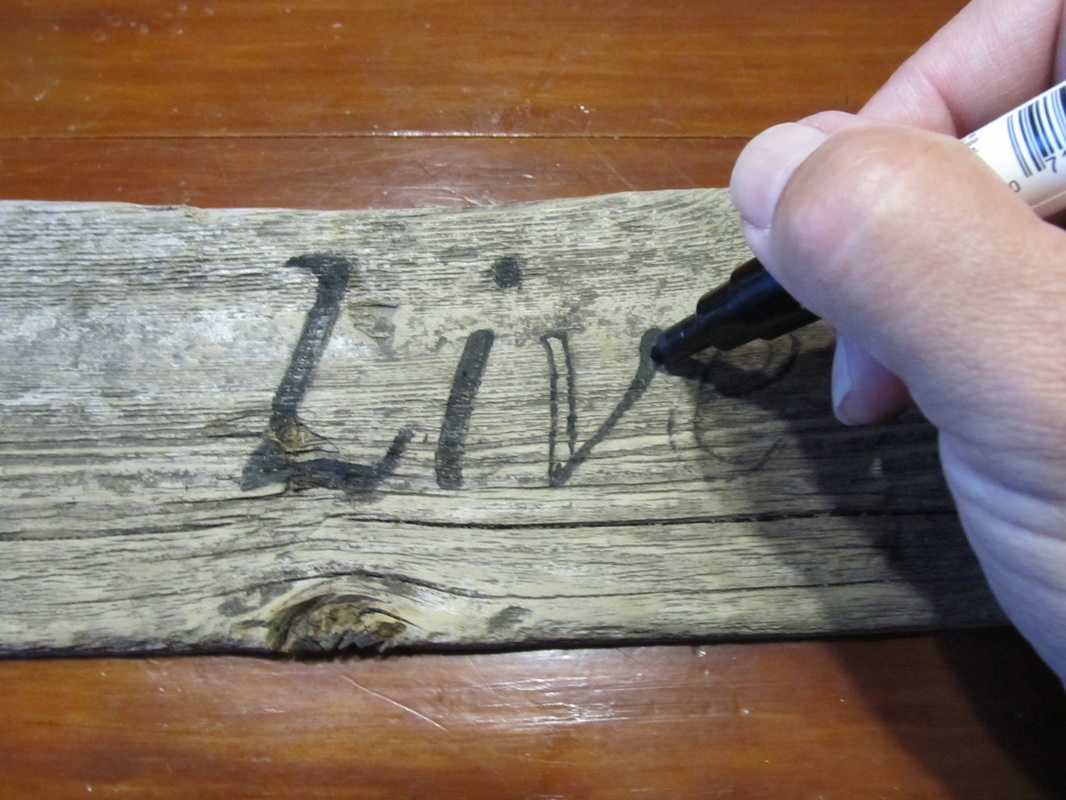
Rub chalk all over the BACK of the letters.
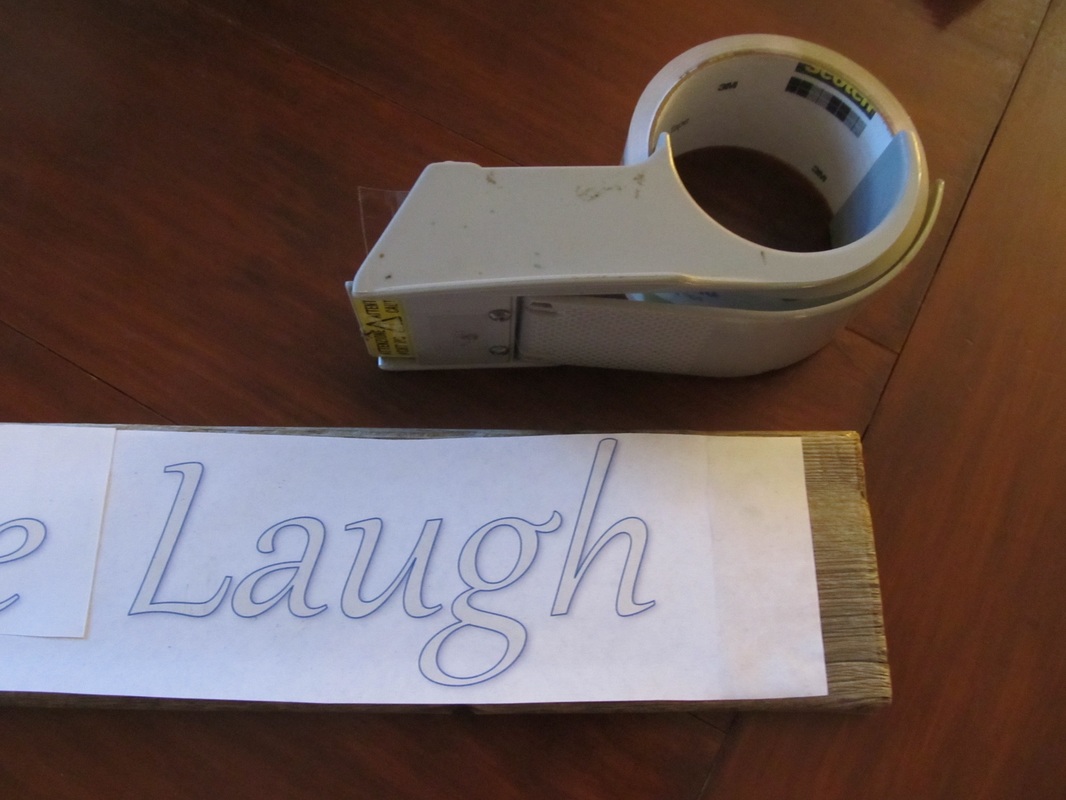
Tape the words to the wood sign.
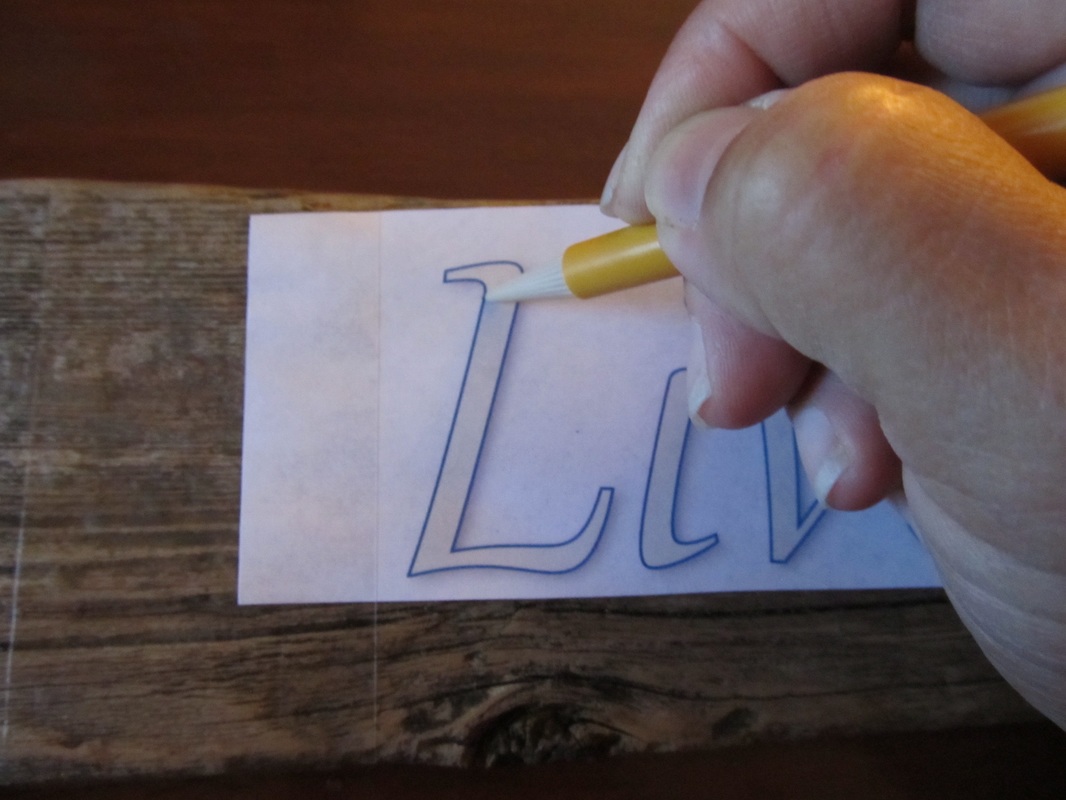
Trace each letter with a pen or pencil. Be sure to push hard enough that the chalk goes onto the wood.
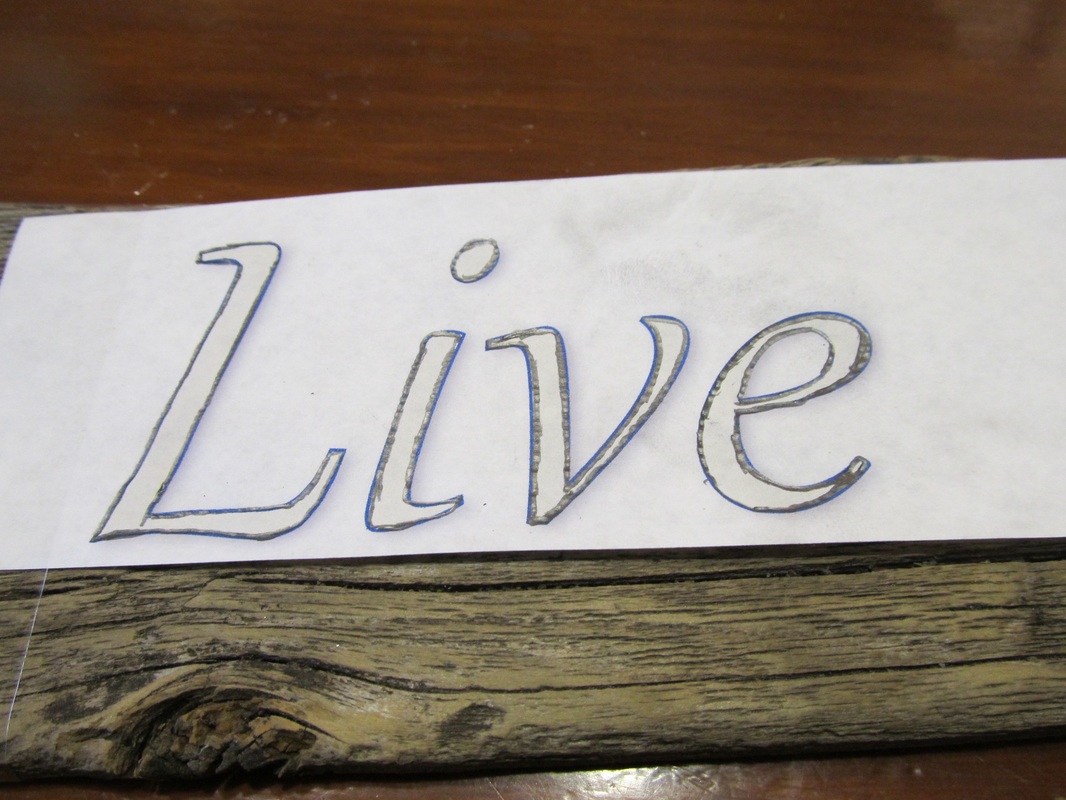
Letters traced.
All letters traced!
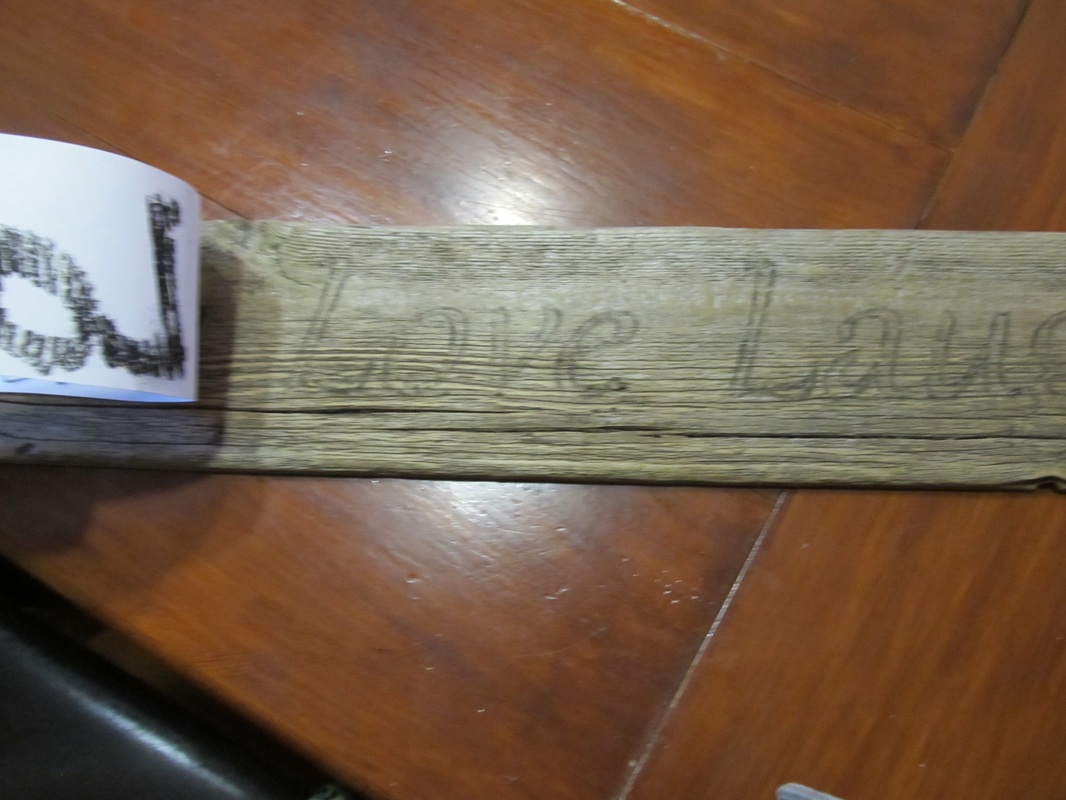
Remove the paper.....and the outline of the words should now be on the wood!
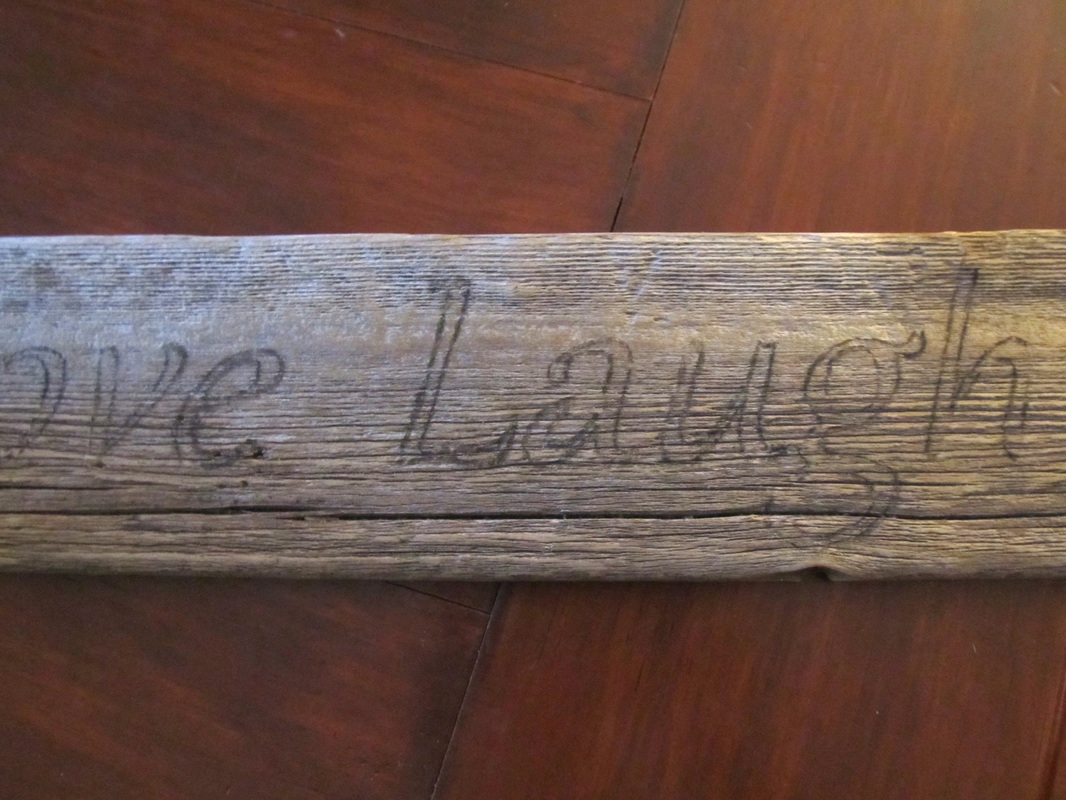
Perfect chalk outline!
Fill in the chalk outlines with paint! I used a paint pen - so simple!

Finished letters on wood. I then went over the letters lightly with sand paper to give them a more rustic look.
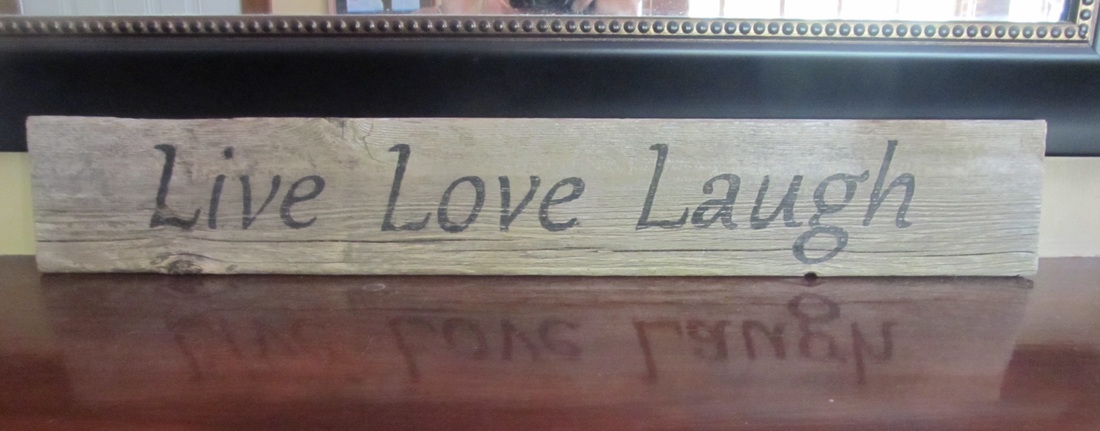
Completed sign!
|


|

|

|
|
|
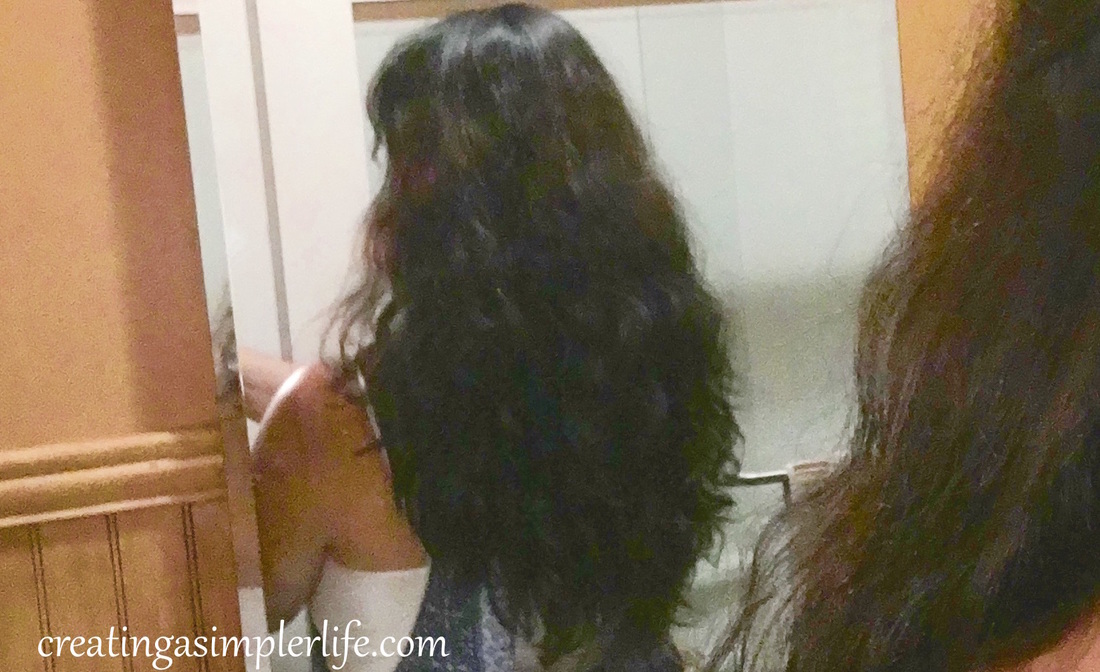
 That gray has to go!  Can you say witchy? Split ends and just long frizzy hair. Time for a change! 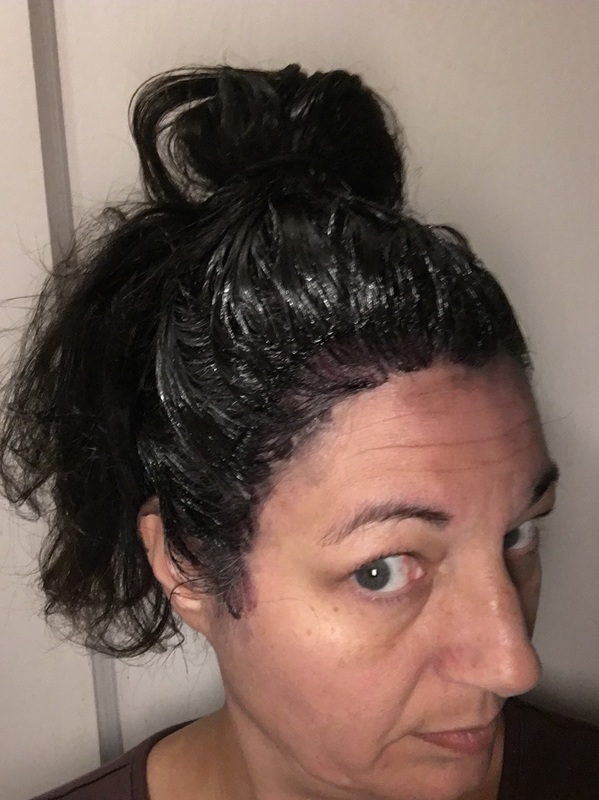 Color comes first. Despite what the directions say it seriously takes at least 45 minutes to cover the gray!  Note that only the roots are being colored! 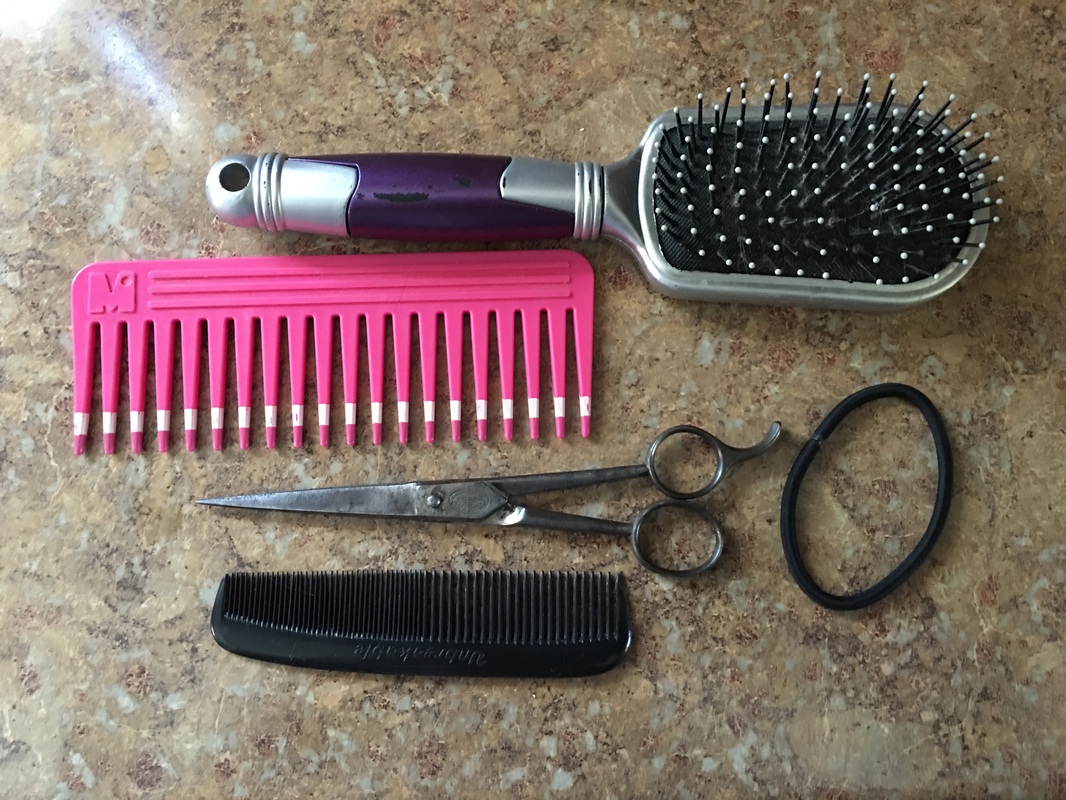 Gather supplies for the trim... 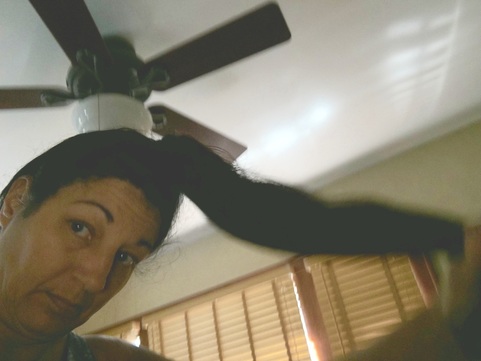 Ponytail at front of head creates a specific cut. Check out the link below for more information! Check out 5 DIY Hair Cuts to Try Today! by howtohairgirl.com I did #3 Long Layers with Face Framing. 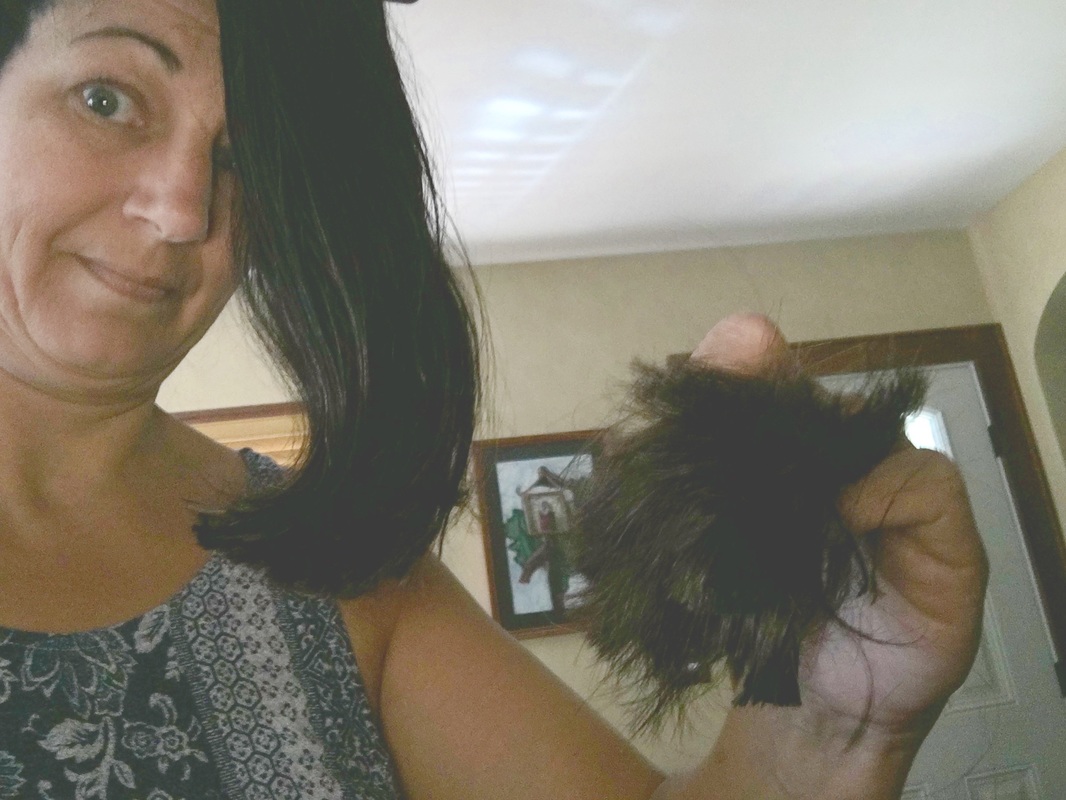 The cut and then I did some point cutting as well. Check out Point Cutting Technique by howtohairgirl.com 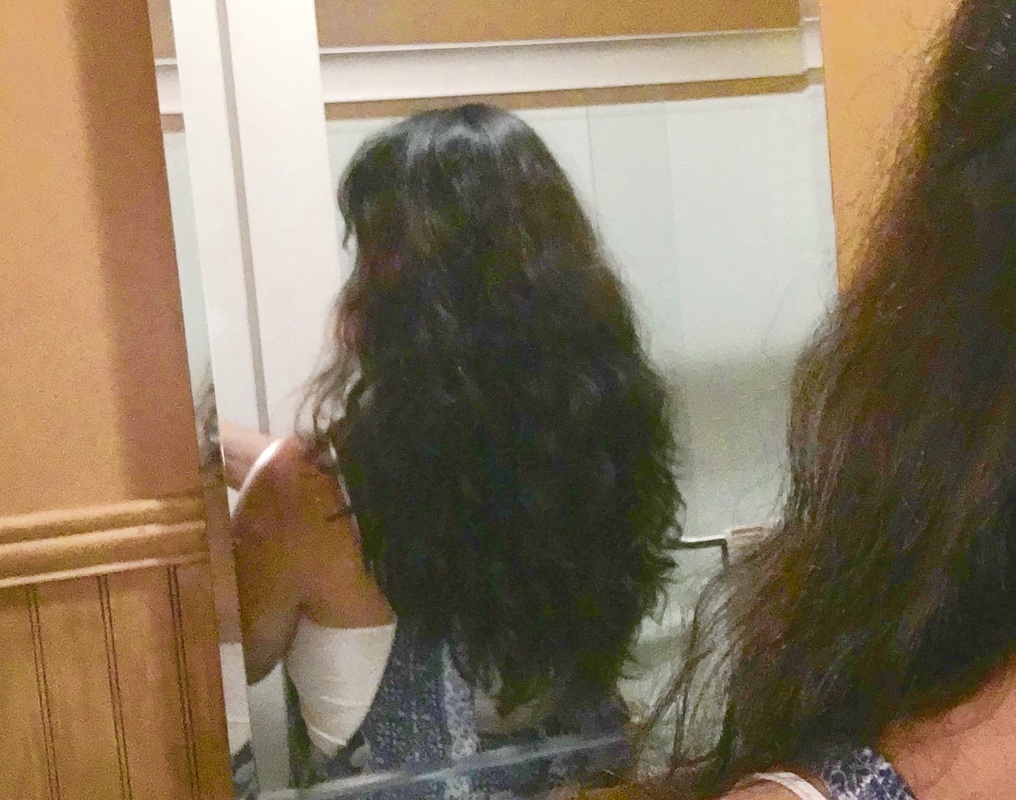 Back looks way better!  And the front frames the face! P.S. I also trimmed my bangs... WHAT A DIFFERENCE! |
 |
|
|

|
|
|
|
|
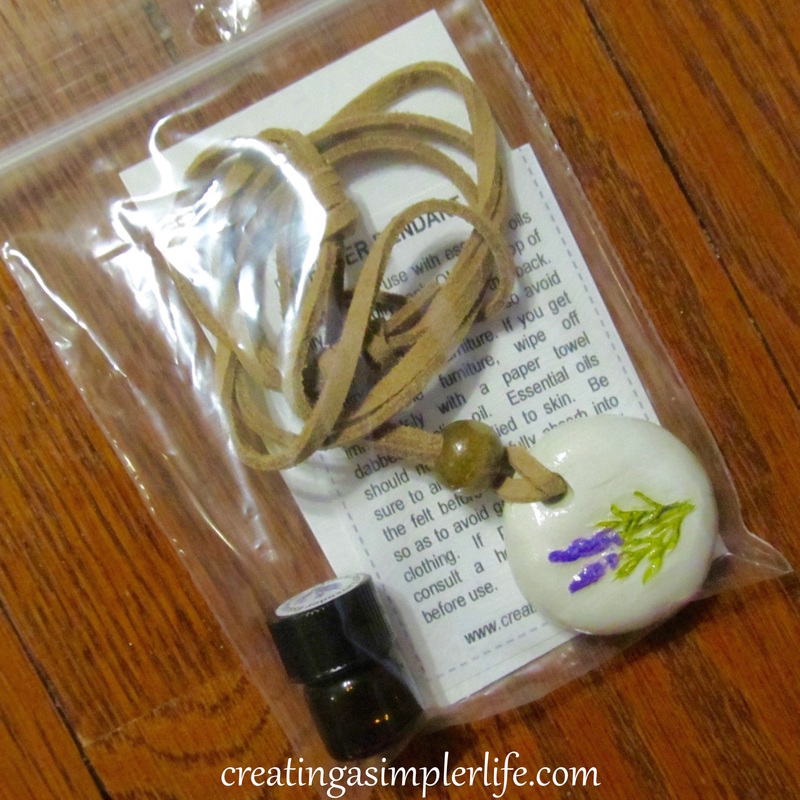
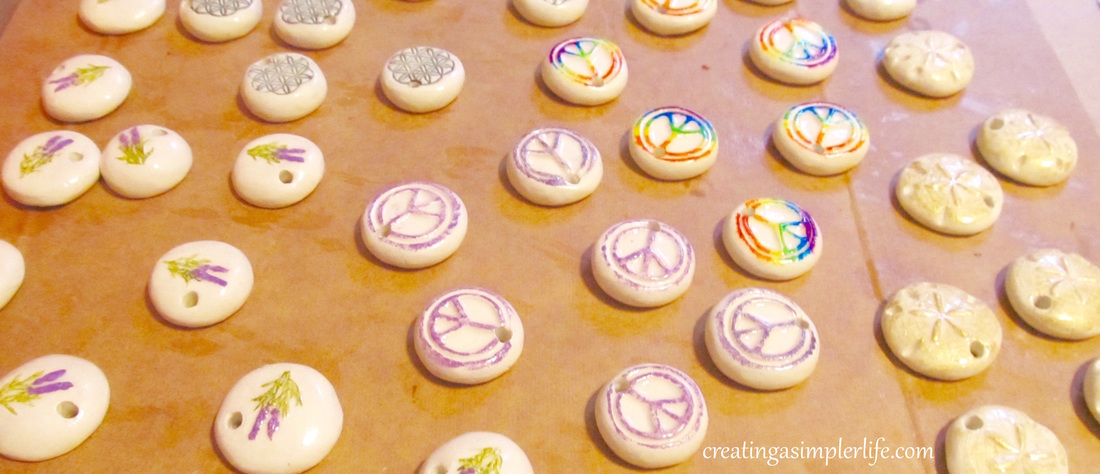
$15 with FREE shipping. Includes instructions, adjustable pendant of choice, and a trial size bottle of 100% pure lavender oil. Comes in a small baggie as shown.
|
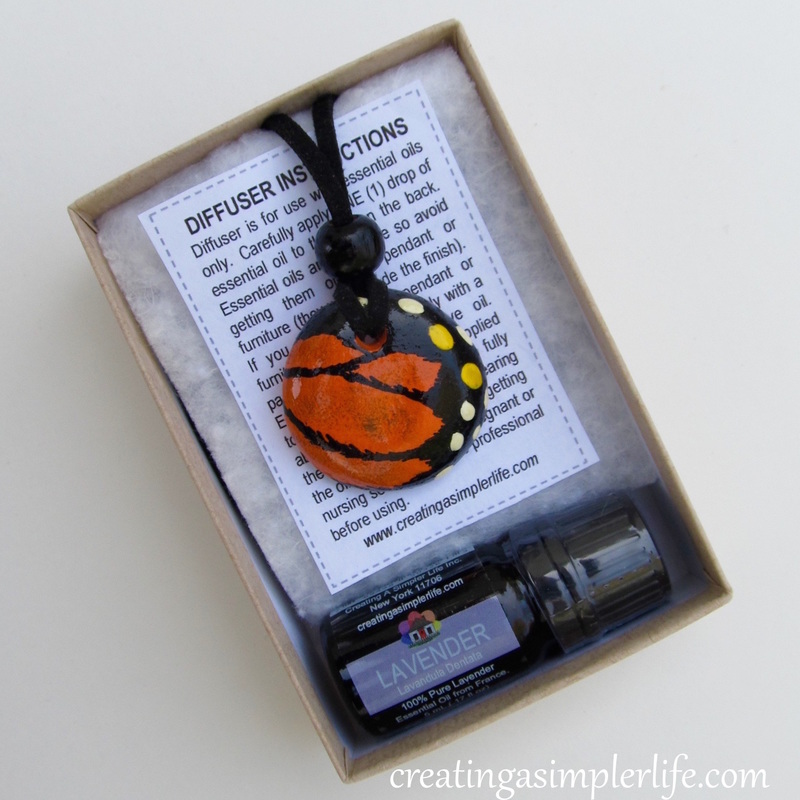
Gift Box Set - $20 with FREE shipping. Includes instructions, adjustable pendant of choice, and a 5 mL bottle of either Lavender or Cedarwood essential oil. Box comes wrapped in an off-white elastic ribbon.
|

|
|
|
|
|

|
|
|

|
|
All
Adirondack Crafts
Chickens
Conservation
Crochet
Do It Yourself
Energy Savings
Essential-oils
Essential-oils
Food-storage-preservation
Food-storage-preservation
Gardening
Health
Health-wellness
Health-wellness
Homemade-remedies
Homemade-remedies
Homesteading
Homesteading Dreams
Inexpensive Fun
Minimizing
Organization
Products We Sell
Recipes
Recycling
Saving-money
Saving-money
Shopping
Wedding & Shower DIY
July 2020
June 2020
April 2020
March 2020
March 2019
January 2019
December 2018
October 2018
August 2018
July 2018
June 2018
April 2018
March 2018
February 2018
January 2018
November 2017
October 2017
September 2017
August 2017
July 2017
June 2017
May 2017
April 2017
March 2017
February 2017
January 2017
December 2016
November 2016
October 2016
September 2016
August 2016
July 2016
June 2016
May 2016
April 2016
March 2016
February 2016
January 2016
December 2015
November 2015
October 2015
September 2015
August 2015
July 2015
June 2015
|
|
|
|


 RSS Feed