Blog
A little bit of anything and everything that's part of
creating, enjoying, and living a simpler life!
creating, enjoying, and living a simpler life!

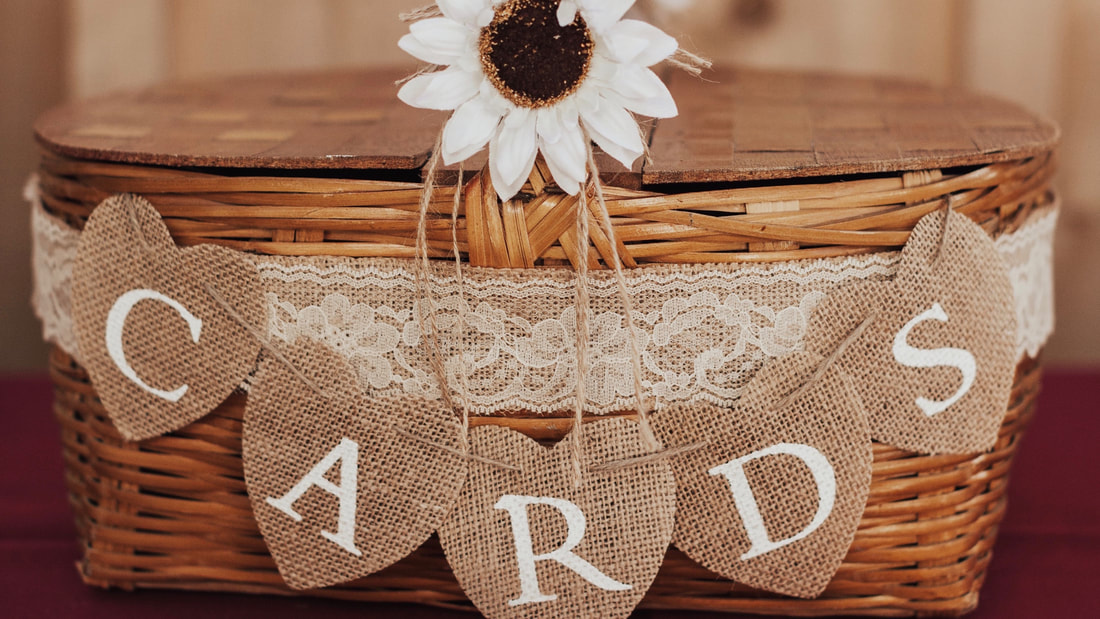
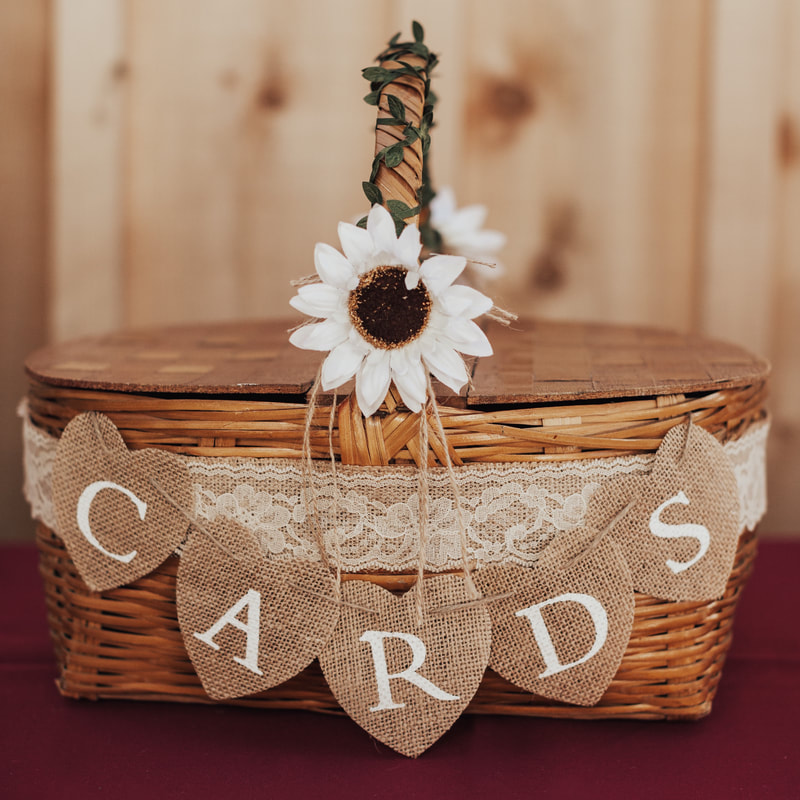
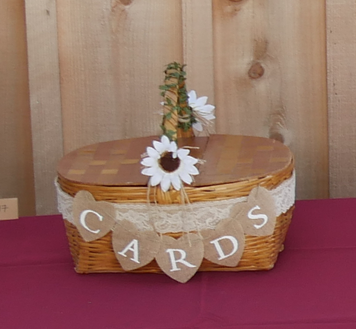
This was a super simple project to make. It was also probably one of the easiest out of all the projects I did for my daughters wedding last September. Not only that, but I also think it was one of my favorites because it used something that was just literally taking up space in my garage!
I used an old picnic basket to make this DIY Wedding Card Holder, but no worries if you don't have one. You can simply decorate just about any container. Look around and see what containers you have that might work. Do you have an old suitcase? Maybe a small trunk...be creative, think outside the box, and please share your ideas (and pictures) with me! Check out my how-to video on YouTube:
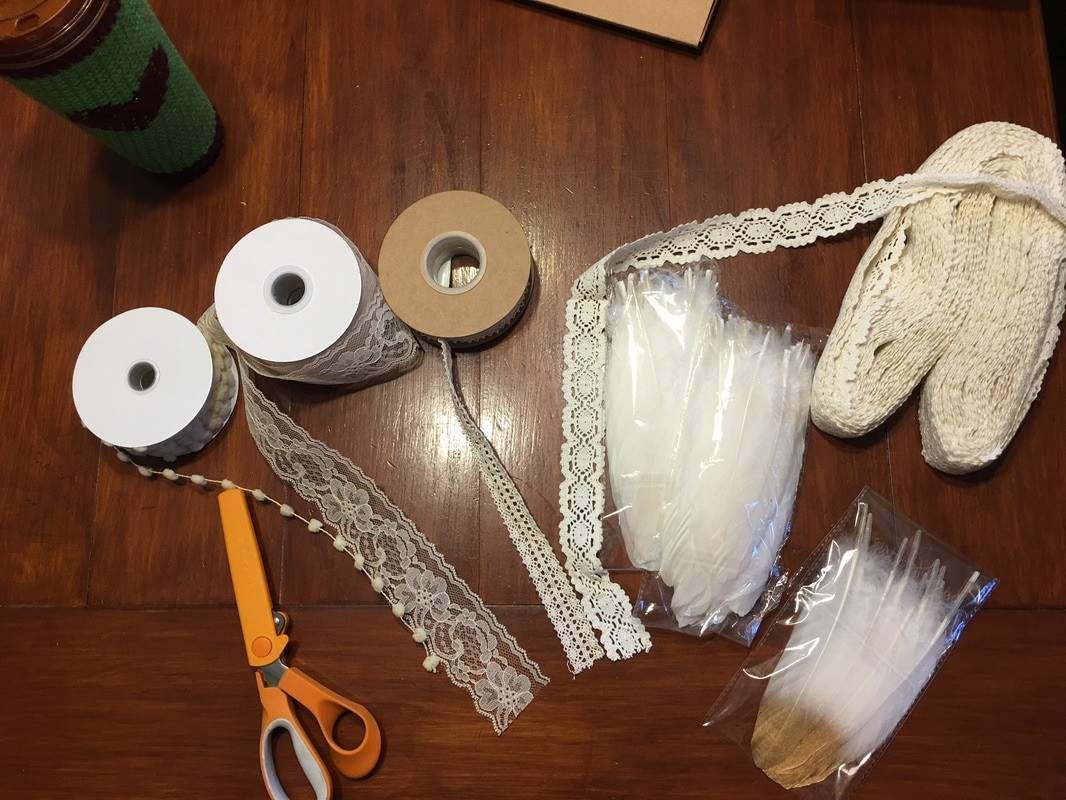
Materials purchased from Amazon (affiliate links):
- 2" Lace Ribbon - Green Leaf Ribbon - 2" Burlap - Burlap "Cards" Hanging
Note that the flowers were from the dollar store and I used hot glue to secure the burlap, lace, and flowers in place!
Check out more wedding ideas on our YouTube Playlist and on our website at https://www.creatingasimplerlife.com/...
Have a great day!
2 Comments
One of the many projects I completed in anticipation of my daughters wedding day. And what a day it was! Simply perfect in every way :-)
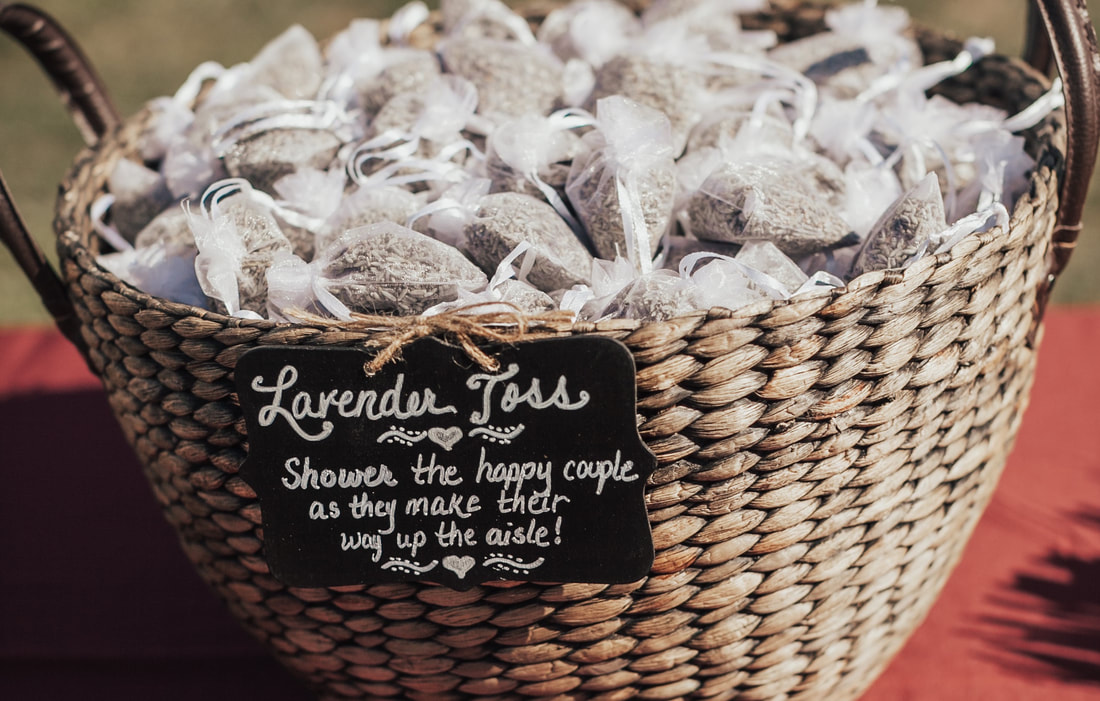
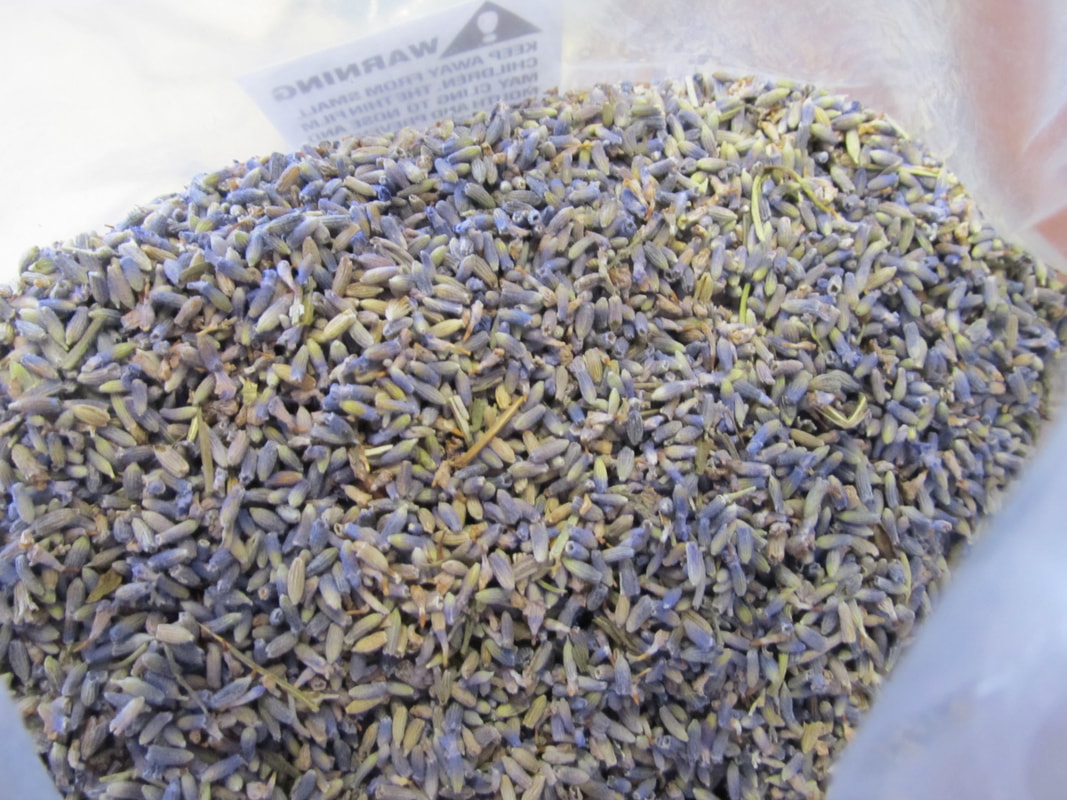
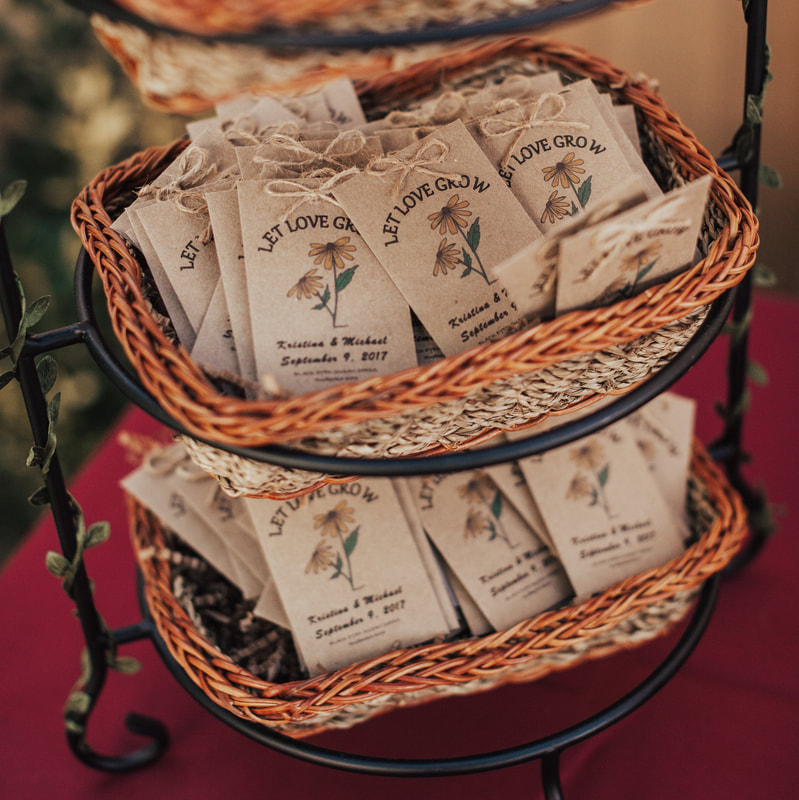
Check out how easy it was to make these little bags of lavender to toss as they walked back up the aisle! Watch the video below, or scroll down for a pictorial explanation. Supplies list is below the video. Note that links to products are affiliates which means that if you click on them and make a purchase I receive a small commission for directing you to their site. This does not affect the price of the item it any way. The expense to you does not change.
Supplies list:
Directions:
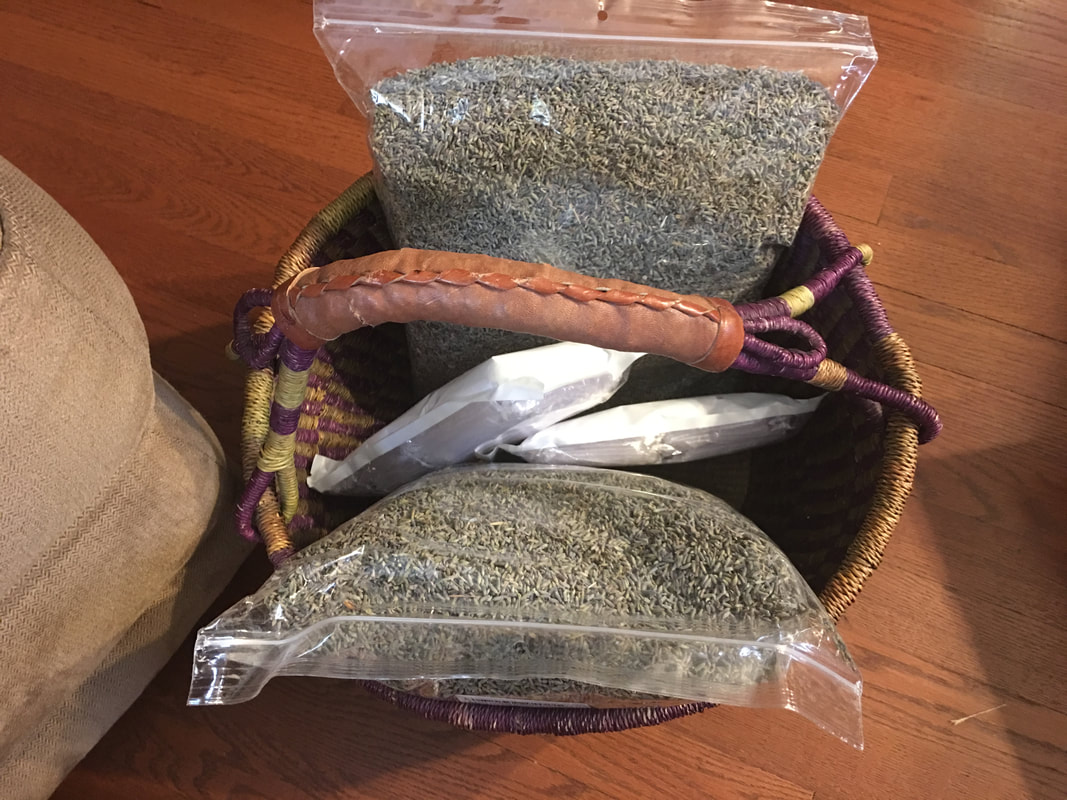
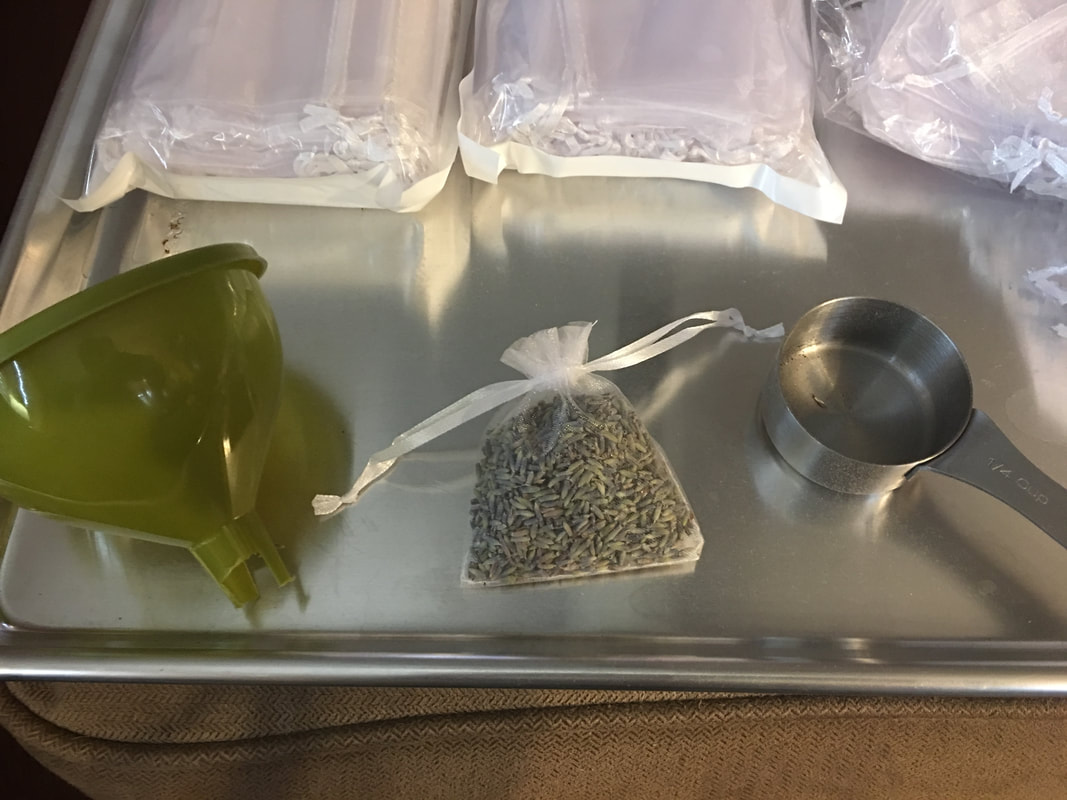
Gather dried lavender buds, 2.8" x 3.5" organza bags, and a basket.
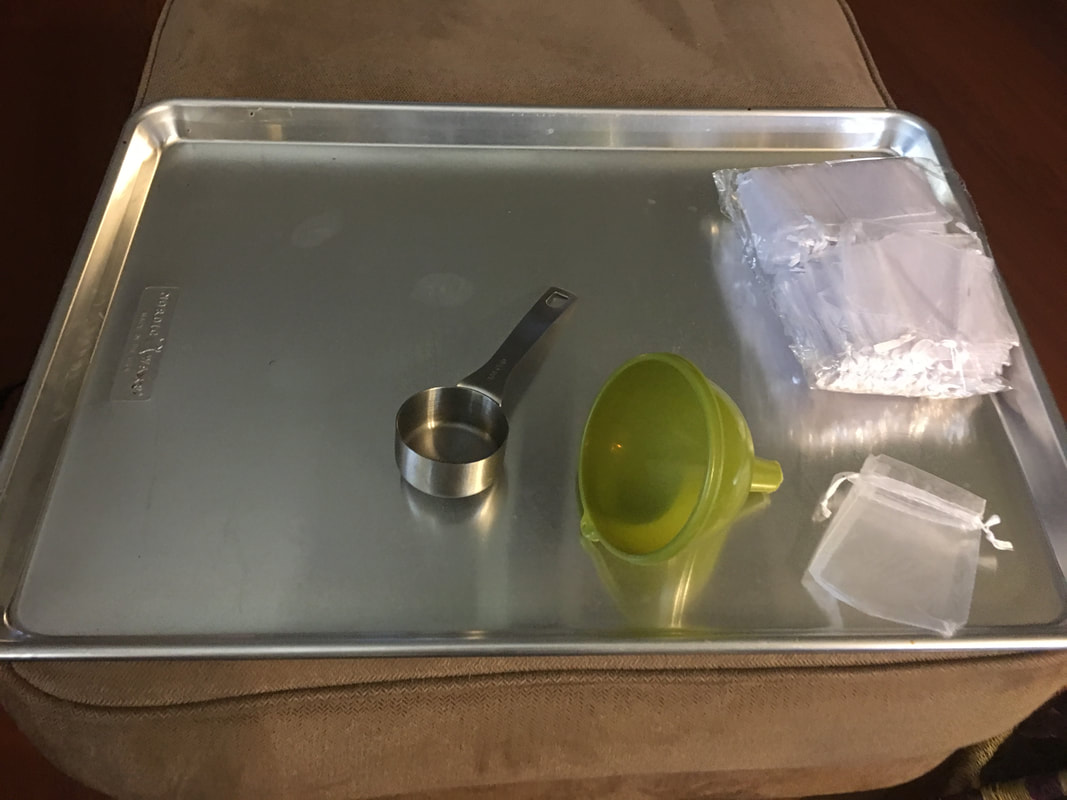
Use a 1/4 measuring cup and a funnel.
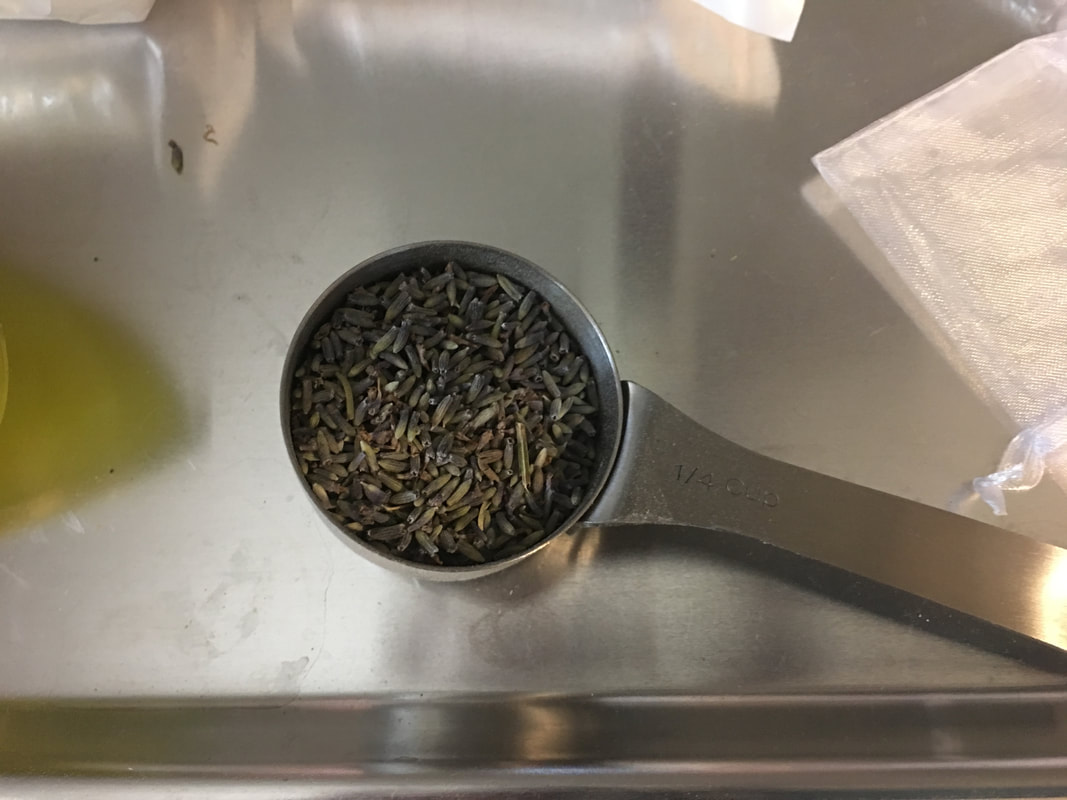
Don't fill the measuring cup all the way....
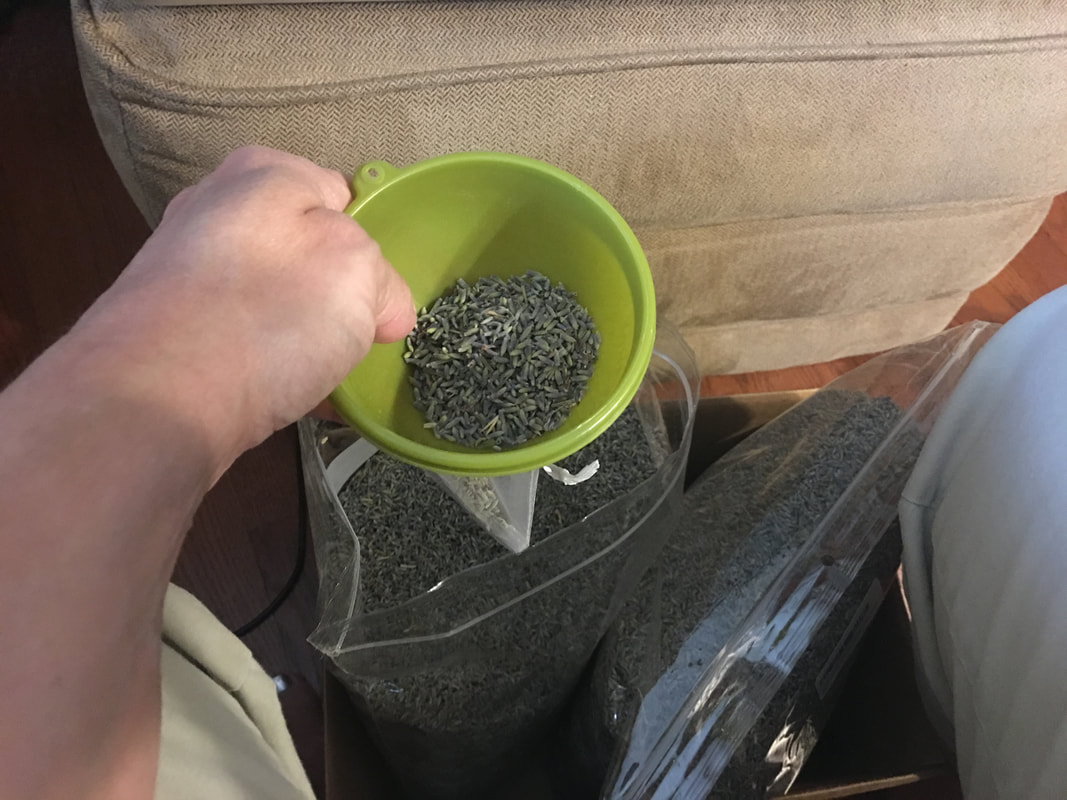
Funnel the lavender into the bags. Of course you don't need the funnel, but I had less mess this way.
Pull the strings closed, however DO NOT tie them. If you tie them they are nearly impossible to re-open.
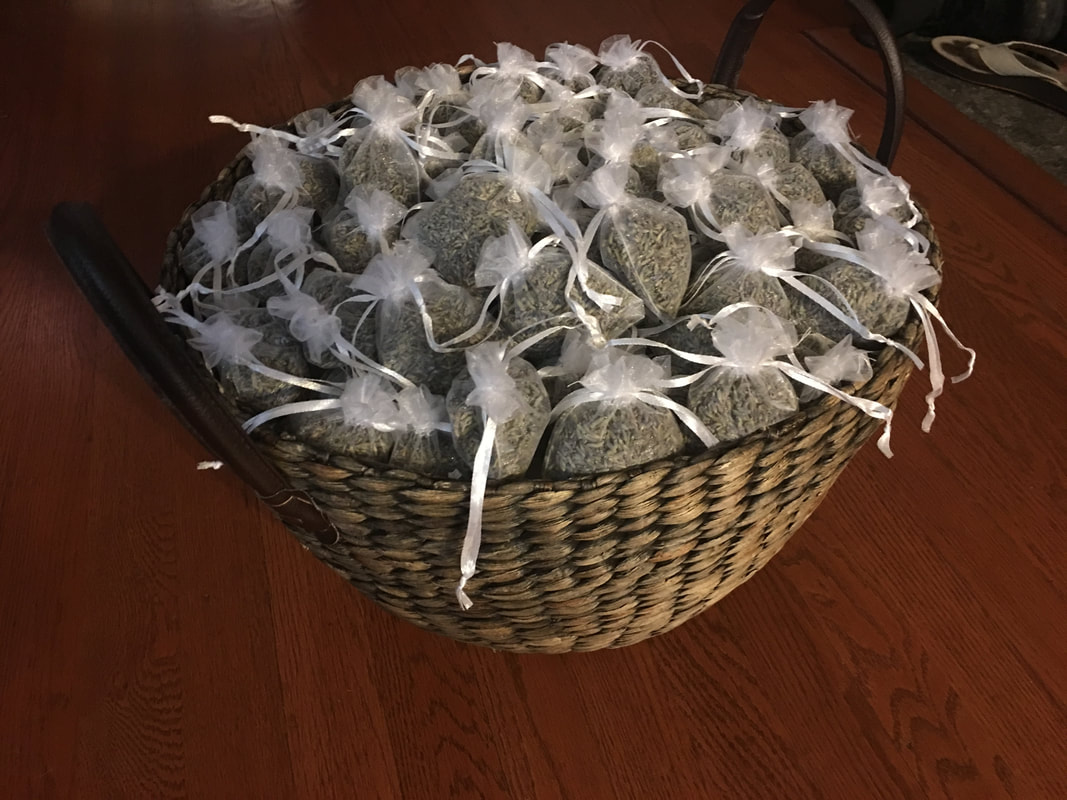
I made 200 and they fit great in a nice large basket!
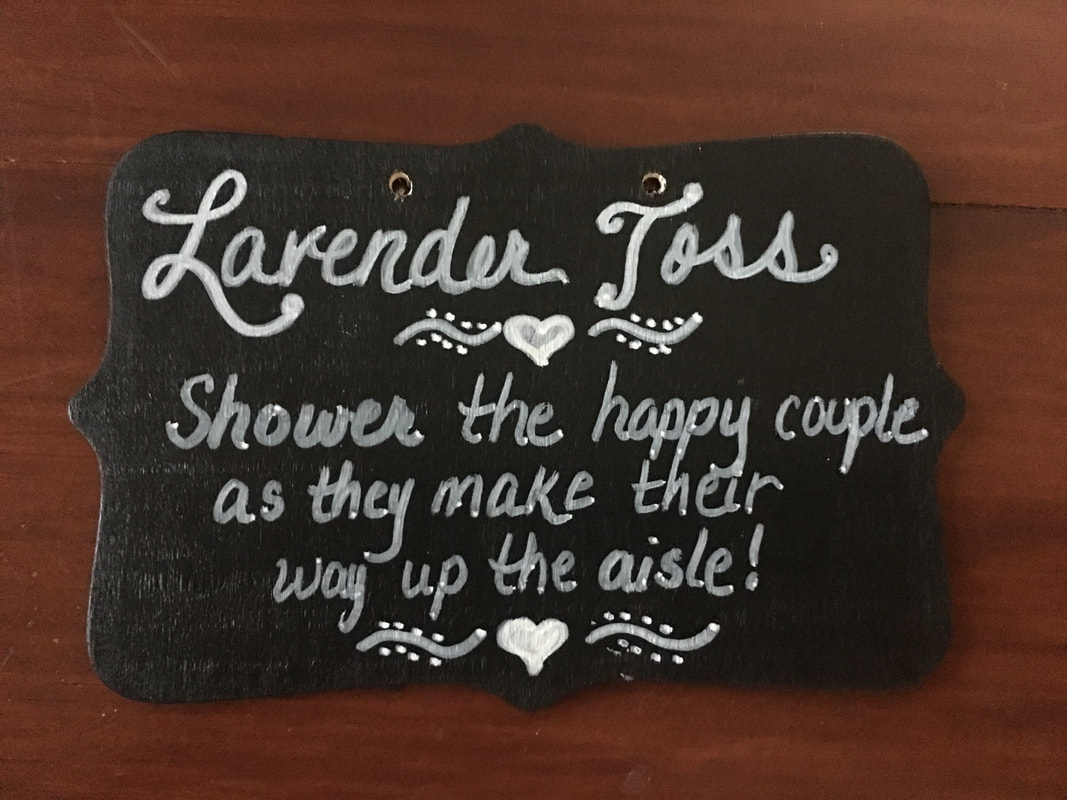
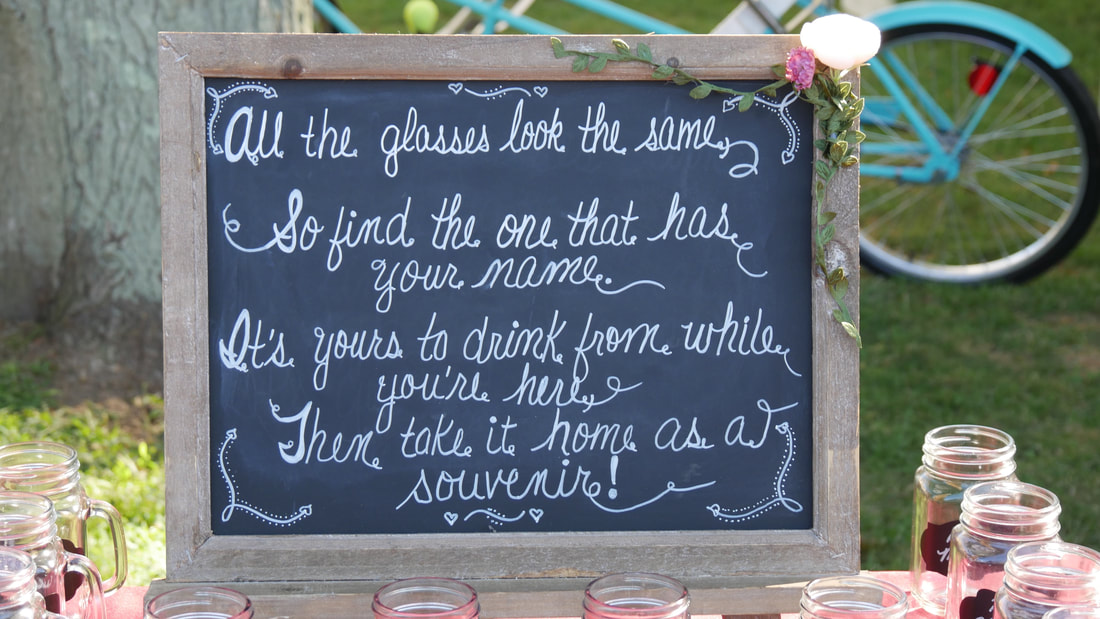
I used a simple chalk sign. We drilled two holes so we could tie it to the basket.
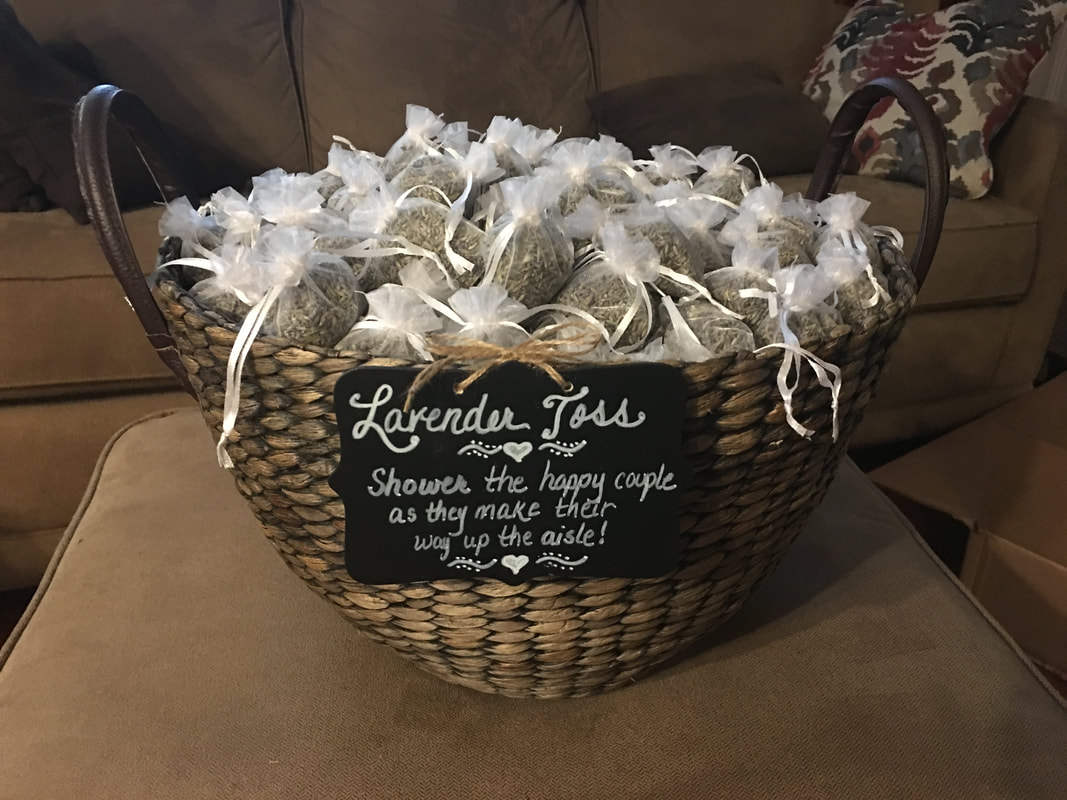
Ready for the big day!
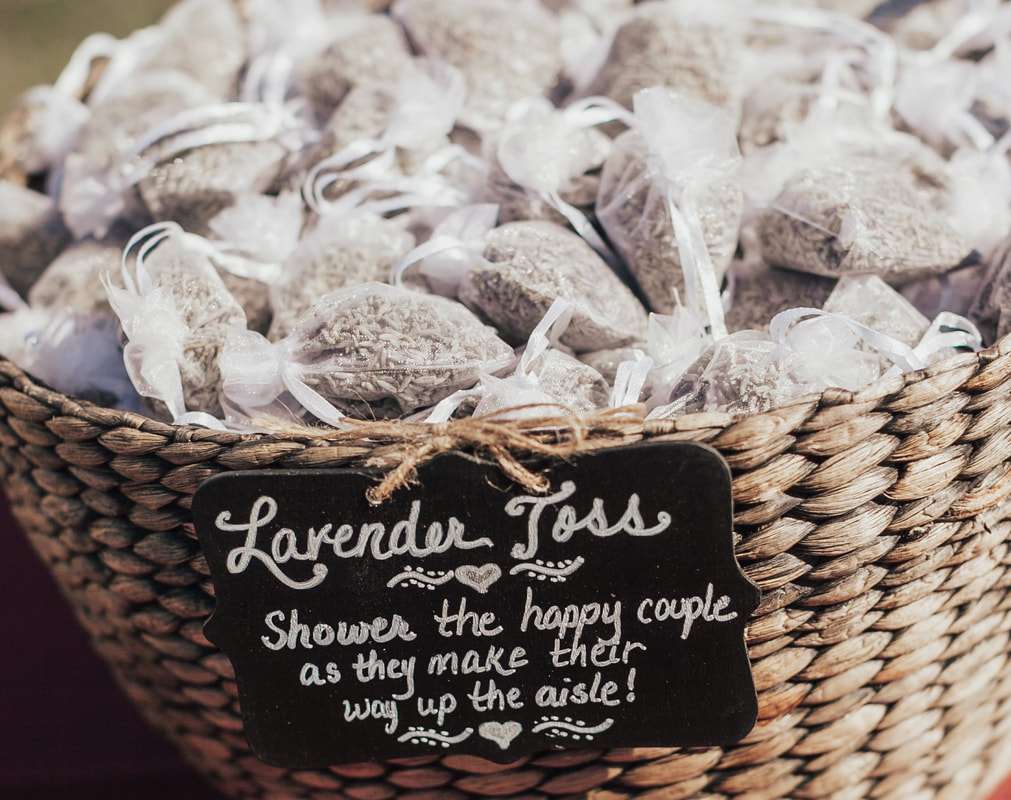

They worked out beautifully. If you watch the YouTube video at the top of this post you can see a video clip of the lavender being tossed at the happy couple :-)

FREE Printable Recipe Cards!
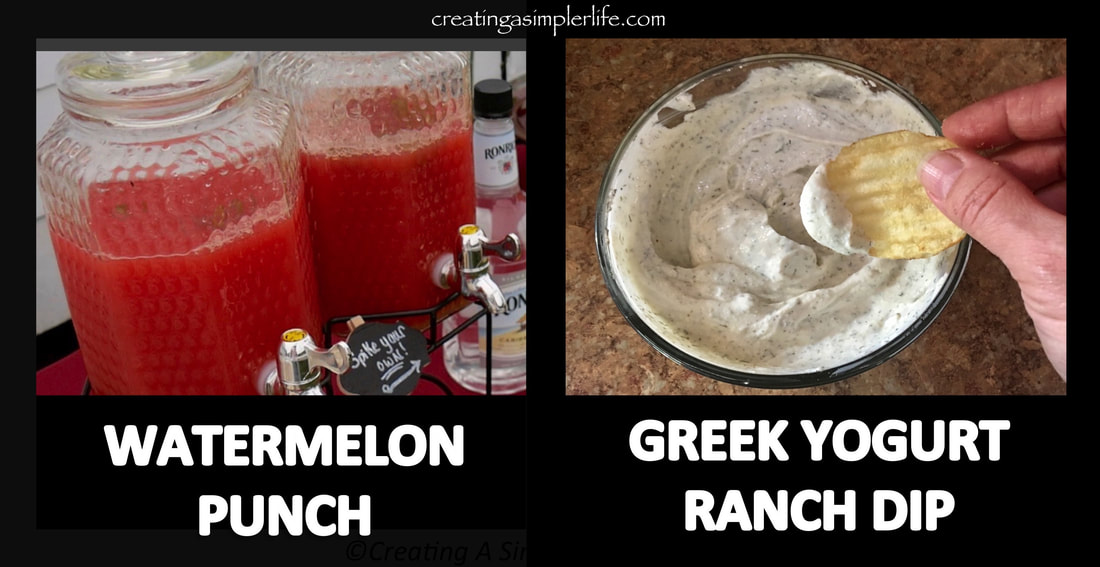
I love parties and I love them even more when I am providing healthy beverages and snacks that are suitable for most, if not all, of the guests! Check out these two party favorites!
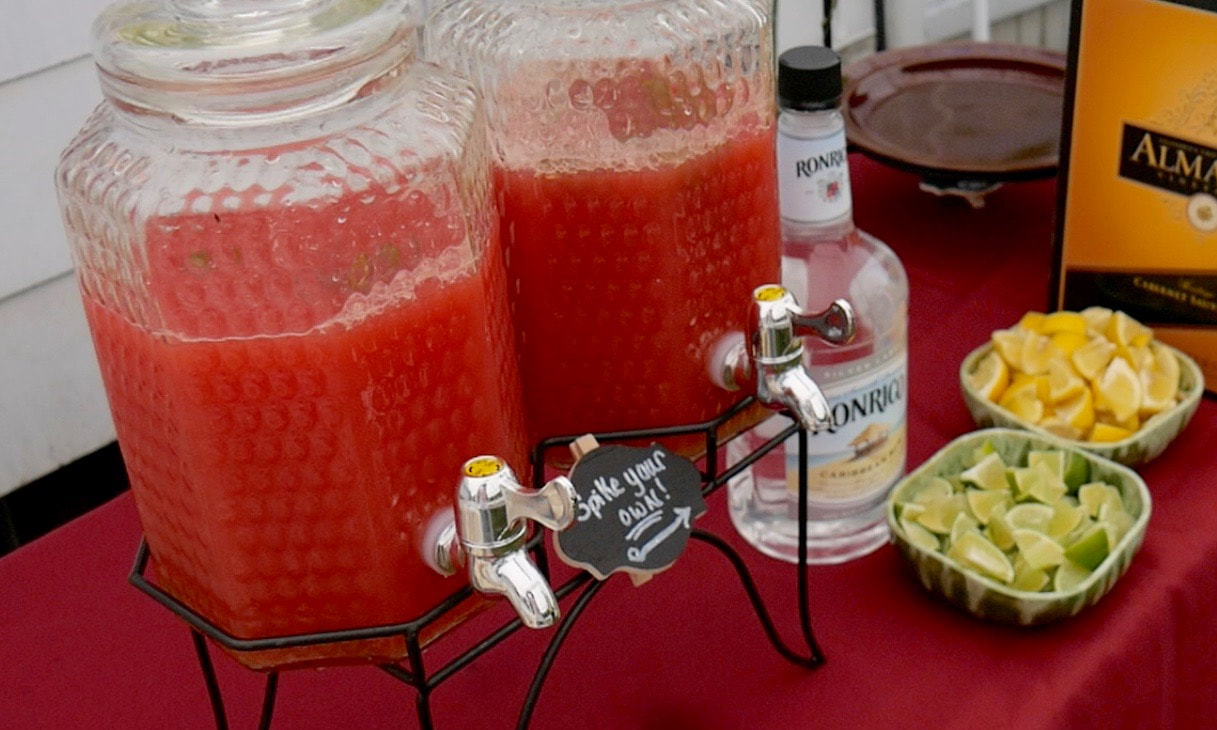
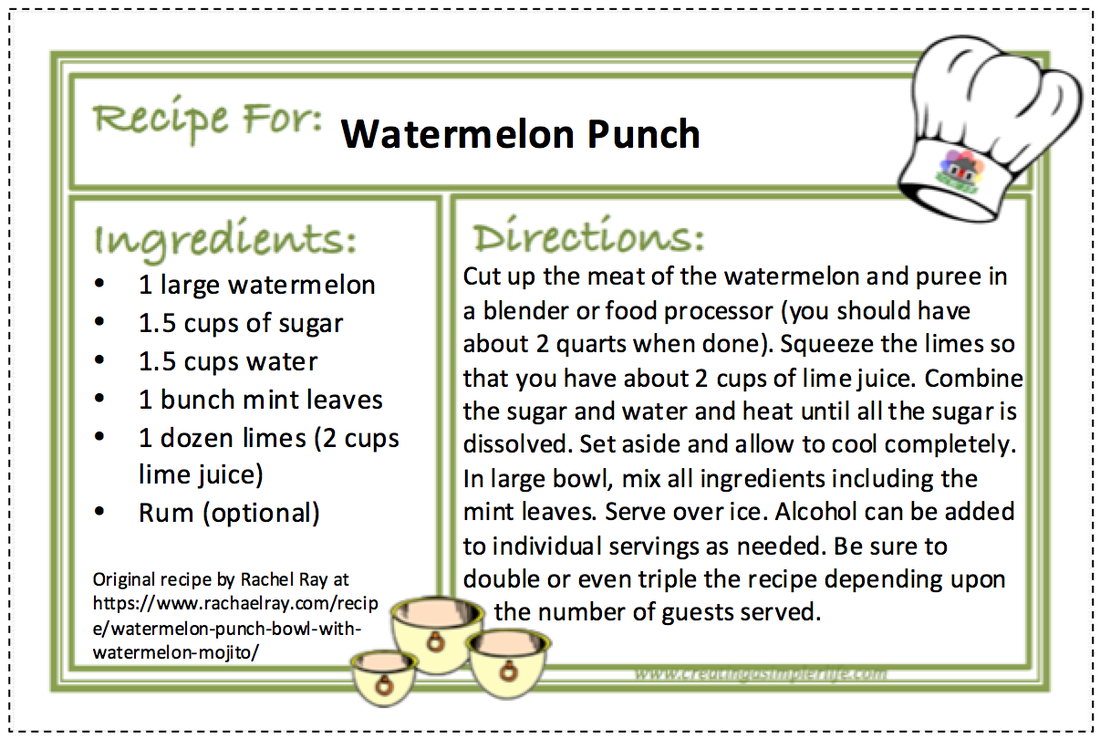
WATERMELON PUNCH is a healthy and delicious beverage that is sure to make any party, especially an outdoor summer party, extra special! My daughters mother-in-law made it for the backyard bridal shower last summer and it was an absolute hit with the guests!
The original recipe comes from Rachel Ray who is known for her fabulous, and simple, recipes, however a few minor changes were made. The watermelon was not used as the bowl and the alcohol was not added. Instead, the punch was provided in beverage dispensers (see photo above) and a bottle of rum was on the side to be added if guests chose to spice up their drink! Extra limes and lemons wedges were also included in bowls on the side for added flavor if desired. Honestly, it was delicious and refreshing with or without the alcohol! 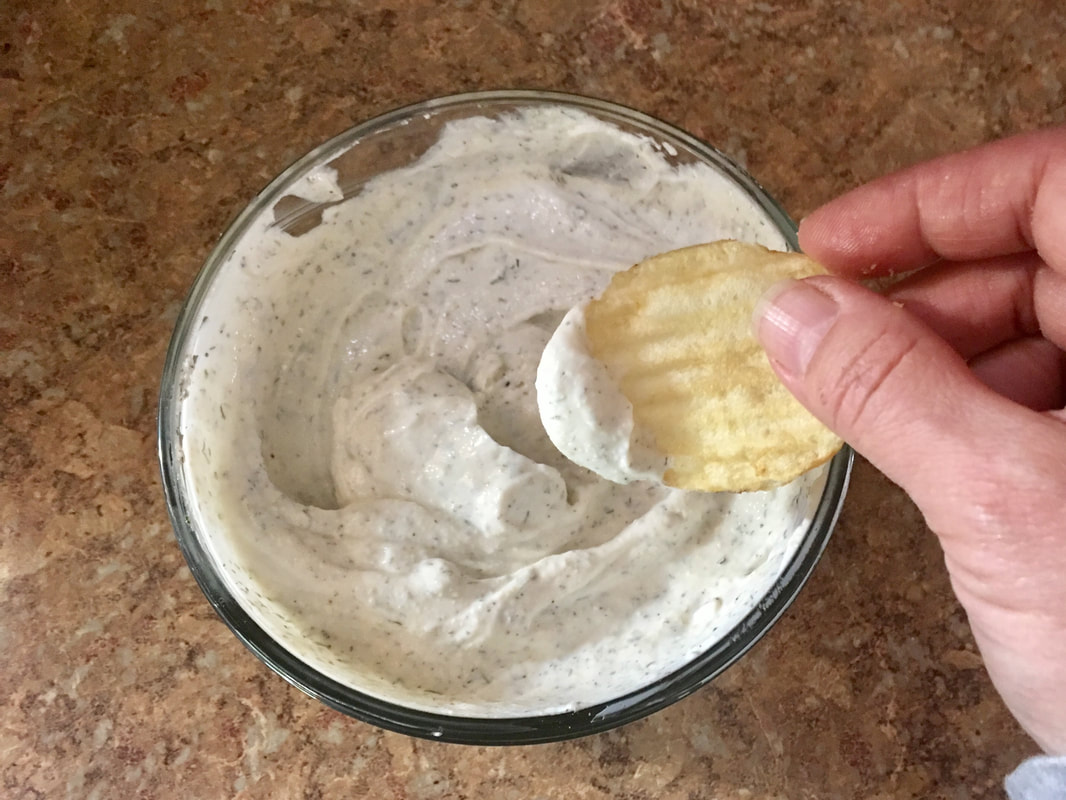
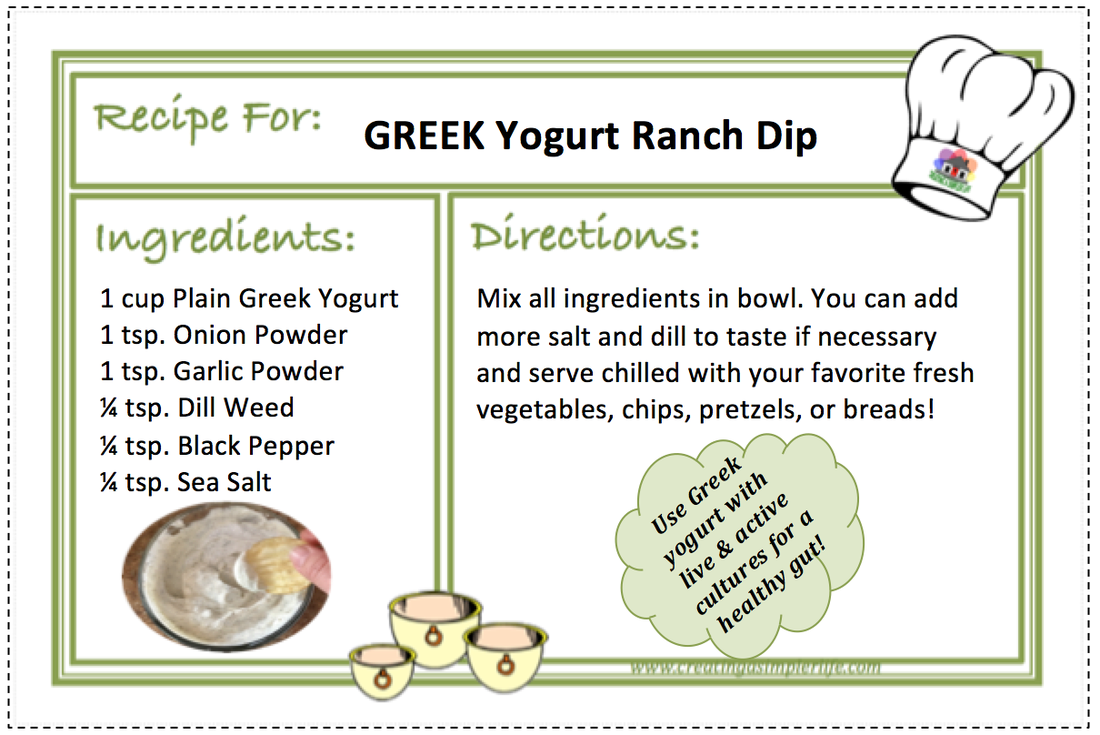
GREEK YOGURT RANCH DIP is a healthier, and in my opinion, better alternative to all other ranch dips because it is high in protein and low in calories. It's made of all natural (preferably organic by choice) ingredients and if you buy a high quality yogurt with live and active cultures it is a giant plus for the digestive system! It can also be eaten by anyone that is lactose intolerant because apparently the good bacteria takes care of any lactose for them. Definitely another bonus for guests, including any lacto-vegetarians!
Print out these two FREE 5x7 Recipe Cards Now!
Simply click on either of the recipe cards below or the link above to download an 8.5" x 11" pdf document. Then simply print it on 8.5" x 11" card-stock paper (affiliate link) and cut them out! I always include two recipes at a time so theres as little paper waste as possible :-)
Thanks for visiting!
Check out our other printable recipe cards and/or our Weddings & More page for more great party ideas. Sincerely,
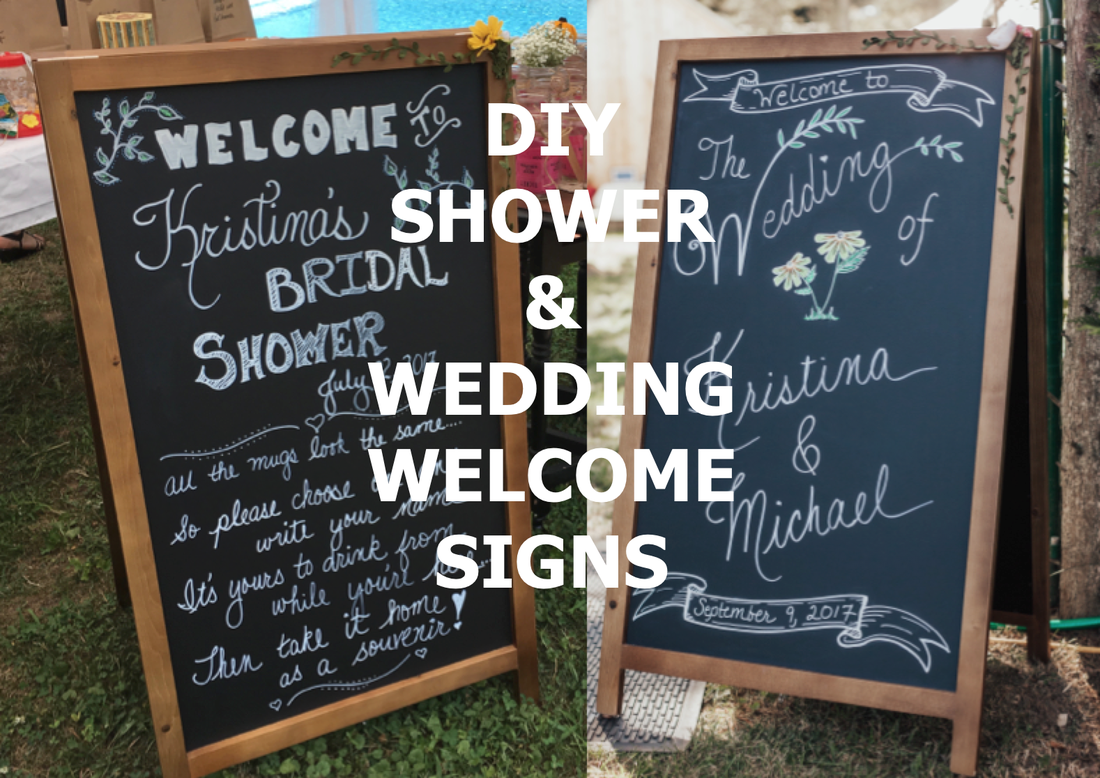
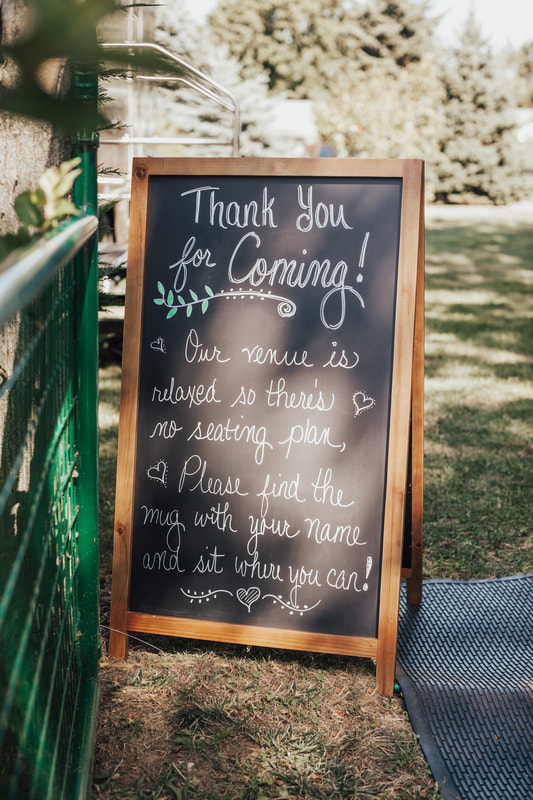
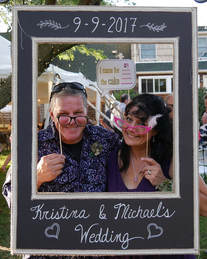
While obsessively searching through Pinterest for ideas for my daughters backyard wedding, one thing that kept coming up again and again was a welcome sign. There were many kinds of signs: some were printed, some were purchased, and some were even printed on wood for a real rustic look. I chose to go with a giant chalkboard sign like you see outside some country restaurants. I just like that rustic/country feel and I really wanted to try my hand at some fancy chalk writing. After some failure, and then a little more trial and error, I came to discover how much I like using chalk paint pens. They come in multiple colors and work really, really well! Beware though: If your surface is porous they may not wash off!
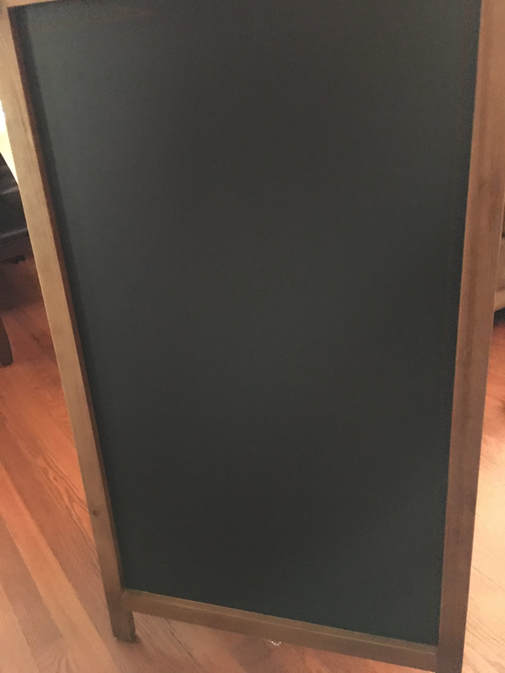
A nice clean surface to start with!

Sign in progress....
Almost done....
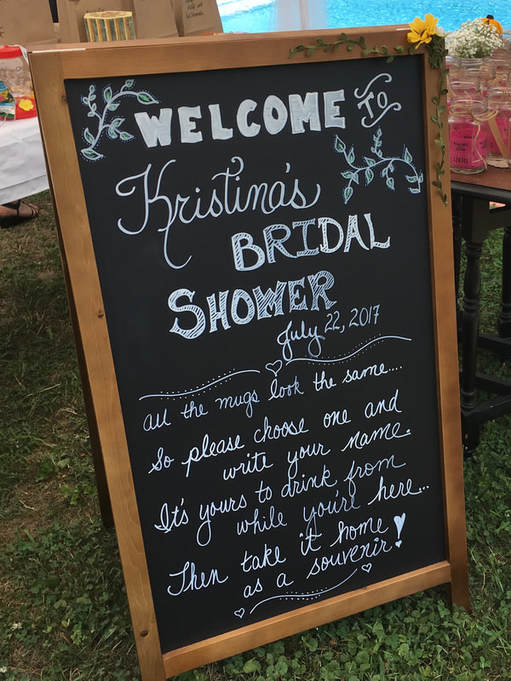
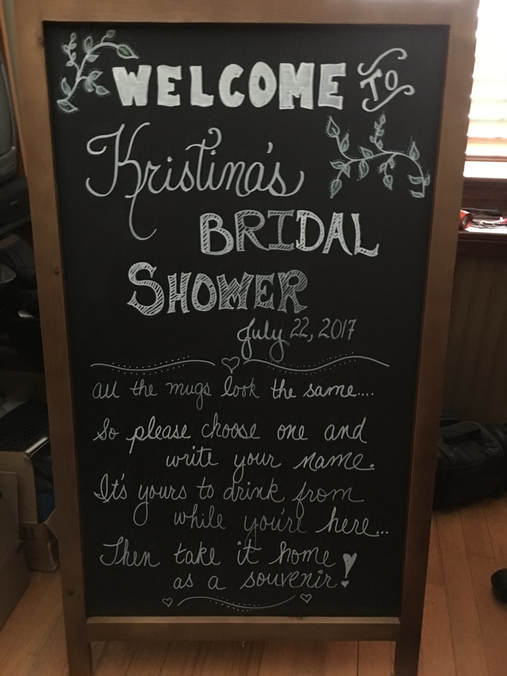
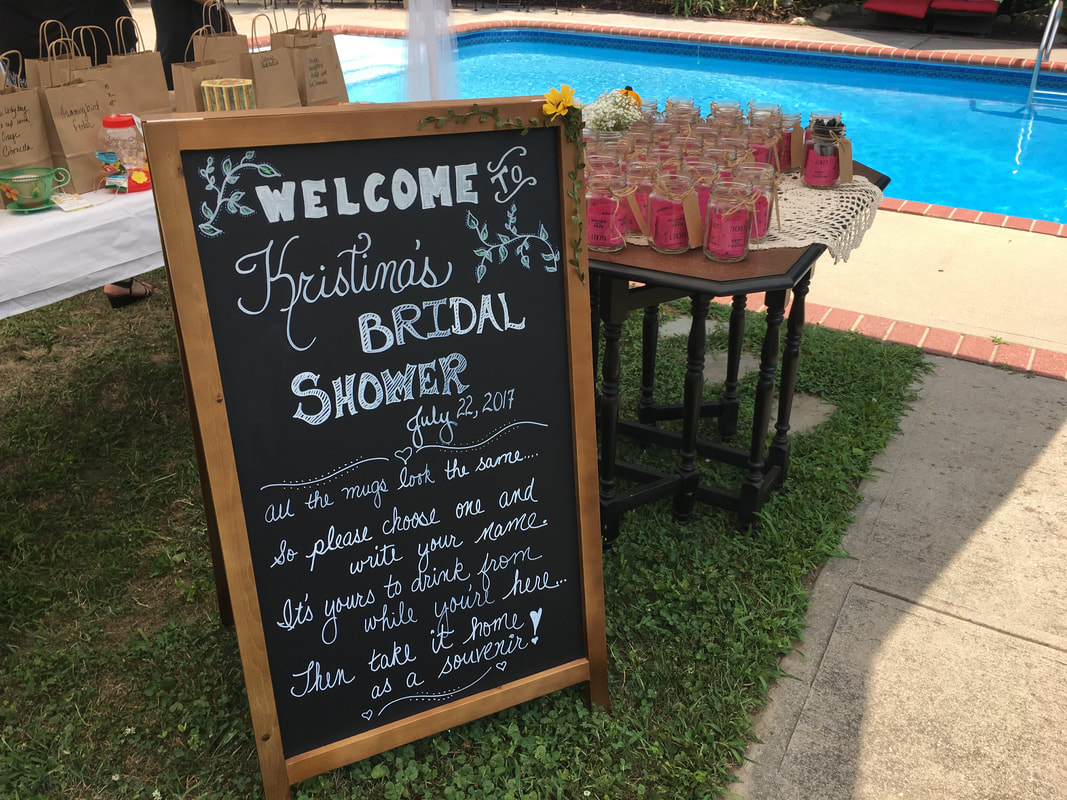
The sign the day of the shower :-)
I can't really teach you how I wrote these signs because I really just winged it. I did do some searching online for different lettering ideas but after trying several of them I decided to just go with what felt and looked right to me.
What I can do however, is share some tips with you that I learned:
Products (affiliate links):
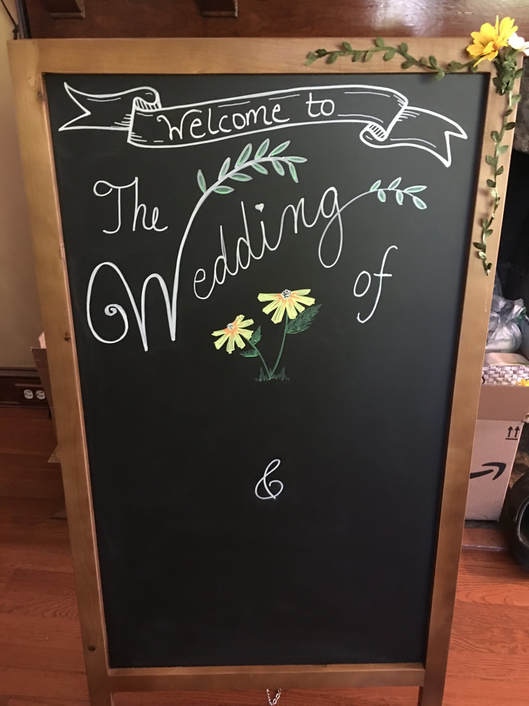
Sign was a work in progress over several days...
Sign almost done!
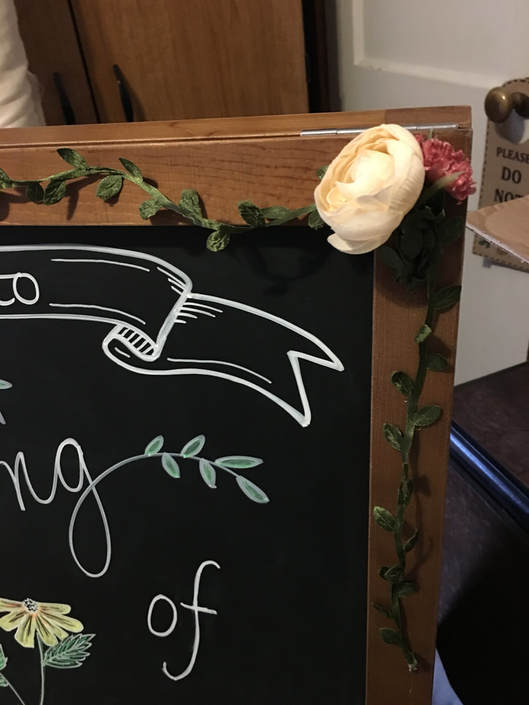
I changed the flower ;-)

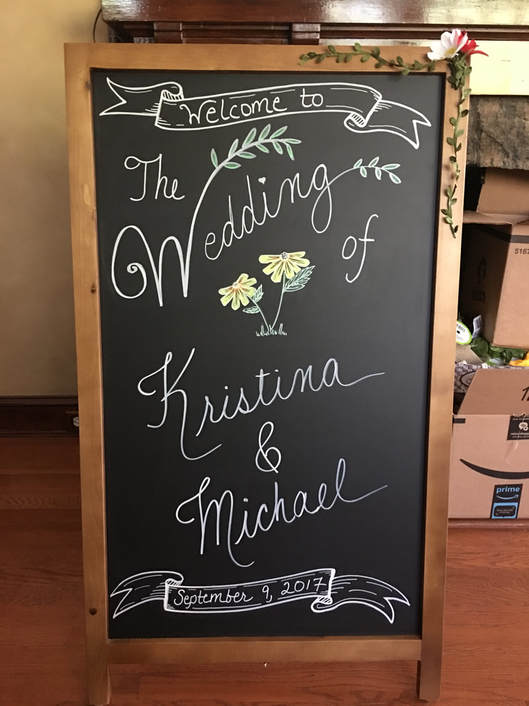
Front of Wedding Sign at the Backyard Reception
Back of Wedding Sign at the Backyard Reception
I have to say I was really happy with the way the signs turned out for both the shower and the wedding, especially considering I had never made a sign before! I also know it was a lot more economical than paying someone else to do them!
Check out our other Shower and Wedding DIY's here or on our You Tube Channel! Follow us so you don't miss these upcoming posts: Note: These beautiful pictures were taken by my daughters photographer Samantha Brancato.
Thanks for visiting!
Sincerely,
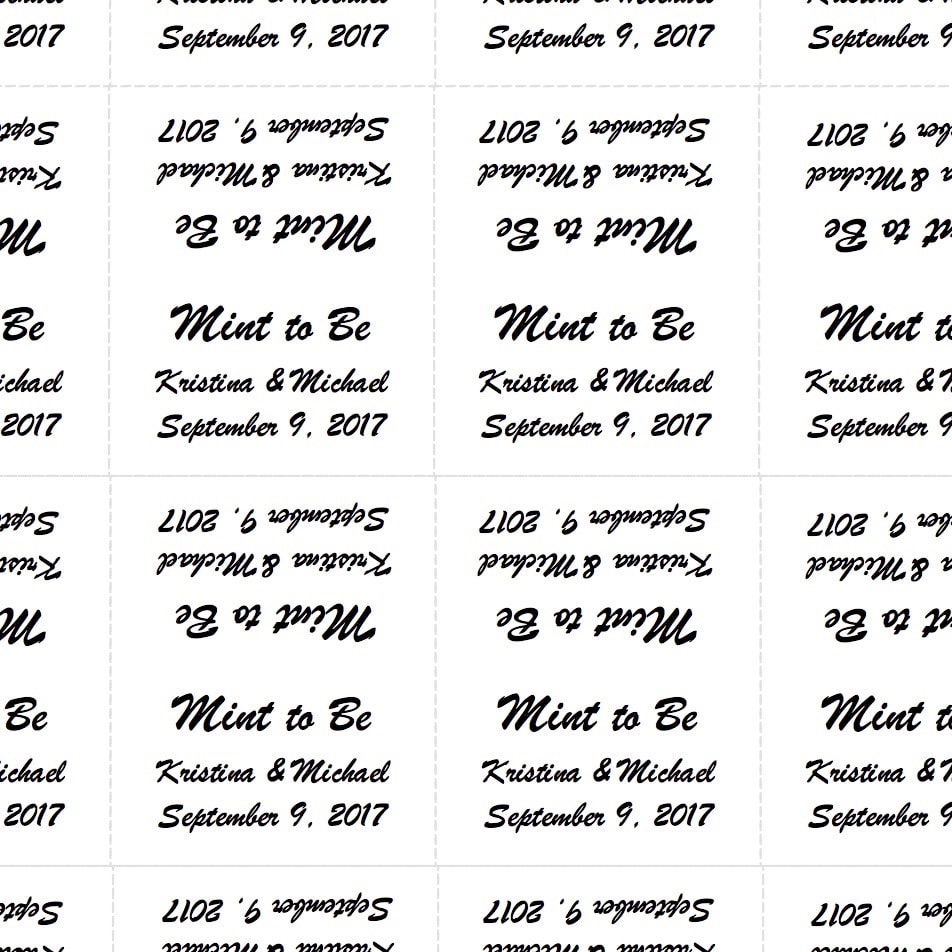
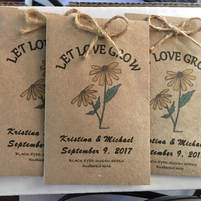
SUPER SIMPLE AND SUPER SWEET!
FREE MS WORD DOCUMENTS FOR BOTH! Why not make them for your next celebration? 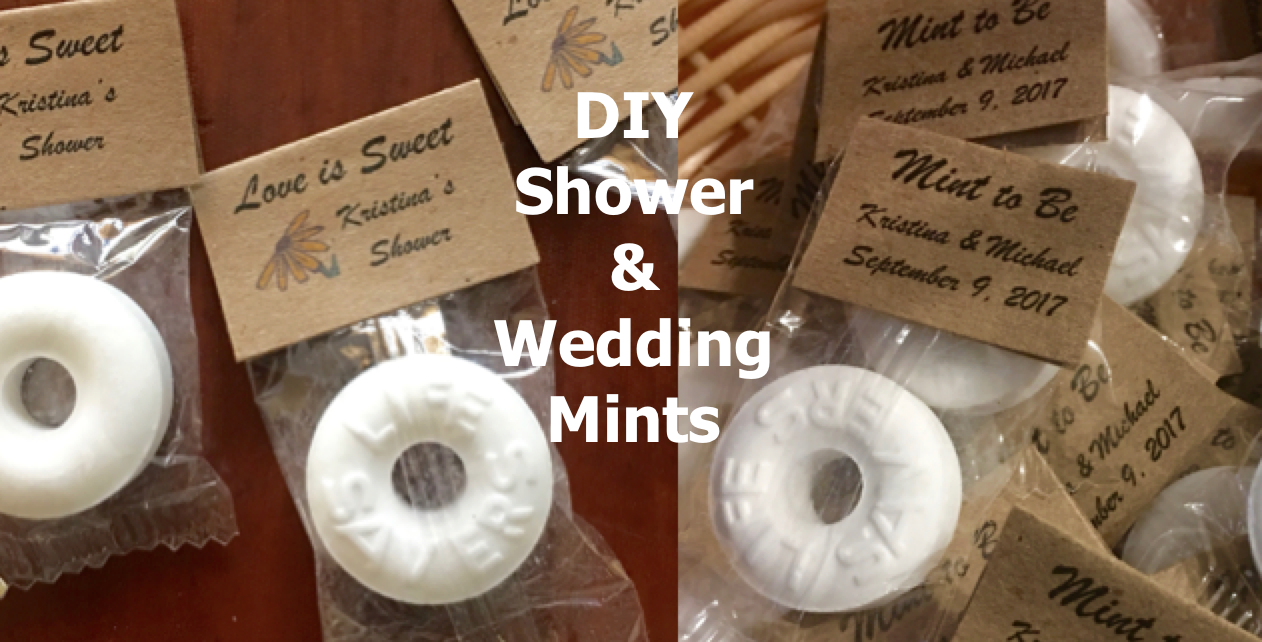
I wanted to make something 'extra' for my daughters bridal shower and wedding and thought mints would be perfect!
Materials purchased/needed/used (affiliate links):
Video "How-To" (pictorial below):
Pictorial:
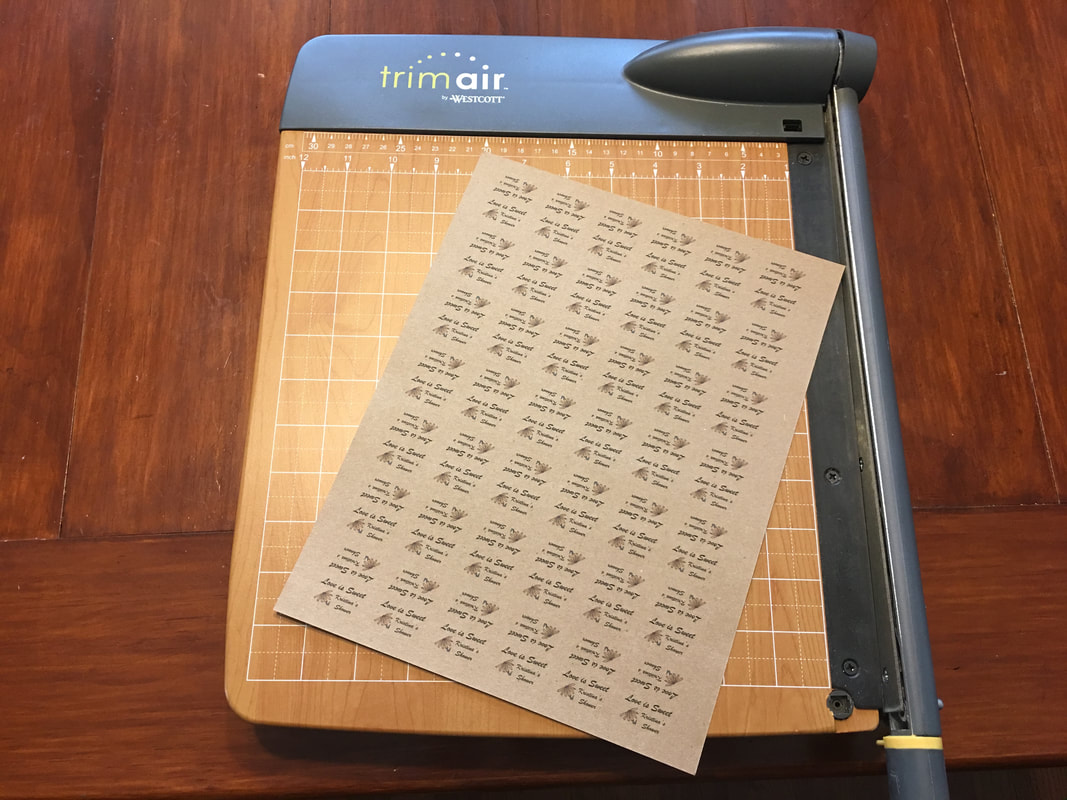
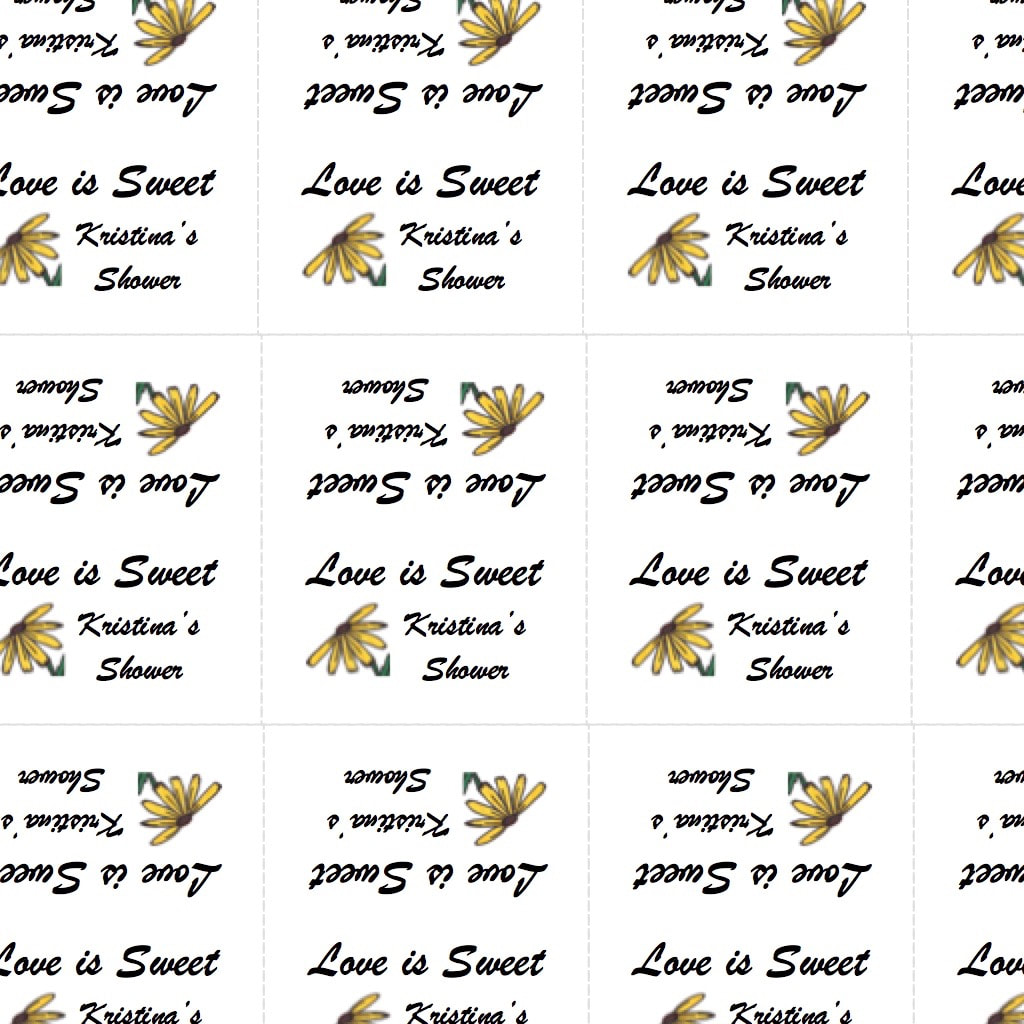
Print labels on craft paper (or any paper you choose).
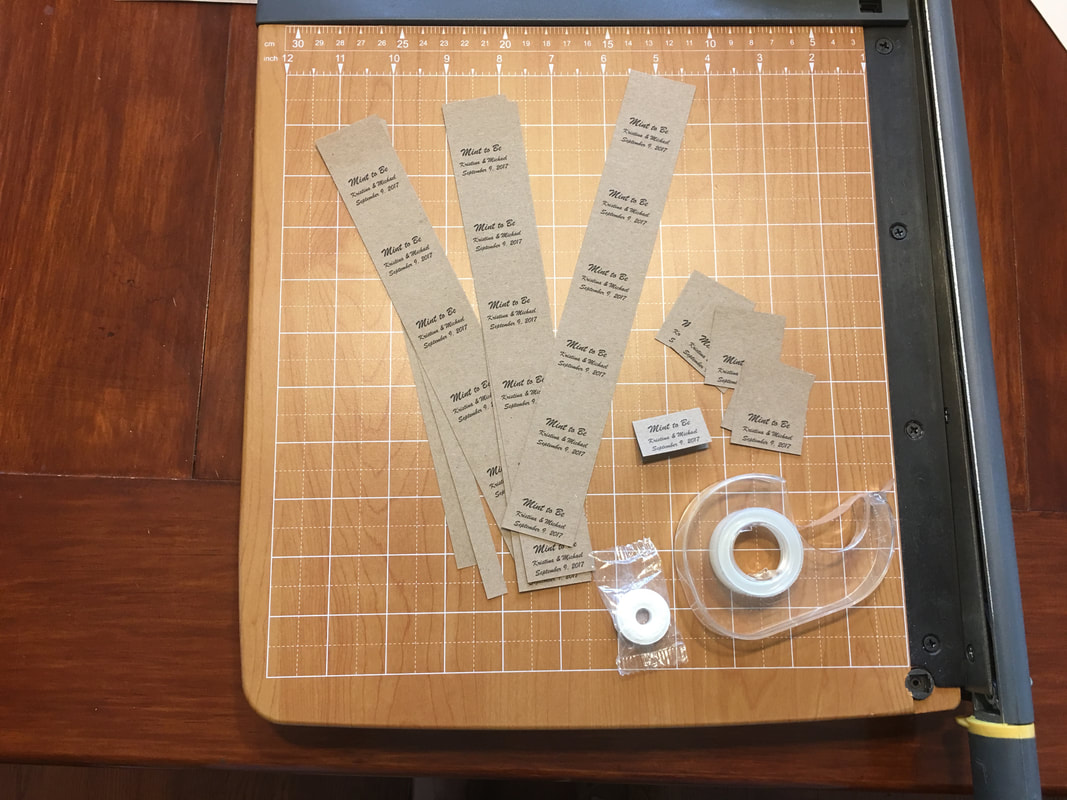
Use paper cutter or scissors to cut labels out.
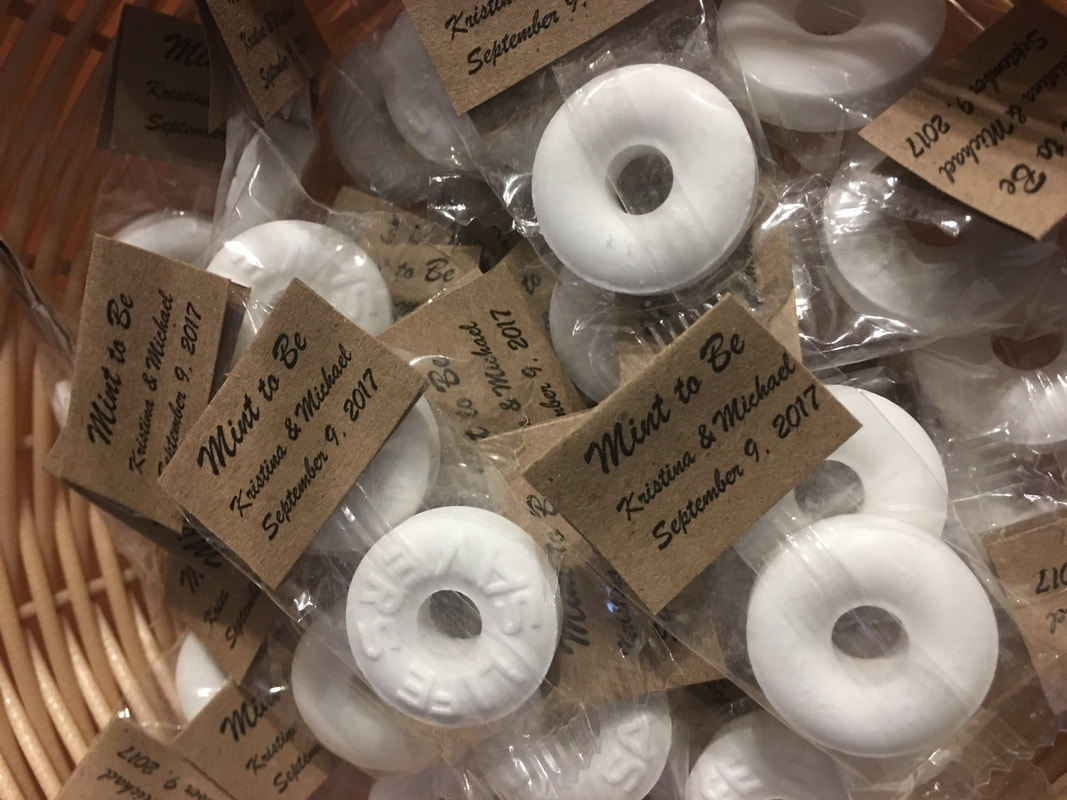
Use permanent tape across entire back of label and then fold over the end of the mint packaging squeezing tightly together so it holds!
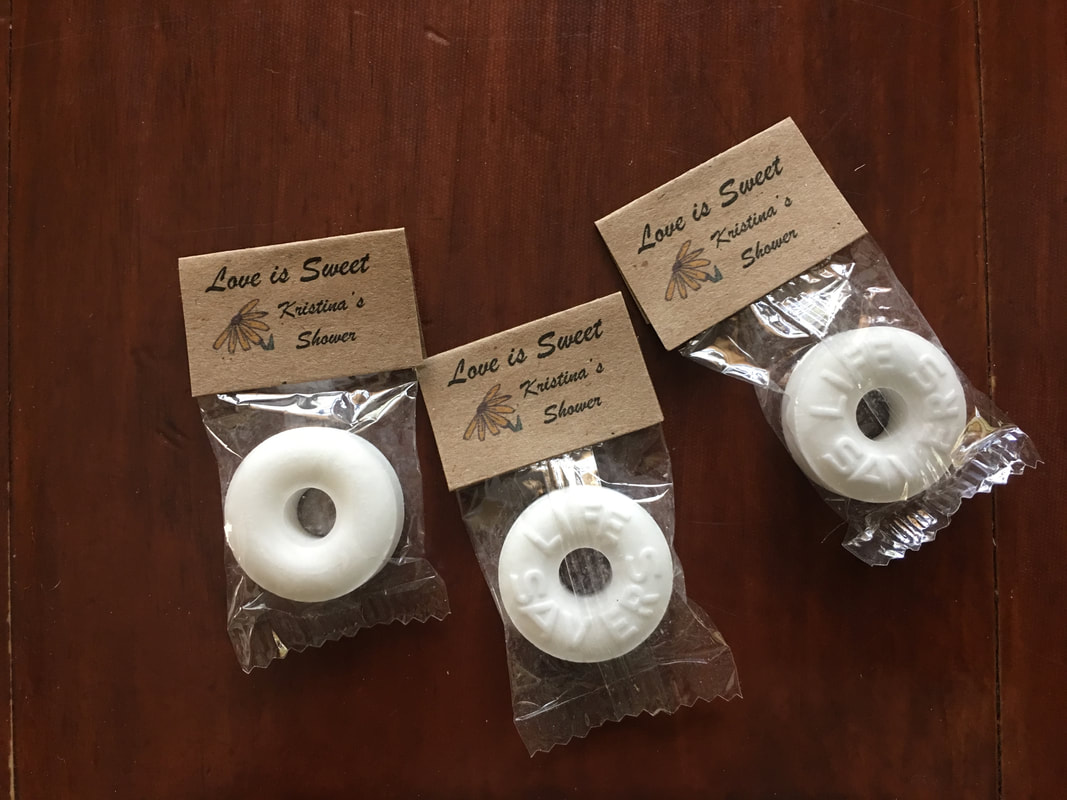
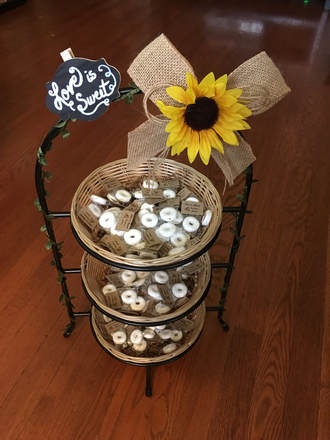
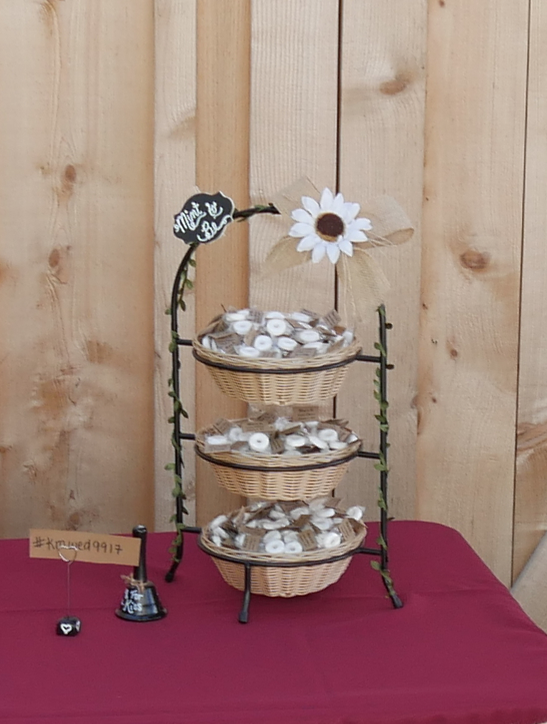
So simple to make!
So sweet a treat to share with guests! And who doesn't want a nice fresh mint after eating? Check out our DIY Showers & Weddings and other DIY crafty ideas! A few DIY's coming soon:
And here are a few that we already posted - click on the picture to read more....
Thanks for visiting.
Follow us on social media or sign up for e-mail to stay up to date on new posts! Sincerely,
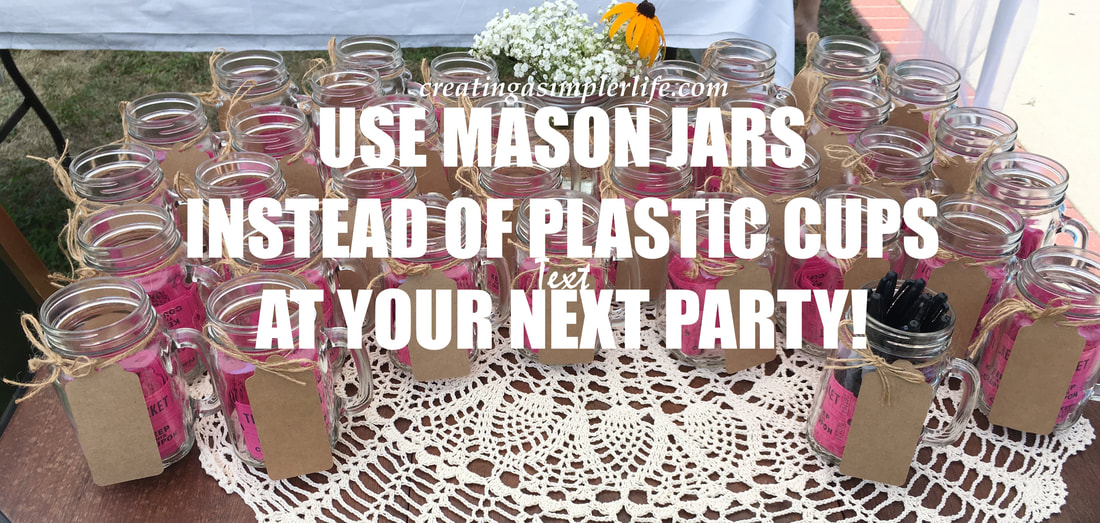
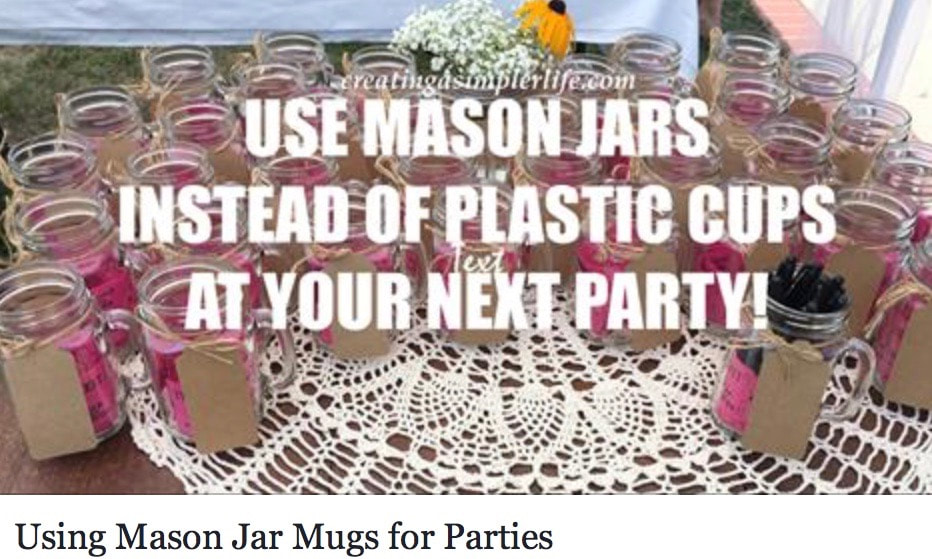
The past few months have been a little hectic for our family. My daughter, the oldest child, was married in September. She had a wonderful backyard wedding with about 250 people! Yes, 250! This was really only possible because it was in the backyard but it was well worth it. So basically over the next few months I will be posting about how we planned this tremendous party. In fact, I have already posted some information about her shower and making two different dream catchers(see them below) that were used as part of the ceremony and as decorations for the party. Today, however, is about using mugs instead of plastic cups.
I know, plastic is so much easier. You just use it and throw it away. But seriously, with 250 people, how many would we need to buy? I couldn't imaging the nightmare that this would create with garbage after the party. And after all, all the plates, silverware, etc. were going to be recyclable bamboo! So why would we ruin the environmental theme by using plastic cups? We wouldn't. And in fact, we used mugs for the bridal shower as well!

Bamboo utensil and plate. Note the mason jar in the background.
A lot of people questioned the cost. Believe it or not, in my opinion (and my daughters as well), the cost was worth it for several reasons. First, we weren't using plastic which we all know is not good for the environment because it literally never decomposes. Second, we allowed guests to bring them home as a souvenir. This was especially good for couples because they would have two to bring home and use. This was also good for use because we wouldn't be left with hundreds of left over mugs! However, any left over mugs could still be used for future parties, for gifts, or many other ways! And what made these extra cool is that regular mason jar lids screw right on to them so they could even be used for storage! Anyway, back to the cost. We did end up buying a few cases from Amazon and they were definitely more expensive.
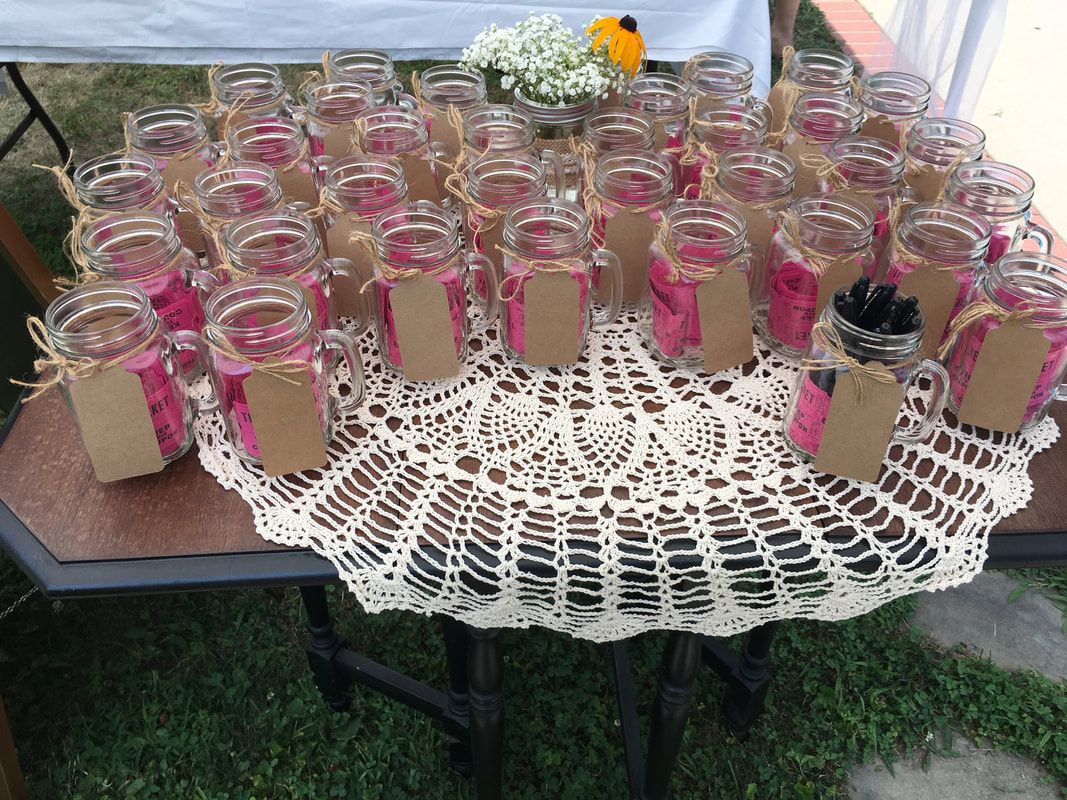
For the bridal shower we purchased the Libby Drinking Jar With Handle (Amazon affiliate link). A case cost 28.95 so we paid approximately $2.41 per mug. We had to do this because we needed them fast. Since there would only be about 40 or so people at the shower I simply tied a paper tag around each mug and let everyone write their own names on it for the party (note the mug filled with markers). The mugs are also filled with tickets for the 'Chinese' auction game! Directions were provided on the welcome sign shown below. Items purchased for the bridal shower mug display (affiliate links):
Video "How-to" (see pictorial below):
Pictorial:
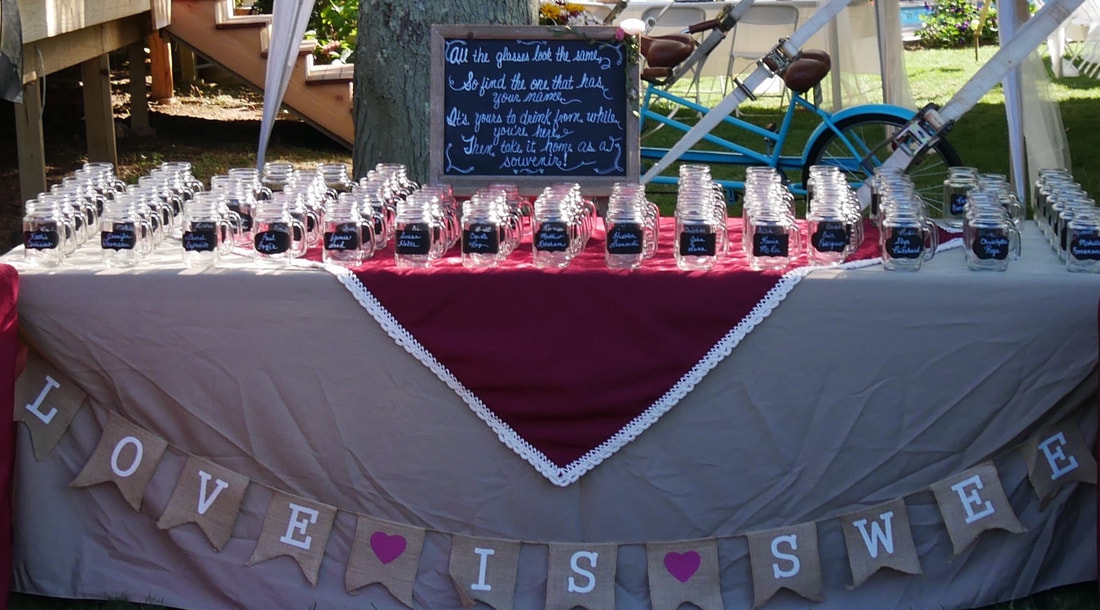
For the wedding we had a lot more time to wait for delivery so we actually ordered about 12 cases of mugs from Dollar Tree. At dollar tree they were $1 per mug plus tax. Much more cost effective! But again, you need to have a lot of patience and time for delivery because I think they literally came from China. You also need to be prepared to go and pick them up at your local Dollar Tree Store. The unfortunate part of this was the fact that every mug came with a sticker on the bottom that took my husband and I three nights to peel off of the mugs in all twelve cases. Oh, and guess what! They were literally identical to the mugs we got from Amazon! Just no Libby name on the box! The Libby mugs didn't even have the name brand on the mugs either so they were really, truly, the same.
Items purchased for the wedding mug display (some are affiliate links):

Heres How They Were Done:

I created a list of everyone that responded "yes" to coming to the wedding in EXCEL by last name, first name. When the response date came and went I sorted the names alphabetically.
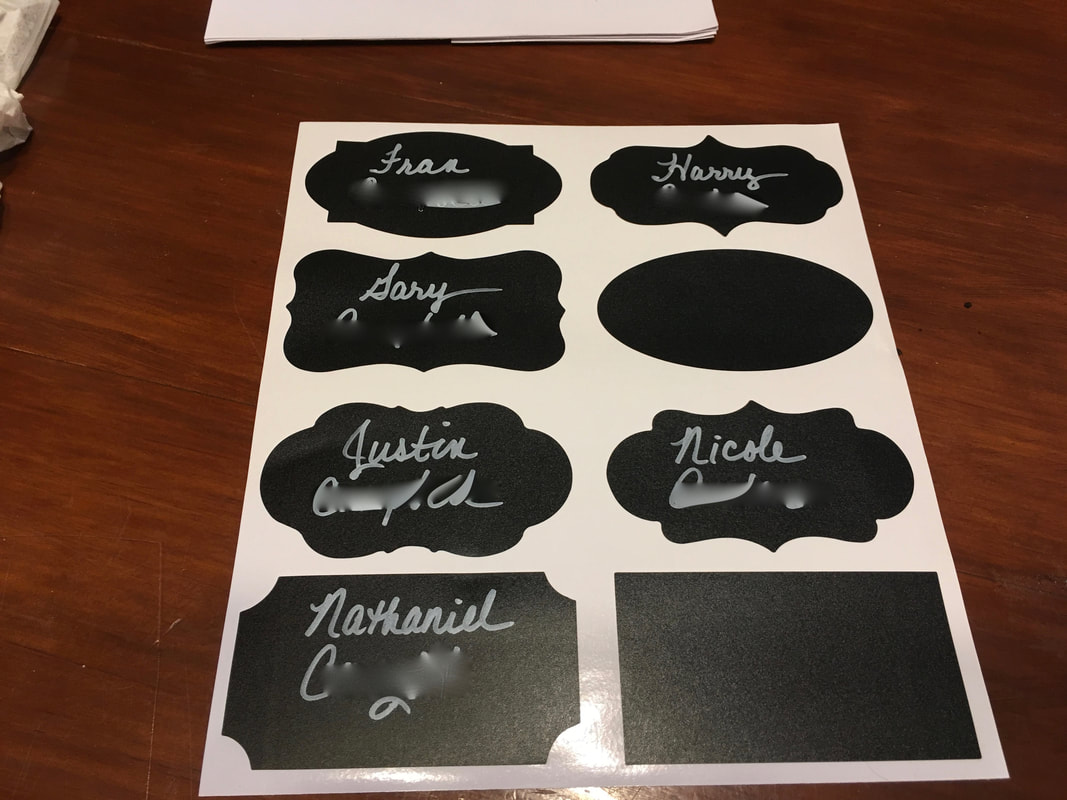
Then I used the permanent paint pen to write the names on the labels. I skipped the shapes I didn't really want to use.
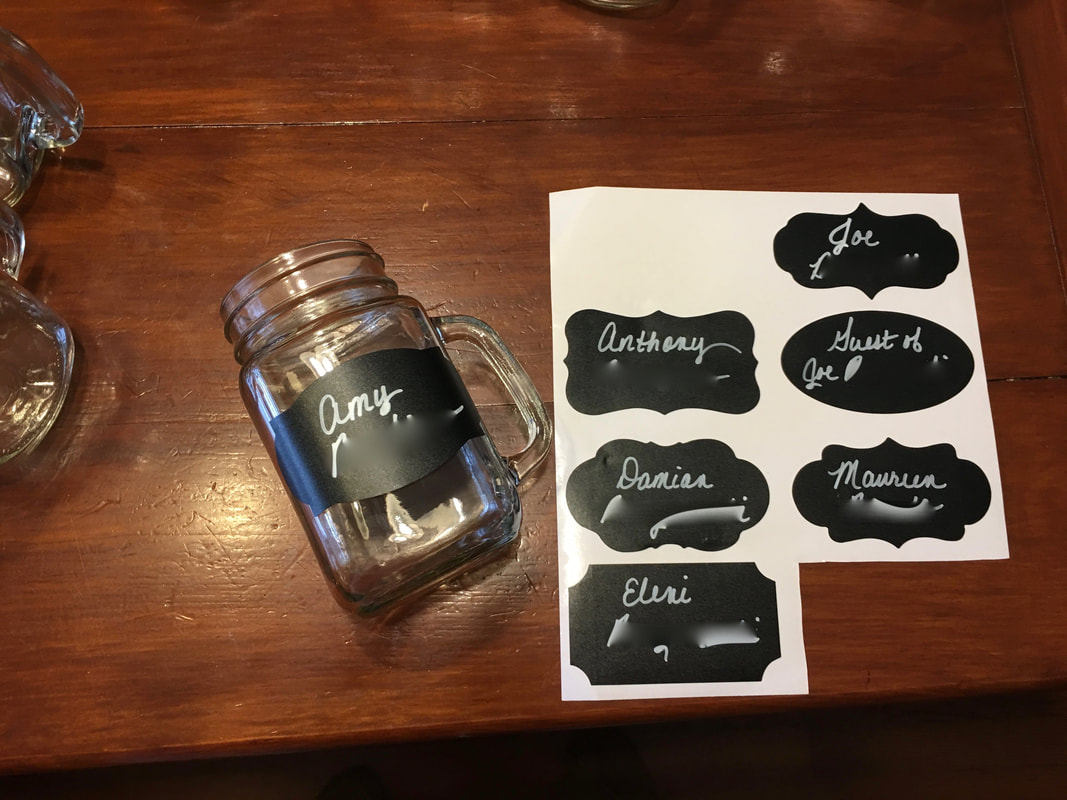
After all the names were written in alphabetical order, I carefully placed them onto the mugs.

The mugs were packed back into the cases in alphabetical order so they could easily be arranged on the table at the reception. This made it easy for guests to find their mug!
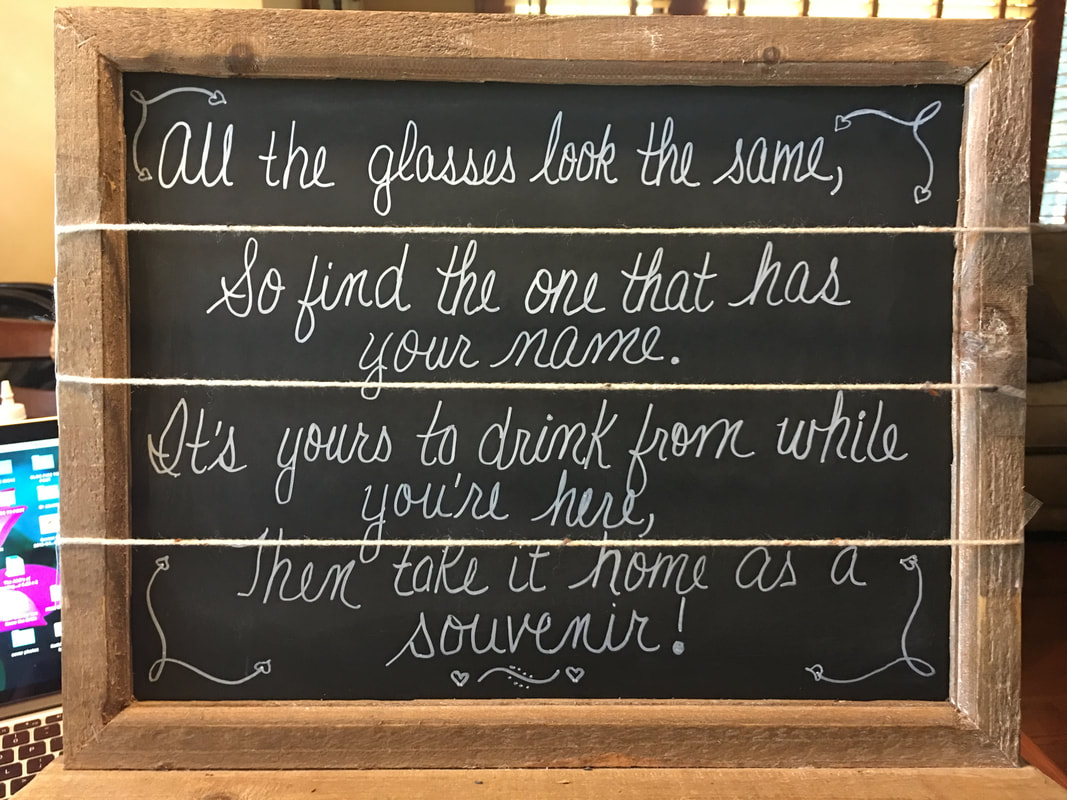
I used twine to divide the chalk easel into even sections so I could write the saying on it using the washable chalk paint pens. I used some hot glue to add flowers to the corner as a decoration (see picture below).

I even used the mugs to make these special Bride and Groom mugs! That post is coming soon too :-)
We have no regrets about using the mason jar mugs instead of plastic! One comment we recieved from guests at the shower was that it was a little difficult for them to drink from the mug being that it had the funny edge to screw on lids.
Because of that comment we provided optional drinking straws at the wedding. Some people chose to use them, and some didn't. I know, you think maybe it defeated the purpose because they too are plastic, however, the amount of plastic used by 100 or so straws was nothing compared to how many cups we would have gone through! We would love to hear from you so please share your thoughts and experiences with us! Check out our other DIY Shower and Wedding Ideas here. Sincerely,
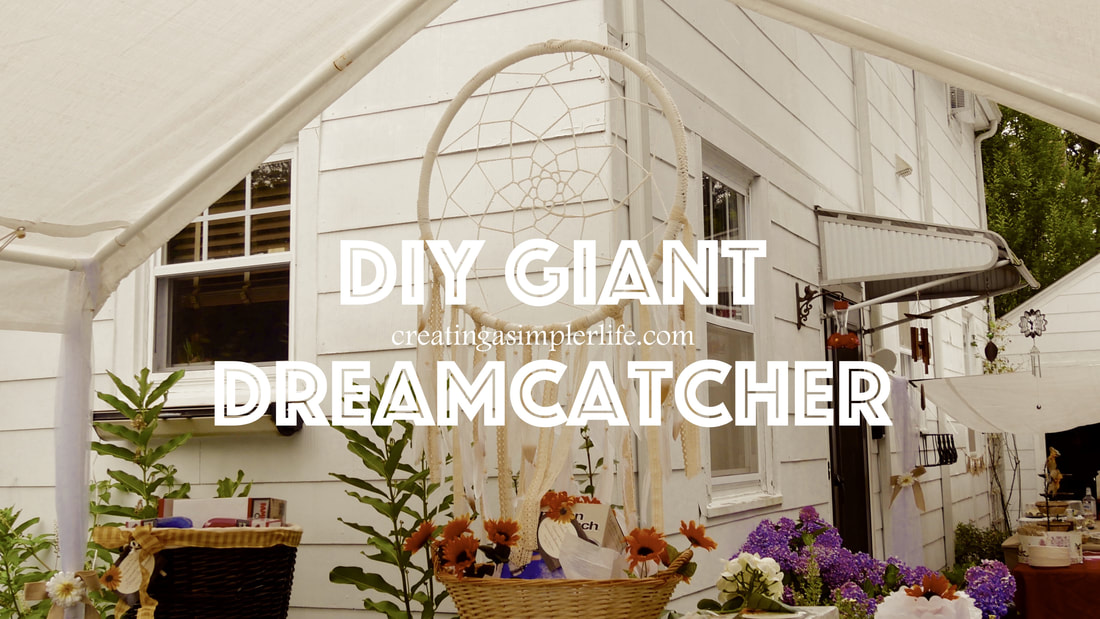
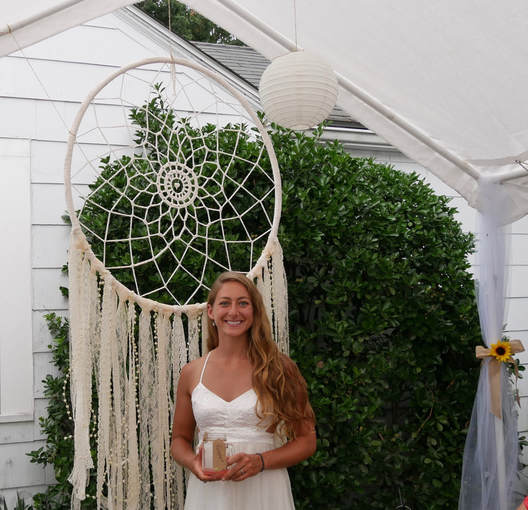
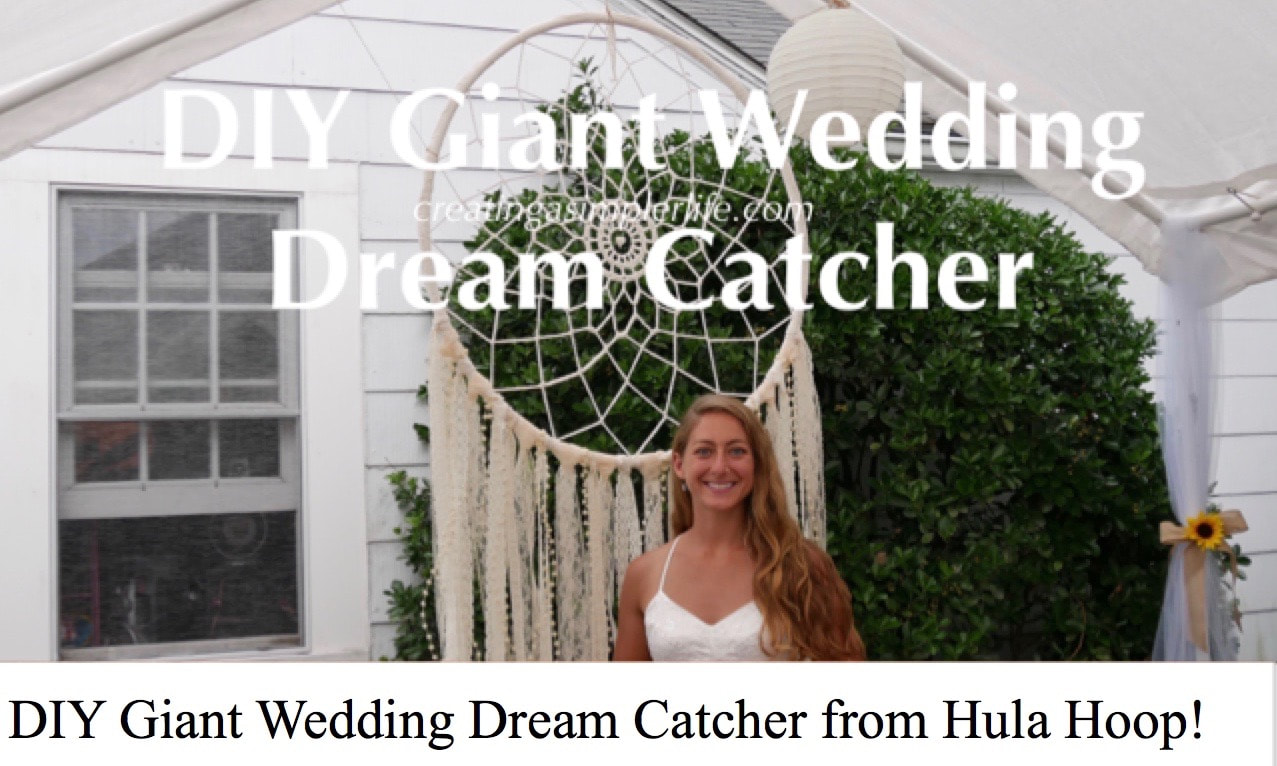
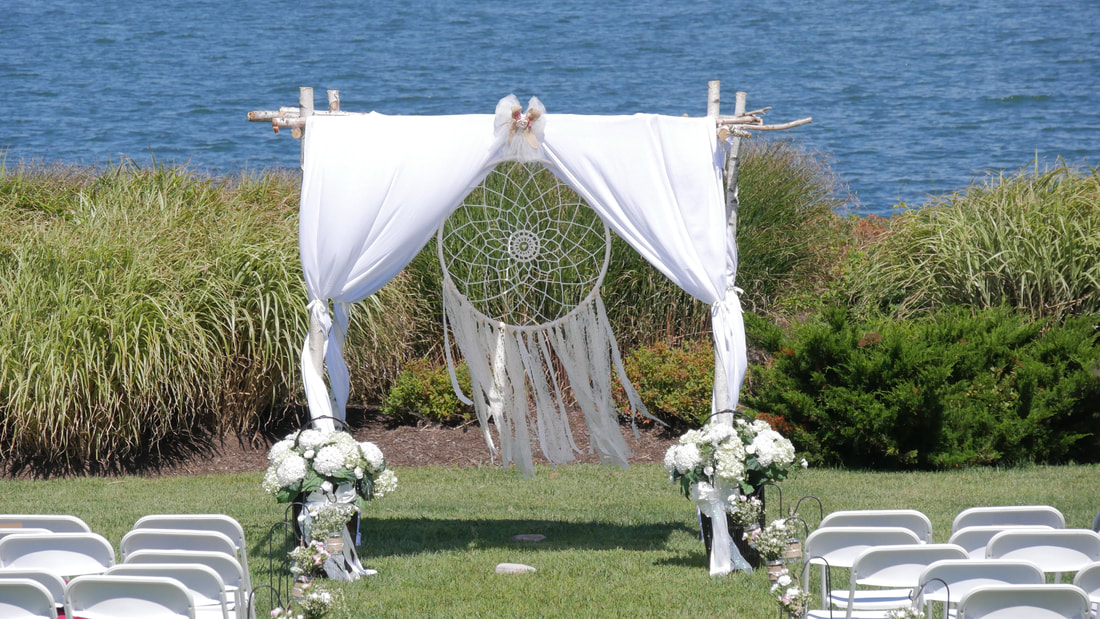
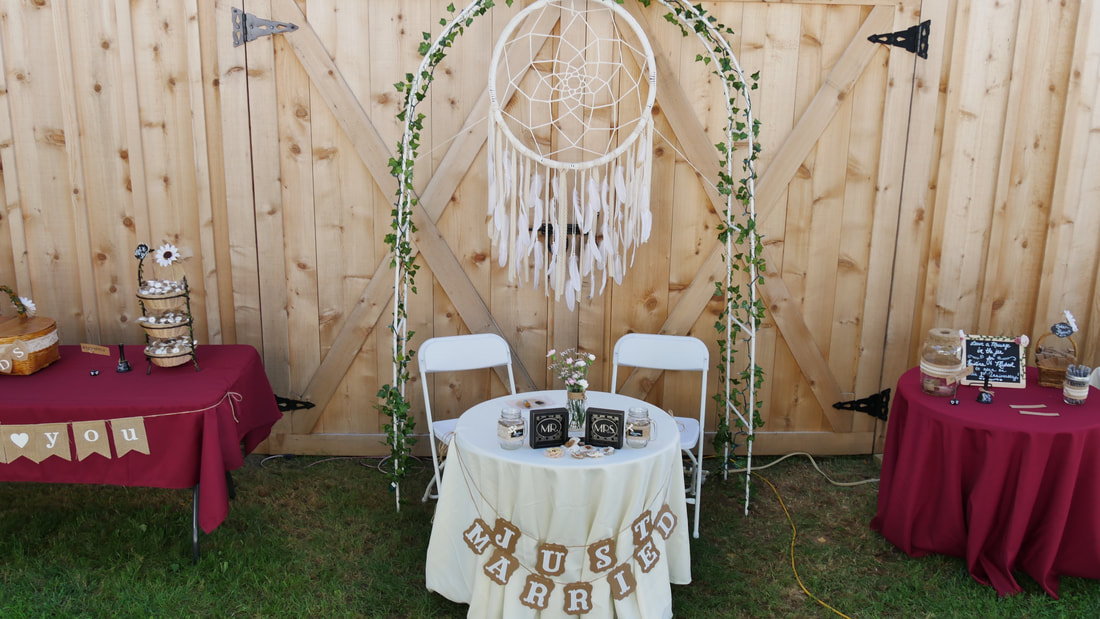
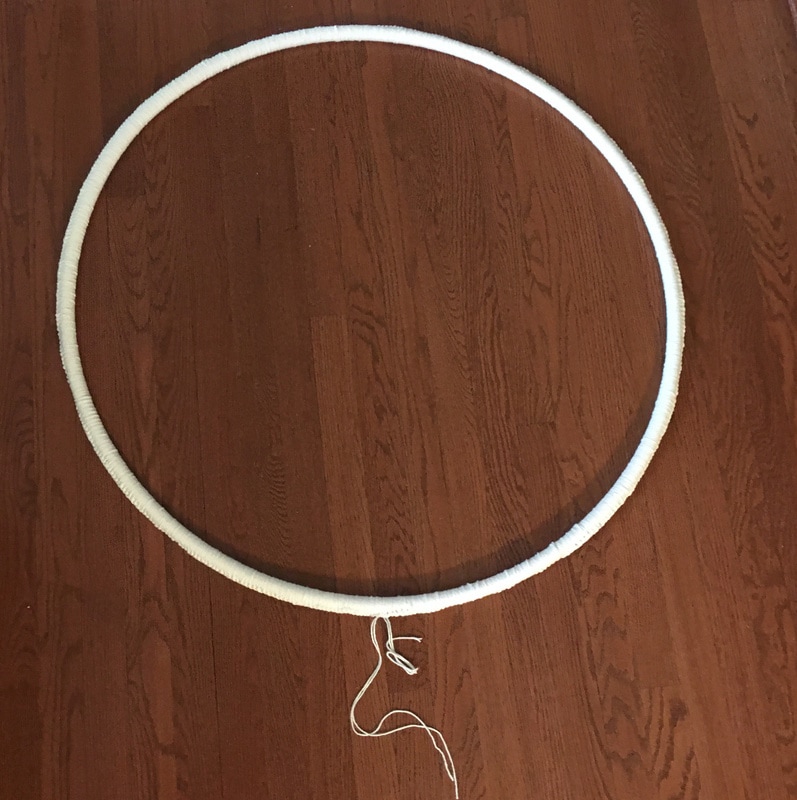
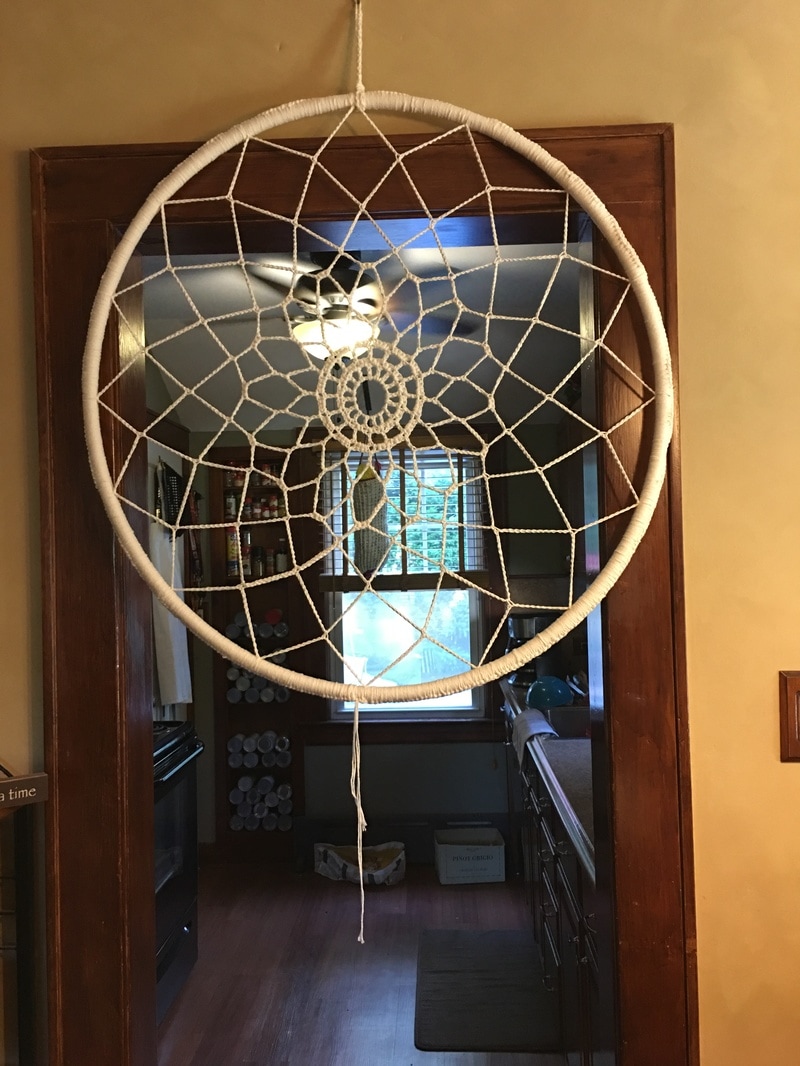
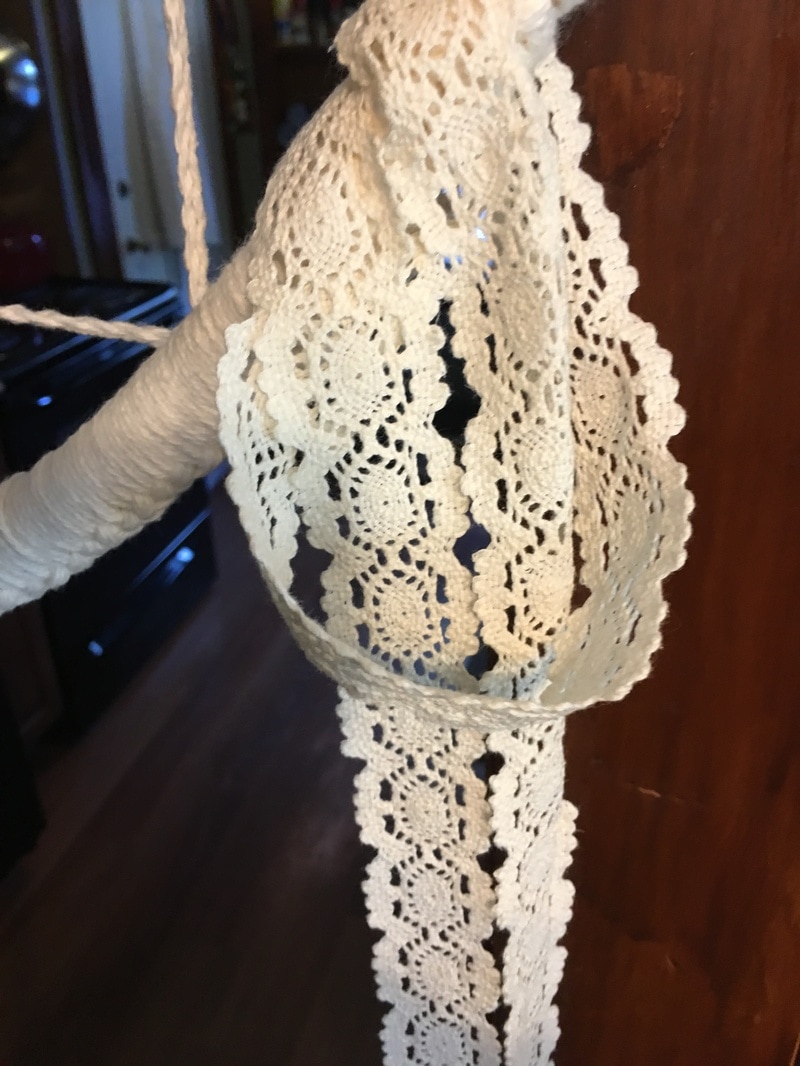
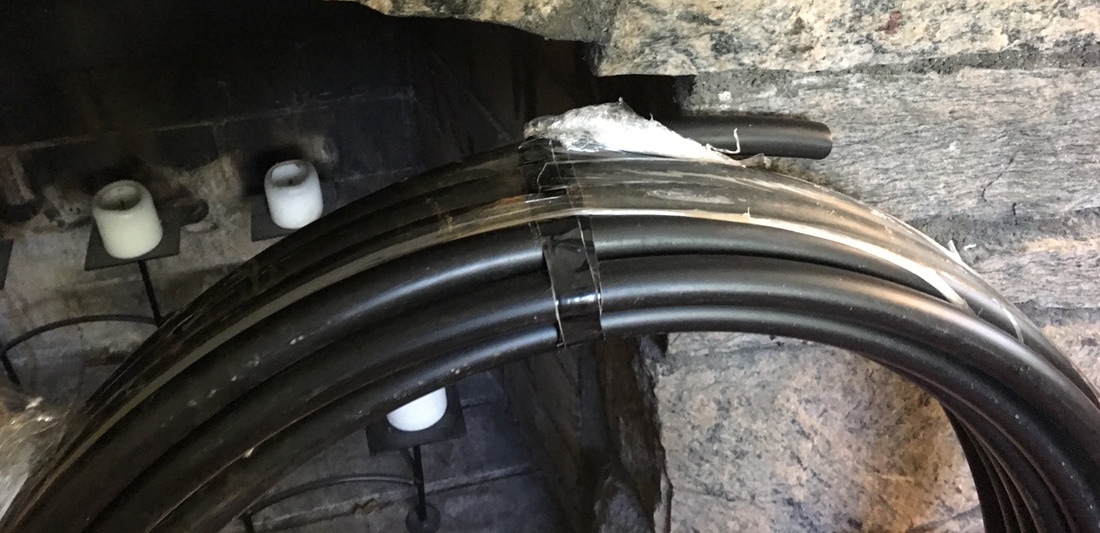
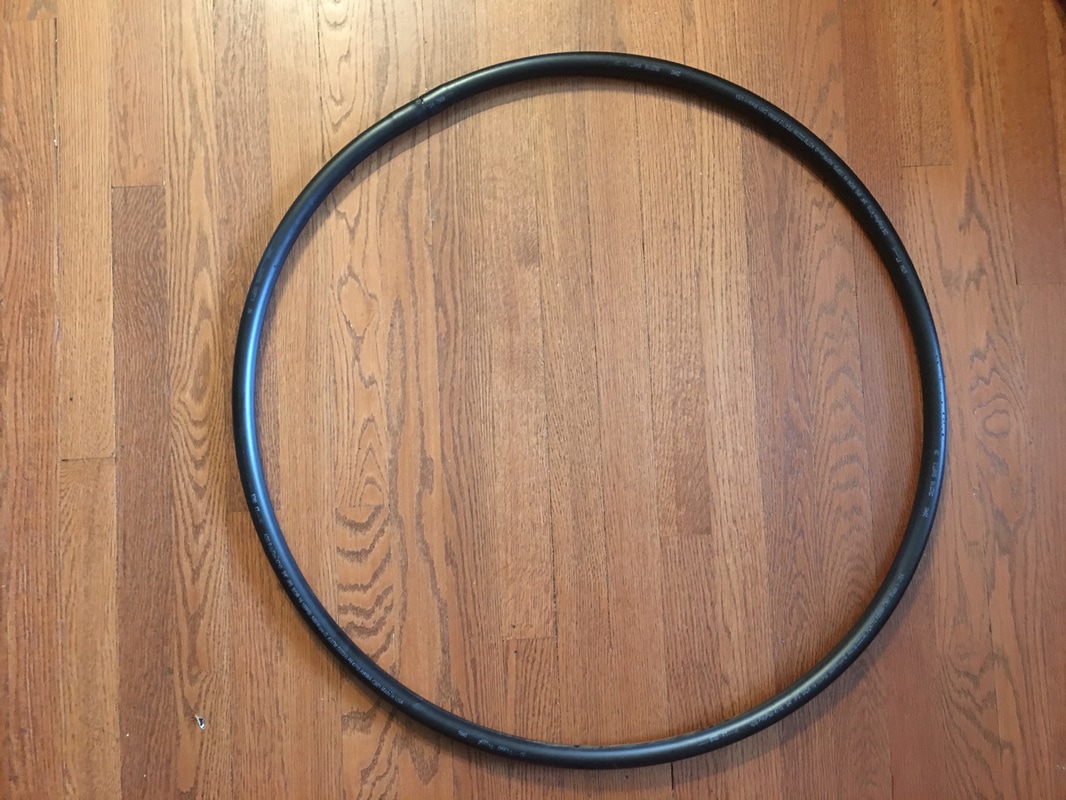
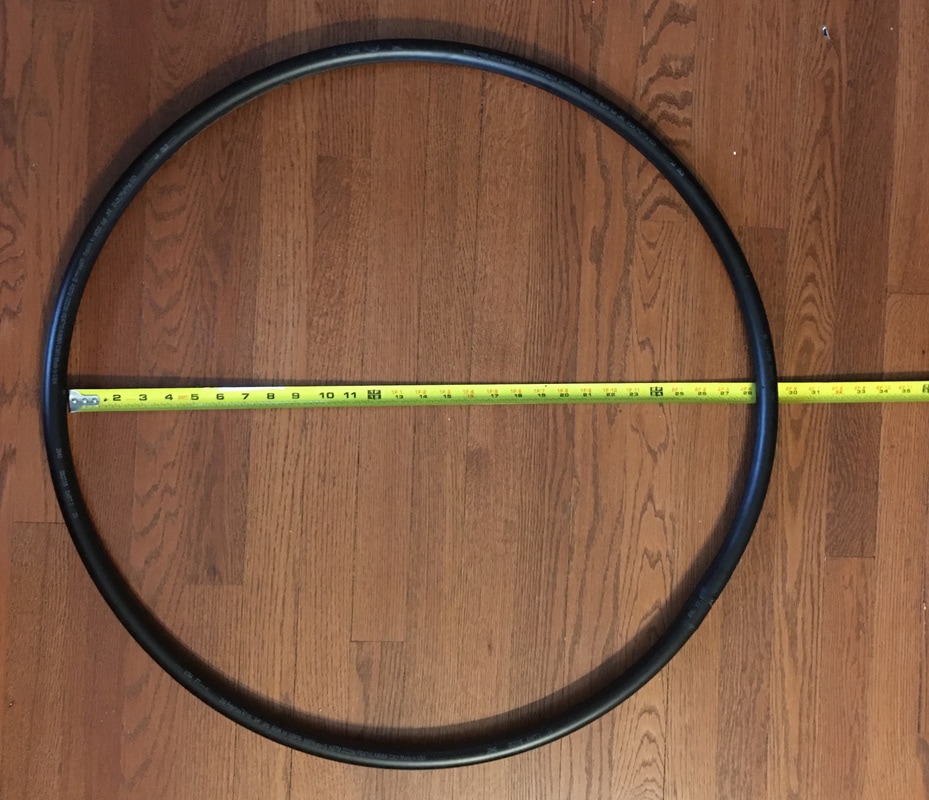
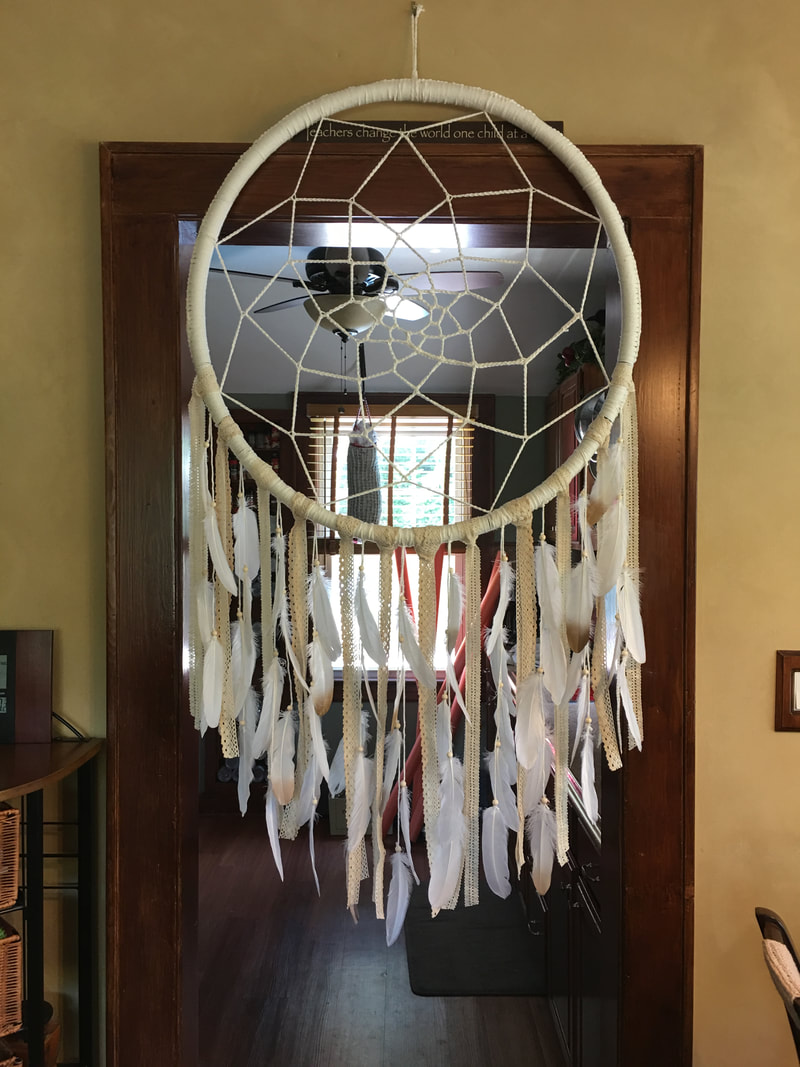
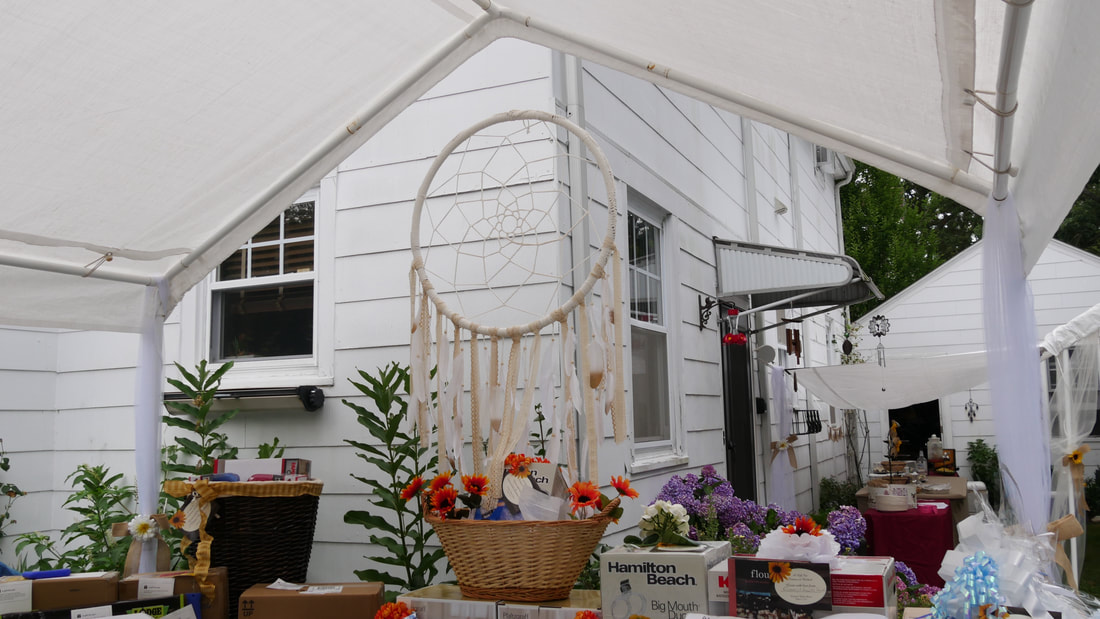
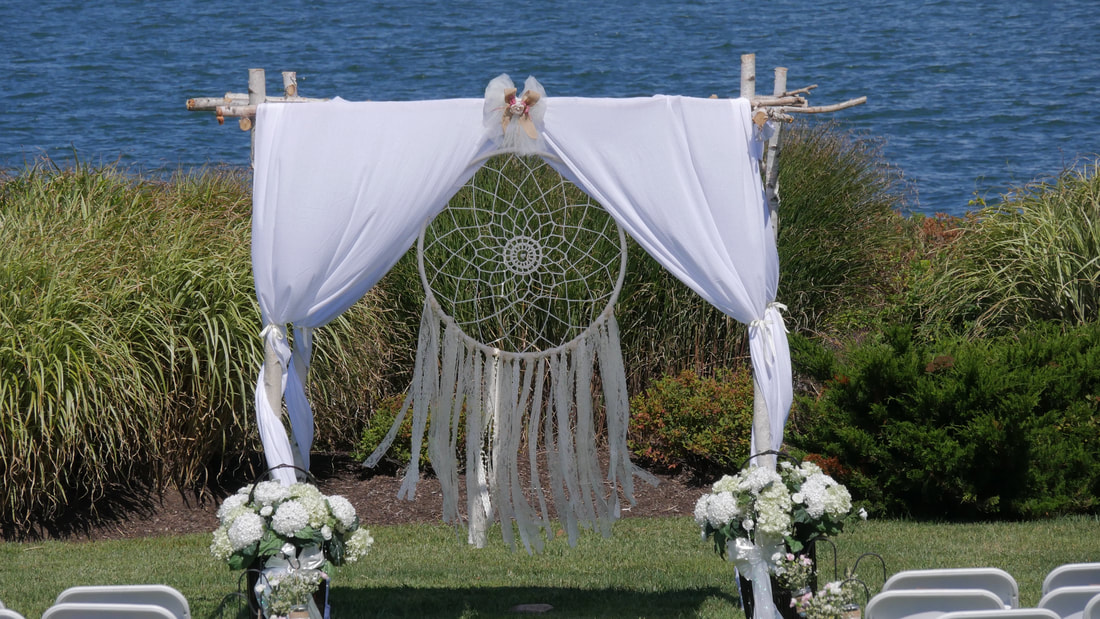
 My daughter is getting married and we are so excited to welcome her fiancé into our family. They have plans to get married down by the beach and hopefully the weather will be beautiful that day because my daughters father-in-law to be is making a birch arbor for them to be married under with this giant wedding dream catcher hanging at the back of it behind them. This is why the dream catcher had to be big. Really big. When all was said and done this beauty measured in at 3 feet wide and 5 feet tall! Wow! But of course none of that mattered to me as long as my little girl is happy. I made another simpler, and smaller, model that uses feathers to be hung behind their seats at the reception. Read more about DIY Giant Dreamcatcher with Feathers! Supplies Needed:
Video "How-To" (crochet directions and more pictures below):
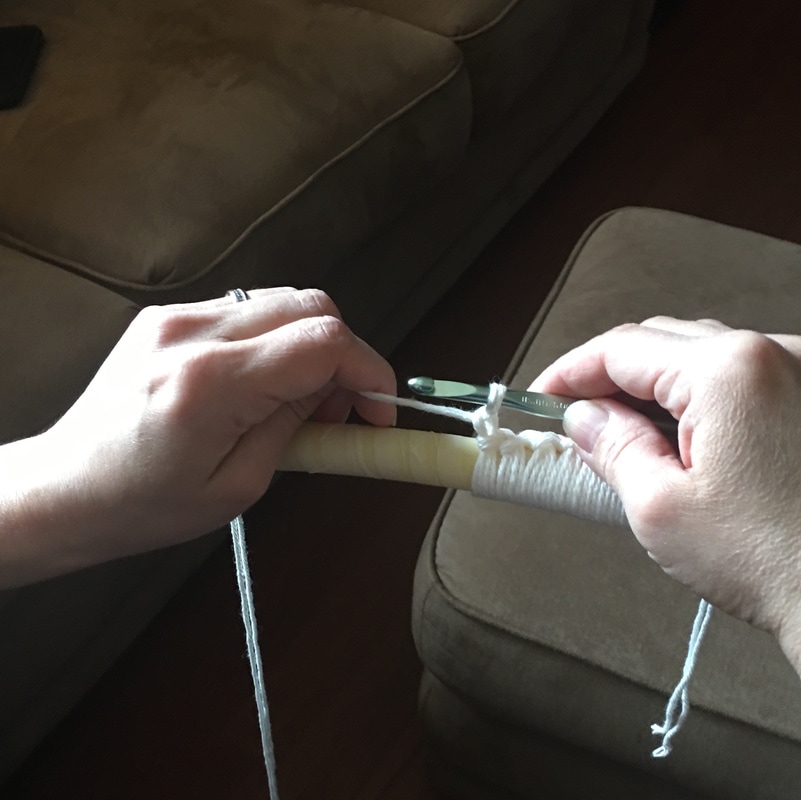
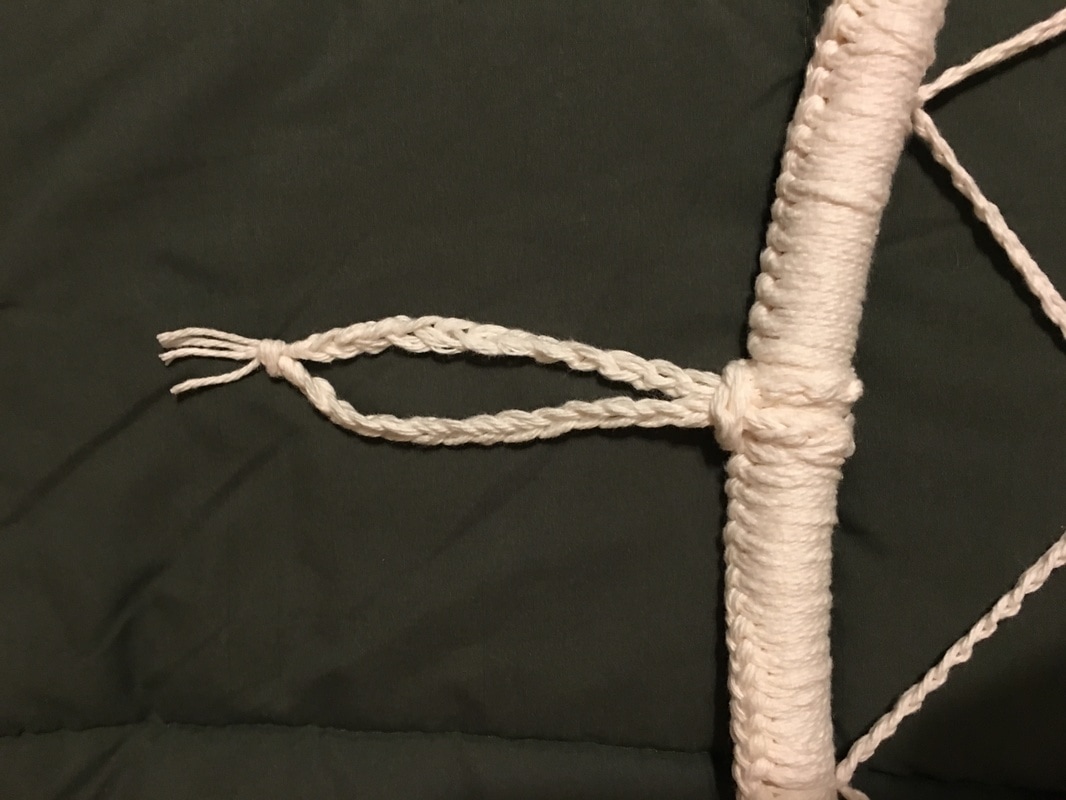
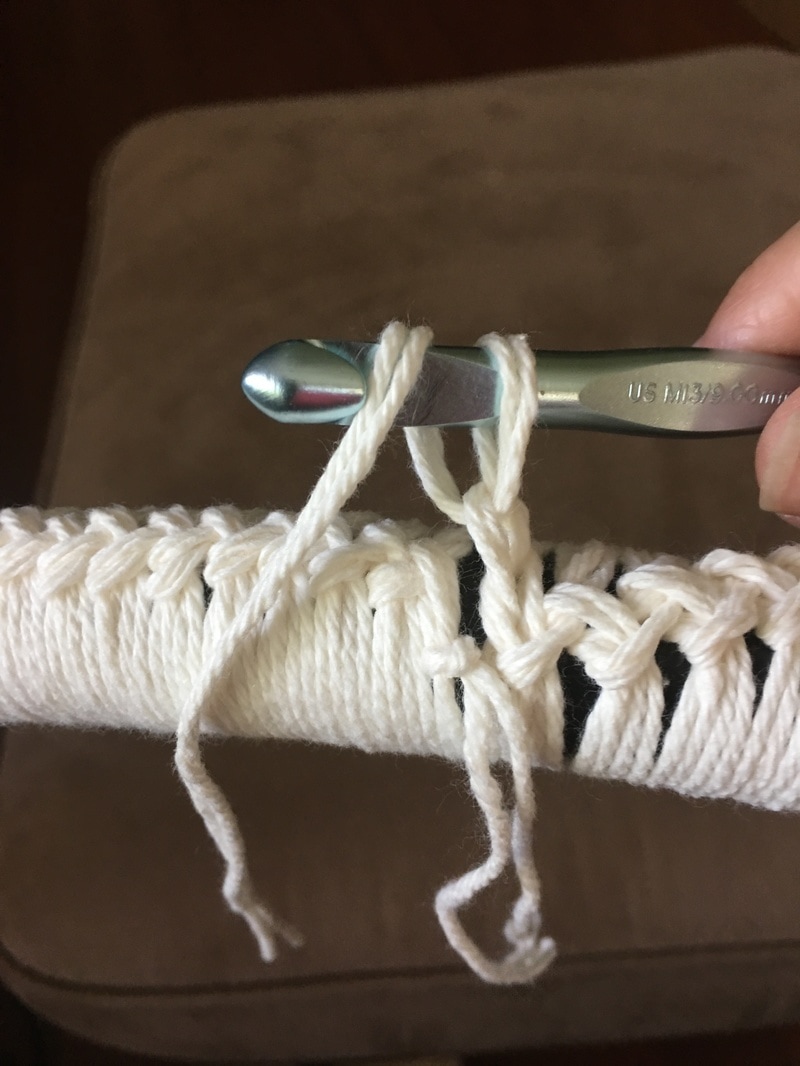
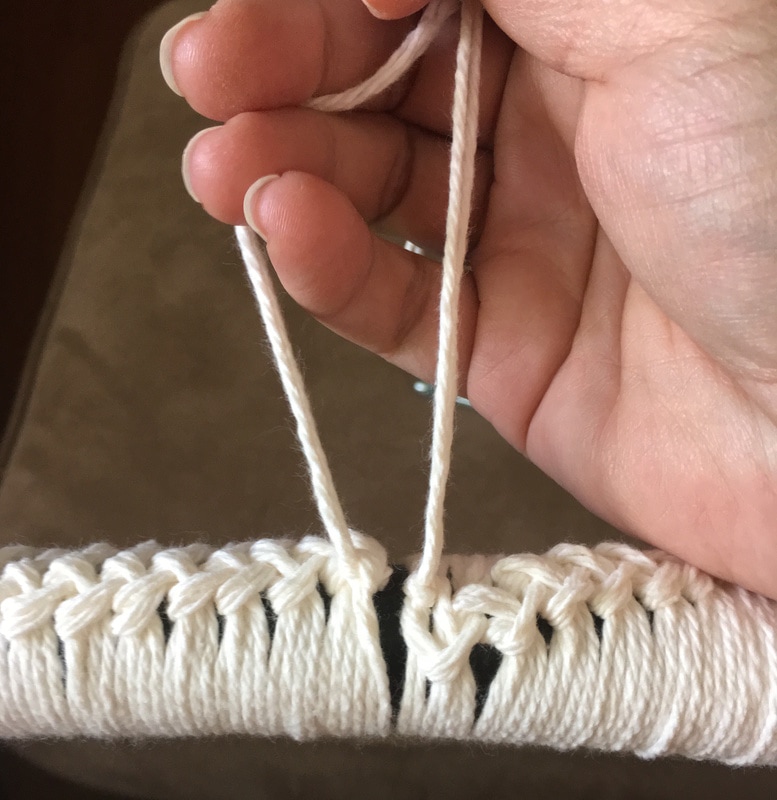
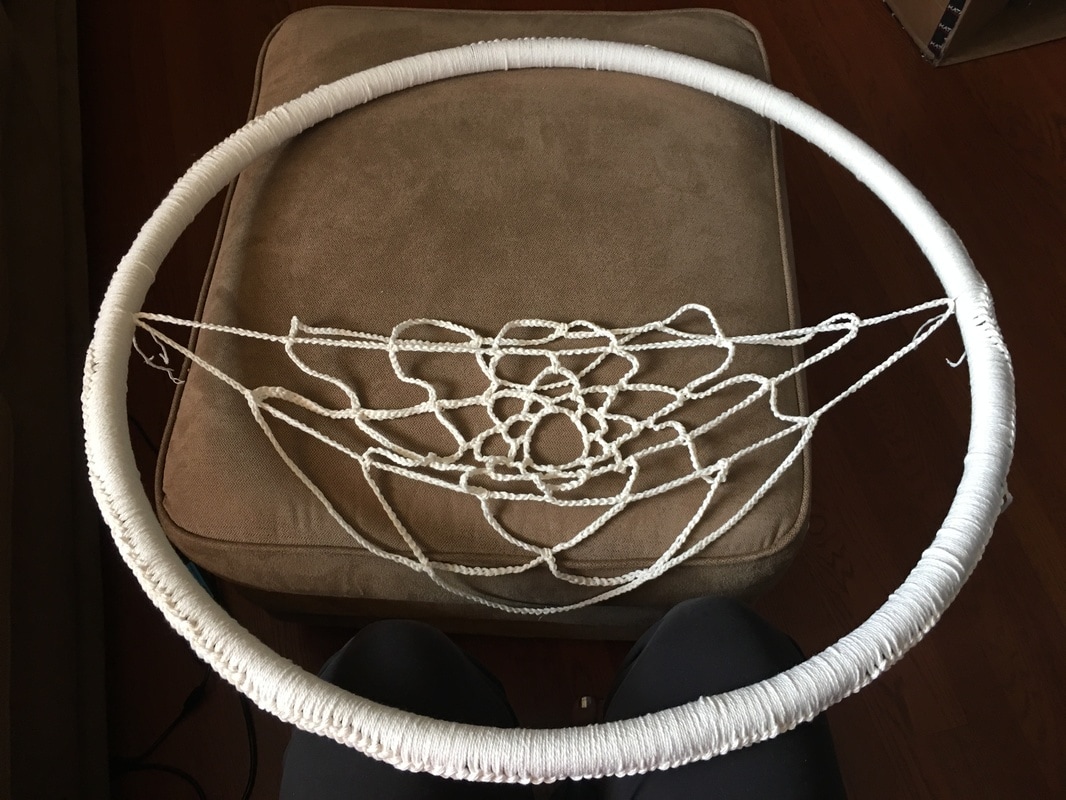
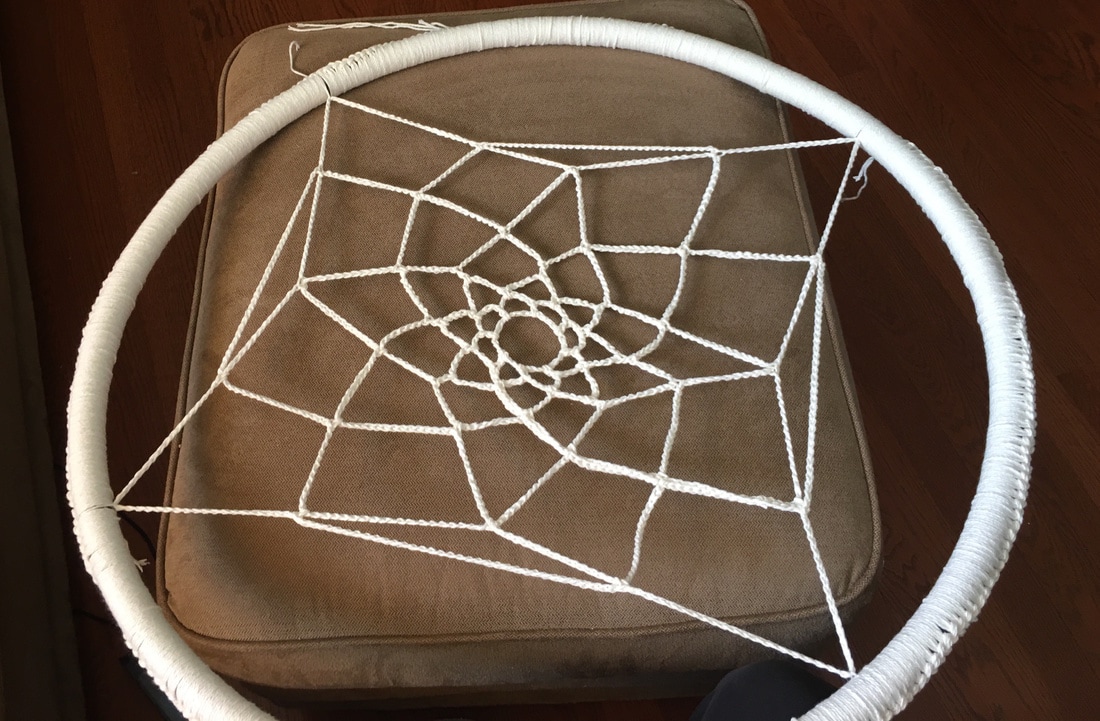
Hoop Crochet Center Directions: I really don't have directions per-say, I can just give you an idea of what I did. A couple of pointers ahead of time: - All stitches are into spaces, not into other stitches. This is important for spacing later on. - When you are finishing up your final loops to connect, make sure you have an even number. It helps to have an even number so you can connect the loops equally around the hoop later on. - For this reason, every row must be crocheted separately from every other row. You cannot do this pattern in the round. - To get to the center of each loop to start the next round I would slip stitch up the side of the first hoop in the level. When all is said and done you can't even see these extra stitches. The directions for this are in row 6 below.
 Thanks for visiting! Check out our other crochet patterns and ideas on our website or on our Pinterest boards and our DIY Shower & Weddings! Have a wonderful day:-) Sincerely,
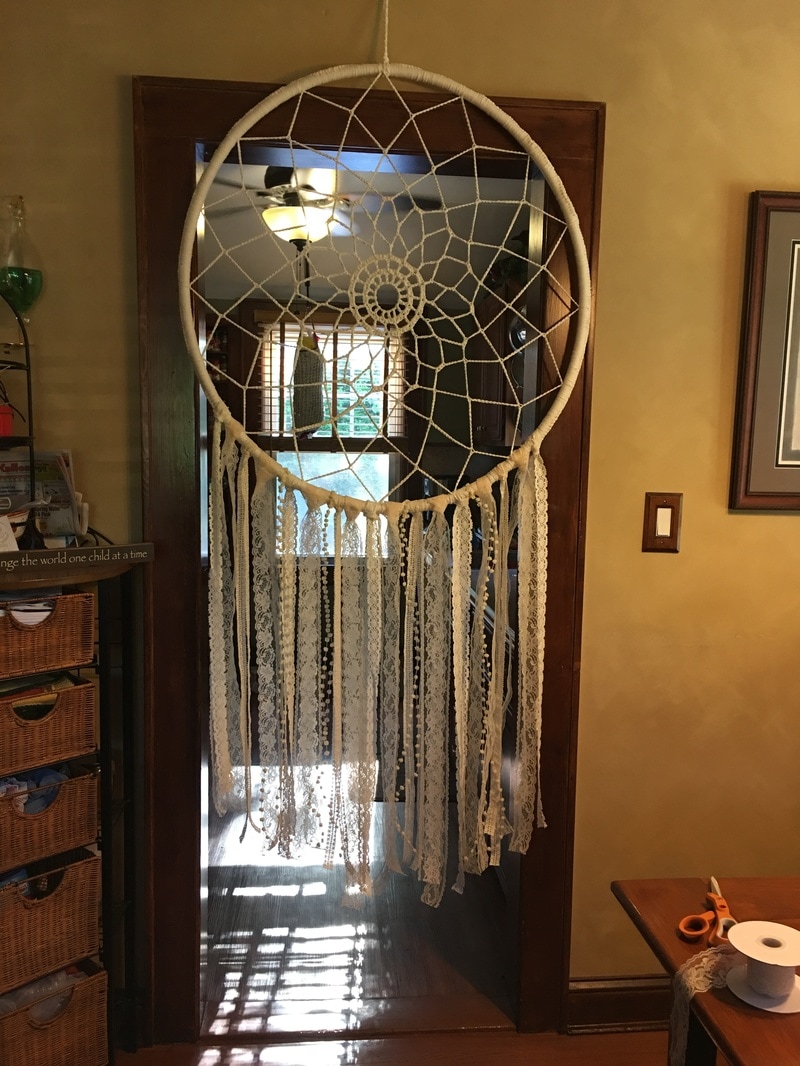
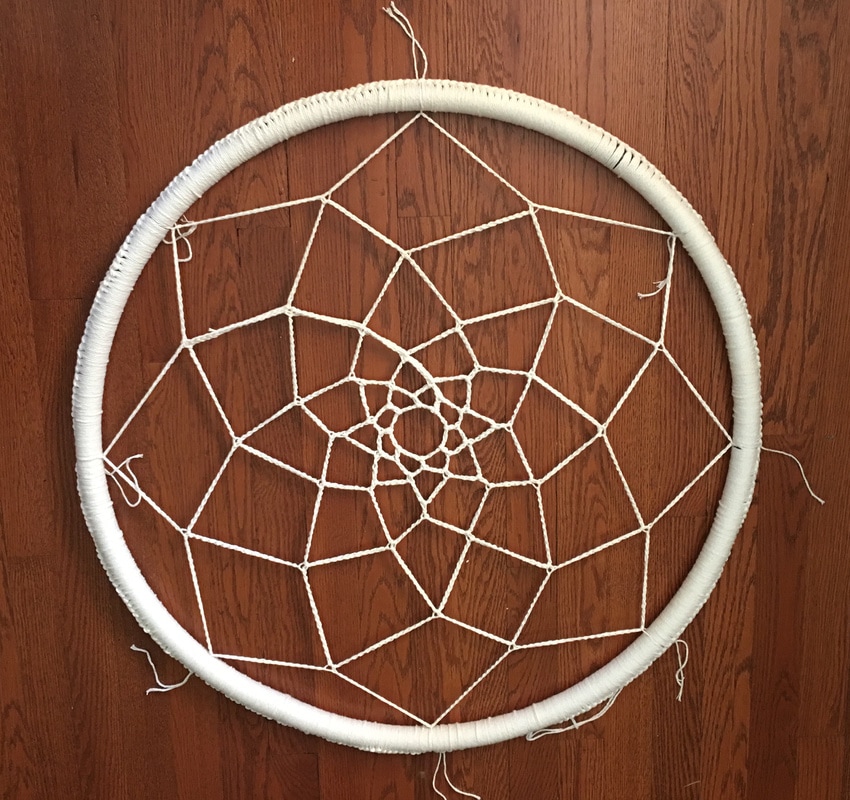
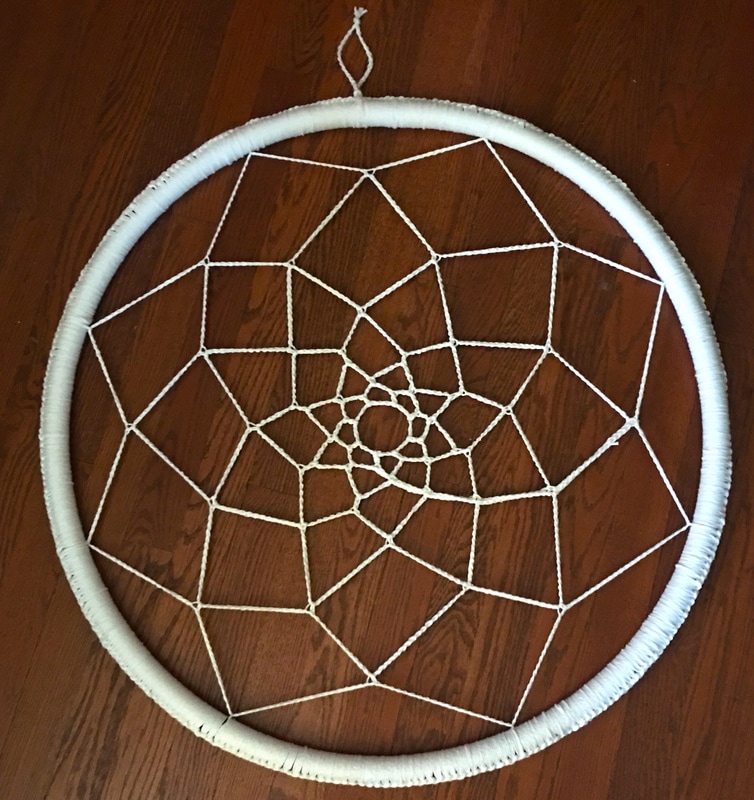
This post is dedicated to two special people: my daughter since I am making it for her wedding day and my friend Patty who recently said "I want to make one for my kids room." I will be posting another giant dreamcatcher soon, however the difference is that the center is crocheted a little different and there are no feathers so the bottom part is much simpler to make!
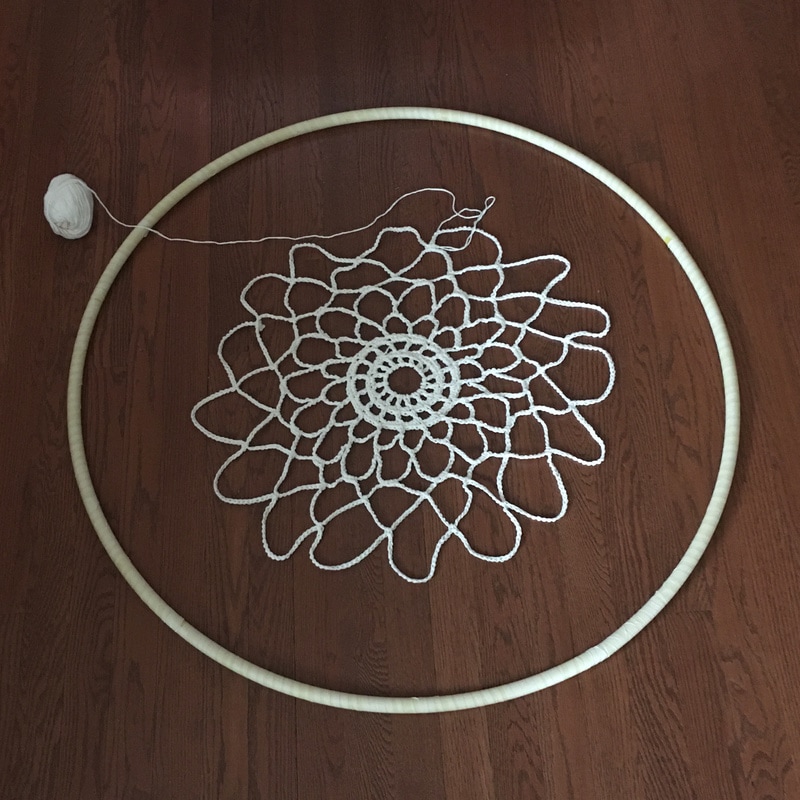
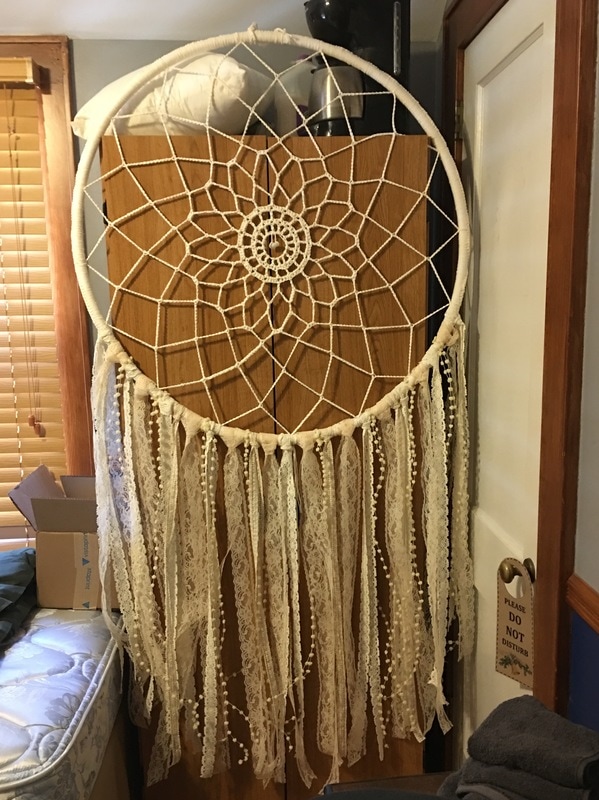
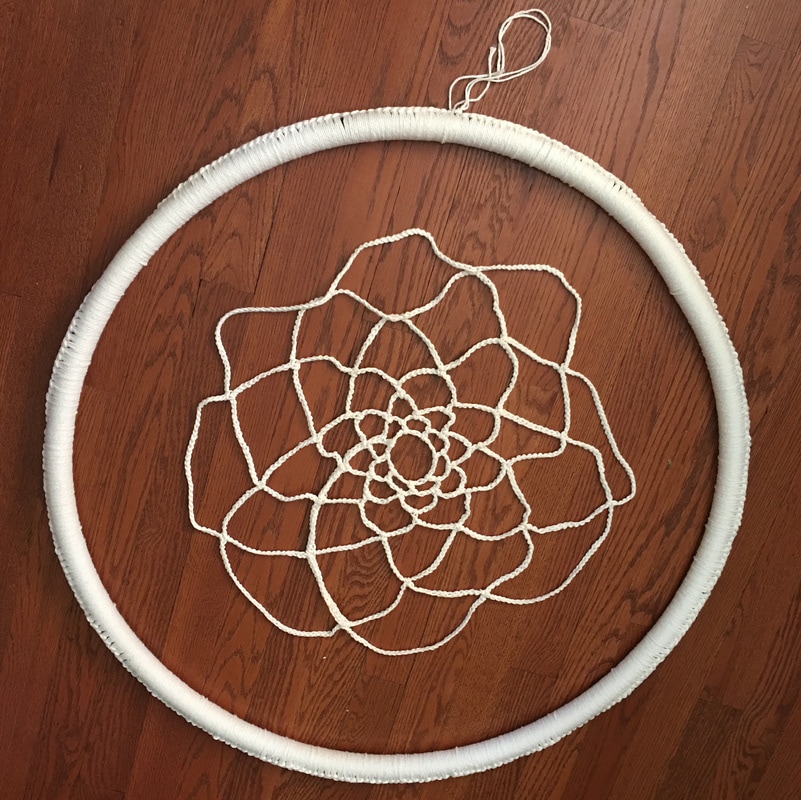
Second Giant Dreamcatcher DIY How To coming soon! See...no feathers so the bottom is simpler! It was also made with a repurposed hula hoop!!
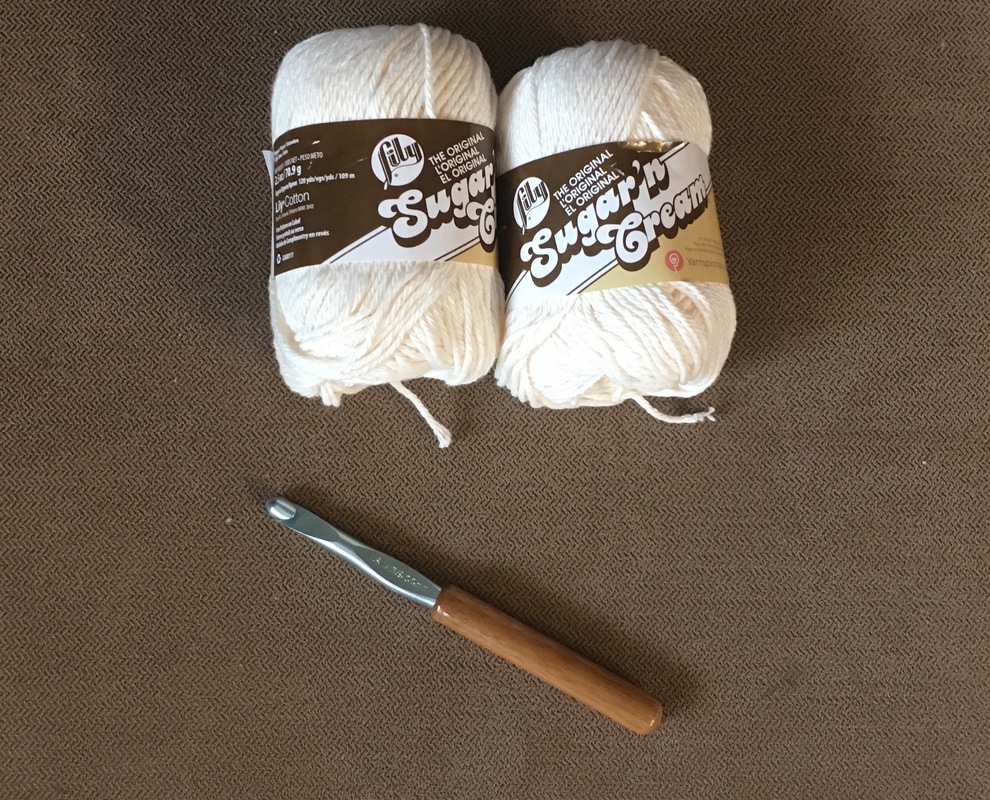
Supplies Needed:
Directions:
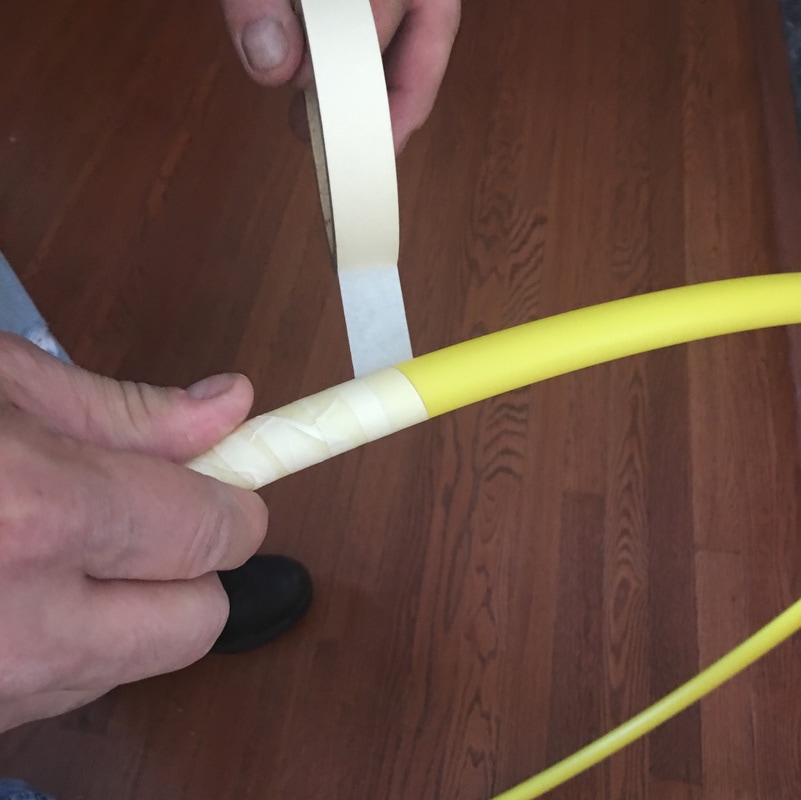
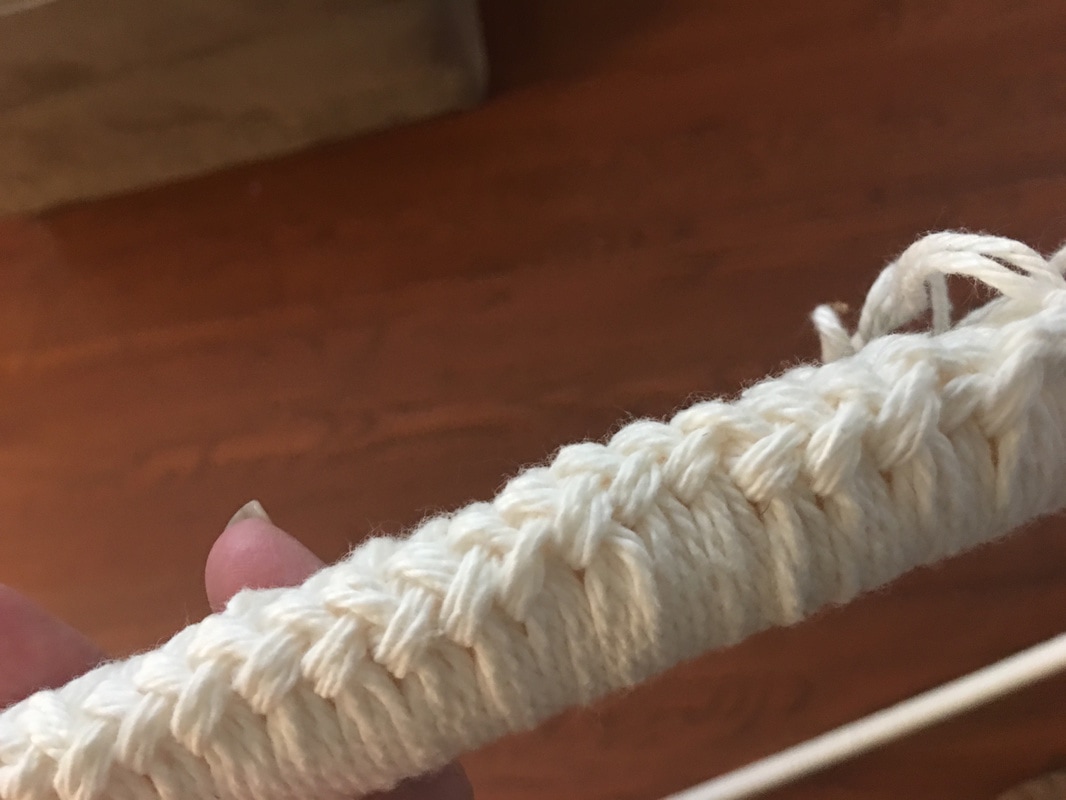
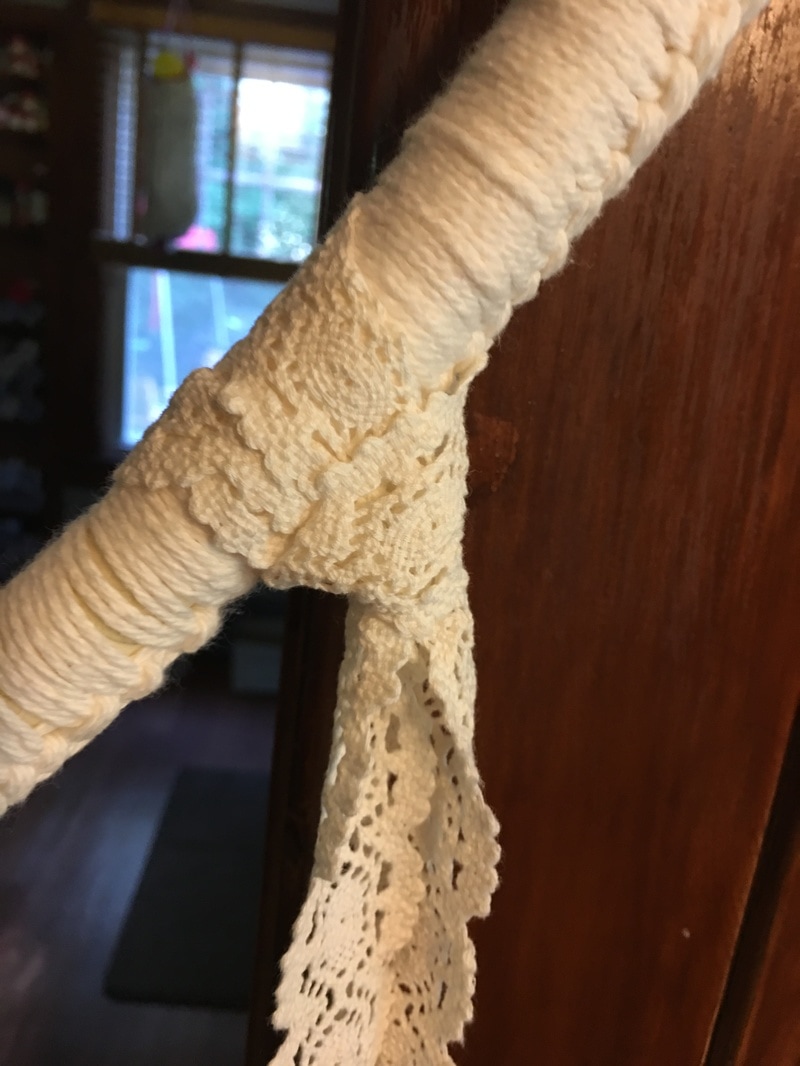
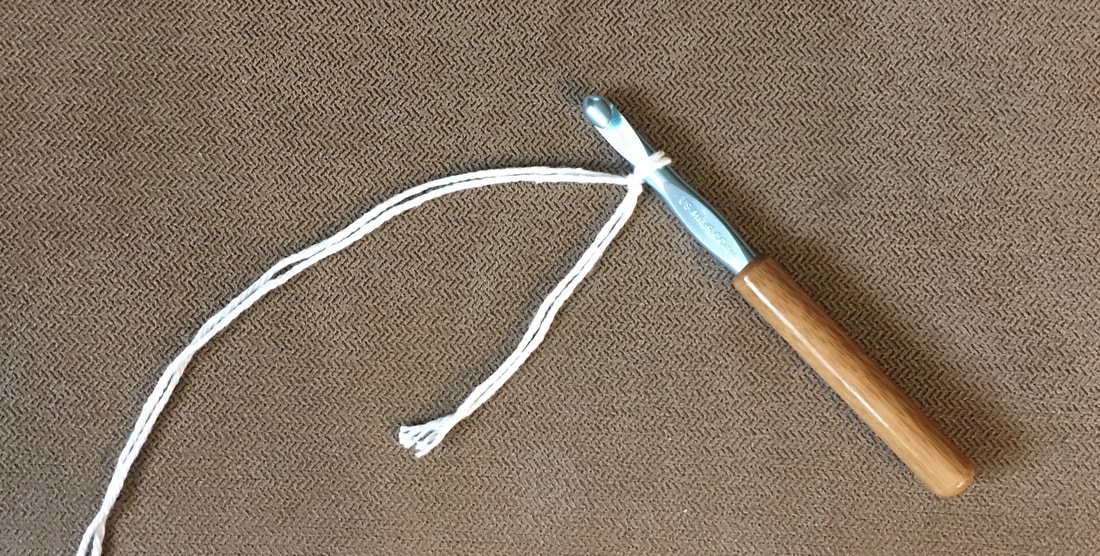
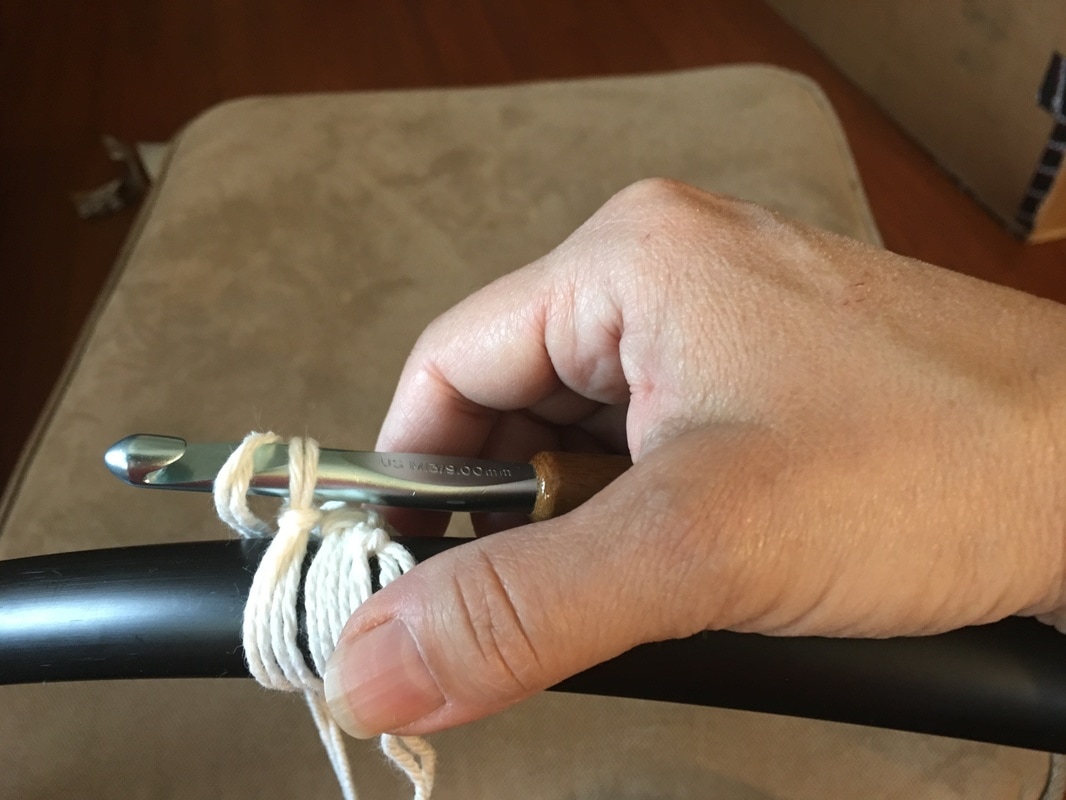
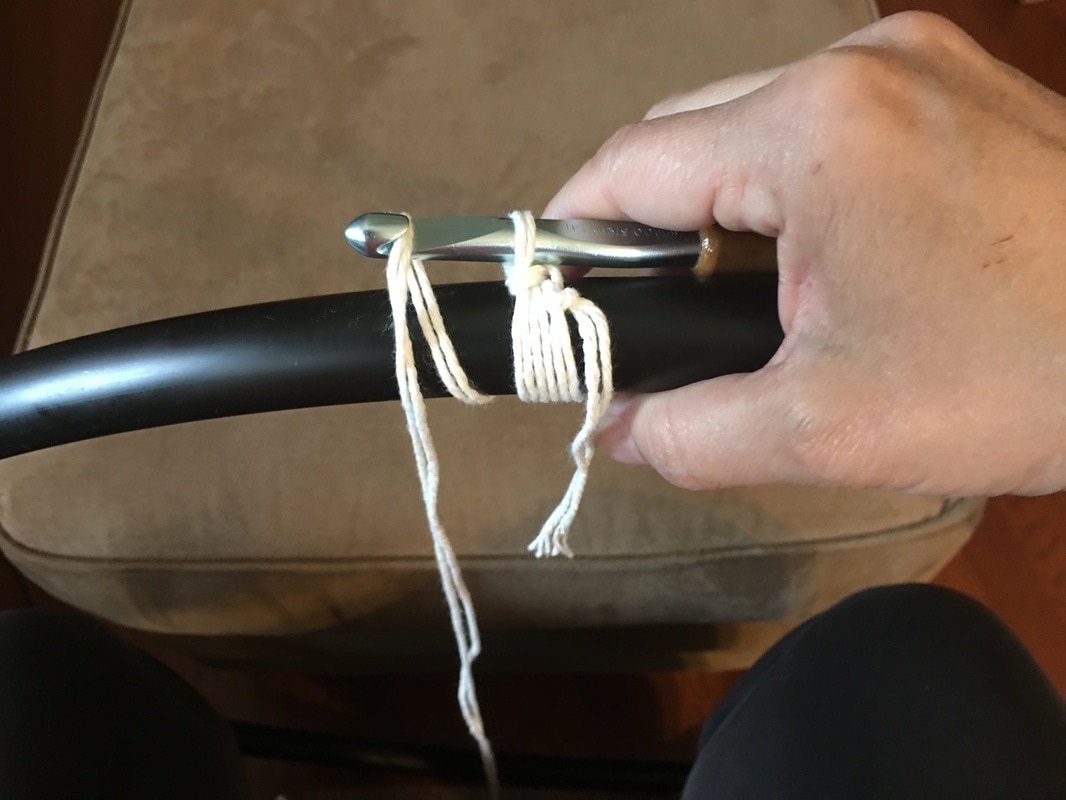
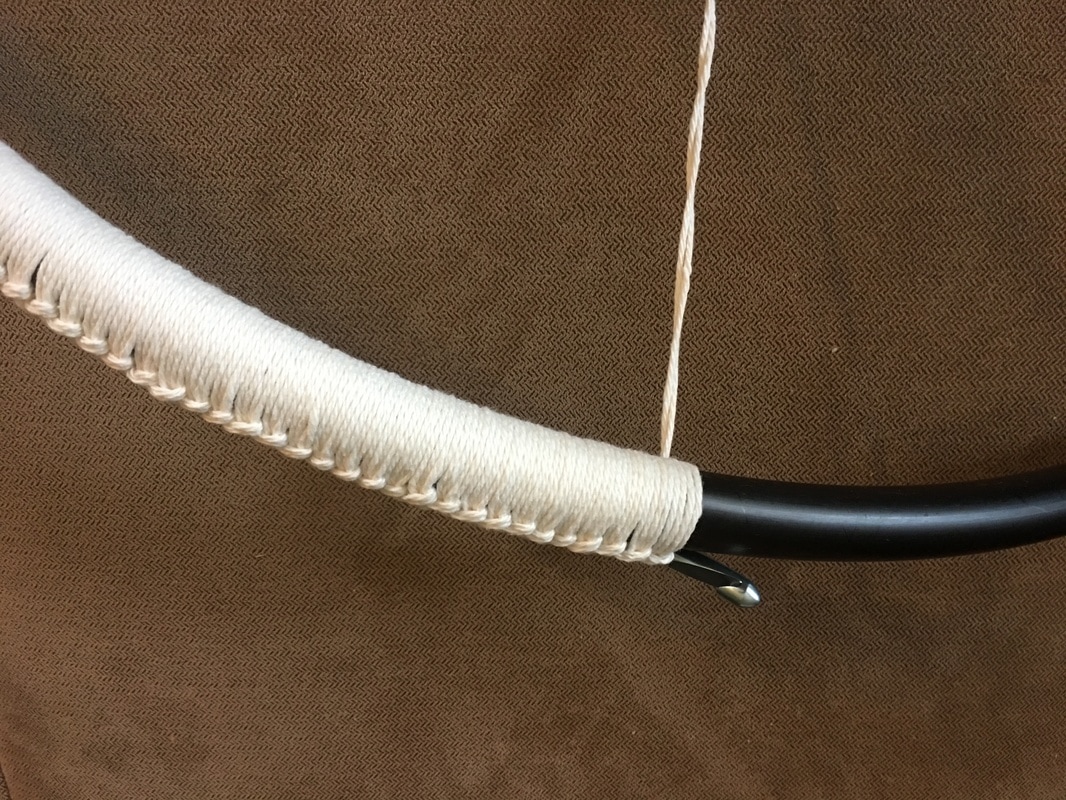
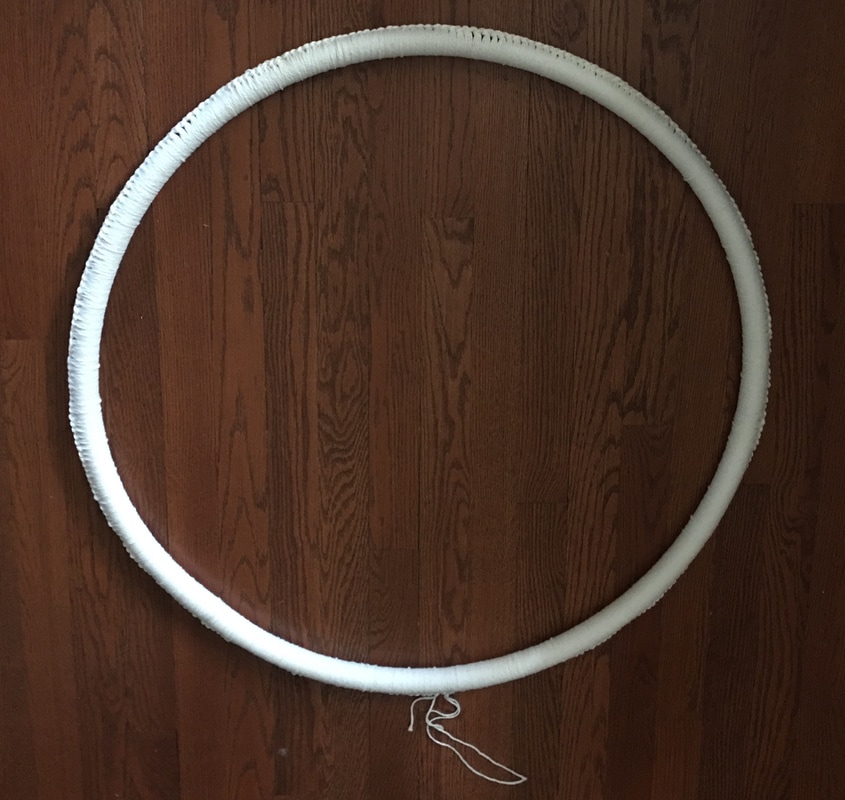
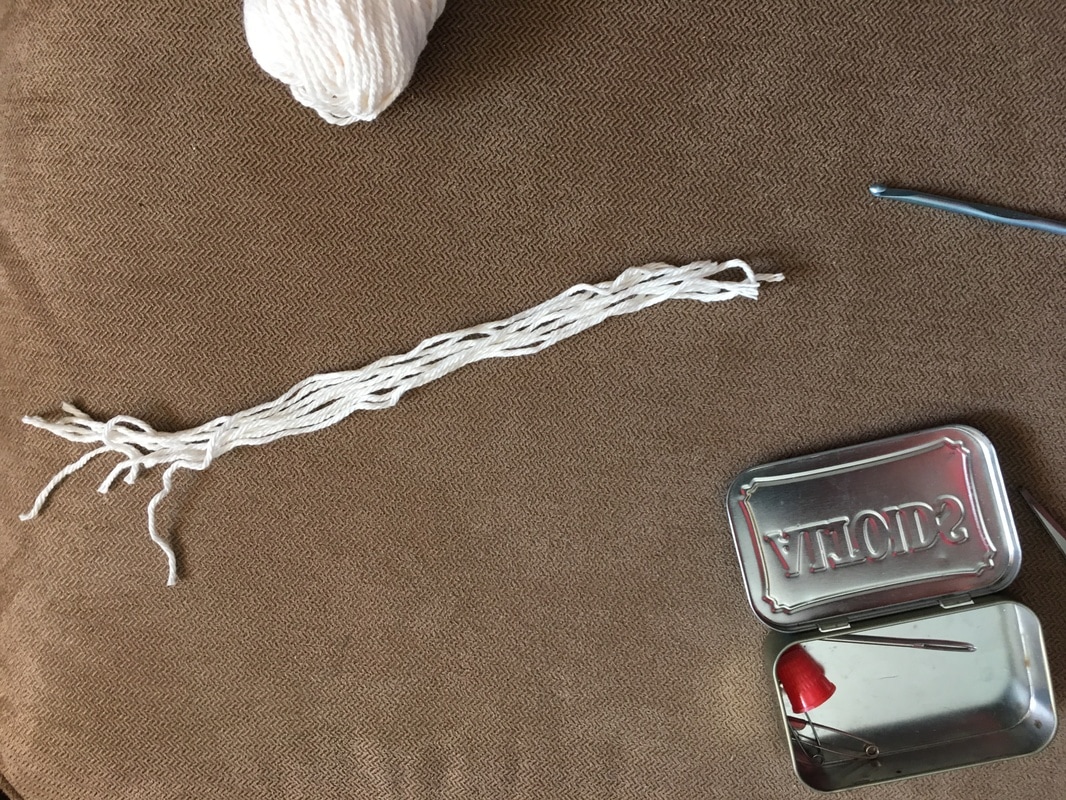
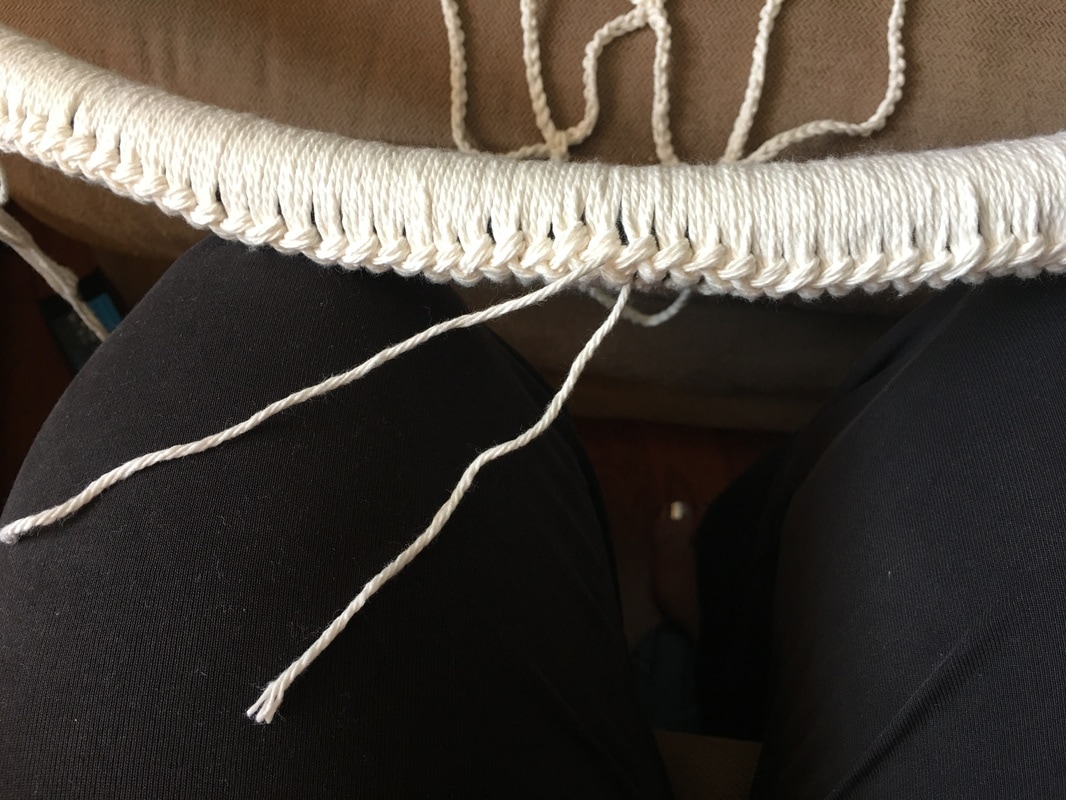
Make the hoop and wrap it with yarn.
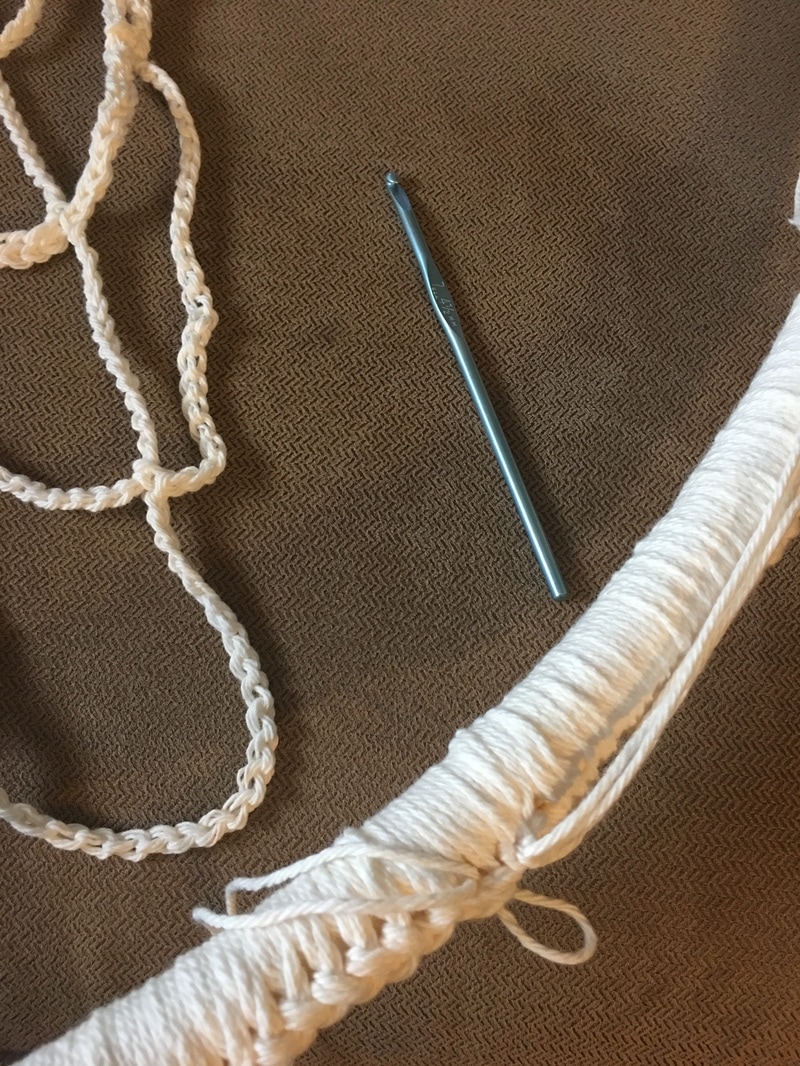
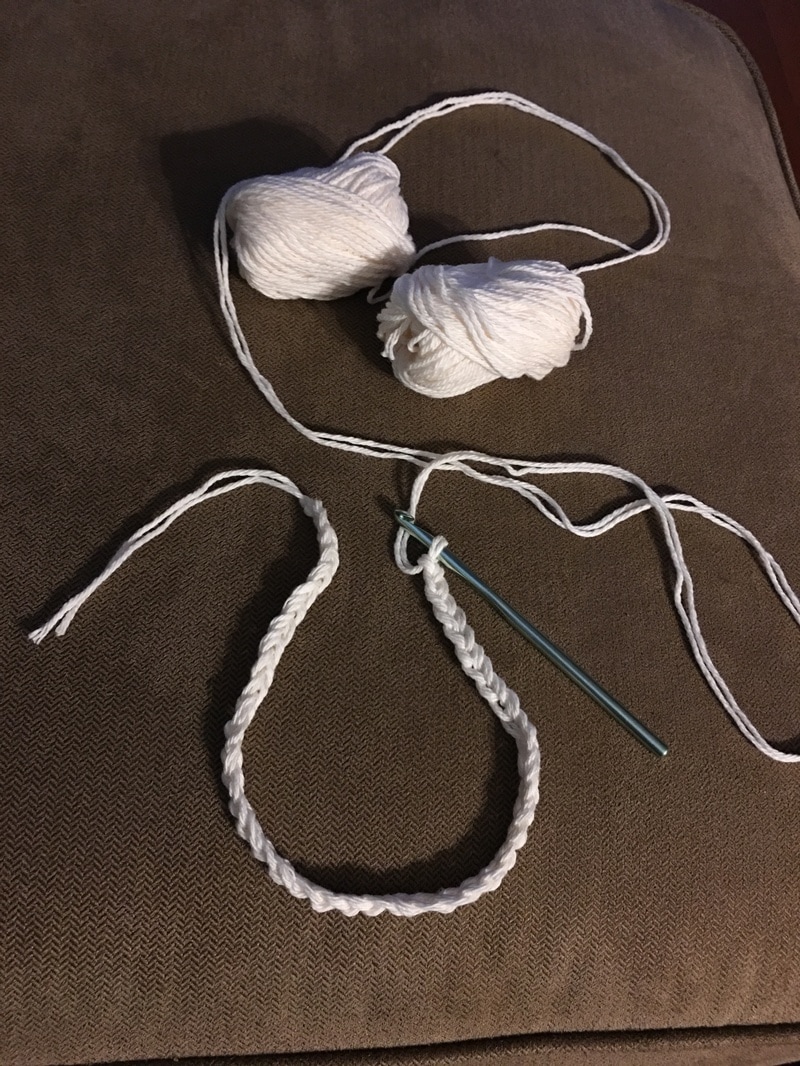
Crochet the center:
HINT: always do an even number of loops.
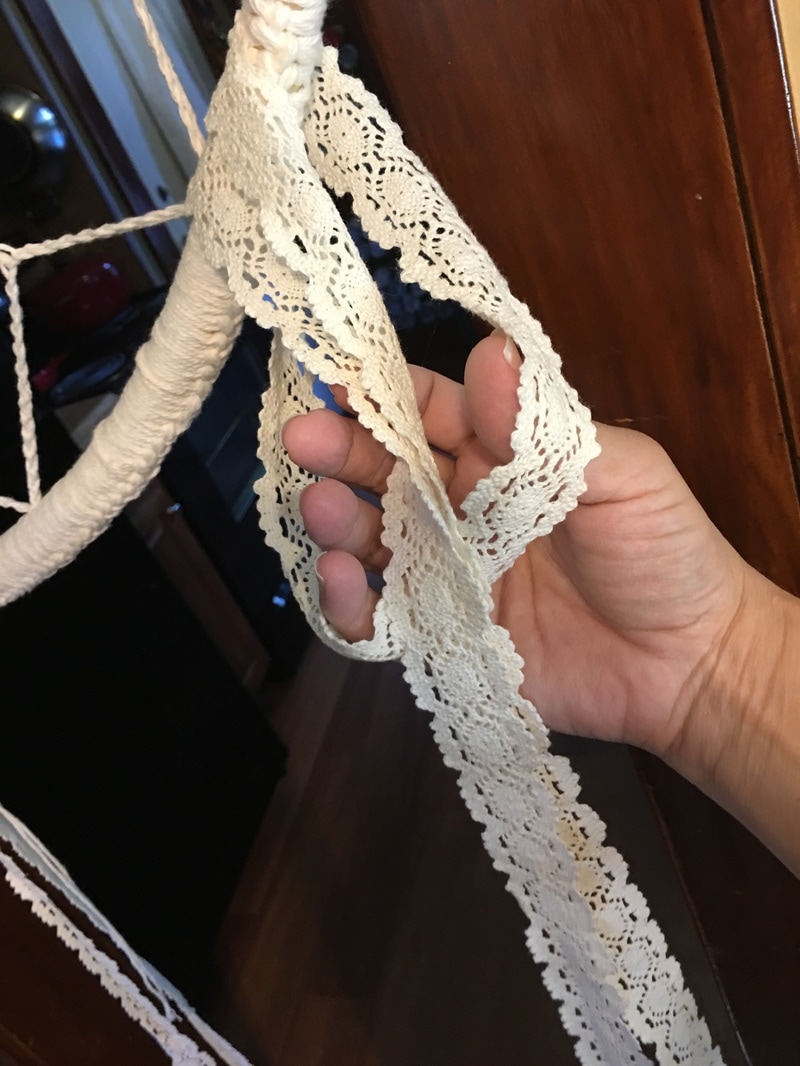
Add the fringe and feathers:
Supplies (some are affiliate links):
P.S. Sorry if some of the pictures are a little blurry - it is kinda hard to be working and snapping pictures at the same time!
Thanks for visiting :-)
Follow me for more fun projects and ideas and check out our other DIY Shower & Wedding Ideas! Sincerely,
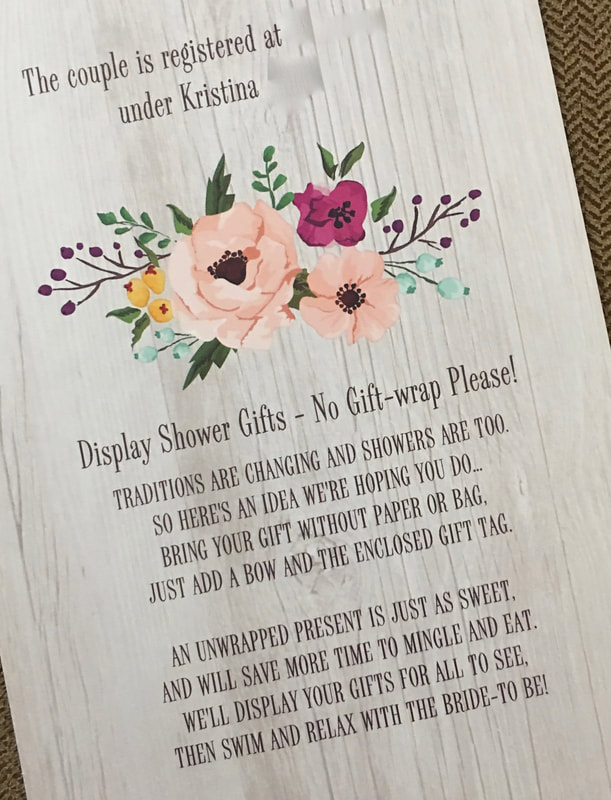
My daughter did not want to spend any of her time opening presents during her recent bridal shower. Instead she wanted all gifts to be unwrapped so they could be set up on tables and viewed by everyone. This created a slight problem because bridal shower games were basically created so that guests are not too bored during the "present opening." I loved the idea of my daughter not opening the presents because I personally find that part of showers excruciating, but I still wanted there to be some fun games to play. Actually I needed guests to play some games because I intended to do a small auction during the party (I got that brilliant and fun idea from my sisters recent bridal shower and I loved it!).
The auction I made had about 20 gifts to give away so we gave everyone about 20 tickets as soon as they arrived. We did this simply by putting the 20 tickets in the mason jar mugs everyone would get to drink from but you could easily just hand them out which is what they did at my sisters shower. This was not enough tickets though and that is why games were necessary! Winners could earn more tickets! More tickets = more chances to win a prize gift.
NOTE: nobody would go home empty handed even if they did not win one of the auction prizes because guests could keep their mason jar mug and they also received a mini dream catcher favor - See how the mini dream catcher favors are made here!) 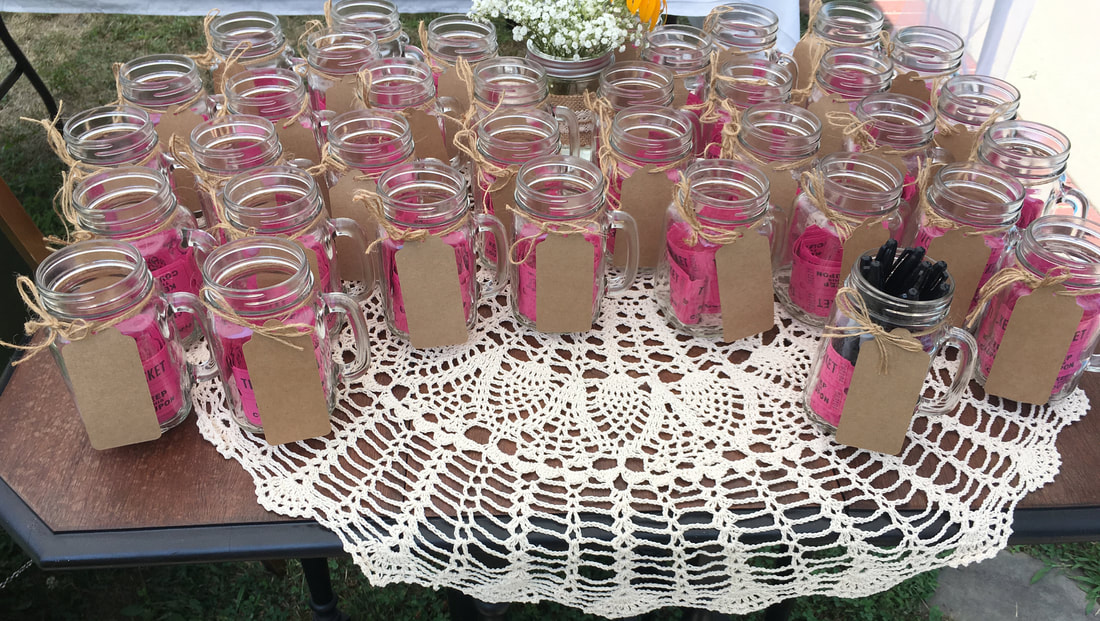
Mugs with about 20 tickets for the auction inside! Labels are for guests to write their names on.
Affiliate Links through Amazon.com:
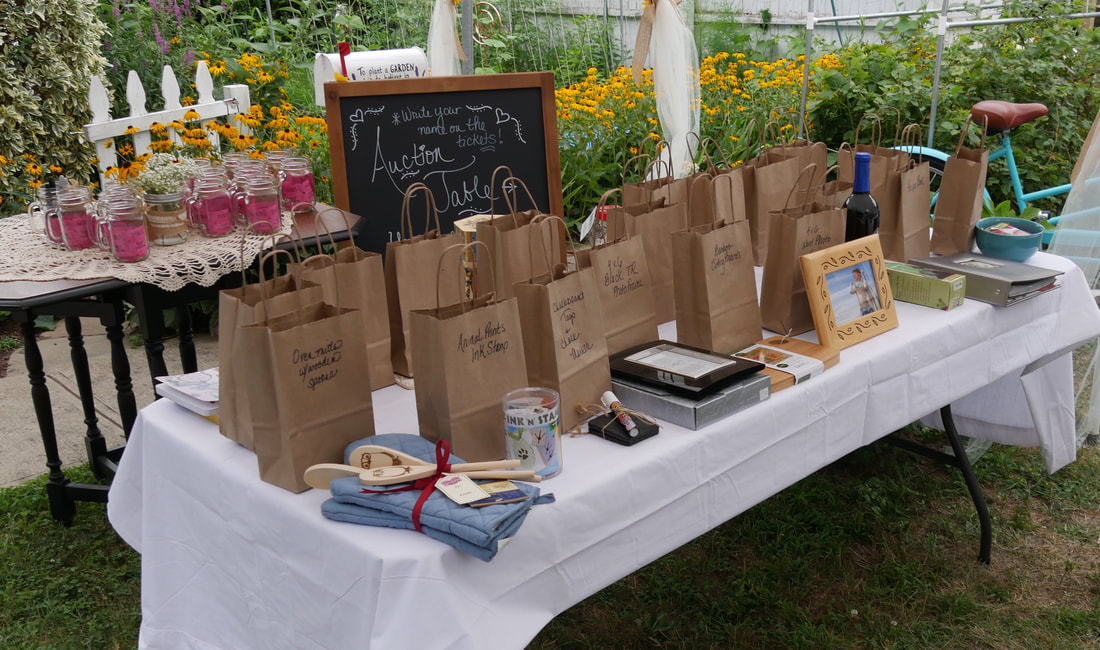
A picture of the auction table. The gift prizes are displayed for all to see and guests can put their tickets in the brown paper gift bags behind. We had the bride to be pull the tickets during desert time!
So basically since we needed to give out more tickets I came up with these two simple fun games (Thank you to Pinterest for the general ideas!).
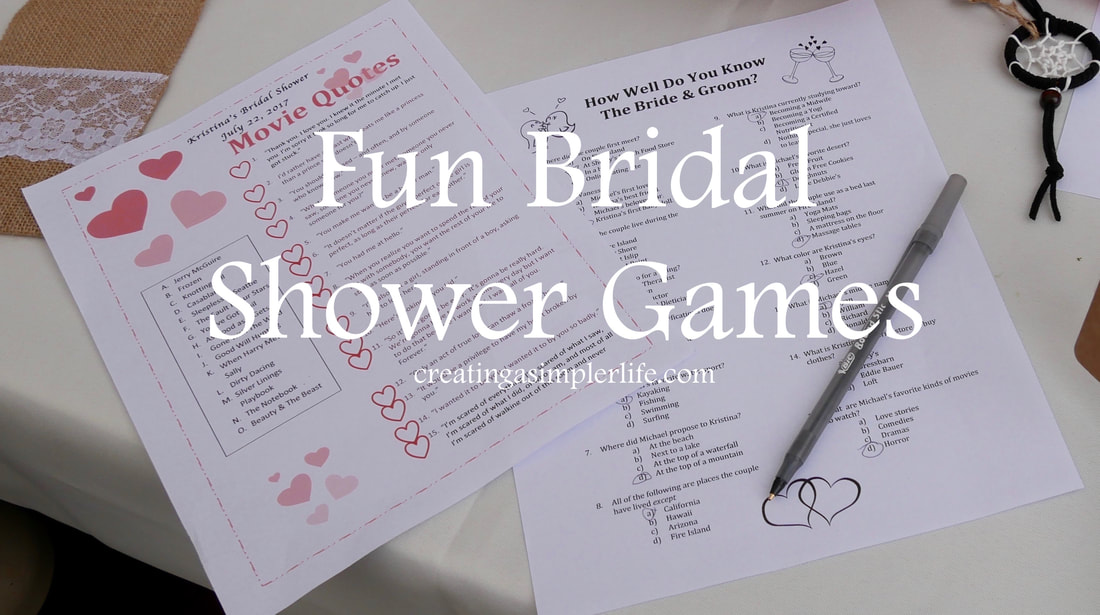
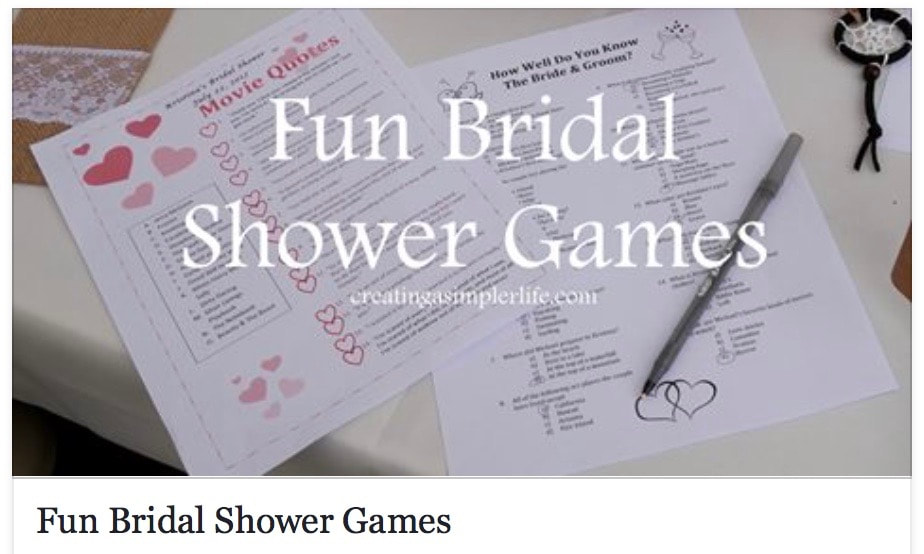
The first game is a matching game of famous 'love quotes' from movies. There is a free MS Word document download below. We had a mix of ages at my daughters shower so the movies I used spread over a long period of time. Feel free to change them as you see fit and enjoy! 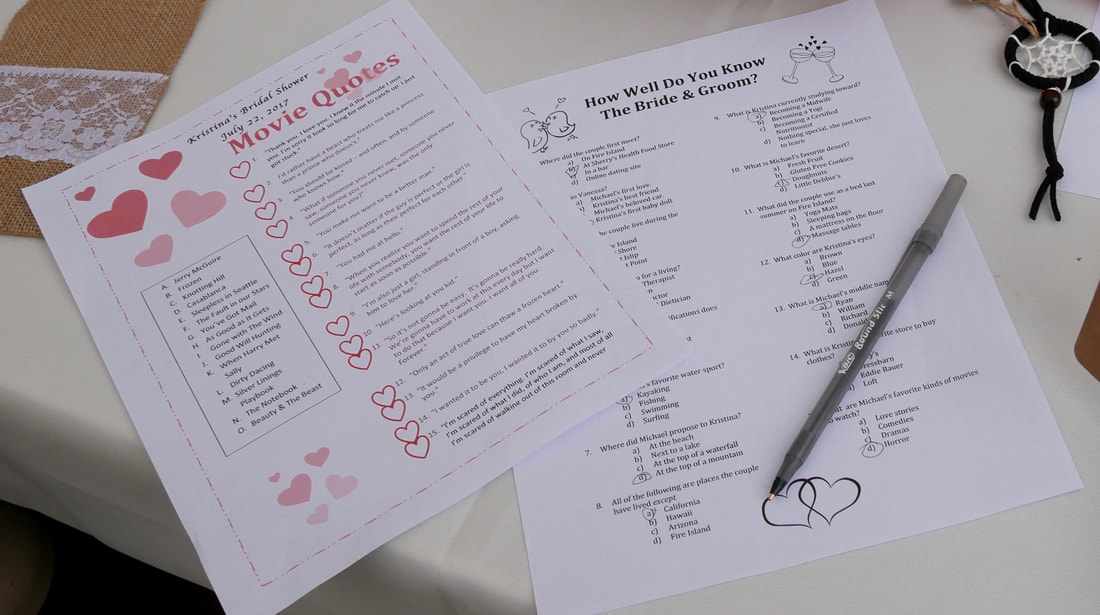
Here are the two games we played. They were distributed to guests to work on during lunch.
The second game is a multiple choice 'test' about the bride and grooms lives. again, there isI have a free download for you below (MS Word document) where you can cut and paste in your own questions and answers. Don't forget to put the brides name and the date of the shower at the top too!
Both games were given out during lunch time for the guests to collaboratively work on. Toward the end of the lunch I gave out the answers and guests graded their own answers. They were rewarded an extra ticket for every correct answer! It's all in fun so nobody checked for honesty or not, because well, who really cares? During desert the bride pulled a ticket for each prize gift and they were distributed to the winners to take home! So simple! Everyone had great things to say about the games and the way the shower was run. The bride to be had quality time to be with all the guests during the shower and I have had many people share with me how wonderful and relaxed everything was. In my eyes that spells S.U.C.C.E.S.S.!! But most importantly, my daughter was truly happy and enjoyed herself immensely. What more could a mother ask for?
Thanks for visiting!
Check out my other FREE downloads here, our DIY Shower & Wedding Ideas here, and follow me on social media for more great ideas :-) Sincerely,
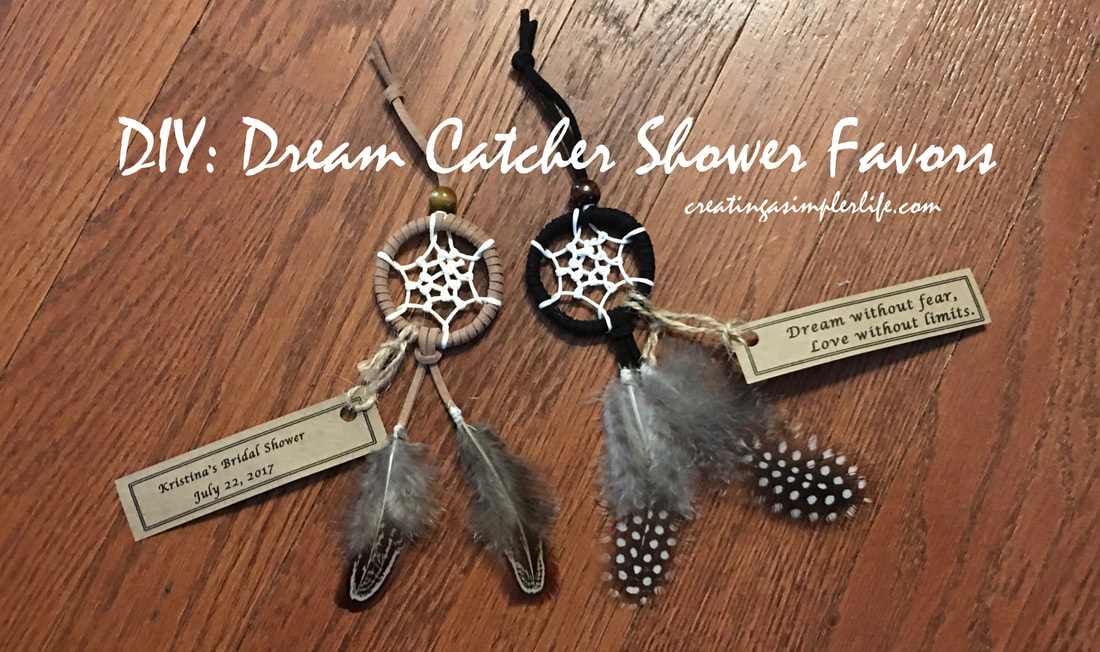
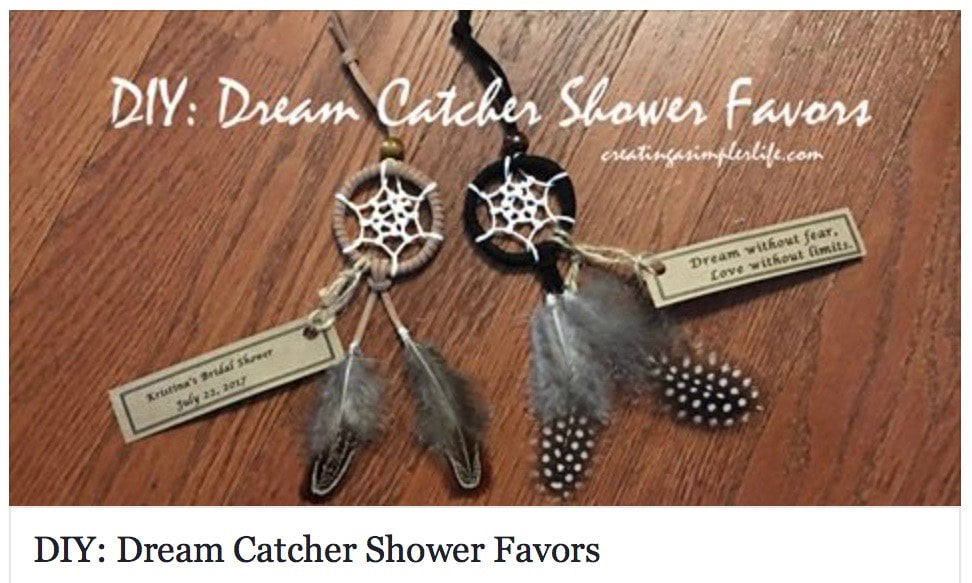
My new thing lately is making dream catchers. My daughter decided that she wanted a giant dream catcher for her wedding day and that was the beginning of my 'dream catcher' research! That led to the absolute first, and largest dream catcher I have made to date (post coming soon)! Since then I have made many more out of many different types of materials but my absolute favorite are all the dream catchers made out of what would normally be thrown out as garbage (or recycled depending upon where you live). I came up with this idea out of a need to make a lot of similar dream catchers as favors for my daughters bridal shower, and I think I need to pat myself on my back because, well, I absolutely love the way they came out! But you be the judge :-)
Completed Dimensions of Dream Catchers: Approximately 2" wide x 7" long (including loop to hang it) FREE PRINTABLE (and editable) LABELS BELOW! P.S. I know this is a lot of pictures so I am sorry ahead of time!
Supplies Needed:
(see pictures, links, and prices at very bottom of post for affiliate link supplies)
Video "How-TO" (pictorial directions below):
FREE PRINTABLE TAG LABELS:
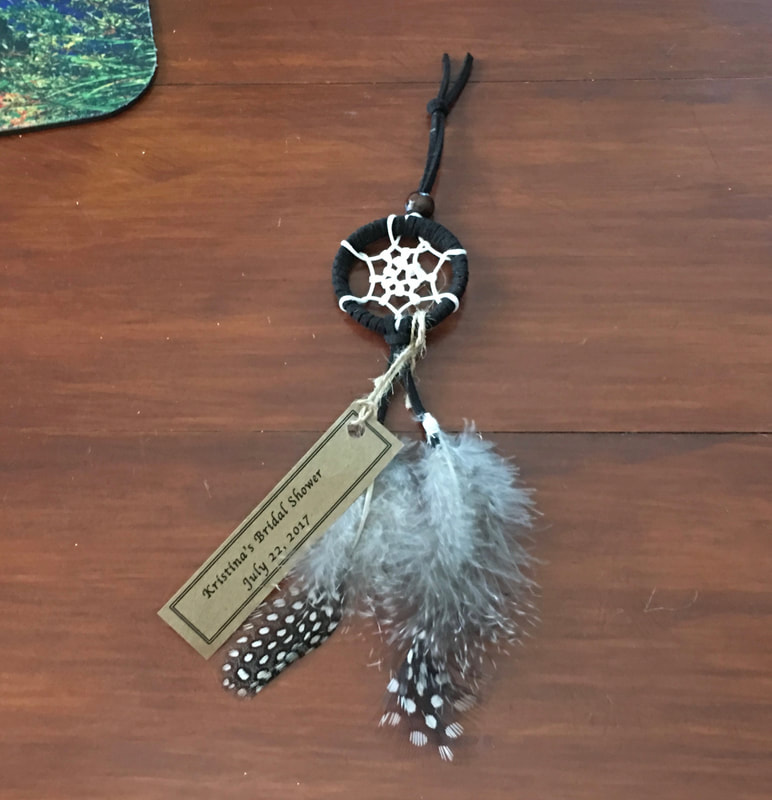
The two sides are separate so you can choose to just do one side, for example, just the "Dream saying" side. They are also MS Word documents so that you can edit as needed as far as the date and the name for the bridal shower side. Definitely do a trial on white paper if you are printing both sides so that you can tweak the positioning as needed. These were my final prints so they should be good but you never know.
Pictorial Directions :
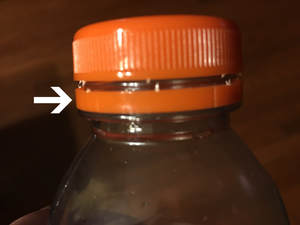
The plastic ring from a gatorade bottle! They also are on milk containers and many other plastic bottles!
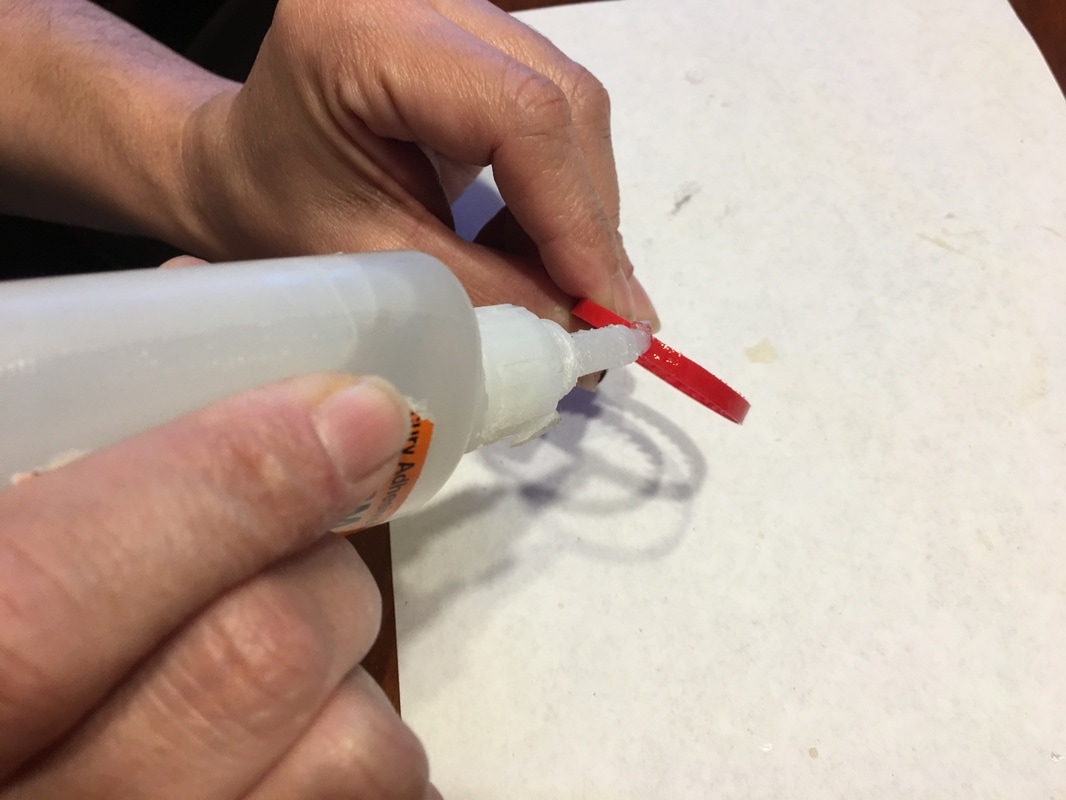
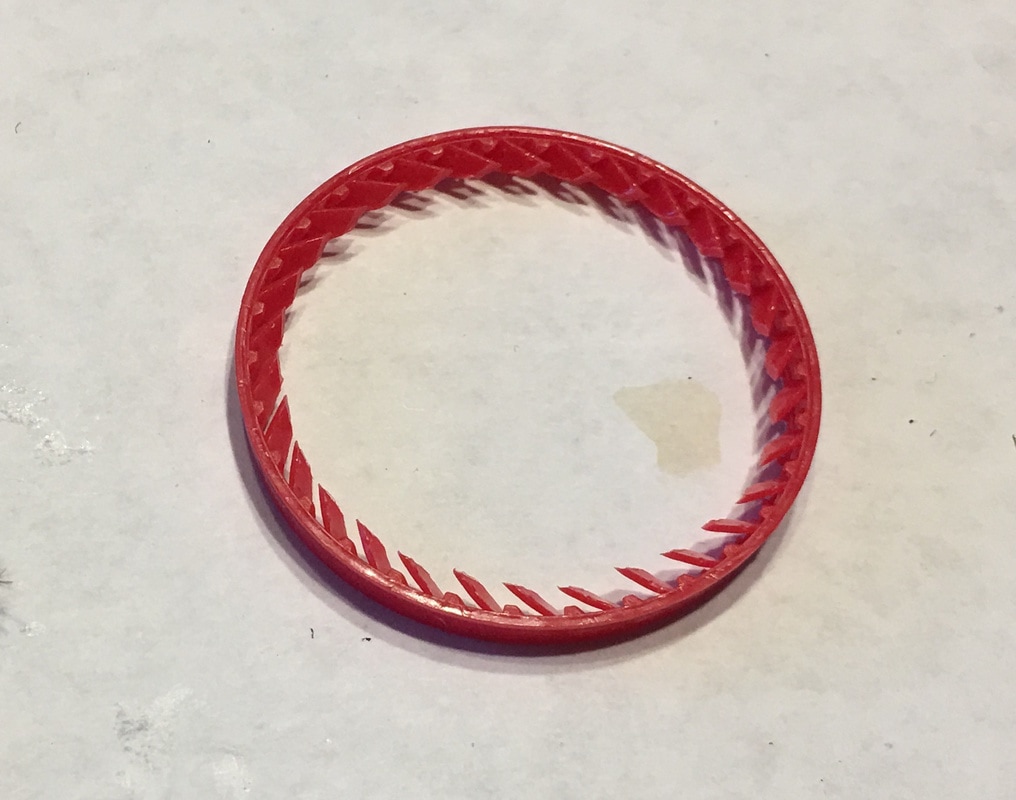
Add a bot of gorilla glue...
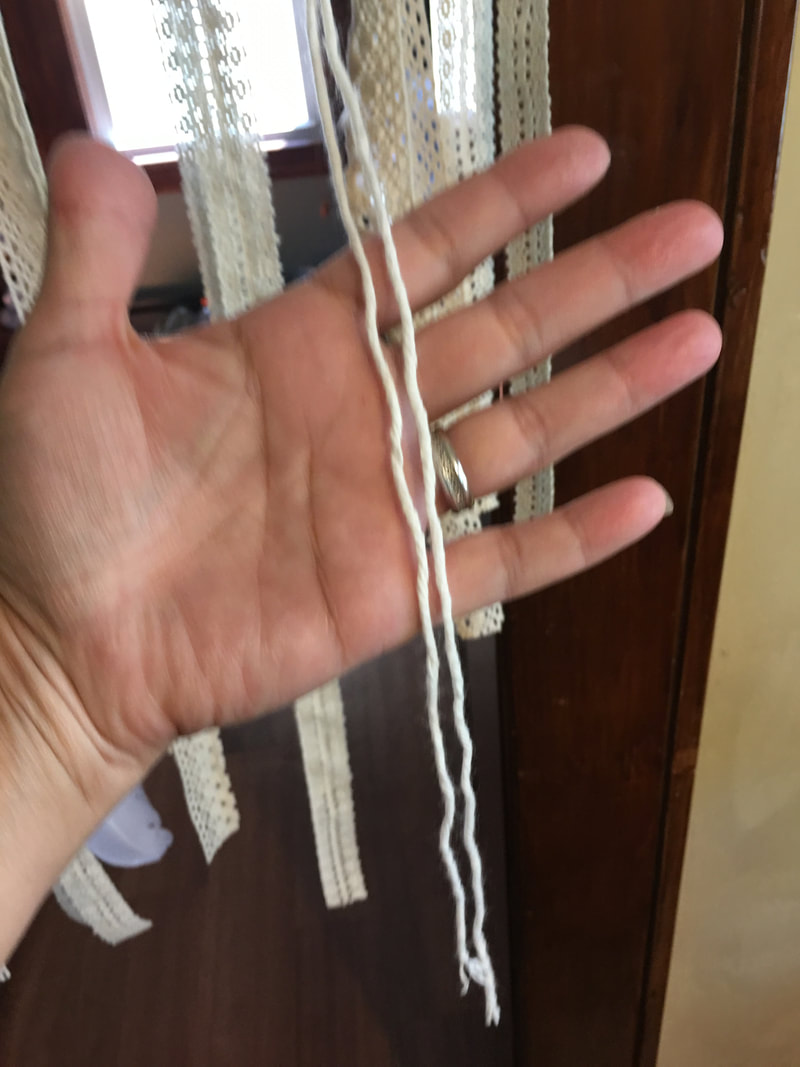
And attach the end of the cut piece of cotton string for the center of the dream catcher (about 1.5 feet long max).

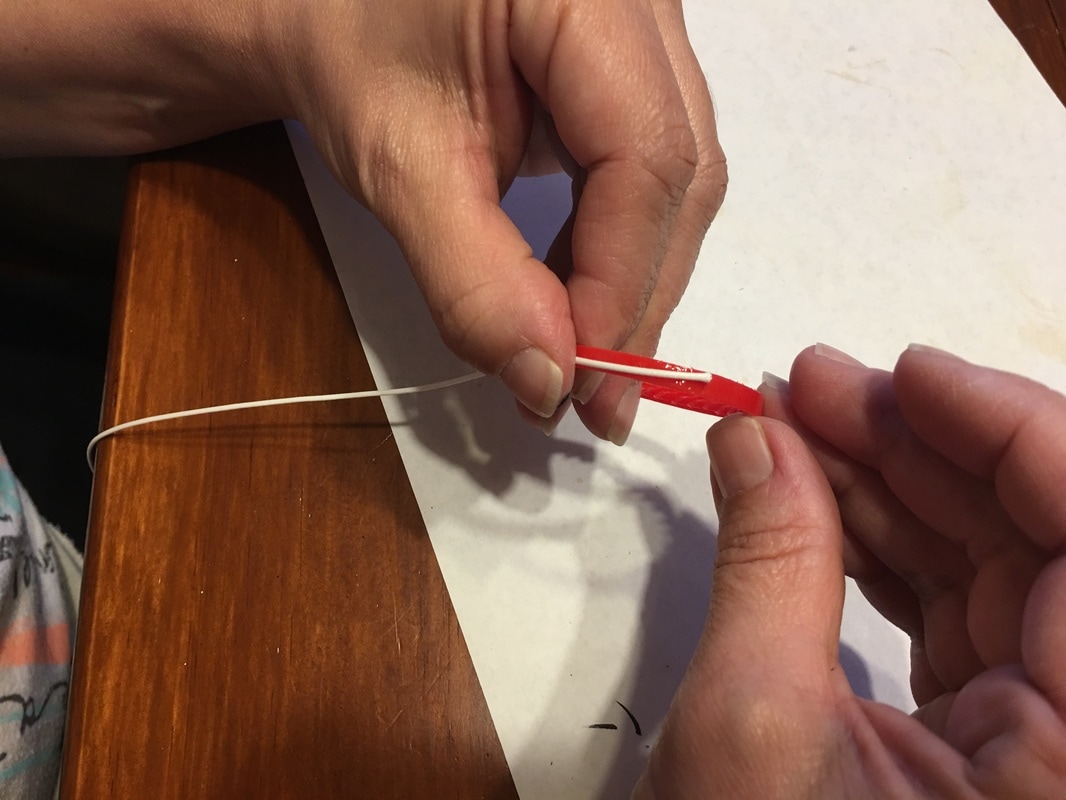
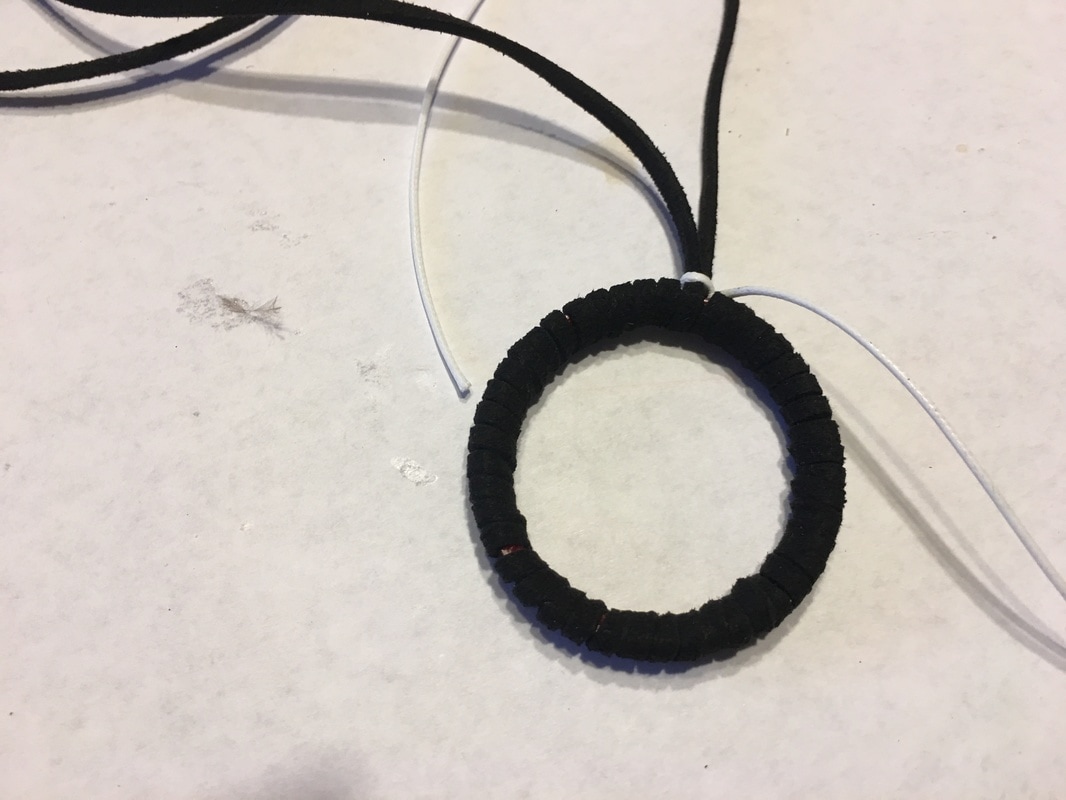
Then begin to wrap the ring with the faux leather piece - also about 1 - 2 feet long. Be sure to leave a long piece at the beginning to use to hang it.
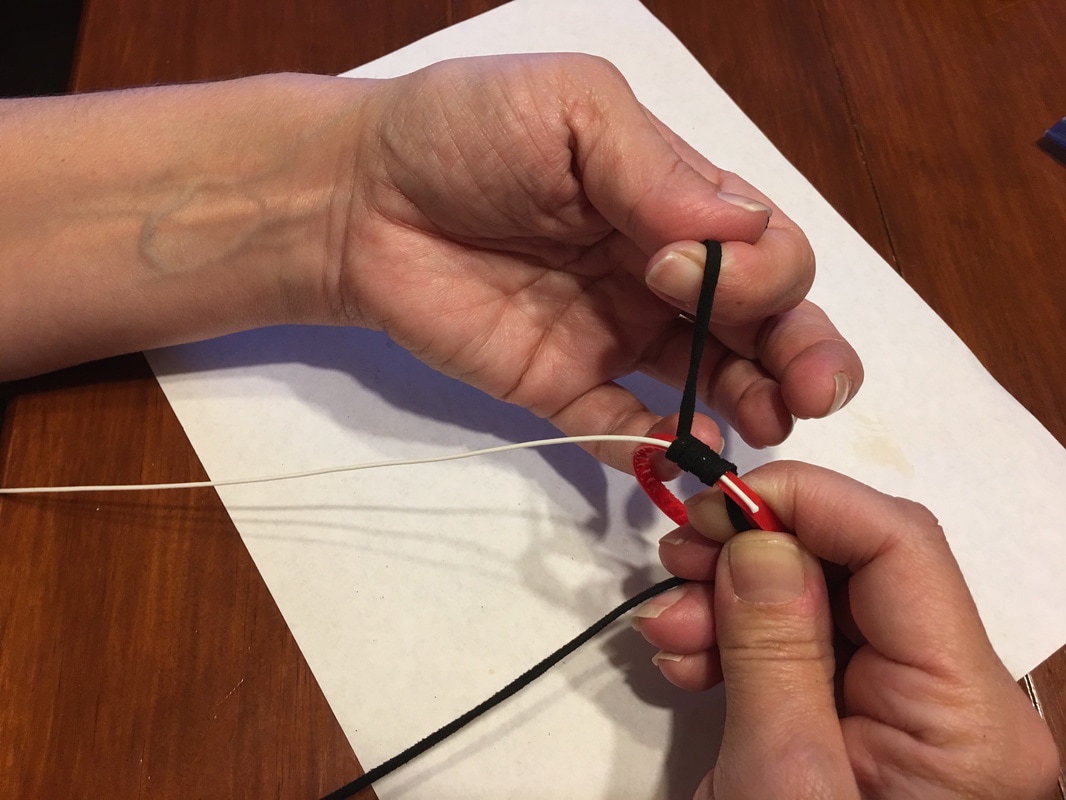
Wrapping in progress...
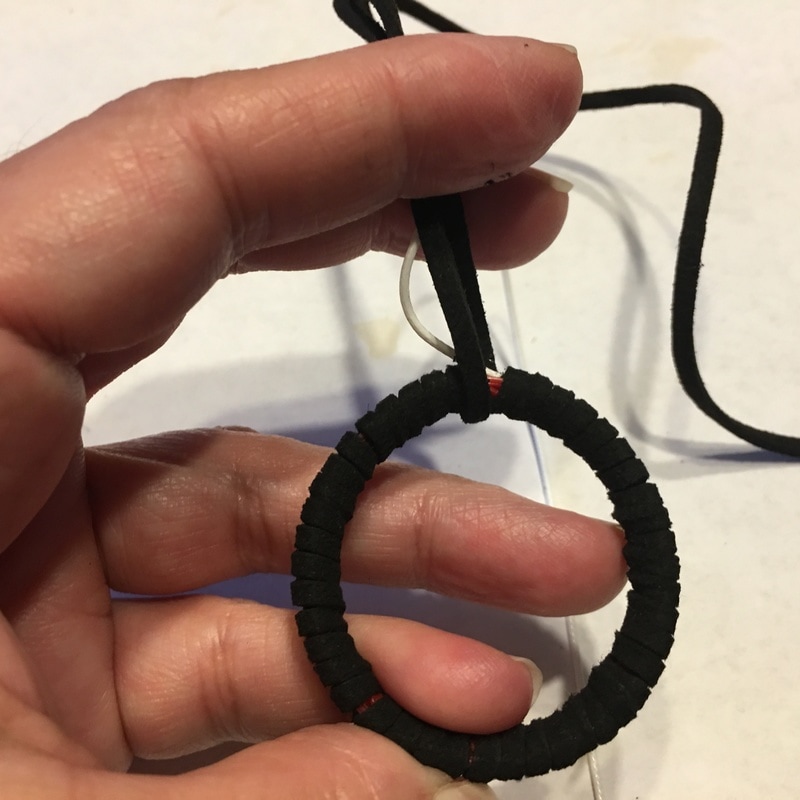
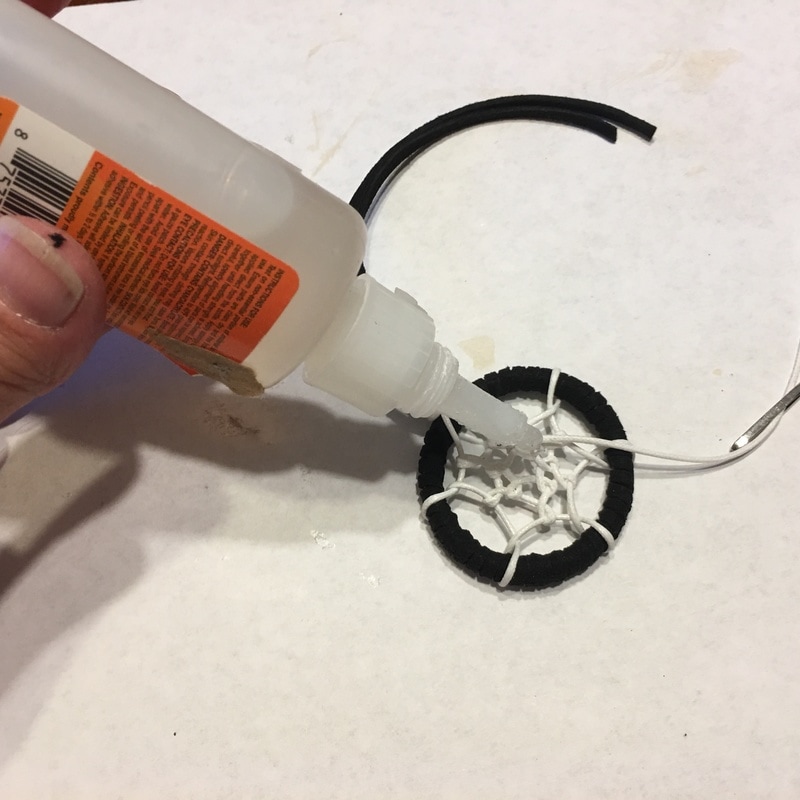
Wrapping done! Now you wrap the center string around the top pieces, pull it through to knot it and add a dab of glue to hold it.
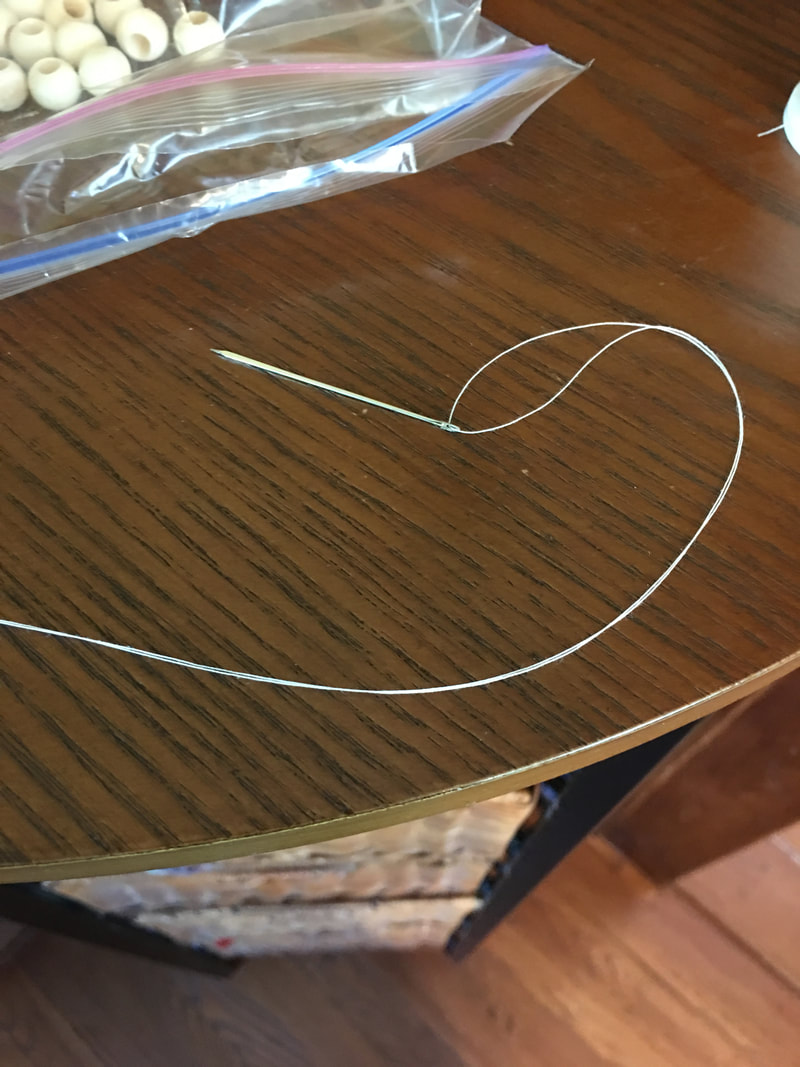
Done! the center piece will now be threaded on the yarn needle.
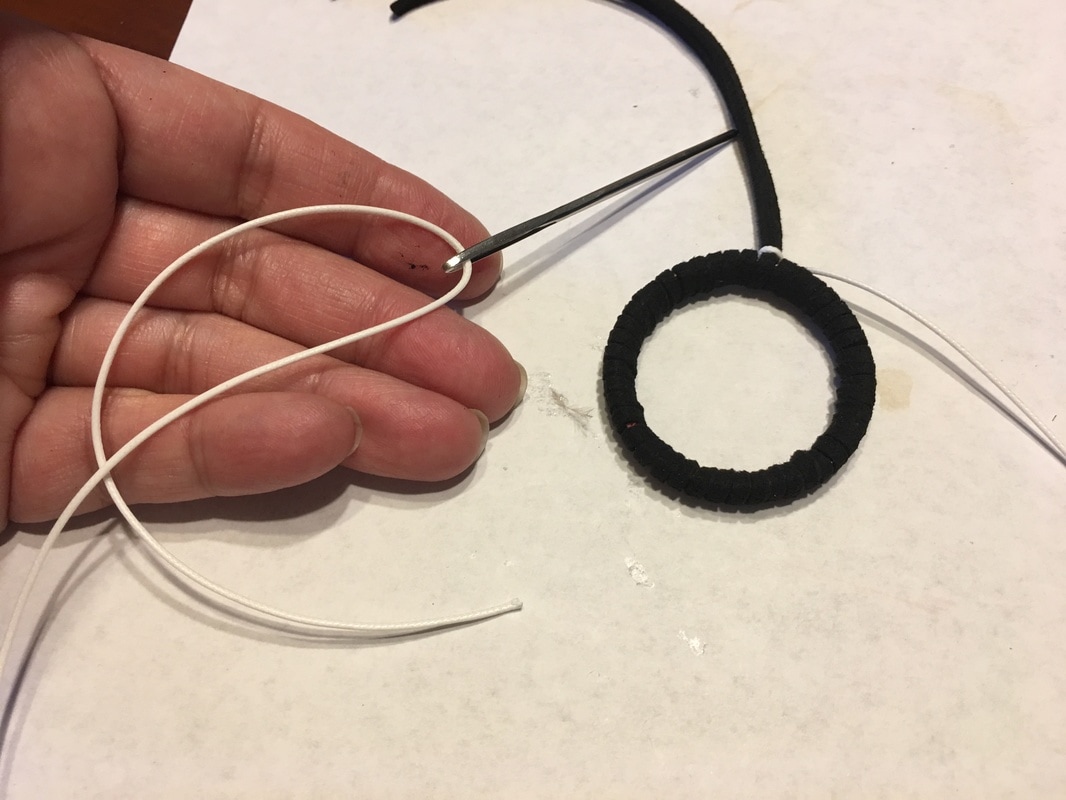
Check out this simple picture for how to weave the center part http://www.craftsforkids.com/projects/dream_catchers.htm
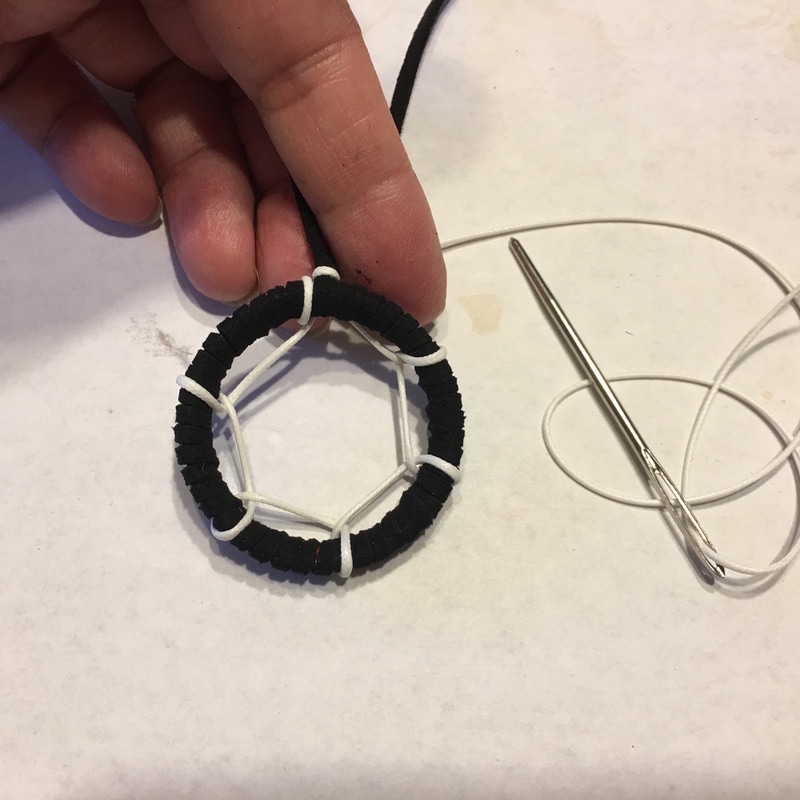 Start weaving the dream catcher center. Start weaving the dream catcher center.
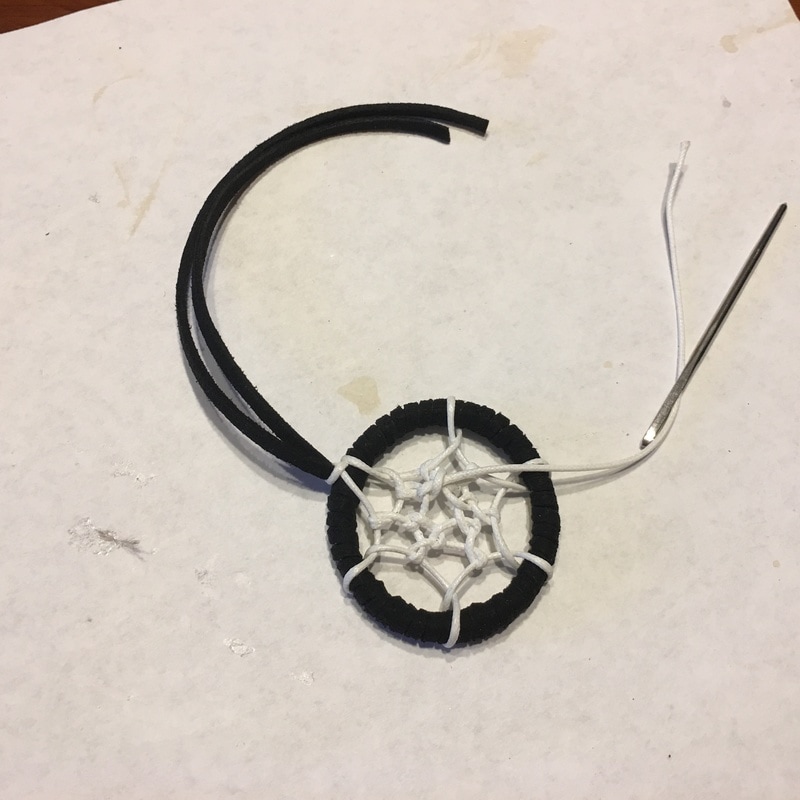
When done with the center make a small knot on the back.
Add a dab of glue and let it dry.
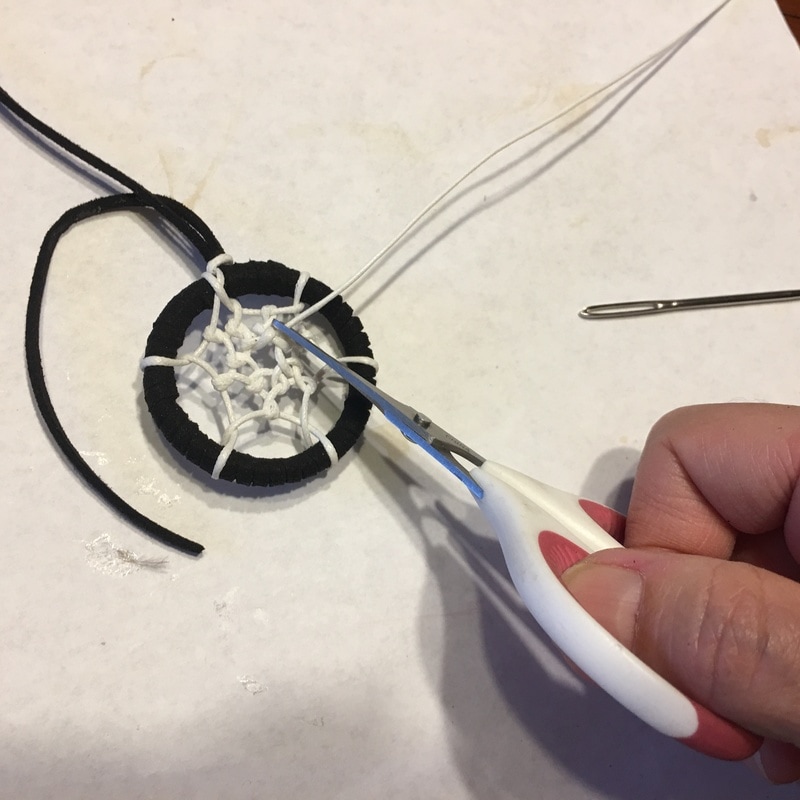
After the glue is fully dry (I wait overnight), then clip off the end.
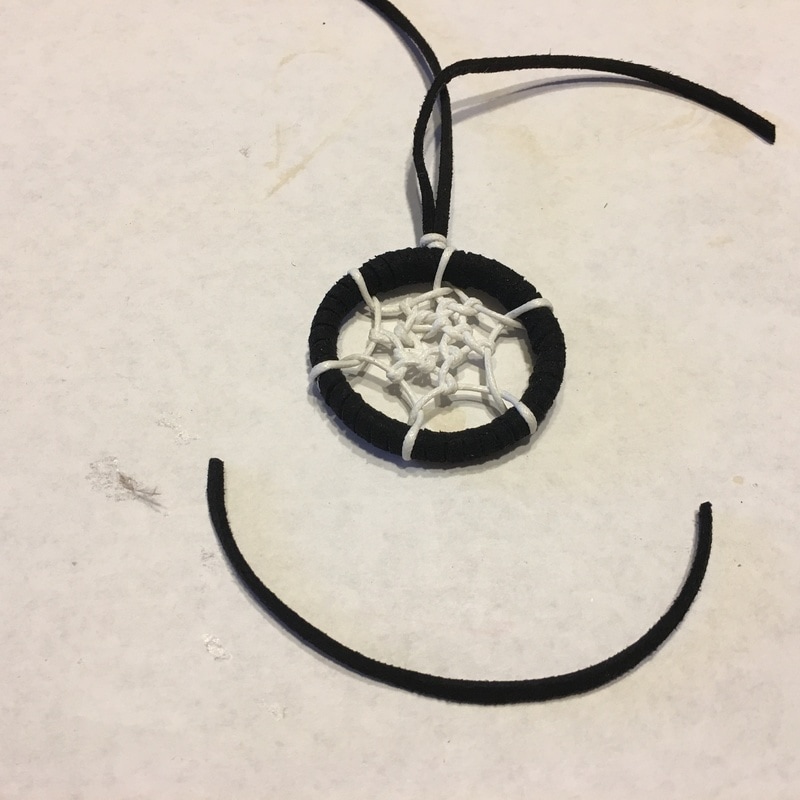
Cut a pice for the feathers to hang from.
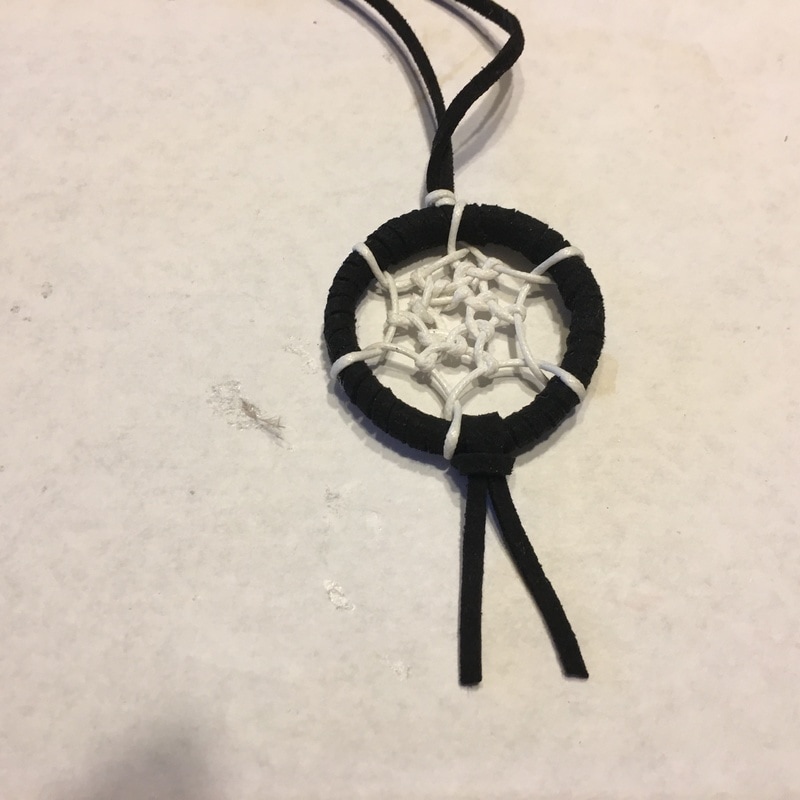
Tie it in place - more like looping it in place really.
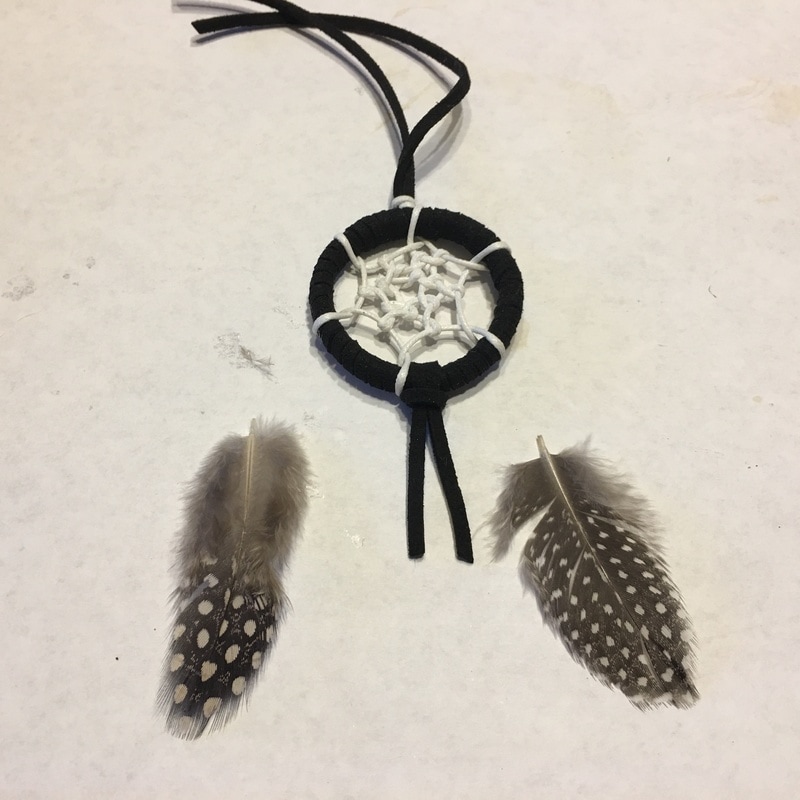
Choose feathers that will look good together.
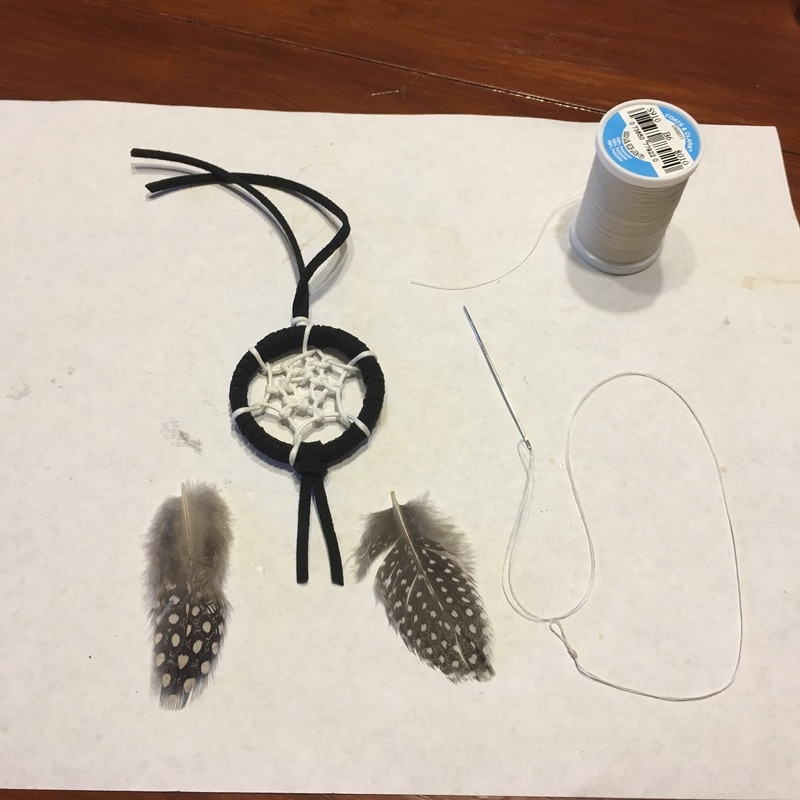
Get a needle and thread ready.
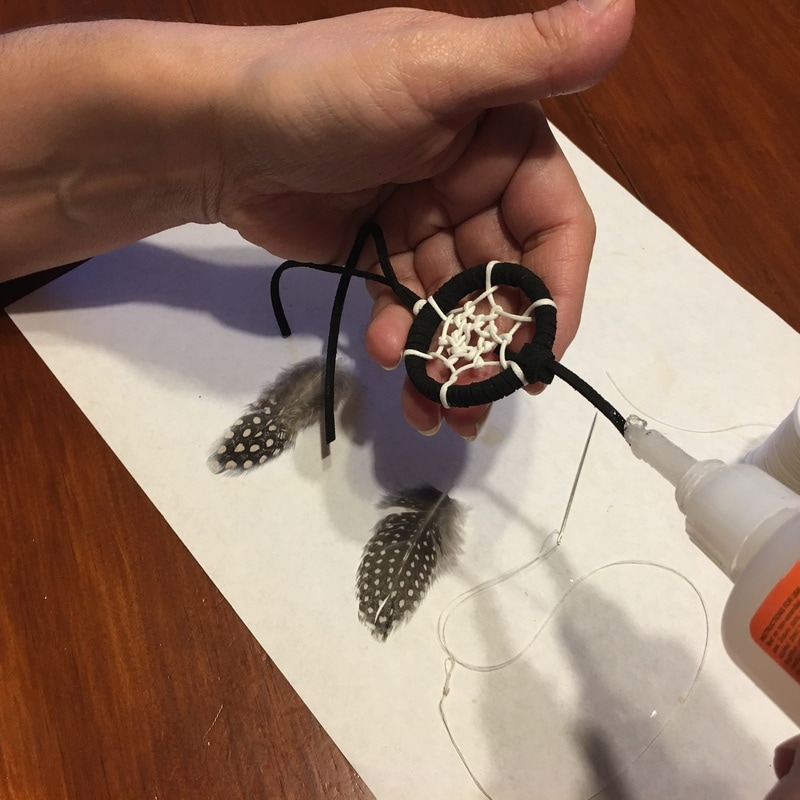
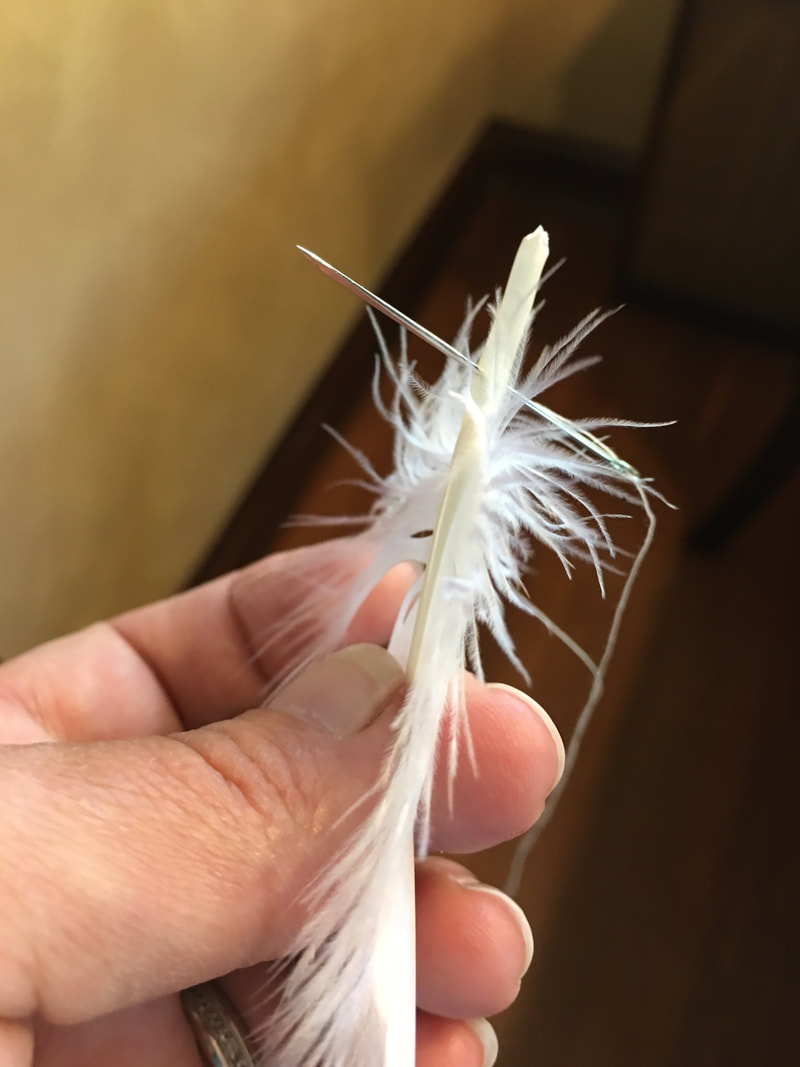
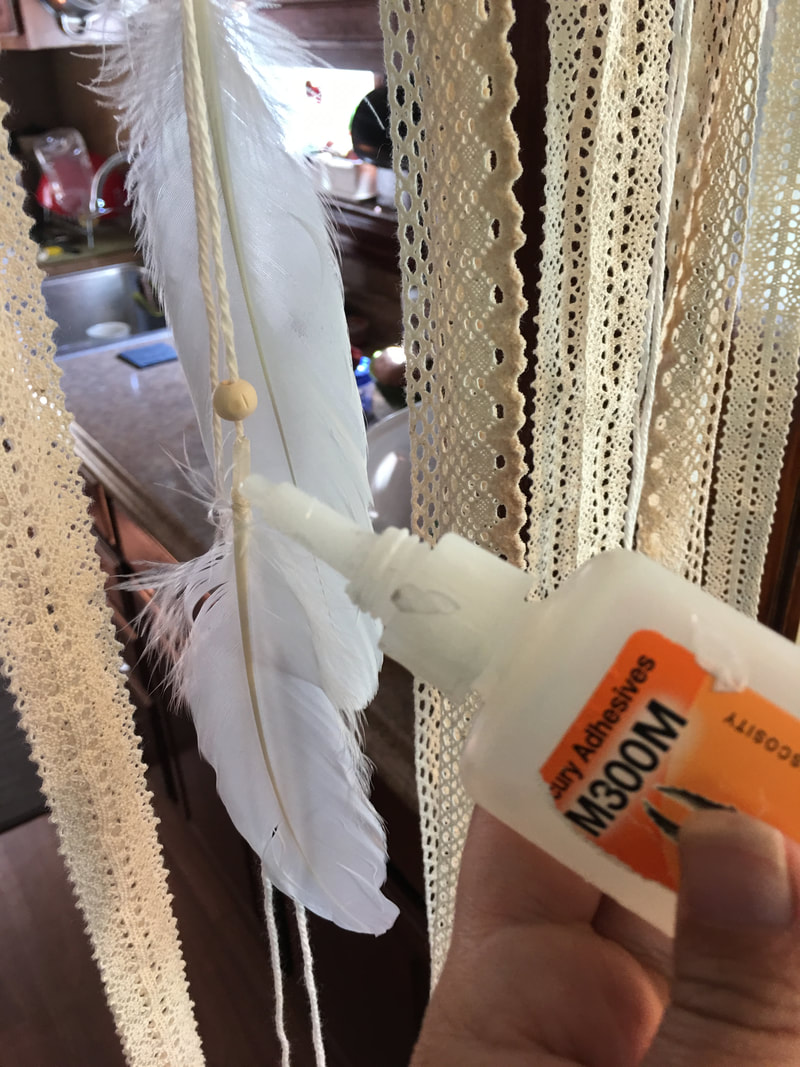
Add a dab of glue to help hold the feather in place.
Place the feather on the front of the faux leather.
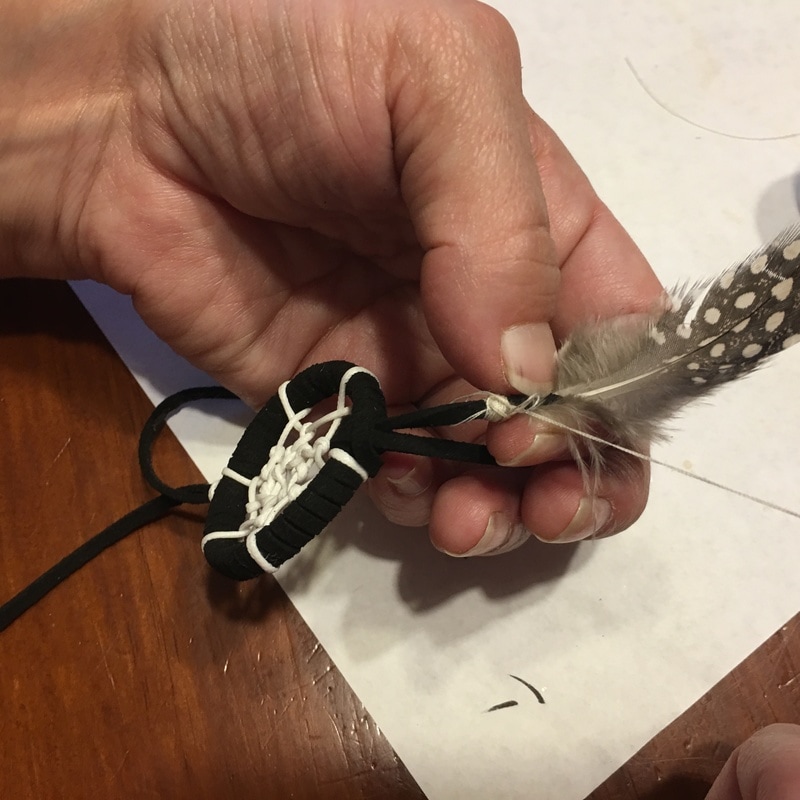
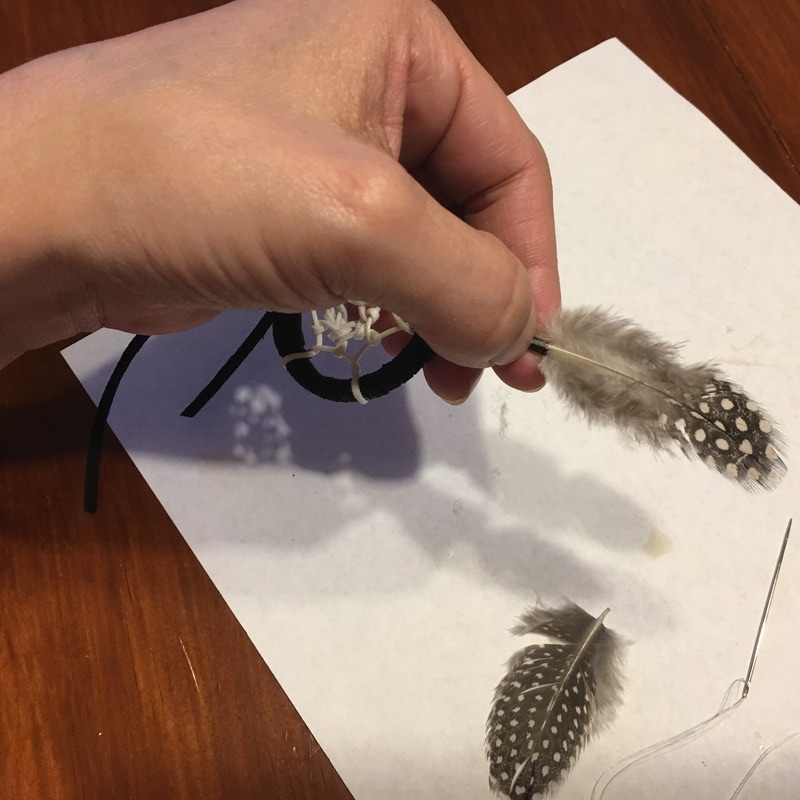
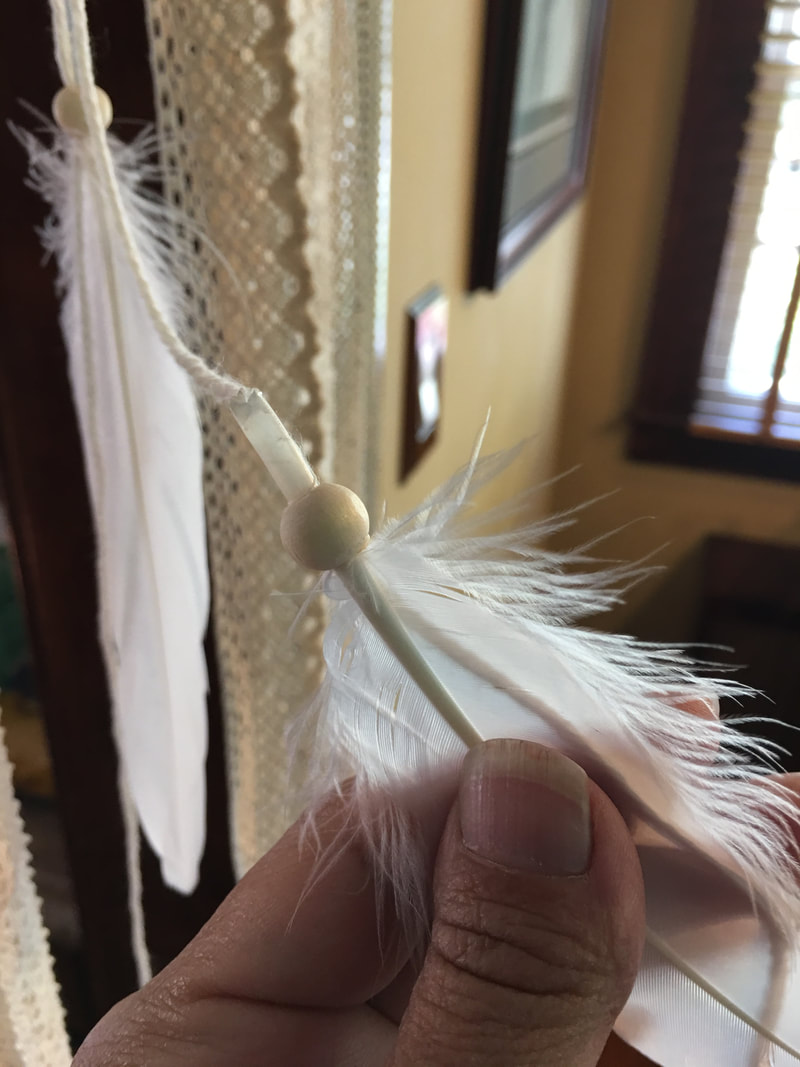
And begin wrapping it in place with the needle and thread. Nothing is sewn - I simply wrap the thread around and around and then run the needle through the wrapped portion before clipping it at the end. Then I add a drop of glue to make it permanent.
Do the same thing for the second feather. Be sure to add a dab of glue after the thread is done too!
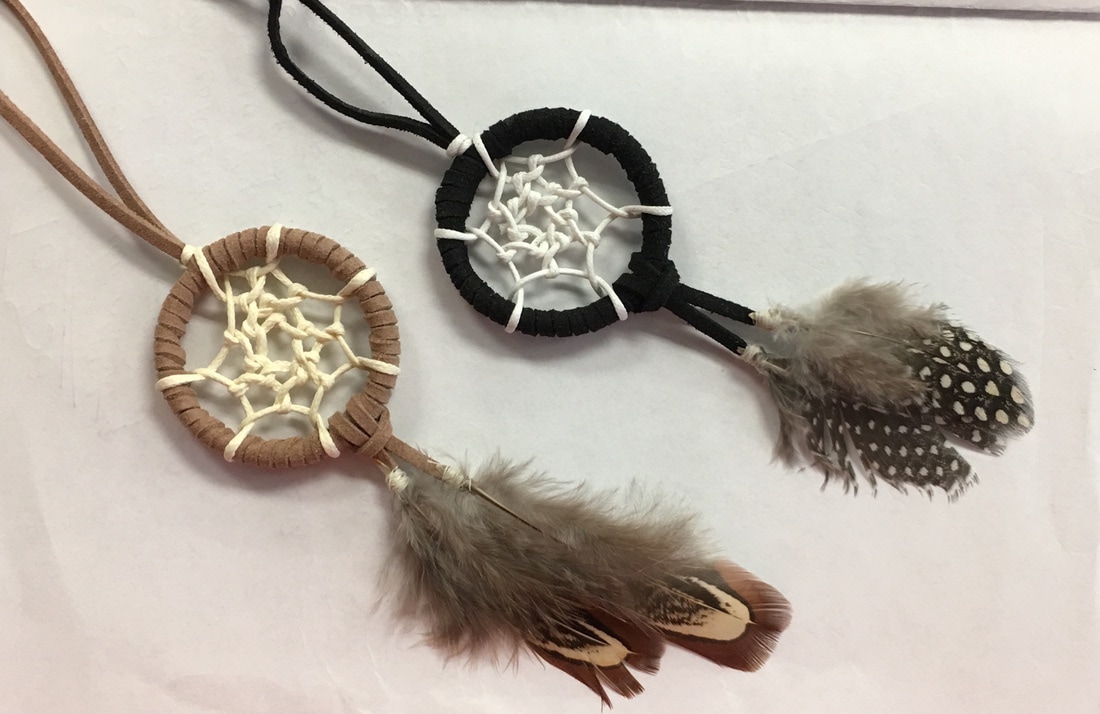
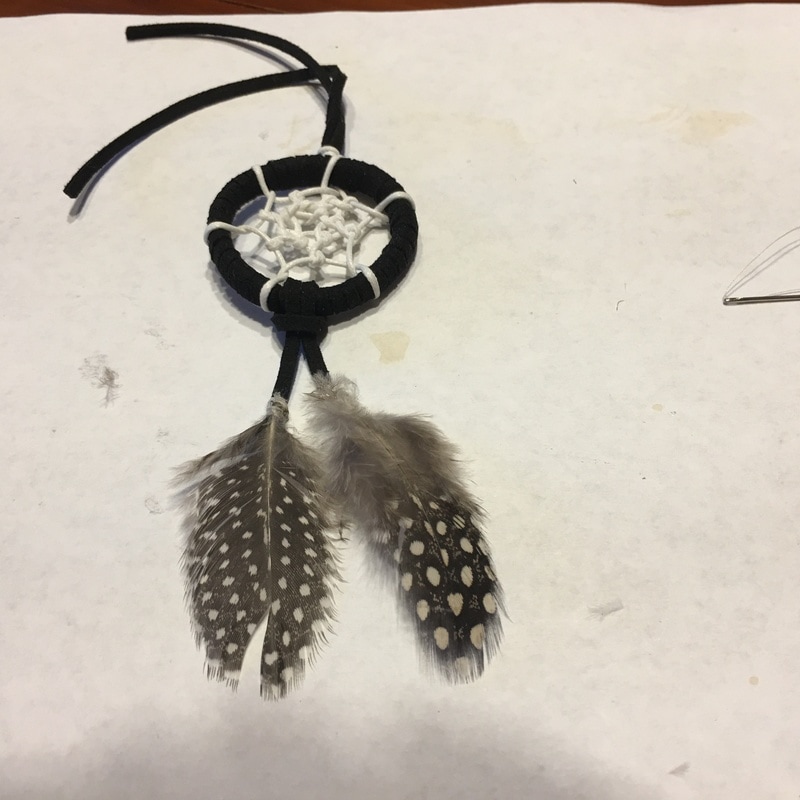
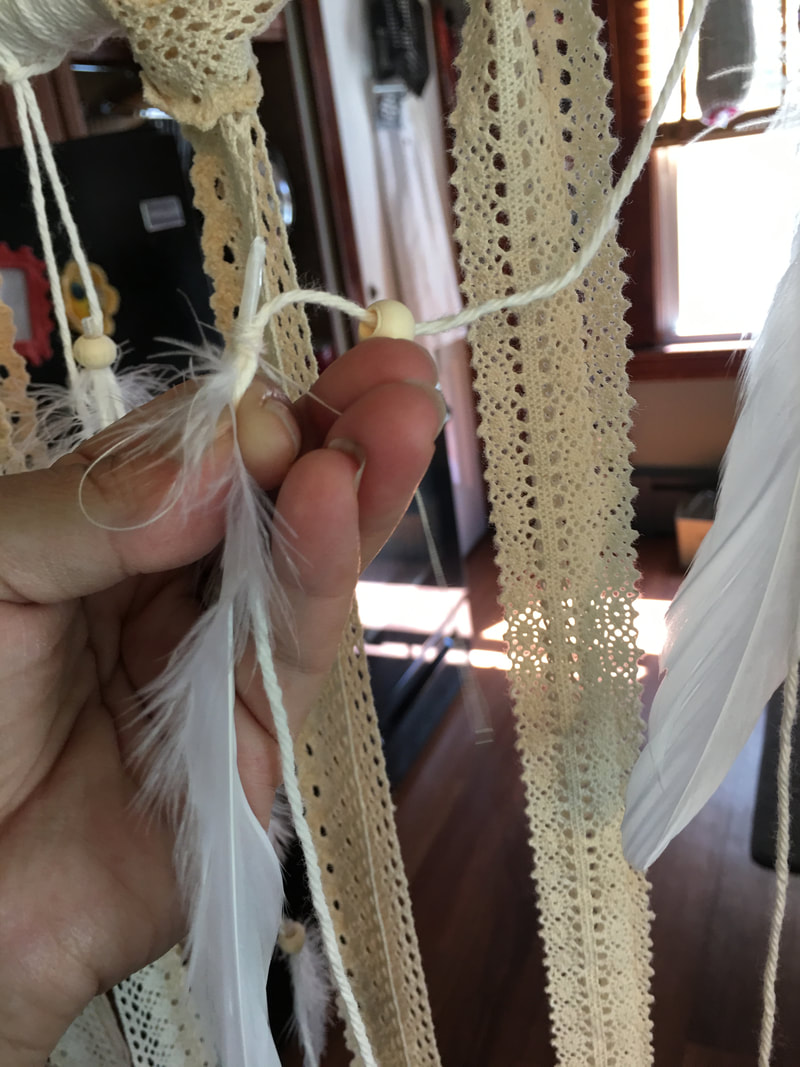
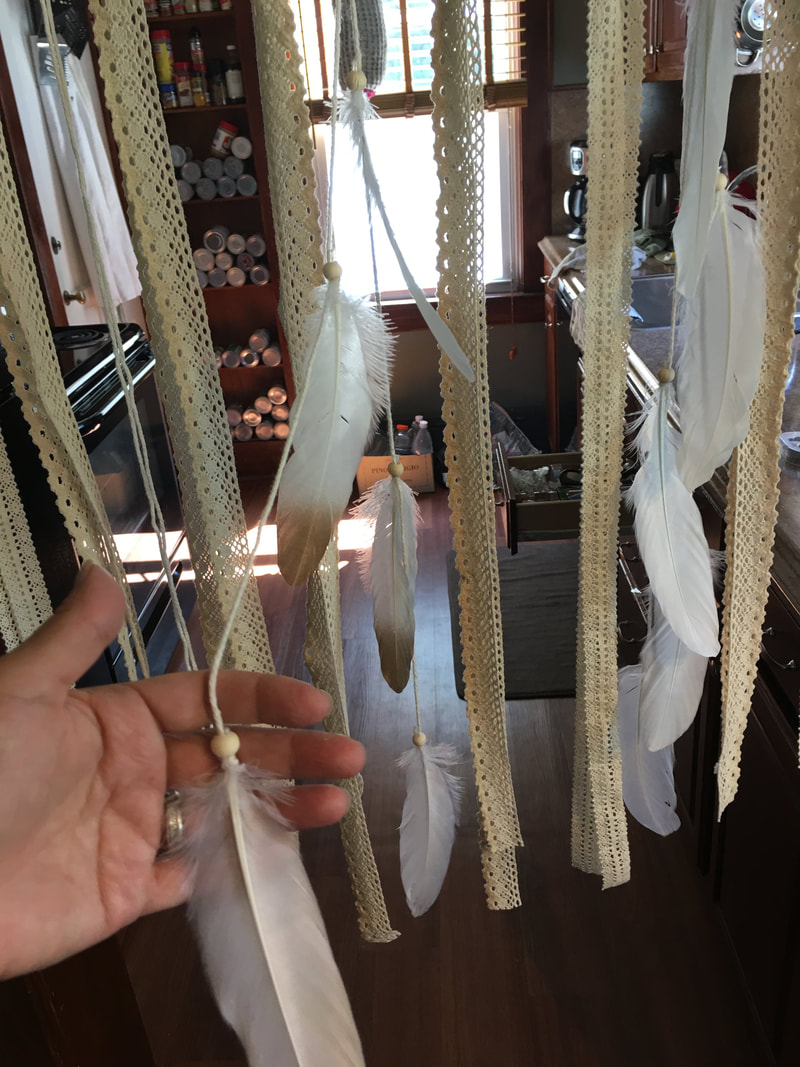
I made two different colors and still can't decide which one I like best! But they aren't done yet...
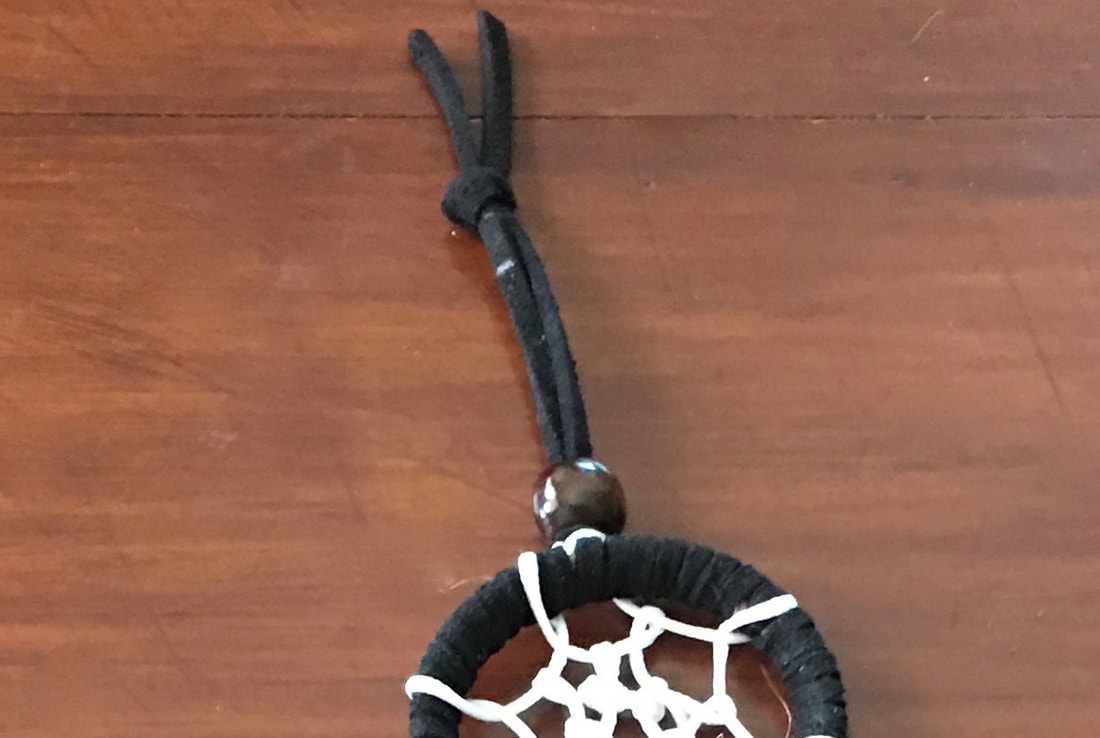
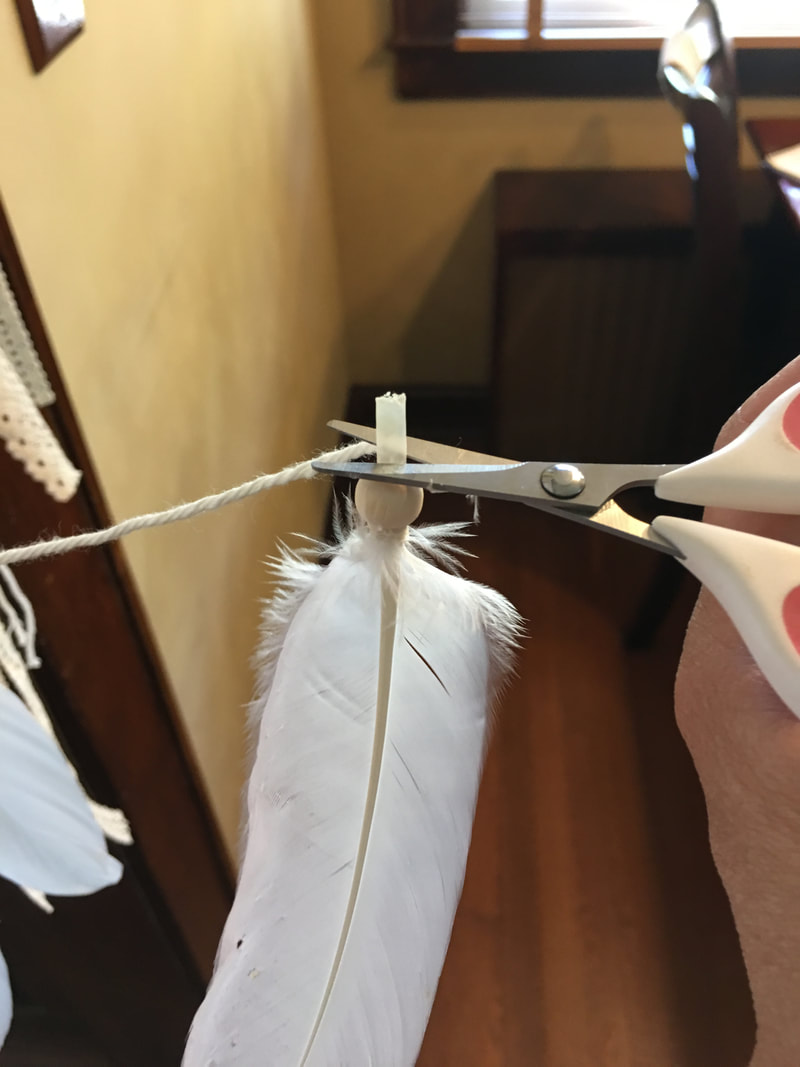
Add a drop of glue, slip on the bead (we had to drill holes larger first), and tie a nice little knot at the top! After snipping the ends even there is now a nice little loop for hanging just about anywhere!

Print out the tag on the brown craft paper and cut them out. Notice that I printed on both sides! This is not necessary though. I also use a paper cutter for nice neat cuts but scissors will work too.
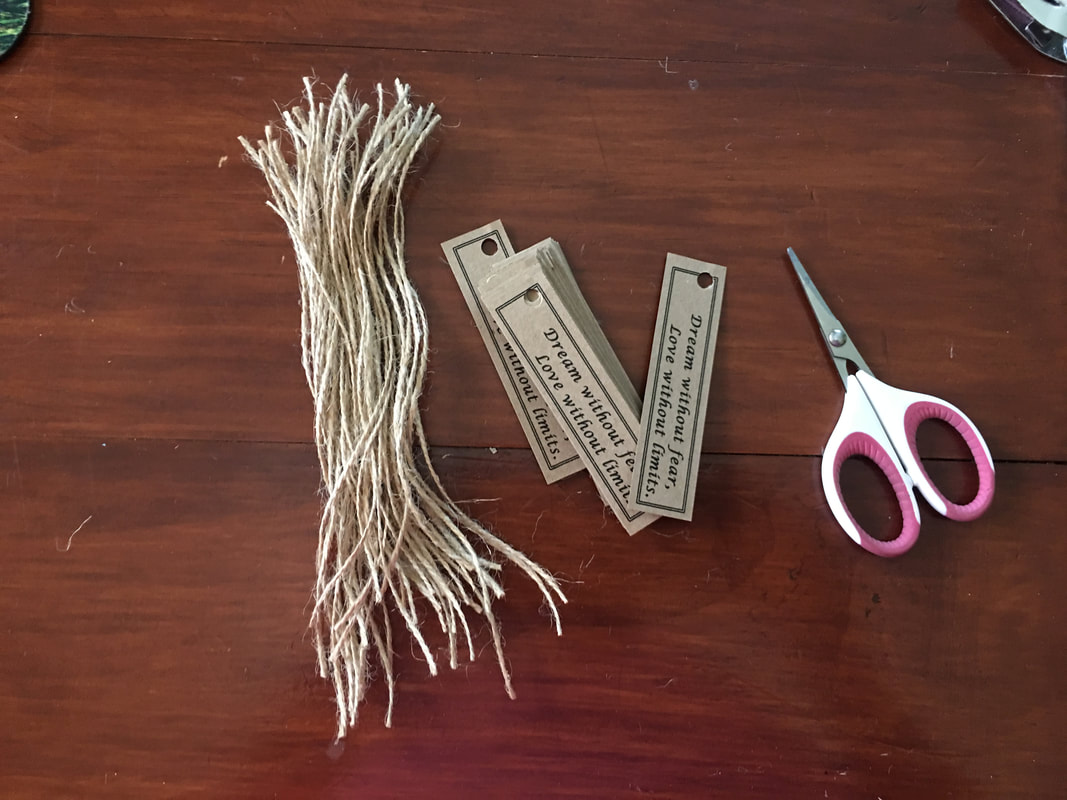
Puch a hole in each tag and cut lengths of twine (approximately 6" each).
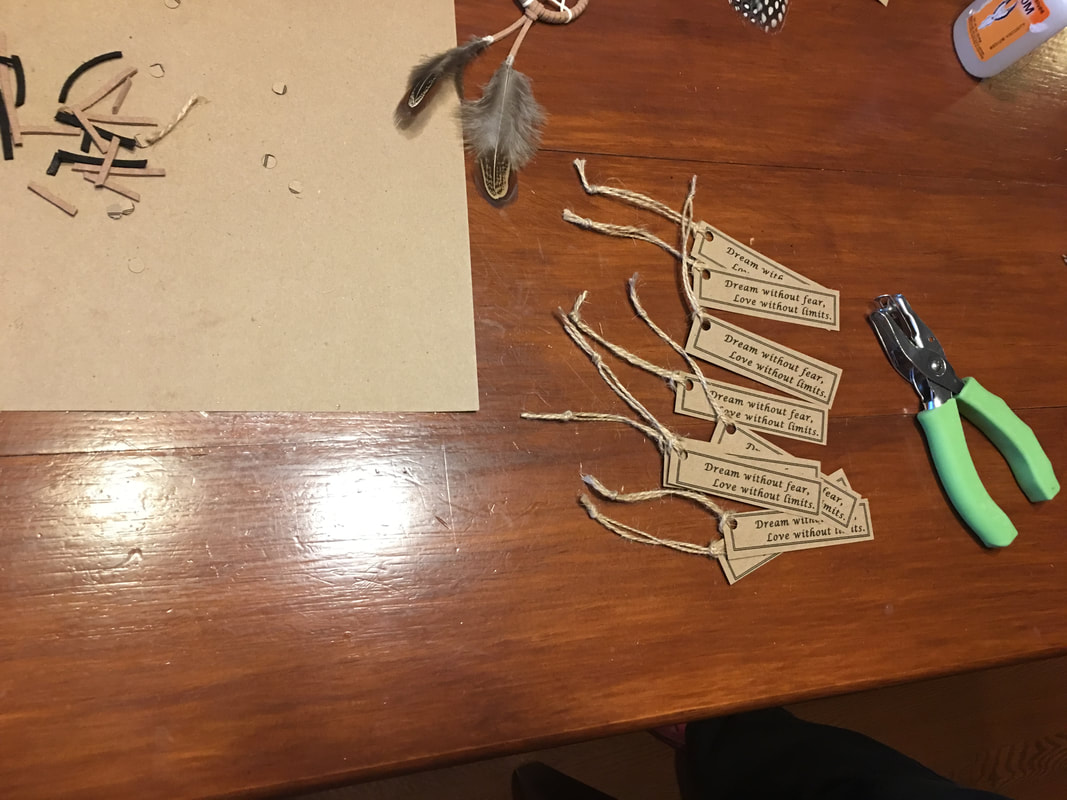
Loop the twine through the punched holes.
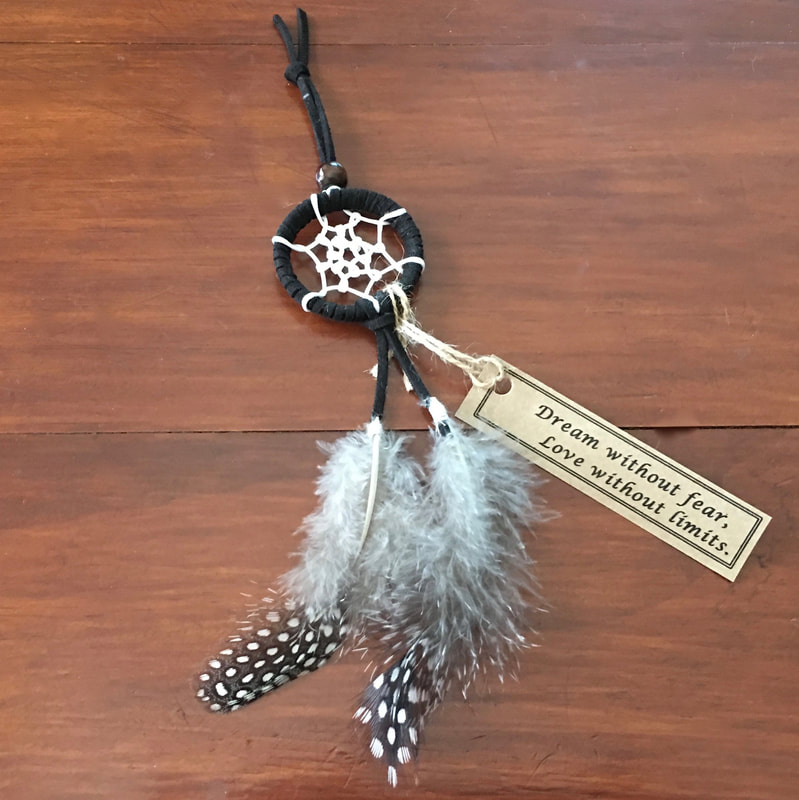
Dream without fear, love without limits.
Then loop the tag onto the dreamcatcher!
I have to say that everyone loved these and my daughter was so excited over them! So not only are they repurposing plastic, but they are something nice that are small enough to be hung anywhere!
Thank you for visiting! Please check out all my other DIY Shower & Wedding projects and follow me on social media for more crafty things!
Sincerely,
|

Hi there! I'm Kathie, the author behind Creating A Simpler Life blog. I'm excited to share our longterm projects (and planning) toward building our future retirement homestead in the Adirondack Mountains of New York. In the meantime I will be sharing all the other little things we do that are part of creating our simpler life!
Categories
All
Archives
July 2020
|


 RSS Feed