Blog
A little bit of anything and everything that's part of
creating, enjoying, and living a simpler life!
creating, enjoying, and living a simpler life!

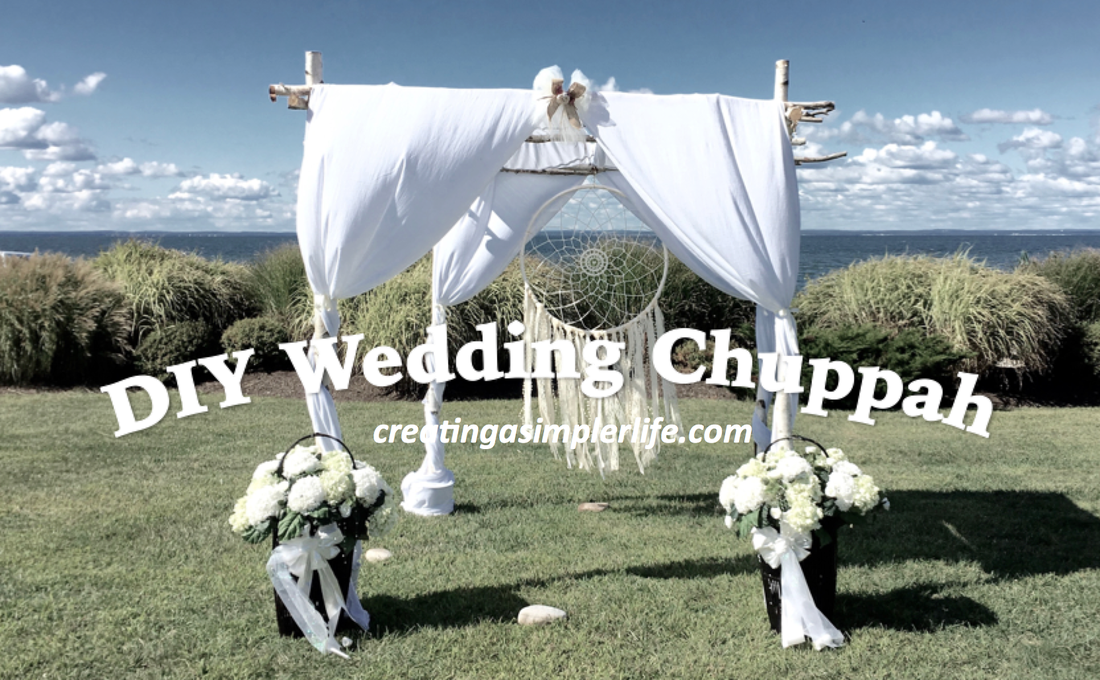
My daughter wanted a beachside wedding with a chuppah. I had never heard the word before, but this is what my daughter and her husband to-be wanted to be married under, so this is what my daughter and her husband to-be got. A wedding chuppah. The best part is that it was a joint effort between myself and the parents of the groom! What a great way to get to know the soon to be in-laws better!
Check out the Video I made "Simple Wedding Chuppah" on my YouTube Channel or at the bottom of this post!
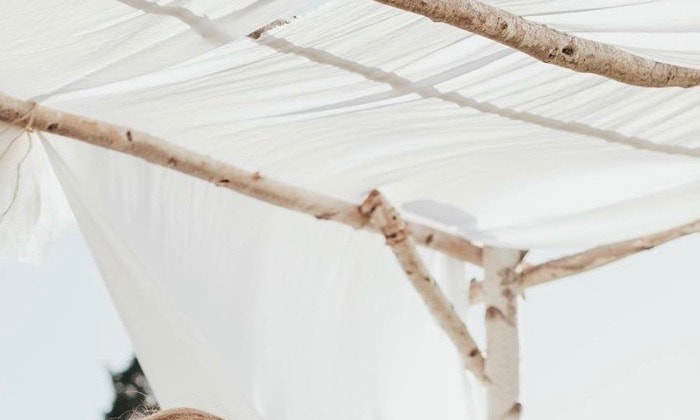
My daughters in-laws to-be (official as of September 2017) worked hard to create and build a wedding chuppah made of birch that could be assembled in place at the beach and then disassembled afterwards. The chuppah also needed a way to stay in place and not blow down so not only did they add braces to each corner, but they cemented the corner posts into metal buckets that were painted white to match the white birch bark. The end result was perfect!
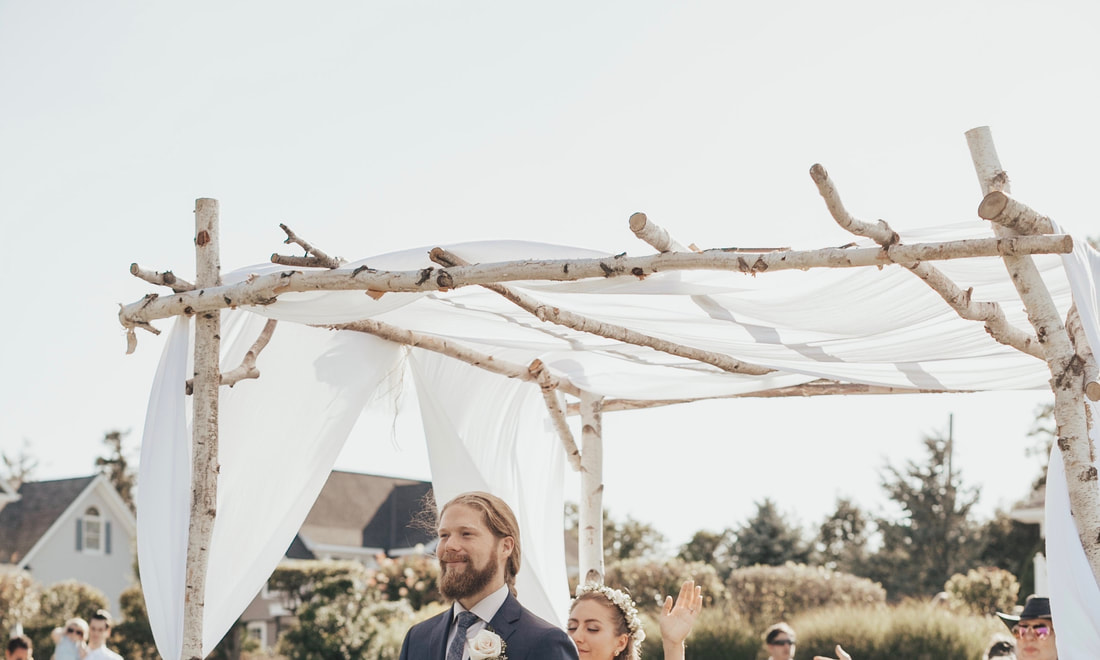
Basic structure made of birch and held together with removable screws for easy assembly.
Corner braces for support.
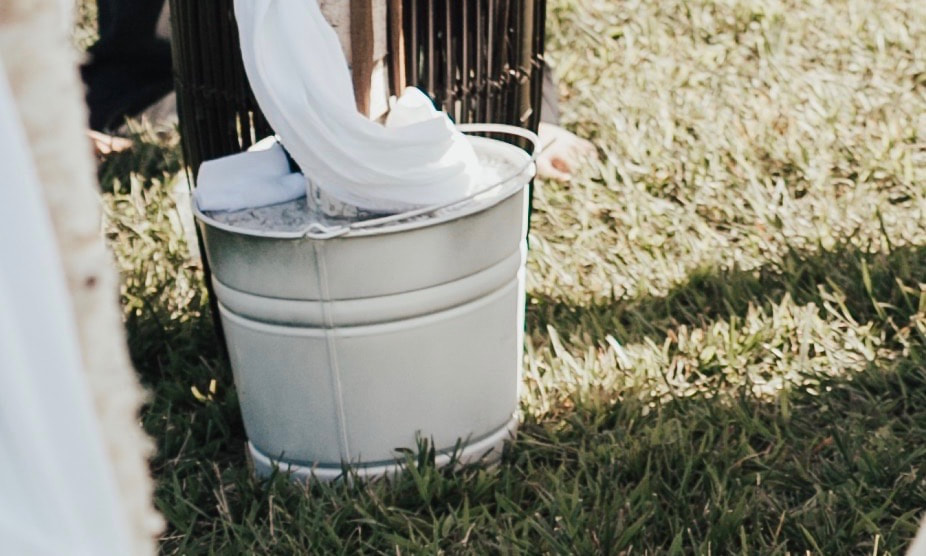
Four corner posts were cemented into metal buckets for both weight and support.
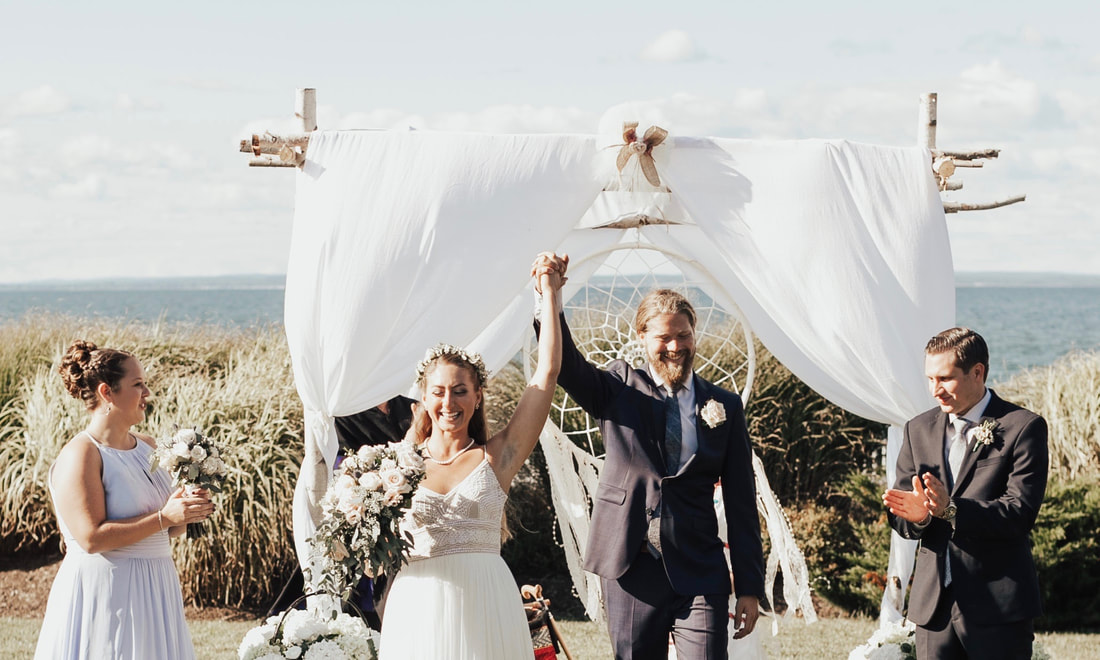
The cover was my job. I needed to do something to create a top that would be appropriate and look nice. After measuring the dimensions of the finished chuppah (we had a trial run in the in-laws backyard), we calculated that we needed approximately 50 feet of material (25' per side). I ordered 18 yards of white gauze with a special request that it be one continuous piece. This allowed for a little extra 'just in case.' The gauze material was absolutely perfect! My husband and I unrolled the 54', folded it in half, cut the center line, and then re-rolled it up doubled to unroll and easily use the day of the ceremony. On the day of the ceremony we simply wove the the two separate pieces of material through the top birtch lattice and allowed it to hang down in the front and the back. With a piece on the right and the left side we created the curtain effect. We tied the material at each of the four corners about half way up the post with off white ribbon. The material at each of the bottom legs was a little long so we wound it around the base of the birch on top of the metal bucket. We also used a staple gun at the front and back center to hold the material in place and added a little bow/flower decoration.
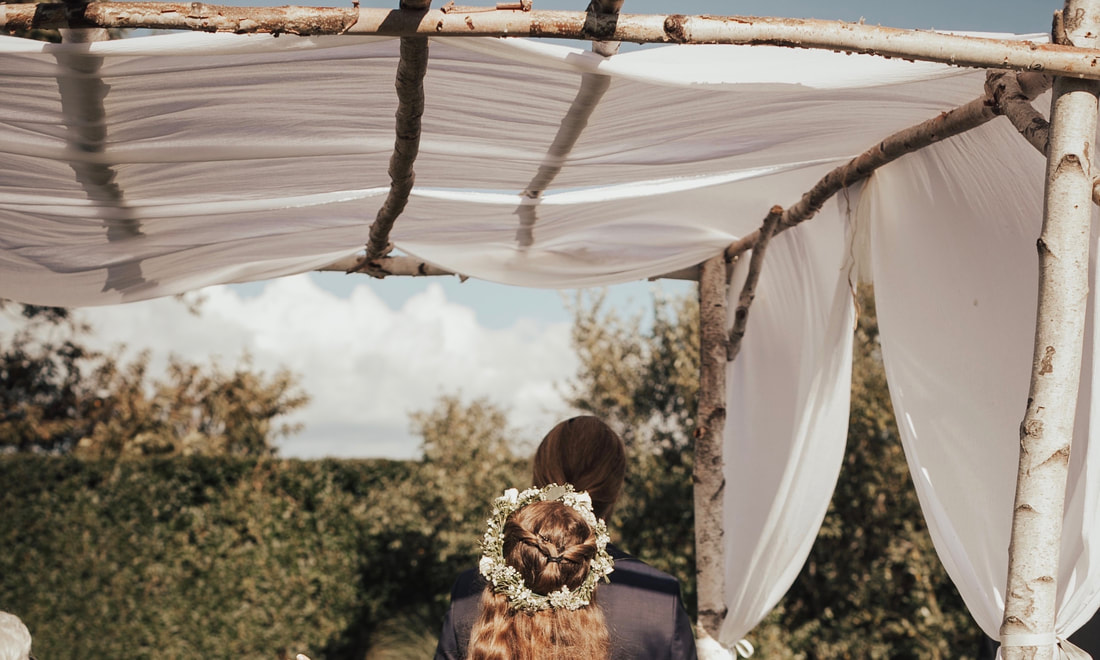
You can see the gauze material woven through the top of the chuppah.
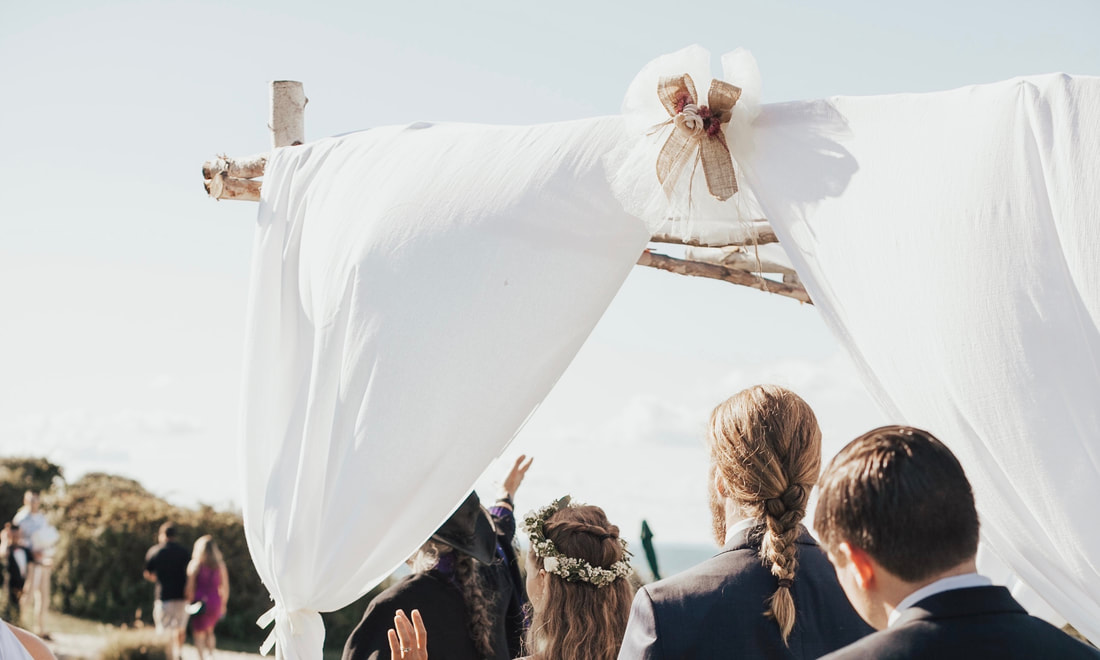
Two separate pieces stapled at the center with a bow/flower created the curtain effect.
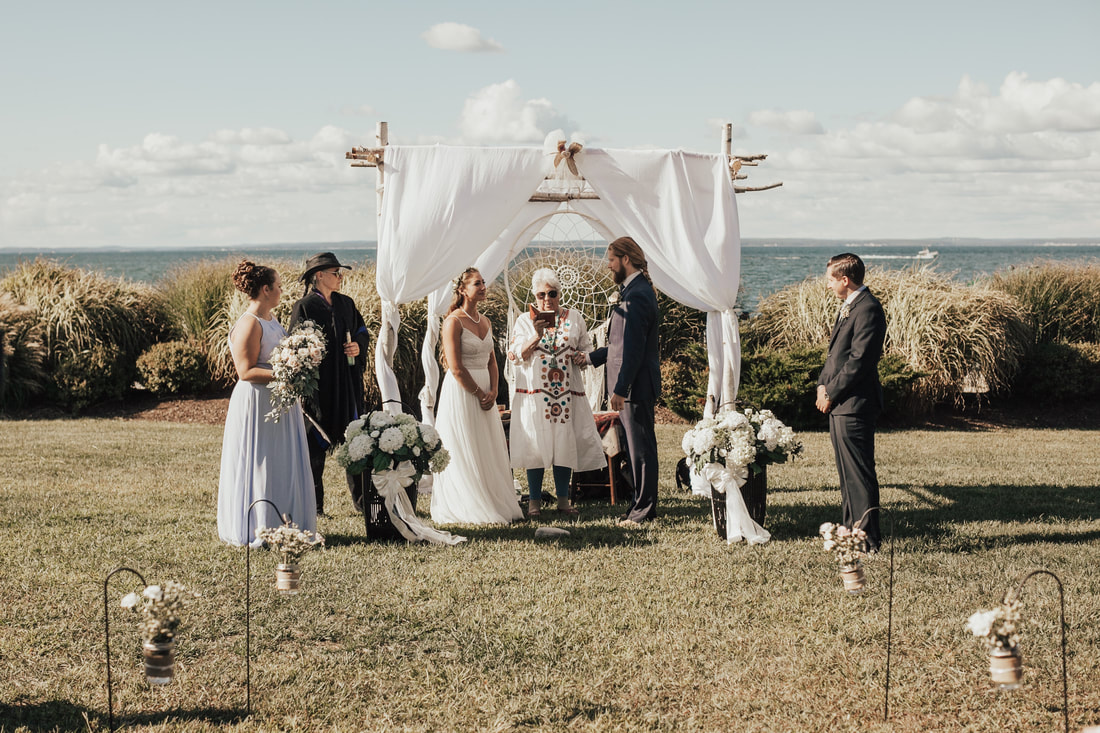
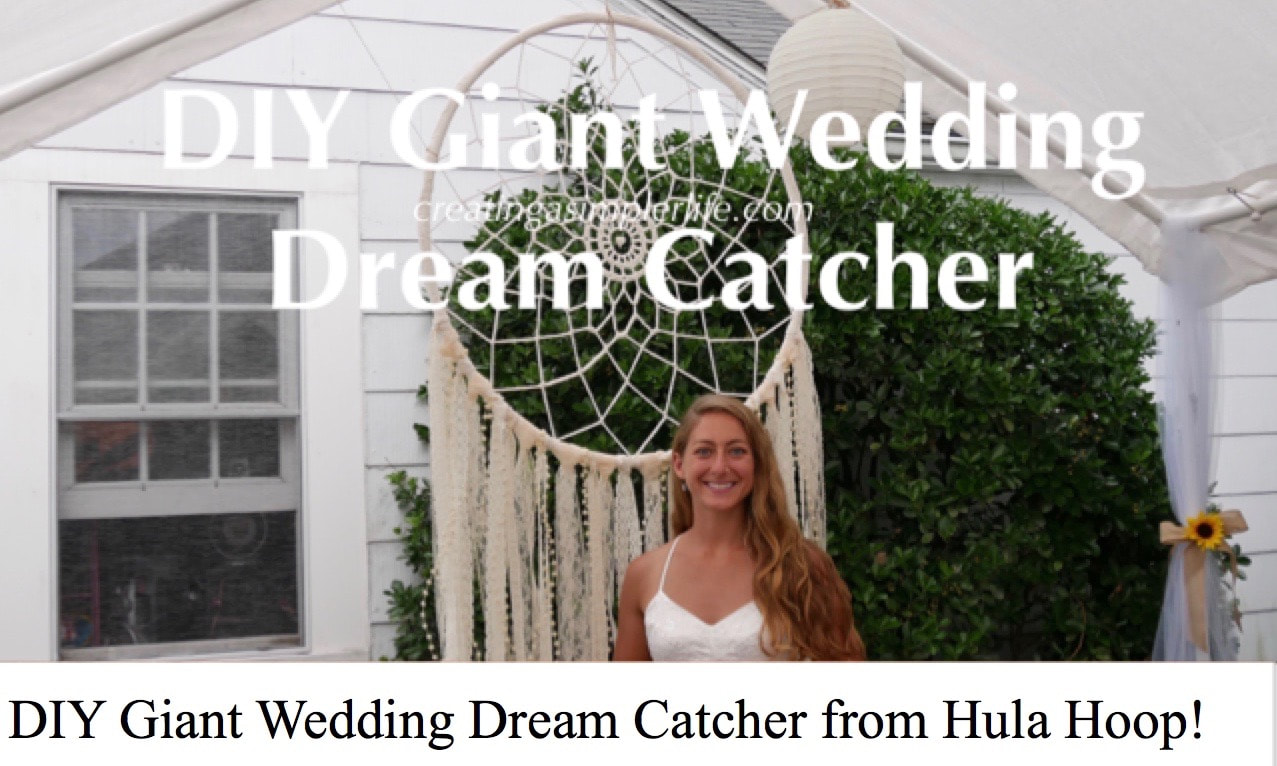
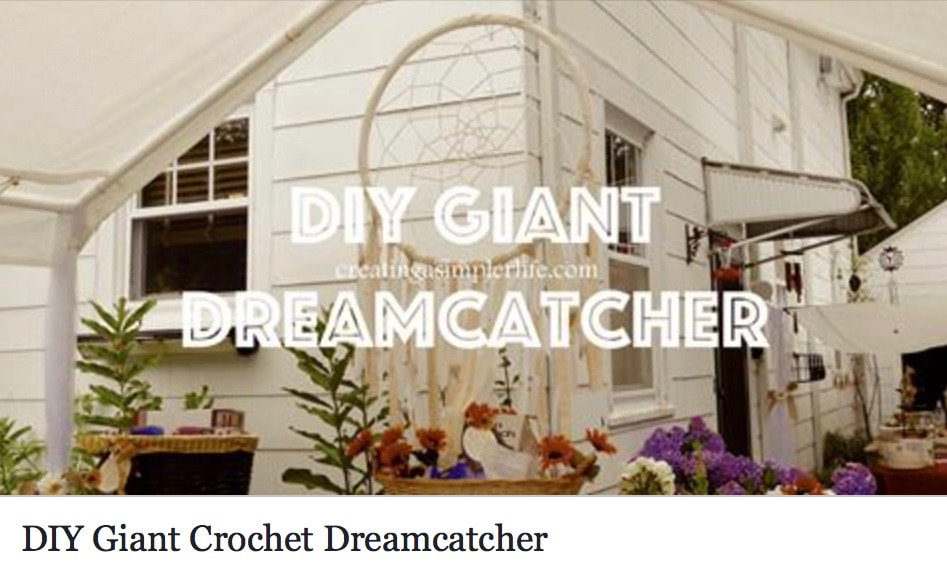
Lastly, I made the giant dreamcatcher for the back of the chuppah. It was hung from the two corners and the sides to prevent the breeze from blowing it around too much. See how to make the Giant Wedding Dreamcatcher here!
This chuppah created the perfect setting for the wedding ceremony! 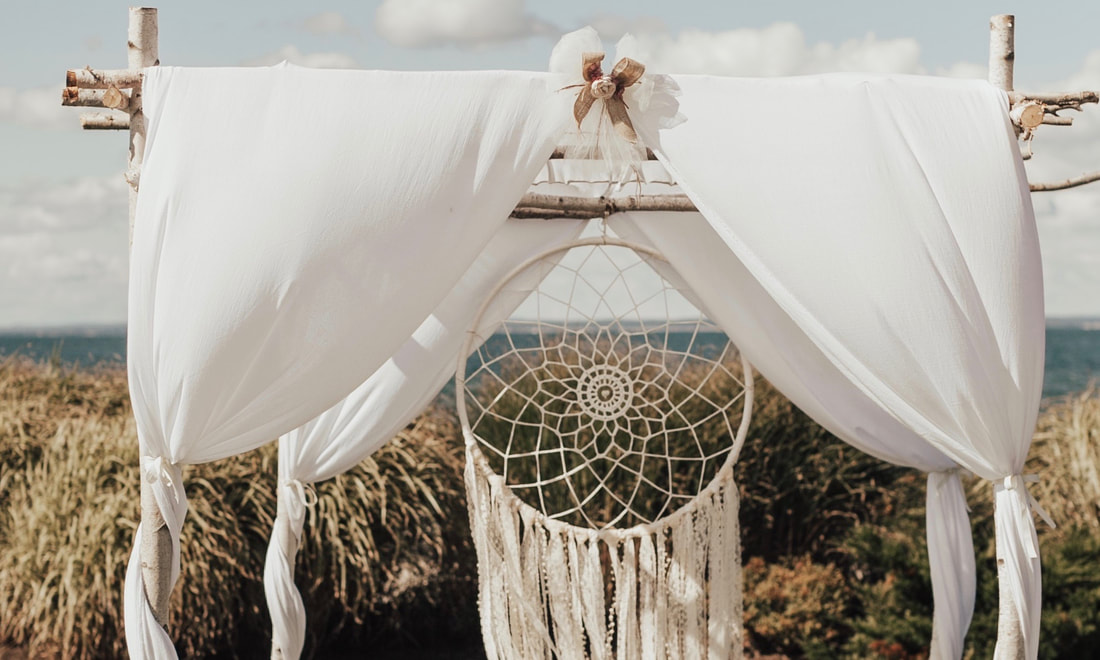
Ribbon was used to tie the material to each of the four posts. The dreamcatcher was hung from the top and the sides at the back.
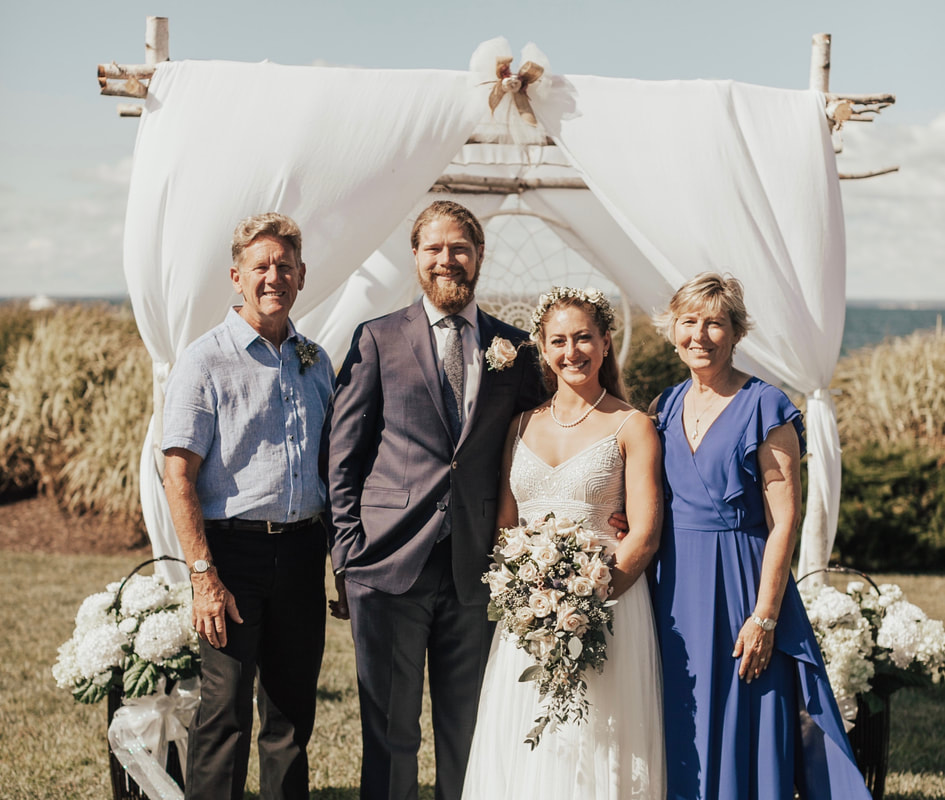
My daughter, her husband, and his parents!
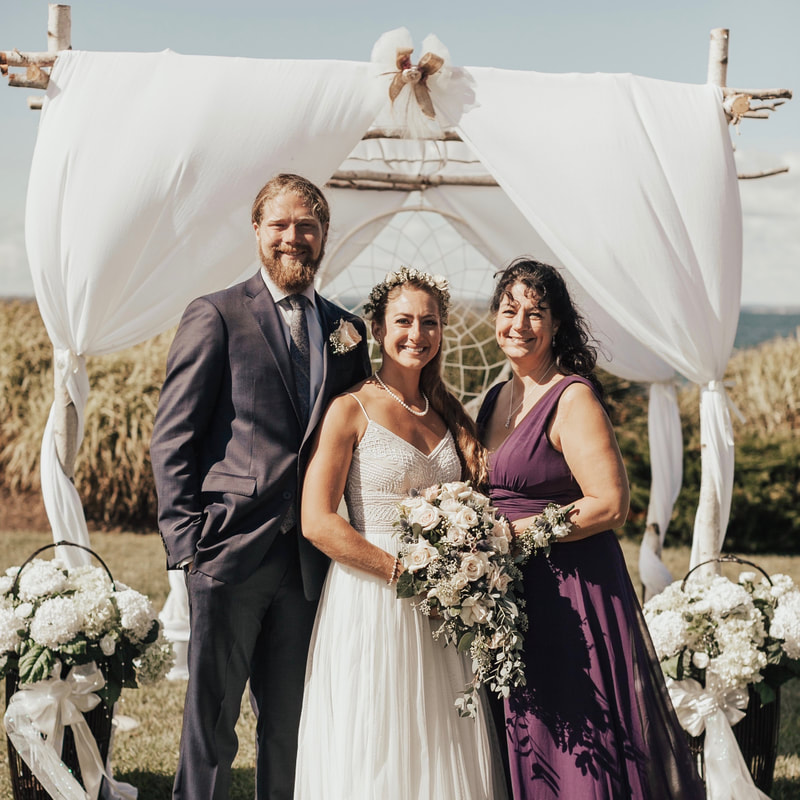
A picture of me with my beautiful daughter and new son!
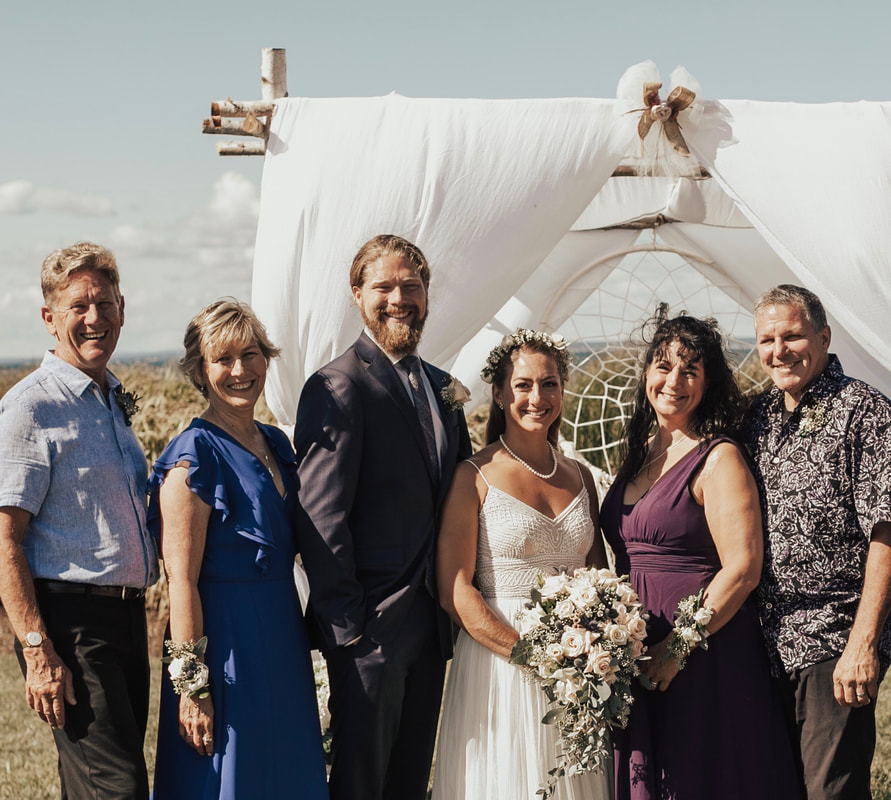
One big happy family :-)
Materials Used (affiliate links):
Upcoming DIY Wedding Projects:
I want to make a special shout-out to Samantha Brancato Photography for taking such amazing photographs! Thank you :-)
Watch the quick video (less than one minute):
Check out our other DIY wedding projects or check out our DIY Shower and Wedding videos on our Youtube channel! We also have several boards of great ideas on our Pinterest Page:-)
Have a great day! Sincerely,
1 Comment
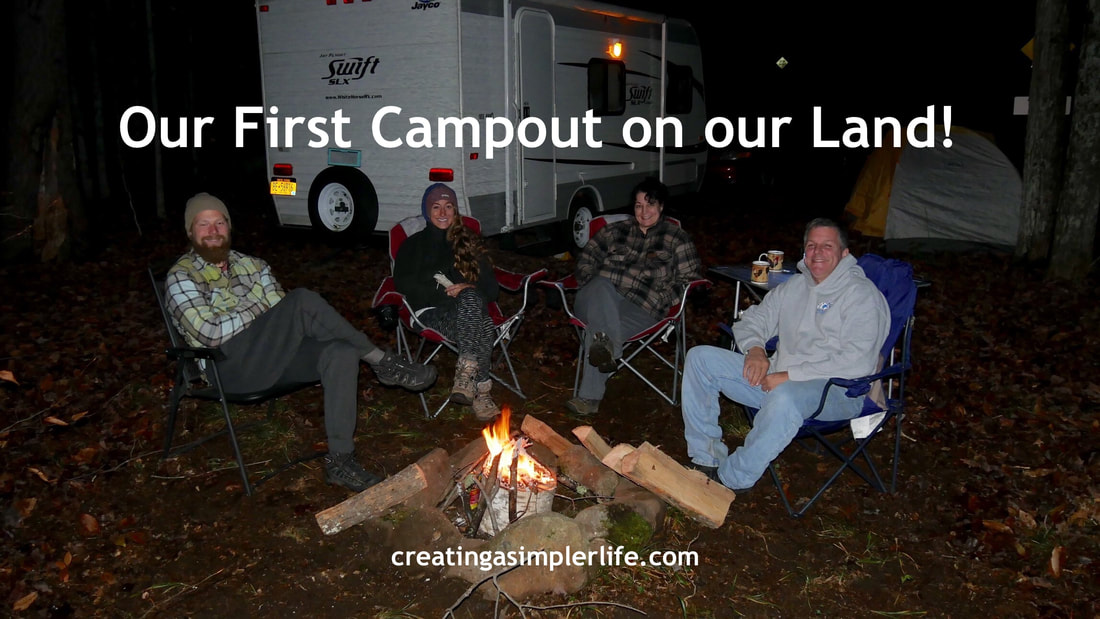
There is simply nothing that compares to sleeping under the stars (sort of) on your own land for the first time! That is exactly what we did recently and I can honestly say we really didn't want the weekend to come to an end. With no cell phone service, no electric and no running water (other than our little creek) we were in our glory staying overnight. Even with the temperatures dipping down below 27°F our newlywed children were perfectly fine sleeping in their little tent!
None of us can wait until we can do it again! Really :-) 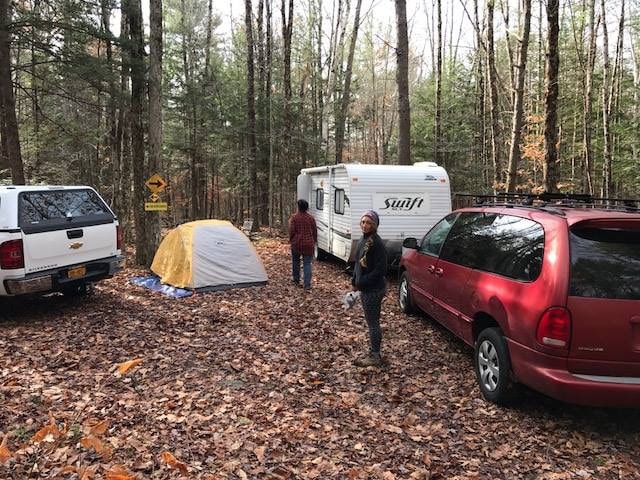
Campsite is set!
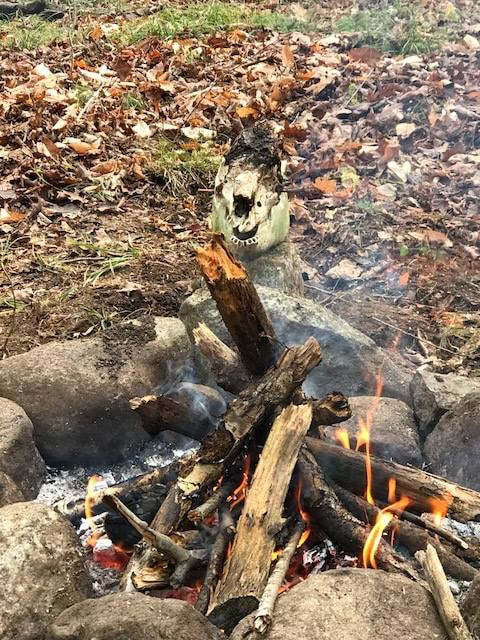
We cleared an area and used some rocks to make a campfire ring. Check out the skull we found on our land!
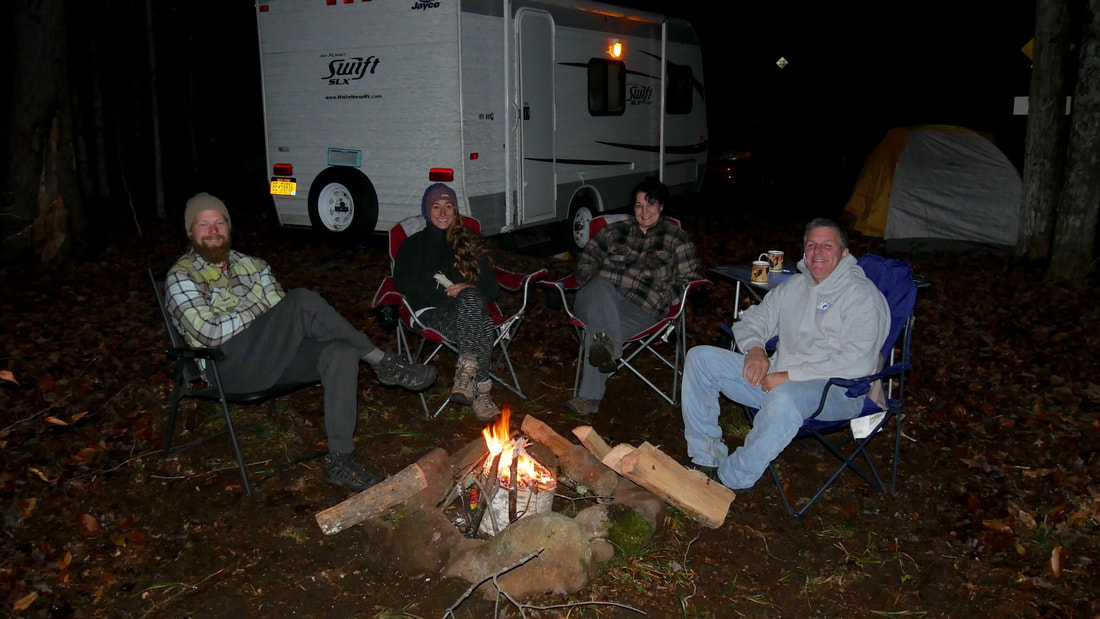
A toasty campfire!
We loved camping out so much that we can't wait to do it again!
Read more about our land and our future Homesteading Dreams here. Sincerely,
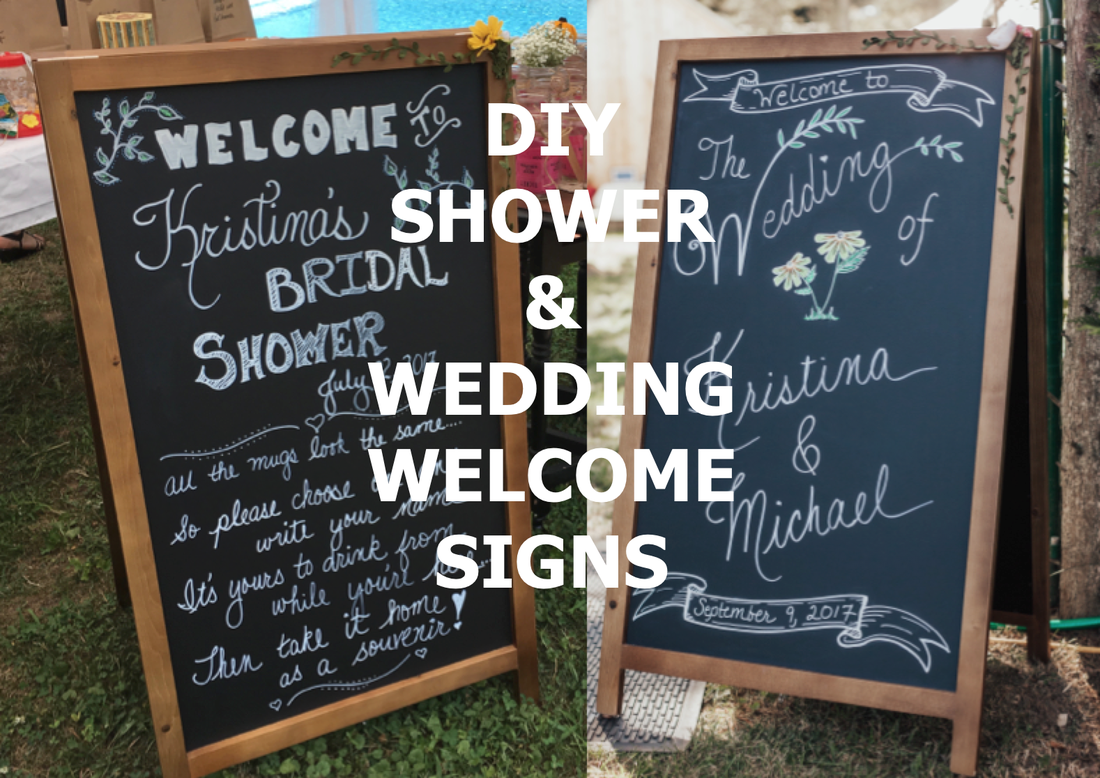
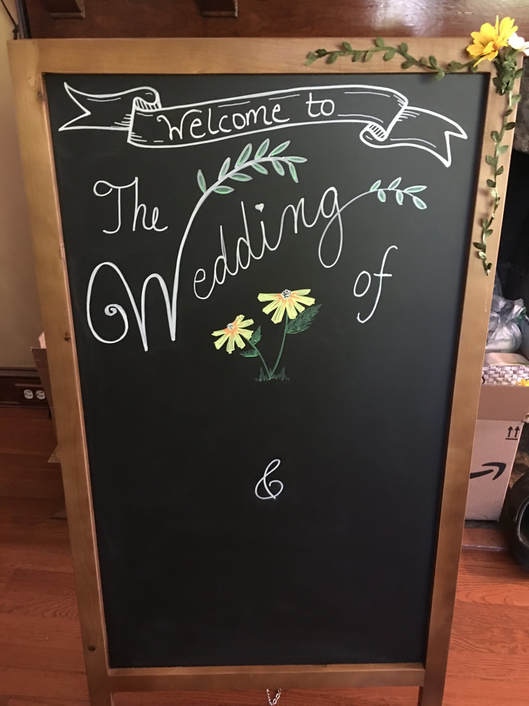
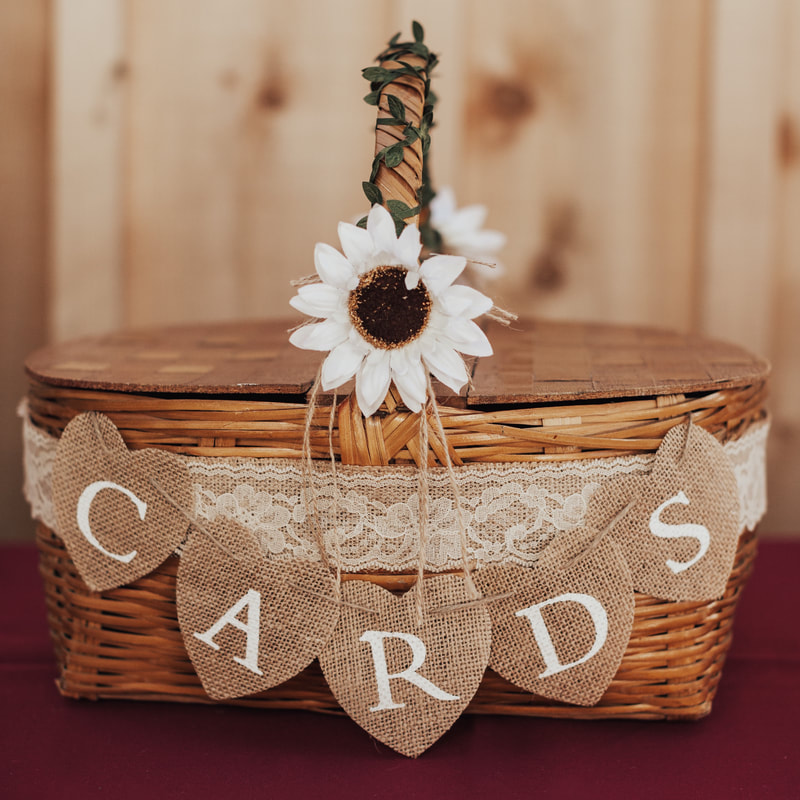
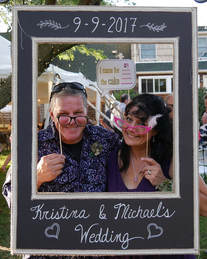
While obsessively searching through Pinterest for ideas for my daughters backyard wedding, one thing that kept coming up again and again was a welcome sign. There were many kinds of signs: some were printed, some were purchased, and some were even printed on wood for a real rustic look. I chose to go with a giant chalkboard sign like you see outside some country restaurants. I just like that rustic/country feel and I really wanted to try my hand at some fancy chalk writing. After some failure, and then a little more trial and error, I came to discover how much I like using chalk paint pens. They come in multiple colors and work really, really well! Beware though: If your surface is porous they may not wash off!
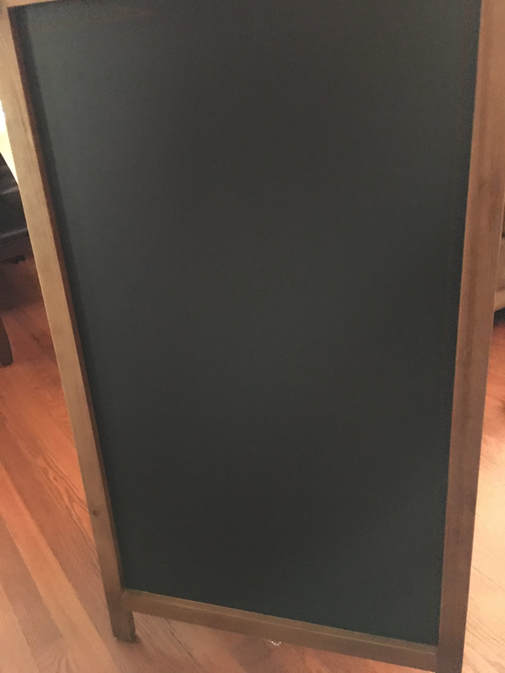
A nice clean surface to start with!

Sign in progress....
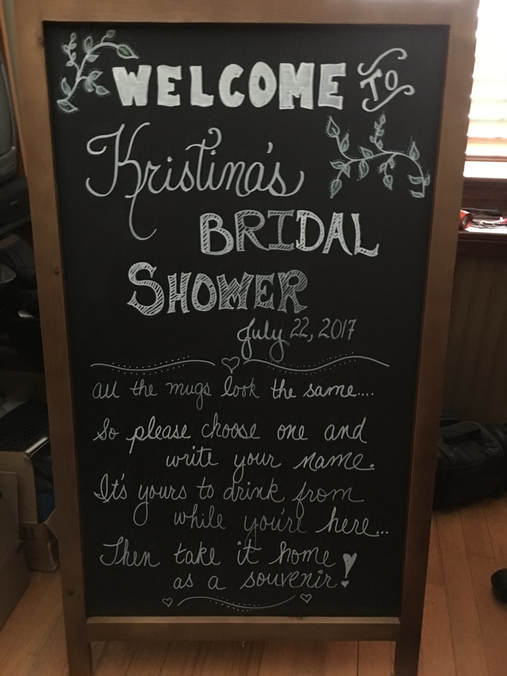
Almost done....
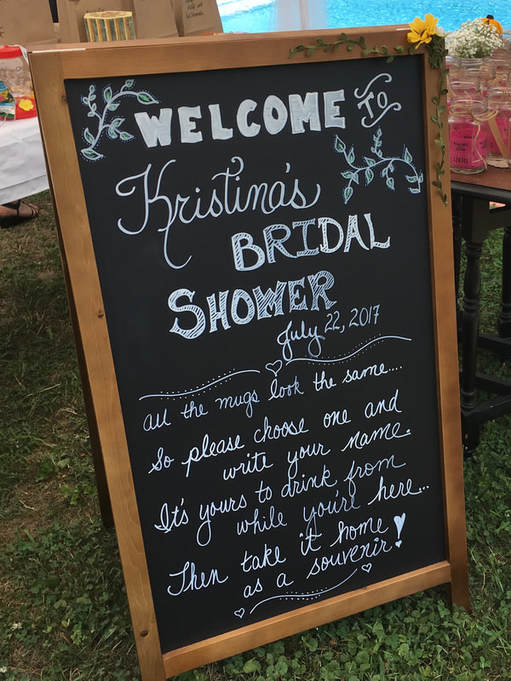
The sign the day of the shower :-)
I can't really teach you how I wrote these signs because I really just winged it. I did do some searching online for different lettering ideas but after trying several of them I decided to just go with what felt and looked right to me.
What I can do however, is share some tips with you that I learned:
Products (affiliate links):
Sign was a work in progress over several days...
Sign almost done!
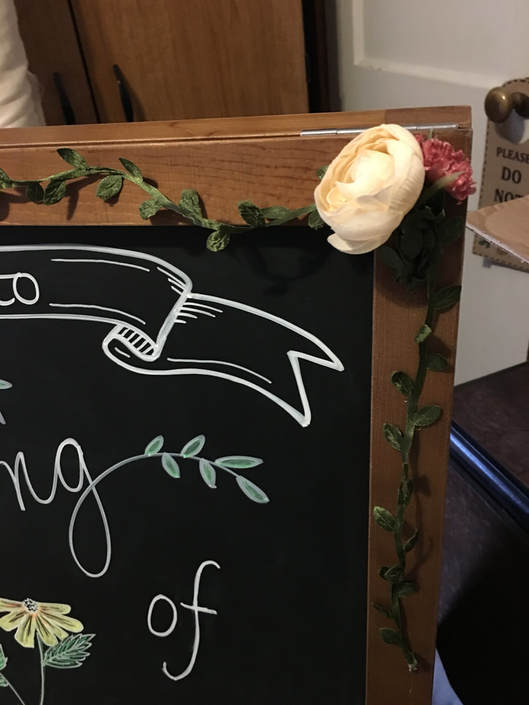
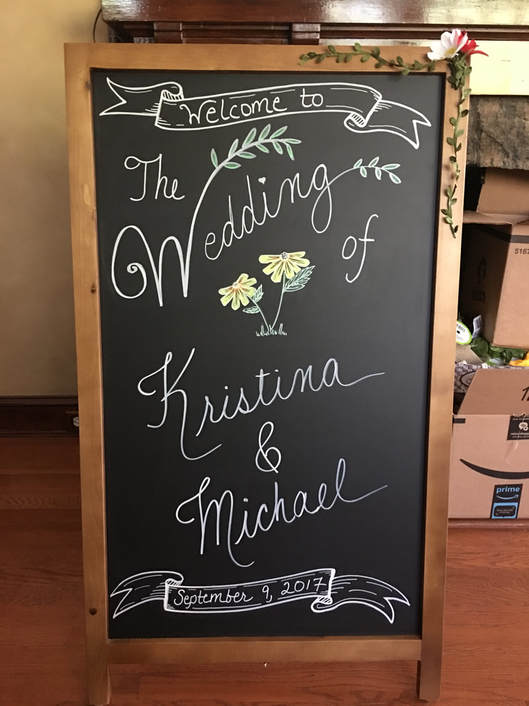
I changed the flower ;-)

Front of Wedding Sign at the Backyard Reception
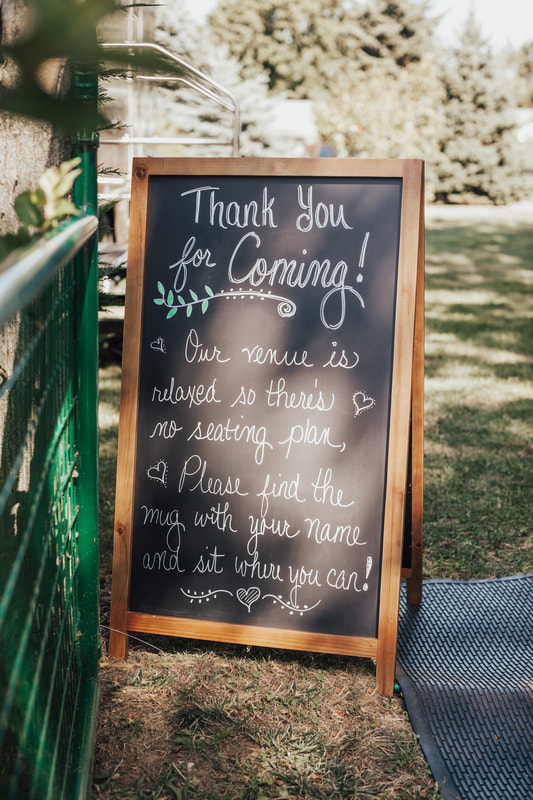
Back of Wedding Sign at the Backyard Reception
I have to say I was really happy with the way the signs turned out for both the shower and the wedding, especially considering I had never made a sign before! I also know it was a lot more economical than paying someone else to do them!
Check out our other Shower and Wedding DIY's here or on our You Tube Channel! Follow us so you don't miss these upcoming posts: Note: These beautiful pictures were taken by my daughters photographer Samantha Brancato.
Thanks for visiting!
Sincerely,
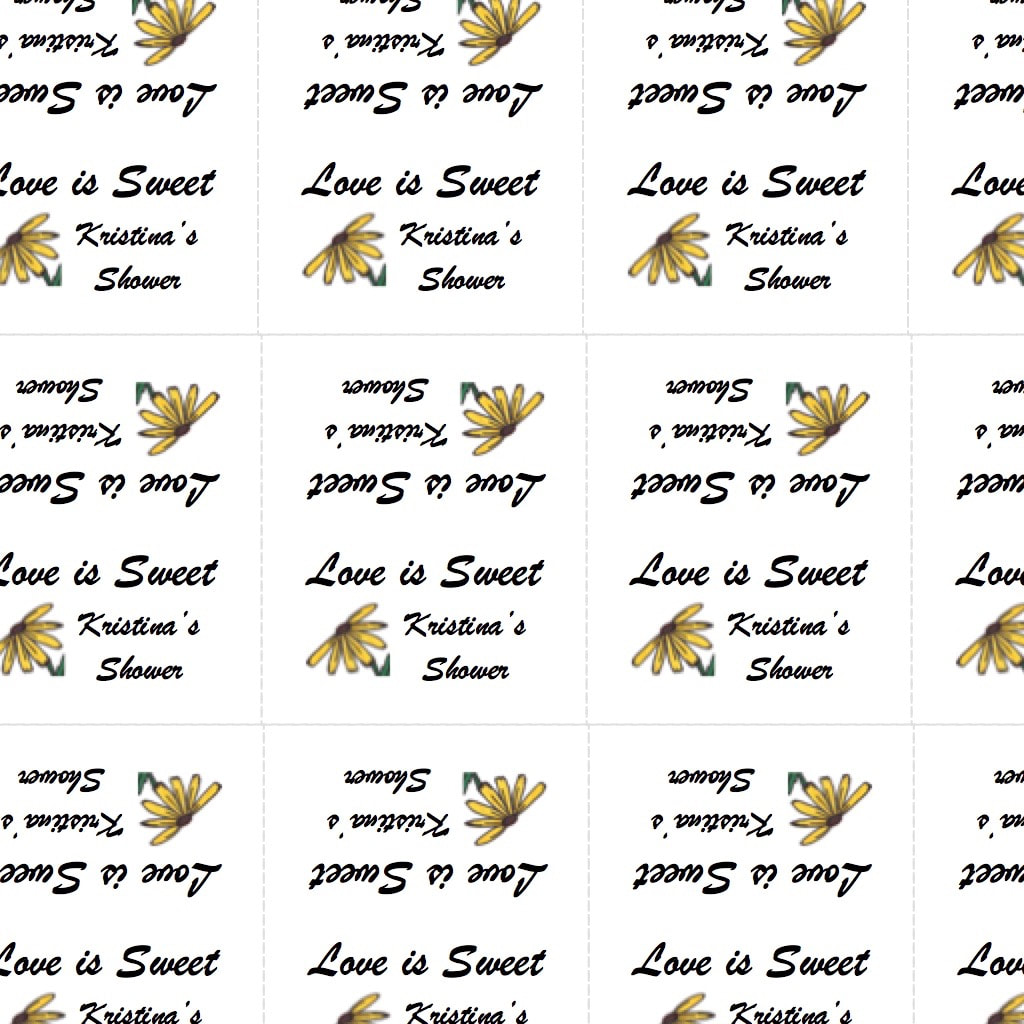
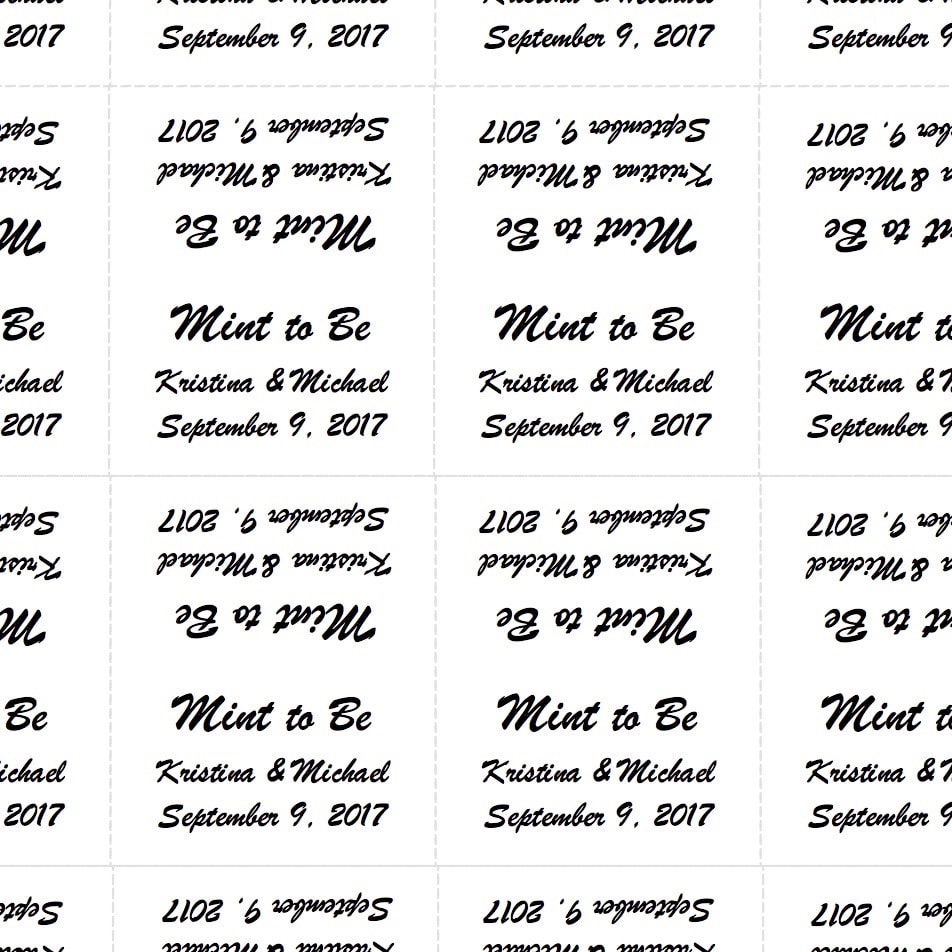
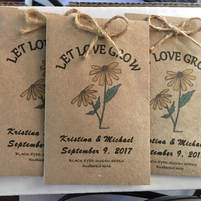
SUPER SIMPLE AND SUPER SWEET!
FREE MS WORD DOCUMENTS FOR BOTH! Why not make them for your next celebration? 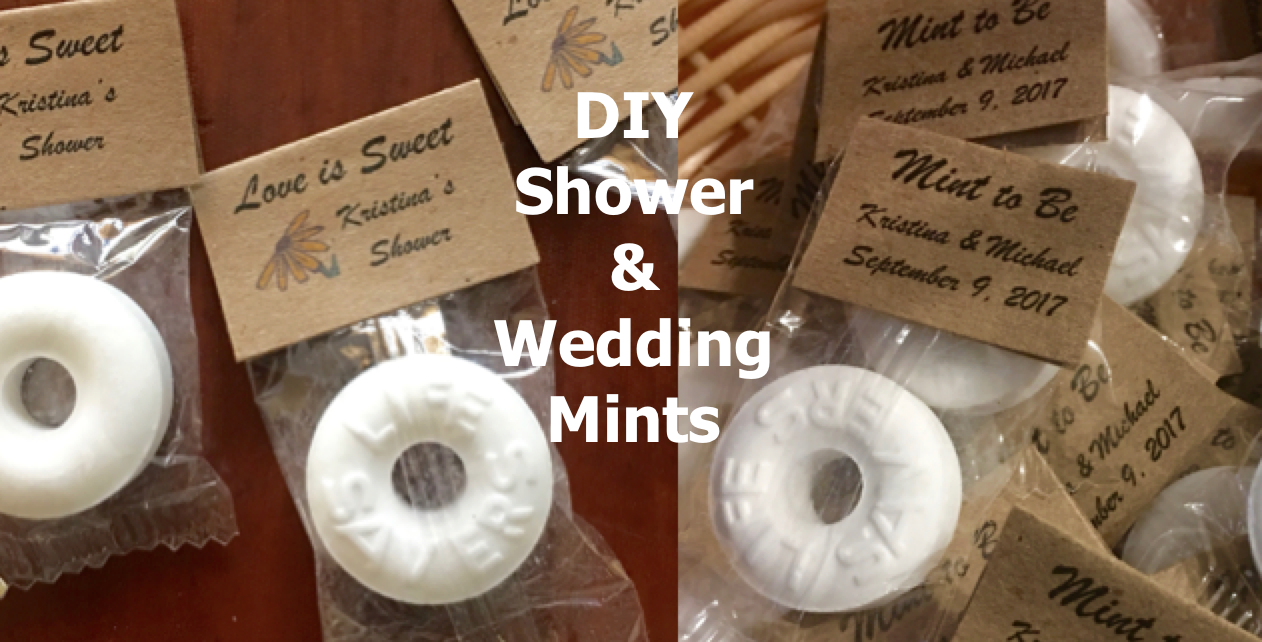
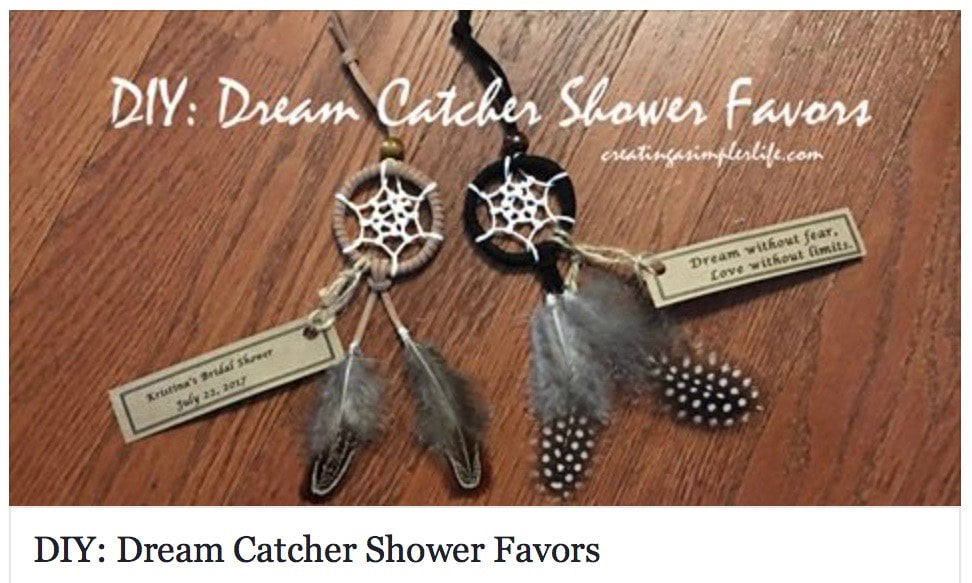
I wanted to make something 'extra' for my daughters bridal shower and wedding and thought mints would be perfect!
Materials purchased/needed/used (affiliate links):
Video "How-To" (pictorial below):
Pictorial:
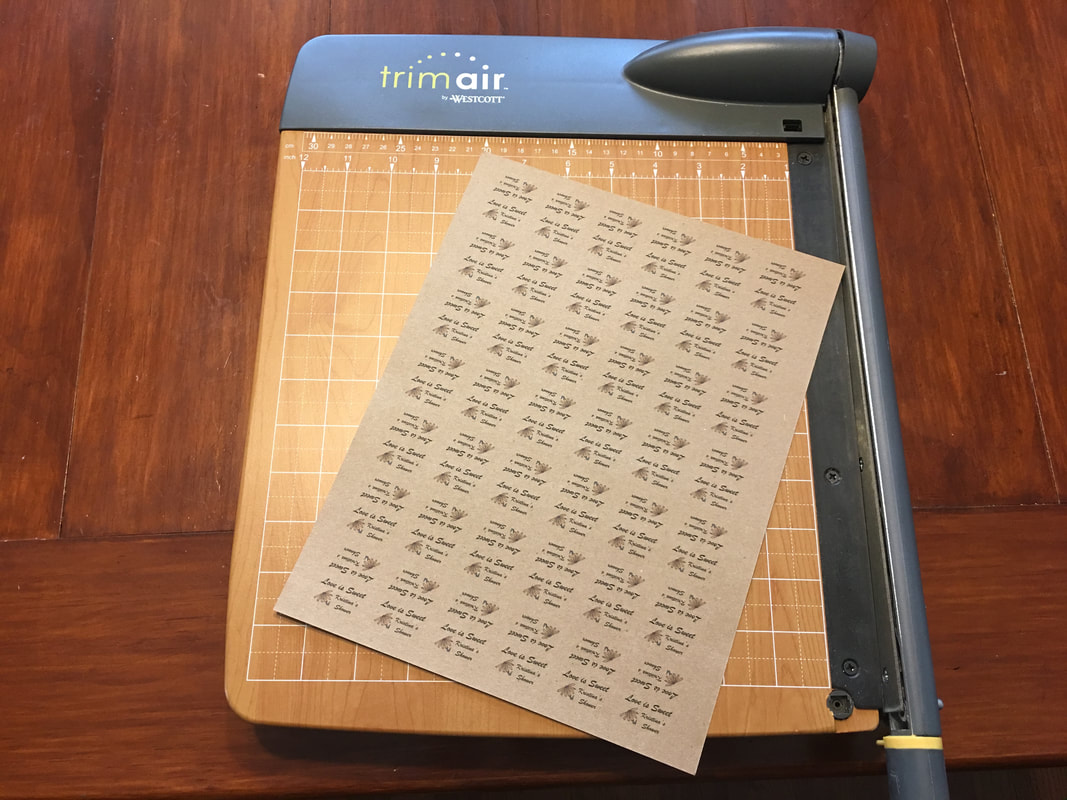
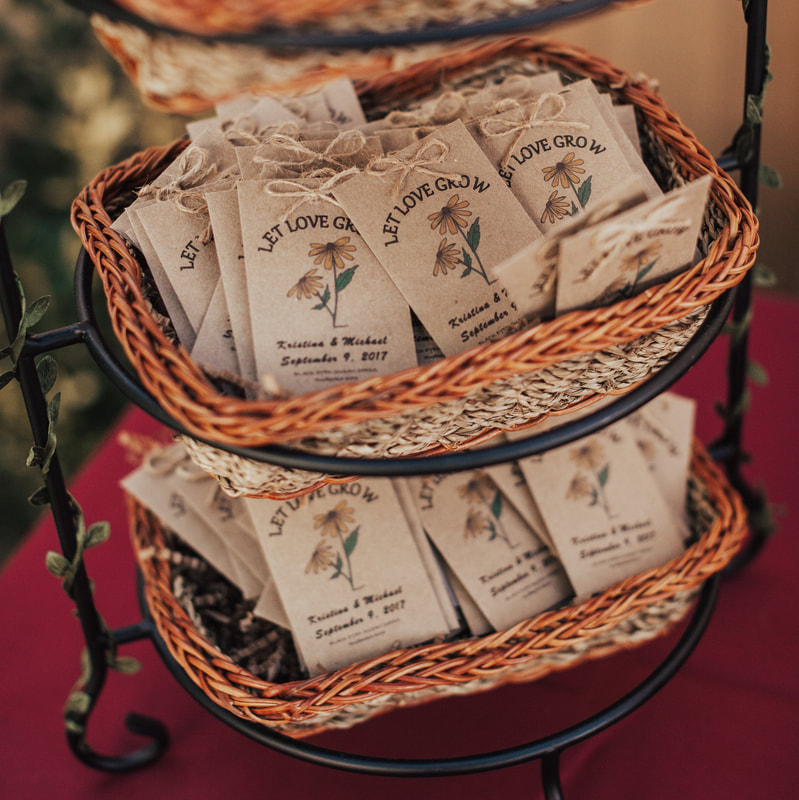
Print labels on craft paper (or any paper you choose).
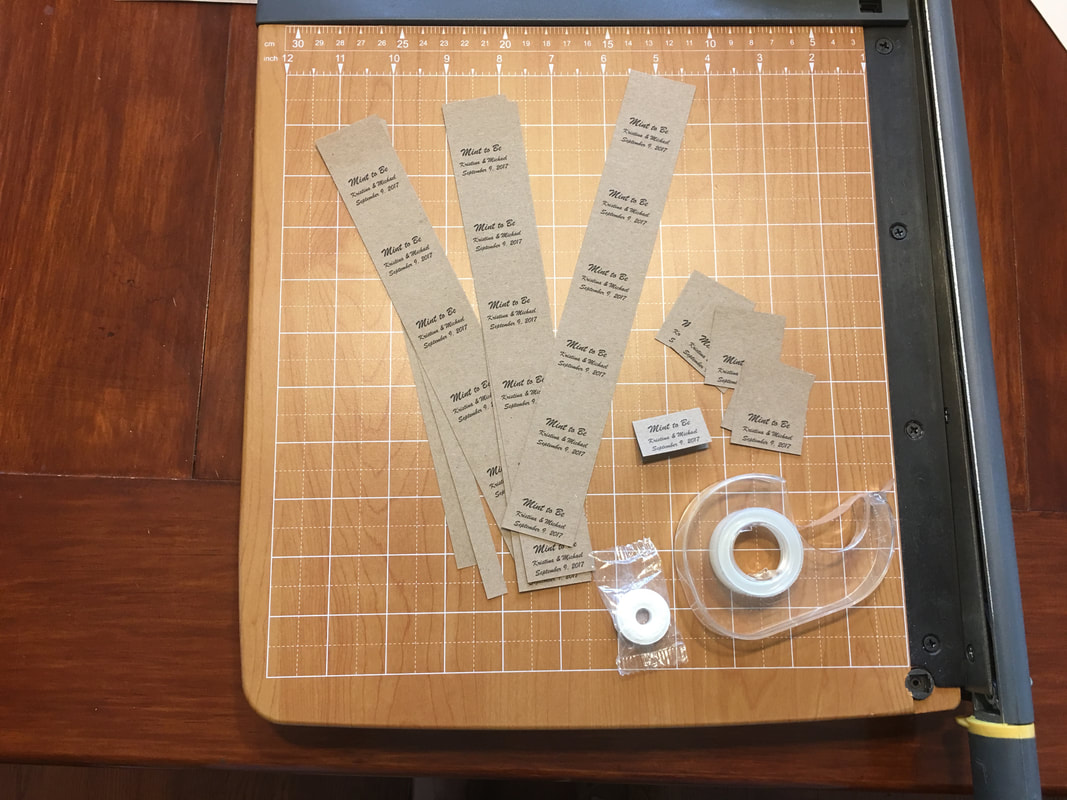
Use paper cutter or scissors to cut labels out.
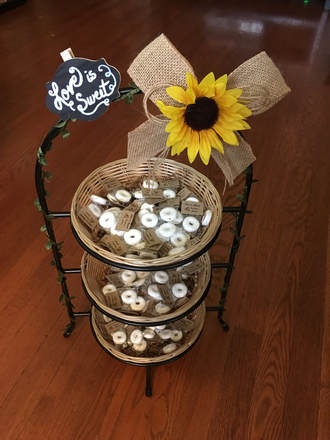
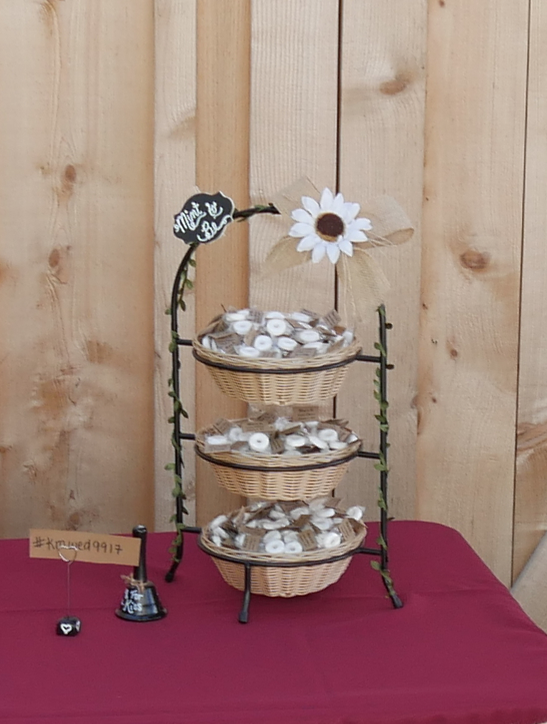
Use permanent tape across entire back of label and then fold over the end of the mint packaging squeezing tightly together so it holds!
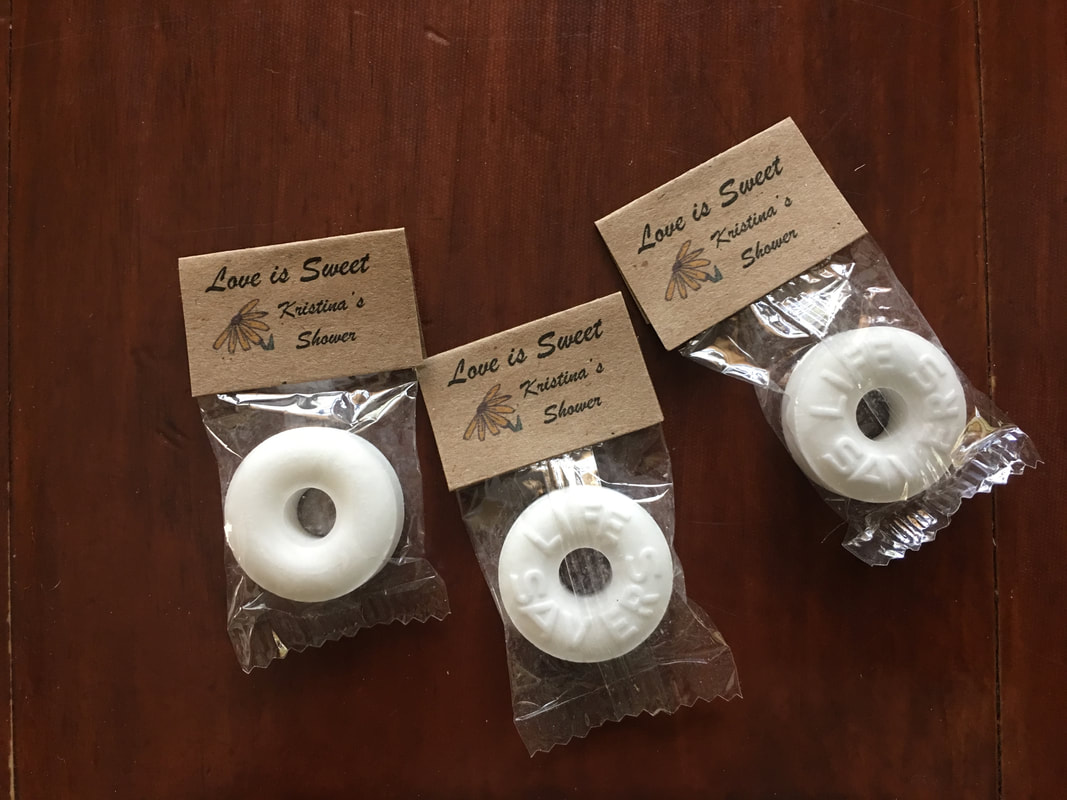
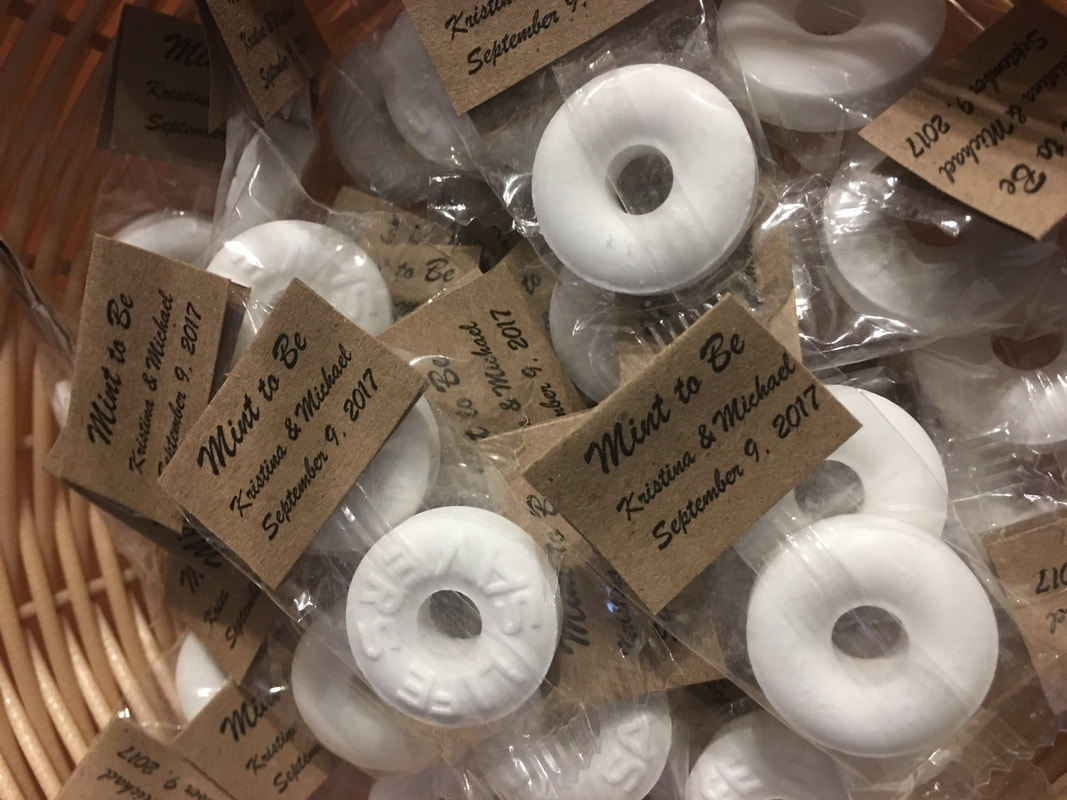
So simple to make!
So sweet a treat to share with guests! And who doesn't want a nice fresh mint after eating? Check out our DIY Showers & Weddings and other DIY crafty ideas! A few DIY's coming soon:
And here are a few that we already posted - click on the picture to read more....
Thanks for visiting.
Follow us on social media or sign up for e-mail to stay up to date on new posts! Sincerely,
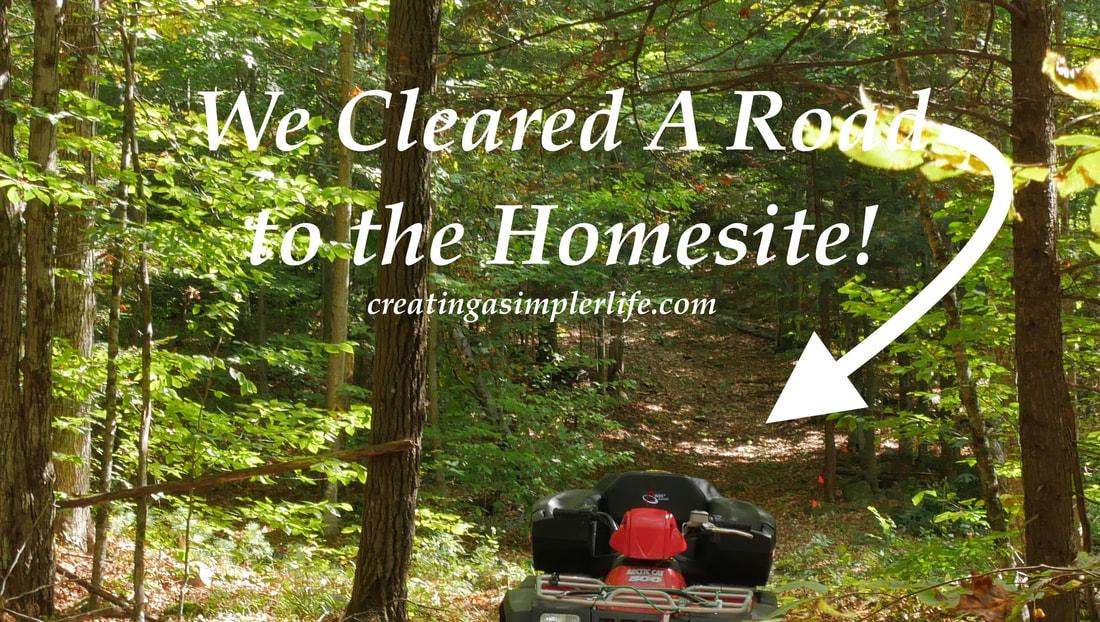
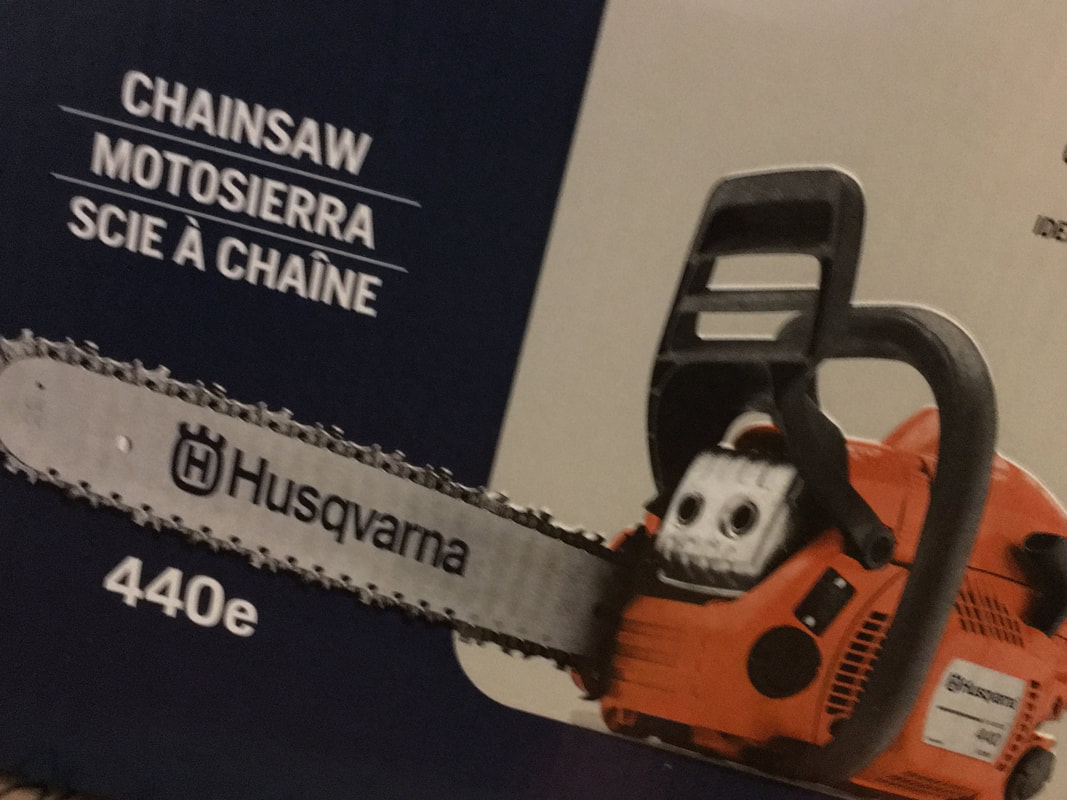
Choosing our homesite was pretty easy, in fact it is the reason why we chose to buy this land in the first place (read more here). However, a road, well thats a different story. With 30 acres of land I can honestly say we have yet to venture through all of it. There is much that we have yet to see, but the more we hike around the happier we are! Recently we were hiking around and found what appeared to be roads even though they had some trees fallen onto them. We realize now that these are old logging roads from many, many years ago. And believe it or not one of them goes right to the homesite we chose! This was so perfect a find that it solidified for us that we chose the perfect spot for our home. All we had to do was some general clearing so we bought a chainsaw and started clearing all the fallen trees and debris on the old road to the homesite! The road is wide enough to drive in with our 4 wheel drive jeep and truck. The only thing left to do is remove a few rocks and make a better 'bridge' over our somewhat seasonal stream! For now, however, it is the perfect rough road for our ATV!
I really wish we did before and after pictures, but we just weren't thinking since we were so excited to get started! Anyway, you can see the cleared road pretty well below. The flags are there so we could keep track of how wide we want it and a few rocks or stumps that we still need to remove. We also made a temporary bridge of some of the cut logs so the ATV could easily cross the seasonal stream. The first 300 feet was basically cleared already and just needed to be weed wacked (yes we used a handheld one and swung it back and forth) and we worked our #4@# off to clear another 400 feet beyond that and up the hill so now we have a driveway of about 700 feet to our homesite. It was a lot of work for the two of us over the course of a two day weekend so hopefully next time our adult kids will come along to help! After all, they are each getting 5 acres of their own :-)
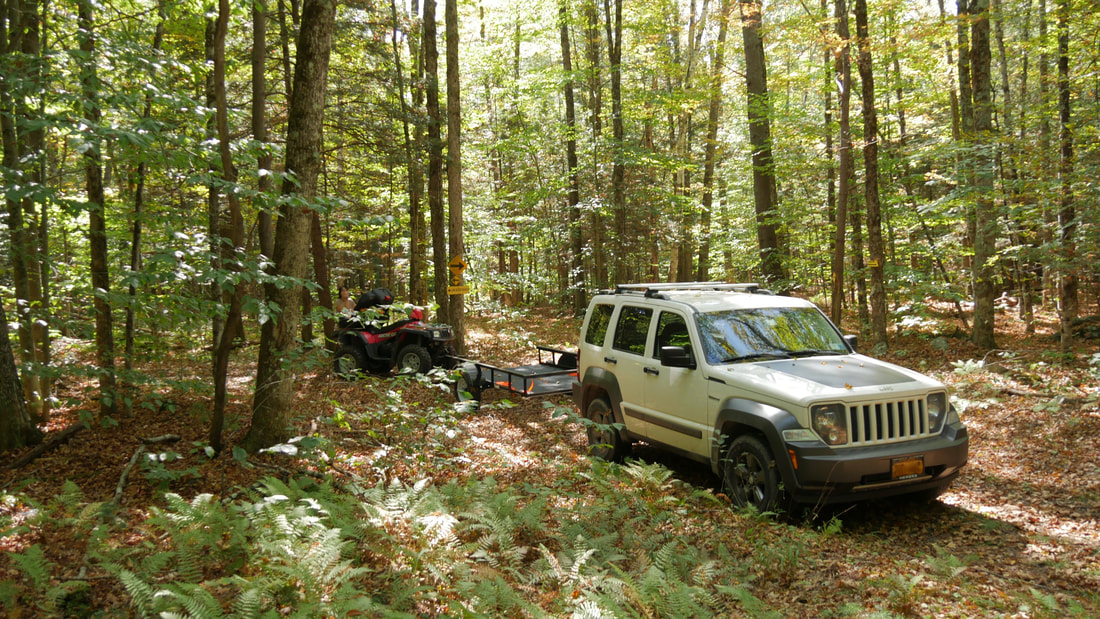
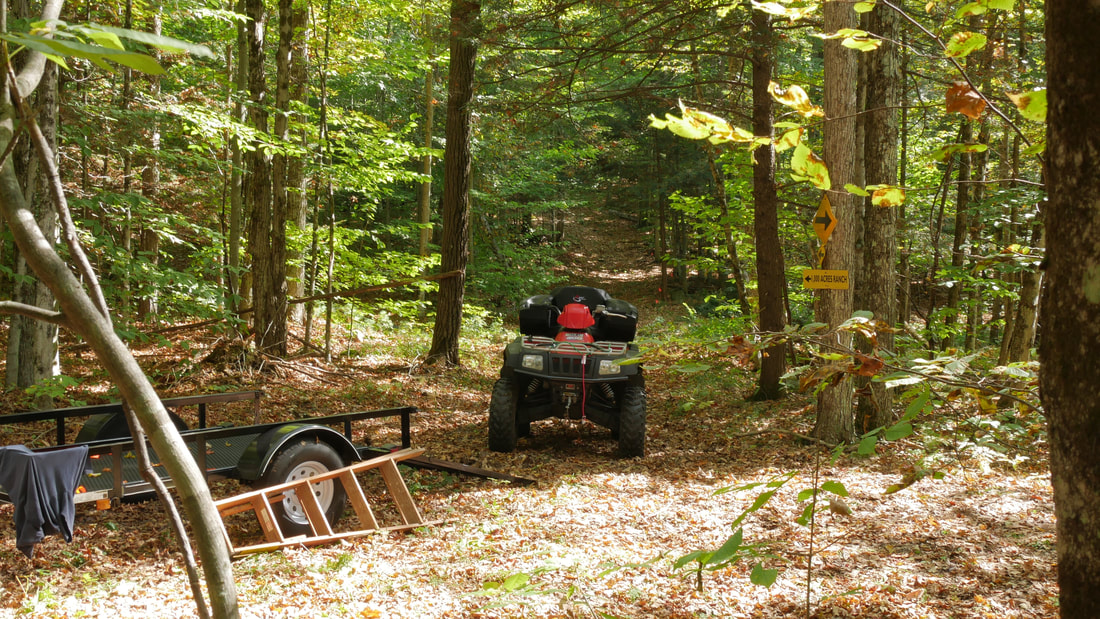
If you look straight ahead in front of our ATV you can see the beginning of the road we cleared. It goes up-hill so we can't wait to see how that will be in the winters. The road itself curves around to the left and continues for quite a bit before getting to the homesite.
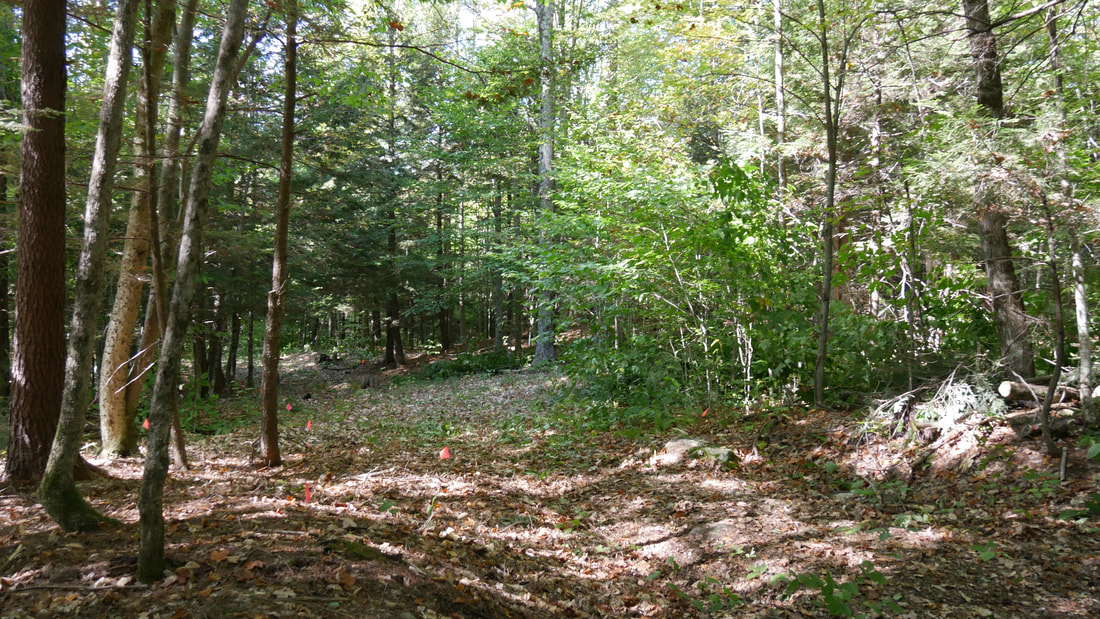
This is a view of the road from where we would be parking at the homesite. We did make a small turn around that is to the left as well as a nice big learning for my husband to launch his drone from.
A few words on chainsaw safety: Take the time and spend the money to do it right! Here is the equipment we purchased for my husband (or myself) when using the chainsaw:
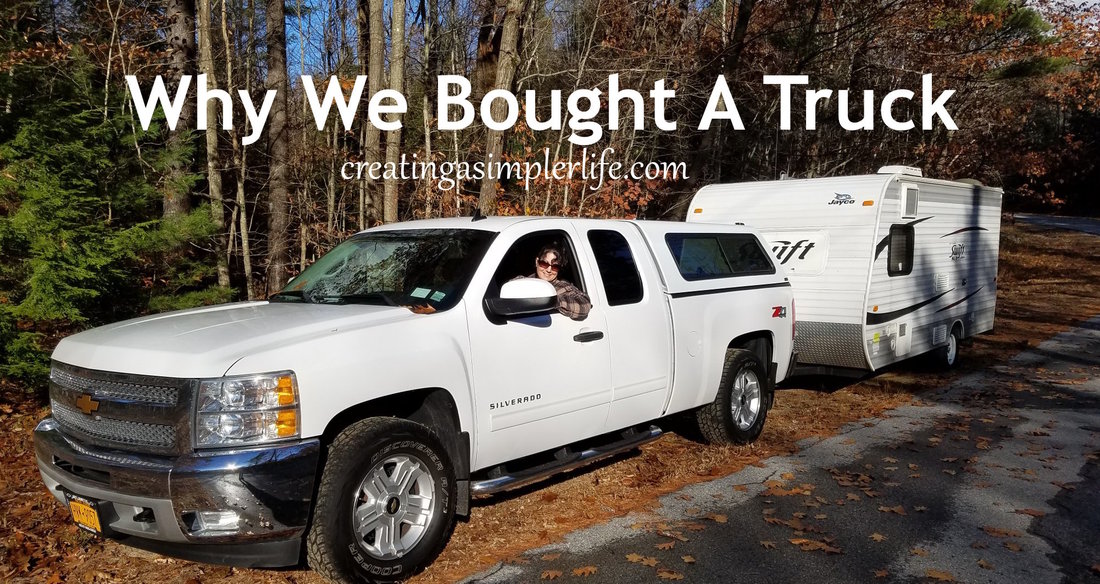
Well that's another mini-step crossed off of our to-do list for our homestead! We set a goal for buying a truck this fall and we can now check it off! And of course, having a truck really will simplify our lives in so many ways.
Here's how and why:
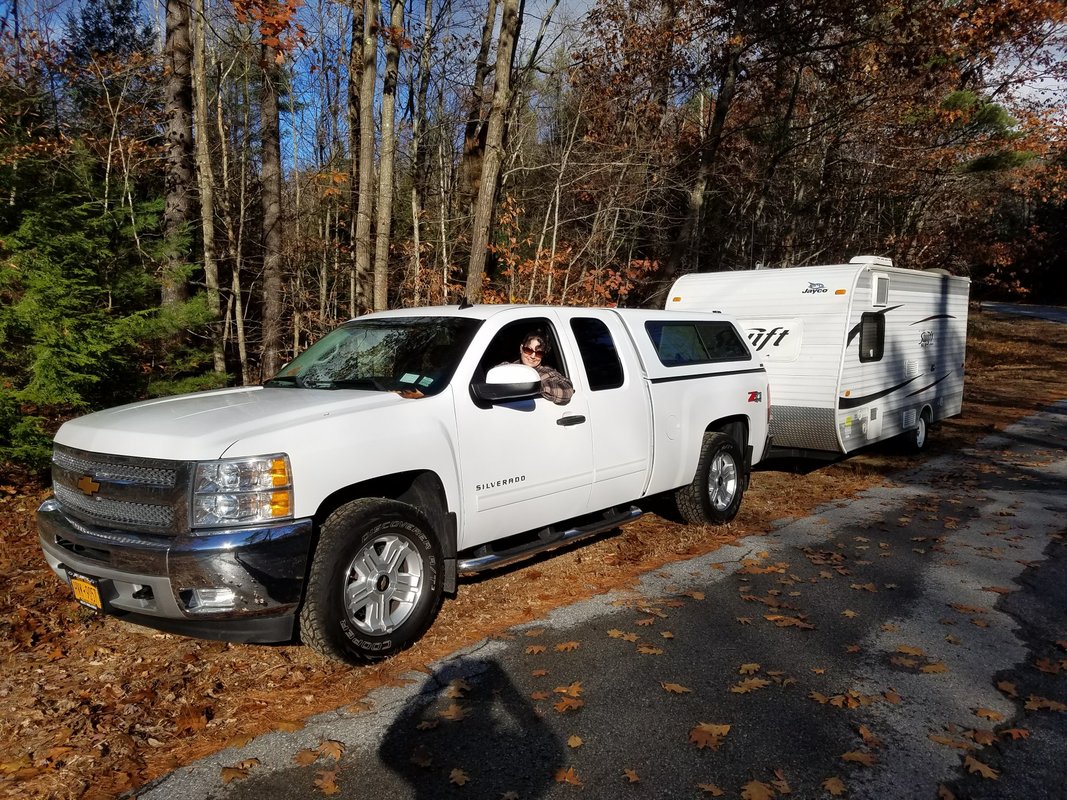
Yup that's me driving! The truck really makes pulling the trailer easy.
I am sure we will find many other reasons why having a truck is necessary in the Adirondacks. A few off the top of my head: it will make it easy to get our canoes and kayaks to the local River and it will be the perfect travel space for the dogs we plan on adopting one day (can't wait)!
Read more about our future homestead dreams here!
Sincerely,
|

Hi there! I'm Kathie, the author behind Creating A Simpler Life blog. I'm excited to share our longterm projects (and planning) toward building our future retirement homestead in the Adirondack Mountains of New York. In the meantime I will be sharing all the other little things we do that are part of creating our simpler life!
Categories
All
Archives
July 2020
|


 RSS Feed