Blog
A little bit of anything and everything that's part of
creating, enjoying, and living a simpler life!
creating, enjoying, and living a simpler life!


Well, we have our mini homestead land. Our next big project will be to put a road in, but in the meantime we are preparing to build a garage with a livable loft to live in and use until we build our main house. Part of the plans and preparation for the garage construction is the materials. We really don't want to buy everything brand new. First of all, new costs money and doesn't necessarily mean that the product is better. Secondly, there are tons of materials and supplies out there that are used and still in perfect working order! No reason to fill the dumps with good stuff. We are happy to refurbish, reuse, and repurpose if it helps save the Earth, but even more importantly, saves us money!
This Vermont casting stove was being discarded by our new neighbor. Yup, it was going in the garbage! So the little window was cracked and it needed a good cleaning. "No biggie, we can fix that!" said my husband. And guess what? He did! I didn't even tell you the best part yet: the stove came with 12 feet of stove pipe too! Livable garage loft, we are ready for you! 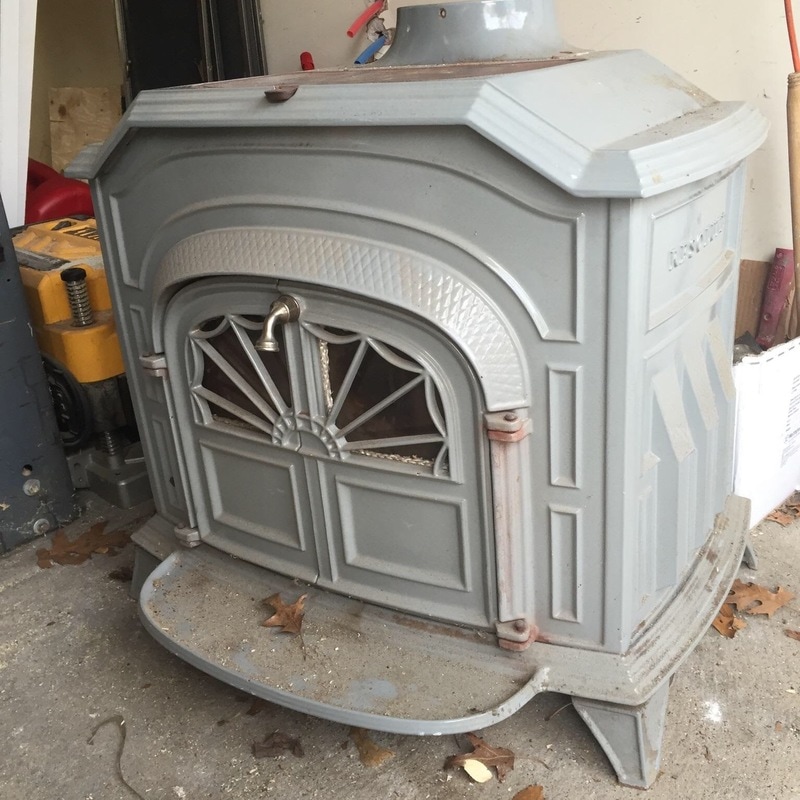
My husband simply went online, did a little research as far as what stove it is exactly - The Vermont Castings Resolute from 1979 - and purchased new glass for the door windows and a gasket kit. He purchased all the parts from Mountain View Hearth Products in Montana. He had to call them up and talk to them to make sure he was getting the right parts and they were super helpful. We highly recommend them if you need any stove parts!
Took some time for him to take it all apart, clean it, and put it back together but now it is like brand new! Total cost: less than $200. Savings: THOUSANDS! 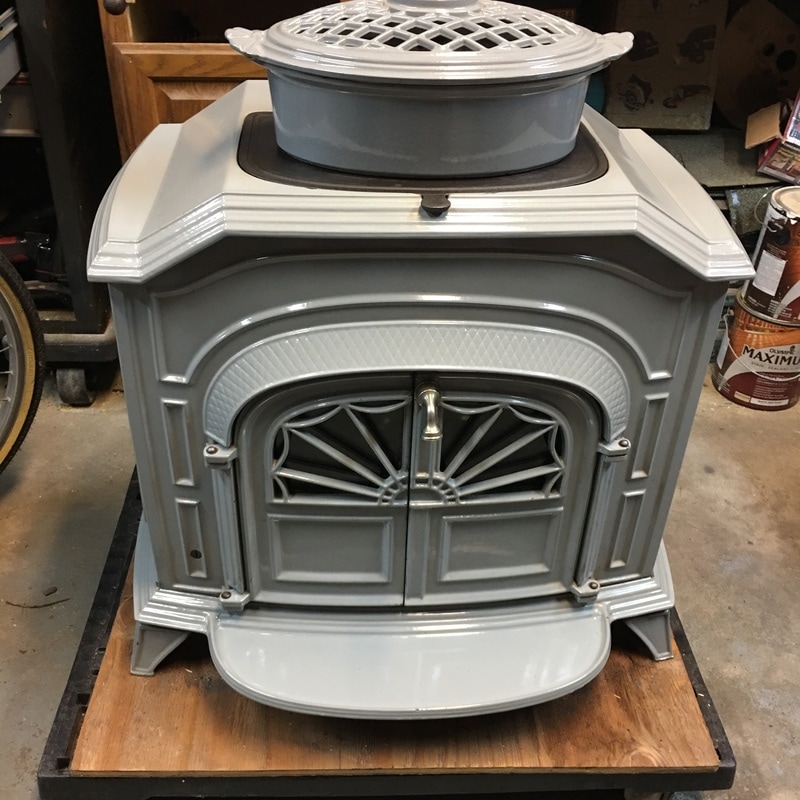
A few other items we have collected for FREE so far:
Still on the lookout for:
One of our favorite places to visit is Restore in Ronkonkoma. It is run by Habitat for Humanity and all proceeds go to building homes for people in need. They get donations of used or leftover building materials, supplies, flooring, cabinets, even furniture and appliances! We never know what we will find when we visit but it is super fun to go! So if you have something to get rid of, or are looking for something particular, consider checking them out. It is worth it! Think of it like a thrift store for building and home needs!
Thanks for visiting!
Check out our other ways to save money and our future homestead plans! Sincerely,
5 Comments
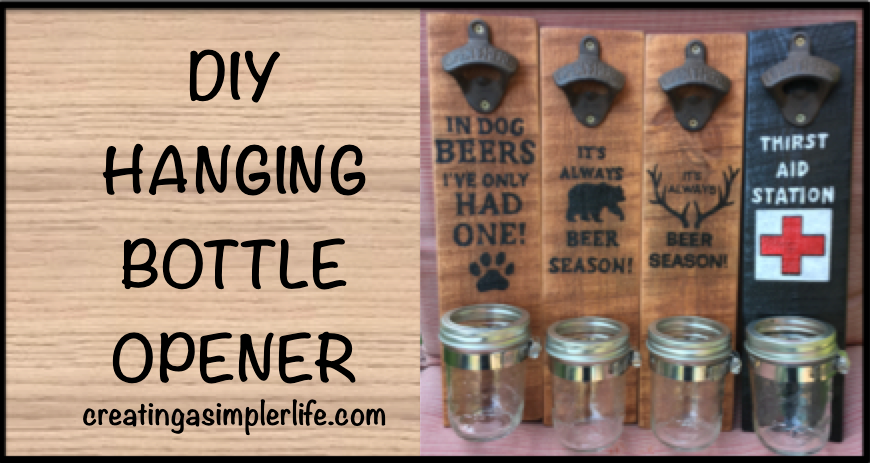
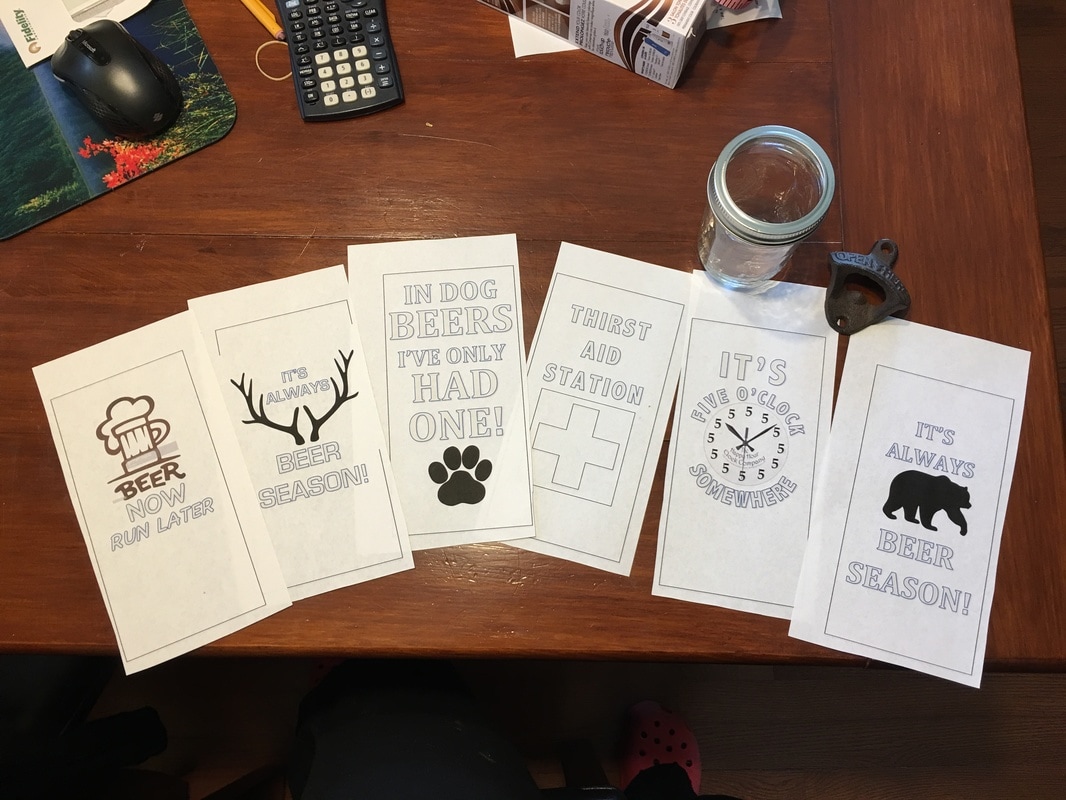
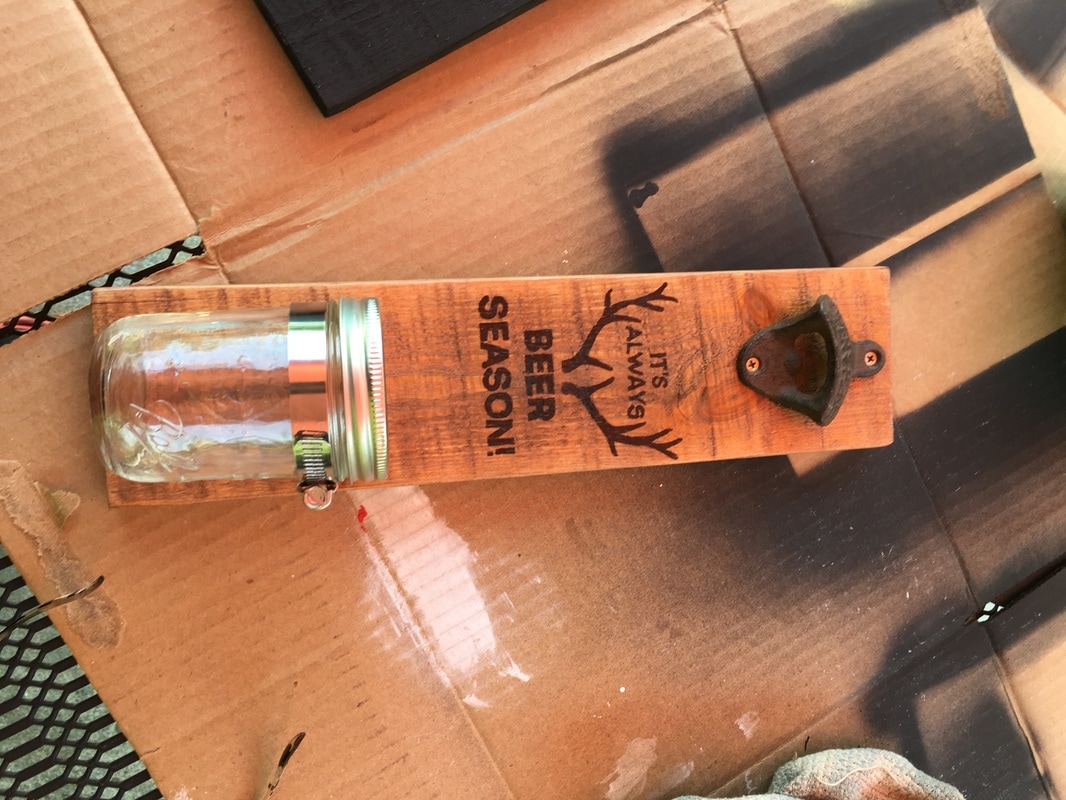
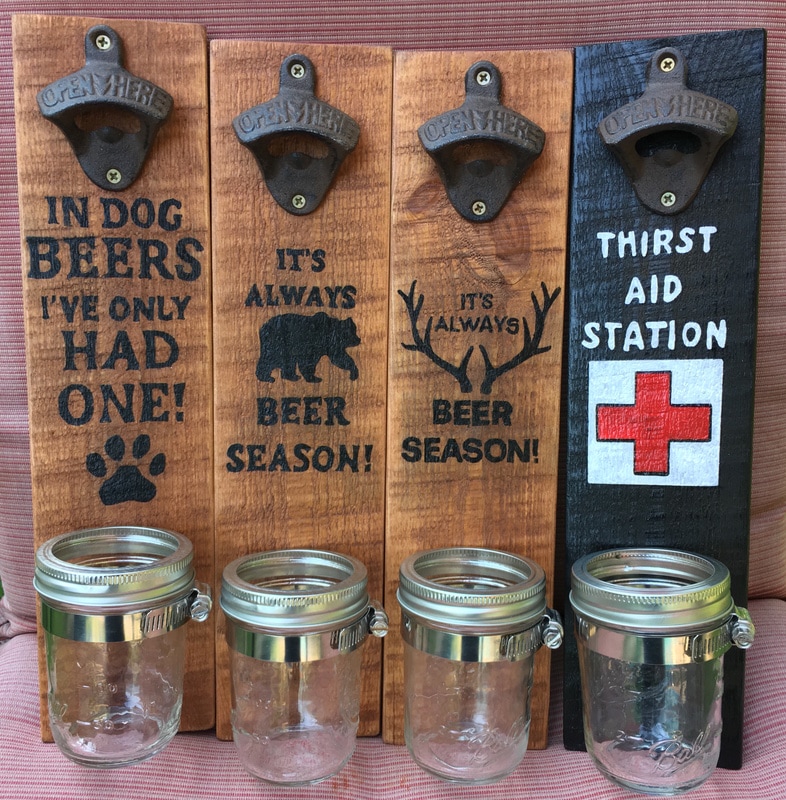
This was a coordinated effort between myself and my husband so we could surprise the Dad's in our family at our annual Father's Day barbecue!
This DIY hanging bottle opener was the perfect gift. It was pretty simple to make and we learned a few lessons along the way, but overall we are really happy with how they all turned out!
Supplies Needed:
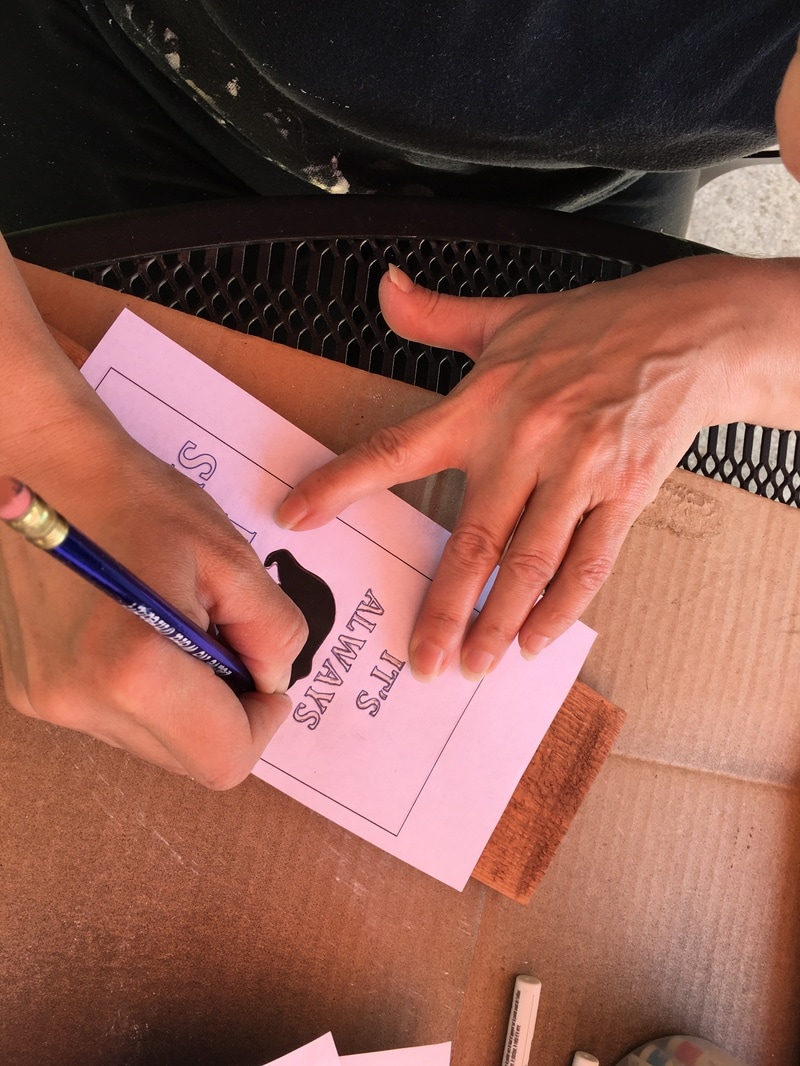
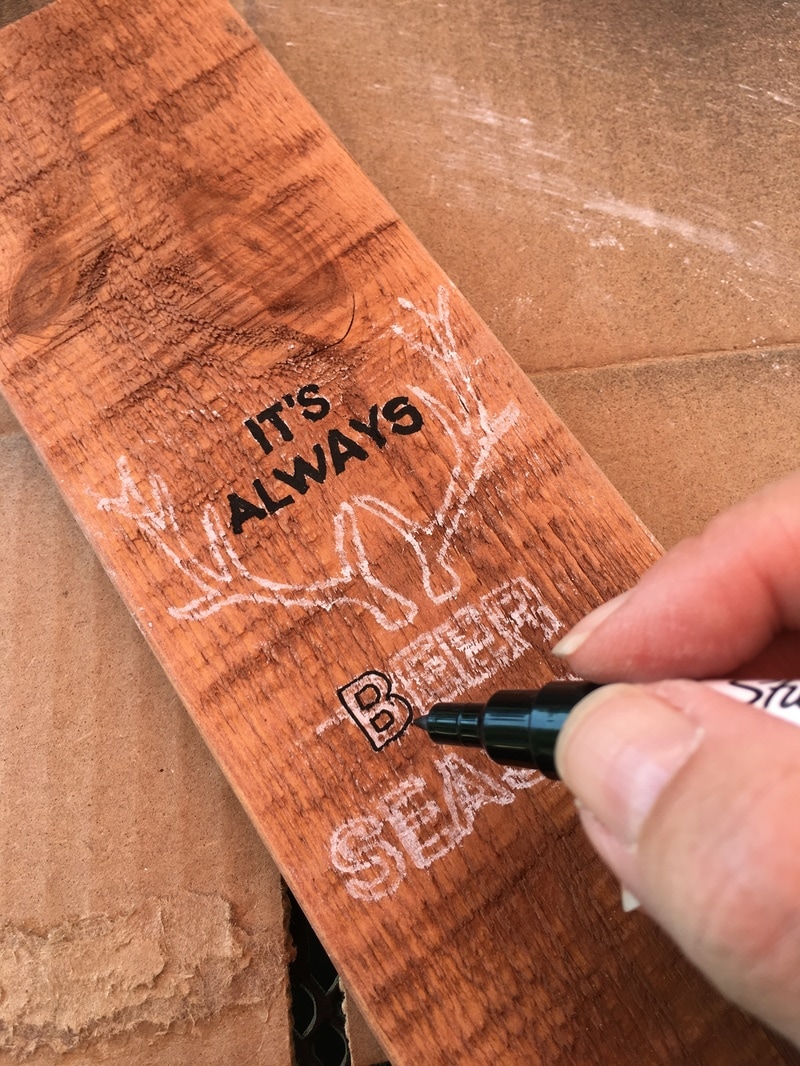
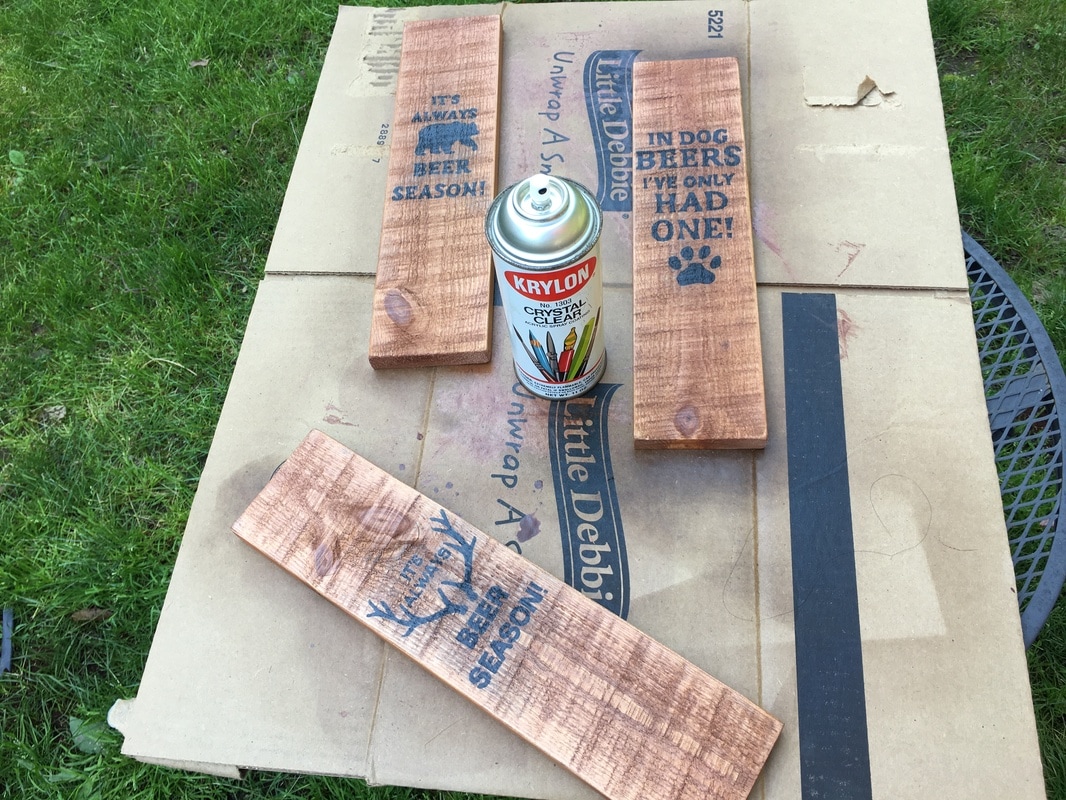
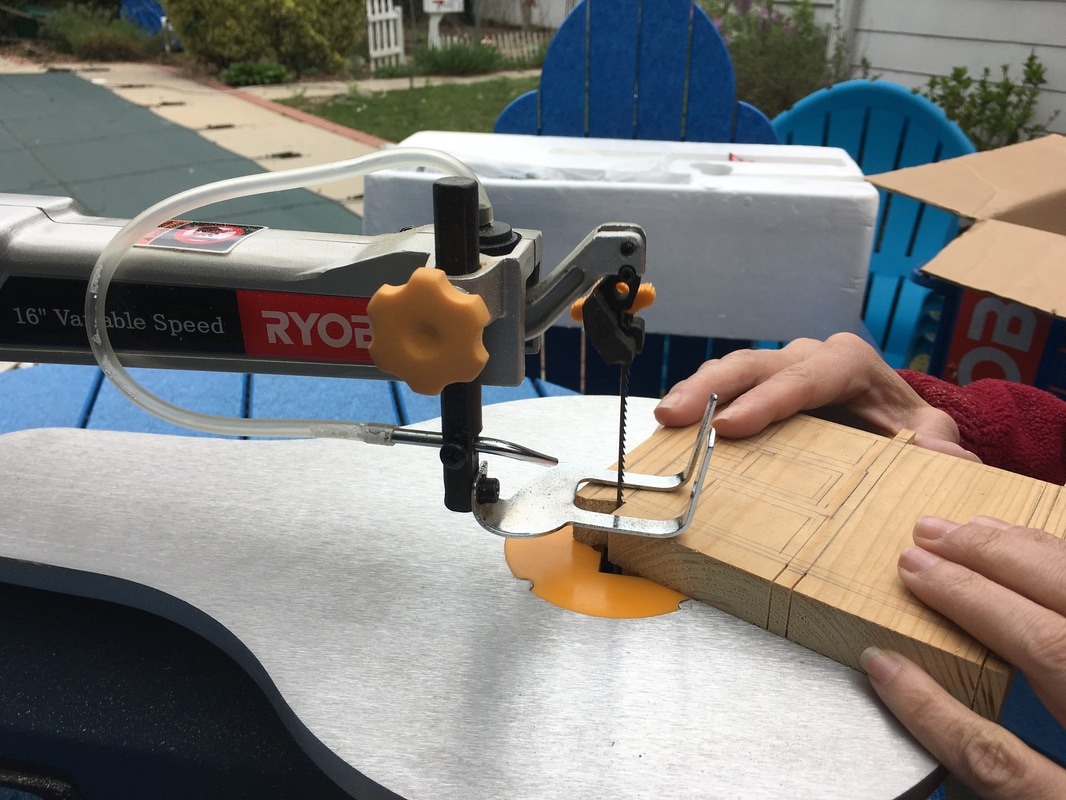
Directions:
Thanks for visiting!
Check out all my other DIY ideas here on this site or on myPinterest Board! Please follow me on social media as well :-) Sincerely,
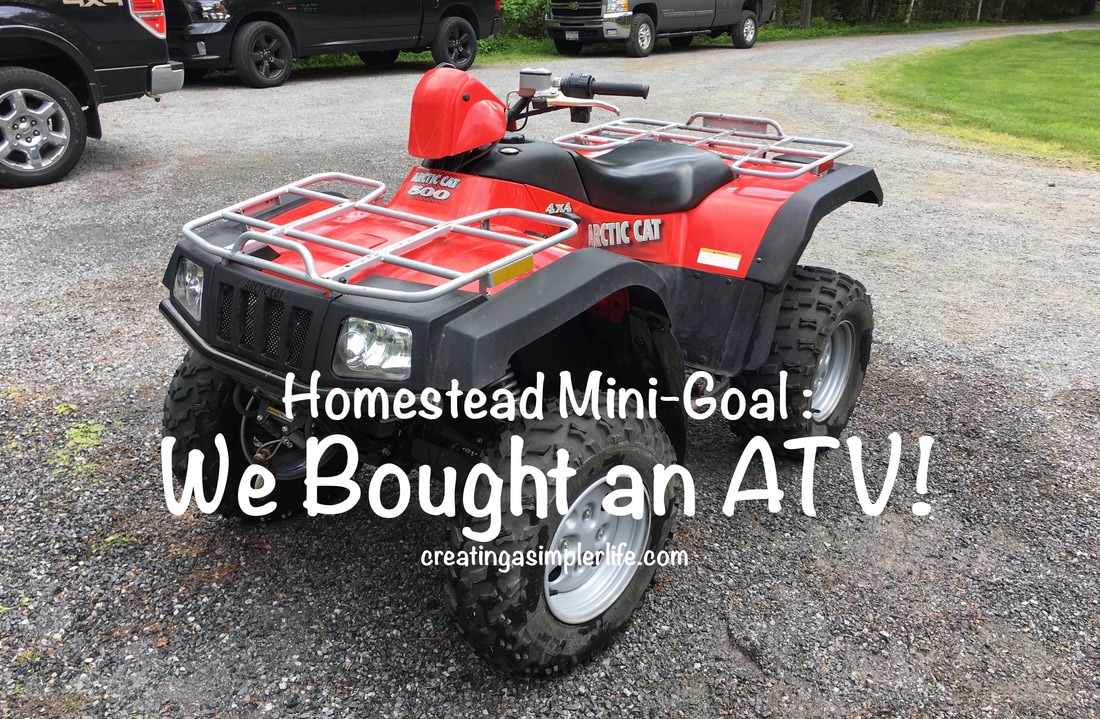
A while back I wrote about Looking for Land and Buying our Land in the Adirondack Mountains. With 30 acres purchased our next mini-goal was to get our hands on an ATV so we could get around on the land and well, have some fun!
After searching the internet high and low for a used ATV, we decided on what we really wanted in an ATV but we just couldn't find one in our price range to buy.
What we wanted...
After deciding the bare minimum with respect to what we wanted, we continued to search to no avail. However, we spread the word and waited patiently for the right opportunity.
That opportunity finally came around in May when family friends decided to sell their ATV after they moved. They had mostly used it to plow their driveway but no longer needed it after they moved. For us this meant that we got an ATV that was well maintained and not used and abused. Bonus for us! 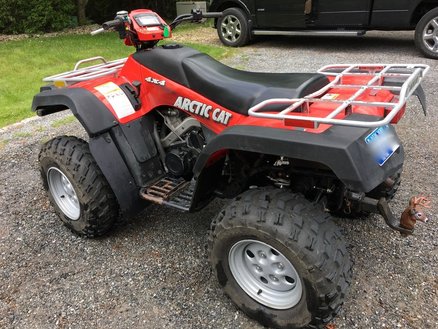
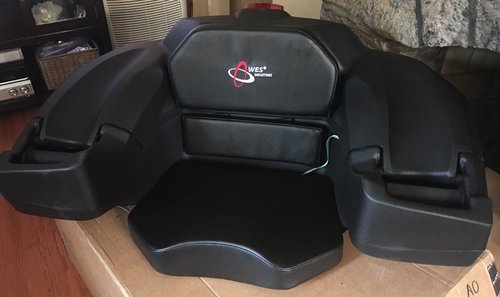
What we got...
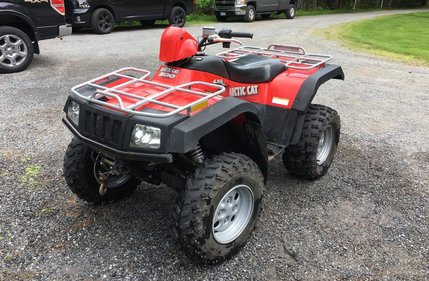
Being an older model, it also has a bonus pull-start on it...just in case...though my husband states that he hopes he never needs to use it!
A quick wash, an oil change, new brake pads, a rear master cylinder, and an added back seat and its is P.E.R.F.E.C.T. We couldn't be happier with our used ATV!
This was just a small step...
Our Next Big Step? A road! Thanks for visiting! Read more about our Future Homesteading Dreams here! Sincerely,
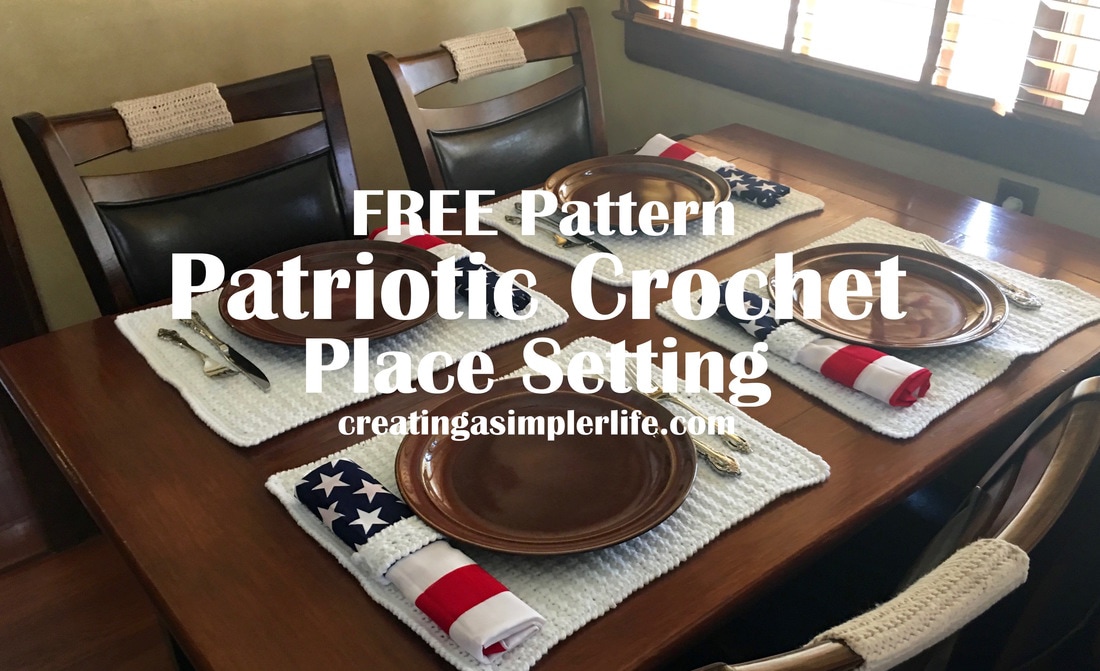
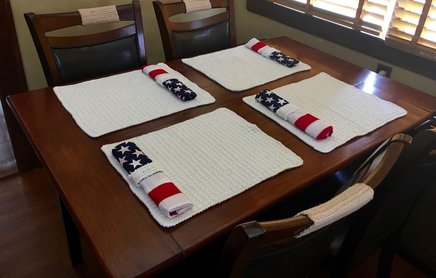
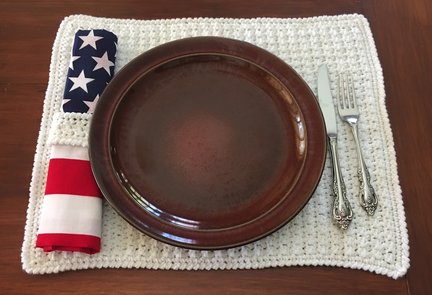
Fourth of July is fast approaching so why not celebrate your love for our country by setting your table with this simple crochet patriotic place setting?
This setting was a promise made to my cousin Peggy during last years annual Family Fourth of July Barbecue up at my parents place on Schroon Lake in the Adirondacks. I made a promise I would make her a set, and I kept it! Oh yeah, they were exactly what she wanted and she loved them!
Supplies:
Makes 4 Placemats and 4 Napkin Rings *Affiliate links
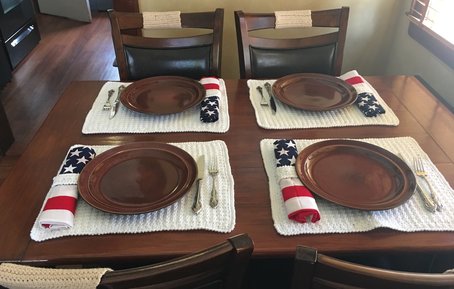
Directions for Placemat:
Placemat Border:
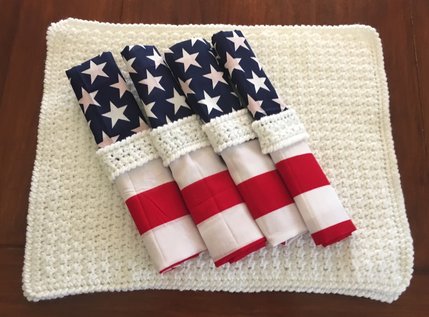
Directions for Napkin Rings (4):
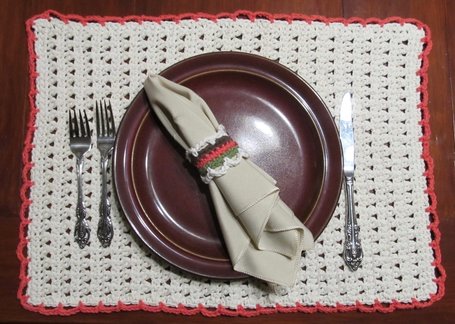
Check out our other FREE placemat and napkin ring pattern here! See picture below.
Thanks for visiting!
Check out our other FREE crochet patterns available on this site and greats ideas and patterns on our Pinterest page at Crochet Only and Crochet for the Kids and Grandkids. Sincerely,
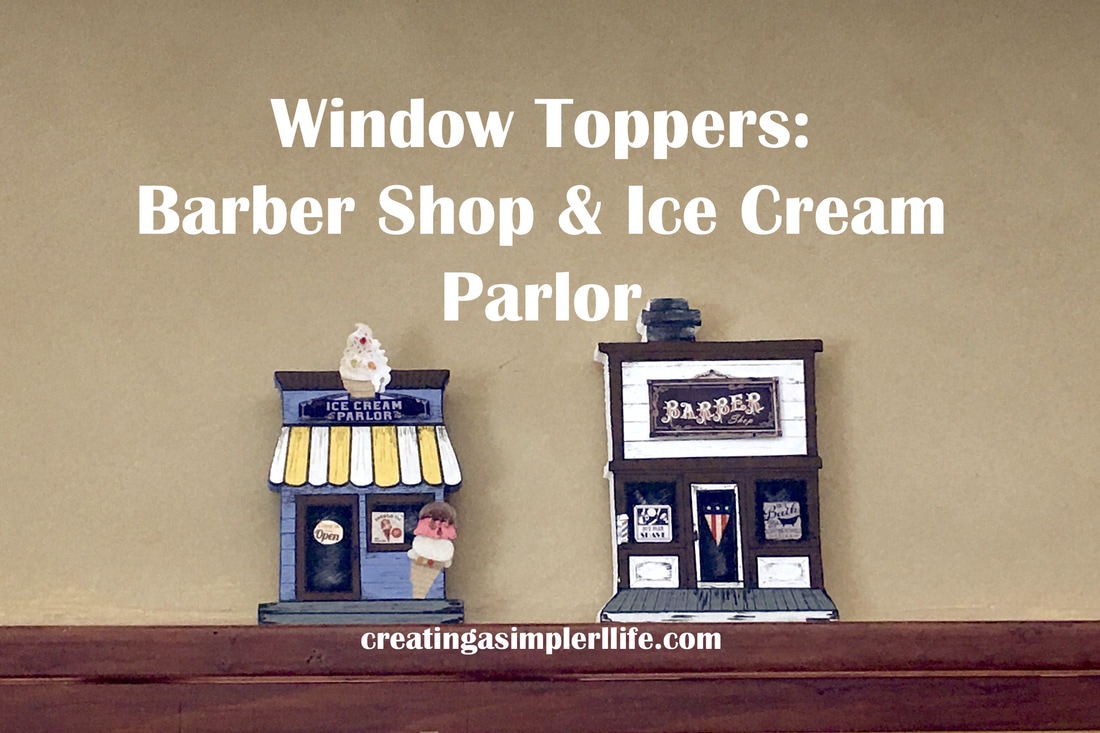
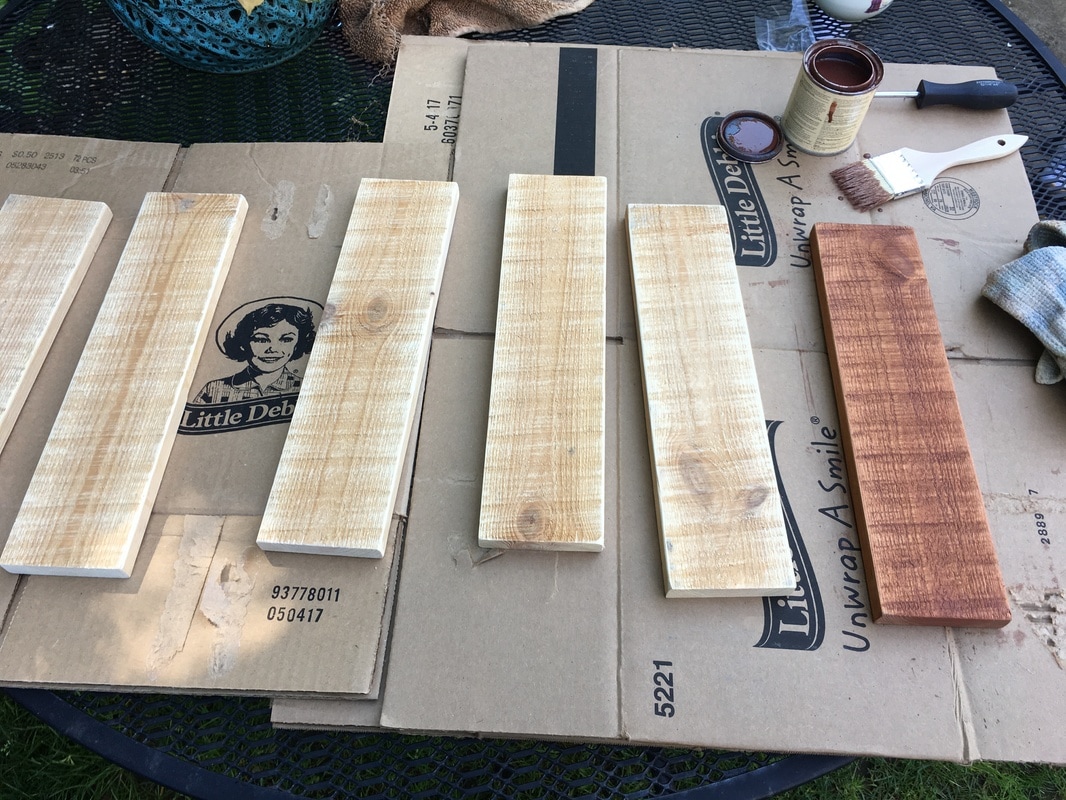
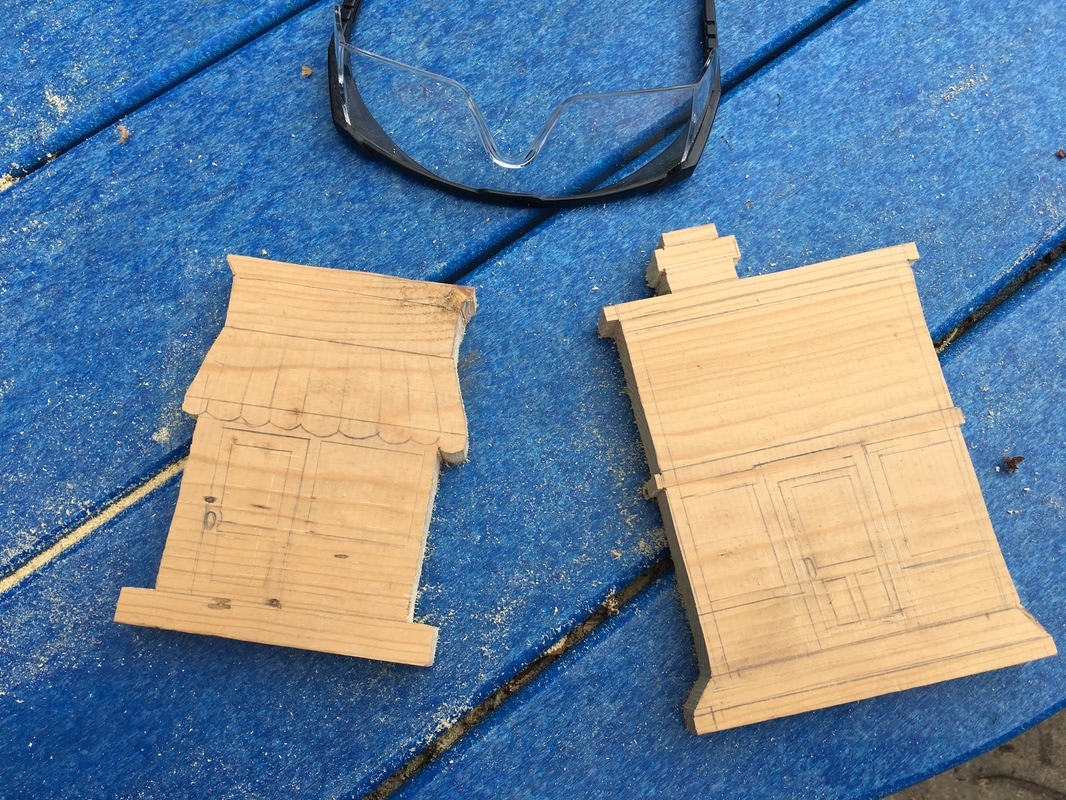
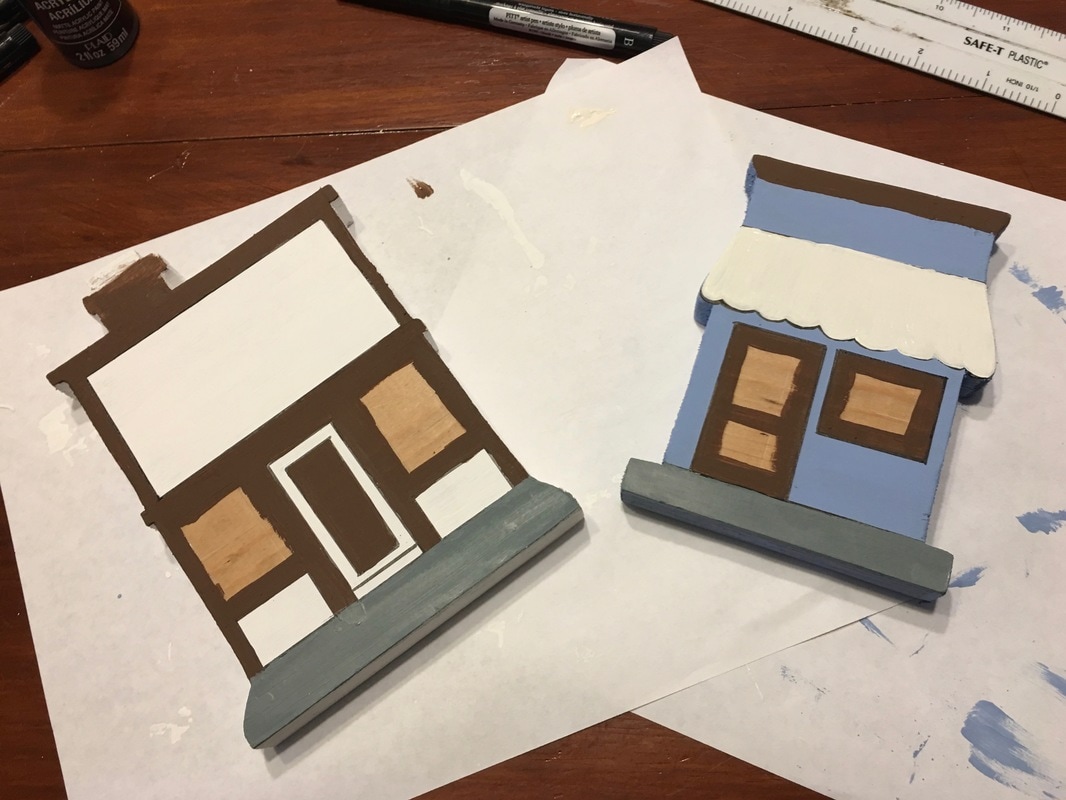
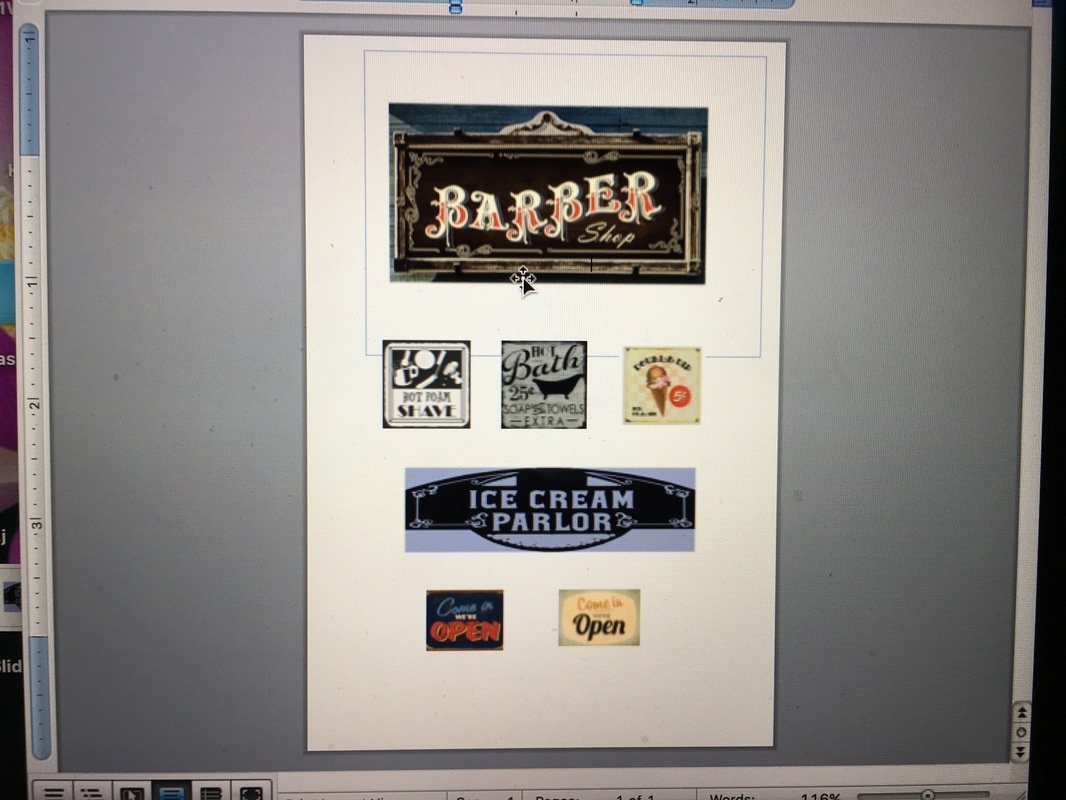
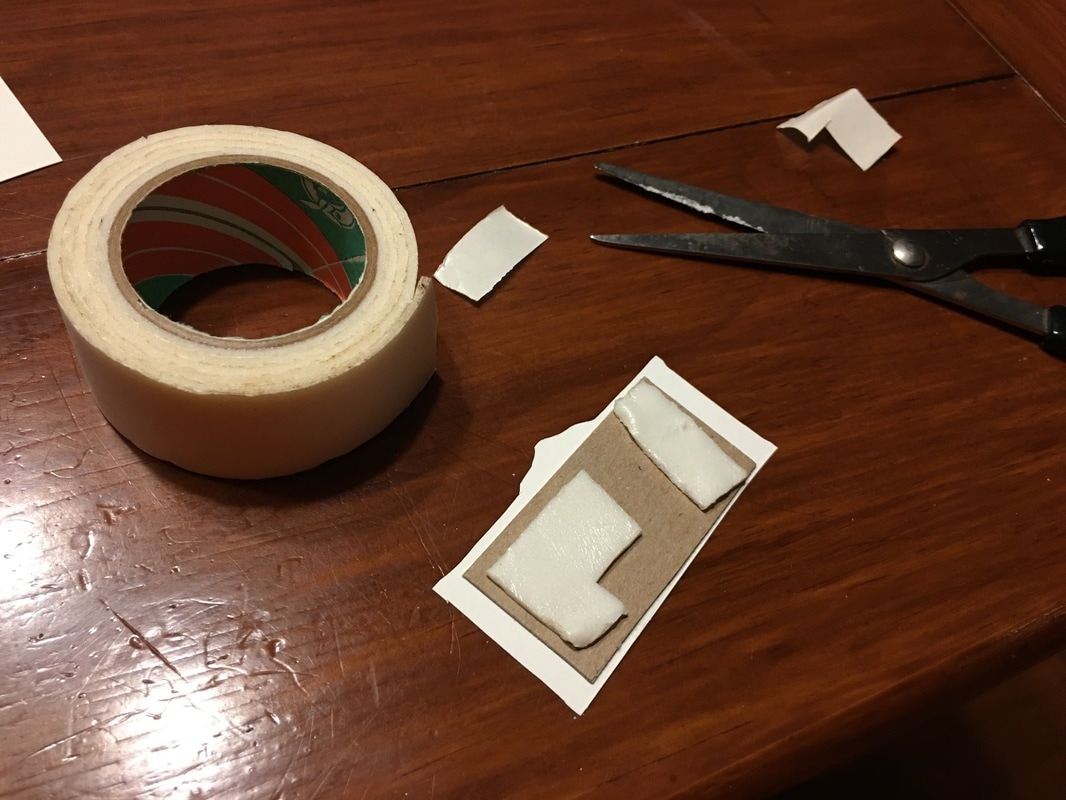
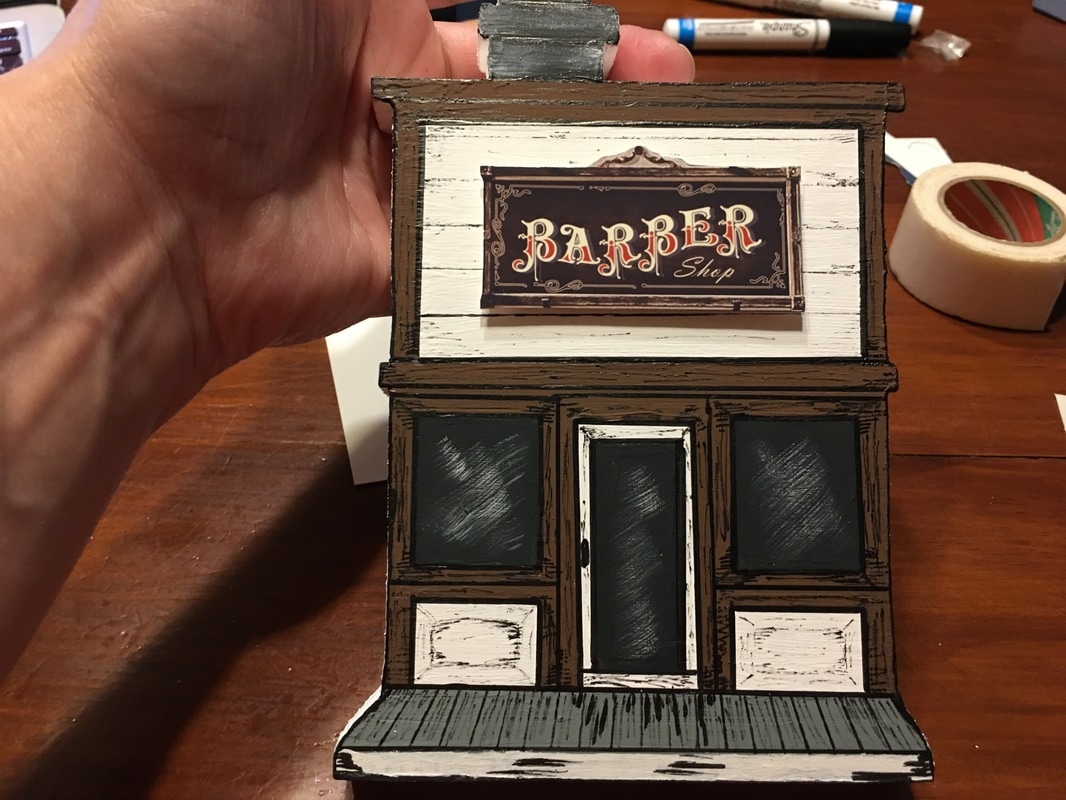
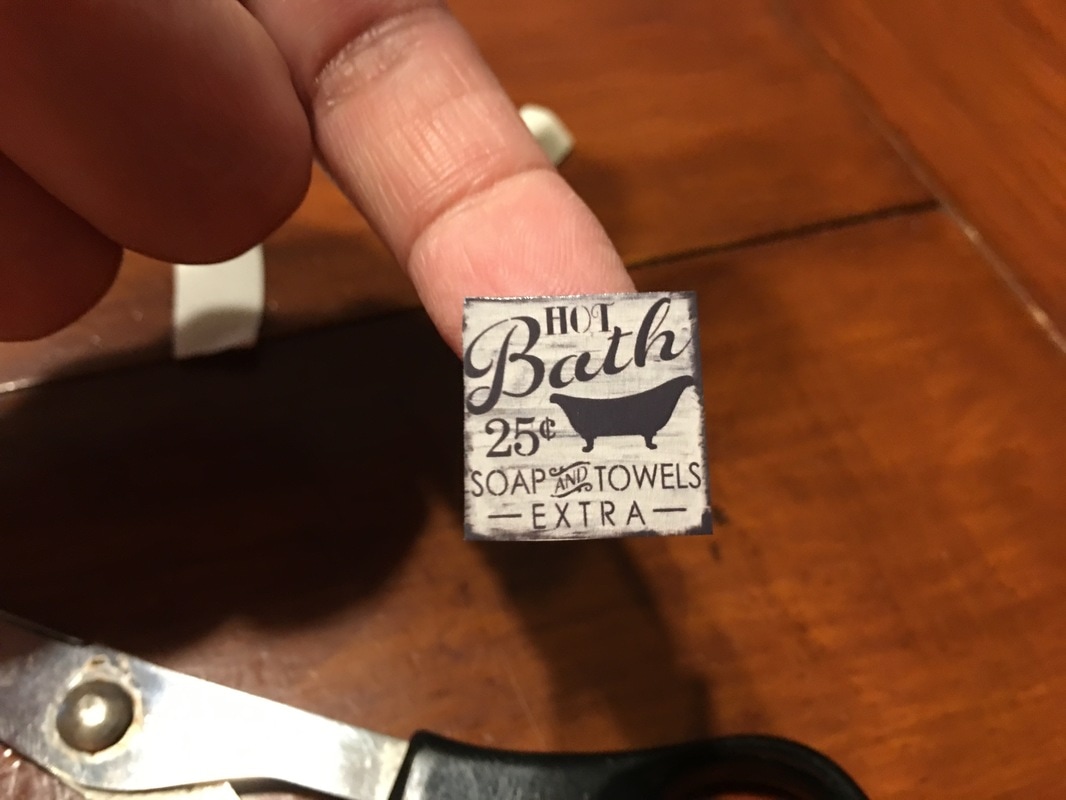
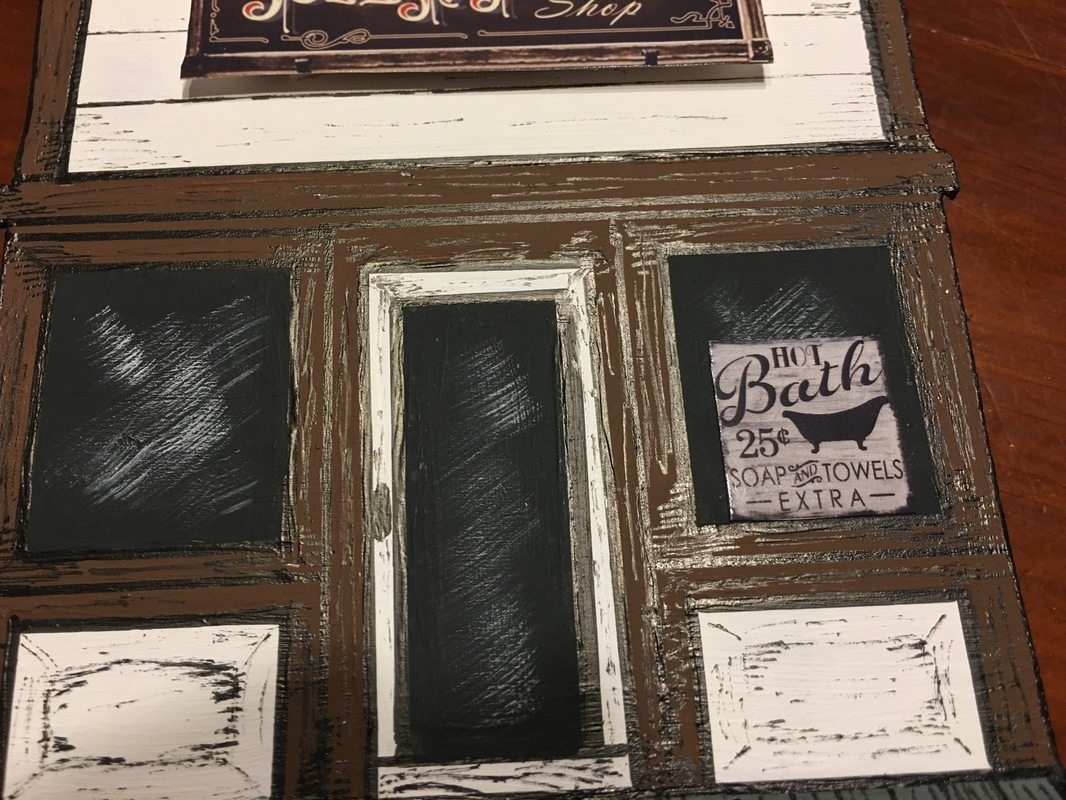
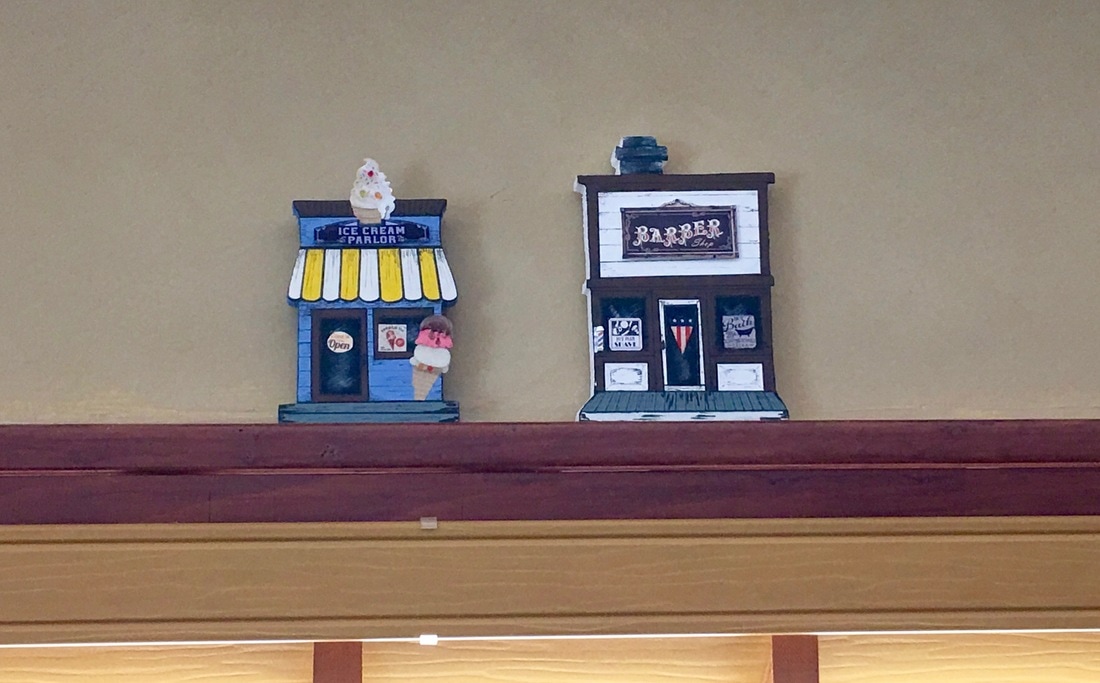
Once upon a time my mom spotted something similar to these at a craft fair. Of course she came to me and asked if I would be able to make something like that for her for Mothers Day. And... of course I said yes! That was several years ago and since then I have made many different 'building' window frame toppers (pictures below) and have had many inquiries into how exactly I make them. I will tell you this, they take time but when it comes to making them with love for my mom, well I can't put a price tag on that!
In case you're not sure what a window topper is, it is a wooden design that is about 3/4" wide and sits on top of the window frame as a decoration. It could also go on top of a door frame and look just as good! ***Great way to repurpose old pine shelving! Supplies Needed:
Check out this video of my latest building (2/6/18) on YouTube:
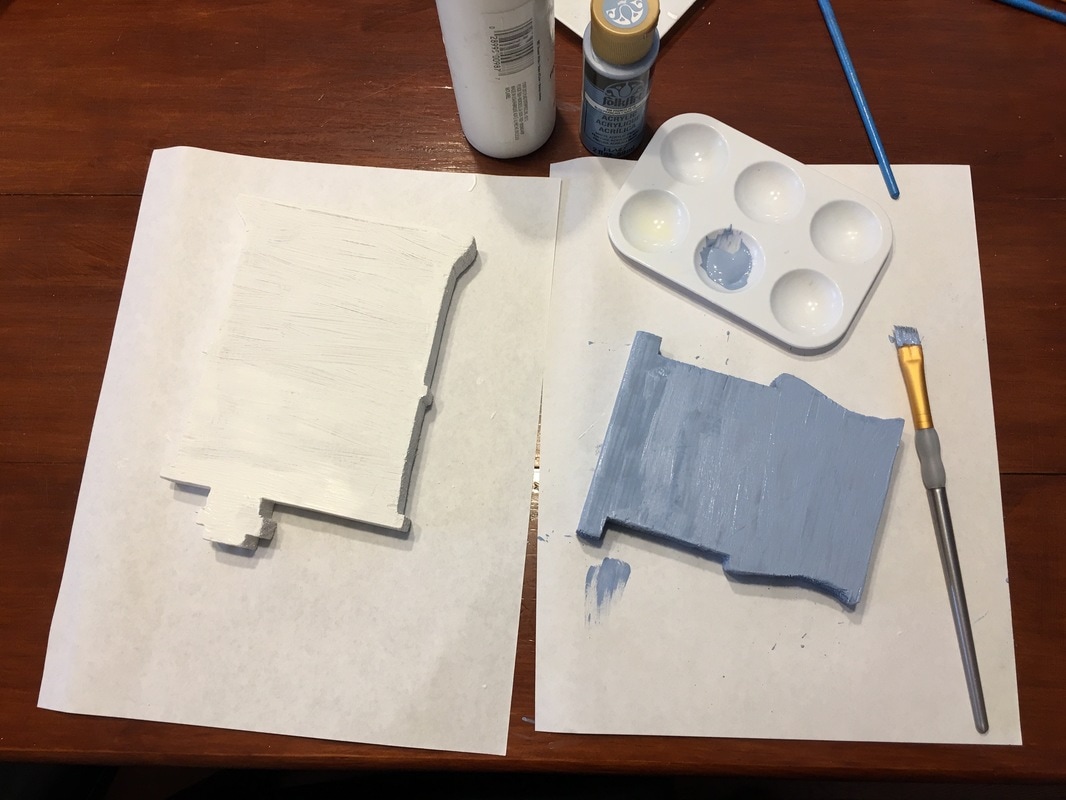
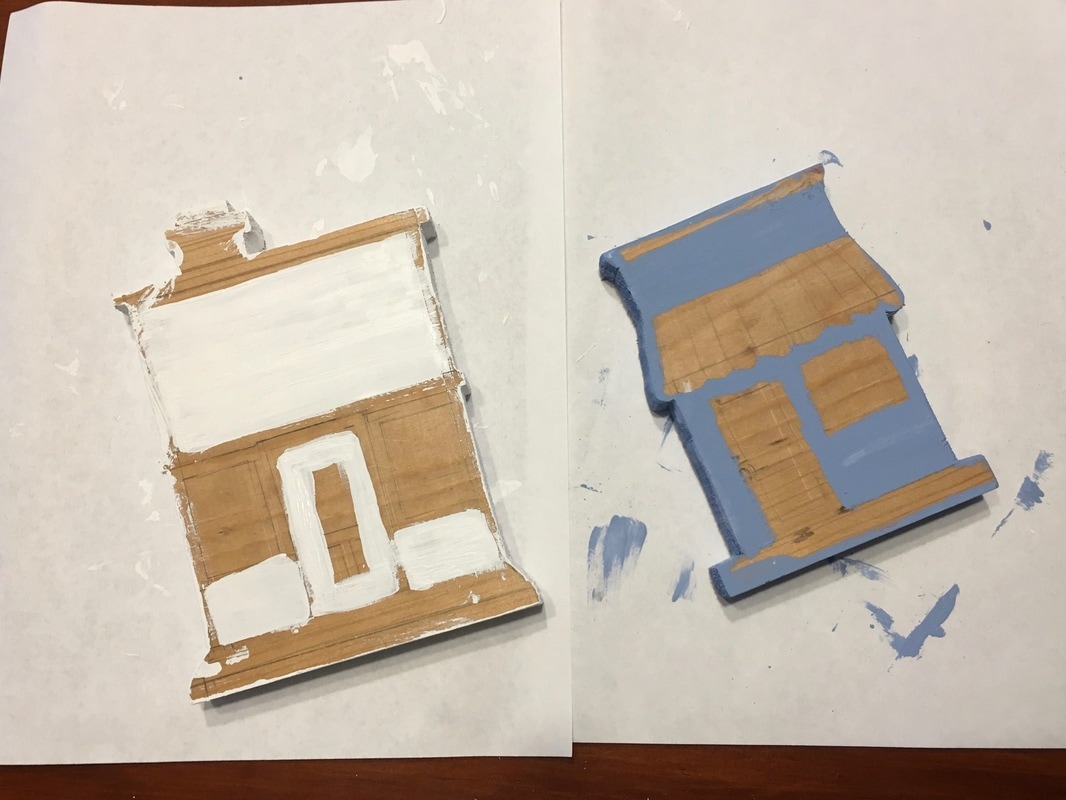
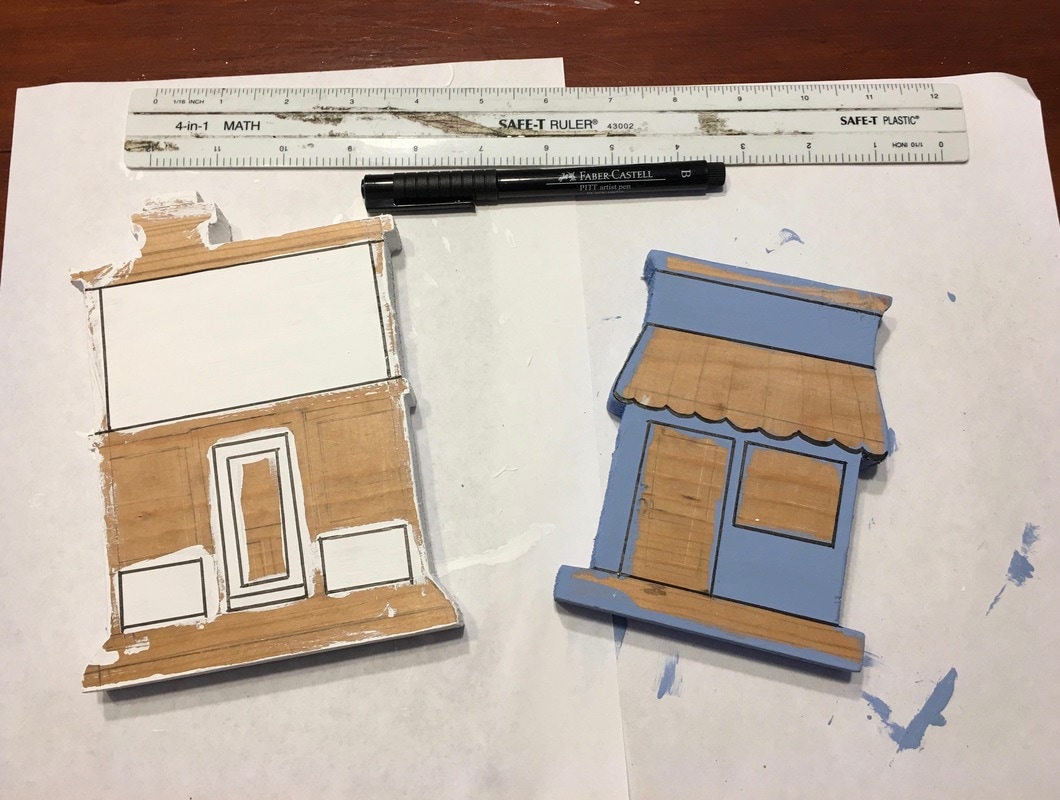
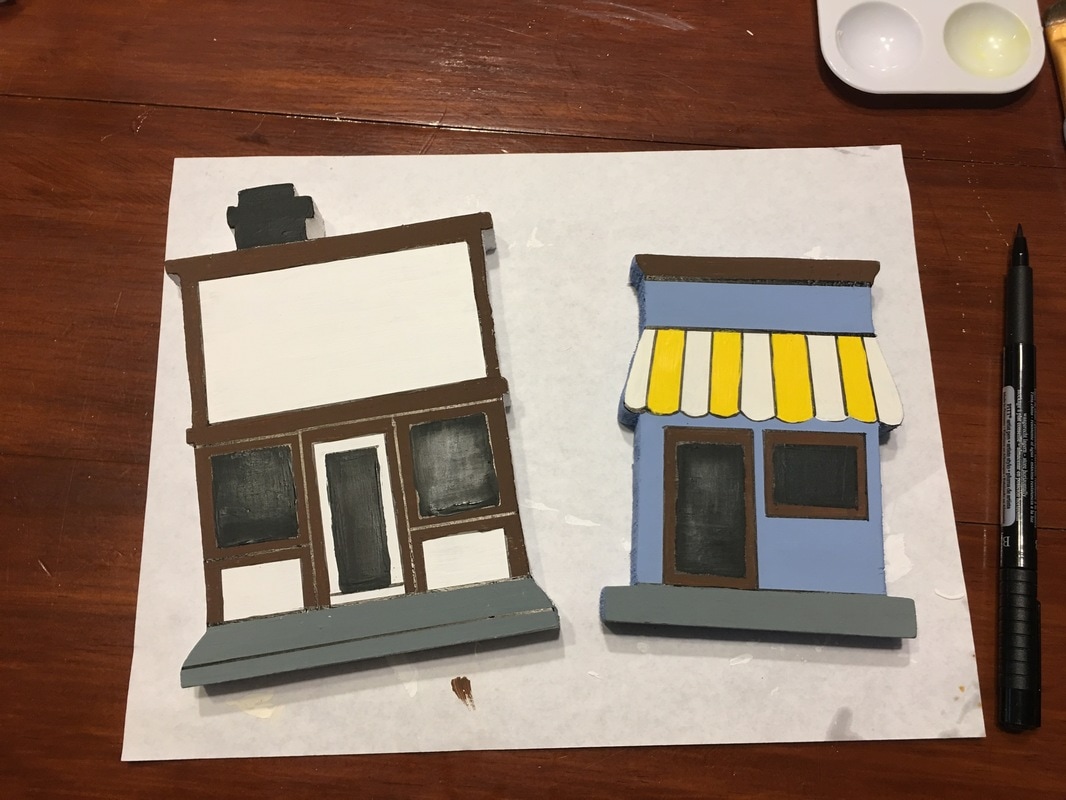
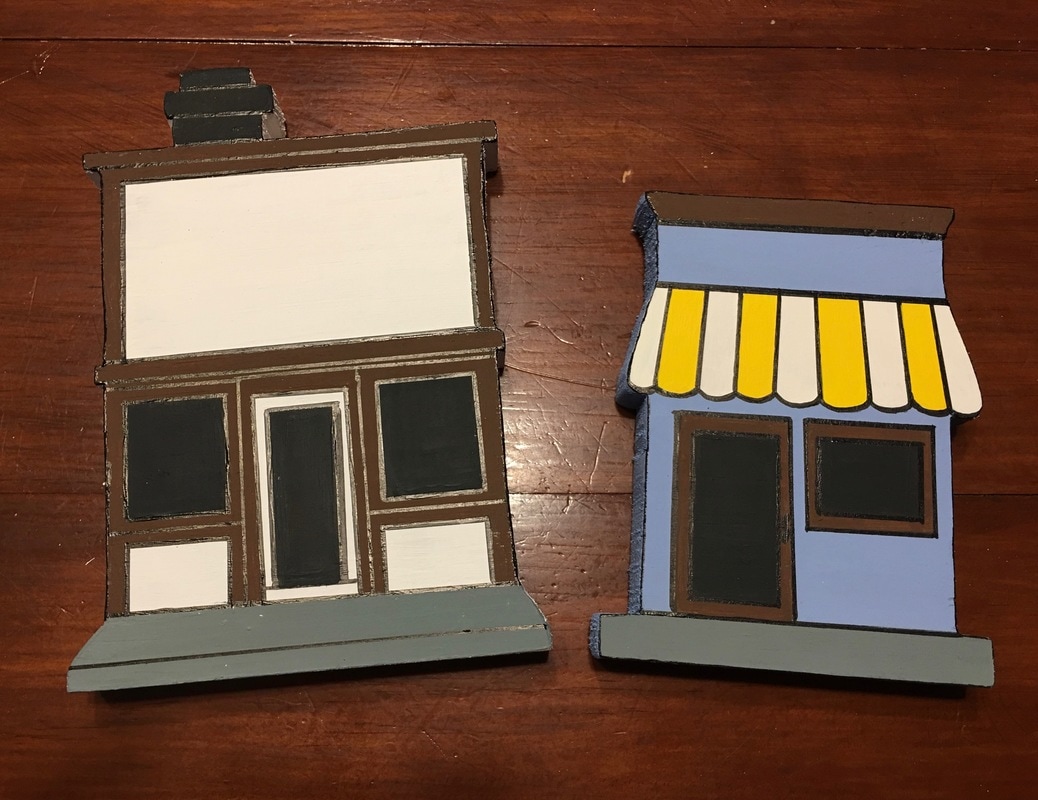
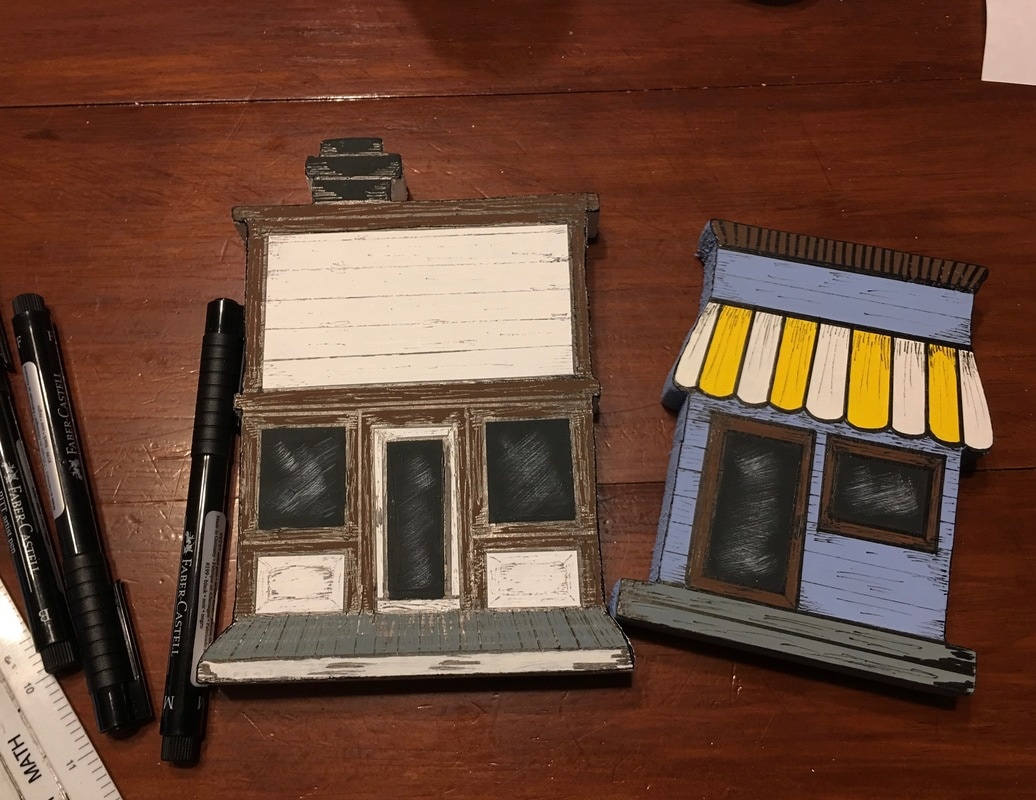
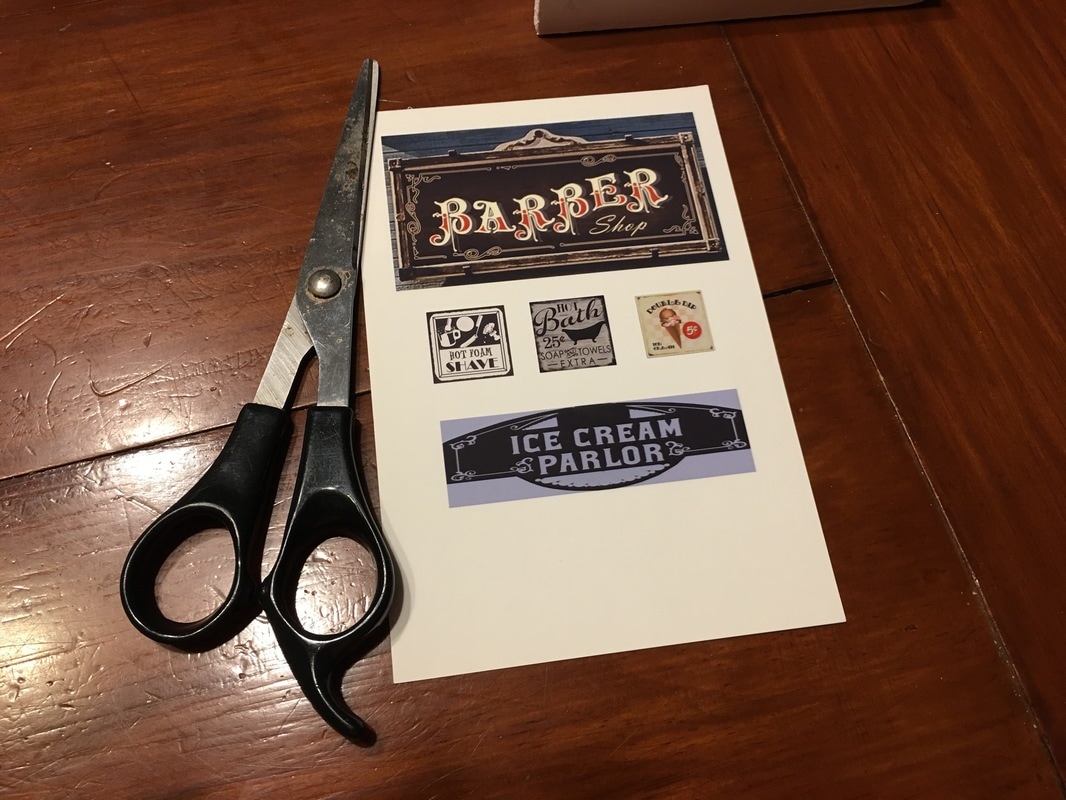
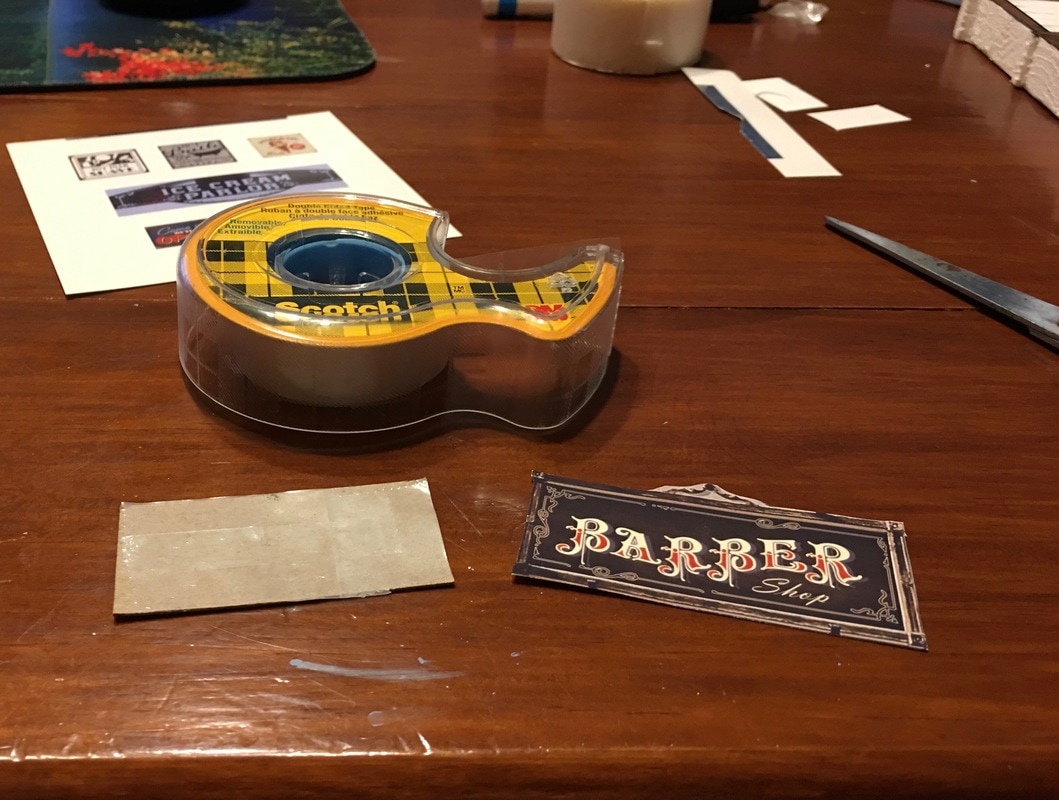
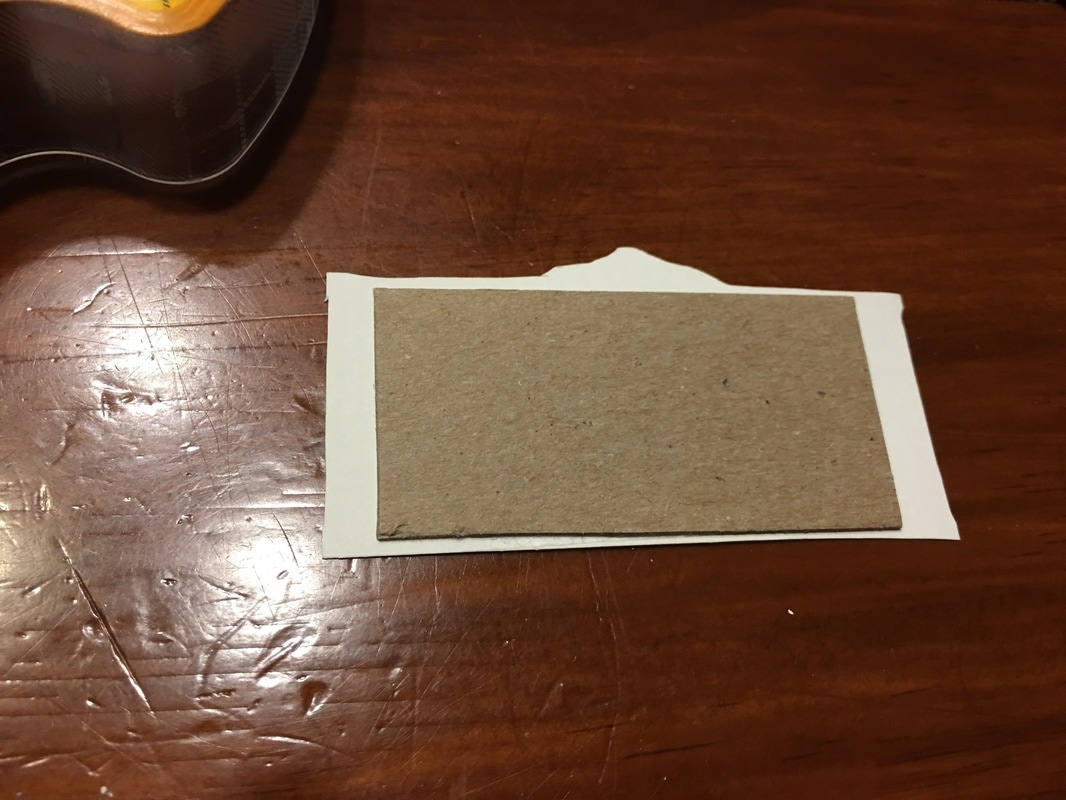
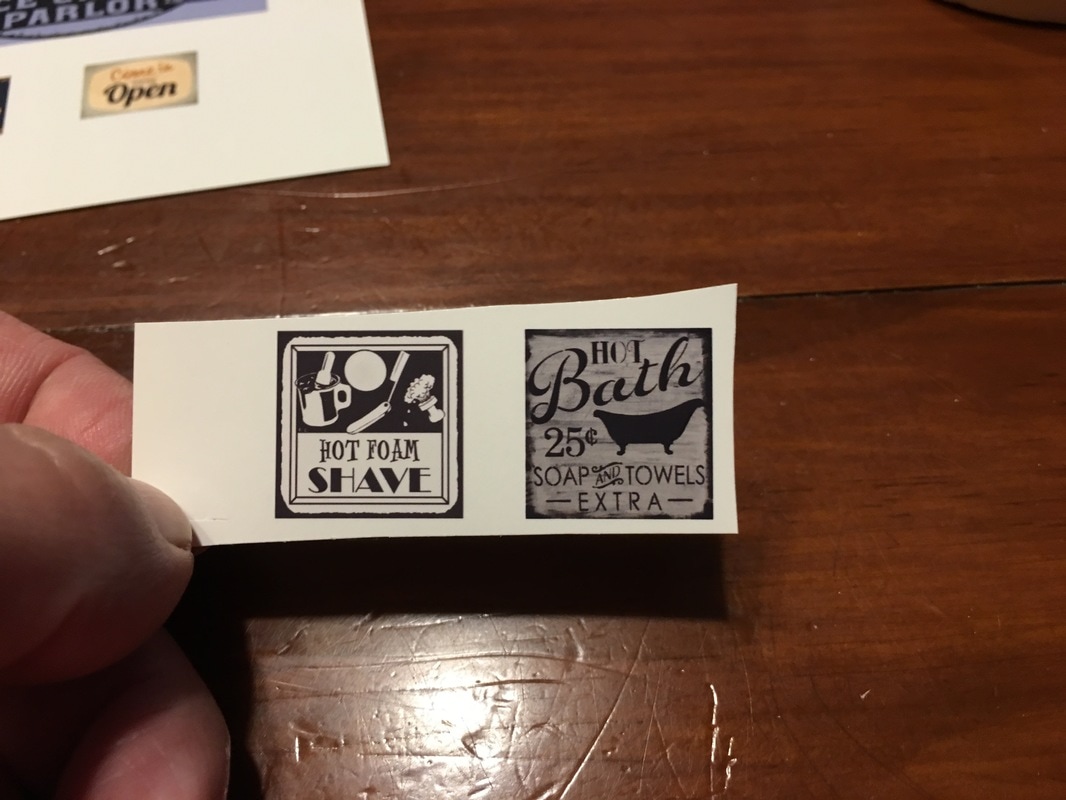
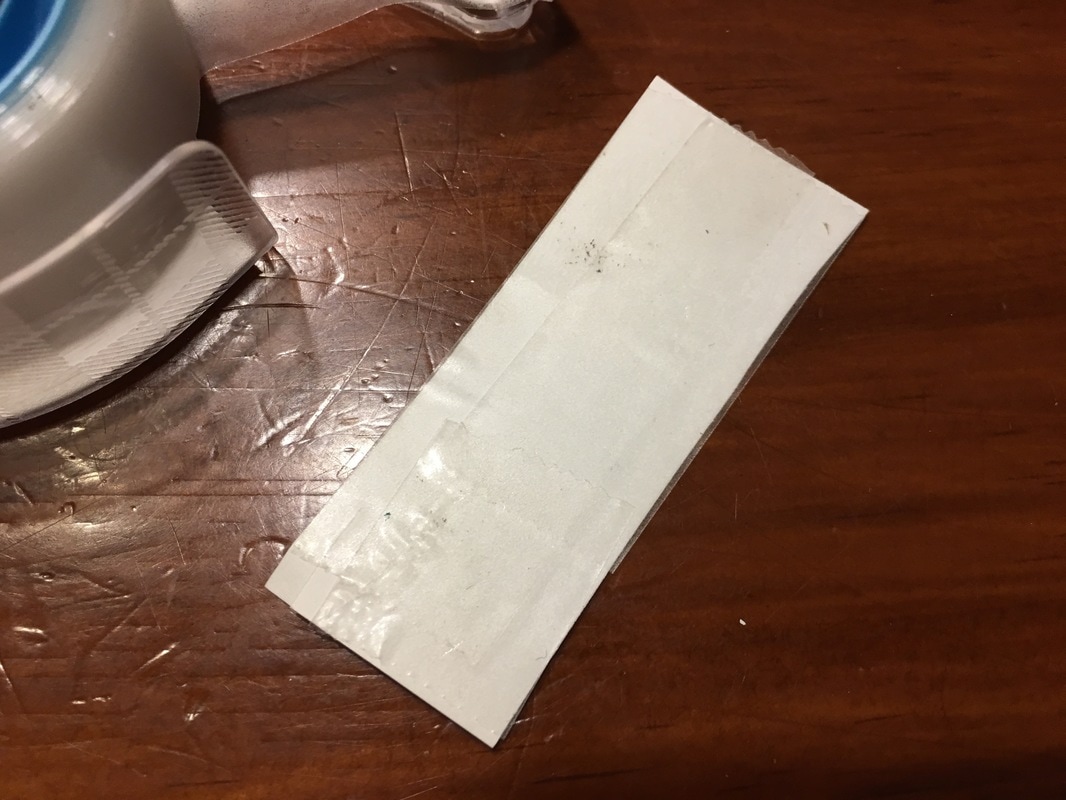
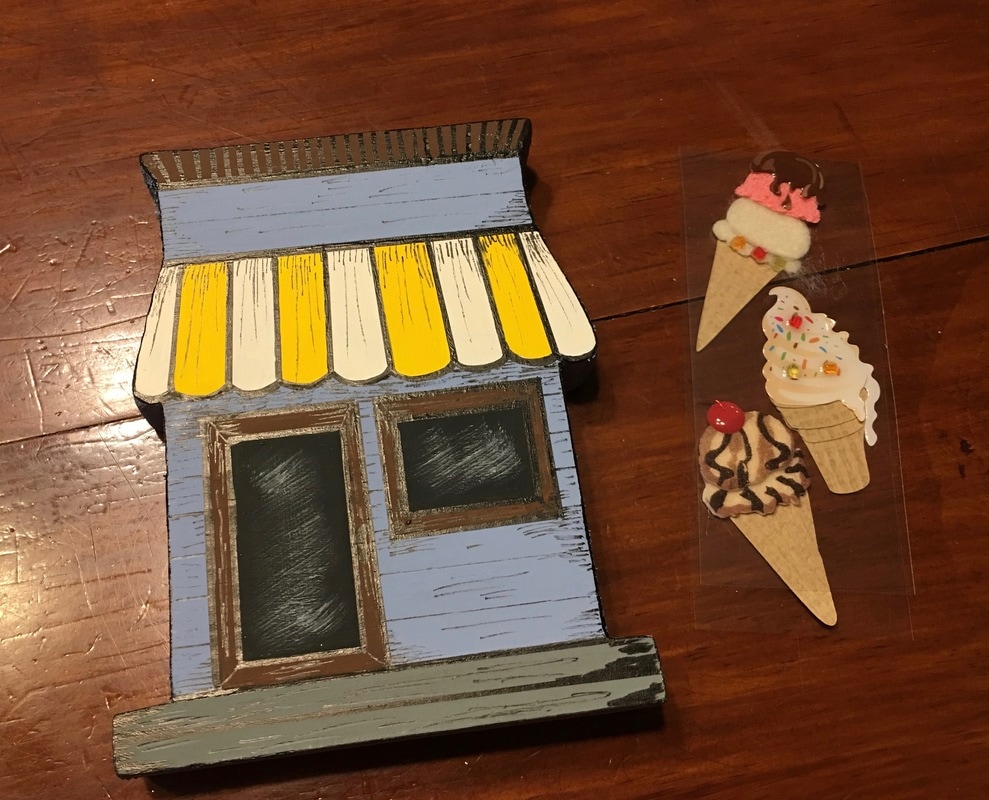
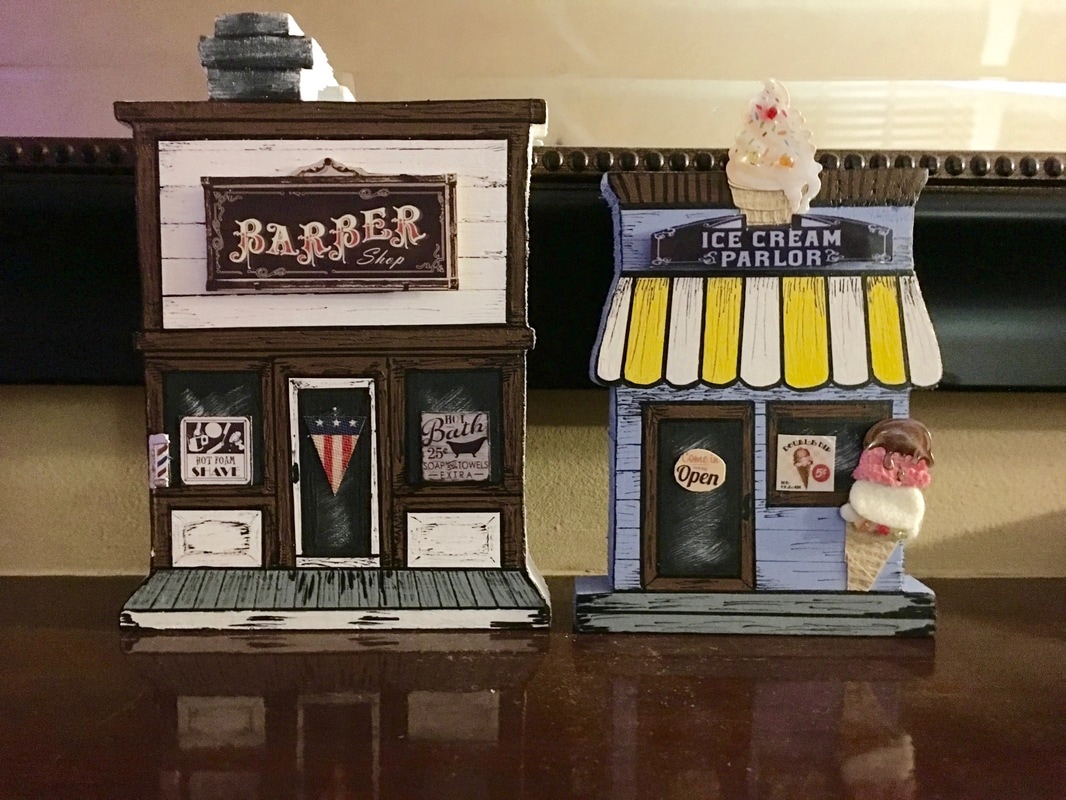
Pictorial HOW TO of
Barber Shop & Ice Cream Parlor:
Here's a slide show of all the building window toppers I have made for my mom to date:
Thanks for visiting!
Please follow us on social medial: Pinterest, Facebook, Google+ and or Instagram! Sincerely,
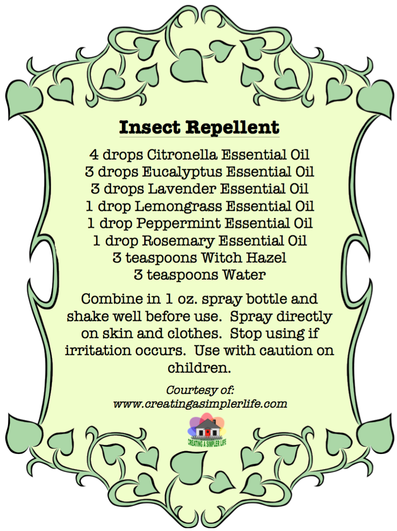
This simple blend is perfect for your purse, the car, or as a favor at an outdoor party!
It's that time of year again when the little buggers come out to attack! Here is a more natural alternative to many of the store bought repellents. If you're not sure what essential oils are, they are basically natural oils usually made by distillation of specific parts of a plant (bark, leaves, stems, etc.). The resulting oil will have the fragrance and the useful properties of the plant it was extracted from. Essential oils should not be taken internally. When applied to the skin they should generally be diluted. The recipe shown will make approximately 1 ounce at a 3% dilution. Aside from the essential oils and witch hazel, you will also need a mini funnel and a one ounce amber colored glass spray bottle (affiliate link) to make this simple recipe.
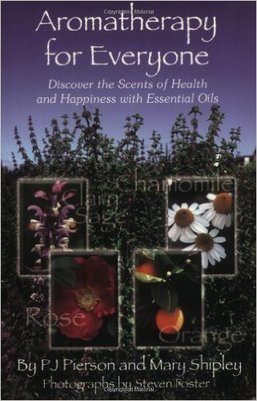
Here is one of my favorite "go to" books about aromatherapy (affiliate link):
Please note that essential oils for home health DO NOT replace a doctor or modern day medicine. However, some can definitely be used to supplement, or, in the case of minor medical issues, be used instead of pharmaceuticals.
Always use common sense and seek the advice of a medical professional before making any major medical decisions. Thanks for visiting! Check our our other Essential Oil Remedies & Recipes and our Essential Oils Etc. Pinterest Board for other great uses! Sincerely,
|

Hi there! I'm Kathie, the author behind Creating A Simpler Life blog. I'm excited to share our longterm projects (and planning) toward building our future retirement homestead in the Adirondack Mountains of New York. In the meantime I will be sharing all the other little things we do that are part of creating our simpler life!
Categories
All
Archives
July 2020
|


 RSS Feed