Blog
A little bit of anything and everything that's part of
creating, enjoying, and living a simpler life!
creating, enjoying, and living a simpler life!

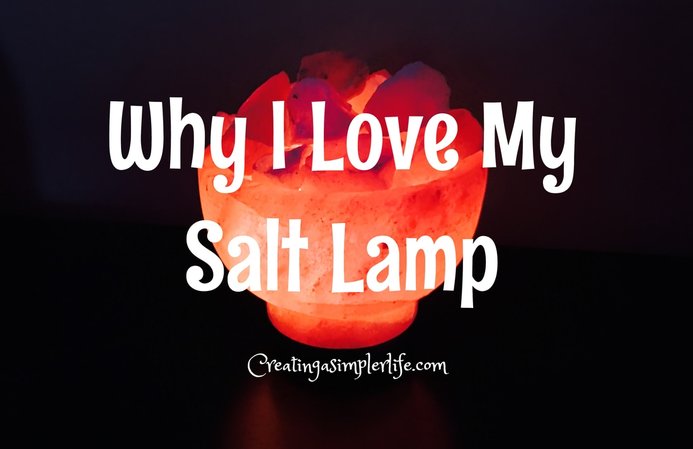
One of my favorite Christmas gifts this year was my salt lamp. It's a gift that will literally keep on giving all year long! Yeah, I know that sounds corny but it's so true.
Here's why I love my salt lamp:
There may not be a lot of scientifically backed evidence that salt lamps actually clean the air or provide enough negative ions to make a difference, but I still think they are worth it!
Why? Because there is scientific proof that negative ions are beneficial to us. We also know for a fact that salt absorbs moisture, so if the lamp does even a little of these beneficial things, why not have one? Especially because the smaller the home and/or room the lamp is in, the greater it's potential beneficial effect! Common sense. So simple. Oh yeah, and the simple warm glow of the lamp makes me feel better!
Get a salt lamp today and see if it makes you feel better!
If you already have one, I would love to hear what your thoughts are :-) Sincerely,
Sources:
http://www.projectwellnessnow.com/can-himalayan-lamps-make-you-healthier/ http://www.criticalcactus.com/himalayan-pink-salt-lamp-health-benefits/
0 Comments
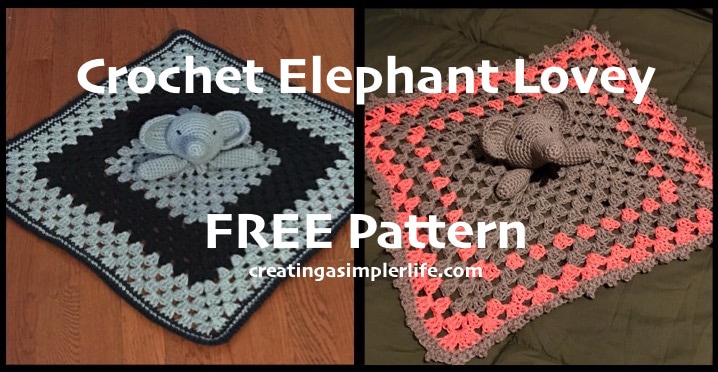
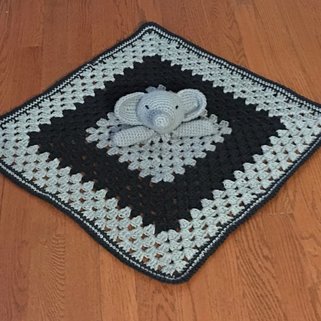
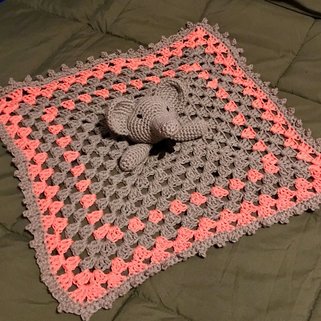
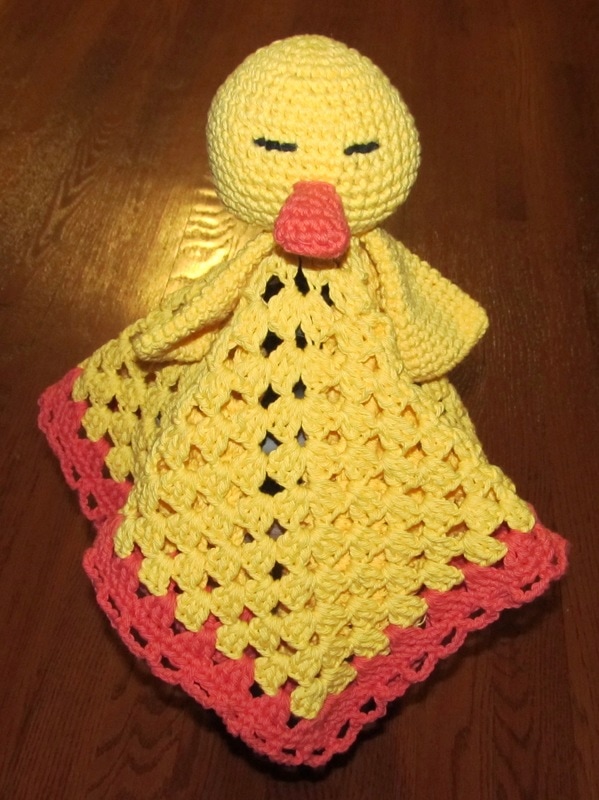
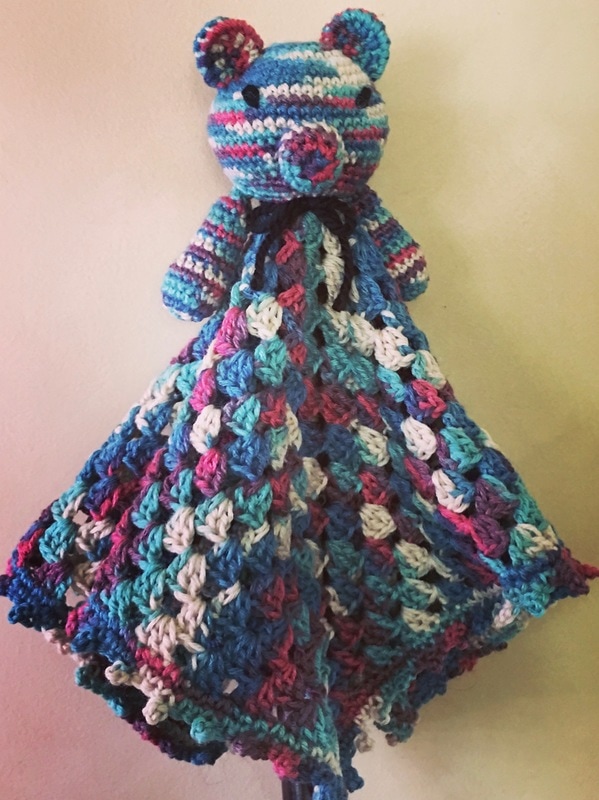
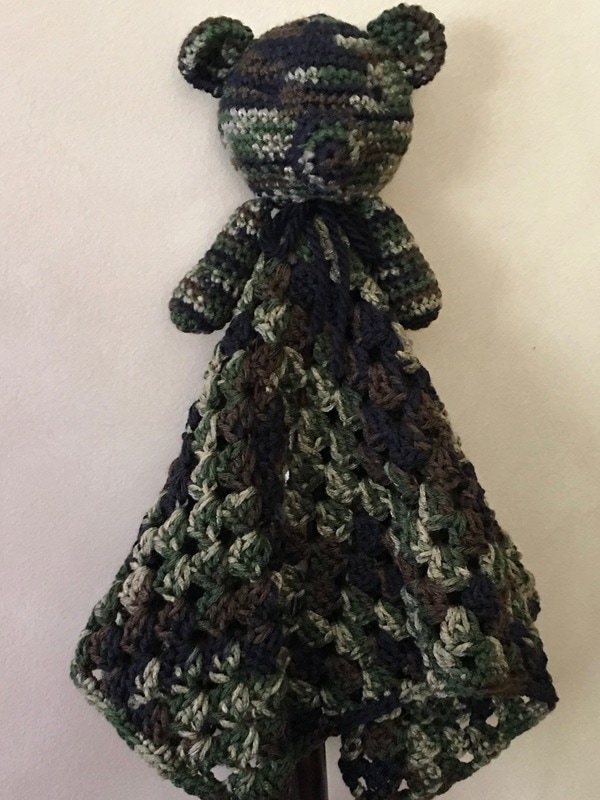
We have previously shared our FREE Elephant Lovey pattern and it has been one of our most pinned pins on Pinterest! We continue to use the same basic pattern but we are sharing it again because we have changed up the blanket a little! T's the same ole' head, ears, and arms, with two new and different blanket options! I don't know which one I love more!
Supplies Needed:
*Best price I can find for the Sugar'n Cream yarn is $1.99 for a 2.5 oz skein at Michaels Craft Stores. Even better if you print out and use their coupons each week - I print two coupons and bring my husband (They almost always have a 40% or 50% off one regular priced item!). 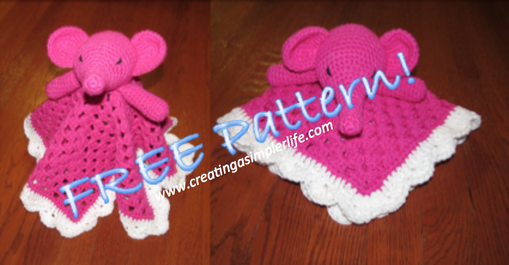
Picture of our Original elephant Lovey is a link to the FREE pattern!
Make the Head and Nose:
(I strongly suggest reading all the directions first and then watching the video tutorial if this is your first time making a ball shape). YOU WILL BE MAKING THE NOSE FIRST:
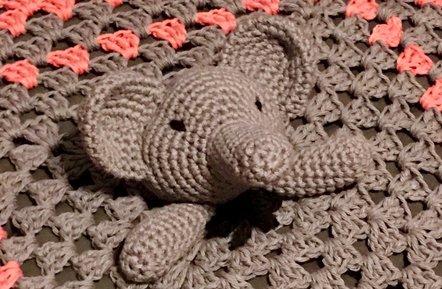
Make the Ears:
The ears are worked from the outside of the ear toward the head in sort of a double layer that will be sewn together at the end....look at the picture to get a better idea if you do not understand. If you still need help check out the Elephant Ear Crochet Tutorial Video I made on You Tube. It's not the best but hopefully it will help!
This was my first time making a crochet video so it's not the best but I tried!
Sew on Eyes:
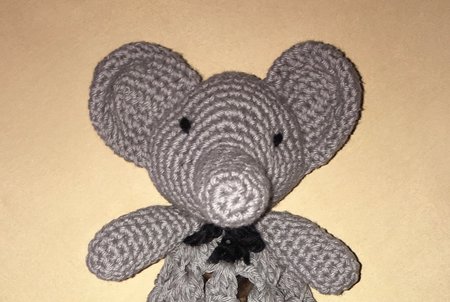
Make the Arms (optional):
Make the Blanket:
This is a basic granny square blanket. If my directions are confusing, check out this granny square video tutorial. The final blanket is approximately 18" x 18".
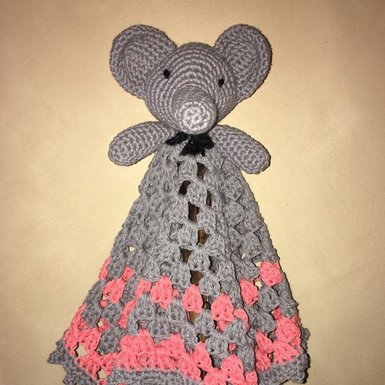
Adorable!
Finishing:
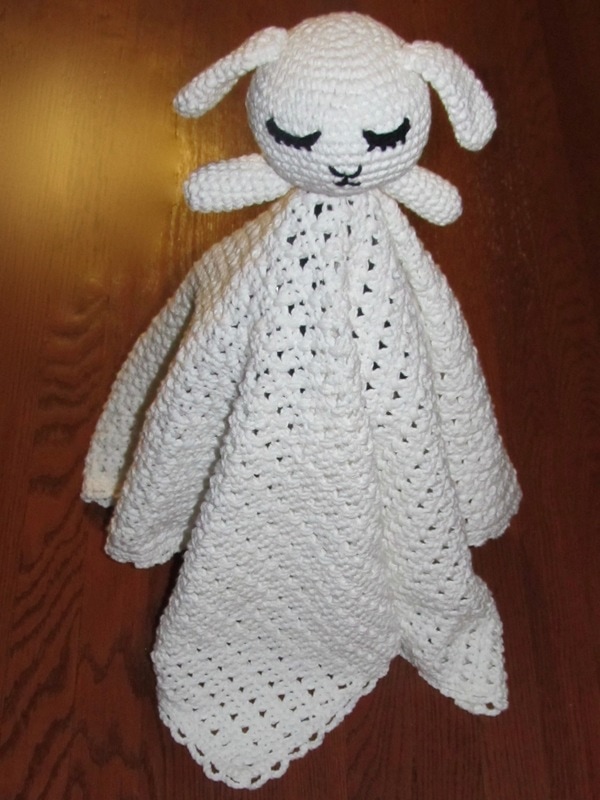
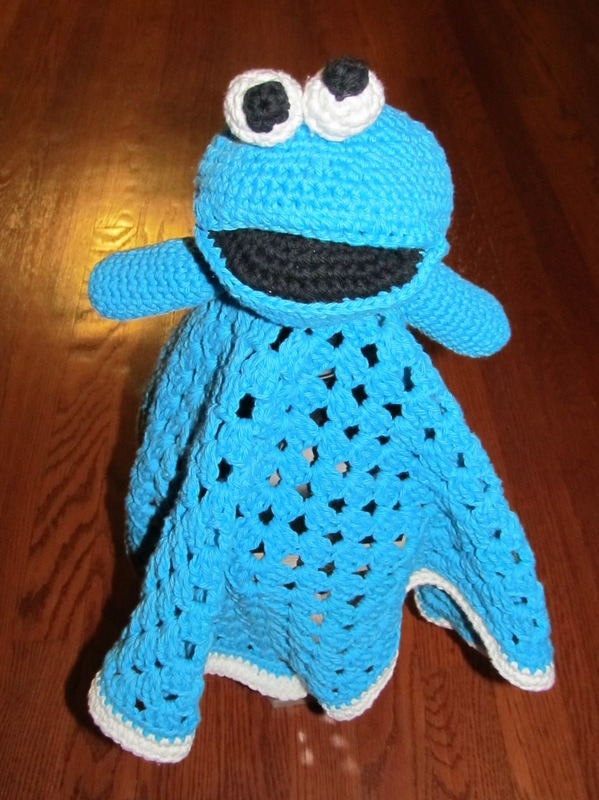
More FREE Lovey Blanket Patterns!
Click on each picture - they are links to patterns :-)
Check out the our other FREE crochet patterns here!
Also check out the many crochet project patterns on our Pinterest Boards Crochet ONLY and Crochet for the Kids! Thanks for visiting! Sincerely,
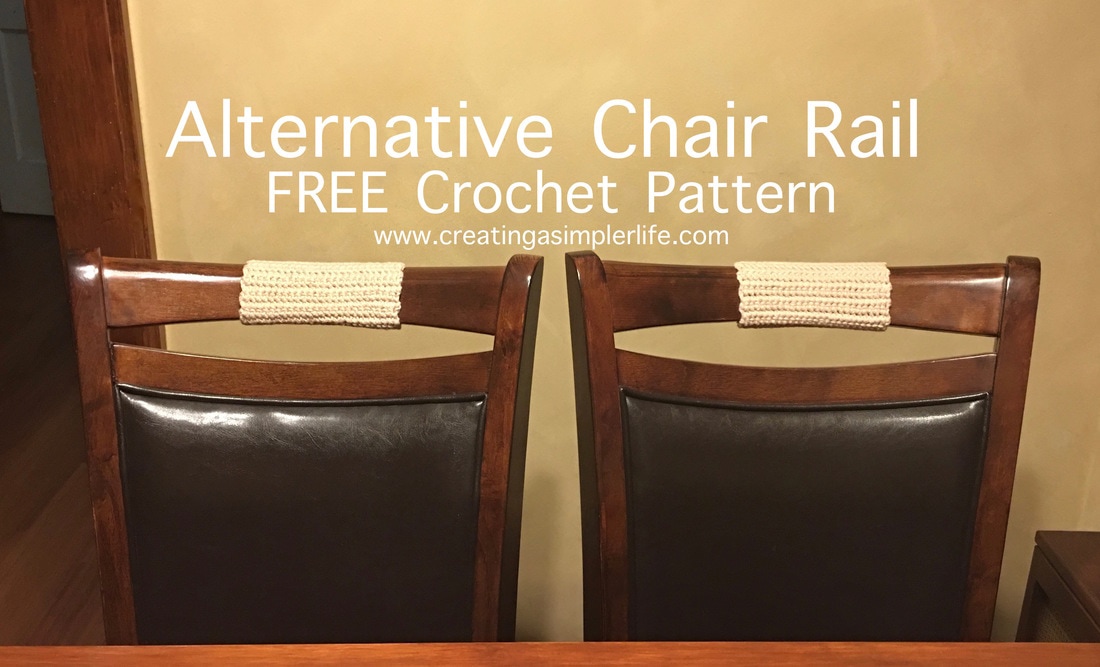
Our new chairs were ruining the walls behind them. We have a very small eating area and it was inevitable that the chairs would hit the walls no matter how careful we were. Since it is such a small and awkward area we knew it would take some effort and expense to actually put up nice matching wood chair rails so we needed something else that would work almost as good in the mean time. Hence my crochet chair rail alternative!
It is simply a crochet piece that is sewn directly onto the upper part of the chair back. Of course this won't work for all chairs, there has to be a way to secure it. For my chairs pictured I simply used the same yarn with a needle and sewed them right onto the chair. Super simple and they are working out great! Goal of protecting walls achieved :-)
Supplies:
Directions:
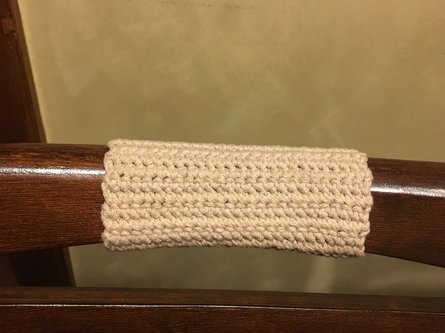
Close up view!
Super simple and serves it's purpose well.
I also really like the way they look! Please follow us on social media! Sincerely,
|

Hi there! I'm Kathie, the author behind Creating A Simpler Life blog. I'm excited to share our longterm projects (and planning) toward building our future retirement homestead in the Adirondack Mountains of New York. In the meantime I will be sharing all the other little things we do that are part of creating our simpler life!
Categories
All
Archives
July 2020
|


 RSS Feed