|
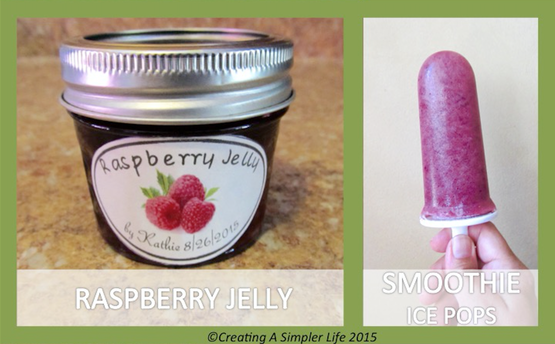
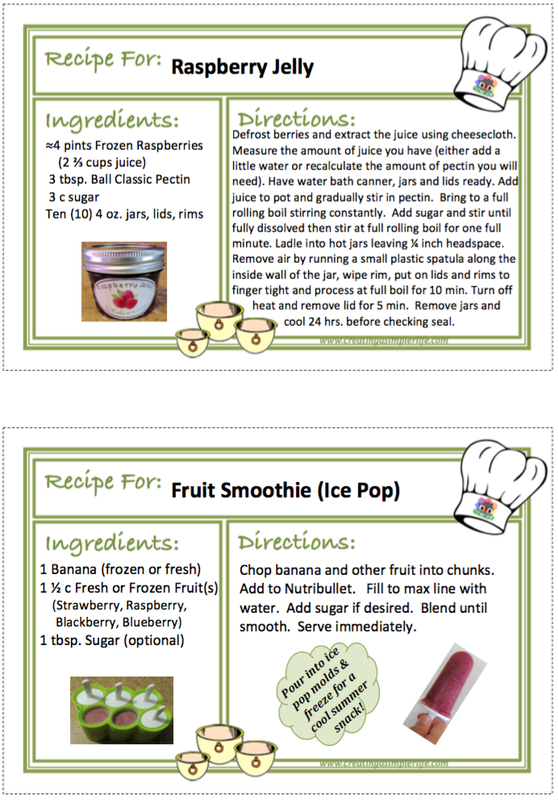
As promised here are two new recipes using my very own homegrown raspberries! Of course you can make the jelly and the smoothie/smoothie ice pops using any fruit, but raspberries are my favorite since I don't have to buy them! As with all the recipes I share, you can use the button below to download the pdf file below and print one sheet of 8 1/2 x 11 cardstock paper. You can then cut out each of the 4 x 6 inch recipe cards. They always come two per sheet. Visit my Recipes Page to print out previous recipes (pdf files) or to download a FREE 4 x 6 Recipe Card Template (.dox file) for your own recipes! Enjoy!
Check out my other posts about raspberries:
Please 'like' us on Facebook or join our mailing list so you never miss newly shared recipe cards!
0 Comments
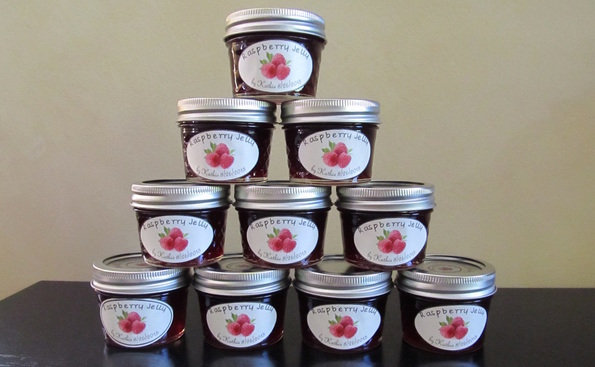
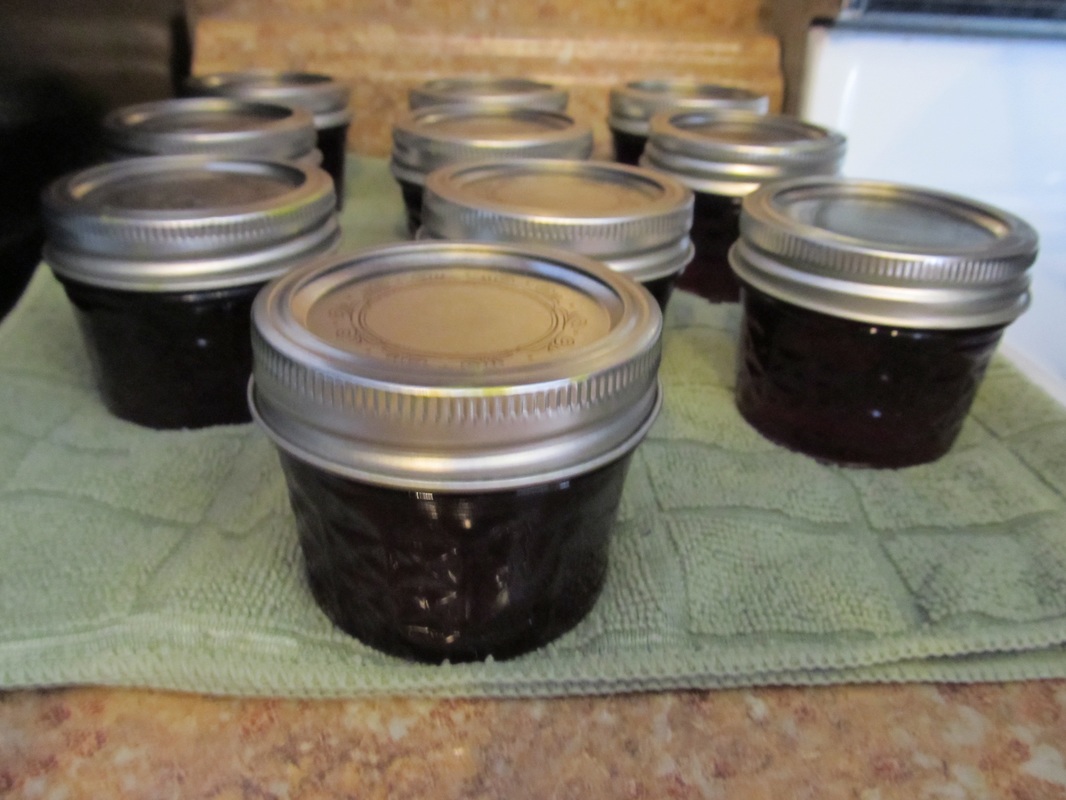
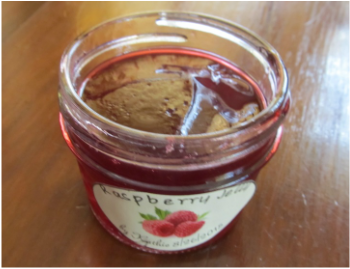
Making homemade jelly is something that has been on my to-do list for so long it is not even funny. Years ago I made an attempt to can pickled cauliflower and it was an epic failure so I was not in any rush to give canning another try. Until now that is, and finally, SUCCESS! I made homemade raspberry jelly using my very own homegrown raspberries (See Grow Your Own Raspberries) that I had stored in the freezer (See Freezing Raspberries) until I was ready. What could be better than that?
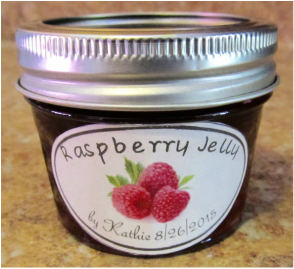
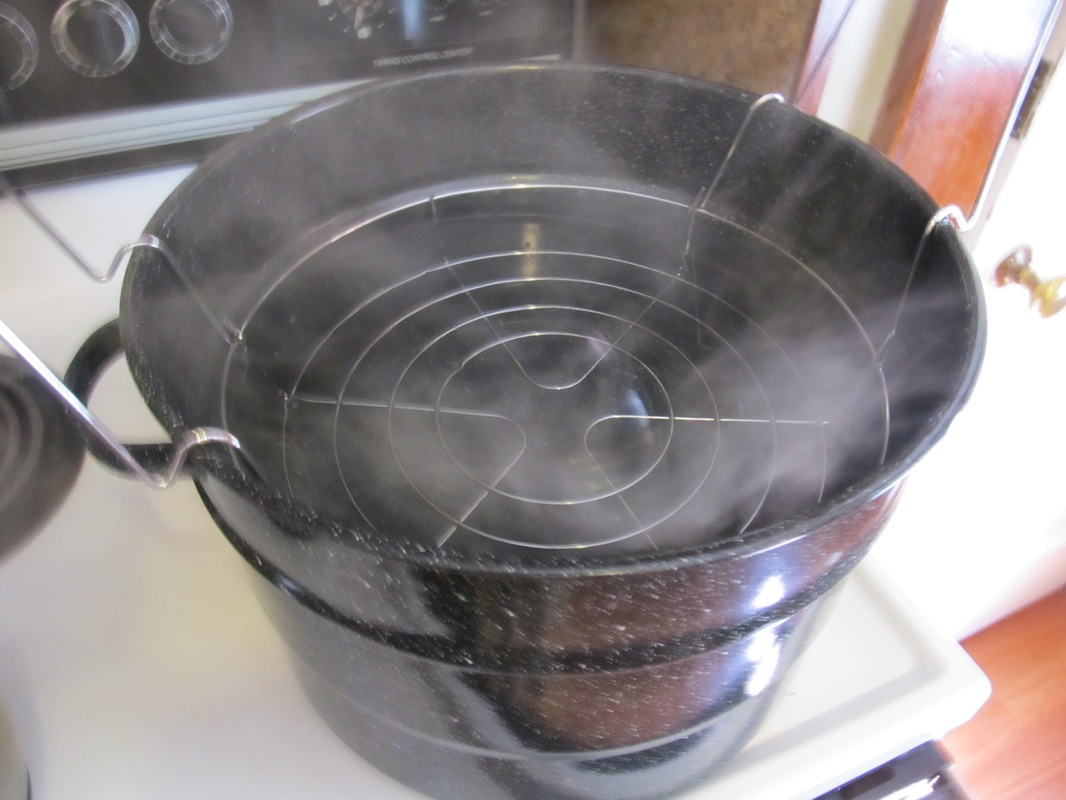
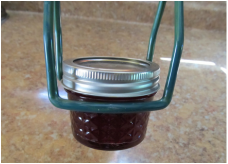
Thank you to Simply Canning for their excellent water bath canning instructions! The information they shared was extremely helpful :-) Check out the FREE Printable Jelly Jar Labels below! Canning Jelly
Jelly not fully set?
Jelly is a little runny (doesn't fully set): Depending upon how 'runny' it is you can choose to do different things. If it's not too runny you can try putting it in the refrigerator and see if this helps it to set. If so, great, nothing else to do. If it doesn't set after that and you are not ok with calling it and using it as a jelly the way it is, you can either use it as a sauce (like for pancakes) or re-process it using more pectin. Just know that there is nothing wrong with it even if it is runny. It is completely edible and will last just as long as 'set' jelly if the seals are good! For other questions, concerns or problems check out the wealth of information available at The National Center For Home Food Preservation.
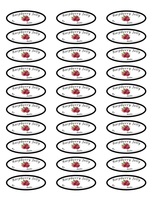
Free 4 ounce Jar Printable labels!
This is a pdf file that is designed to be used with Avery White Address Labels 5160/8160 size 1" x 2 5/8". Print a full sheet of labels, write in your name and the date, and choose to cut it out on the line or not! Click on the picture or button below to download the pdf file. Click here for FREE printable 4 x 6 recipe card! Check out my post Grow Your Own Raspberries! Check out my post Freezing Raspberries!
Please like us on Facebook, follow us on Pinterest and Instagram, and sign up to be on our Mailing List so you never miss a post! Thank you for your support :-)
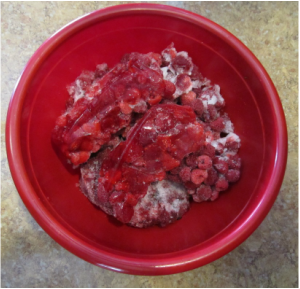
Freezing raspberries is extremely simple. After trial and error I have come up with a simple method that works for me that is based on how I will be using them later on. Method I simply take the raspberries, unwashed, and put them in a snack sized ziplock baggie. I get as much air out of the baggie as possible and seal it tightly. The filled snack baggies are then added to a gallon size freezer ziplock bag and labeled with the year. Why Snack Size Bags? I use snack bags because of the way I will be using them later on. I use the raspberries later for smoothies, sauces, and jellies. The small snack size bag is the perfect amount for making a smoothie (I chop the frozen raspberries up and add them without defrosting). If I need more for a sauce or jelly I simply defrost as many baggies as needed! Each baggie holds about 1/2 pint. Individual Use Raspberries Since I do not use the frozen raspberries for yogurts or cereal etc., there is no need to freeze them individually first and then add them to baggies. That just adds an extra unnecessary step based on how I will use them later on (Remember, I like to keep it simple!). However, if you want the option for using individual berries later on check out How to Freeze Raspberries Whole. These are frozen raspberries in the process of being defrosted to make jelly with. A DIY Raspberry Jelly and Recipe Card will be coming soon! Please remember to like us on Facebook and or sign up for our mailing list! We appreciate your support :-)
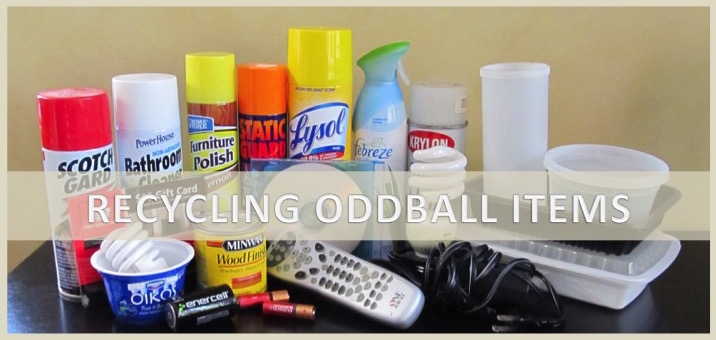
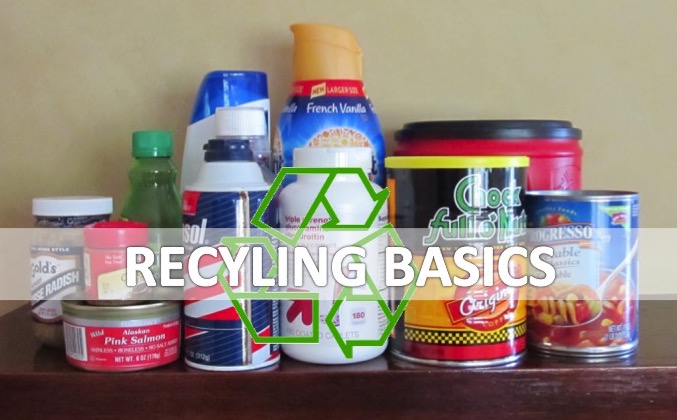
When in doubt, don't just throw it out! Have you ever thrown out any of the items in the picture above? Well, all of those items are either recyclable or residential hazardous waste. Yes, hazardous waste! Bottom line: none of them should be going in the regular garbage or into a landfill. Especially the hazardous waste which can leach out of the landfill and into the groundwater. I certainly don't want any of them in my drinking water! In my last post Recycling Part I - At Home Basics we discussed the basics of recycling aluminum and tin cans, plastics #1 and #2, glass jars and bottles, paper, and corrugated cardboard. Today we will talk about the other garbage, the oddball stuff that also includes hazardous waste. Getting Rid of Garbage Step by Step:
 Hazardous Waste Products Household hazardous waste (HHW) is any household product that contains corrosive, toxic, ignitable, or reactive ingredients. These are items that should NEVER be put in the regular garbage. Town waste facilities provide a means for disposing of most hazardous waste, so you should be able to take all of these there. However there are few things that may be more difficult to recycle and for those I provide some alternatives.
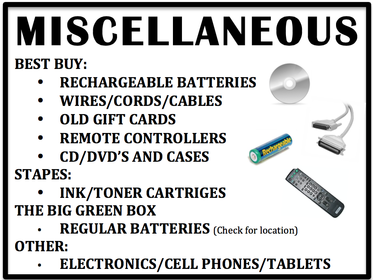
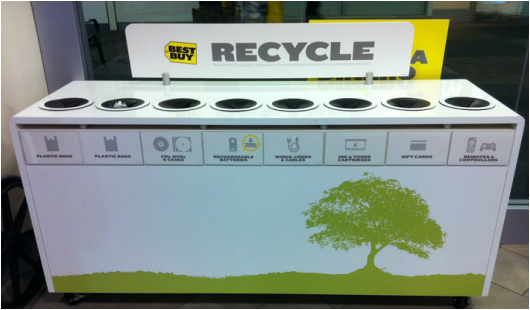
*As stated earlier, local waste facilities usually manage the collection of the hazardous products mentioned above (as well as others). My facility requires proof of residency and that the products are placed in sealed plastic bags. All products must also be in the original labeled container. Whatever is necessary to properly dispose of the hazardous waste is worth it. These items should NEVER be in a landfill that could leach into the groundwater (and ALL landfills will eventually leach). Miscellaneous Recyclables These are items that usually must be recycled in a special way. I simply keep a bin - see the label I use above - in my house and just put these items into it as I go. When I know I am going to be at or near one of the locations I take the items with me to drop off! Simple! Best Buy Recycling Kiosks: The kiosks are right in the front of the store. I love this because it's a one-stop-drop! Simple!
NOTE: If it the item is in working order, wait for Recycling Part III - Selling & Donating! E-Waste Recycling through Best Buy Recycling: Just click on the link, choose your state, and then choose the item you want to recycle. Most items are free to recycle, but there are some exceptions so it is best to check before you go. It's that easy! Here is a partial list of items they will take (they literally take hundreds of items):
They DO NOT take large or small kitchen appliances. Don't Want to Bring Your E-Waste to Best Buy? Then check out the EPA's Donation/Recycle E-Waste to find other locations near you! NOTE: If any products are in working order, wait for Recycling Part III - Selling or Donating!
Are You Part of An Organization? Terracycle collects large amounts of a particular type of waste and gives proceeds to a cause of your choice – example: all Garnier Fructis Beauty Products or squeezable Juice containers. You just arrange to collect it, then mail it to them. Just go the site, select your waste, collect, and send. Simple! Sources: http://www2.epa.gov/recycle http://www.dec.ny.gov/chemical/8817.html http://www.earth911.com http://www.wm.com/enterprise/municipalities/residential-solutions/household-hazardous-waste.jsp Coming Soon: Recycling Part III - Selling and Donating! Please like us on Facebook and sign up for our mailing list!
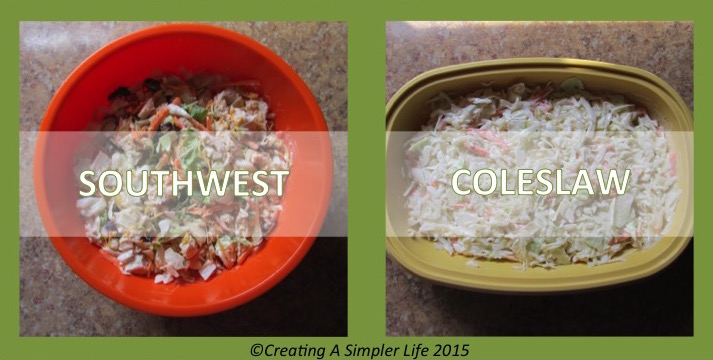
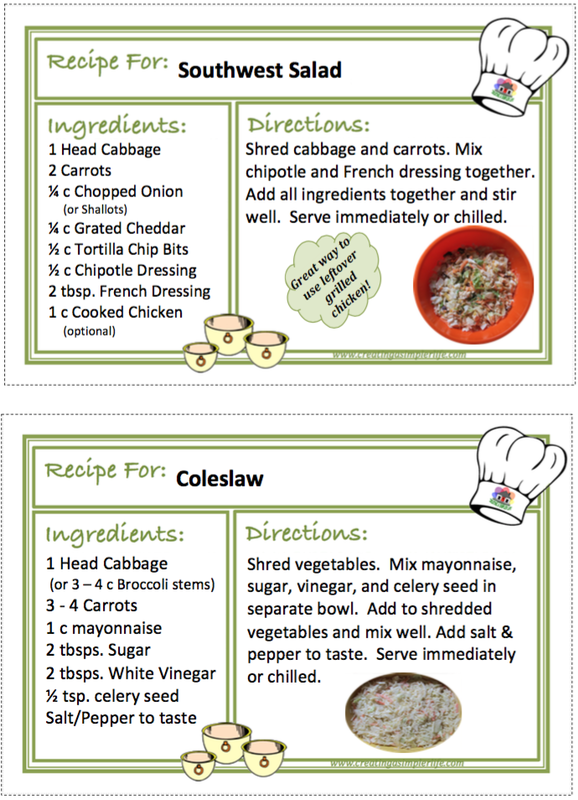
I love salads in the summer and these two are no exception! I know they are simple, but that's the point, remember? The simpler the better in my book! My recipe book I mean :-) As with all the recipe cards I share, feel free to download the pdf file below and print out on 8 1/2 x 11 cardstock paper. They are 4 x 6 inch cards. Visit my Recipes Page to print out previous recipes (pdf files) or to download a FREE 4 x 6 Recipe Card Template (.dox file). Enjoy! Please 'like' us on Facebook or join our mailing list so you never miss newly shared recipe cards!
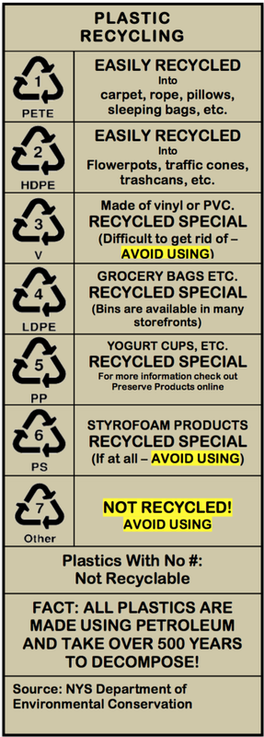
I don't like the chore of recycling, but I am proud to say that I do it. Why? Because I am doing my part to help the environment for myself, for my children, their children and so on. Baloney you say? Actually, no. It's truer than you think. What Does Biodegradable Mean? Biodegradable means that a substance or object is capable of being decomposed by bacteria or other living organisms. Anything made of organic compounds is biodegradable. The problem is how long it takes. Unfortunately, some substances take so long (we are talking hundreds to millions of years) that they could be considered non-biodegradable. What Do I Know? I know there are arguments for why recycling is a waste of time. How it actually costs more money than it saves, etc. Despite all of the arguments (and there are many), what I do know is this:
Some Questions:
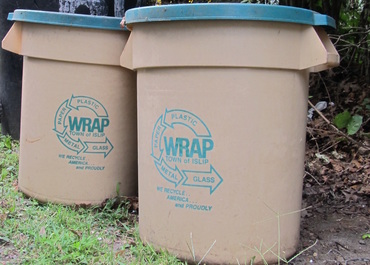
Should You Recycle? YES! Obviously I believe that it is our personal responsibility to get rid of all our garbage in the most responsible way possible and this means recycling, reusing, repurposing, and polluting our environment as little as possible in the process. Side note: It's practically impossible not to pollute. Driving a car, burning fuel to cook and many other things all contribute to polluting the Earth whether you want to or not. The Basics of Recycling at Home: Metal, Plastic, Glass and Paper STEP 1 - Know Your Town's Expectations Where I live we only have to separate into three containers. Metals, plastics, and glass all go into one, paper/corrugated cardboard goes in another, and regular garbage into the third. The bins were provided by my town (thanks to my tax dollars) and they really make it easy for us to recycle. If your town doesn't provide the containers then you need to provide them yourself. You will definitely need to know exactly what they expect as far as sorting goes so you know how many containers to get. If you don't know your town's expectations then either call them directly or google them online! STEP 2 - Know What Can Be Recycled No matter what town you live in the basics of recycling are pretty much the same. At this point in time pretty much every town recycles metal, plastic, glass, and paper/cardboard in some way. However, not all metals, plastics, etc. are created equal. This is why it's important to know exactly what your town accepts and doesn't accept.
STEP 3 - Get Rid Of It! Ours is picked up every Wednesday. The town has a schedule as to which Wednesday is Paper/Cardboard, and which is Metal-Glass-Plastic. This is of course different everywhere. My parents live upstate and they actually have to bring it to the local waste facility (dump) themselves. They have an option to pay for a local service to do this, but either way it is important to know where, when, and how to properly get rid of your recyclables! Remember: you are doing a good thing! Be proud:-) Part II Coming Soon: What about the oddball items?
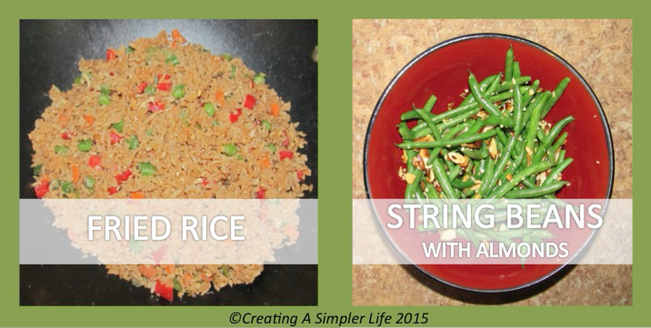
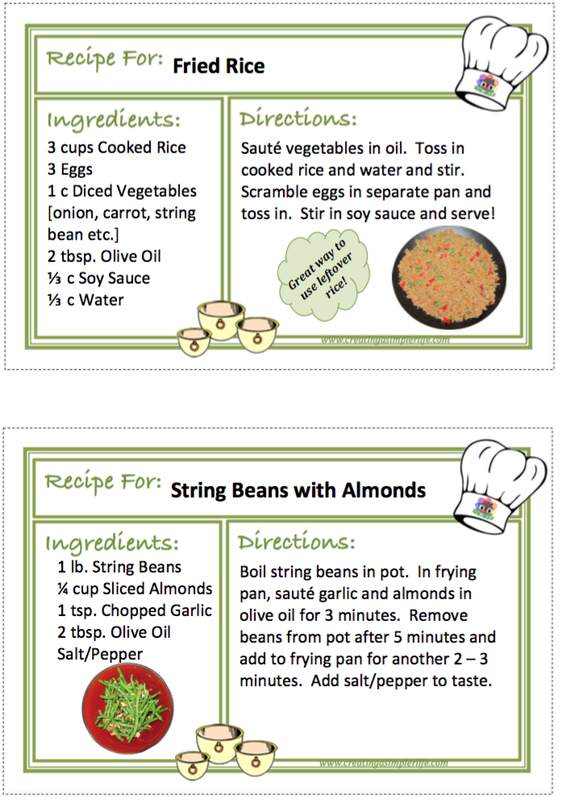
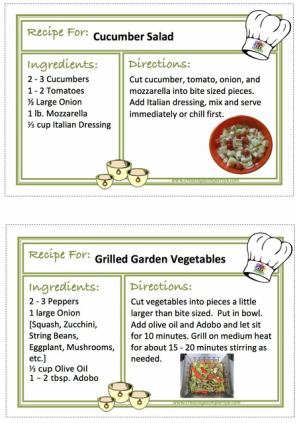
Here are two newly typed recipe cards that I am adding to my recipe book in my quest to organize it. I love any recipe that I can add my fresh garden vegetables to and these two recipes fall into that category because I can use my freshly harvested string beans in both of them! The fried rice recipe is also especially fun because I always make it with the extra rice left over from ordering Chinese food (They always give us so much!) so I am also not wasting food:-) Use the button at the bottom of the page to download a pdf file to print out and keep! Click the button below to download a pdf document of both recipes. I print them out on 8 1/2 x 11 inch white card stock paper and cut them out by hand. The cards are 4 x 6 inches. Check out My Recipe Page for more information, more recipes, and a FREE Recipe Card Template (.dox) you can download and use for your own recipes! Sign up to be on our Mailing List and/or like us on Facebook so you don't miss out on our new posts!
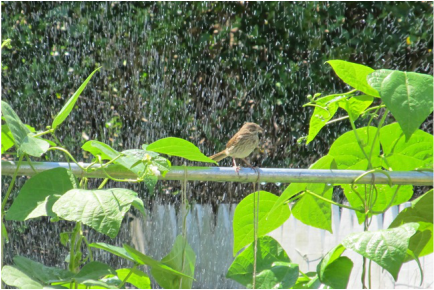
For as long as humans have been planting and growing their own crops they have been battling to keep the birds away. Scarecrows, at one time found in just about every garden, are now more common around Halloween. Why? Well, frankly, they just don't work that well.
Are there alternatives? Classic scarecrows can be built with arms that will move in the wind. This is pretty creative and probably works better as long as there is wind to make them move. Adding sound is also helpful as it can help to scare the birds. This is definitely a step up from the classic 'stick' scarecrow. A newer technological invention is motion activated 'scarecrows.' These do not resemble 'classic' scarecrows at all. Two examples are the automatic sprinkler and an owl with a turning head. I don't know about the sprinkler (birds love when I turn mine on), but the reviews on the owl are pretty good so it's an option. Other options are 'shimmering' reflective ribbons tied to plants or fake snakes. I don't know what is best or if any of them are worth it or not but we just choose to keep it simple. We just anticipate sharing some of our crop with the local birds and if we don't want to share, we just cover those particular plants with netting. Is it worth it to have a scarecrow? Absolutely! I still love having a scarecrow in my garden whether it keeps the birds away or not. It's fun to have and, in my opinion, my garden wouldn't feel complete without it! Make your own scarecrow! Whether it is for Halloween or to keep in your garden, here are three different plans at different levels so you can build your own scarecrow. Enjoy:-)
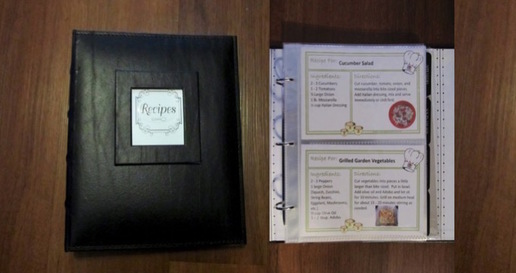
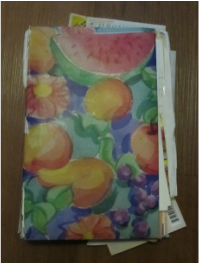
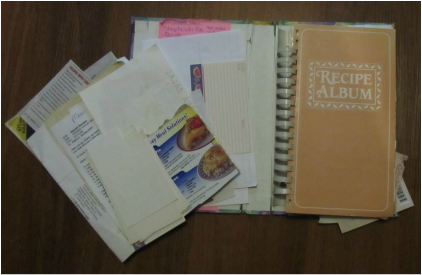
Free 4 x 6 recipe template AND two fresh vegetable recipes below! Cooking is not my favorite thing to do. I don't mind it, but it certainly wouldn't be my first choice of things to do with my free time. Actually it wouldn't even be my second, third, or fourth either! However, it is a necessary 'evil' that must be accomplished for the sake of my family, and well, keeping my own body going. We have to eat to survive, right? I do like to eat, but thats a different subject for another time. Suffice it to say that for now I at least try to keep what I cook as simple and as healthy as possible. My recipe book, however, is anything but simple so I recently decided to redo it. I have had it for about 20 years now and it's a complete disaster. I just kept throwing new recipes into it haphazardly over time to the point where it's completely disorganized and I don't even know what's in there anymore. Of course my favorite recipes don't require 'looking up' but I have been thinking for a while now about making sure they are all written down and organized so that I can share them with my daughter. So that's basically what my recipe page is really about: organizing my recipe book, creating one for my daughter, and of course sharing it all with you in the hopes that you will want to organize your recipe book too! First Things First: A New Recipe Book See that dilapidated old recipe book above? Well, I asked for a new one for my birthday. I did a lot of research on the kind of recipe book I wanted. It needed to be something that I could organize the way I wanted and not the way the company that made the book forced me to. I needed to be able to take the pages out, but also be able to add new ones at will and move them all around as needed. I also wanted to be able to make my own recipe cards on the computer (typed of course) and be able to print them and cut them out myself. I really had a lot of requirements....picky? Yeah, definitely. But I only plan on doing this ONCE! However, I also read online that making a recipe book for someone is a great gift as well so I wanted to be able to save and easily print out all my recipe cards for someone if I decide to make it as a gift. At the top of this post is a picture of the new recipe book I picked out. It meets and exceeds all my expectations! It is a CR Gibson and is available on Amazon. Additional pages can also be purchased (I asked for and got those too!). I specifically like it because of the following:
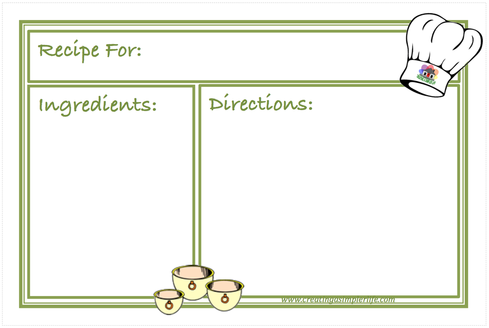
Whether you buy a new recipe book or not, I hope you join me on this journey to getting it organized and/or starting over from scratch! Recipe Card Template There was absolutely no way I was handwriting all of my recipes (Ugh... I couldn't even imagine doing that!). Writing them by hand would also defeat the entire purpose of being able to easily duplicate the cards to make a 'gift' recipe book. So I went online but there were so many recipe card templates to choose from that I didn't even know where to start! I finally just decided to make my own because I wanted the card to be simple, one sided, and not use a lot of ink when I printed it out. This makes it very easy for me to keep a file of all the recipes I type up so that if I want to make the gift recipe book I talked about earlier I can just open the file and print up the cards that are all ready to go! Here is an example of the card:
Typing & Printing the Recipe Cards To use the template, download the MS Word Document and open it. On the card, right click on the black text next to 'Recipe For' and delete or highlight "Type Name Here." Then simply type in the title of your recipe. Do the same for the ingredients and the directions. If you are good with MS Word you can insert a picture as well! After typing the recipes in, simply print the cards. I use white card stock paper because it is heavier like an index card. Then I simply cut out the card on the dotted line (which may be very faint) and slip it into a sleeve in the book!
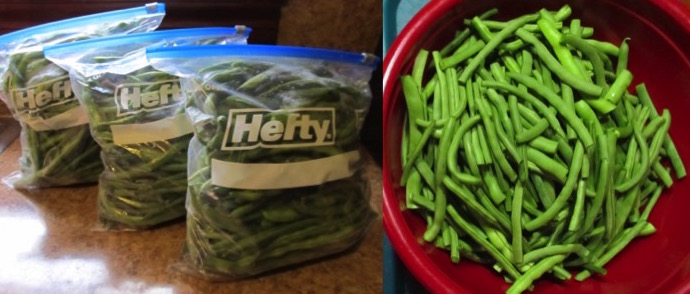
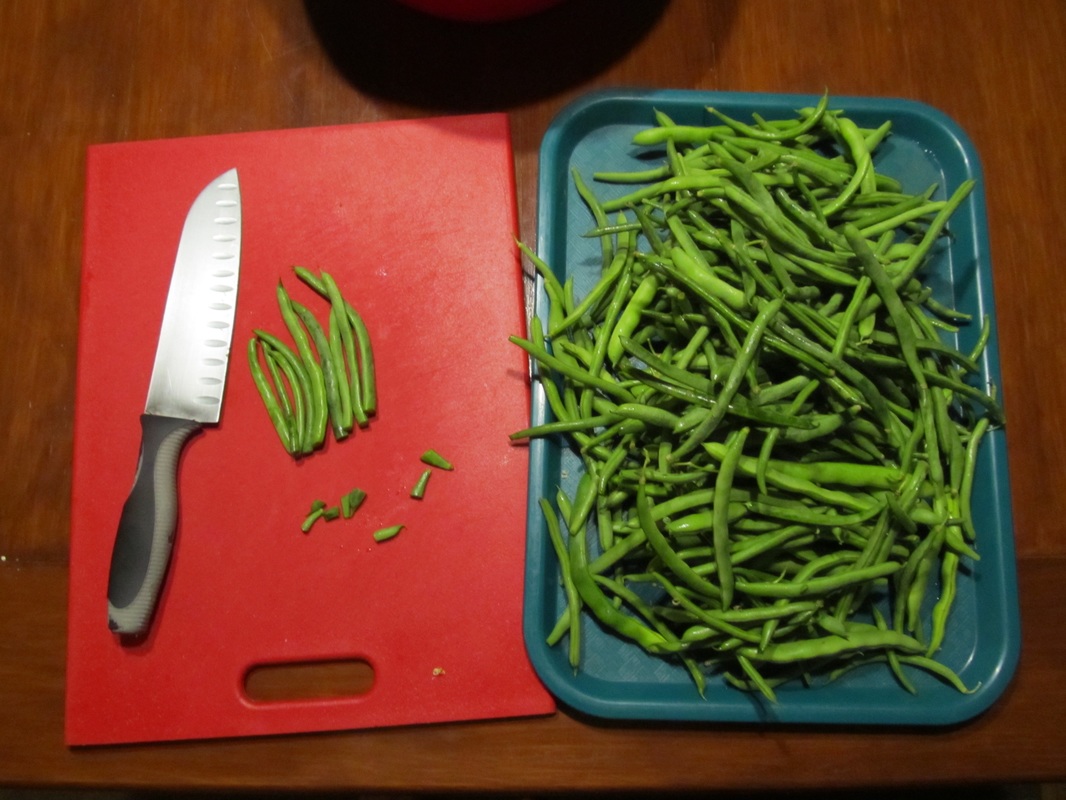
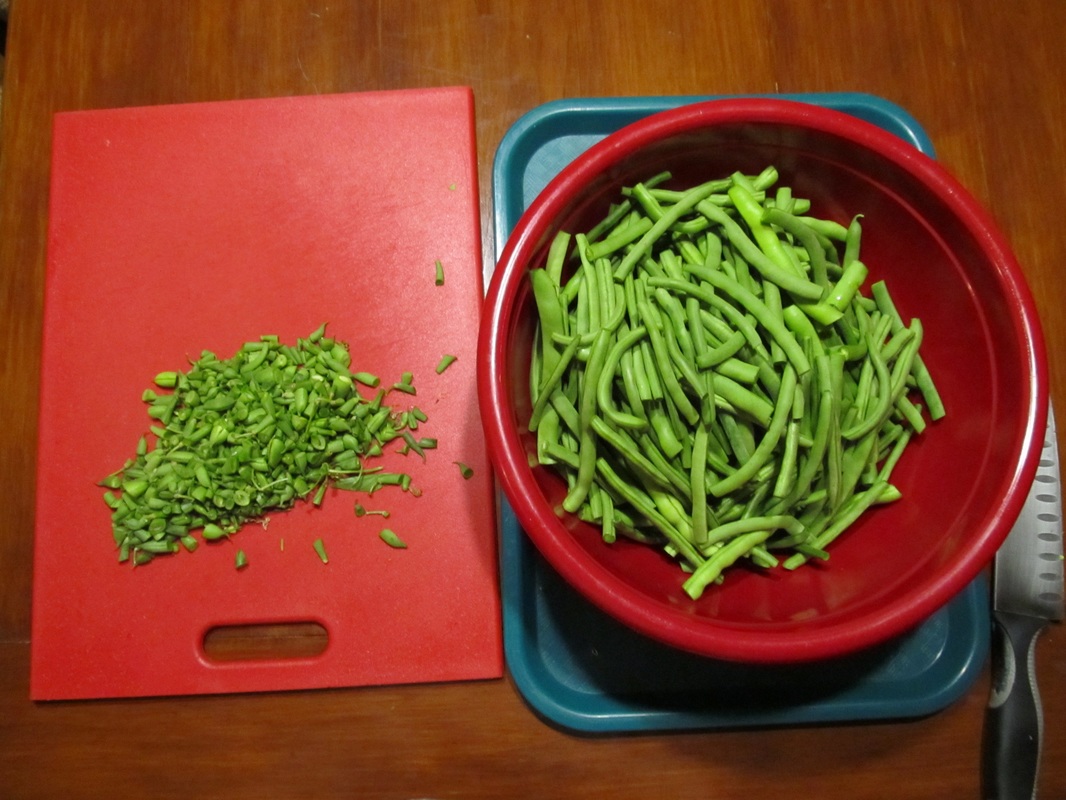
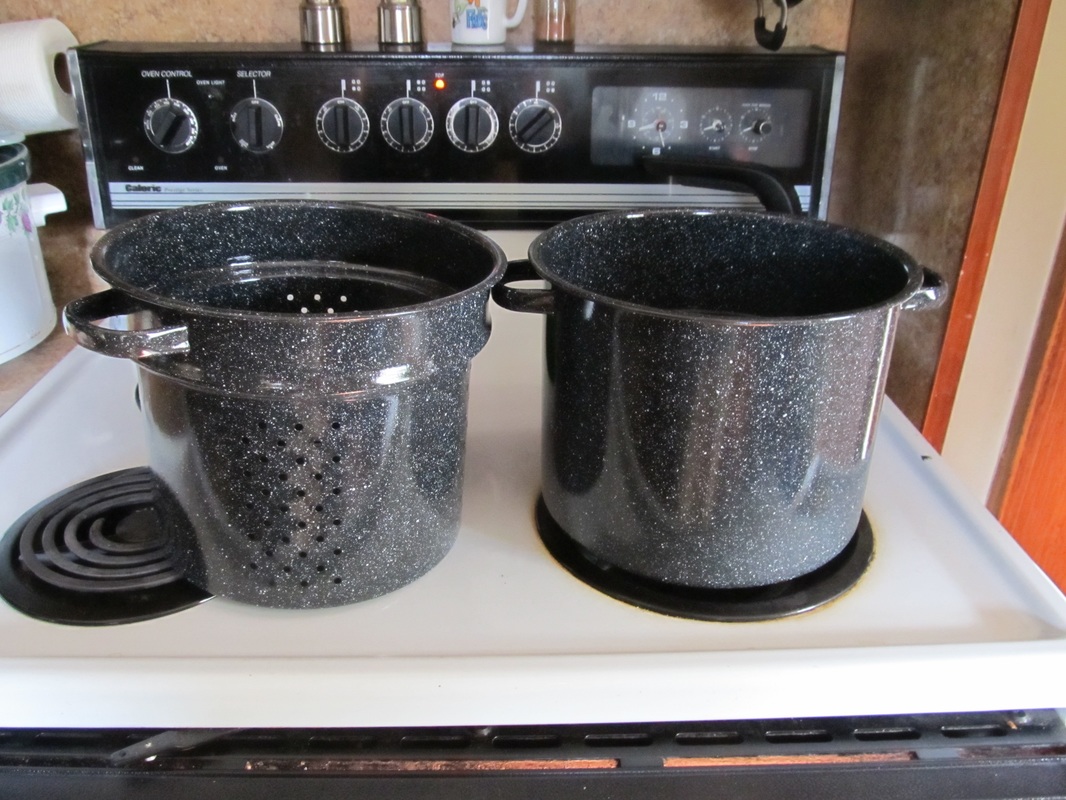
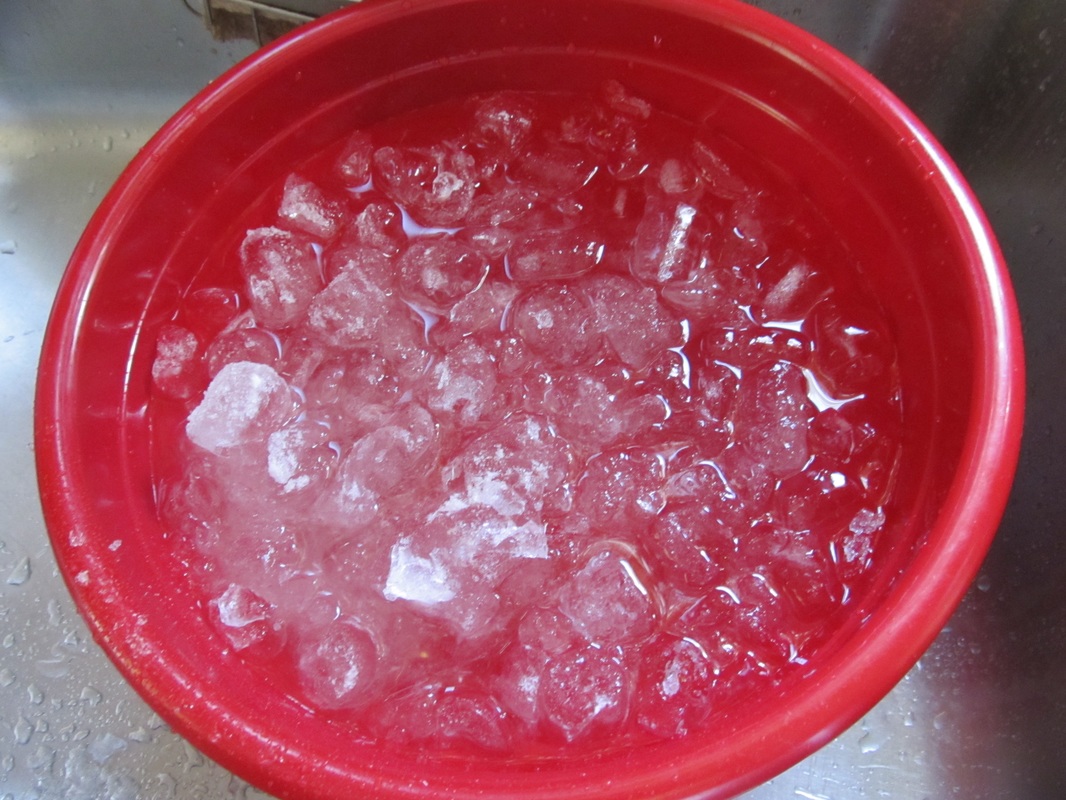
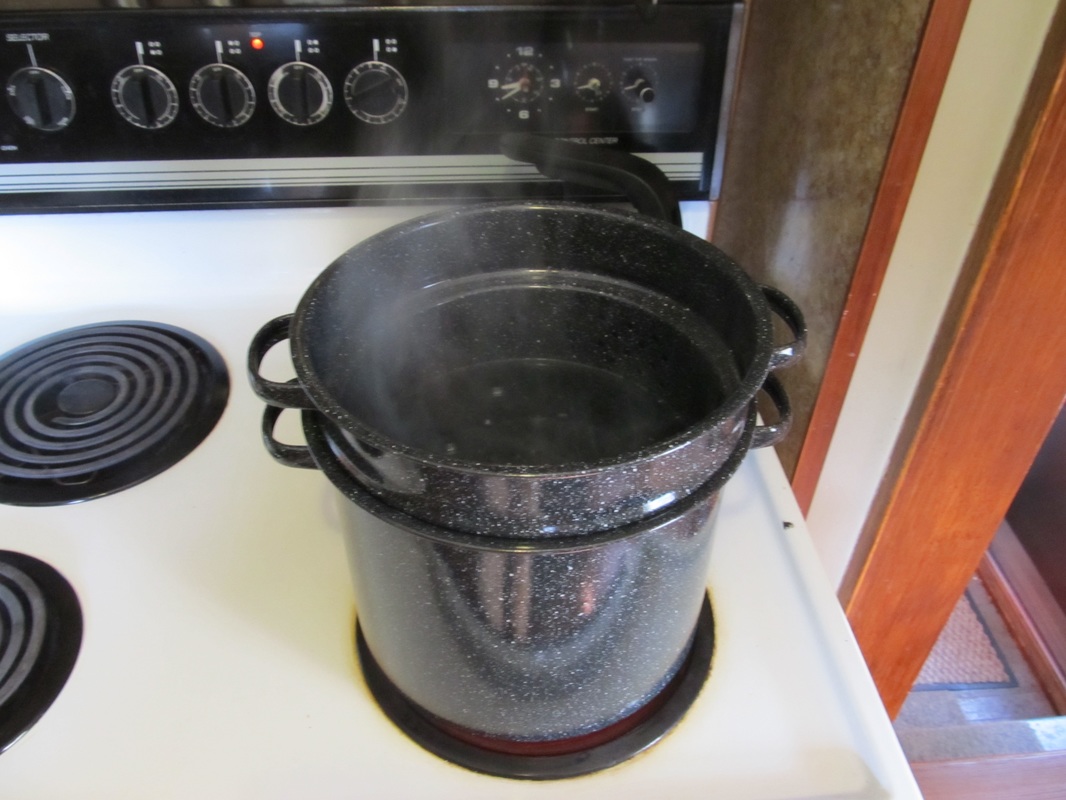
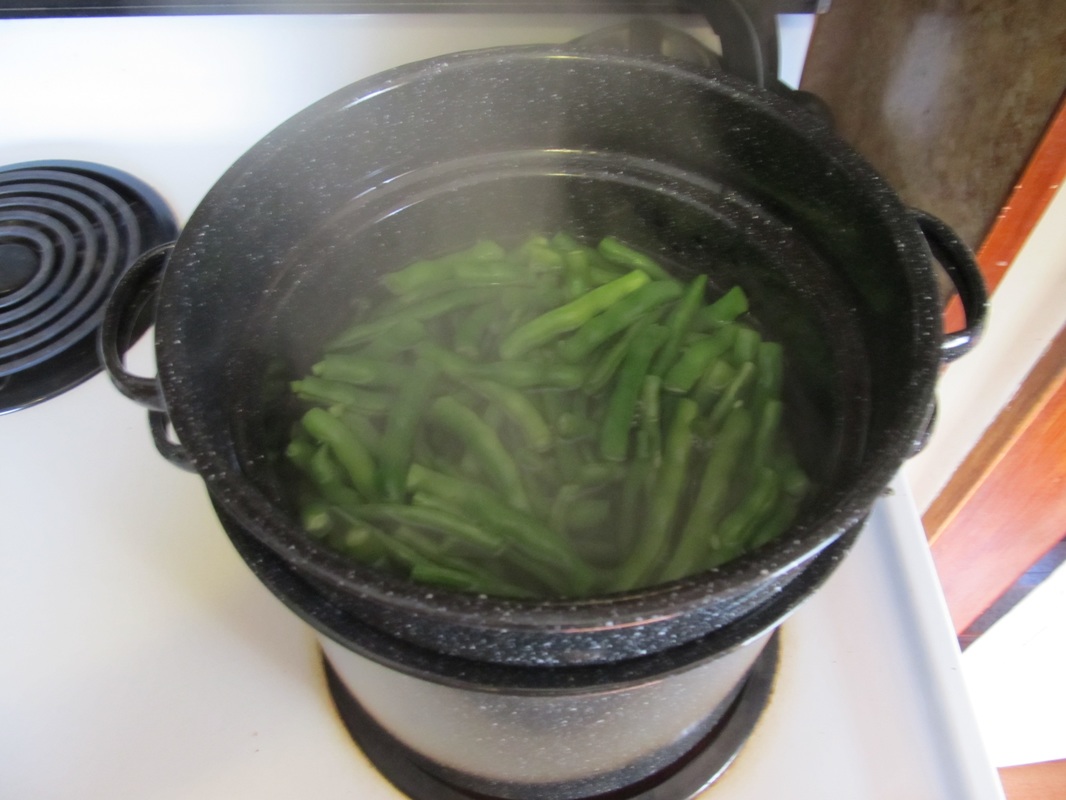
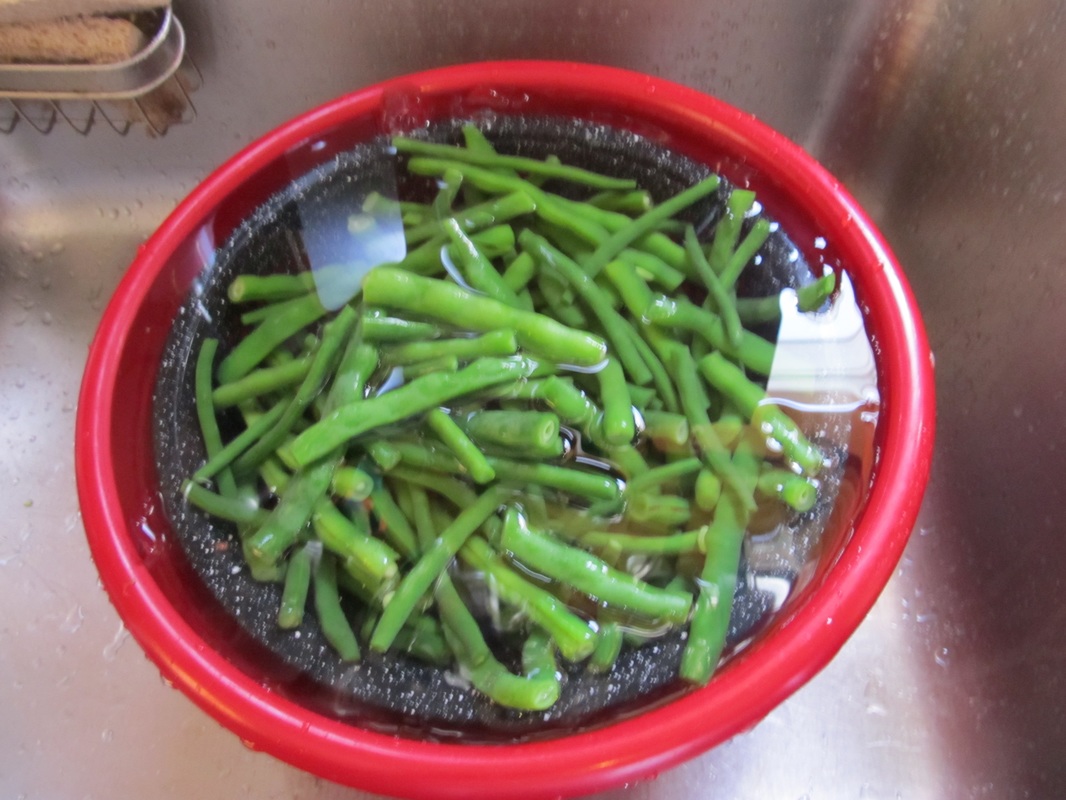
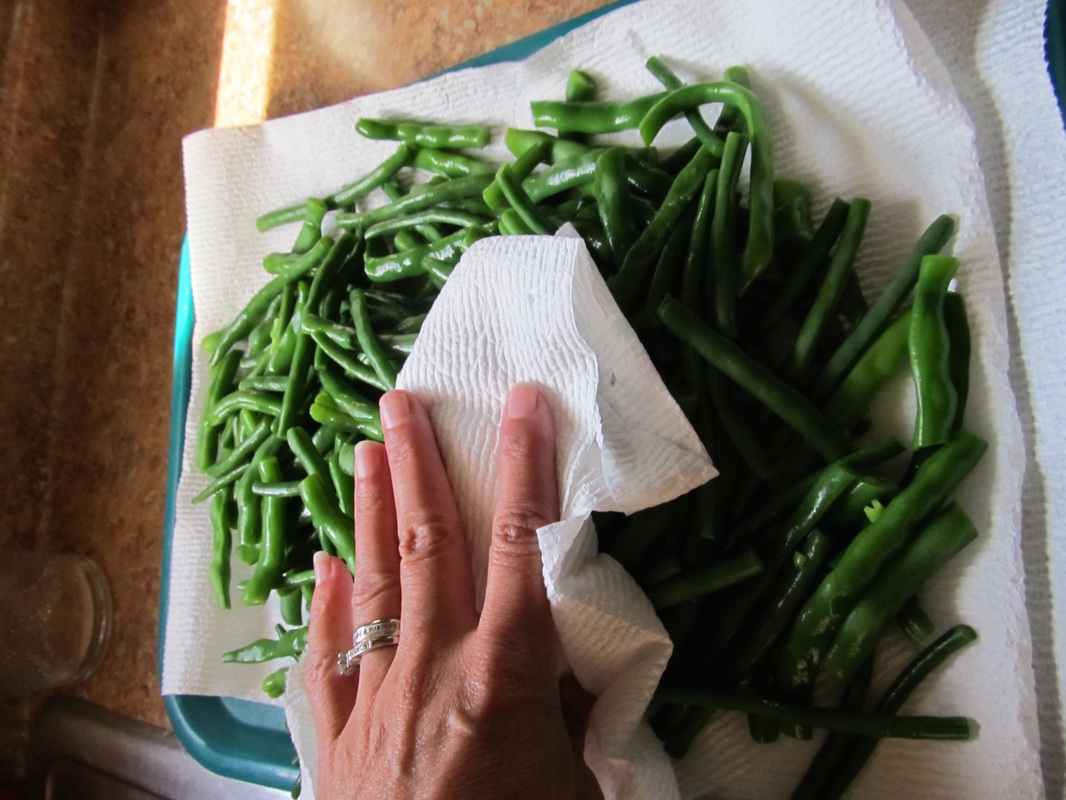
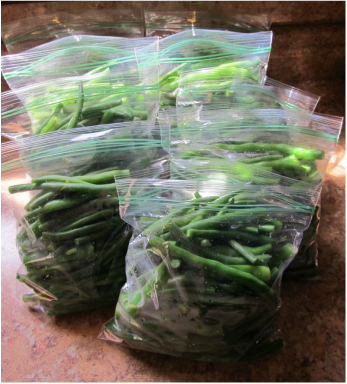
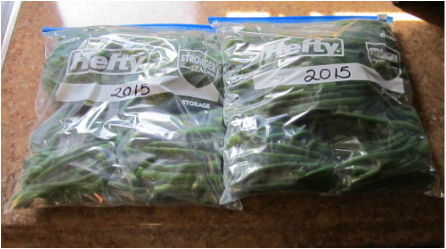
I love eating my own home grown string beans over the winter. The fact that they will taste good months from now is because of how they are prepared and stored. Today I am going to share with you how I prepared and saved 7.73 pounds of string beans in under 2 hours by myself! In my earlier post "It's Not Too Late To Grow Beans" I shared with you how easy string beans are to grow. Those easy string beans are readily producing now and over the last three days I have filled the three gallon bags you see in the photo above (And yes, they really did total 7.73 lbs!). My method of freezing them for the winter is very simple, but believe it or not it took me a few years to get it right! FIRST THINGS FIRST - PREPPING THE BEANS Last night while watching TV with my husband I sat at the table and I prepared all the beans by simply cutting the ends off and putting them back in the bag. At the same time I also pulled out any unwanted leaves and flowers and cut the larger beans in half. When all was said and done the beans weighed 6.94 pounds. This morning it took me about an hour from beginning to end (including clean-up) to finish the beans for freezing. In the end I had 9 sandwich baggies each weighing about .77 lbs (three quarters of a pound). BLANCHING AND FREEZING THE BEANS Supplies:
Procedure:
Some questions you may have:
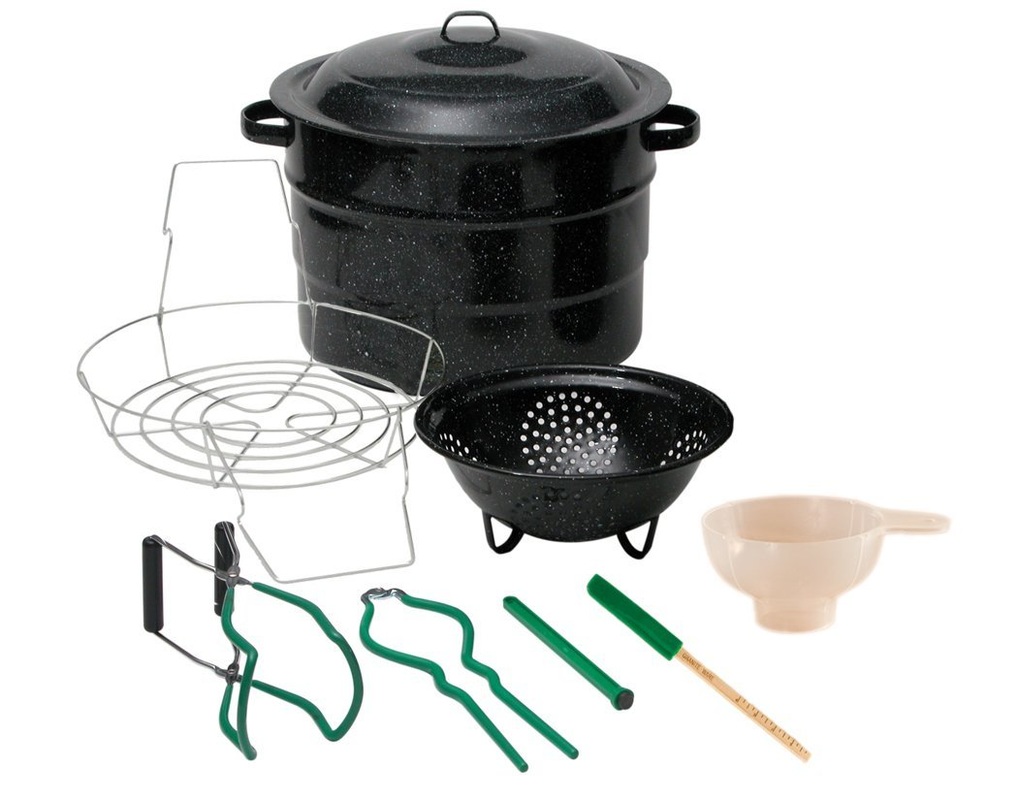
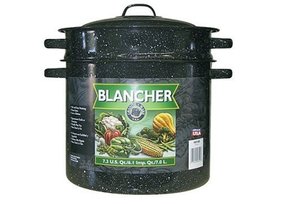
Please let me know if you have any additional questions about freezing string beans! Click on the picture below or the link to check out the Graniteware Blanching Pot I used! (affiliate link)
|
Hi there! I'm Kathie, the author behind Creating A Simpler Life blog. I'm excited to share our longterm projects (and planning) toward building our future retirement homestead in the Adirondack Mountains of New York. In the meantime I will be sharing all the other little things we do that are part of creating our simpler life!
Categories
All
Archives
July 2020
|
||||||||||||||||||||||||||||||||||||||||||||||||||||








 RSS Feed