Blog
A little bit of anything and everything that's part of
creating, enjoying, and living a simpler life!
creating, enjoying, and living a simpler life!

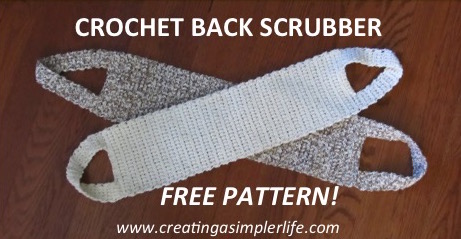 Simple, simple, simple! Takes about an hour to make and is a gentle alternative for washing your back in the shower. Get rid of those awkward, rough, moldy brushes and give this 100% cotton, washable back scrubber a try! Supplies Needed:
Directions: This pattern uses the Front Loop Single Crochet Stitch.
Make handles:
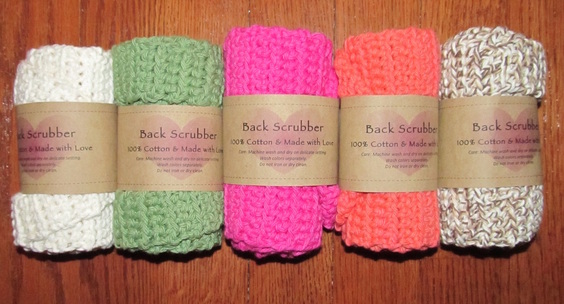 Roll it up, and add a label to make it into a nice gift! Print out the pdf printable label by clicking the button below :-) Thank you for visiting!
25 Comments
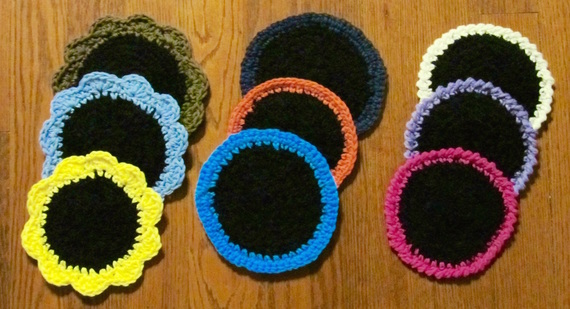
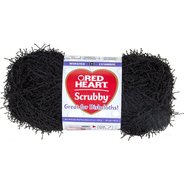
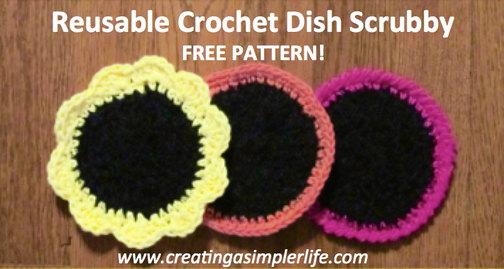 Simple to make and cleans the dishes surprisingly well! They are also reusable because they can be washed over and over again! No more nasty, smelly, scrubby sponges! Pair it up with our 100% Cotton Reusable Dishcloth Pattern! They are made with a special yarn by Red Heart called Scrubby Yarn (affiliate link). The yarn was $3.99 on Amazon, but the shipping was $3.95! I consider that outrageous so went in search of it all over the internet and locally. I could not find it anywhere. If a store sold it, it was out of stock. If I found it online, the shipping was just as bad. After all the searching, I ended up just paying the ridiculous shipping charges on Amazon because I couldn't find what I wanted anywhere else for a better price. NOTE: Mary Maxim makes a 'scrub it' yarn, however it is $6.19 with free shipping and, in my opinion, NOT as good as the scrubby yarn by Red Heart which actually states on the label that it is great for dishcloths! Bottom line, price was ridiculous, but the yarn works wonderfully! HOWEVER - note that I found the yarn difficult and annoying to work with at first...after a little practice I learned to crochet a little looser so that working with it was easier. Hope that hint helps you!
Make the Center: Chain 3 and create loop by connecting with slip stitch. Chain 1 and do 10 single crochets into center of loop and continue around in a spiral increasing the stitches every time around so that it lays flat (example: do two sc in one stitch every 1 stitch around, then do 2 sc every two stitches, etc.). Continue around in a spiral until it is approximately the size that you want (3-4 inches across). When it is big enough, connect to the last stitch using a slip stitch instead of a sc and then end with a slip knot. Don't know how to crochet a flat circle? Check out instructions on How to Make a Flat Circe at Pink Mambo. Optional Borders: 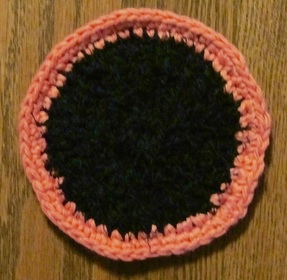 Plain Single Crochet: Simply attach the color of your choice and do 1 or 2 rows of single crochet stitches around (adding stitches as needed to keep it flat).  Scalloped Flower Look: Row 1: Do one single crochet in each stitch around keeping it loose. Slip stitch to connect. Row 2: Chain 1 and do one sc. Skip one stitch and do 5 double crochets in the next stitch. Skip a stitch and do a single crochet, skip a stitch and do 5 double crochets in the next, skip a stitch, and do a sc. Repeat all the way around and slip stitch connect and knot it at the end. If the numbers don't work out perfectly, just supplement as needed (skip two instead of one) etc. REMEMBER, it is just a dish scrubby and will be scrubbing old food off your dishes soon! It doesn't need to be a work of art! 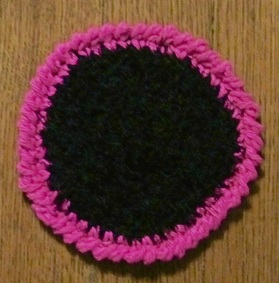 Reverse Single Crochet: This is really a cool look! This is also the first time I had ever tried it. All you do is crochet from left to right instead of right to left. Practice a little before you do it on the piece you are trying to finish! Here is the video I used to learn the stitch....
 Check out our other FREE CROCHET PATTERNS or follow Crochet Only or Crochet for the Kids boards on Pinterest... Thank you for visiting!
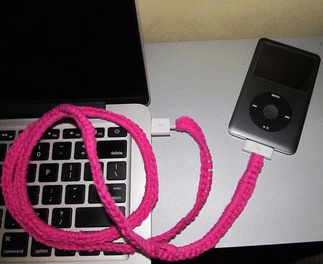
 Have you ever accidentally grabbed the wrong cord and tried to shove it in the port only to realize it's the wrong one? What about the kids or your spouse....have you or they ever argued over whose cord or charger it is? This is very annoying, especially when you know it is yours!I recently solved these problems by simply crocheting all the wires, cords and cables that go to all my personal electronic devices around the house. Now nobody can tell me they're not mine! 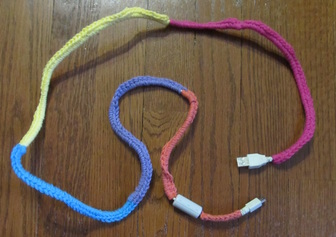 Here are SIX GREAT reasons why crocheting your wires is a good idea:
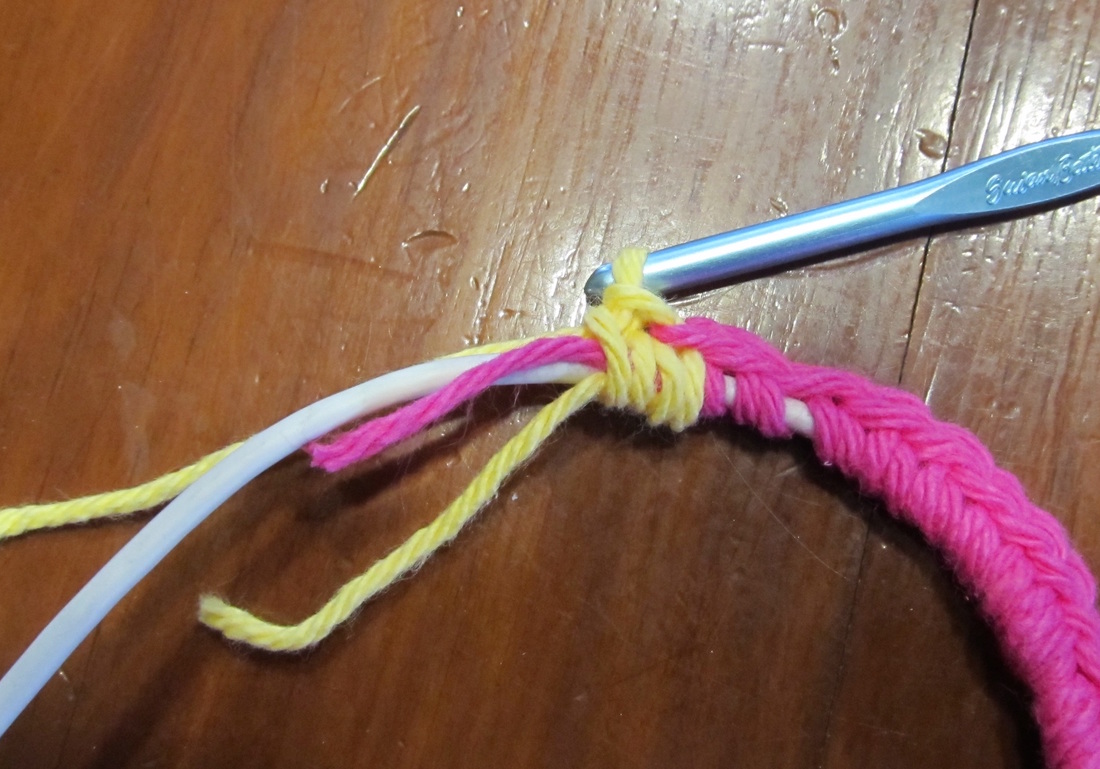
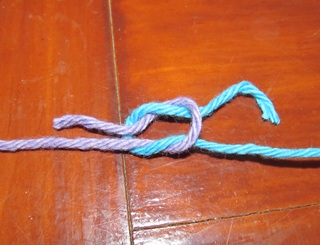
Heres one that's not on the list: It's a great way to use up all those small scraps of yarn left after other projects! How To Crochet Your Wires: Most wires take between 5 and 10 minutes to crochet. It is so quick and easy that I covered two wires as stocking stuffers in the 13 minutes it took to hard boil my eggs for the week! Simply start with a loop and single crochet from one end to the other. Crochet right around the hanging end! If you switch colors, use a square knot to connect and simply crochet around the hanging ends as you go (see pictures below). When you are done just use a yarn needle to weave in the last remaining thread. Snip off any extra thread pieces hanging out and you are done! It's that simple!
What wires can be crocheted?
Thank you for visiting - Please like and follow us :-)
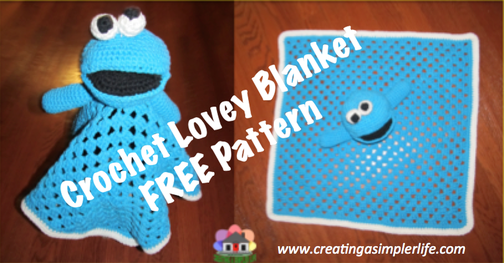 Here is the FREE Pattern I promised! Inspired by the famous Cookie Monster, this adorable 100% cotton lovey blanket is sure to please any little boy or girl! Many of you already know, but for anyone new, please note that I have poor pattern writing skills....for some reason it just never clicked with me. For this reason I supplement with links to video tutorials that can be watched on tube. However, note that the stitches are all pretty basic and if you have crochet skills you should be fine. Please remember to feel free to contact me with any questions!
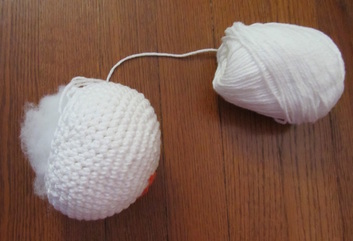
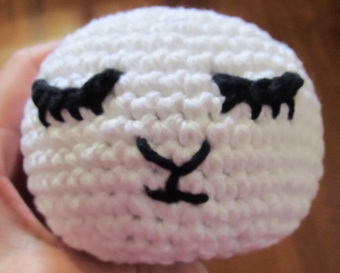
 Make the Head: (I strongly suggest reading all the directions first and then watching the video tutorial if this is your first time making a ball shape).
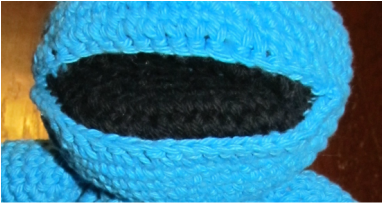
Make the Mouth:
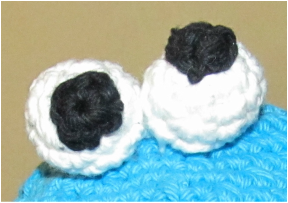
Make the Eyes:
Make the Arms:
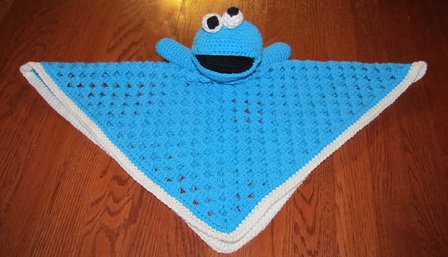 Make the Blanket: This is a basic granny square blanket with16 rows and 3 rows of single crochet around the edge. If my directions are confusing, check out this granny square video tutorial. It is slightly different, but comes out exactly the same! The final blanket is 20" x 20".
Finish the lovey blanket by weaving in all loose ends! Check out the FREE pattern for our Little Lamb Lovey Blanket too! Just click on the picture below to go to the post... 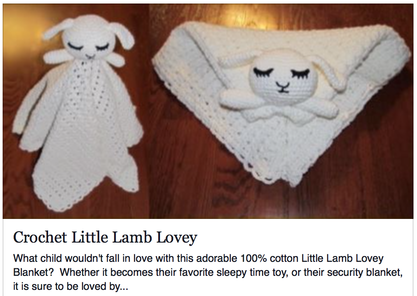 Check out the our other FREE crochet patterns here! Also check out the many crochet project patterns on our Pinterest Boards Crochet ONLY and Crochet for the Kids! Thank you for visiting. Please like and follow us :-)
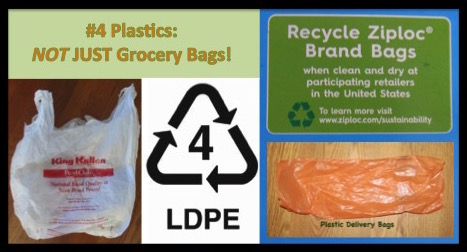 Stuff those grocery bags before you recycle them! They are not the only #4 plastic. There are many other #4's that can be recycled in the same store bin as the grocery bags! What should you be 'stuffing' in those plastic grocery bags before you recycle them in your local store bin? Here's a list of some of them: Make sure they are clean and dry before stuffing them in!
REMEMBER - CHECK THE BAGS TO SEE IF THEY CAN BE RECYCLED BEFORE YOU THROW THEM OUT! Find a location to recycle #4 plastics near you: Plastic Film Recycling NOTE: Best Buy and Rite Aid both have bins at the front of all their stores! Some places offer rewards for recycling: Check out Recycle Bank. SOURCES: http://www.cnn.com/2011/LIVING/04/19/ed.mnn.recycle.plastic/ http://www.mnn.com/lifestyle/recycling/stories/recyclebank-rewards-recyclers http://www.ziploc.com/en/sustainability-and-safety http://www.plasticfilmrecycling.org Thanks for visiting!
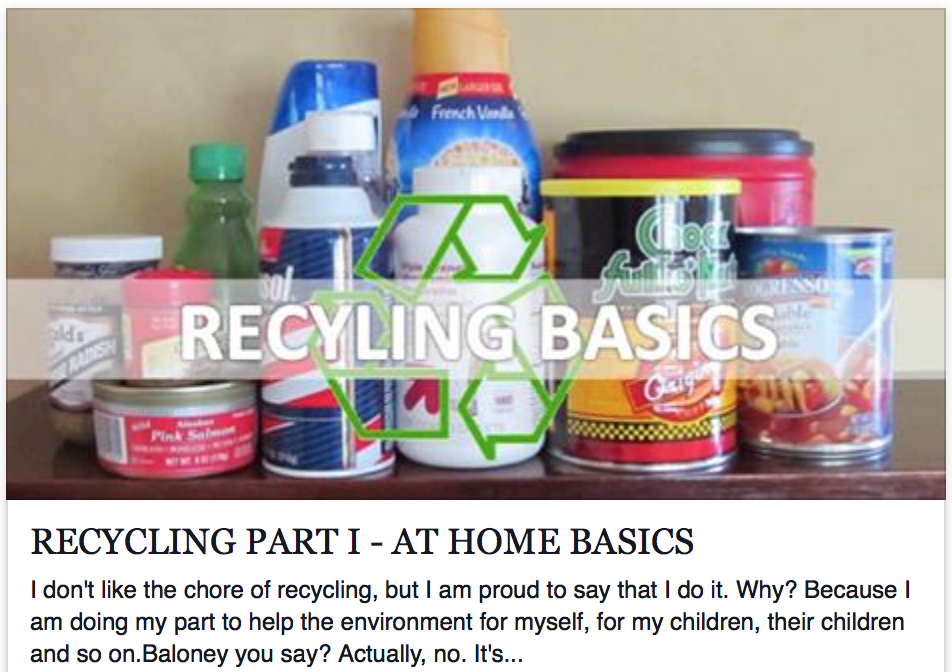
A zero waste home means throwing NOTHING away....is this even remotely possible? The answer is YES! By simply following these six simple steps, a zero waste household is closer to reality than you might think! 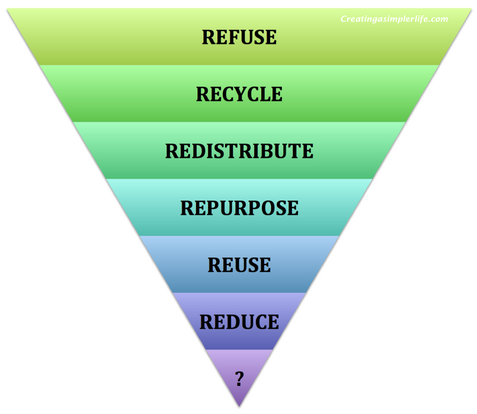 Six Simple Steps to a Zero Waste Household: This is the last in a series of SIX Recycling Posts.... 1. REFUSE Just say NO! This means that you SHOULD NOT accept anything onto your property or into your home that you know can not or will not be recycled, redistributed, repurposed, reused, etc. THIS IS THE ABSOLUTE MOST IMPORTANT CHOICE YOU CAN MAKE TOWARD HAVING A ZERO WASTE HOUSEHOLD! Here are some my personal favorite examples:
2. RECYCLE Know what you are able to recycle at your local facility or through your local waste pick-up and make sure you recycle it properly! Most communities recycle #1 and #2 plastics, aluminum cans, glass jars, newspapers and magazines. Don't forget about recycling the strange things your local community does not:
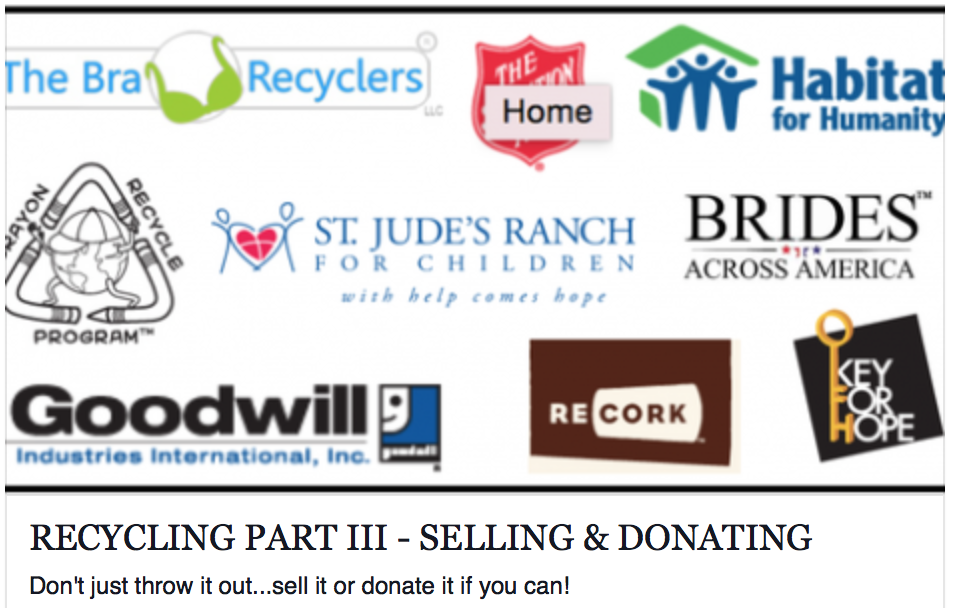
3. REDISTRIBUTE This means to sell or donate items that can still be useful to someone else! One mans junk is another mans treasure....I don't know who said that but it couldn't be more true! Items such as furniture, clothes, household items, cell phones, toys, and more can be easily sold or donated.
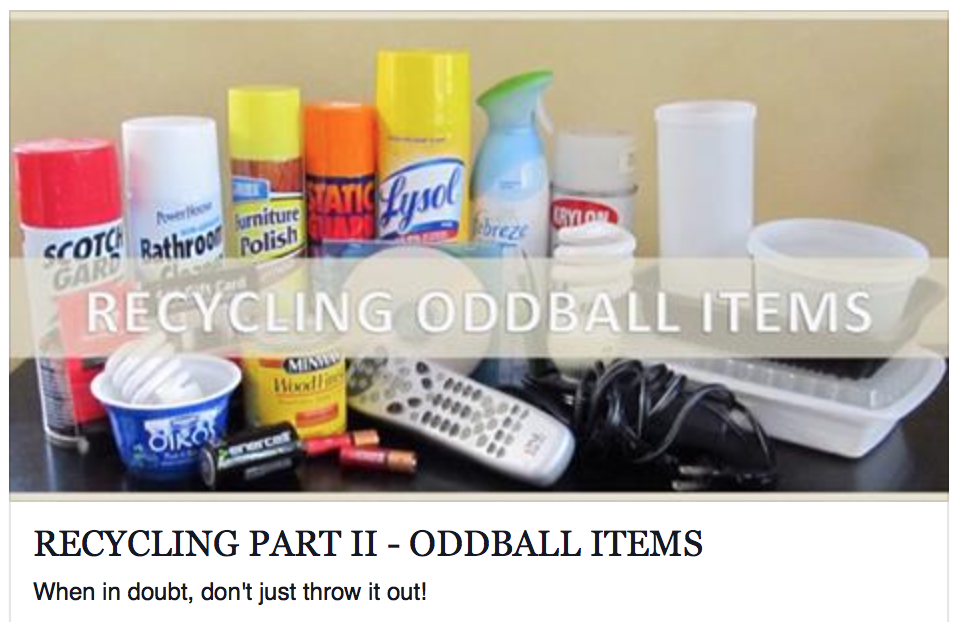
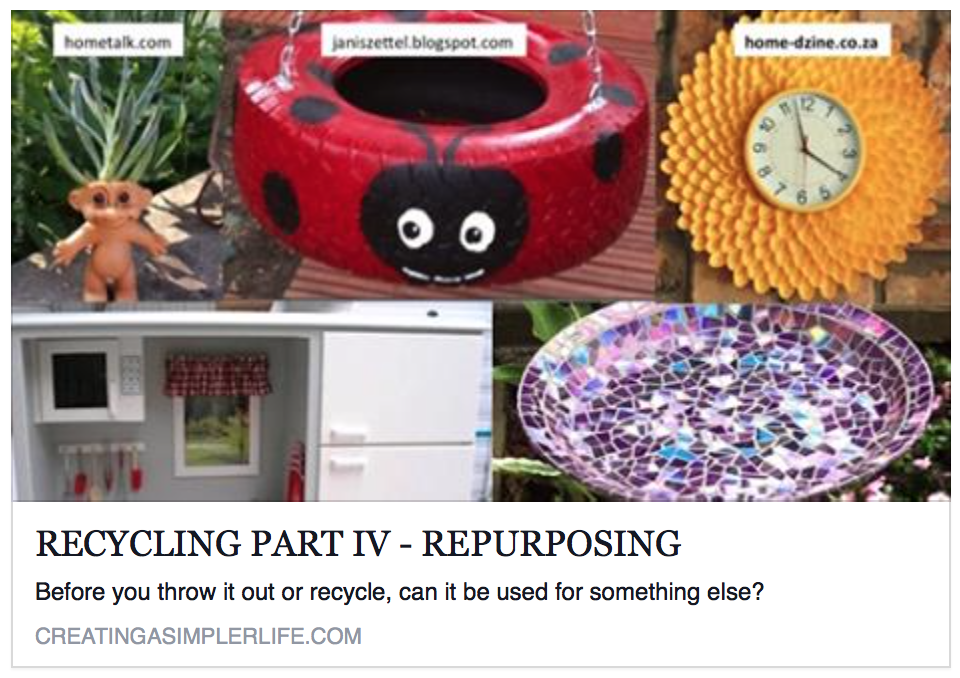
4. REPURPOSE If you can't do the first three, then maybe you can find a way to repurpose the product for something else. You may be surprised at all the creative ways that exist to repurpose the strangest items! Even some common every day items like tires! Click on the picture below for a slide show that shares some really awesome ideas!
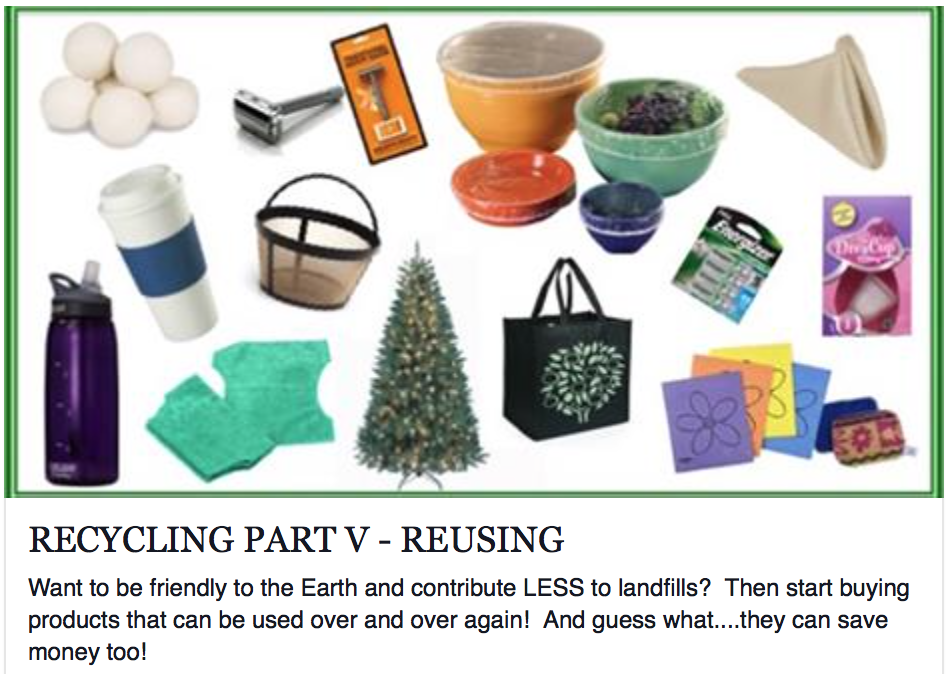
5. REUSE Theres nothing better than buying or making products that can be reused over and over and over again. Stop bringing disposables into your home! They are a waste of money and they needlessly add to landfills. A few of the worst offenders (in my opinion):
6. REDUCE Not only does this mean reduce what you need and use overall, but it also means to reduce what garbage still remains in your home after steps 1-5 above. Here are a few that still remain....
? WHATS LEFT ? Hopefully nothing or a very small amount if you have done everything in the pyramid from the top down! Remember, be creative and find a way! Go to Google and see what other options there are for disposing of particular items before putting them in the garbage! Simply throwing stuff out, as easy as it is to do, should be the absolute last resort! Most importantly, remember to make it easy for yourself BY CHOOSING TO NOT LET IT ENTER YOUR HOME IN THE FIRST PLACE! FREE RECYCLING CHART: Click on the picture or the button below to download a FREE pdf file! 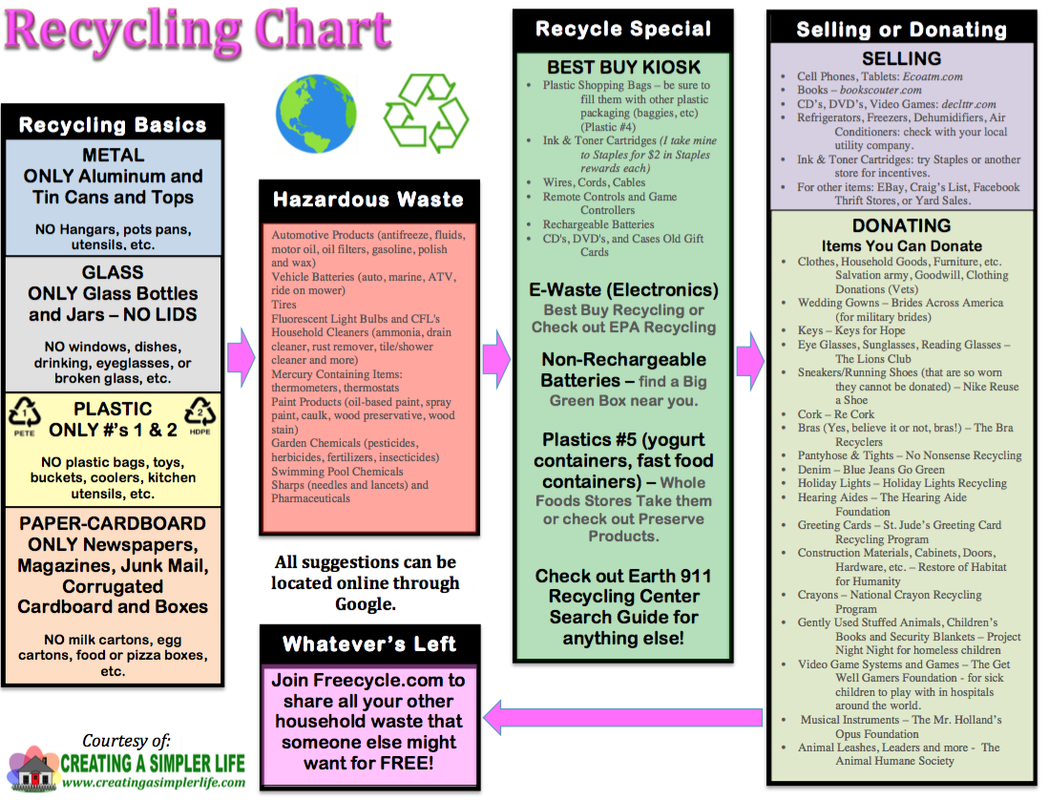 Visit our page Household Waste for additional information and check out our Pinterest Boards for more great ideas:
Thank you for visiting! Please like and follow us :-)
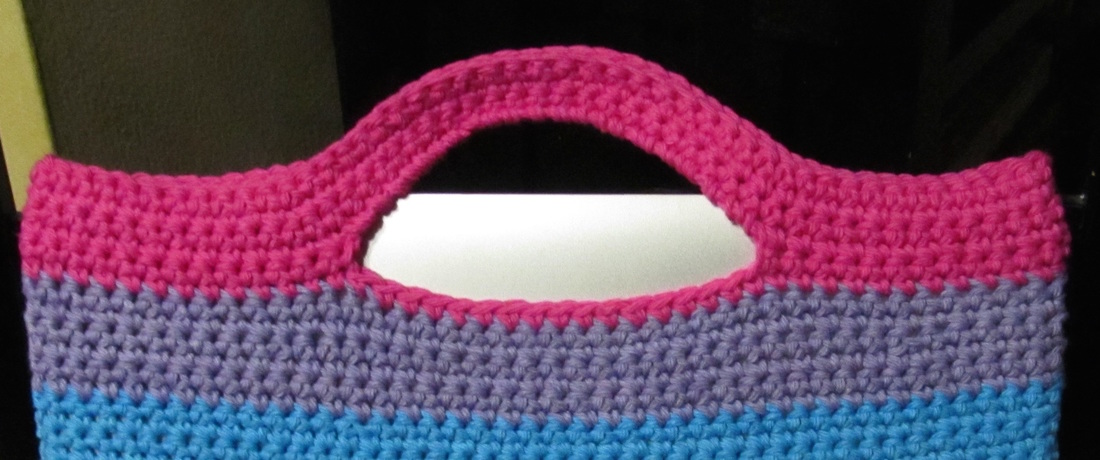
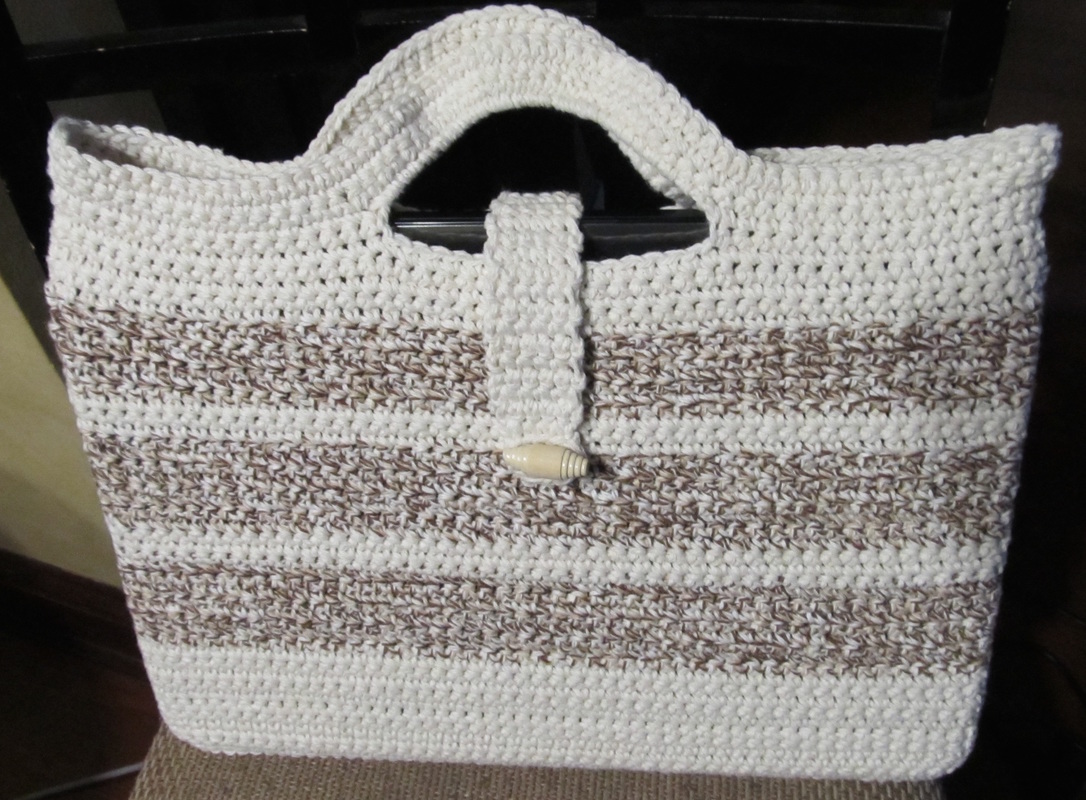
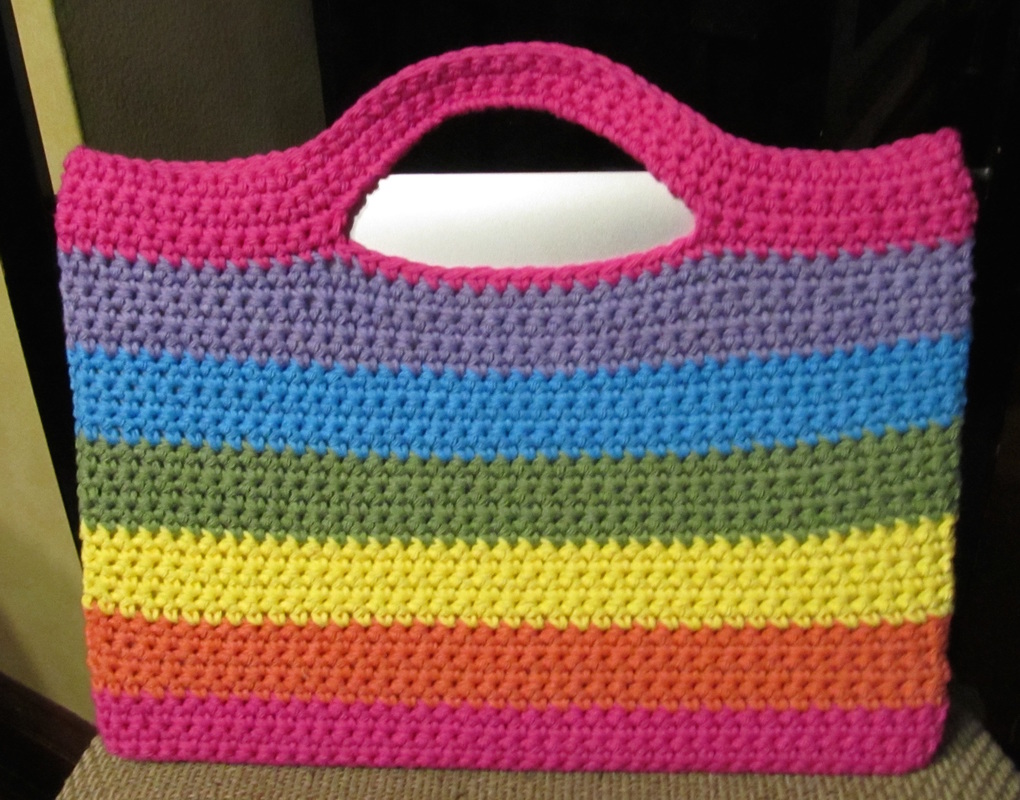
This 100% cotton laptop case is a quick and easy project that is not only useful, but makes a great gift as well! It's also a great way to use up all those small leftover scrap lengths of yarn! 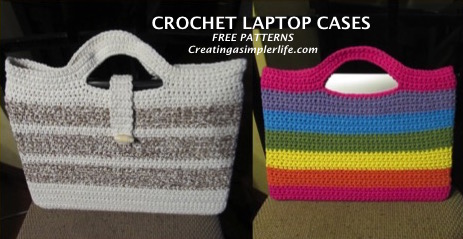 Supplies Needed:
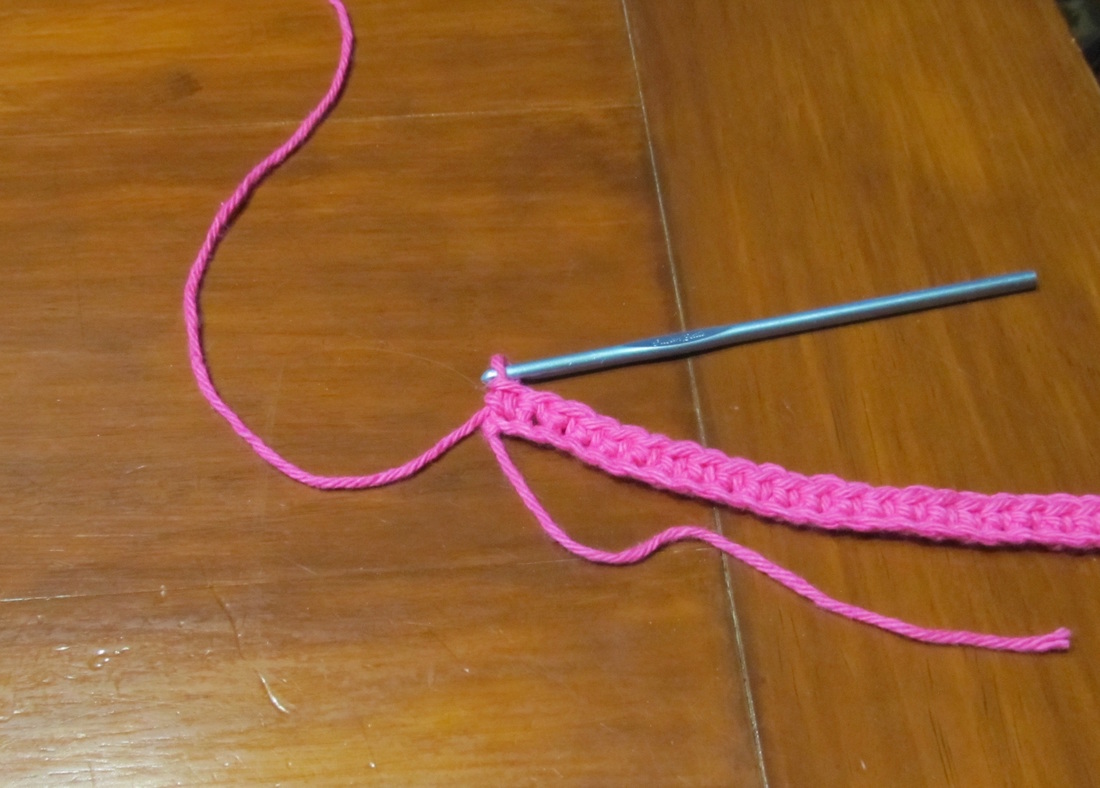
You need to measure your laptop case and determine how many base chain stitches you need. Note that the case will, and should, fit tightly so that it is not easily able to slide or fall out!
To Make the 13 x 9 Inch Laptop Case:
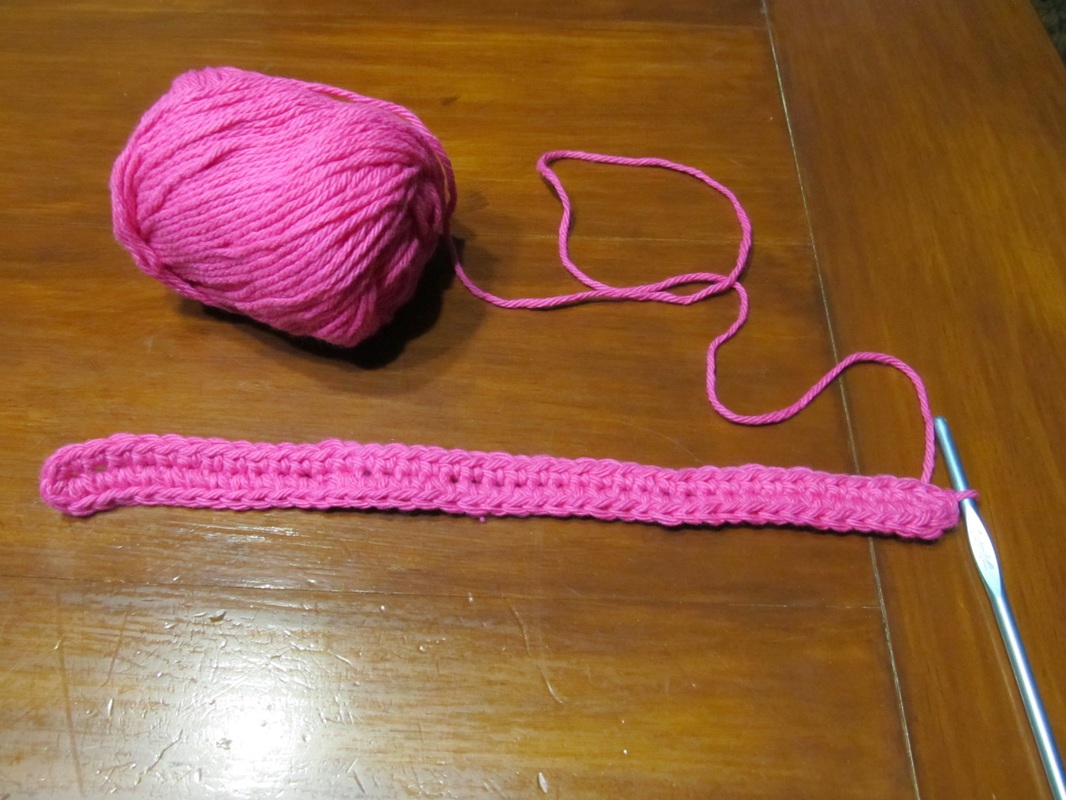
Create The Handle:
Finish by using the yarn needle to weave all loose ends into the work.
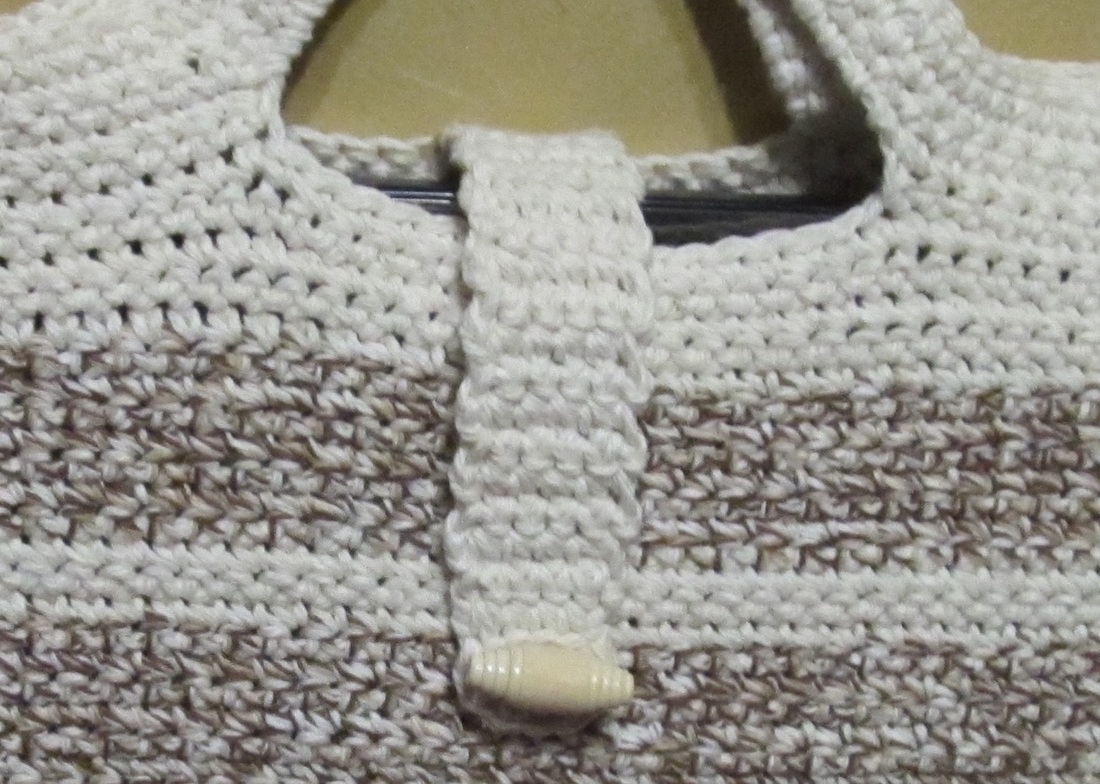
Create the Strap/Button Closure (If desired):
Thank you for visiting! Please like and follow us... Check out our other FREE Crochet Patterns here Check out more crochet and craft ideas to make for children on our Pinterest DIY FOR THE KIDS AND GRANDKIDS
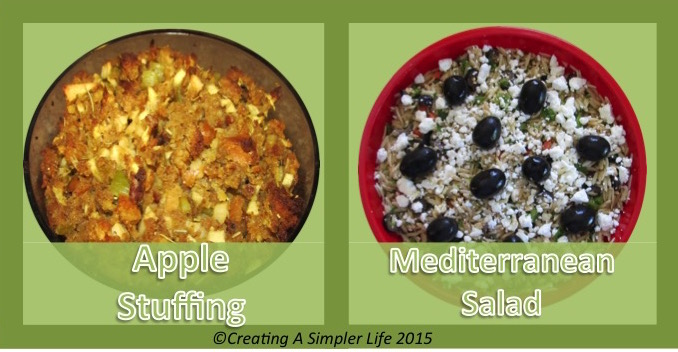 It's the time of year for both apples and stuffing, so why not combine them into one awesome side dish for dinner? And for an added bonus, why not cook up a little orzo and create this simple yummy mediterranean salad? You can click on the recipes or use the button below to download the pdf file and print one sheet of 8 1/2 x 11 cardstock paper. Then cut out each of the 4 x 6 inch recipe cards. They always come two recipes per sheet in an effort to not waste paper! Visit my Recipes Page to print out previous recipes (pdf files) or to download a FREE 4 x 6 Recipe Card Template (.dox file) for your own recipes! You can also check out my past Recipe Blog Posts here! Enjoy! 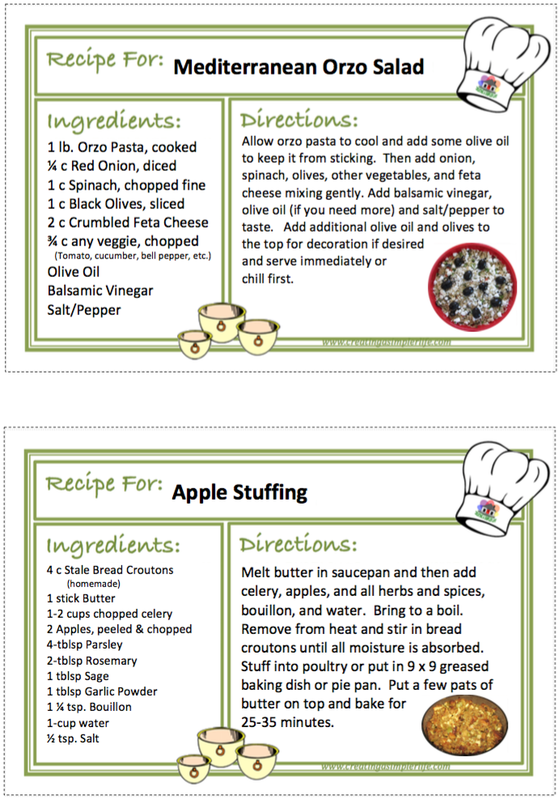 FYI: there are always two recipes because I do not want to waste paper! Please 'like' us on Facebook or join our mailing list so you never miss newly shared recipe cards!
What child wouldn't fall in love with this adorable 100% cotton Little Lamb Lovey Blanket? Whether it becomes their favorite sleepy time toy, or their security blanket, it is sure to be loved by whoever the special child is! 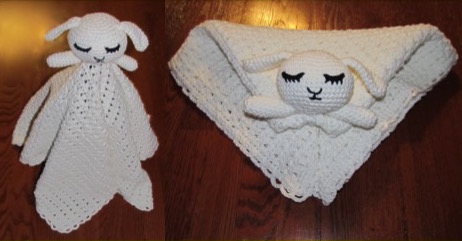 Supplies Needed:
Make the Head: (I strongly suggest reading all the directions first and then watching the video tutorial below if this is your first time making a ball shape). Round 1: Start with a magic circle with 5 single crochets. Round 2: Single crochet two stitches around in each of the 5 original single crochet stitches. (at this point you should basically have a circle). Place a marker at your last stitch. Round 3: Do one single crochet in the first stitch, then two in the next, then one in the next, and then 2. Complete the pattern around. Round 4: Do one single crochet in the next two stitches, then two single crochets in the third, then one sc in each of the next two, then 2 sc in the next one. Repeat pattern around until you come to the marker. Round 5: 3 sc, then two sc in one, 3 sc, then two sc in one (repeat around to marker) Rounds 6 - 8: Basically with each round, you will increase the the number of single crochets in each stitch by one, then do two in one stitch, then repeat the same number of sc again. You can continue the pattern by adding rounds and increasing the sc by one each time until the bottom of the head is the size that you want. Rows 9 & 10: single crochet in each stitch around without increasing. Rows 11 - 18: Start decreasing by one for each round. Before you finish be sure to fill it with stuffing. NOTE: I did not close the ball at the bottom - I left an opening about 3/4" in diameter (you can see this in the picture below). Watch this excellent video tutorial to see exactly how to make the ball for the head. She shows how to increase and how to decrease. But remember not to close it up completely when done!
Make the Face: Cut two 24" lengths of black yarn. Using one 24 " piece, crochet 6 chains and end off. Be sure to leave a long piece on each end of the chain. This is what you will use to attach it to the face and create the lashes and mouth. Using the yarn needle and one of the long ends, sew the first chain on in a curved eye shape. Then do 4 stitches for lashes. Do the same with the other eye and then using the remaining hanging yarn stitch the nose with two 'v' shape stitches, and the mouth with one vertical and two horizontal stitches. Knot off inside the head and tuck in all loose threads.
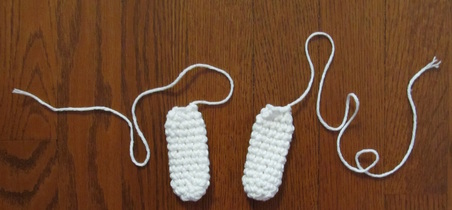
Crochet the Ears: Row 1:chain 3 and connect into circle. Crochet 5 single crochet around and connect with slip stitch. Row 2: do two single crochets in each stitch around (you could place a marker here if necessary) Rows 3 - 14: do one single crochet in each stitch around. Finish with a slip knot but cut the remaining string at least 12 inches long. Thread the hanging string onto a yarn needle, flatten out the ear and sew the bottom closed. Pull in a little tight to create a small pucker. Keep the remaining string hanging to use to sew it onto the head later. NOTE: Ears get flattened. They DO NOT get stuffed. Create the second ear the same way! 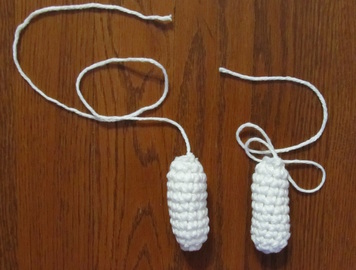 The arms get stuffed! Crochet the Arms: Repeat the same pattern as the ears up to row 10. Finish with a slip knot and cut the hanging string so there is approximately 12 inches attached to the arm. At this point stuff the arm with stuffing. Using a yarn needle, thread the hanging yarn and sew around the end of the arm. Pull it taught so that the end of the arm is closed. keep the remaining string hanging. Make s second arm. 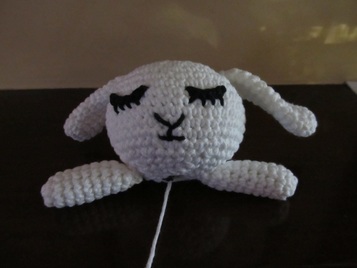 Connect Ears and Arms to Head: Use the yarn needle with the hanging string to connect the ears and arms to the head. When finished, knot and hide ends inside the head. 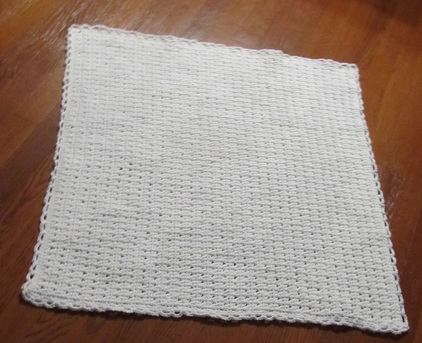 Crochet the Blanket: In the picture you see I made the blanket 30" x 30". This is the correct size for a baby blanket. However, as adorable as it is, it came out quite heavy. So heavy that it almost feels like the head of the lamb will pull off. Since the purpose is more of a toy than a blanket, I have decided that from now on I will be making the blanket smaller by at least 5" in all directions. I may even change the stitch of the blanket to a simpler pattern that requires less yarn so that it is not so heavy for a small child to carry and drag (literally!) around. The stitch is a cross over double crochet. If you don't fully understand how to do it (I know I am not good at writing directions) then watch I strongly urge you to view the video below.
30" x 30" blanket: Chain 100. Row 1: single crochet into second loop from hook. Sc into each stitch to end (99 stitches). Turn work. Row 2: chain 2, yarn over and double crochet in second stitch from hook (so skip first one). Yarn over and double crochet backwards into the stitch you skipped. Yarn over, skip stitch and double crochet into next stitch. Yarn over, and double crochet backwards into the stitch you missed. Continue this crossed double crochet to end of row. You should end the row with one last double crochet with no backstitch. Turn work (99 stitches total). Row 3 - 70: Repeat rows 1 and 2. After last row, turn work. Border: Row 1: Do one single crochet in each stitch across. Do 3 single crochet in the corner stitch. Turn and continue around the entire outside using single crochet stitches (always with three in the corners). Slip to connect to first stitch. You should end in one of the corners. Row 2: Do one single crochet into the center stitch of the corner. chain 4, skip 2 stitches and single crochet into the 3rd. Chain 4, skip 2, sc into the third stitch. Do to end of row. It should work out so that you are doing a single crochet in the center stitch of each corner group. Complete this around the entire outside of the blanket. Slip stitch connect and knot off. NOTE: To make the blanket smaller I will make it 80 chains by around 60 rows. Finishing: weave all hanging threads. 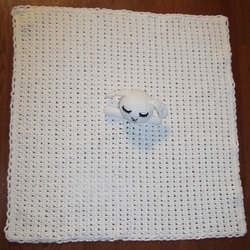 Connect the Head: Use matching yarn to sew the head to the center of the blanket using the yarn needle. Be sure to go around several times so that it is secure. Knot and weave in hanging threads. All done! 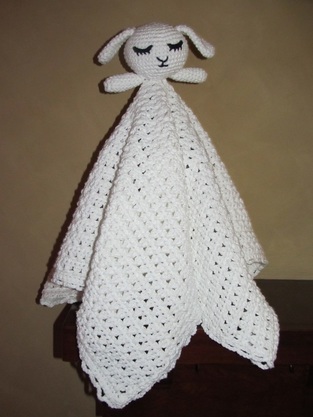 Thank you for visiting! Please like and follow on Facebook! Check out more crochet and craft ideas to make for children on our Pinterest DIY FOR THE KIDS AND GRANDKIDS!
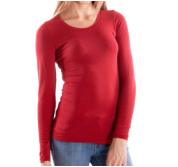
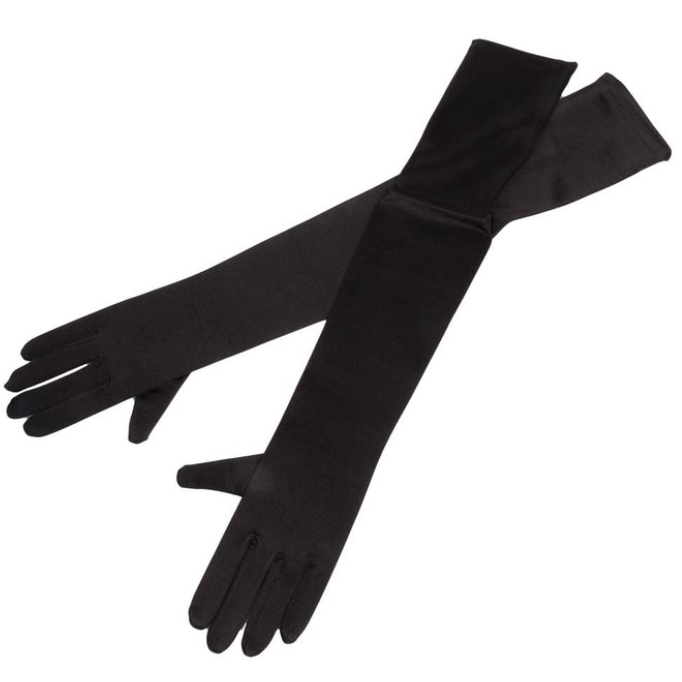
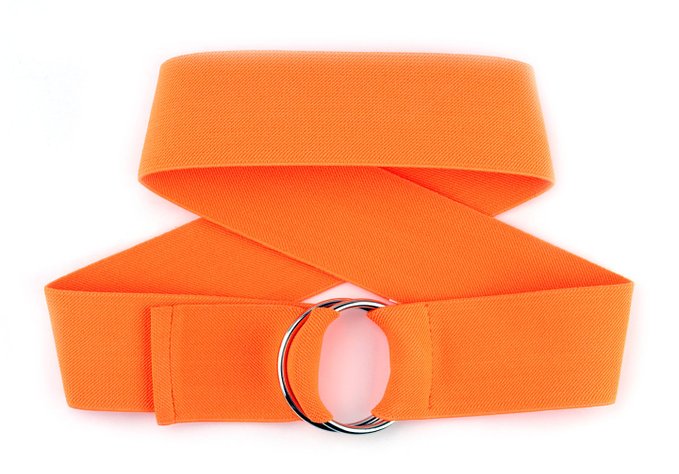
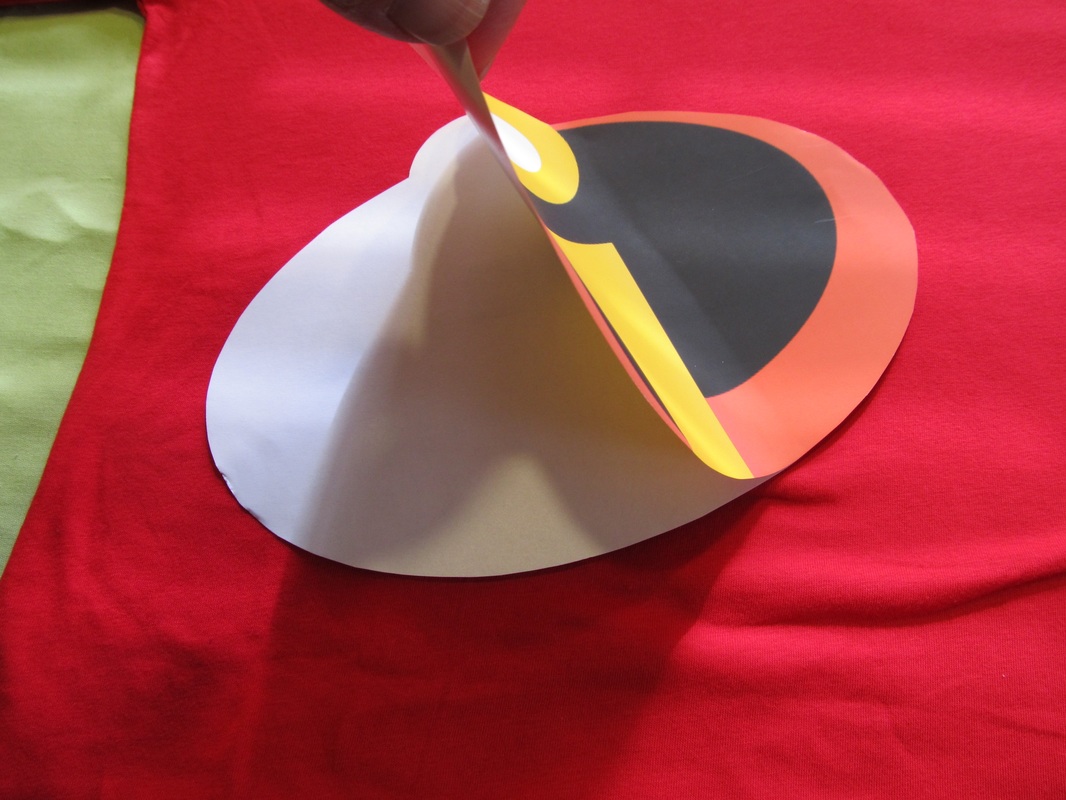
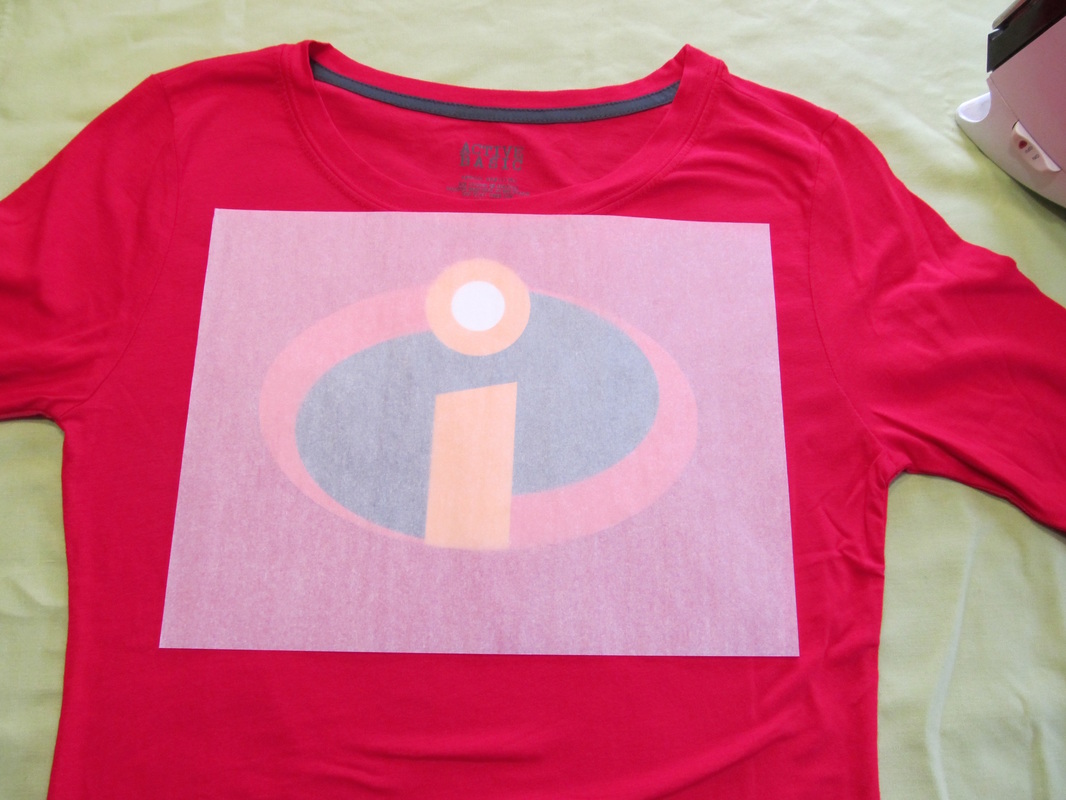
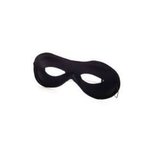
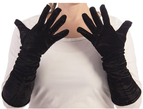
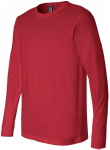
I was absolutely NOT being caught dead in spandex and I certainly don't have that female superhero curvy shape that seems to be a requirement for superhero status....  Every year at work each department picks a Halloween costume theme. Our department has over 30 members so it is a little tough to come up with ideas that allow for that many people to dress up as a character. Last year was Star Wars so I was a Jedi, the year before was Wizard of Oz so I was an apple tree (yes, an apple tree). Well, this year was superhero's and for women, that pretty much means large breasts, tight shirts that show cleavage, and spandex pants. NO WAY. That is just not my style (or body....LOL). And so the research began... I finally decided on a family oriented superhero - The mother from The Incredibles! Yes, that's right, I decided that I could make Elastagirl work for me, with a few minor modifications of course (Such as no spandex!) I looked online to buy a costume and quickly realized that there was no way I was paying $40 - $80 for a costume I would only be caught dead wearing half of and would most likely never use again (I know how hard it is to get tickets to Comic-Con in NYC!). So a homemade costume was the order of the day. How was I going to do this and how much was it going to cost me? Well, not only was it simple, but it affordable too! Knowing early enough what I was going to be allowed me to get what I needed before they raised all the prices for Halloween! NOTE: Watch this VIDEO HOW TO or see written directions below - all links to products are below as well! MRS. INCREDIBLE COSTUME: (Affiliate links)
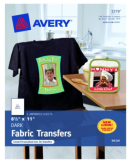
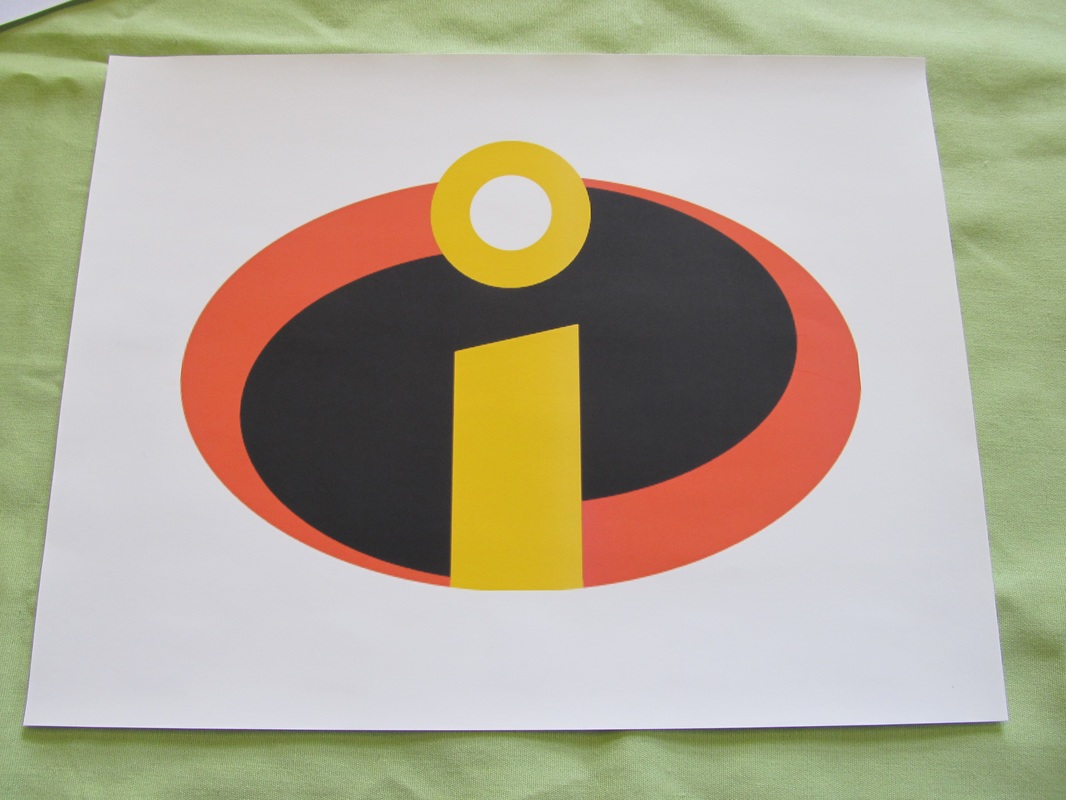
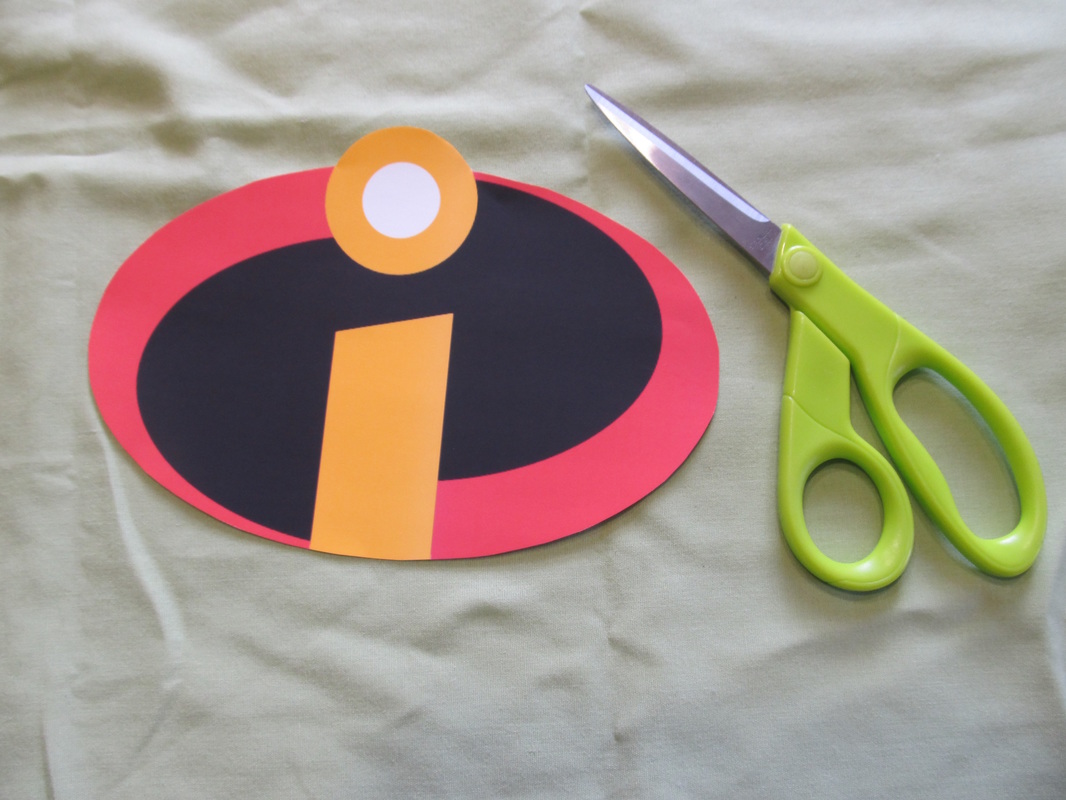
Total Cost for Mrs. Incredible: $24.57 as of 2015 (I already owned a black skirt and black boots) How the symbol on the shirt was made and applied: NOTE: Make sure you have color ink before you start!
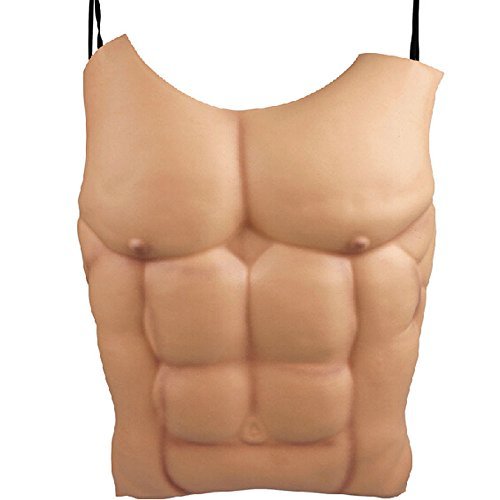
MR. INCREDIBLE COSTUME: As you can see, I also made a Mr. Incredible costume for my husband for a party we were going to. His costume was basically the same but we bought him a "chest," added balled up socks as muscles, and used ace bandages to secure it all in place! Here is what we purchased for his costume (affiliate links):
Total Cost for Mr. Incredible: $30.73 as of 2015 (he already had black jeans and black boots - FYI - he WAS NOT wearing spandex either!) Simple to make, and less expensive and better quality than most store bought costumes! Not to mention how it feels to be able to DO-IT-YOURSELF! Thanks for visiting! Hope you had a safe and fun Halloween :-)
|

Hi there! I'm Kathie, the author behind Creating A Simpler Life blog. I'm excited to share our longterm projects (and planning) toward building our future retirement homestead in the Adirondack Mountains of New York. In the meantime I will be sharing all the other little things we do that are part of creating our simpler life!
Categories
All
Archives
July 2020
|


 RSS Feed