Blog
A little bit of anything and everything that's part of
creating, enjoying, and living a simpler life!
creating, enjoying, and living a simpler life!

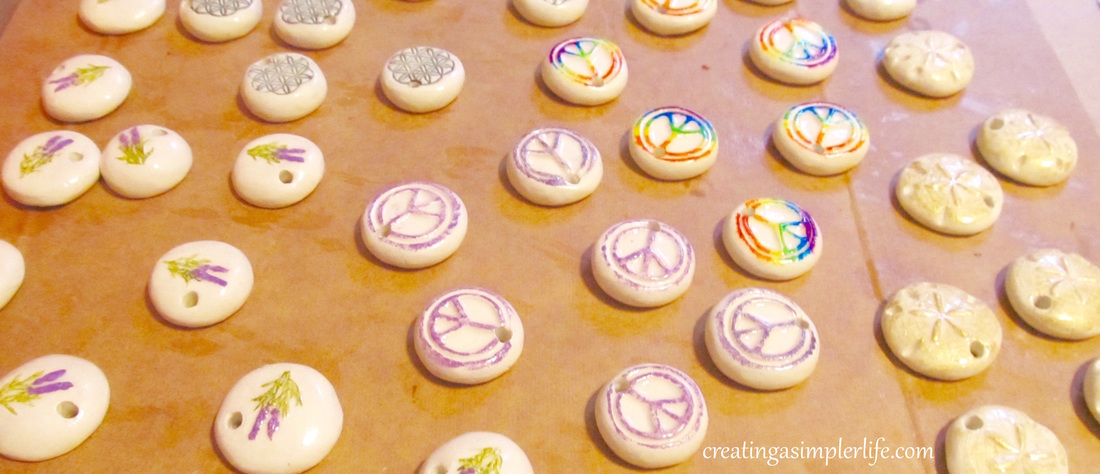
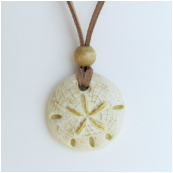
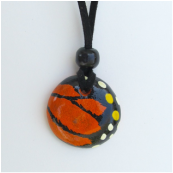
I love our essential oil diffuser pendants. I really love them because they were actually designed specifically for myself! I wanted/needed a way to be able to wear the oils every day at work without putting them on my skin. If you don't yet know what I do for work then you need to know I am a high school science teacher. So not only is there a lot of stress from many different directions, there are also a lot of unsavory smells from the students returning from gym class, stinky chemistry experiments, to the odors of the cooking cafeteria food (Which are sometimes really good too!). To make matters worse the hallway I am in is on the second floor which is literally 10 degrees hotter than the first floor. Classroom temperatures can reach into the 90's on some days and I don't have to tell you what heat does to the smells....
Anyway, I started looking around online for diffuser pendants and really didn't like anything I saw. I am not a jewelry person at all. I just don't like the way jewelry feels on my skin, especially around my neck so that pretty much ruled out anything made of metal. I saw a few pendants made out of clay, mostly kiln fired, which I thought was great at first. But then I realized that you were just applying the oil directly to the clay and the risk of getting that on my clothing or even on my skin was not worth it. Then I came across air dry clay pendants and they were doing the same thing - applying the oil directly to the pendant. But air dry clay, well now I had something I could work with! Being a science teacher...well...the experiments began!
Trial 1:
Trial 2:
Trial 3:
Of course I really over-simplified what I wrote above. In all the entire process took about of year of trials and errors and experiments and in that time we threw out several hundred failed designs. We also had a lot of input from friends, family, and customers and we are so satisfied with how they turned out that we offer a 100% money back guarantee if you are not happy!
Some of the important design features:
Watch this video to see how they are made from start to finish!
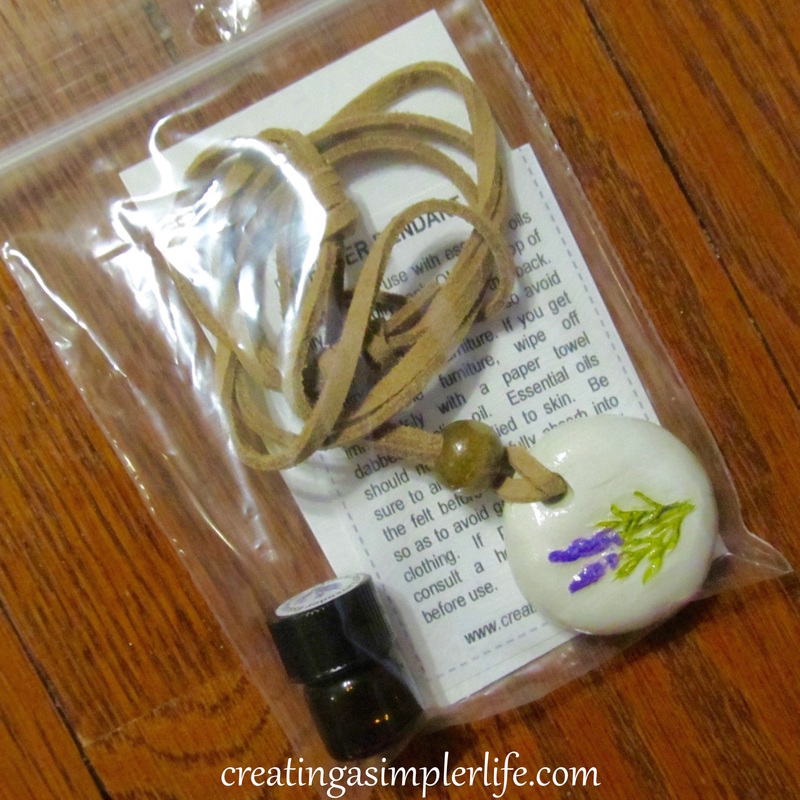
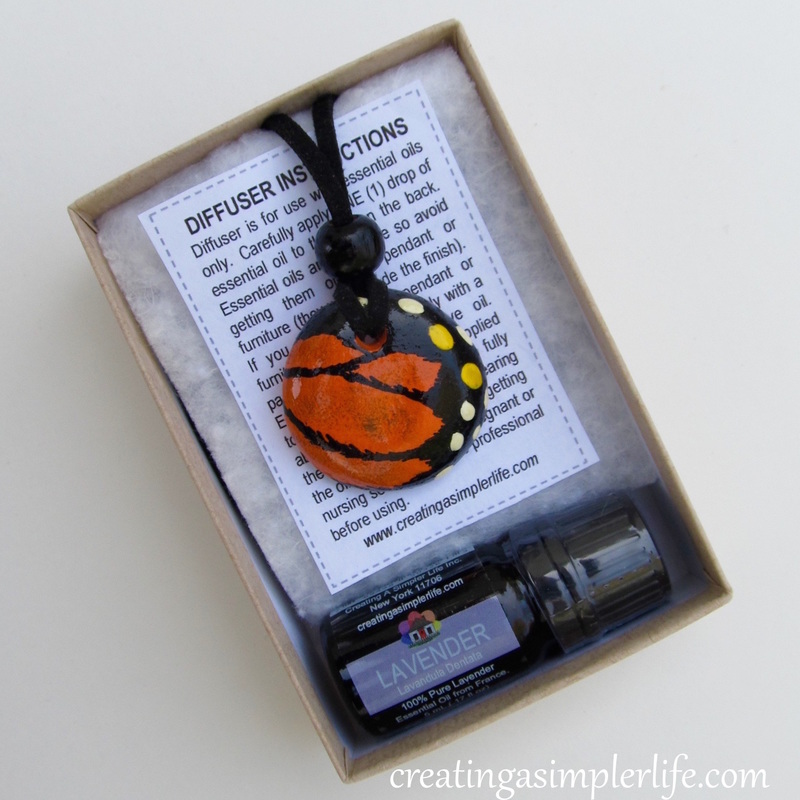
You can make them yourself or buy them for $15 in our online shop (They ship FREE too!). Every pendant comes with a trial size bottle (dram) of Lavender essential oil. They make a great gift or even a stocking stuffer for the holidays!
Learn more about why you should use essential oil diffuser pendants!
Thanks for visiting! Sincerely,
0 Comments

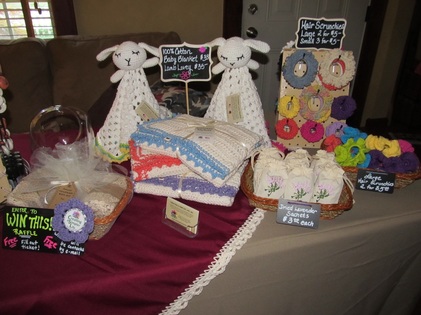
I have never sold at a craft fair before. I have attended many craft fairs over the years, but I have never personally been involved in selling at one. That is about to change.
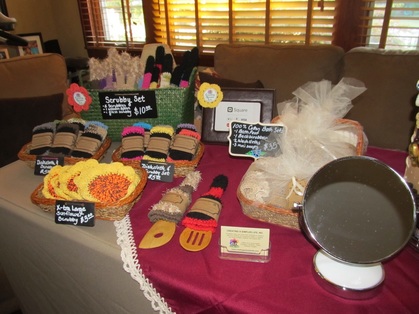
For years my daughter has been urging me to sell at the craft fair where she lives. Every summer they have a community fair to raise money and every year she reminds me that I should rent a table and sell all my handmade 'stuff.' I usually say no. I am not sure why, but I guess I just really never knew what to make that people would want to buy. And what if they don't buy it? It is very intimidating to try something new like this, but I finally just said YES! After all, the worst that can happen is my stuff doesn't sell but I get quality time with my daughter and I get to spend a weekend on Fire Island in the summer! And then after saying yes, I thought, uh oh....what have I gotten myself into? I am not the type of person to just wing something like having a craft sales table. I have to have a plan for exactly how and what I am going to do and that is what this post is all about. There were some criteria about selling at the fair: I rented one (1) 8' x 30" banquet table and two chairs. Anything and everything I sell would have to be on top of that one table. No other stands are allowed. I also needed to get everything onto a ferry - it is not a craft fair where you can pull your car up and unload. Everything has to be lightweight, portable, and literally carried by hand. Here are the steps I took to get ready for our first craft fair ever:
1. I Researched...
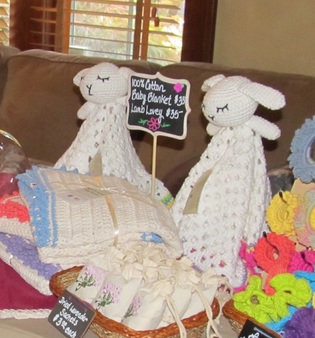
2. Made A List Of What I Wanted For My Table...
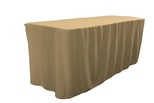
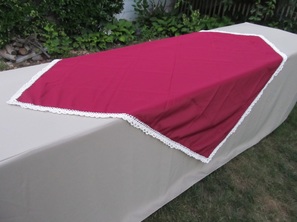
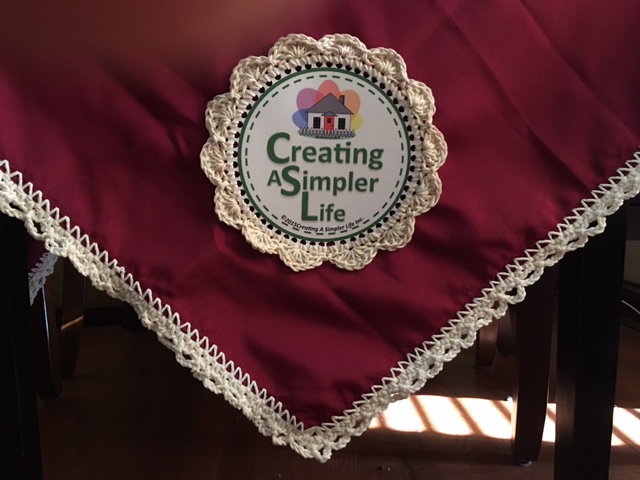
3. The Tablecloths
I didn't just want tablecloths...I wanted them to be special and stand out!
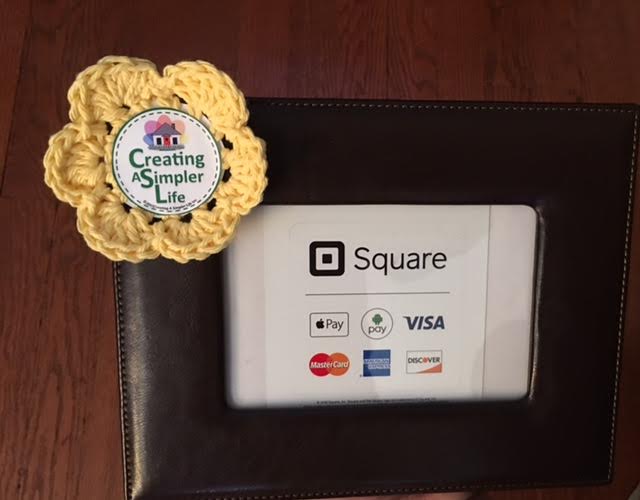
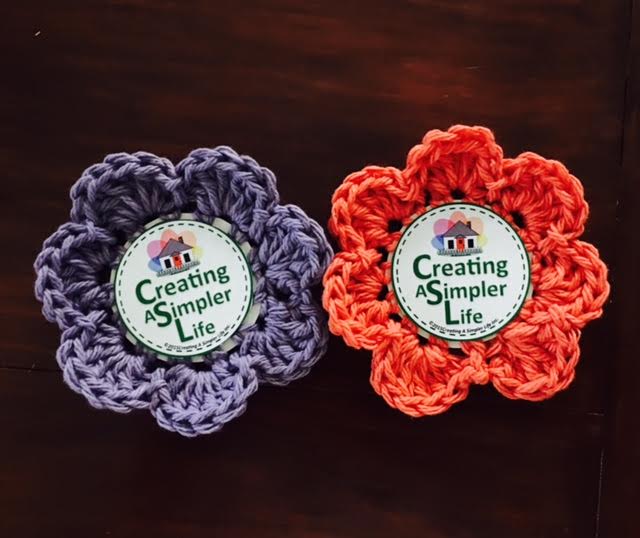
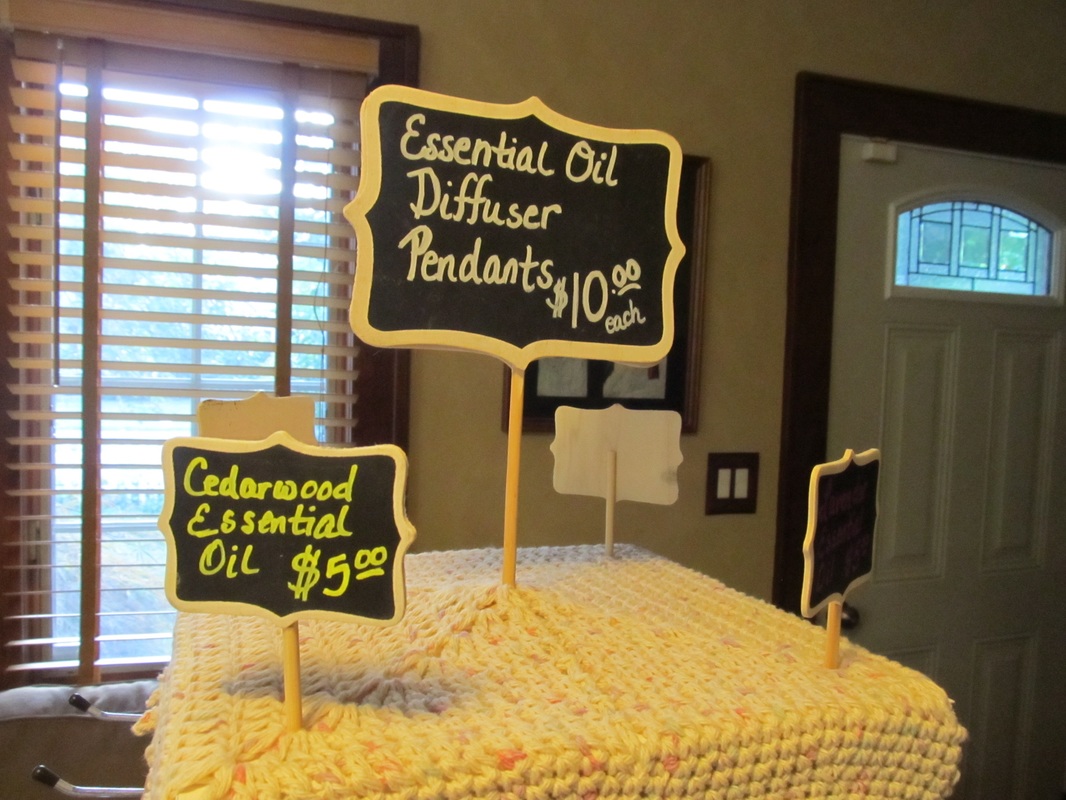
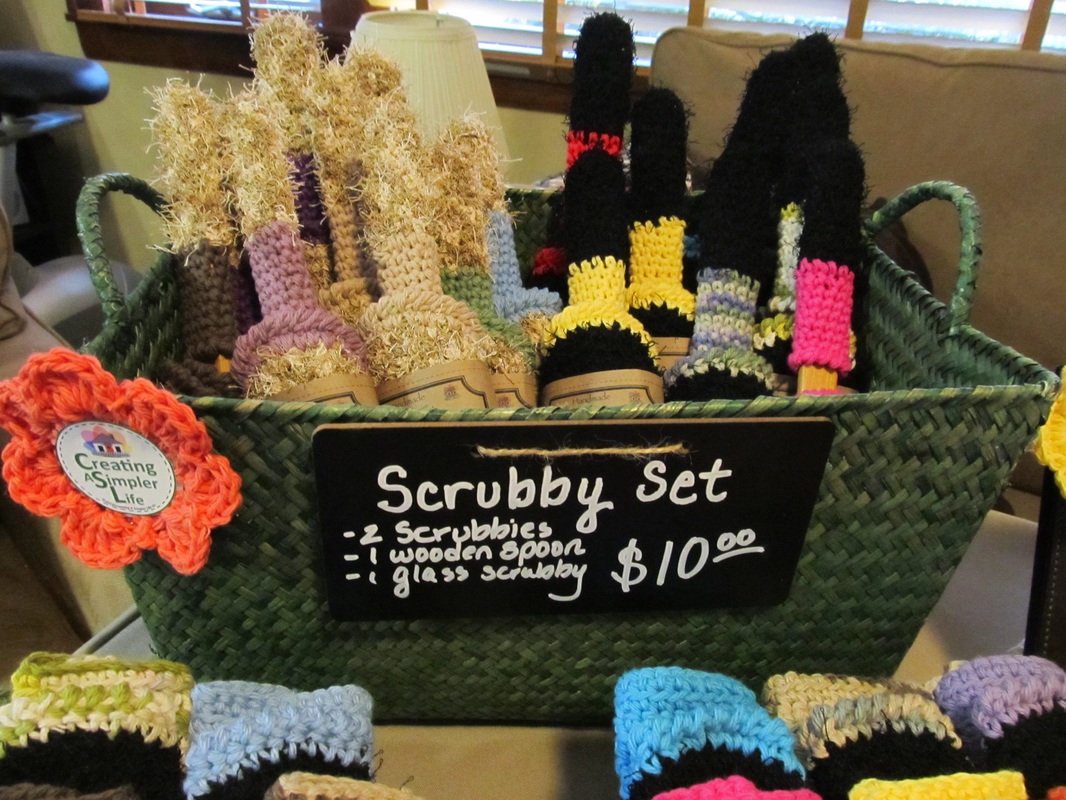
4. Signs
I didn't want to simply order signs from someone else...I wanted mine to be handmade like all the products I sell!
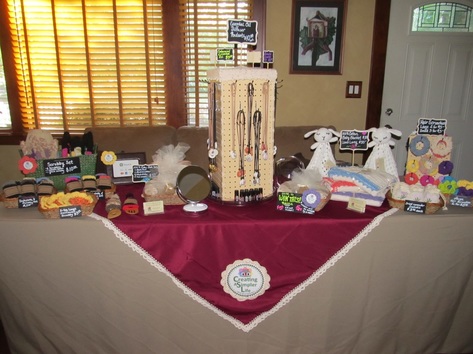
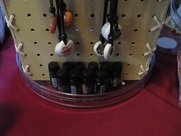
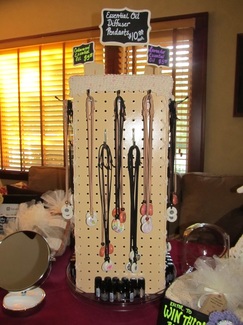
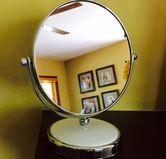
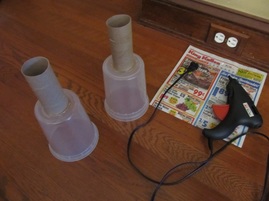
5. Spinning Table-top Display for Pendants
It was at least $90 to buy one and I didn't like any of them anyway, so of course my husband and I decided we could make our own and put our own handmade crafty 'spin' on it - pun intended :-)
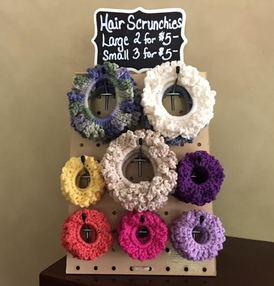
6. Bonus Hair Scrunchy Display
7. Miscellaneous
8. And of course, before we packed it all up, we had to do a practice table set-up in our living room!
Thanks for visiting!
If you are anywhere near Ocean Beach Fire Island, NY the weekend of August 13th - 14th 2016, stop by our table and say hi! Please follow us on social media! Sincerely,
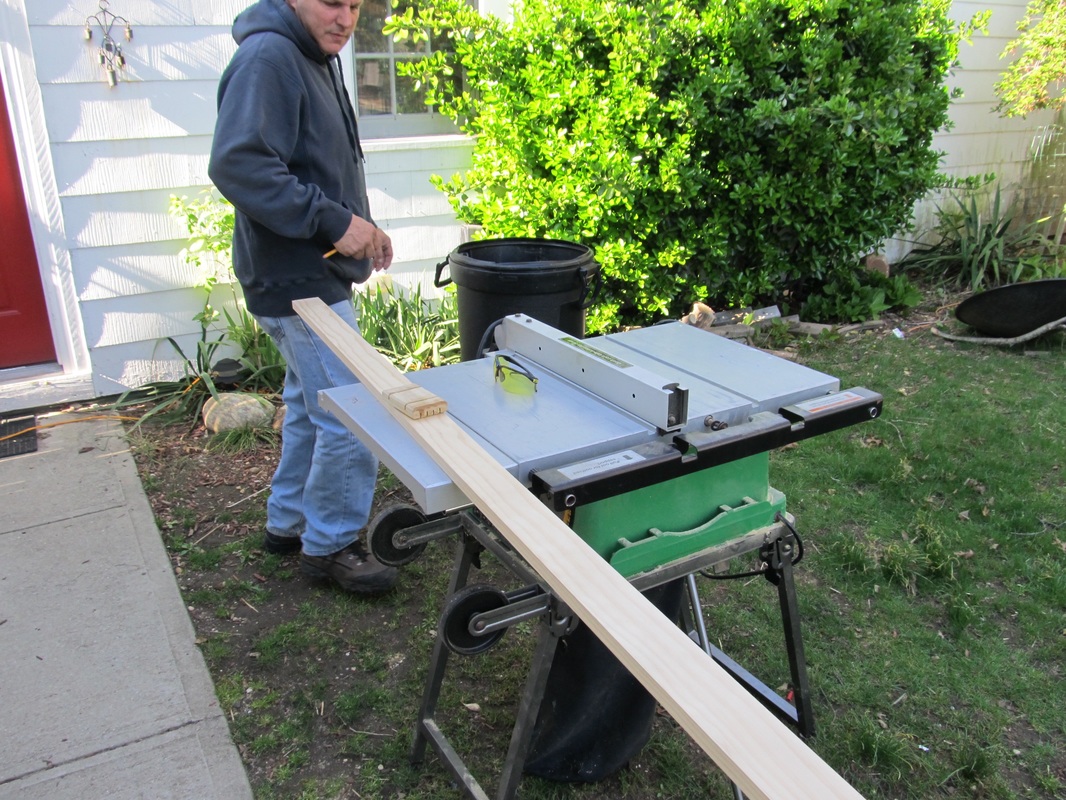
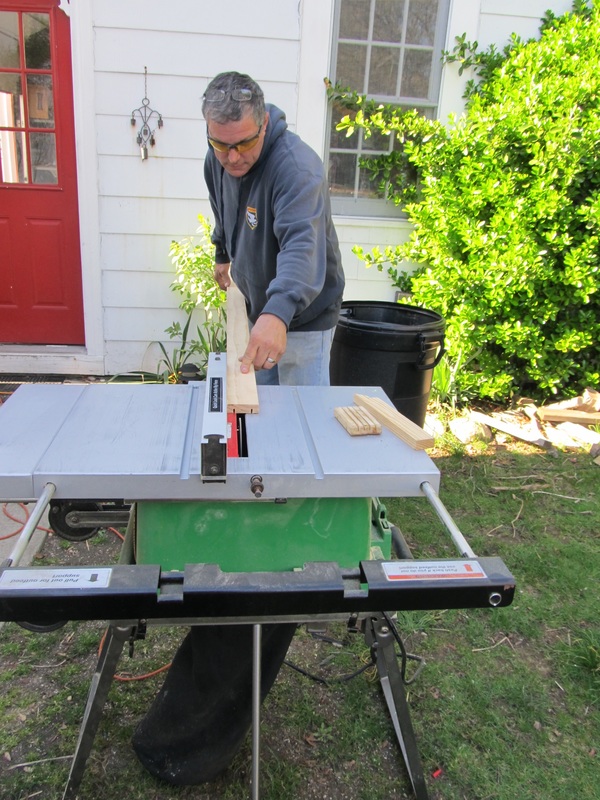
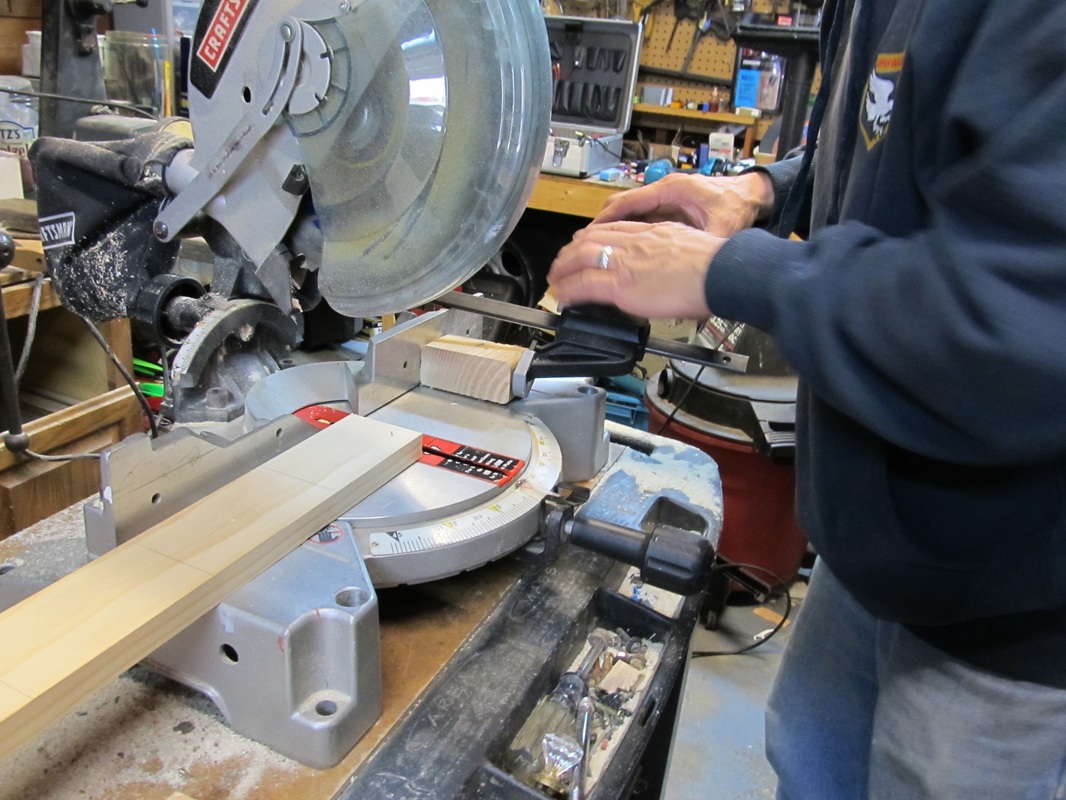
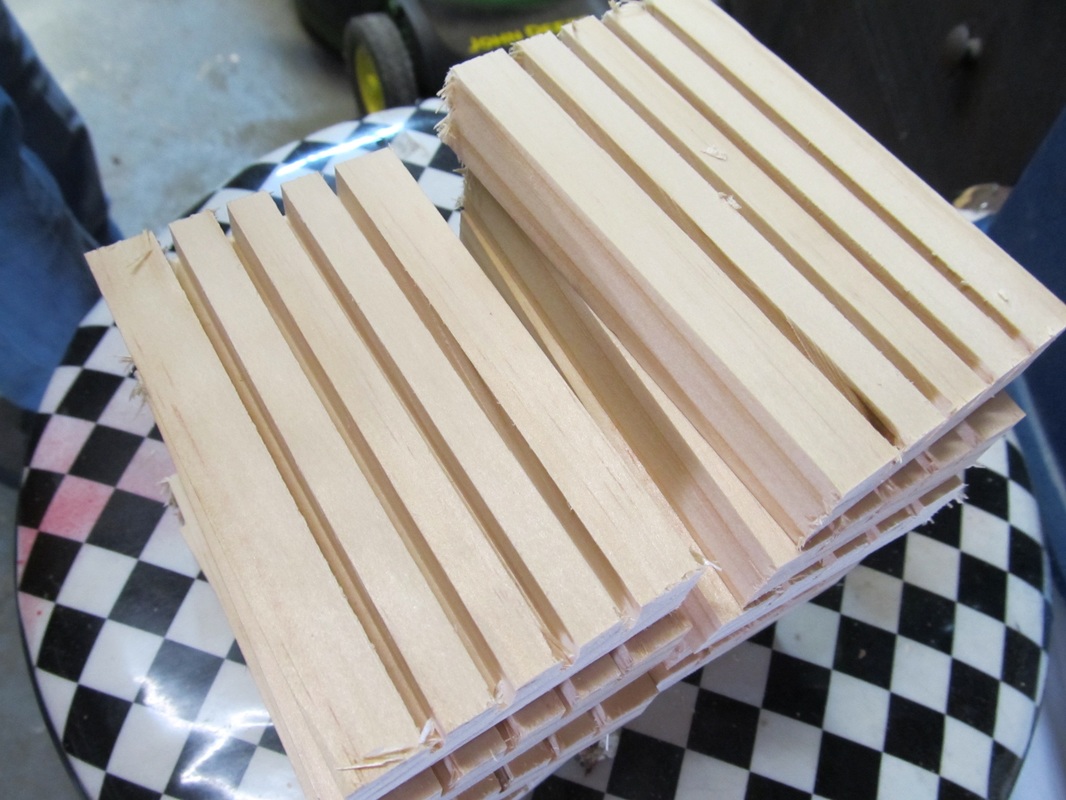
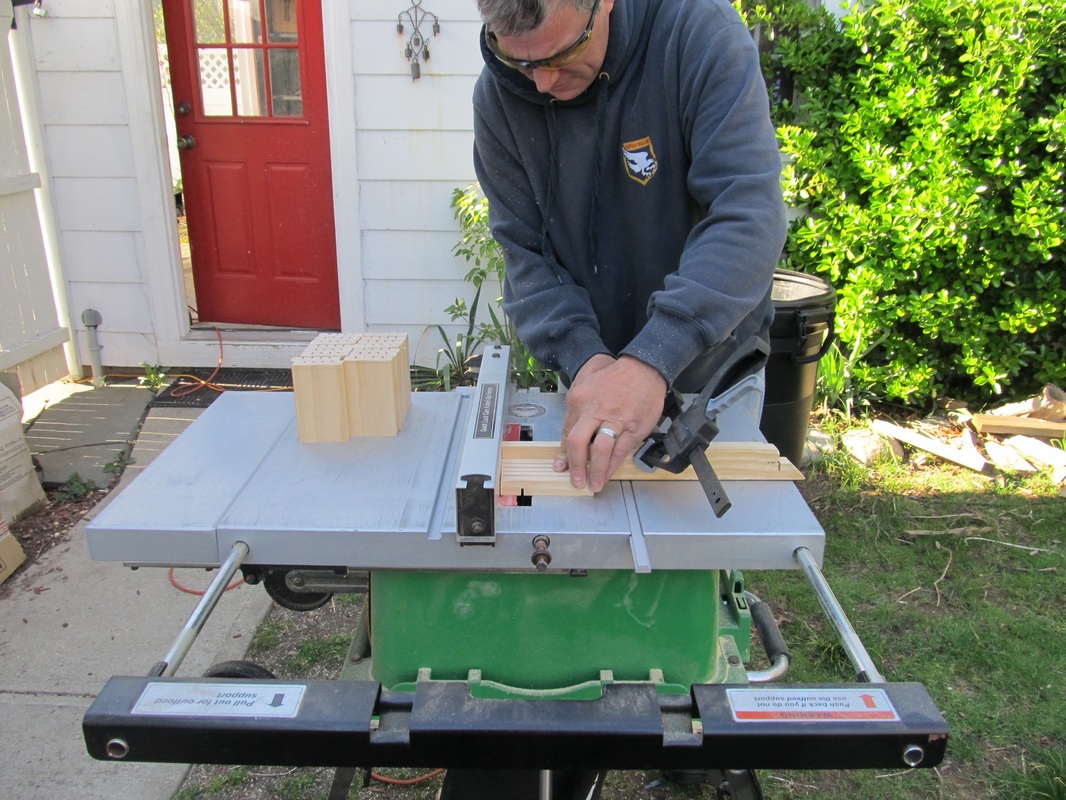
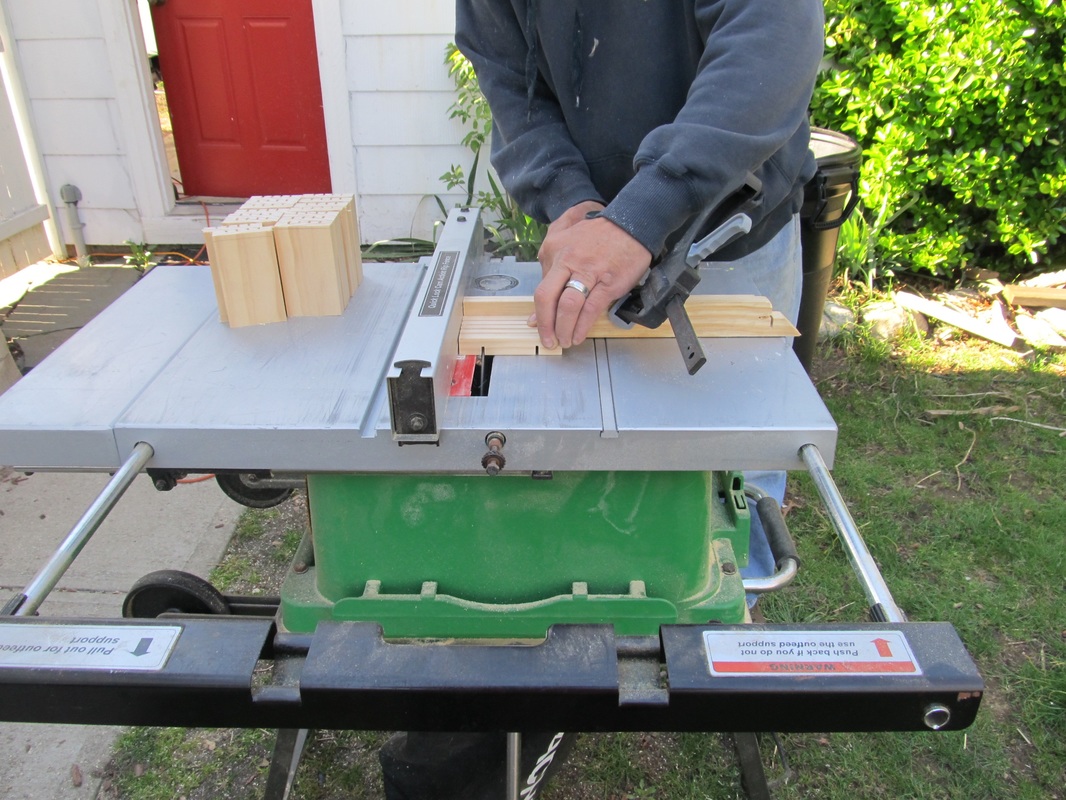
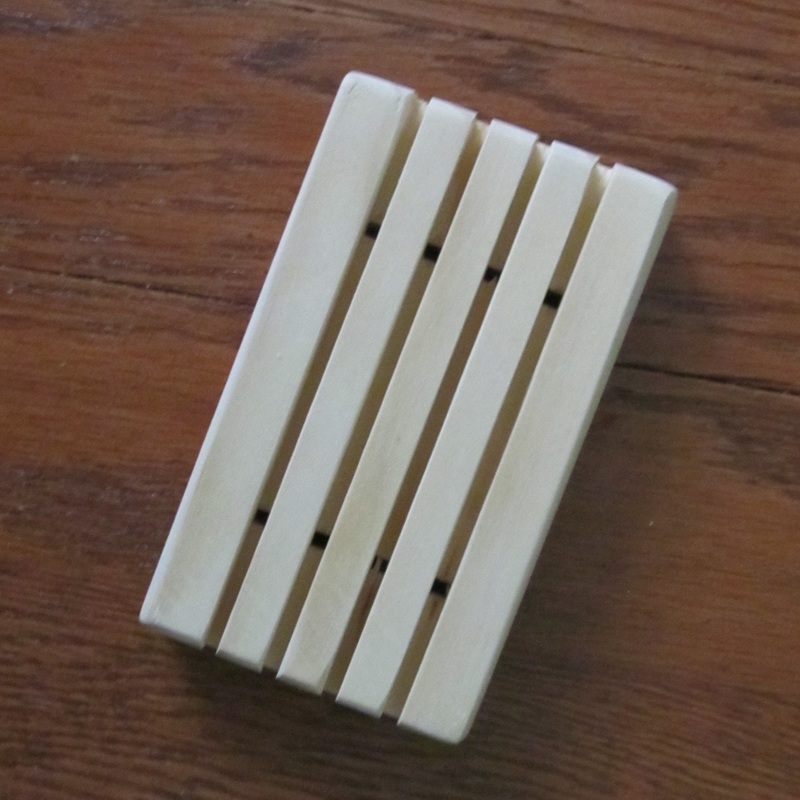
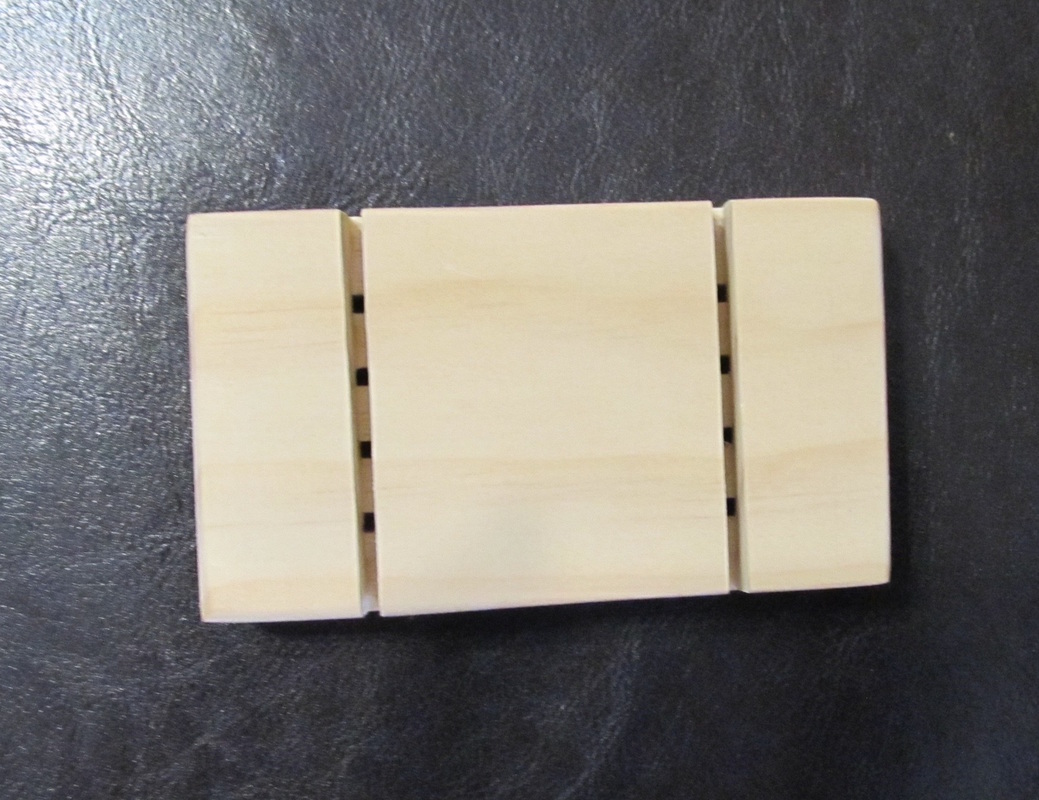
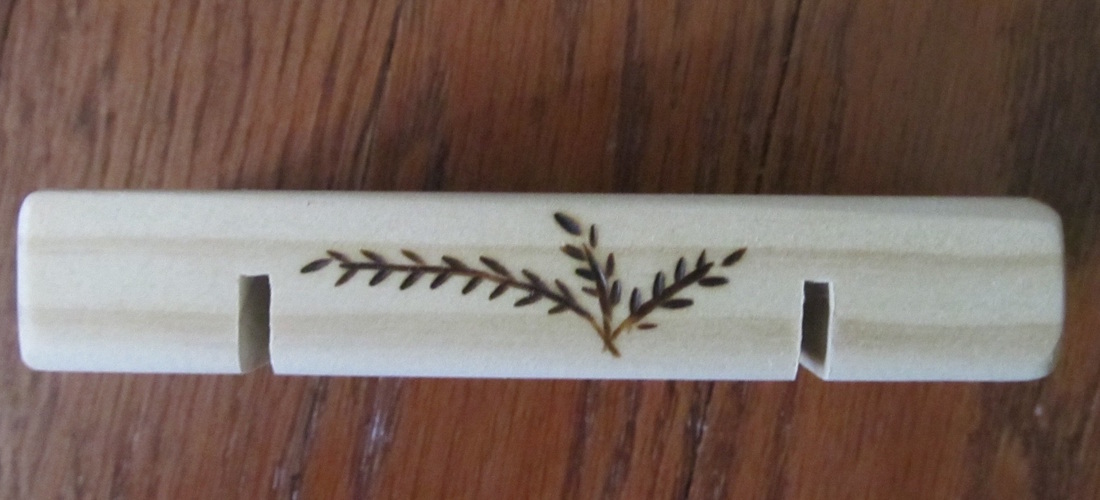
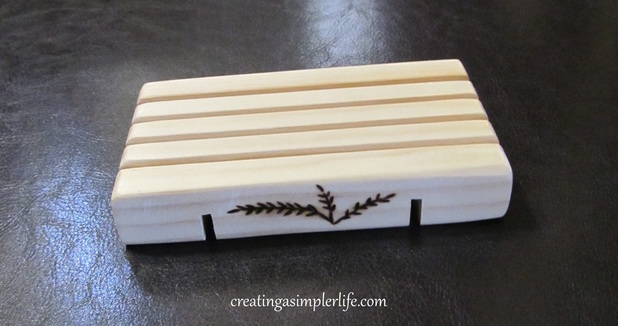 There is nothing better than a sustainable clear pine soap deck, well in my opinion anyway :-) But they are great and here's why:
Supplies Needed:
How We Make Them:
Watch this video by my husband of how we make our soap decks!
Thanks for visiting! Please consider liking and following us... we would really appreciate it :-) Sincerely,
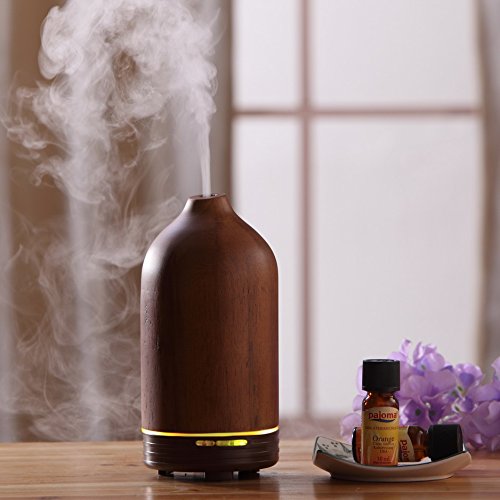
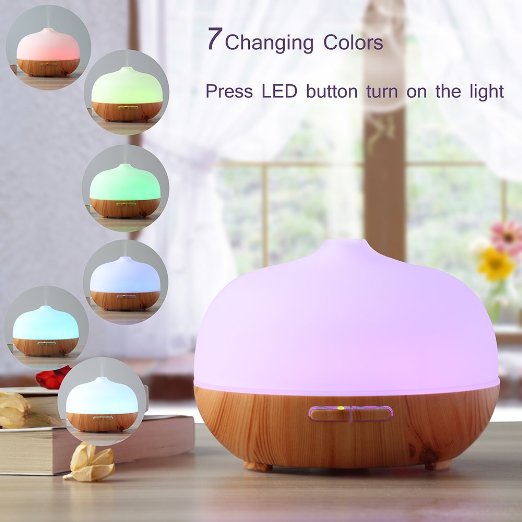
Essential oil diffuser pendants... Feel good all day, every day, everywhere you go! 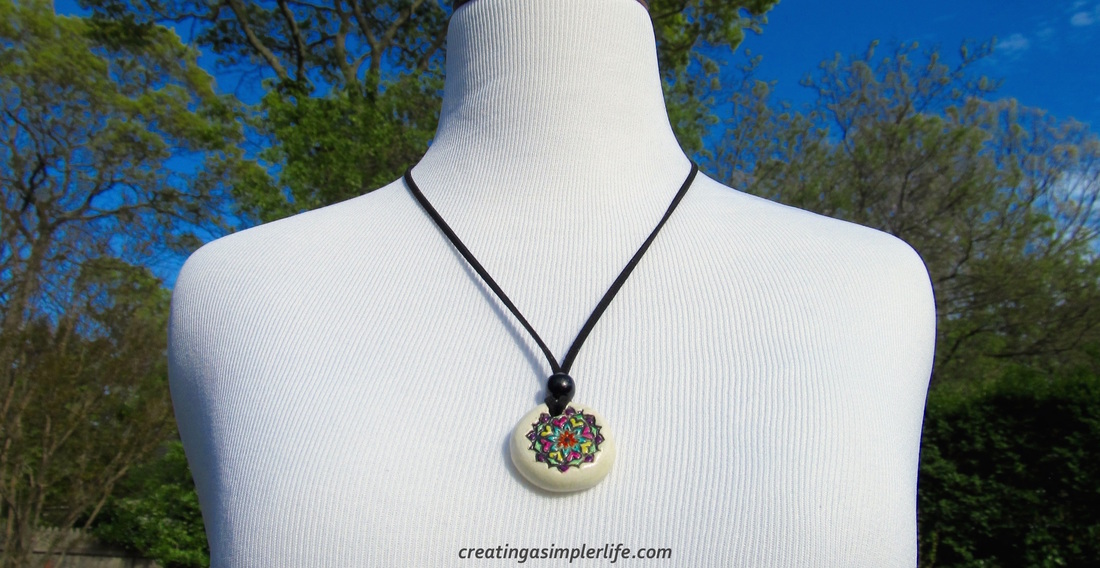 Essential oils have been used in various ways for close to 6,000 years. The science of aromatherapy was founded in 1928 and within 30 years aromatherapy was being used by doctors, nurses, massage therapists, and other health care providers. Aromatherapy is the use of Essential oils to help one heal or feel better. Though they can be used in a variety of ways this post will focus on inhalation aromatherapy using a diffuser, specifically, a personal pendant diffuser. Unfortunately many lotions, candles, and beauty products that are sold as "aromatherapy" today contain synthetic ingredients and/or fragrances. Synthetics can be completely avoided by using only 100% pure all natural essential oils. Pure essential oils are concentrated extracts taken directly from the roots, leaves, seeds, or blossoms of plants. The use of each individual essential oil depends upon its natural chemical properties and what the goal of the specific therapy is as described below. Diffuse means to spread out. A diffuser is a way to spread out the aroma of the essential oils so you can benefit therapeutically from them!
Just add one drop of oil...So Simple!
Which essential oils should you use? There are many different essential oils available. Some oils are helpful when coming down with a cold and some are more helpful if you are tired or stressed. You can even buy or make blends of different oils to help focus on specific problems. Regardless of the oil, all you need is from 1 to 3 drops depending upon the oil and size/type of diffuser. Our pendants only require 1 drop to help you feel good! *Here are a few Essential Oils that we use regularly:
*NOTE: If you are pregnant, nursing, or have any health issues you should always check with your doctor before use! Special 20% off all our diffuser pendants with code 20NOW at checkout! |
|
| |
 |
| |

|
|
All
Adirondack Crafts
Chickens
Conservation
Crochet
Do It Yourself
Energy Savings
Essential-oils
Essential-oils
Food-storage-preservation
Food-storage-preservation
Gardening
Health
Health-wellness
Health-wellness
Homemade-remedies
Homemade-remedies
Homesteading
Homesteading Dreams
Inexpensive Fun
Minimizing
Organization
Products We Sell
Recipes
Recycling
Saving-money
Saving-money
Shopping
Wedding & Shower DIY
July 2020
June 2020
April 2020
March 2020
March 2019
January 2019
December 2018
October 2018
August 2018
July 2018
June 2018
April 2018
March 2018
February 2018
January 2018
November 2017
October 2017
September 2017
August 2017
July 2017
June 2017
May 2017
April 2017
March 2017
February 2017
January 2017
December 2016
November 2016
October 2016
September 2016
August 2016
July 2016
June 2016
May 2016
April 2016
March 2016
February 2016
January 2016
December 2015
November 2015
October 2015
September 2015
August 2015
July 2015
June 2015
|
|
|
|


 RSS Feed