Blog
A little bit of anything and everything that's part of
creating, enjoying, and living a simpler life!
creating, enjoying, and living a simpler life!

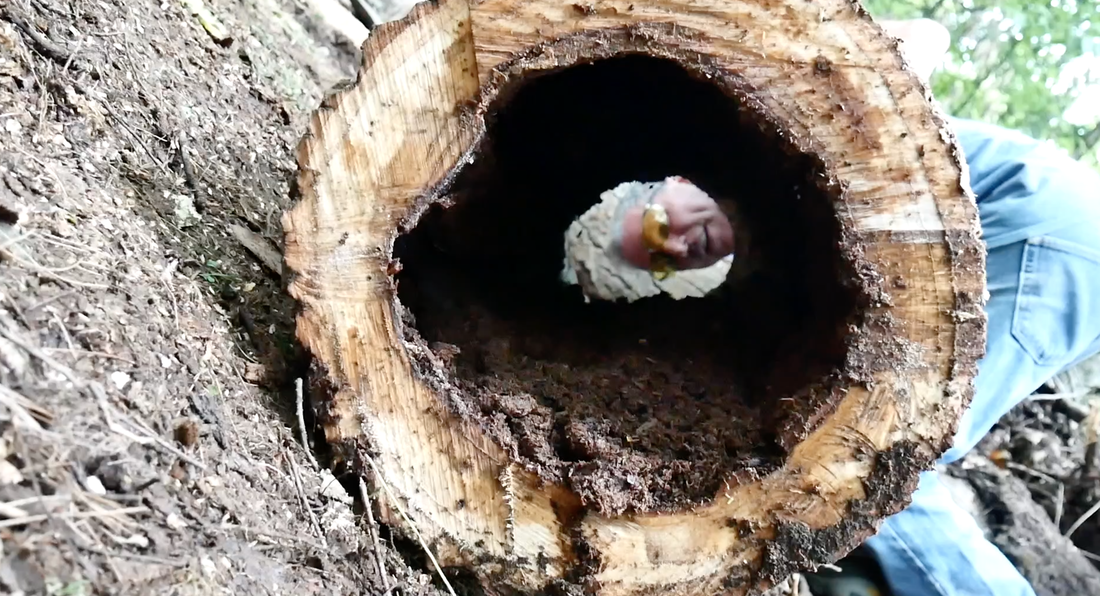
So we have hollow logs and trees on our land and this can be a real problem. We honestly had no idea that this was even a thing until we started clearing the land to put our private driveway in. Turns out this is a pretty common problem. It is also a dangerous problem, but I will get to that in a minute.
Why are the trees hollow? This is a question that I needed an answer to. I guess this is why I am a science teacher....I need reasons and answers. I not only wanted to know why, but exactly what causes it, how to prevent it if possible, and how to recognize trees that might be hollow inside and pose a danger. Ok, so the reason they are hollow is because they literally have a fungus eating them from the inside out. Yup, sounds gross. But apparently that is what it is. It is sometimes called heart rot because it is eating away at the 'heart' of the tree. There are actually different circumstances that can cause the fungus to eat away at the inside of the tree quite rapidly. For example, too much water will allow the fungus to thrive and this was one of the most common answers I was given when I asked people who live in the Adirondacks - it's caused by too much water. The answer makes sense if you have ever been in the Adirondacks in the spring. Have you ever heard of the muddy season? When the snow melts the Adirondack park becomes a giant mud puddle. It was even hard to walk around our land in the spring - only high spots could be navigated without sinking in. But the water just helps the fungus to grow, it is not the cause. 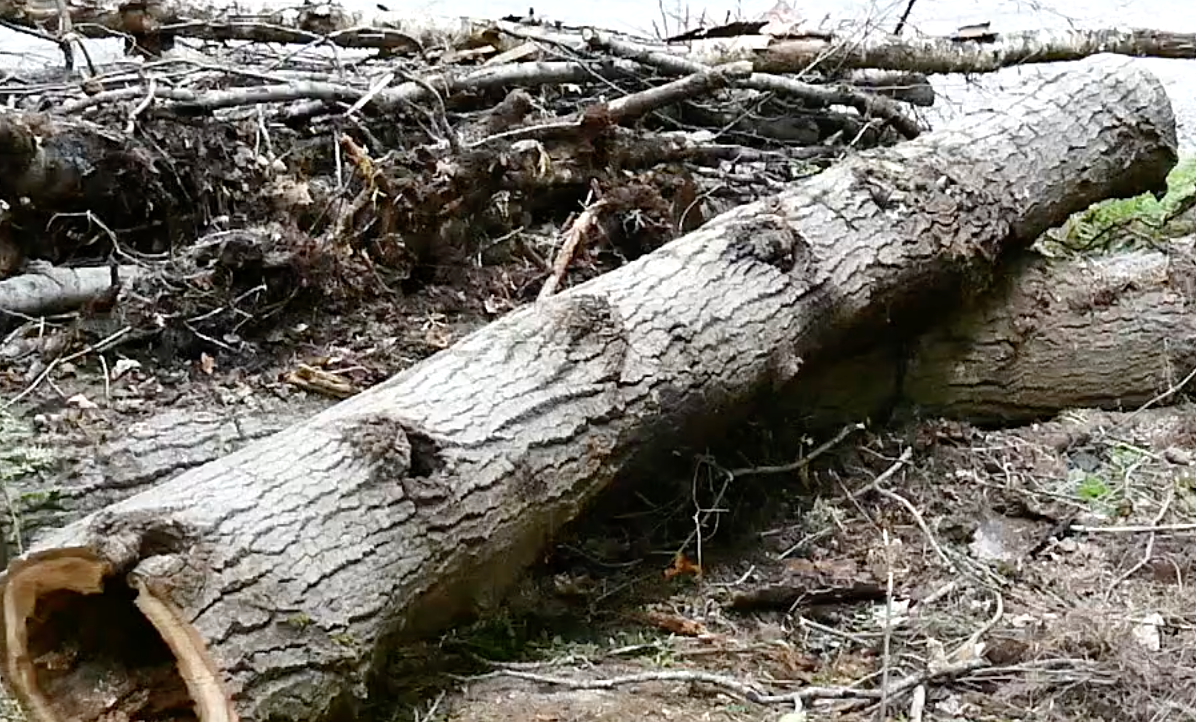
You can see the locations where branches broke off and fungus was growing at one point.
What causes the fungus?
The Adirondacks can be a pretty dangerous place when the weather suddenly changes and the winds pick up. Especially in the spring when the ground is so wet and soft. The trees tend to be very tall and the roots are not necessarily deep due to the bedrock being near the surface in a lot of areas. During this time trees can fall very easily. Seriously, I know this first hand. We were hiking around our land this past spring when this happened. I was standing in what is not our clearing listening to trees crack as they began to fall. It was one of the scariest moments in my life. I heard it, but I didn't know where it was. I just stood still urning in circles to see what was falling so I would know if I needed to run or not. Luckily it fell a good 20' away from me. I was also fortunate that it did not hit another tree and cause it to also fall (also a very common occurrence). So anyway, as we spend more and more time on our land we are learning more and more about the dangers that lurk beyond the beauty and peace of it all. So back to the fungus. When winds blow and trees fall, branches also tend to break. Trees can also be damaged by vehicles and work equipment, and even humans when clearing a path. Anywhere a branch has been broken or cut off an open wound is literally left behind for the fungus to grow and enter the tree. The fungus is always out there and is referred to as shelf fungi or fungal conks. They come in different shapes and sizes and can also be beneficial in some ways. However, the conks are how we are going to be able to identify the trees that are most probably hollow. All we have to do is identify the trees with a lot of conks going up it and that would be the one we want to cut down because it is not healthy and has the potential to fall easily in the next storm. 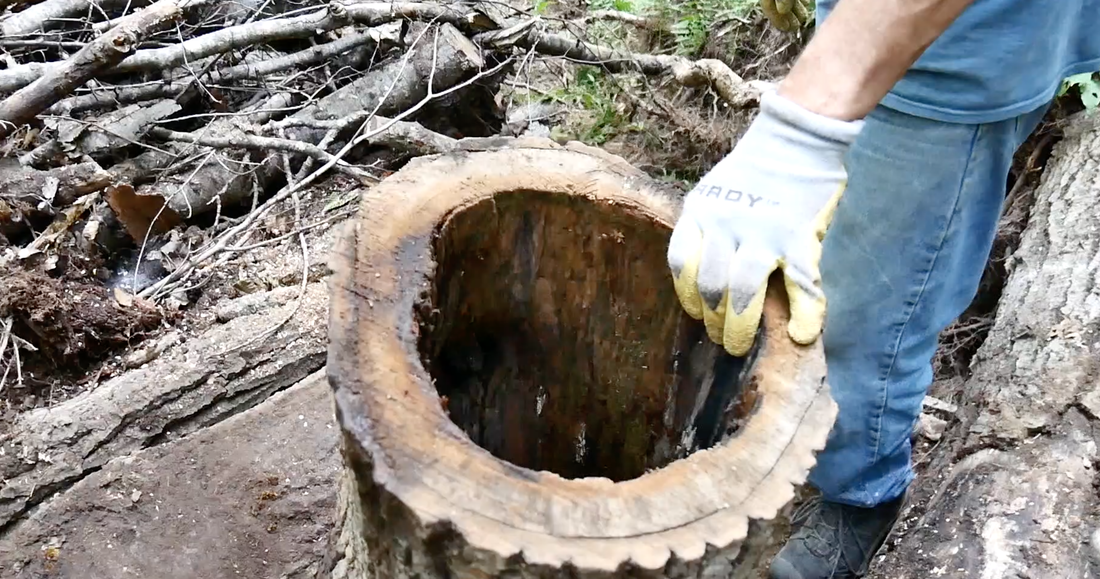
What to do?
Well, we will begin harvesting the trees that we believe to be hollow or damaged and we will use the wood! It could simply be burned, but we prefer to be more creative. I have already made some beautiful picture frames (video and post coming soon) and we have plans to make some end tables and maybe even a coffee table. Nothing goes to waste! Even the soft material inside is great for the garden! Check out the video we made of us harvesting the wood, laying it out to dry, and even cutting a few slices to make picture frames and please subscribe to our YouTube channel! It would help us out a lot :-)
Here is a video of the photo frames I made with some of the slices my husband cut:
Thanks for visiting!
Sincerely,
Sources:
2 Comments
We have bats. I know for a fact because they have literally flown past my head. This mostly happens ad dusk when we are swimming in the pool. The bugs just love to hover right above the surface of the pool so the bats just love to swoop in and "chomp" on them! I don’t mind though. In fact, I am actually thrilled because with all the mosquito born illnesses being discussed on a daily basis in the news we certainly want to get rid of them. So we welcome the bats because, well, they eat this nasty mosquitoes right up!!!
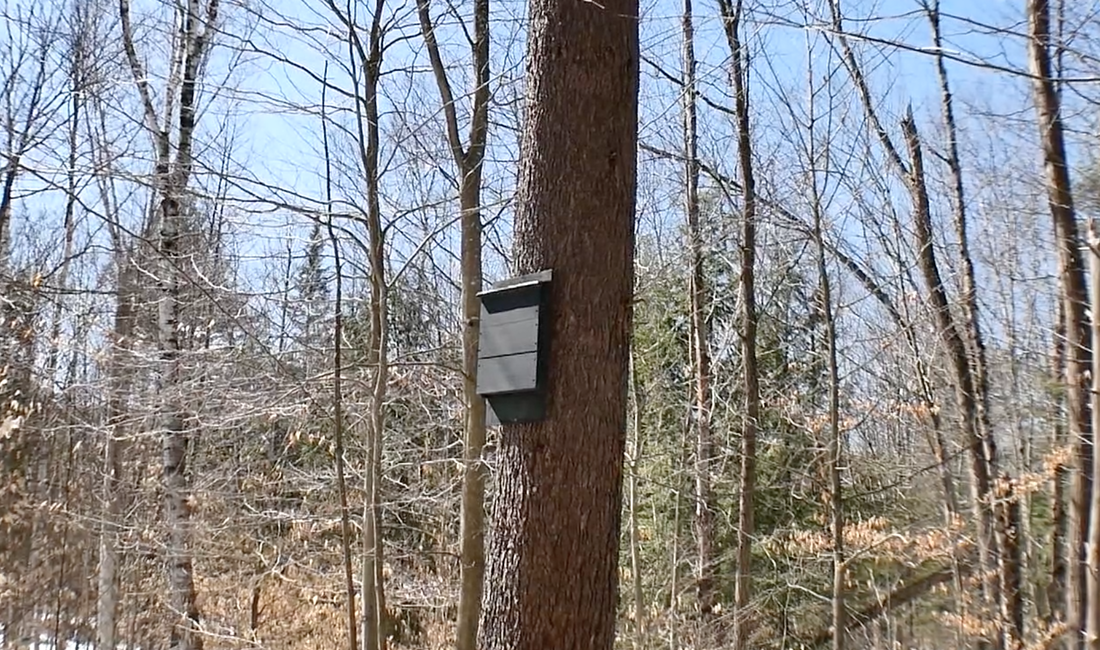
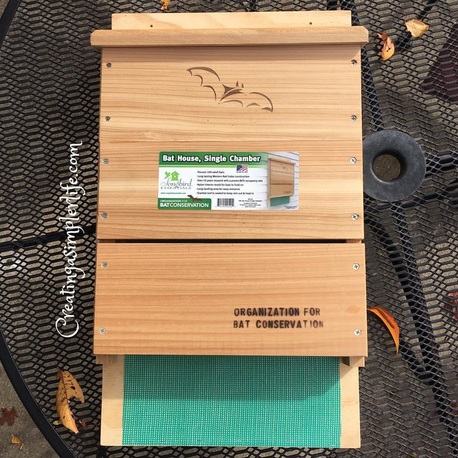
Think about it. Have you ever heard anything good about mosquitos? I certainly haven't. I just 'googled' the question and the only good thing that came up is that they are part of the food web. Yup, they are good food for birds, fish,frogs and, of course, bats! Their purposes on Earth is to be food for other animals. Sort of the bottom of the food web. So I guess it makes sense that we (humans I mean) do everything we can to either get rid of or to minimize their presence. On a community level they spray neighborhoods regularly where we live. I don't really like this, but even with the spray the mosquitoes are horrible. On a personal level people use all kinds of sprays and lotions, burn citronella candles, buy mosquito zappers, and more. In our yard we make sure there is no standing water, we make natural DIY mosquito repellant (essential oil recipe here), and of course use citronella in lots of places. And now, we finally have a bat house that holds up to 100 bats! But we are not hanging it at our current house, we are hanging it on our future homestead! Yes, that's right, we have decided to hang the bat house on our land in the Adirondacks. We chose to do this because the summer is when the mosquitoes are the worst and last summer when we were working on the land we were literally eaten alive. So this summer we are hoping to decrease the mosquito population by luring bats in the area where we plan to build our house. Check out our video on You Tube of How NOT to Hang a Bat House:
What are the benefits of a bat house?
What are the negatives?
Check out our YouTube video about why you NEED a bat house! Please be sure to subscribe to our YouTube channel for future videos!
What next?
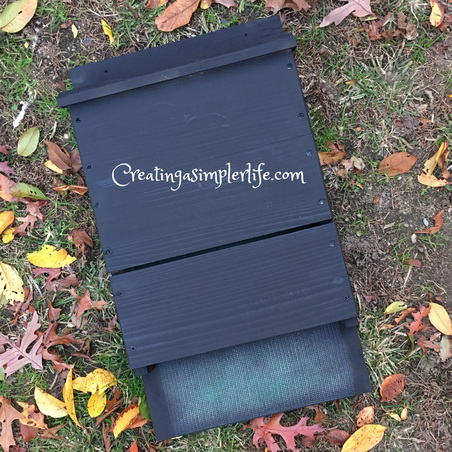
Buy or build a bat house – some links for plans and some links to buy it 1. Build a Bat house with one of these plans: - Single Chambered Bat House by Bat Conservation International - Plans, Tips and More from from the Organization for Bat Conservation 2. Buy a Bat house at this link (same one I have): - Single Chamber Bat House by Organization for Bat Conservation $49.99 Paint the Bat House: Depending upon where you live and the average temperatures, the color you paint it will vary. We painted ours black because of our location. 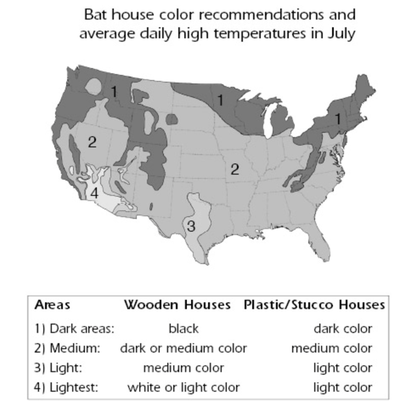
Try to use exterior water based paint or stain paint.
Hanging the Bat House
If You Build it They Will Come....Maybe
"What?" After all that work there is a chance that no bats will move in? This is true, thats a possibility. So here's how to increase your chances of having bats move in:
Update! We have purchased a new ladder (Gorilla Ladder 22') and relocated the bat house! Check out our new video of us using the ladder to relocate the bat house :-)
Thanks for visiting!
I would love to hear if you have a bat house and how it has worked out for you :-) Check out our Bats and Bat Houses Pinterest page for more information and tons of other plans and ideas. Sincerely,
Sources:
http://www.cdc.gov/rabies/bats/education/ www.mayoclinic.org/diseases-conditions/histoplasmosis/basics/definition/con-20026585
FREE Printable Recipe Cards!
I love parties and I love them even more when I am providing healthy beverages and snacks that are suitable for most, if not all, of the guests! Check out these two party favorites!
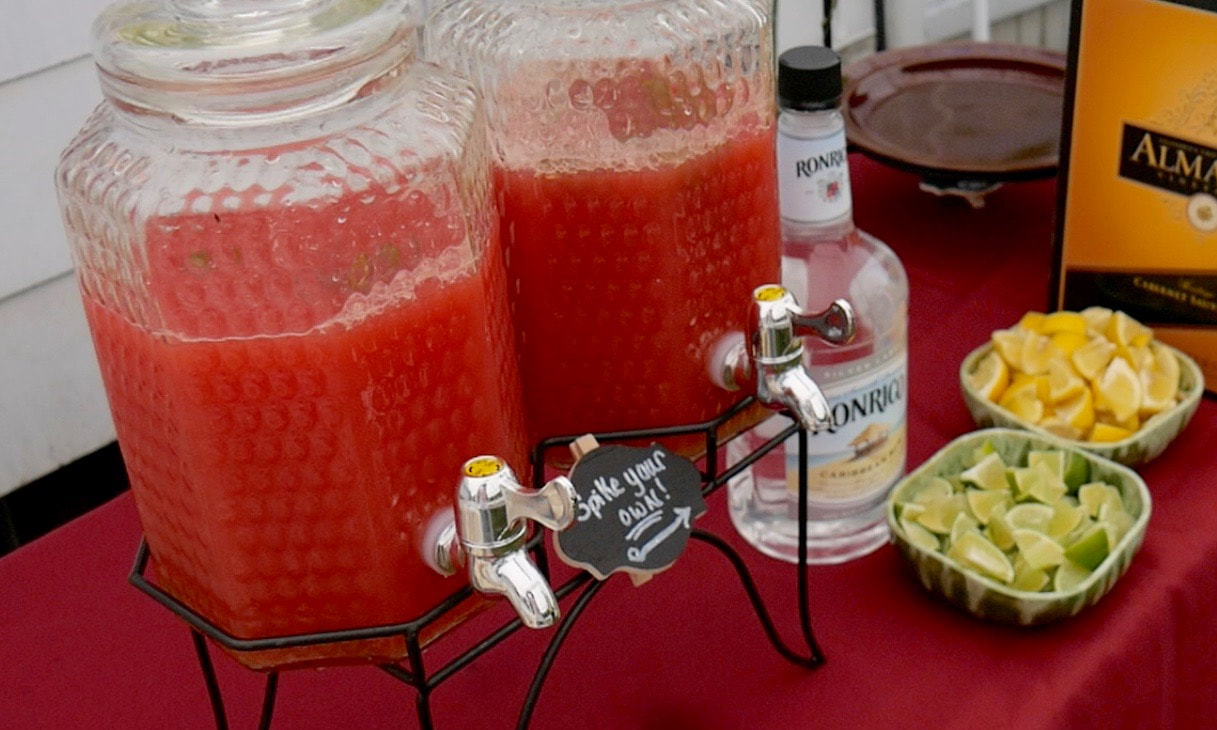
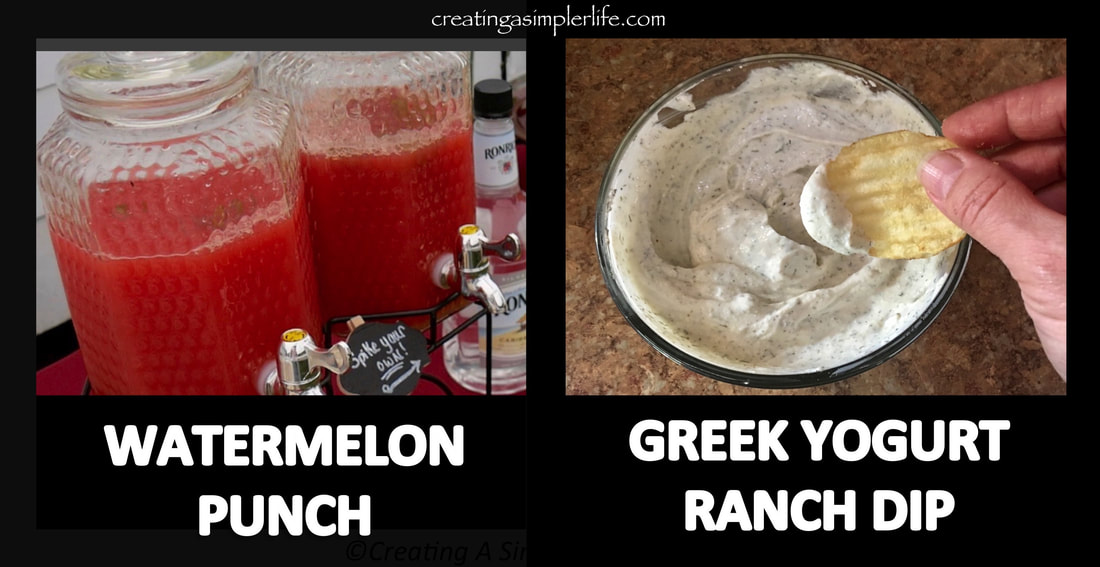
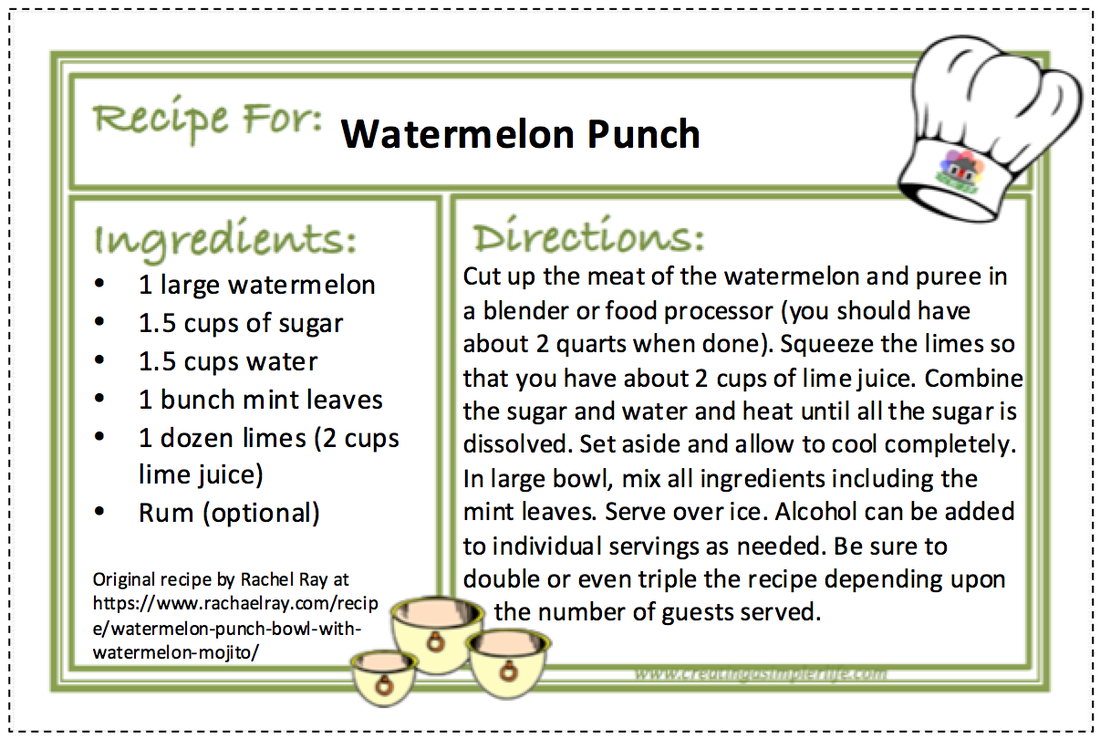
WATERMELON PUNCH is a healthy and delicious beverage that is sure to make any party, especially an outdoor summer party, extra special! My daughters mother-in-law made it for the backyard bridal shower last summer and it was an absolute hit with the guests!
The original recipe comes from Rachel Ray who is known for her fabulous, and simple, recipes, however a few minor changes were made. The watermelon was not used as the bowl and the alcohol was not added. Instead, the punch was provided in beverage dispensers (see photo above) and a bottle of rum was on the side to be added if guests chose to spice up their drink! Extra limes and lemons wedges were also included in bowls on the side for added flavor if desired. Honestly, it was delicious and refreshing with or without the alcohol! 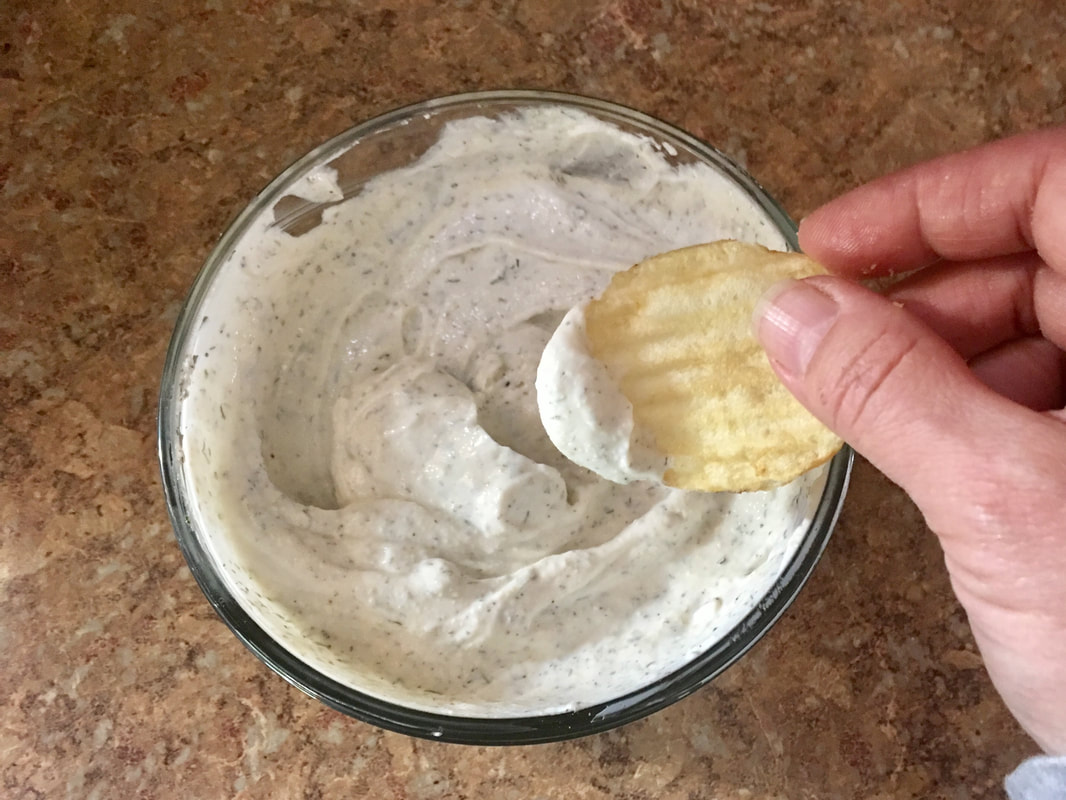
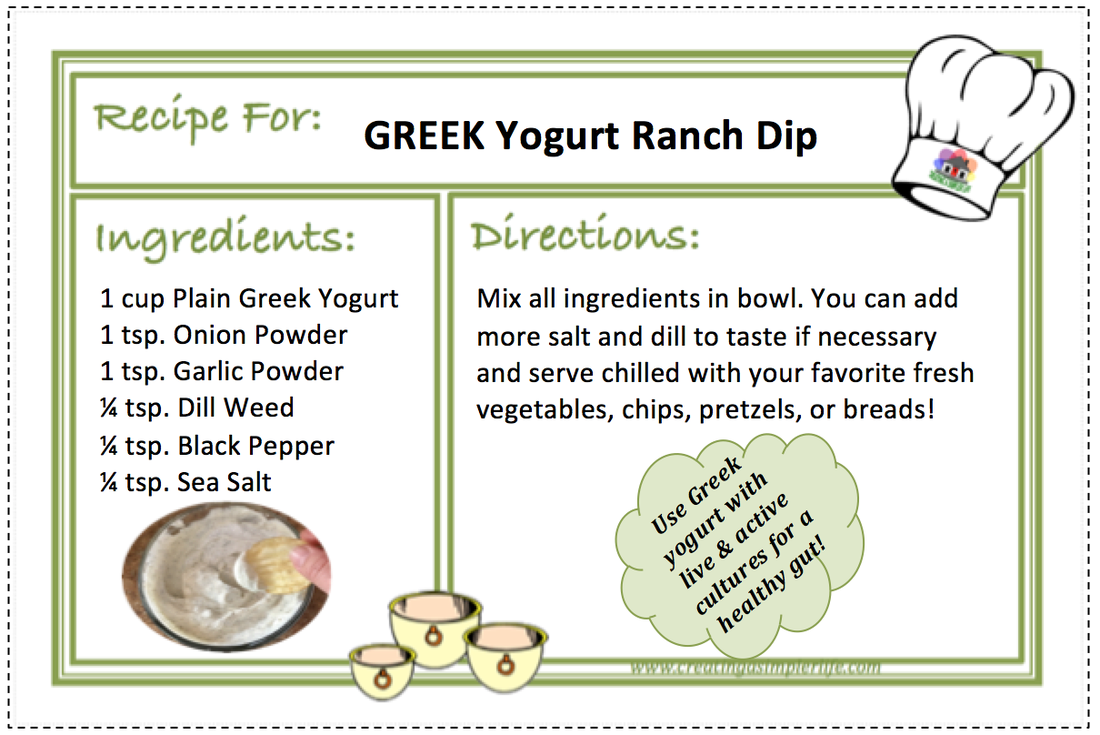
GREEK YOGURT RANCH DIP is a healthier, and in my opinion, better alternative to all other ranch dips because it is high in protein and low in calories. It's made of all natural (preferably organic by choice) ingredients and if you buy a high quality yogurt with live and active cultures it is a giant plus for the digestive system! It can also be eaten by anyone that is lactose intolerant because apparently the good bacteria takes care of any lactose for them. Definitely another bonus for guests, including any lacto-vegetarians!
Print out these two FREE 5x7 Recipe Cards Now!
Simply click on either of the recipe cards below or the link above to download an 8.5" x 11" pdf document. Then simply print it on 8.5" x 11" card-stock paper (affiliate link) and cut them out! I always include two recipes at a time so theres as little paper waste as possible :-)
Thanks for visiting!
Check out our other printable recipe cards and/or our Weddings & More page for more great party ideas. Sincerely,
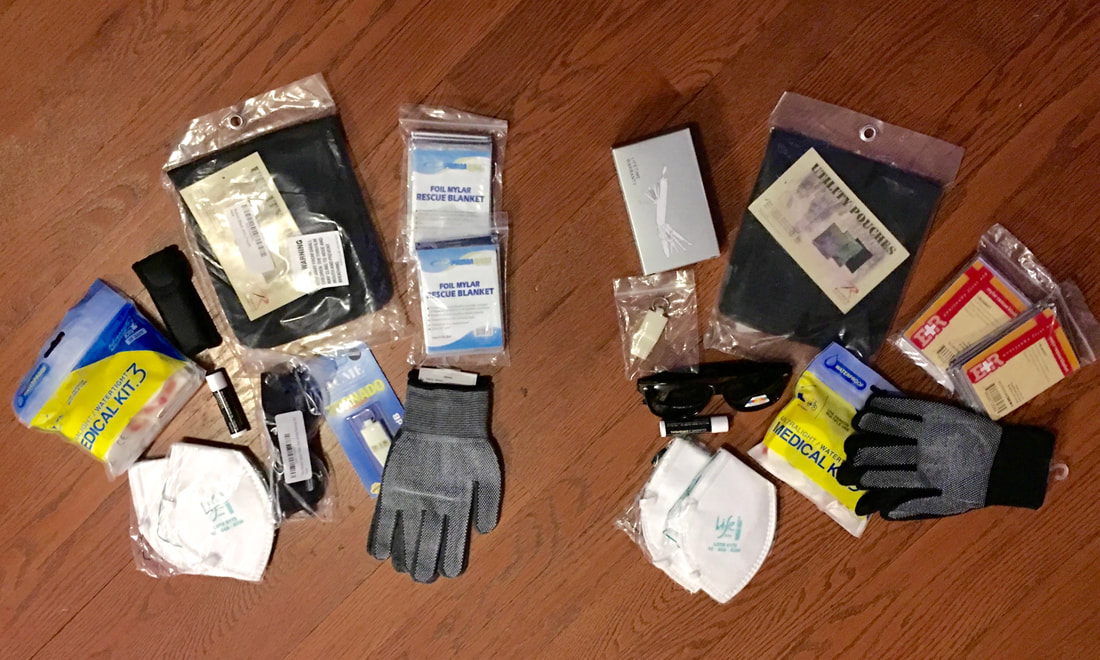
Supplies for two kits are shown above.
We LOVE the Adirondacks and if you've read anything about our Future Homesteading Dreams then you know we have 30 acres in the Adirondack Park that we will be moving to permanently when I retire. We really can't wait...especially for the cold winters where we can ride snowmobiles on the trails that run right through our land! How convenient:-)
But the Adirondacks get cold. Really cold lately. And there are hundreds of miles of snowmobile trails that are very often not within easy walking distance of anyone or anything. And of course it's hit and miss with the cell phones. So I started thinking about safety. My parents are both in their 70's and still out there snowmobiling. Oooh. What if...what if....Nope. Instead of thinking about the 'what ifs' I decided to do something. I made them each a simple 'survival' kit to keep on their snowmobiles. It's not a perfect kit, but for it's easily portable size it has the basics that could save a life if necessary and that is all that matters to me. Nobody in their right mine goes out there snowmobiling alone anyway. At least they shouldn't :-) Snowmobile 'Survival' Kit (affiliate links): 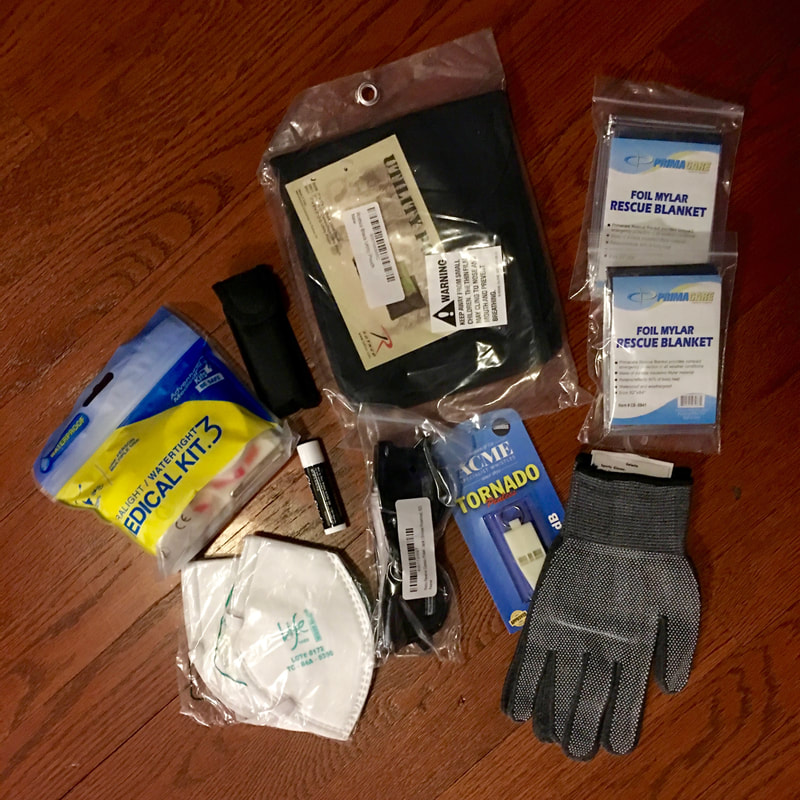
Of course these mini 'survival' kits have multiple other uses besides snowmobiling. Depending upon what you add or remove from them they can be suited to fit any activity. I made similar kits for bike riding (straps to the bike), hiking (fits right in the backpack), and for the cars (they fit in the glove box). Each kit is pretty much the same with a few minor differences because who knows? And why not be ready just in case?
What a thoughtful way to show your family how much you love them! God bless and have a wonderful day.
Sincerely,
FREE Template!
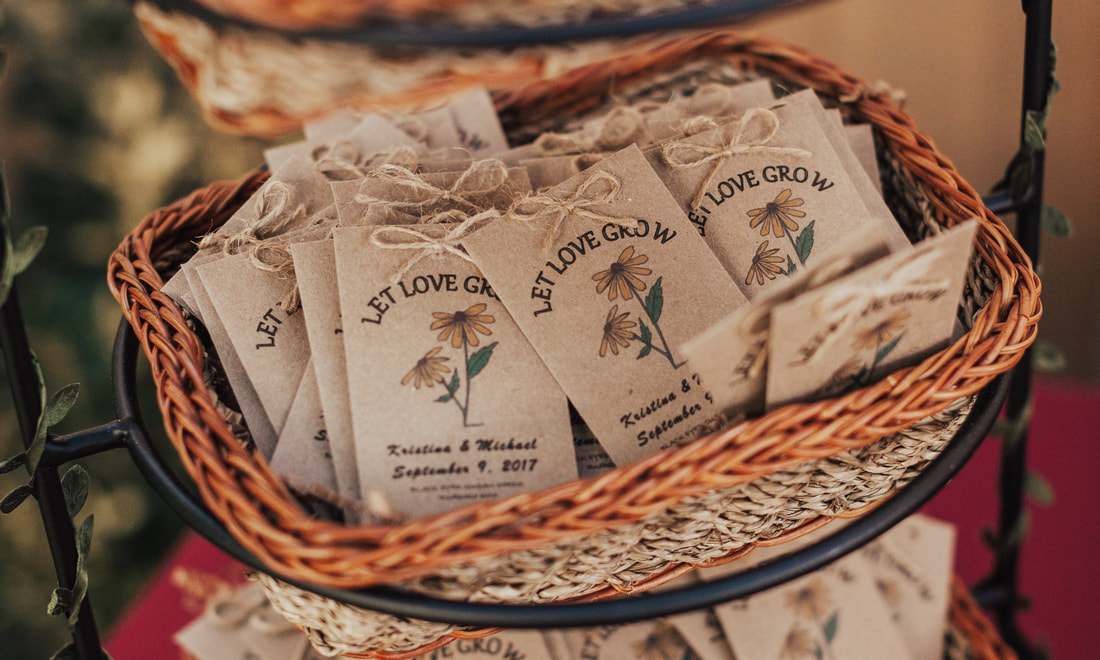
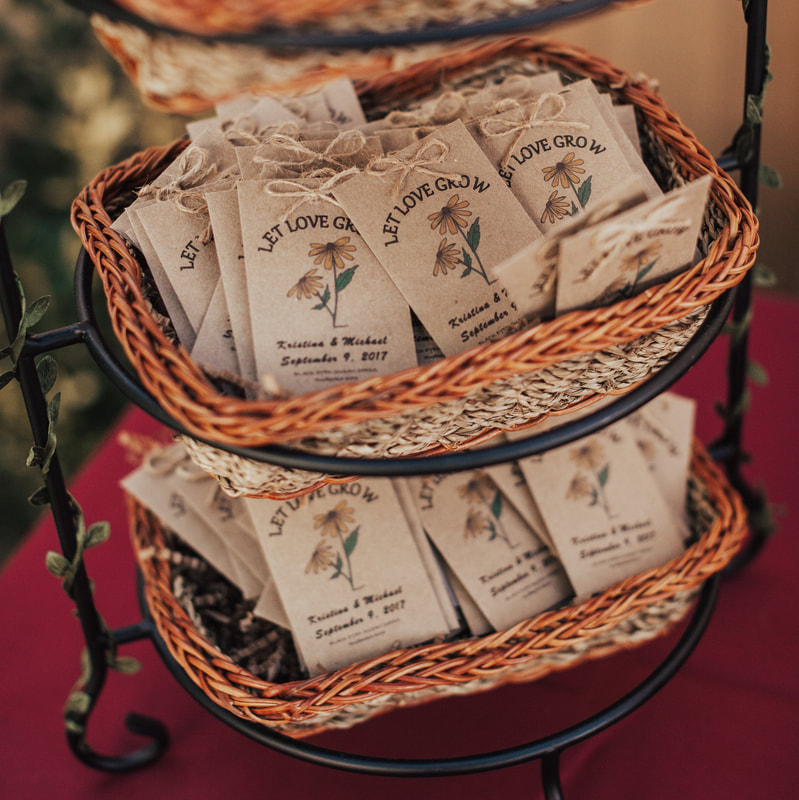
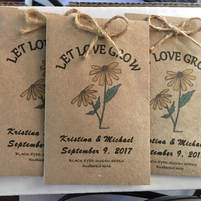
Photo by Samantha Brancato Photography
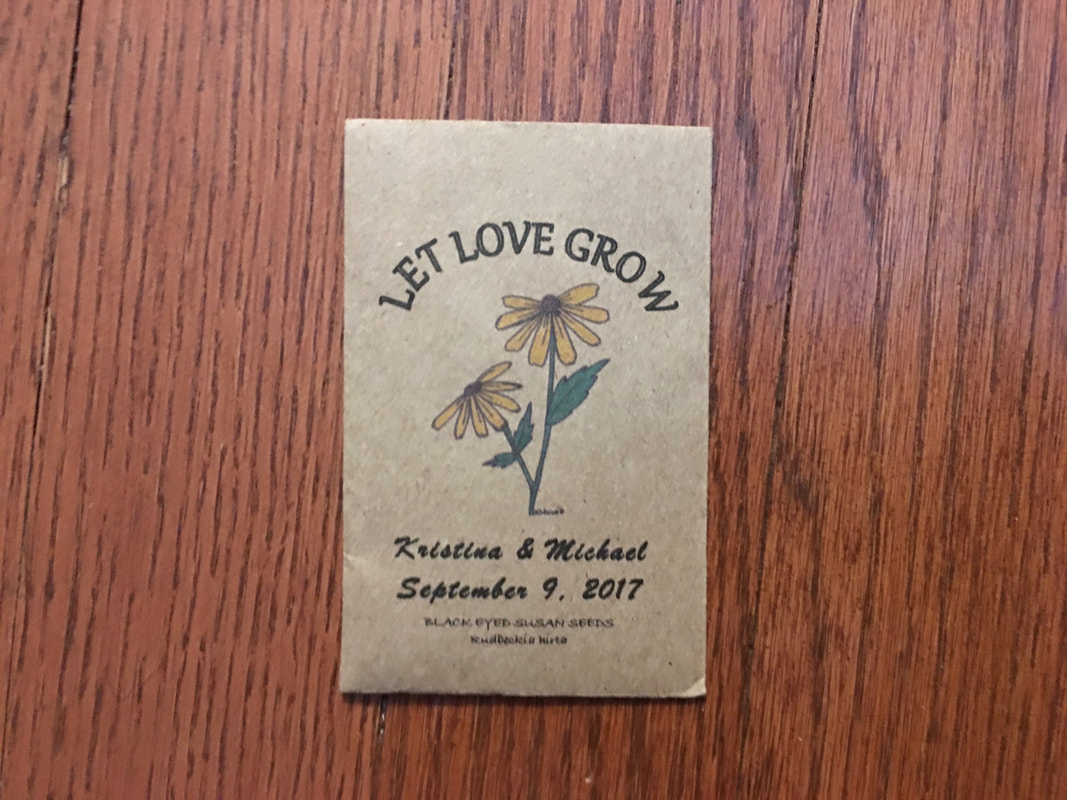
This was a simple project to make and they are absolutely adorable! I made these seed packet favors for my daughters wedding this past September but they can easily be altered for bridal showers, baby showers, and more!
Watch our quick YouTube video below, or check out the pictorial instructions farther down! The materials list and templates with detailed instructions are below the video. Thanks for visiting!
Materials (affiliate links through Amazon.com):
Seed Packet Front Download
(Download using button below) 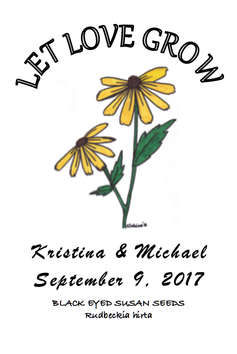
Instructions:
Print the Planting Instructions (download using button below)

Directions:
Pictorial Directions:
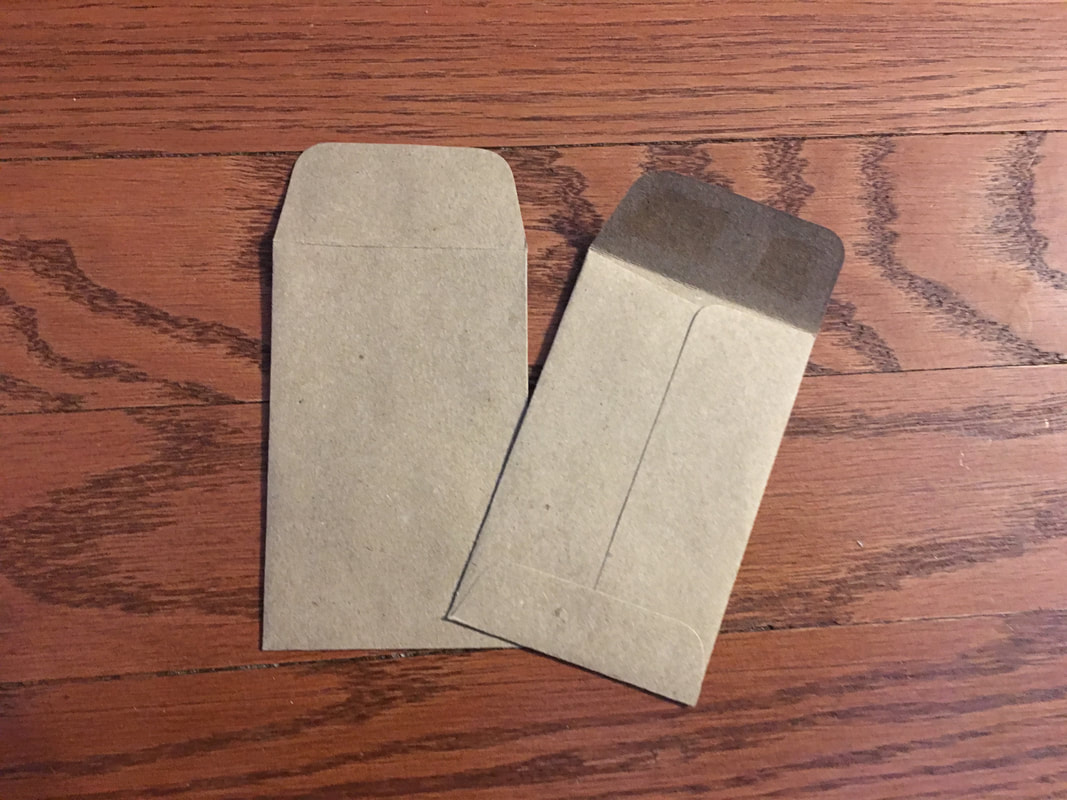
Print the envelopes.

I used black-eyed susan seeds. because they grow easily and re-seed themselves every year!
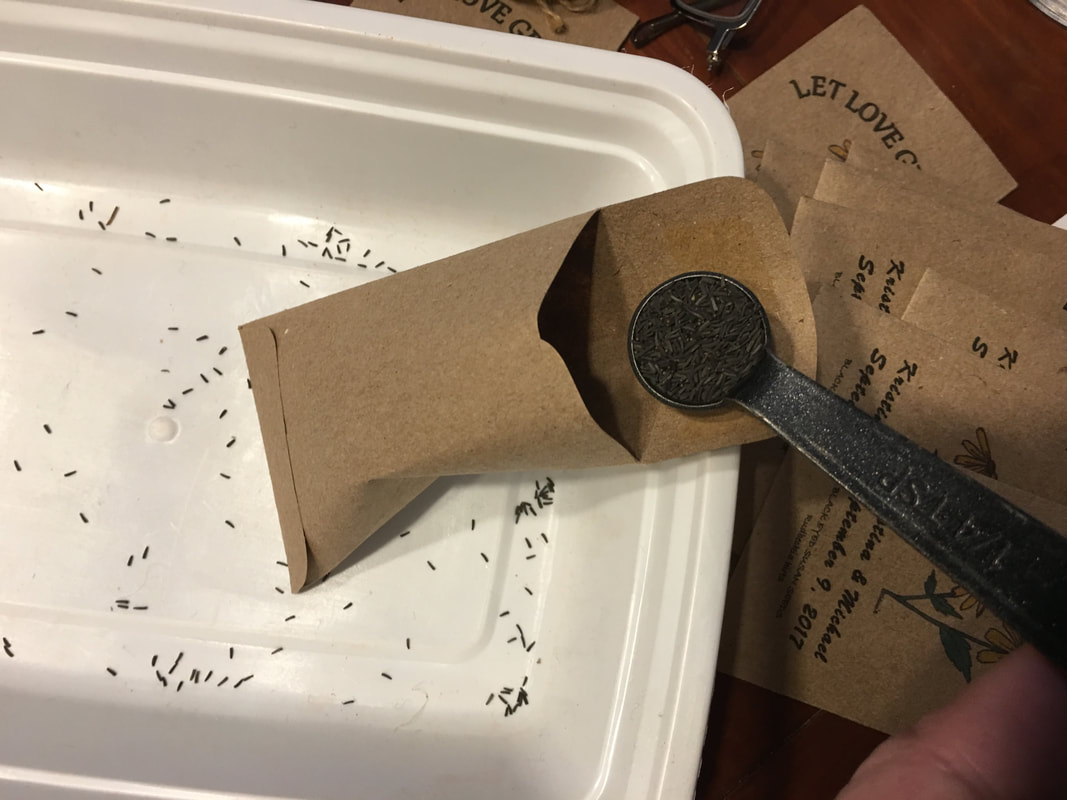
Add 1/4 teaspoon of seeds to each packet.
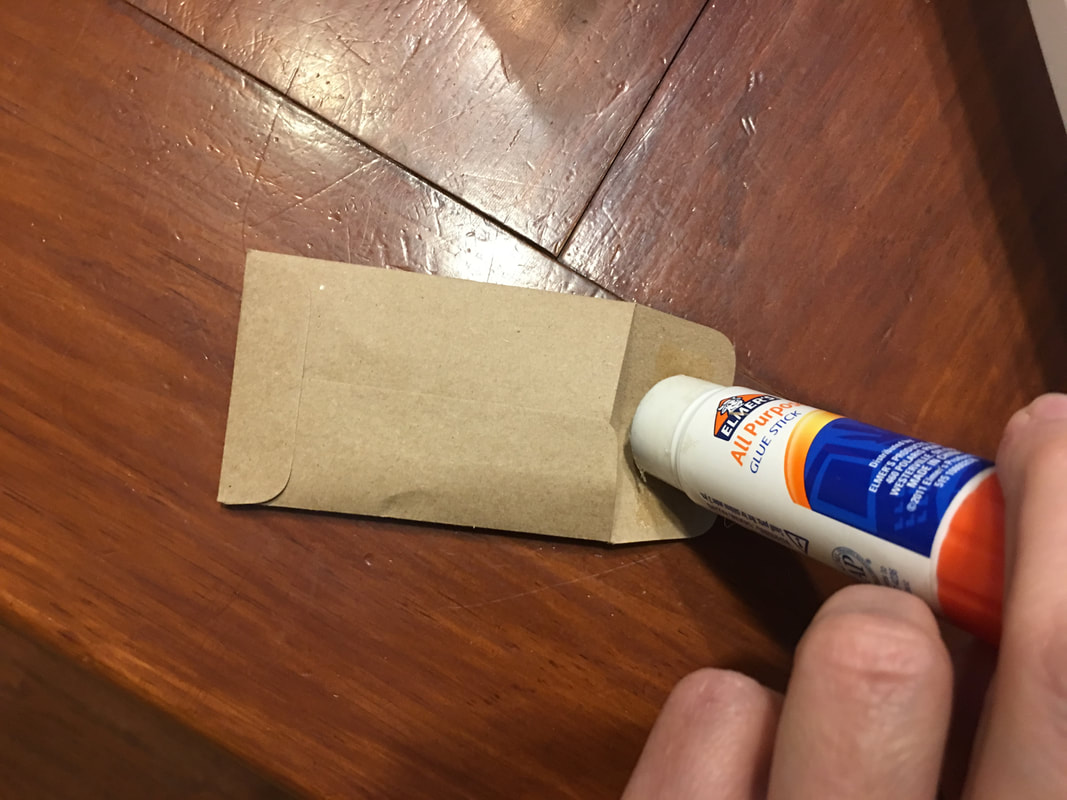
Glue the flap closed. NOTE: I could have licked the glue on the envelope but I prefer not to.
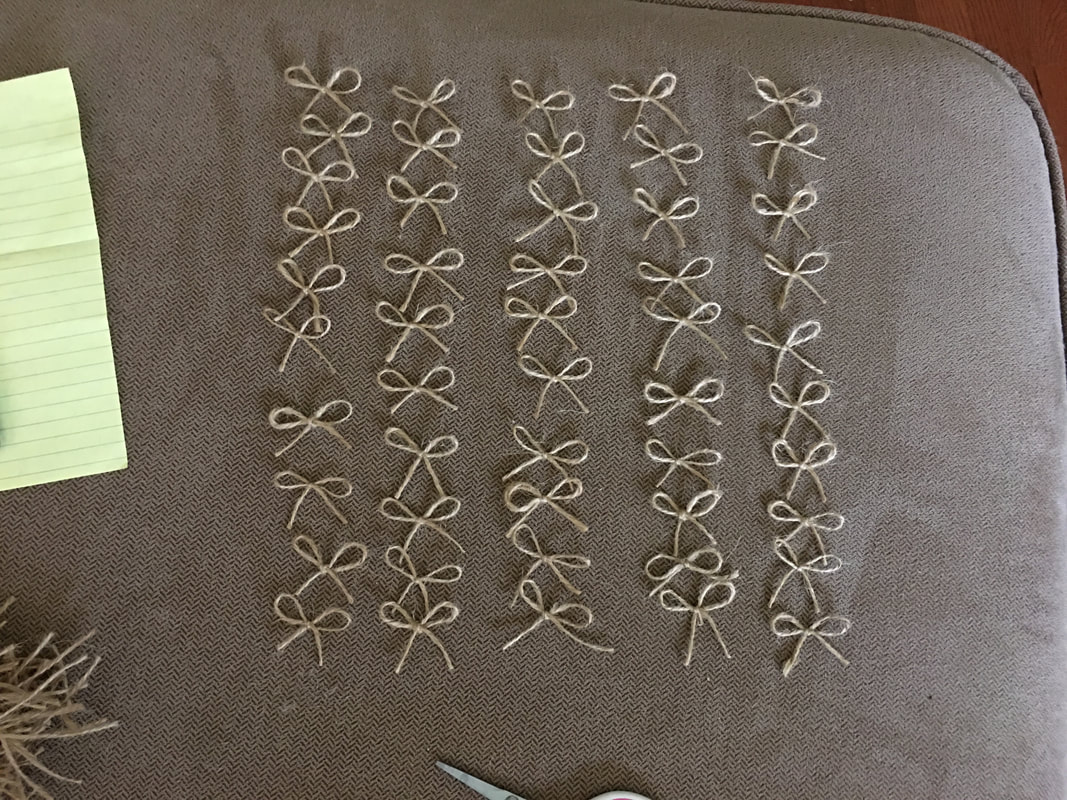
Cut string and tie small (approximately 1") wide bows.
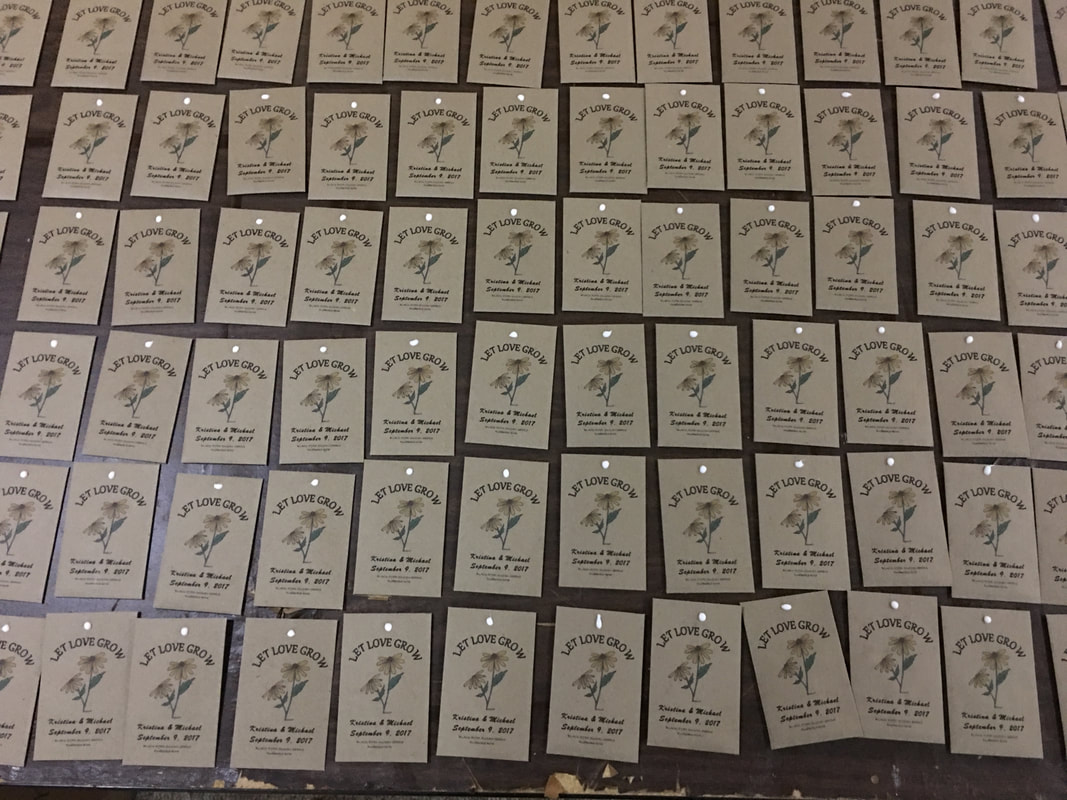
Lay all the packets out and add a single drop of glue at the top center.

Stick a bow onto each drop of glue and allow to dry overnight. I use Aleenes craft glue because it is very strong and dries clear.
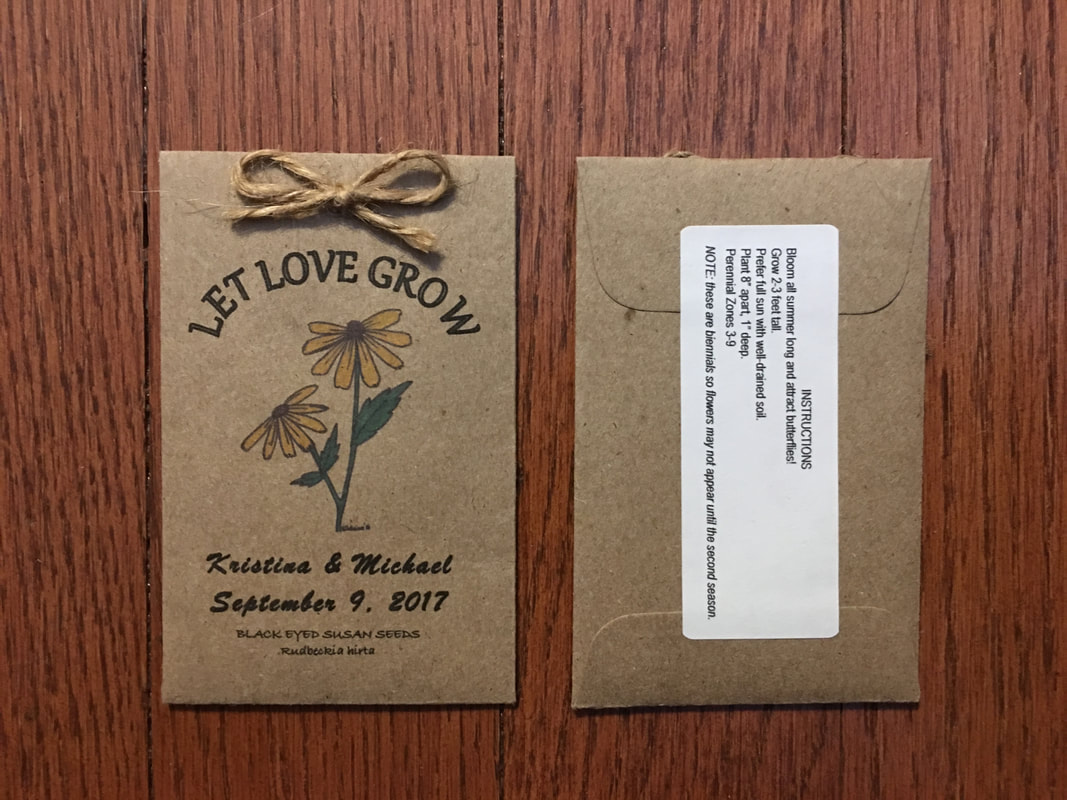
Stick the planting instruction labels on the back.
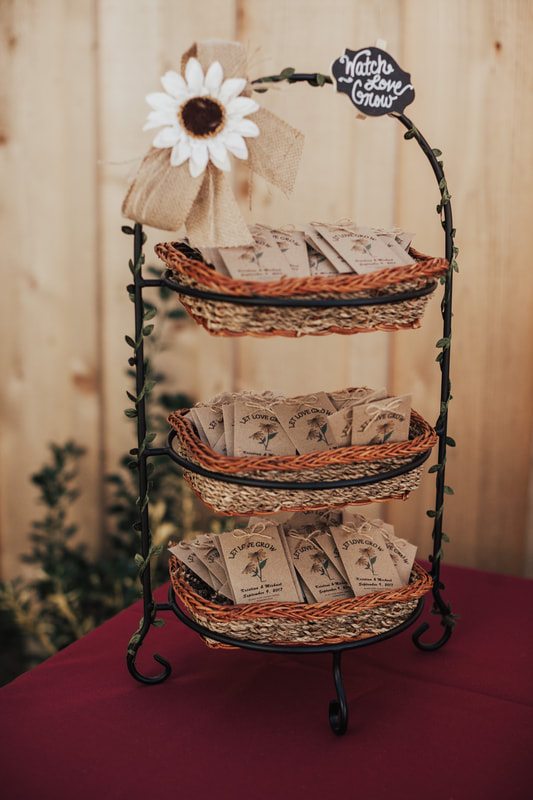
Create a display for guests to help themselves! But there are many other ways to share them with guests.
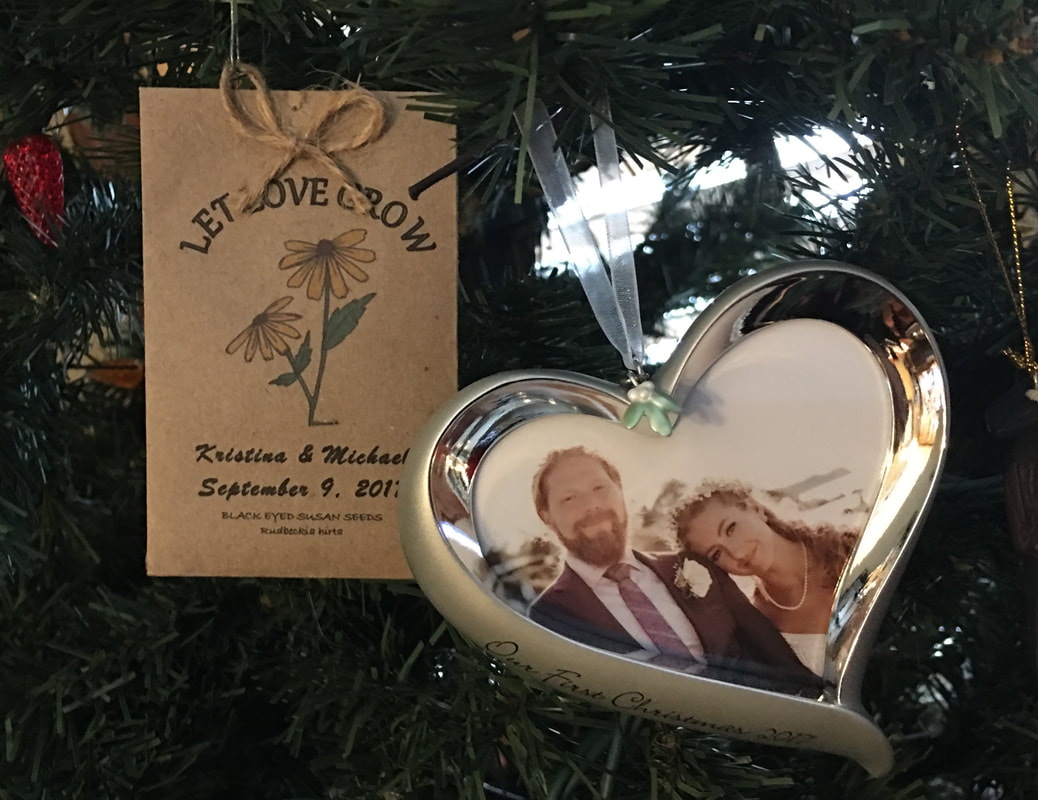
After planting the seeds I reused it by by turning it into a Christmas ornament for our memory tree! Link to memory tree blog post below.
Please feel free to contact me with any questions or comments below!
This favor was simple to make and can be edited to used for birthdays, showers, and more. Please check out our other DIY Wedding & Shower Blog Posts and our DIY Wedding and Shower videos on our You Tube Channel! And finally, if you want to know more about what a memory tree is, then read DIY Memory Christmas Tree. Thanks for visiting! Sincerely,
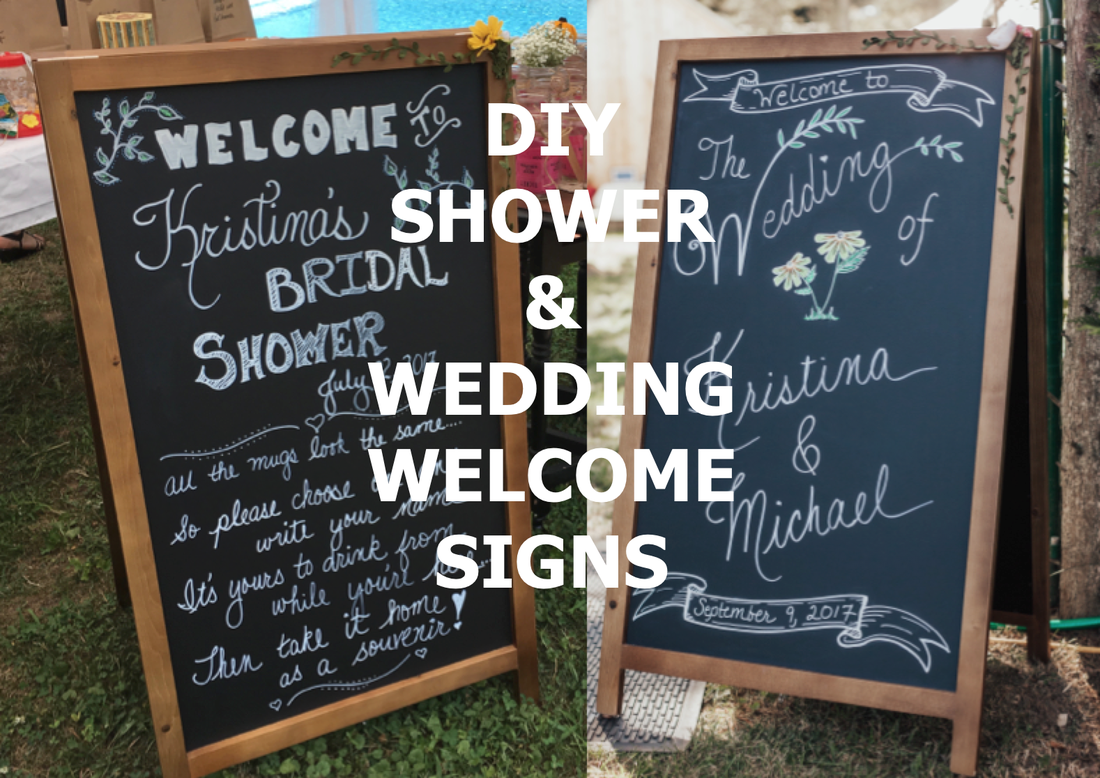
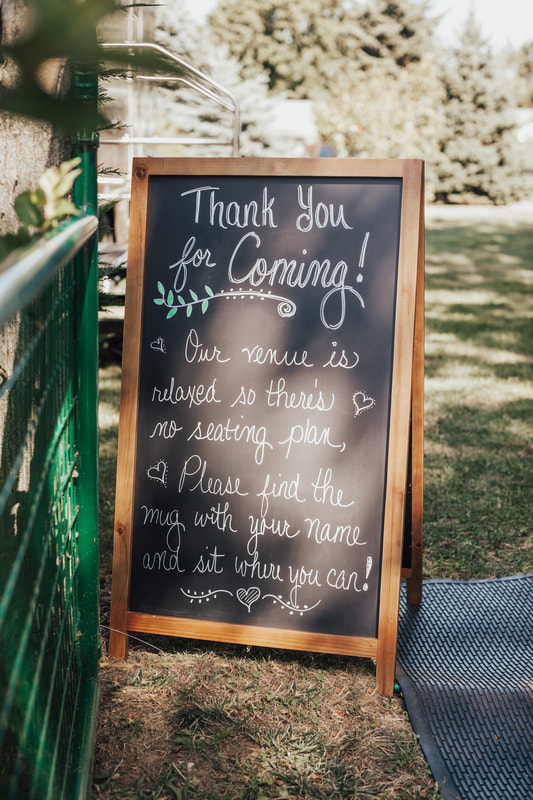
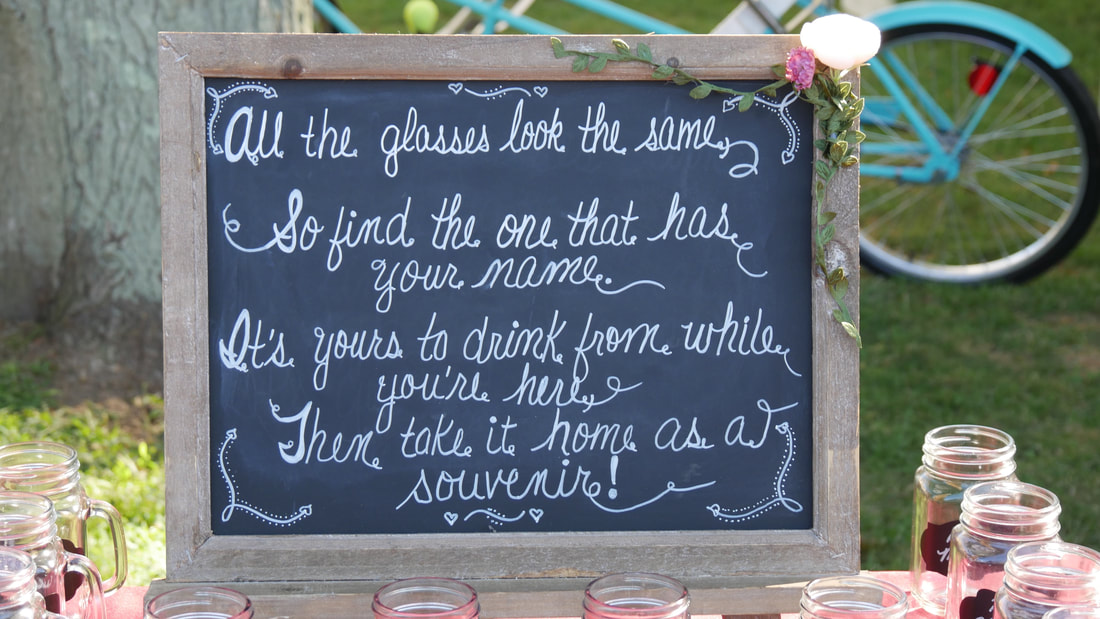
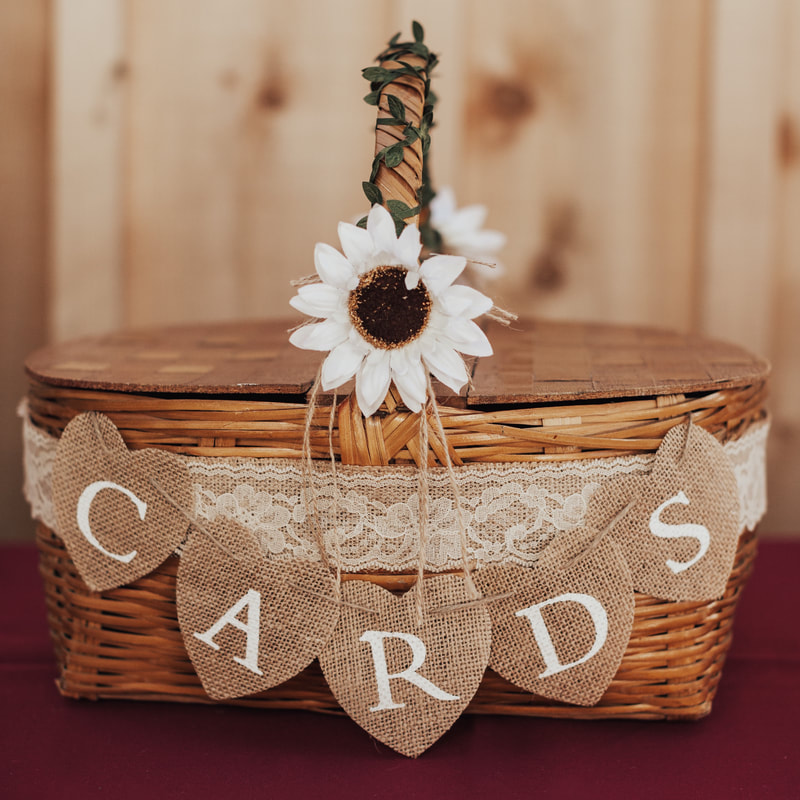
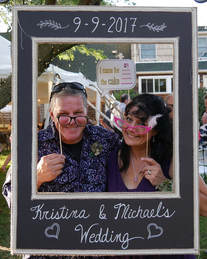
While obsessively searching through Pinterest for ideas for my daughters backyard wedding, one thing that kept coming up again and again was a welcome sign. There were many kinds of signs: some were printed, some were purchased, and some were even printed on wood for a real rustic look. I chose to go with a giant chalkboard sign like you see outside some country restaurants. I just like that rustic/country feel and I really wanted to try my hand at some fancy chalk writing. After some failure, and then a little more trial and error, I came to discover how much I like using chalk paint pens. They come in multiple colors and work really, really well! Beware though: If your surface is porous they may not wash off!
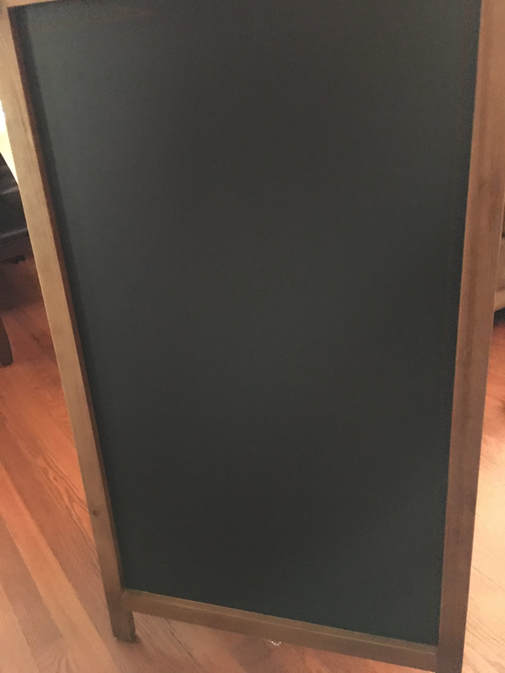
A nice clean surface to start with!

Sign in progress....
Almost done....
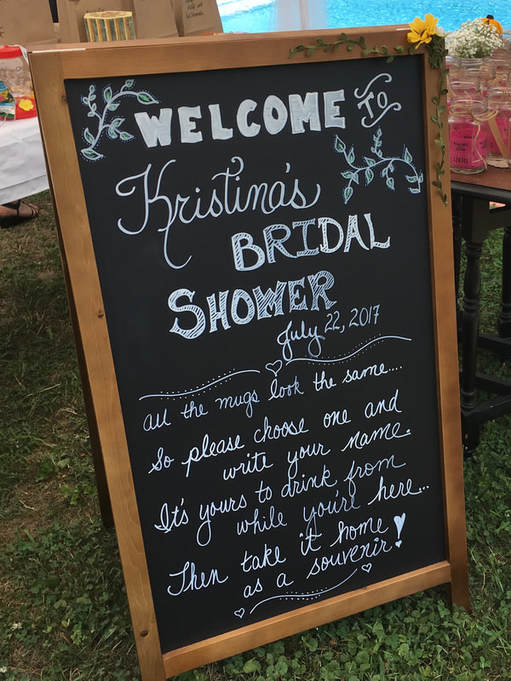
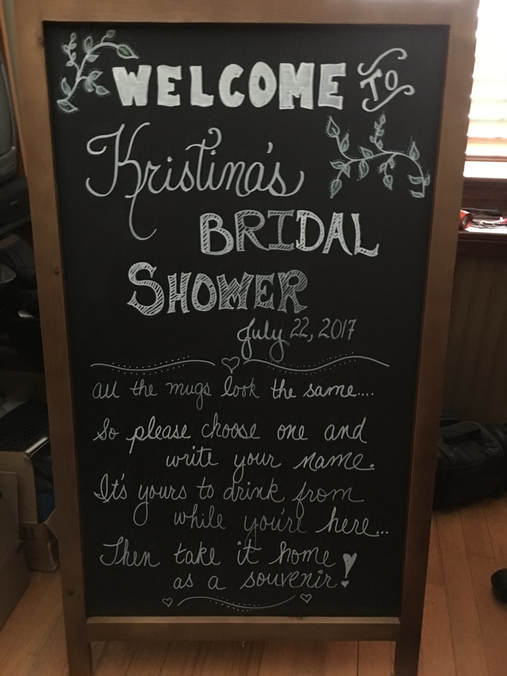
The sign the day of the shower :-)
I can't really teach you how I wrote these signs because I really just winged it. I did do some searching online for different lettering ideas but after trying several of them I decided to just go with what felt and looked right to me.
What I can do however, is share some tips with you that I learned:
Products (affiliate links):
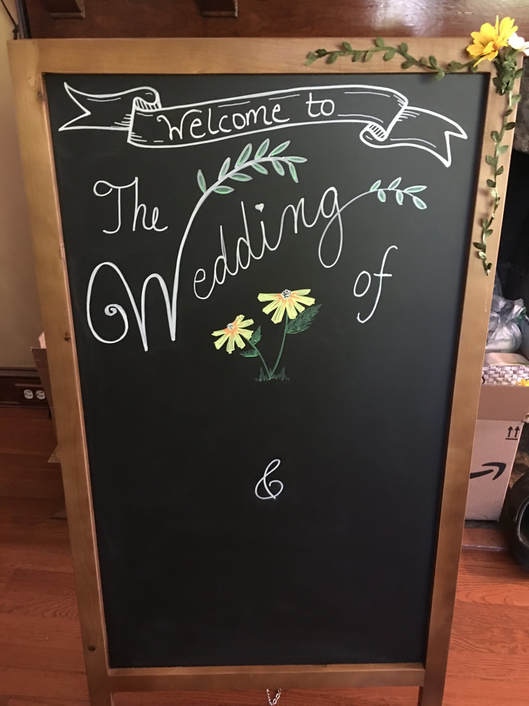
Sign was a work in progress over several days...
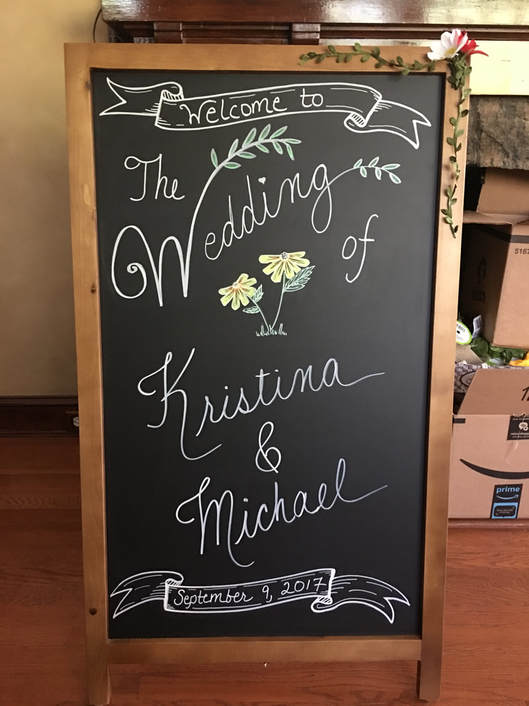
Sign almost done!
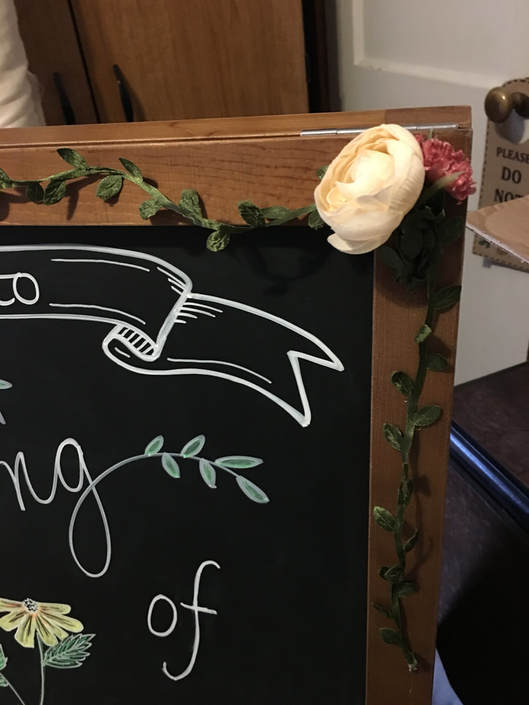
I changed the flower ;-)

Front of Wedding Sign at the Backyard Reception
Back of Wedding Sign at the Backyard Reception
I have to say I was really happy with the way the signs turned out for both the shower and the wedding, especially considering I had never made a sign before! I also know it was a lot more economical than paying someone else to do them!
Check out our other Shower and Wedding DIY's here or on our You Tube Channel! Follow us so you don't miss these upcoming posts: Note: These beautiful pictures were taken by my daughters photographer Samantha Brancato.
Thanks for visiting!
Sincerely,
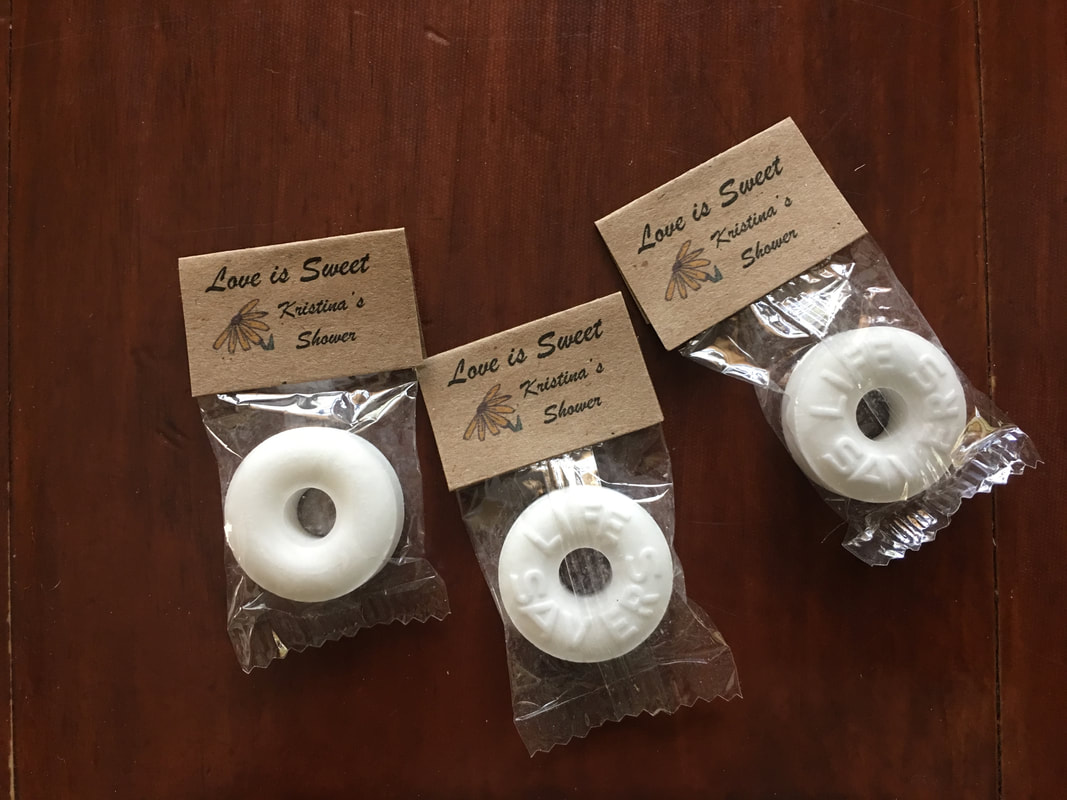
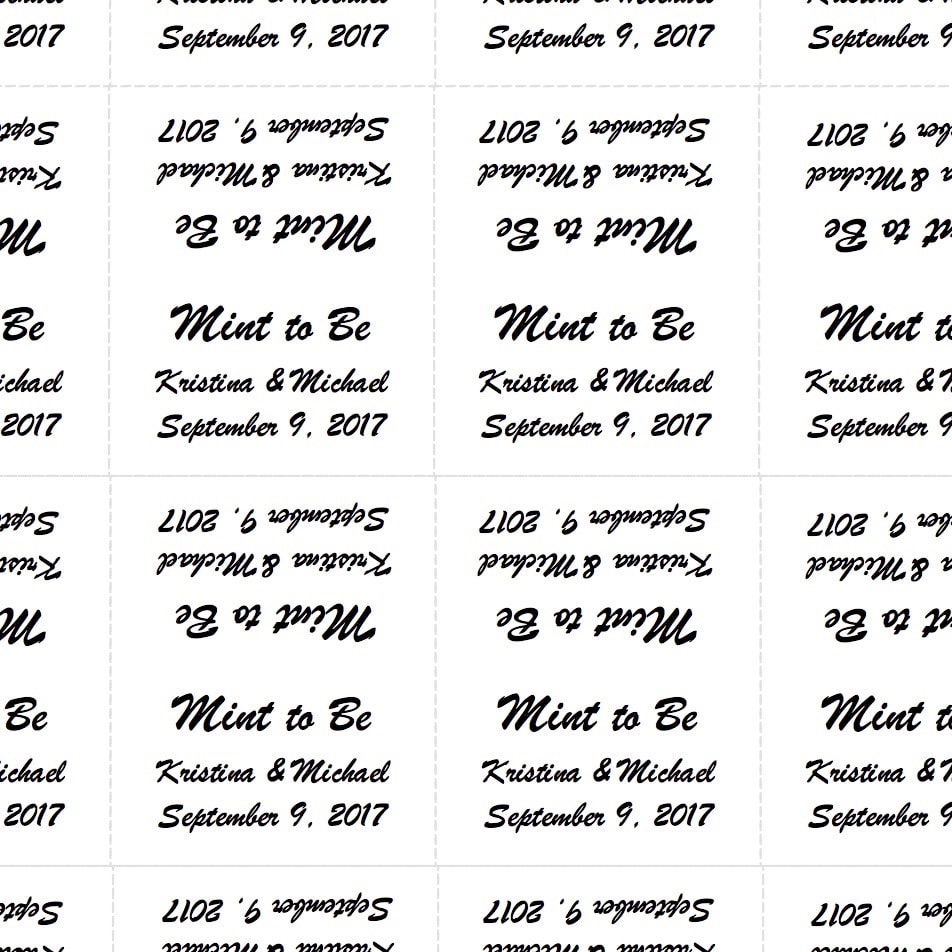
SUPER SIMPLE AND SUPER SWEET!
FREE MS WORD DOCUMENTS FOR BOTH! Why not make them for your next celebration? 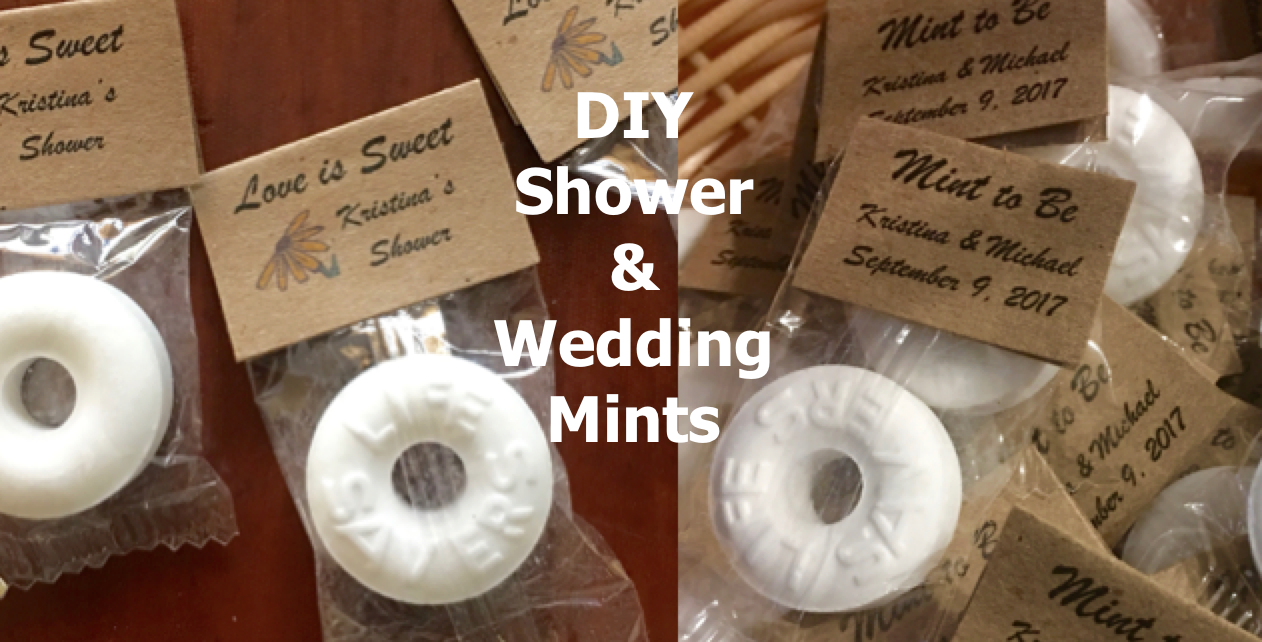
I wanted to make something 'extra' for my daughters bridal shower and wedding and thought mints would be perfect!
Materials purchased/needed/used (affiliate links):
Video "How-To" (pictorial below):
Pictorial:
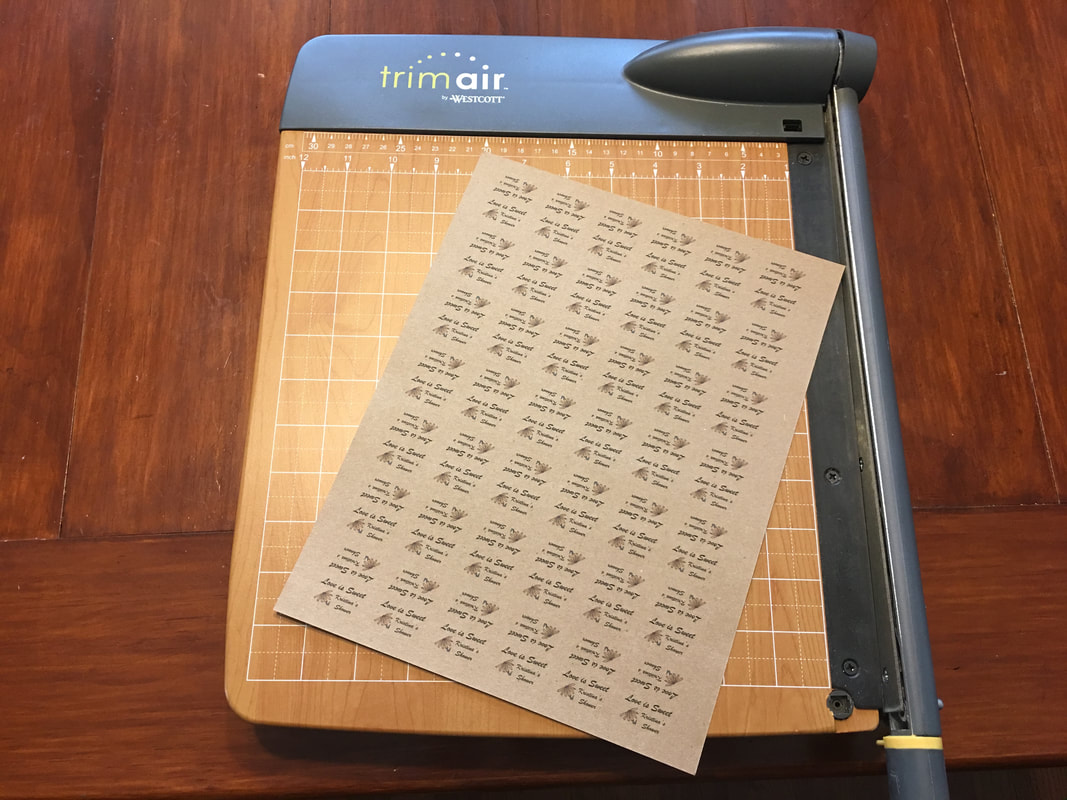
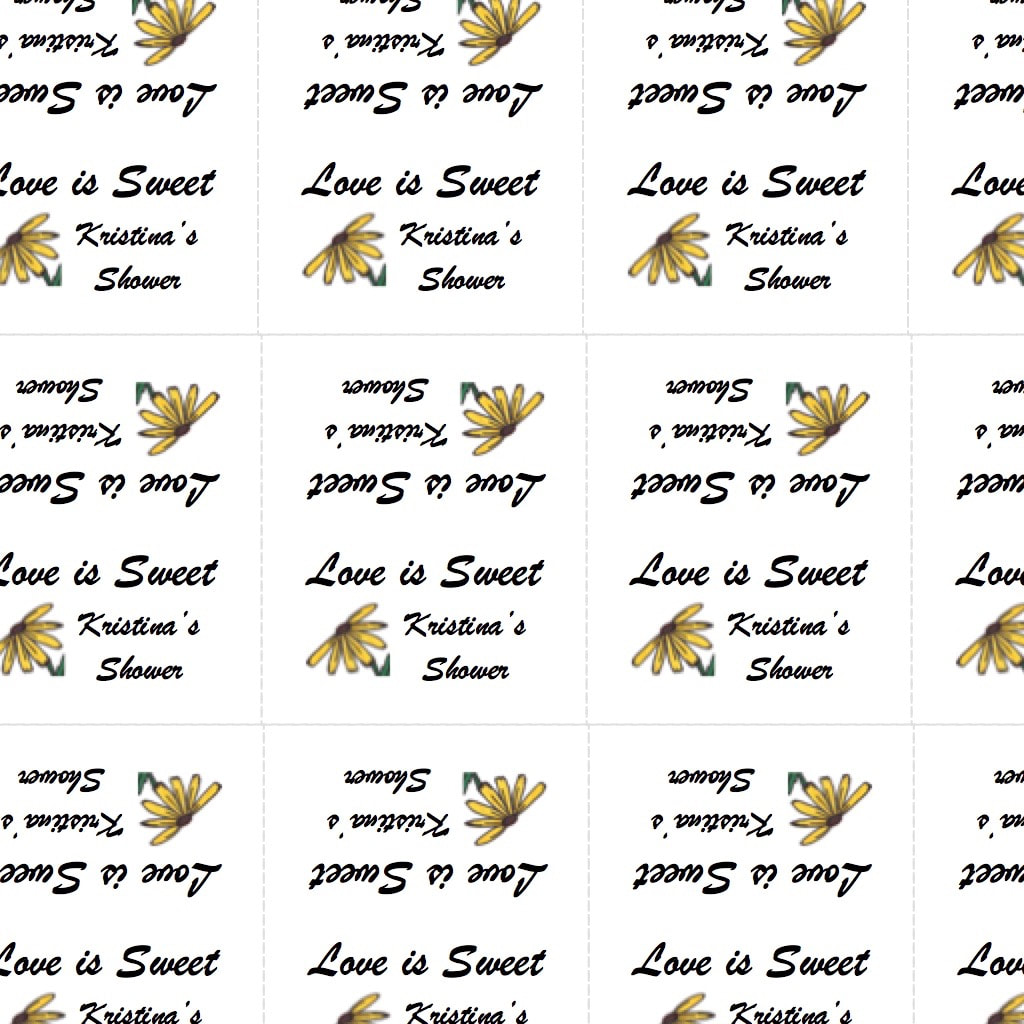
Print labels on craft paper (or any paper you choose).
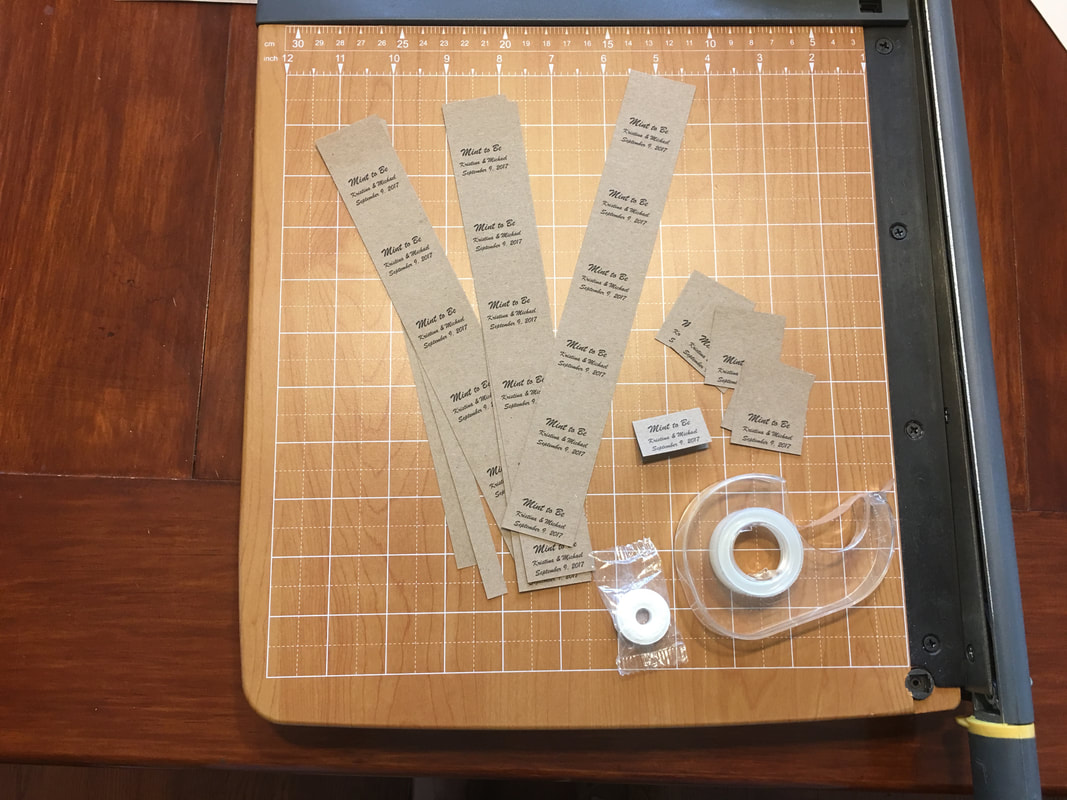
Use paper cutter or scissors to cut labels out.
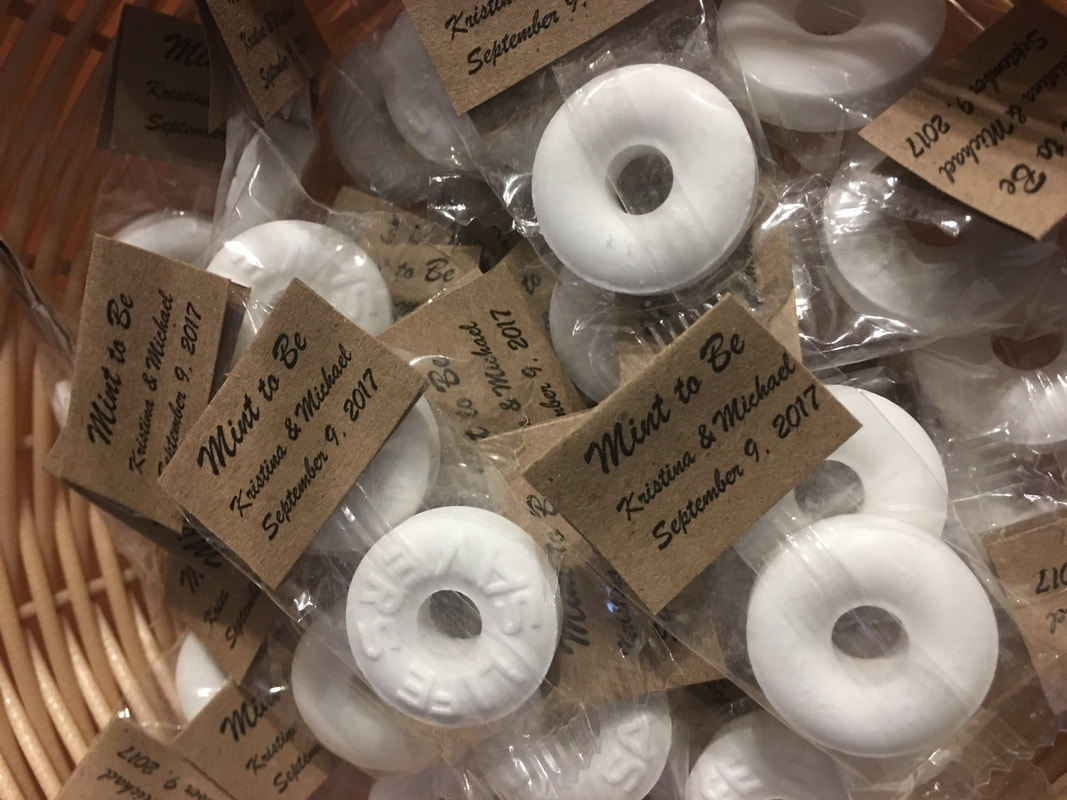
Use permanent tape across entire back of label and then fold over the end of the mint packaging squeezing tightly together so it holds!
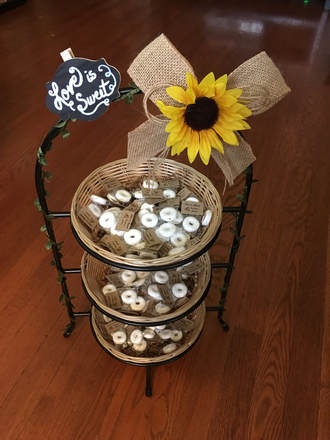
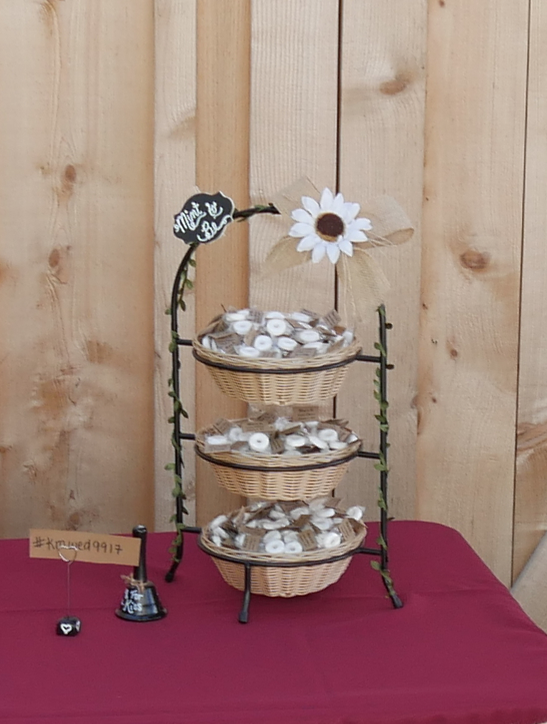
So simple to make!
So sweet a treat to share with guests! And who doesn't want a nice fresh mint after eating? Check out our DIY Showers & Weddings and other DIY crafty ideas! A few DIY's coming soon:
And here are a few that we already posted - click on the picture to read more....
Thanks for visiting.
Follow us on social media or sign up for e-mail to stay up to date on new posts! Sincerely,
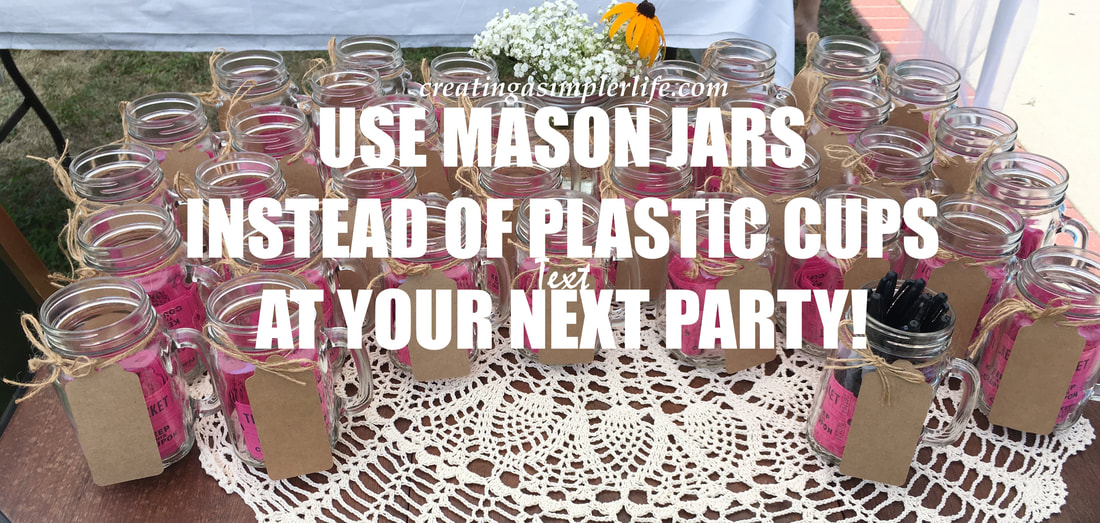
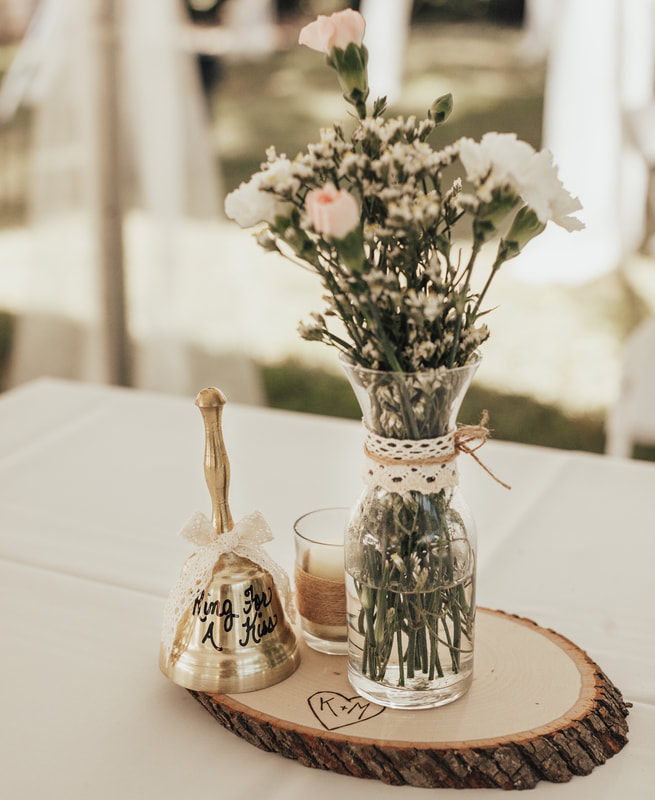
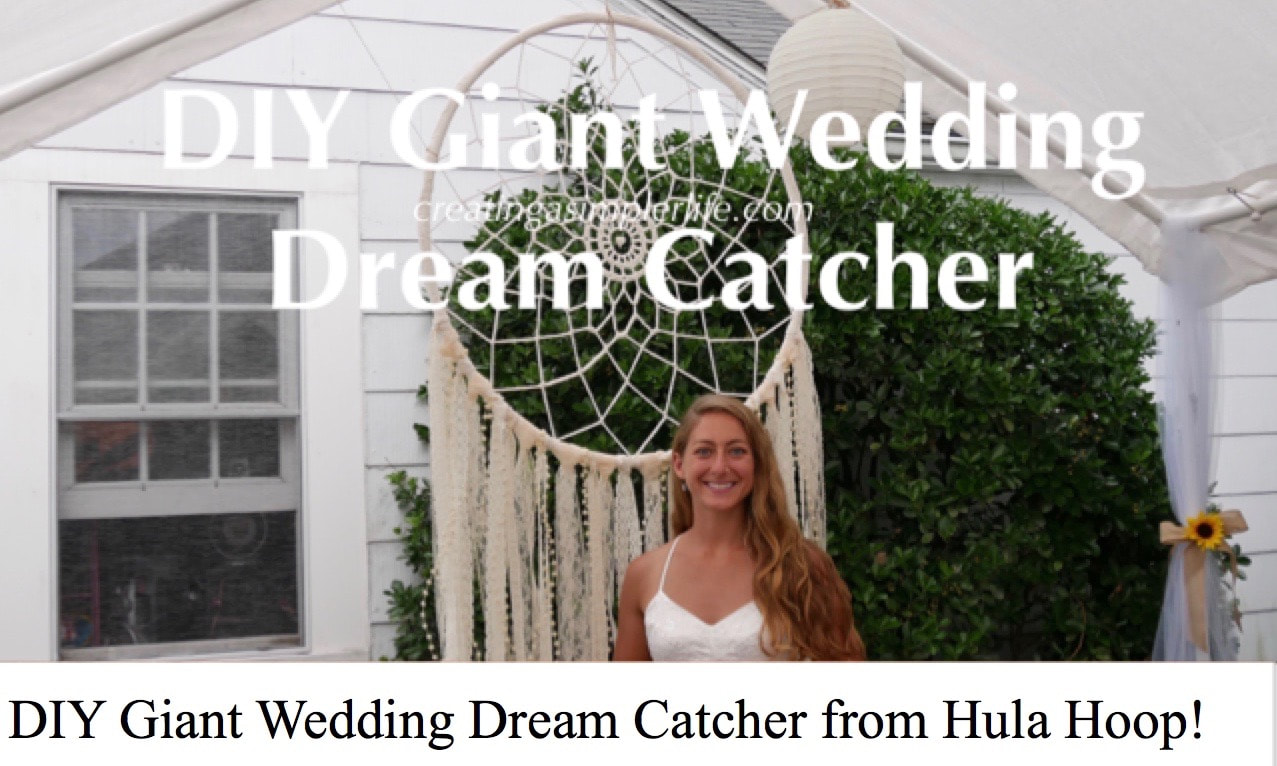
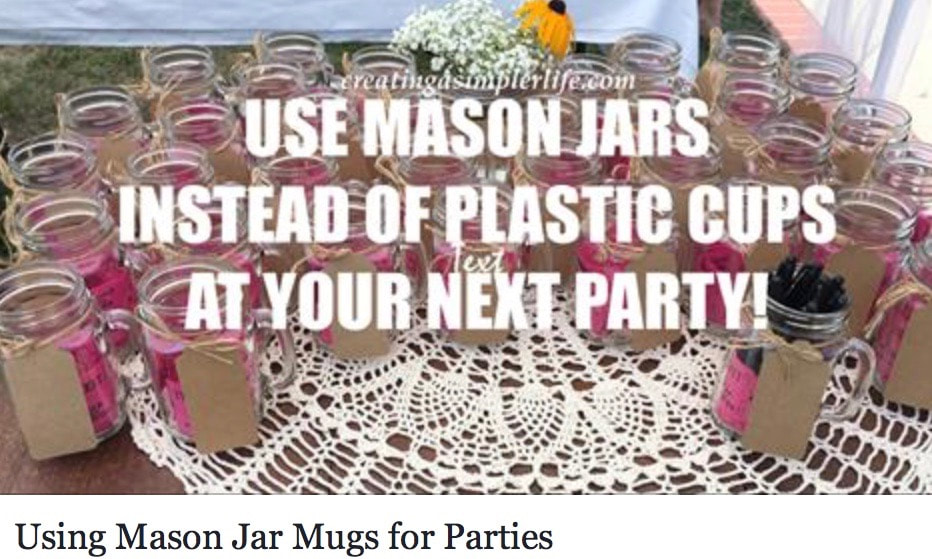
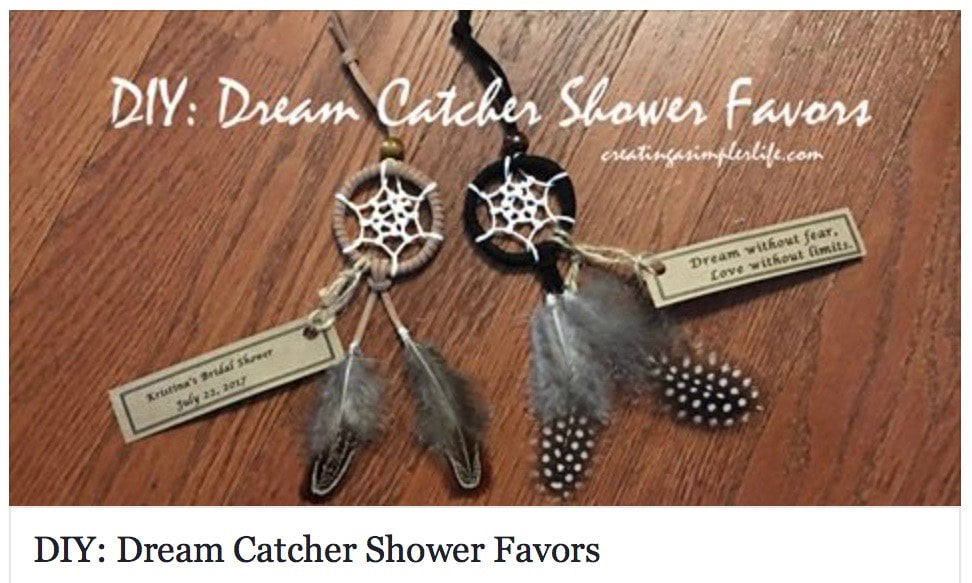
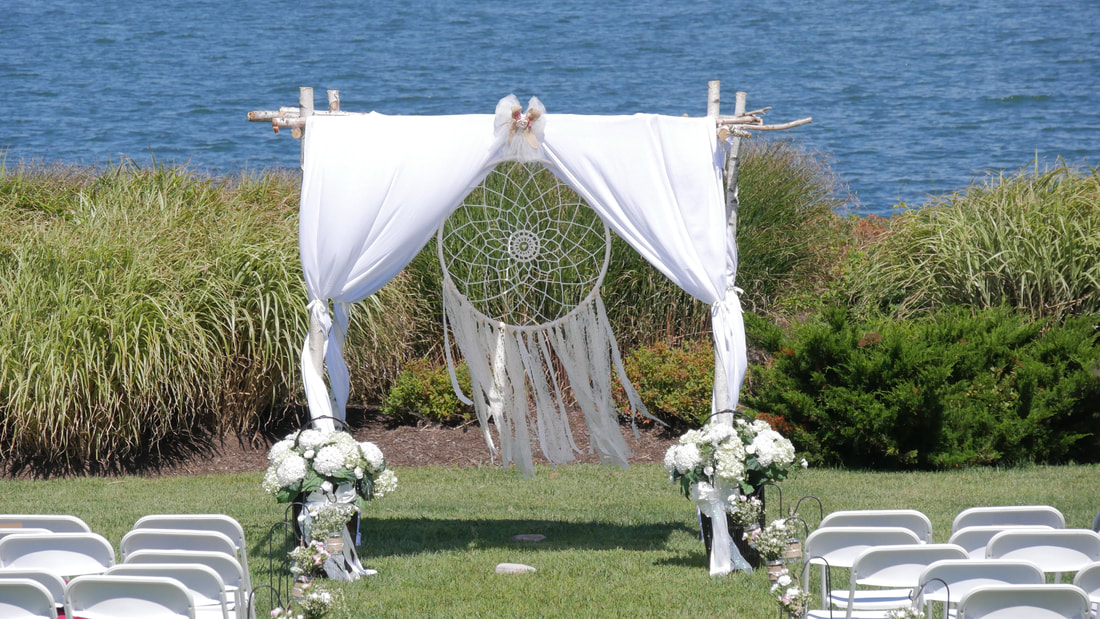
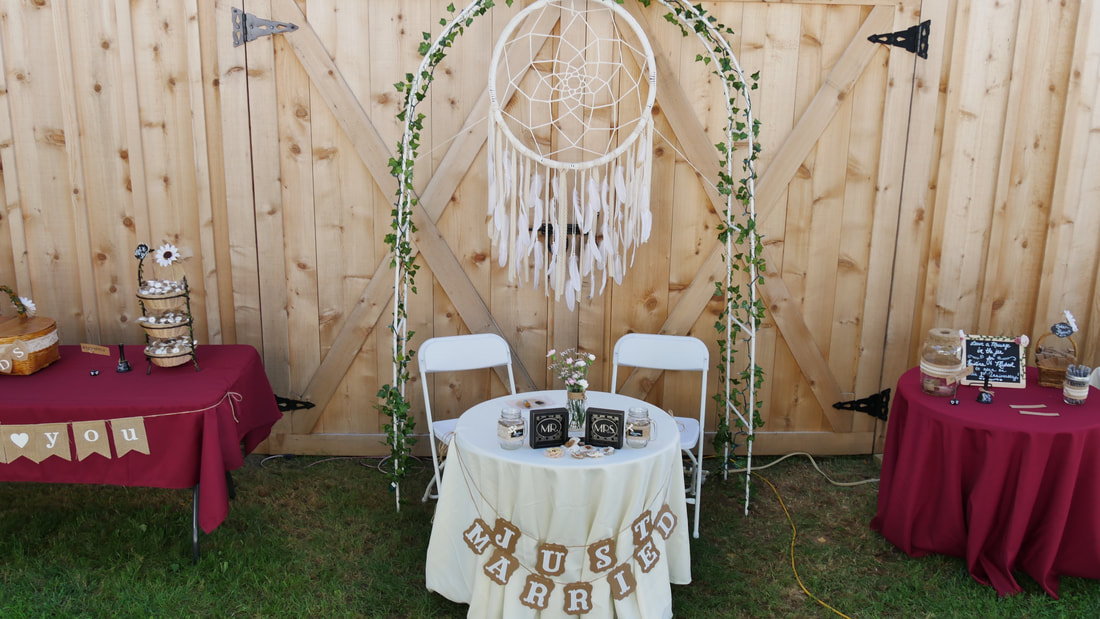
The past few months have been a little hectic for our family. My daughter, the oldest child, was married in September. She had a wonderful backyard wedding with about 250 people! Yes, 250! This was really only possible because it was in the backyard but it was well worth it. So basically over the next few months I will be posting about how we planned this tremendous party. In fact, I have already posted some information about her shower and making two different dream catchers(see them below) that were used as part of the ceremony and as decorations for the party. Today, however, is about using mugs instead of plastic cups.
I know, plastic is so much easier. You just use it and throw it away. But seriously, with 250 people, how many would we need to buy? I couldn't imaging the nightmare that this would create with garbage after the party. And after all, all the plates, silverware, etc. were going to be recyclable bamboo! So why would we ruin the environmental theme by using plastic cups? We wouldn't. And in fact, we used mugs for the bridal shower as well!

Bamboo utensil and plate. Note the mason jar in the background.
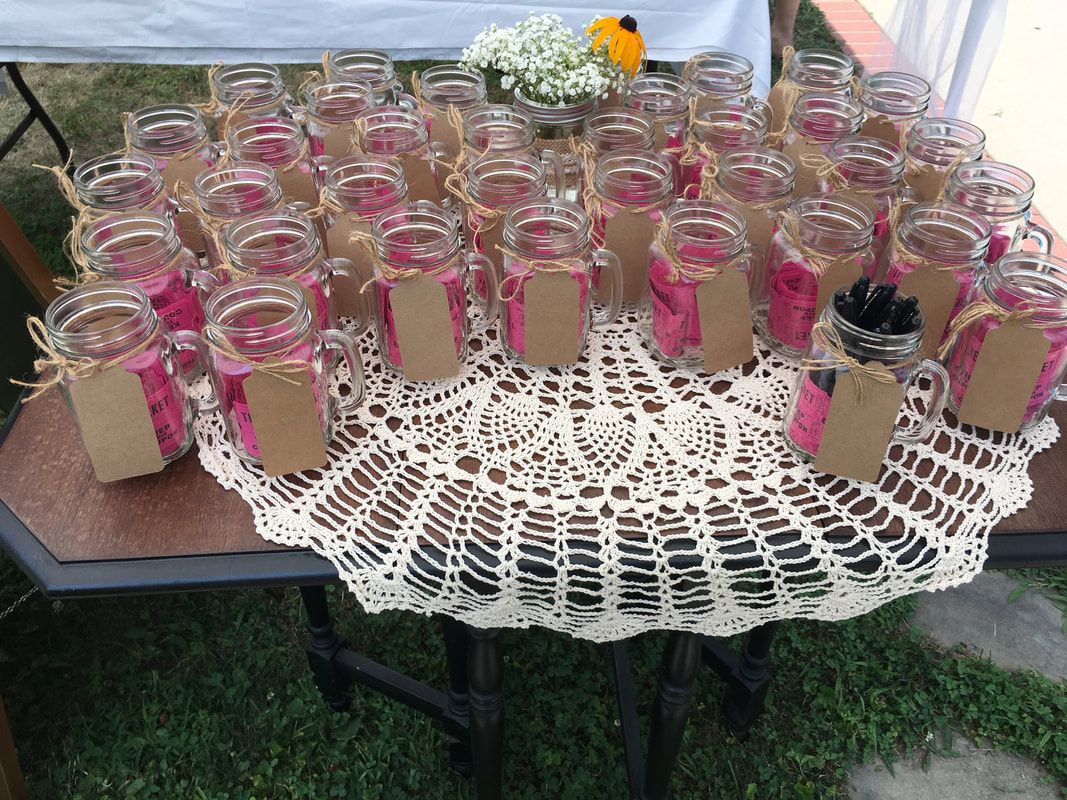
A lot of people questioned the cost. Believe it or not, in my opinion (and my daughters as well), the cost was worth it for several reasons. First, we weren't using plastic which we all know is not good for the environment because it literally never decomposes. Second, we allowed guests to bring them home as a souvenir. This was especially good for couples because they would have two to bring home and use. This was also good for use because we wouldn't be left with hundreds of left over mugs! However, any left over mugs could still be used for future parties, for gifts, or many other ways! And what made these extra cool is that regular mason jar lids screw right on to them so they could even be used for storage! Anyway, back to the cost. We did end up buying a few cases from Amazon and they were definitely more expensive.
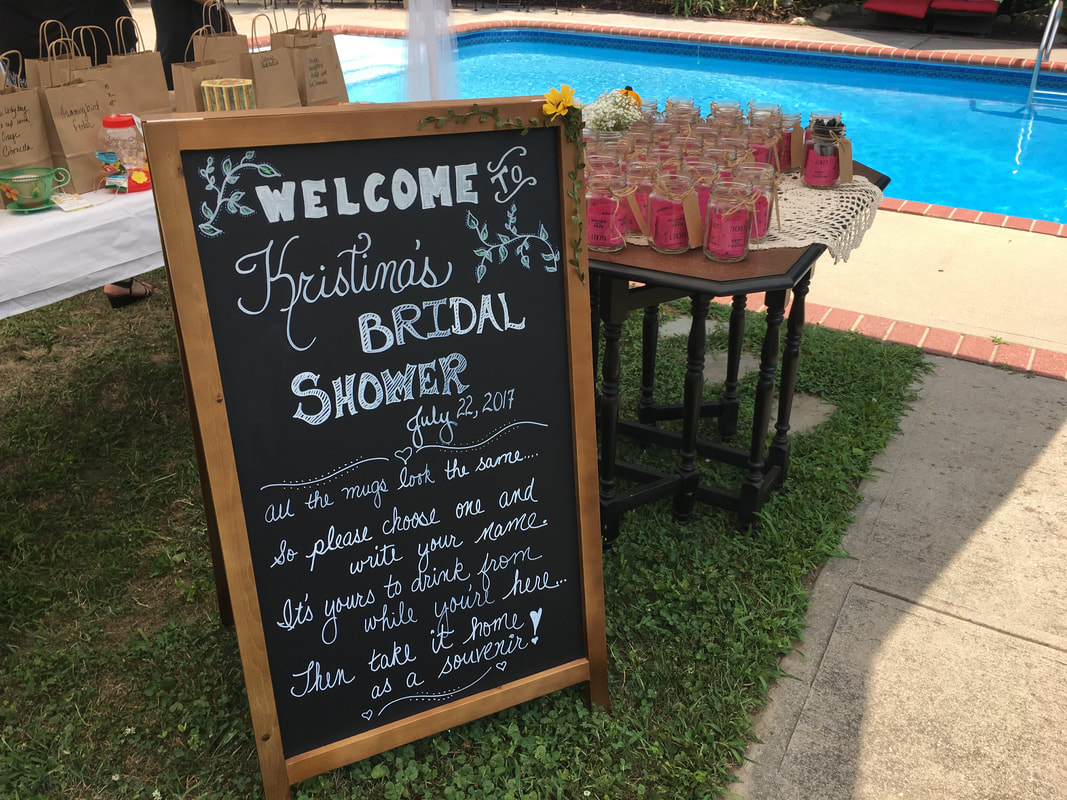
For the bridal shower we purchased the Libby Drinking Jar With Handle (Amazon affiliate link). A case cost 28.95 so we paid approximately $2.41 per mug. We had to do this because we needed them fast. Since there would only be about 40 or so people at the shower I simply tied a paper tag around each mug and let everyone write their own names on it for the party (note the mug filled with markers). The mugs are also filled with tickets for the 'Chinese' auction game! Directions were provided on the welcome sign shown below. Items purchased for the bridal shower mug display (affiliate links):
Video "How-to" (see pictorial below):
Pictorial:
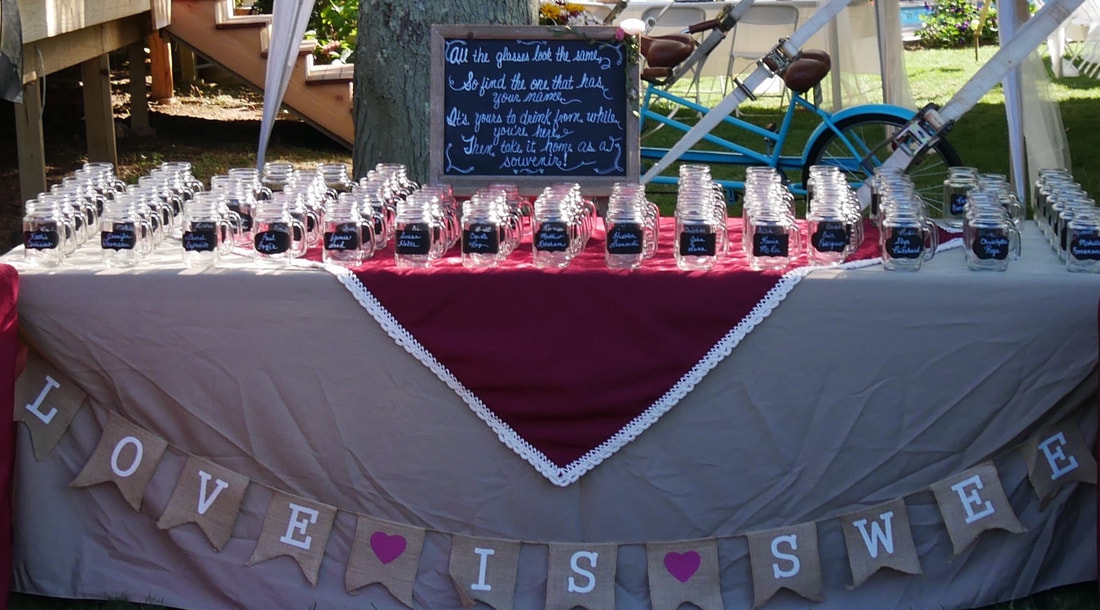
For the wedding we had a lot more time to wait for delivery so we actually ordered about 12 cases of mugs from Dollar Tree. At dollar tree they were $1 per mug plus tax. Much more cost effective! But again, you need to have a lot of patience and time for delivery because I think they literally came from China. You also need to be prepared to go and pick them up at your local Dollar Tree Store. The unfortunate part of this was the fact that every mug came with a sticker on the bottom that took my husband and I three nights to peel off of the mugs in all twelve cases. Oh, and guess what! They were literally identical to the mugs we got from Amazon! Just no Libby name on the box! The Libby mugs didn't even have the name brand on the mugs either so they were really, truly, the same.
Items purchased for the wedding mug display (some are affiliate links):

Heres How They Were Done:

I created a list of everyone that responded "yes" to coming to the wedding in EXCEL by last name, first name. When the response date came and went I sorted the names alphabetically.
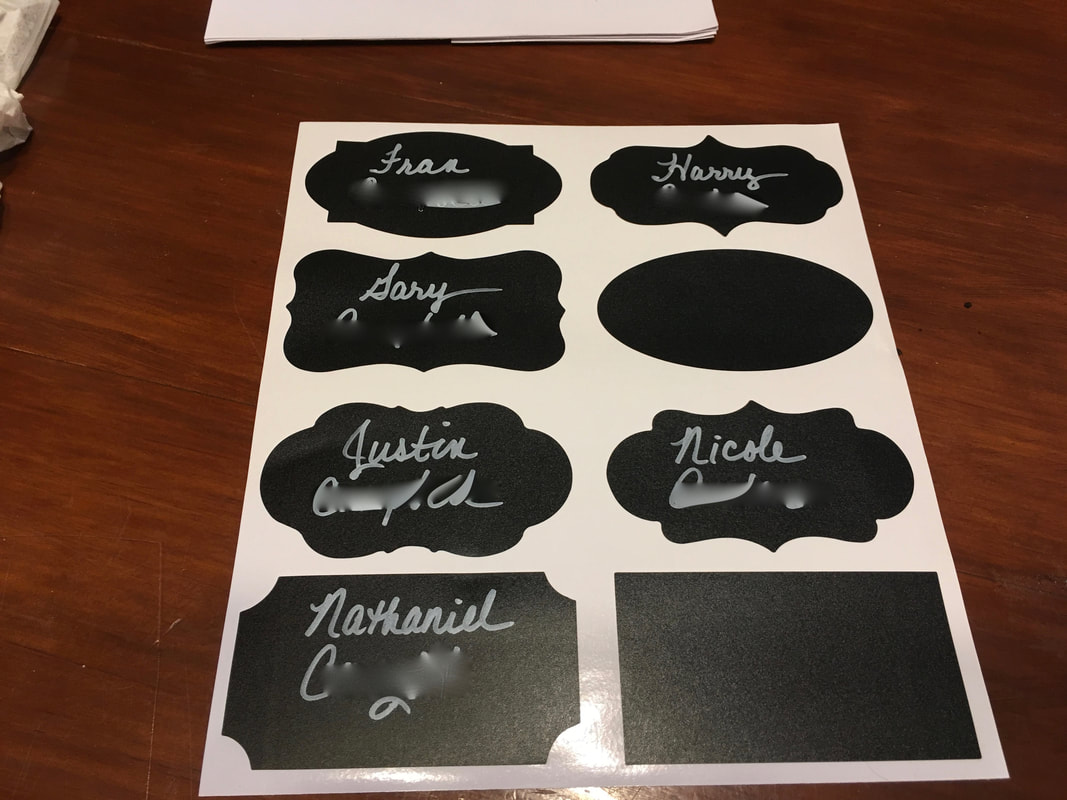
Then I used the permanent paint pen to write the names on the labels. I skipped the shapes I didn't really want to use.
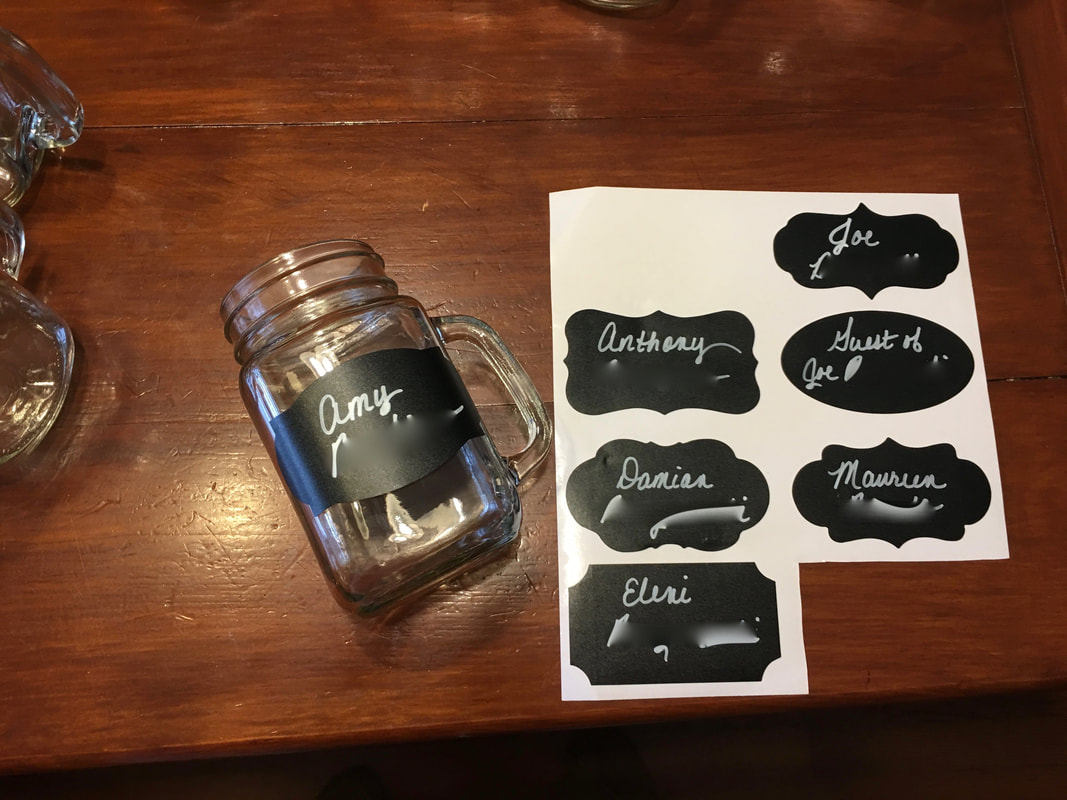
After all the names were written in alphabetical order, I carefully placed them onto the mugs.

The mugs were packed back into the cases in alphabetical order so they could easily be arranged on the table at the reception. This made it easy for guests to find their mug!
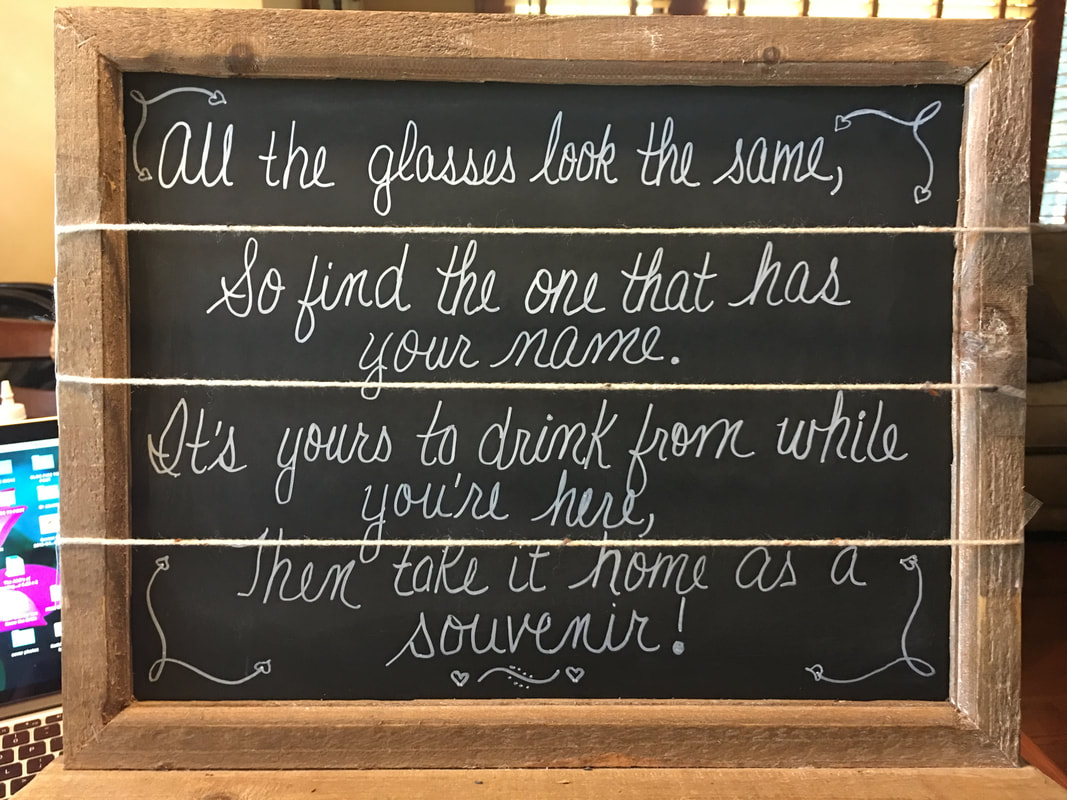
I used twine to divide the chalk easel into even sections so I could write the saying on it using the washable chalk paint pens. I used some hot glue to add flowers to the corner as a decoration (see picture below).

I even used the mugs to make these special Bride and Groom mugs! That post is coming soon too :-)
We have no regrets about using the mason jar mugs instead of plastic! One comment we recieved from guests at the shower was that it was a little difficult for them to drink from the mug being that it had the funny edge to screw on lids.
Because of that comment we provided optional drinking straws at the wedding. Some people chose to use them, and some didn't. I know, you think maybe it defeated the purpose because they too are plastic, however, the amount of plastic used by 100 or so straws was nothing compared to how many cups we would have gone through! We would love to hear from you so please share your thoughts and experiences with us! Check out our other DIY Shower and Wedding Ideas here. Sincerely,
This post contains affiliate links to Amazon.com.
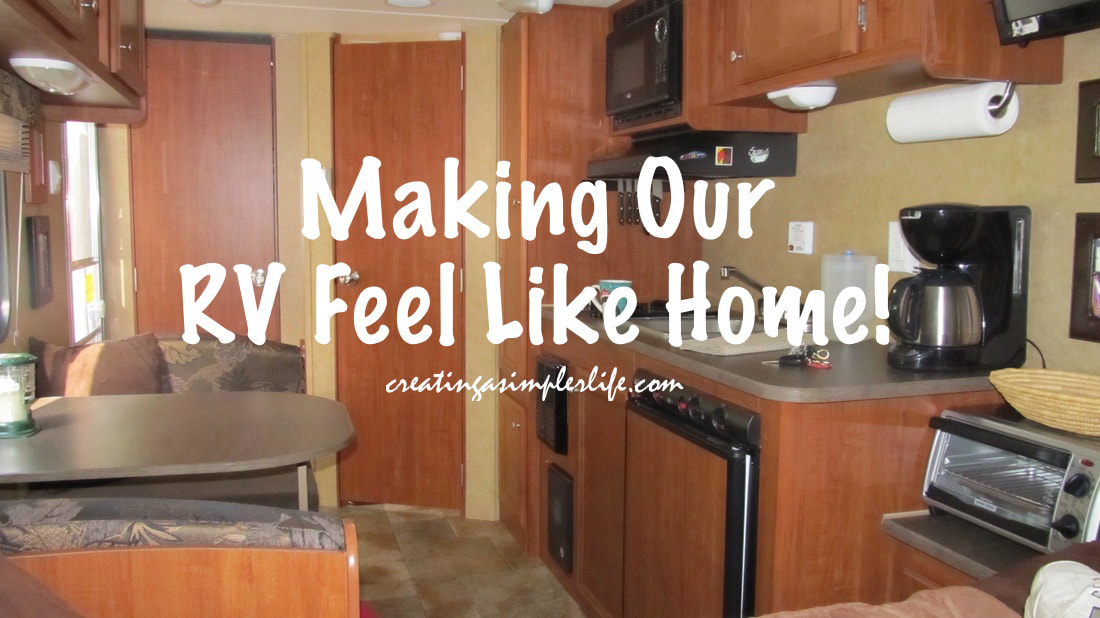
Having an RV (recreational vehicle) is awesome! It gives us the freedom to be able to travel and always have a comfortable place to sleep with no worries. It is also super convenient to just pull onto the side of the road if you have to go to the bathroom! No more painful waits for the next rest area or searching for a gas station with a working bathroom. Maybe that's just me. Either way having an RV with all the comforts of home and stocked with just about everything you need for traveling makes traveling simply delightful!
However, our RV, being inexpensive and small, did not come with most of the comforts we wanted nor did it have a lot of space for all of the above, so here is what we did to make it like home for us.
1. The Bed
We chose an RV that had a bed that never needed to be 'broken down.' In other words, in many smaller RV's the bed is also the kitchen table and benches. We made sure this was not the case for us so even though our RV is small (18') it has a permanent bed. The bed also had to be a decent size. Our RV is a queen size bed and this was very important to us. 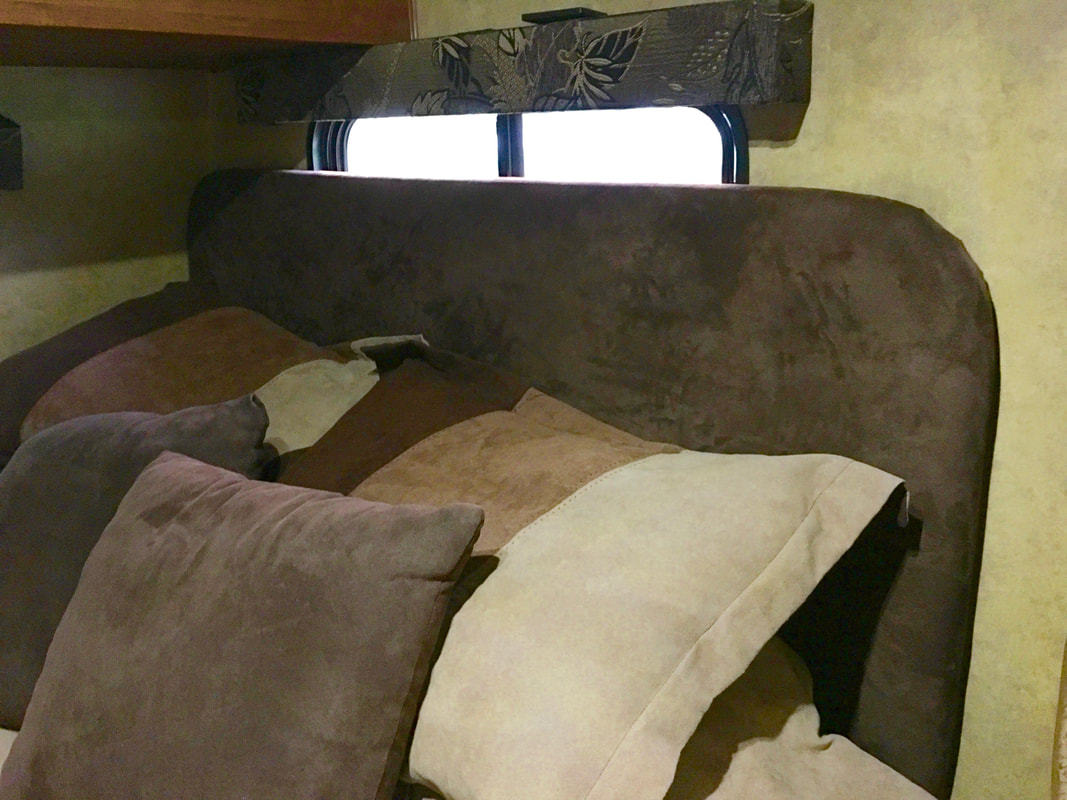
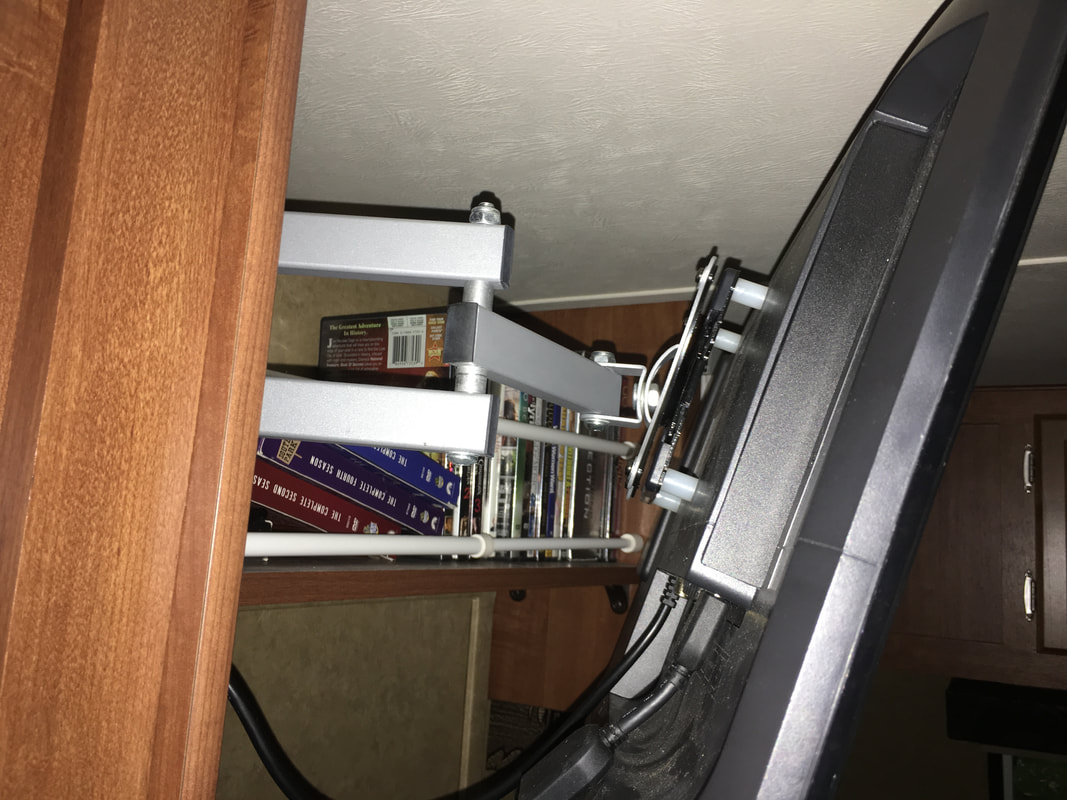
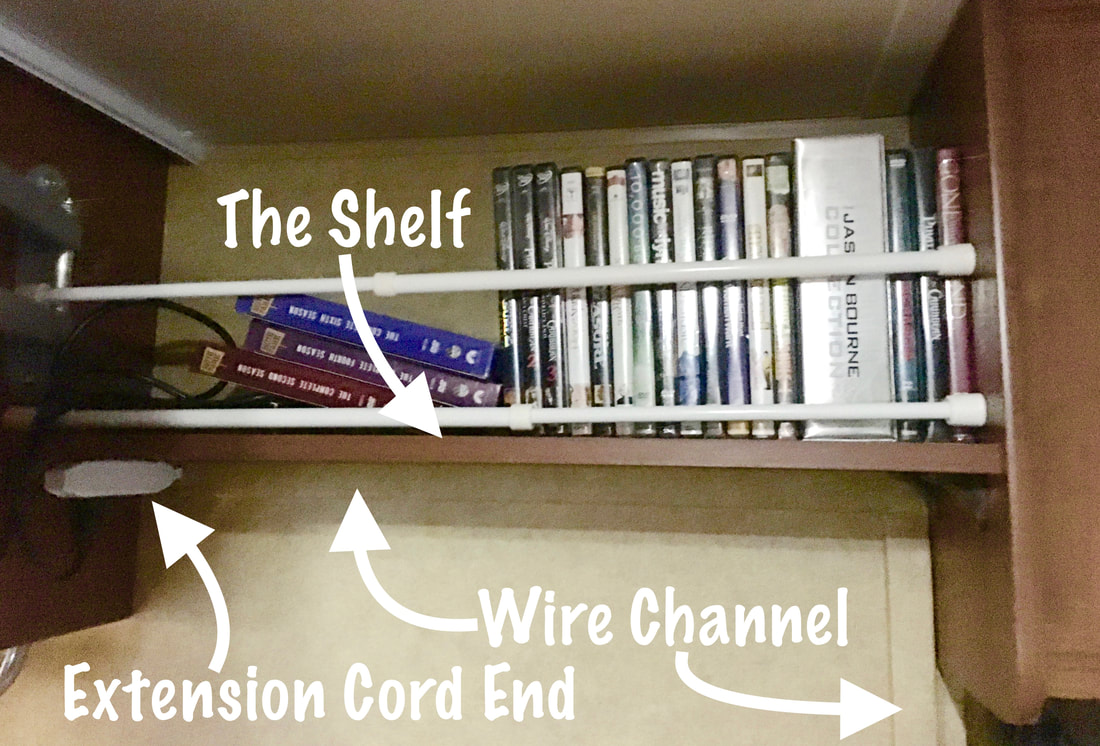
2. The Entertainment Center
OK, I know it is not camping if you have an entertainment center, but really. It's not exactly camping to stay in a nice trailer with the comforts of home anyway! At our age, we just don't care. We want to travel all around the country and at the end of the day we like to relax and watch some TV. Even if it is just a DVD, we don't care. It is relaxing. So Since our RV didn't come with an entertainment center we had to make our own! 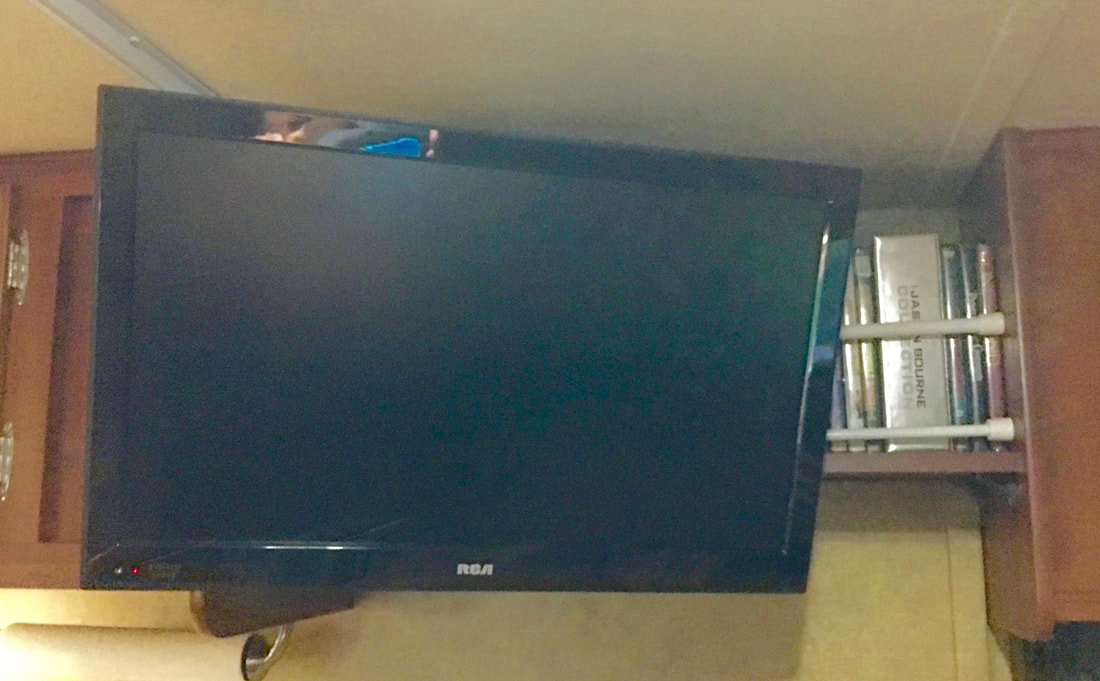
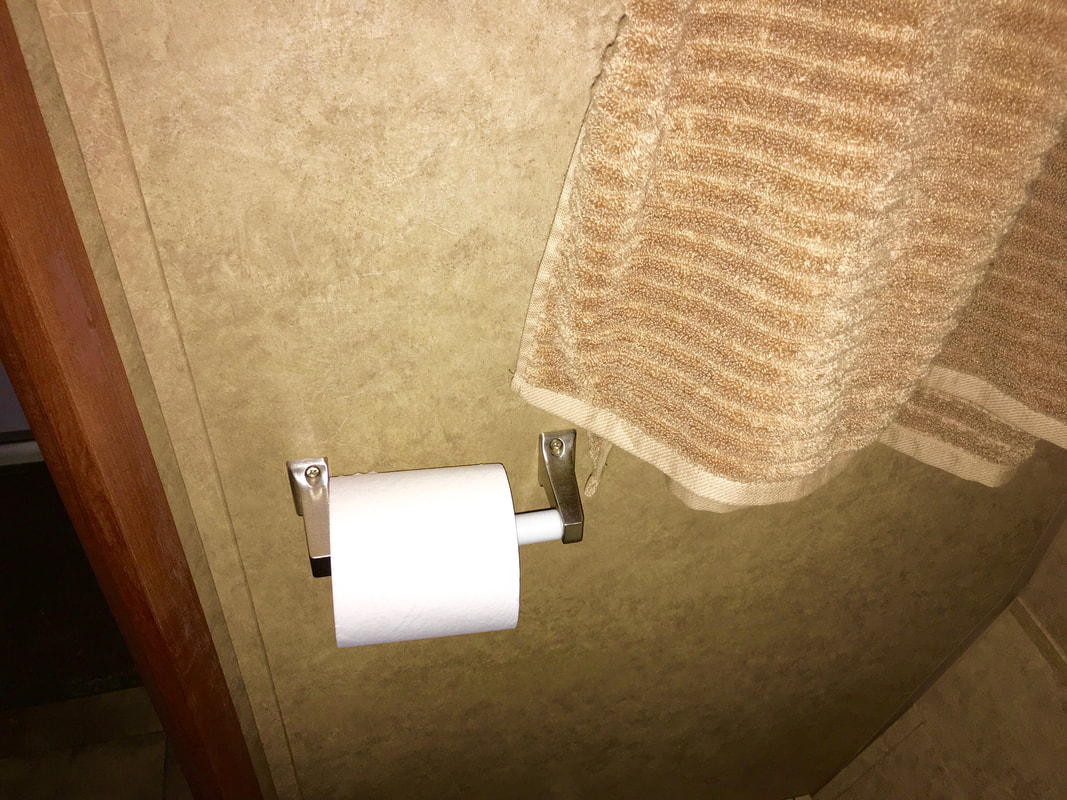
3. The Bathroom
I don't know about you, but this room is pretty important to me! In a small trailer you get a small bathroom. In our case it is really, really small. In fact, it only came with a tiny shower, a toilet, and a mirror on the wall! Nothing else but a door! 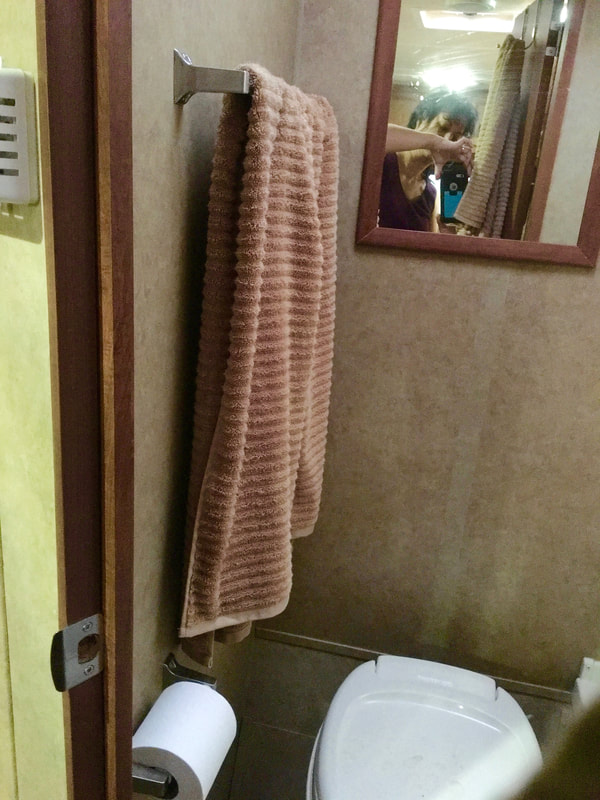
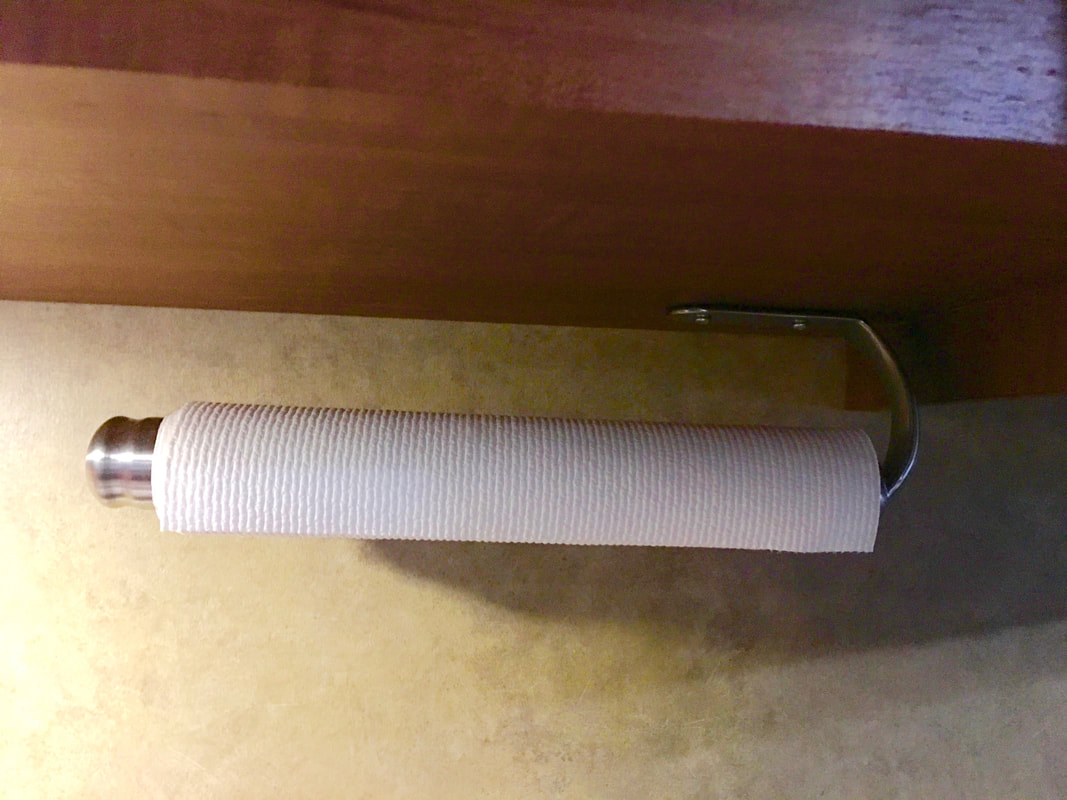
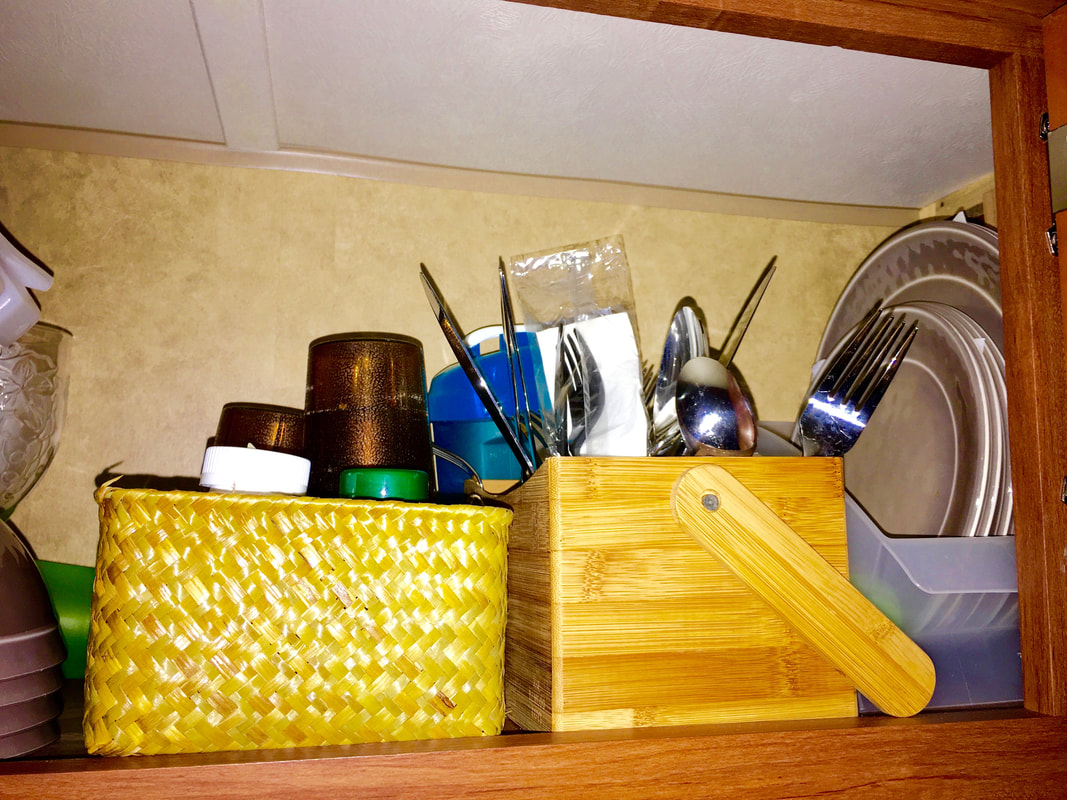
4. The Kitchen
Of course this is really part of the bedroom, the living room, and the dining room! Ha Ha. But who cares? It's still my kitchen and I knew I could improve upon it! 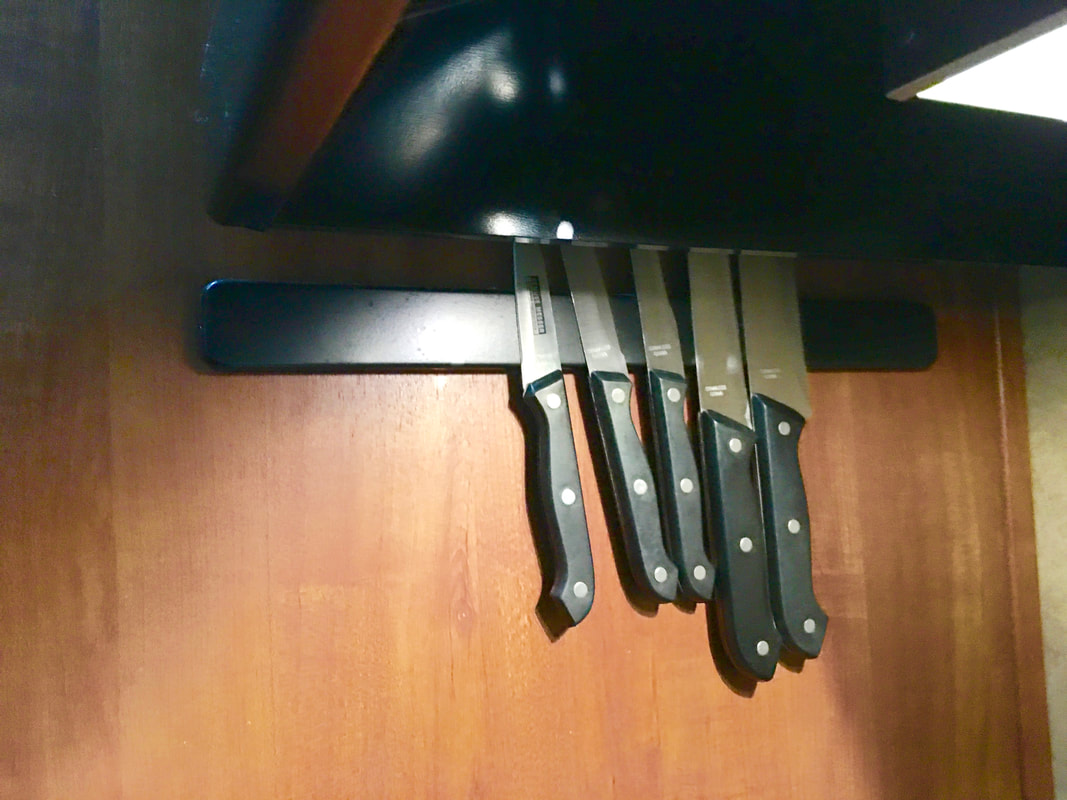
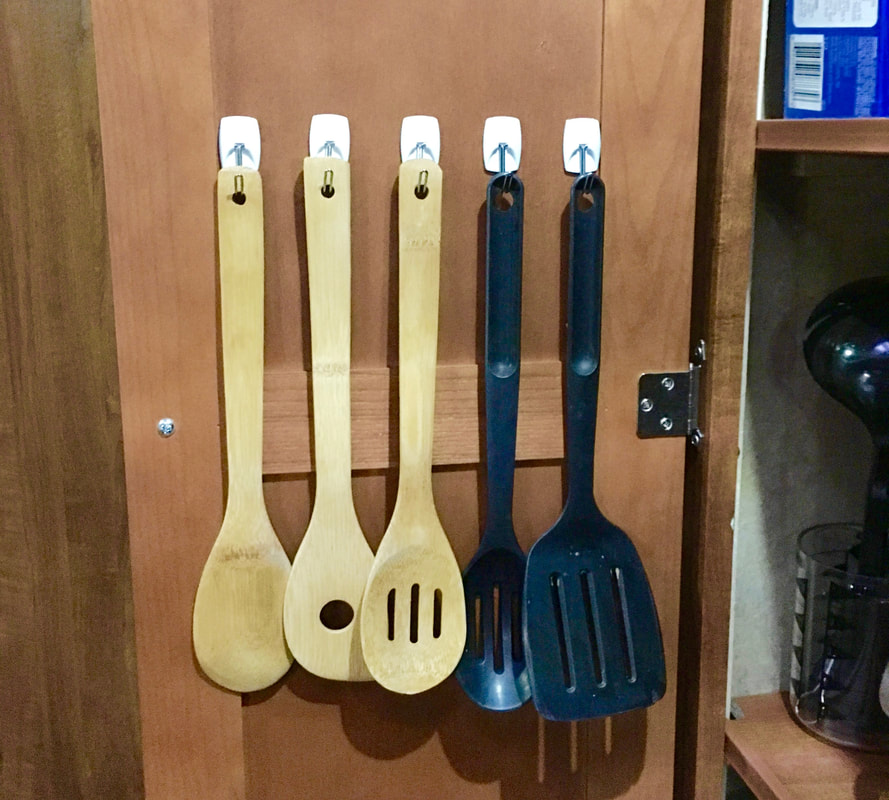
5. Key Holder
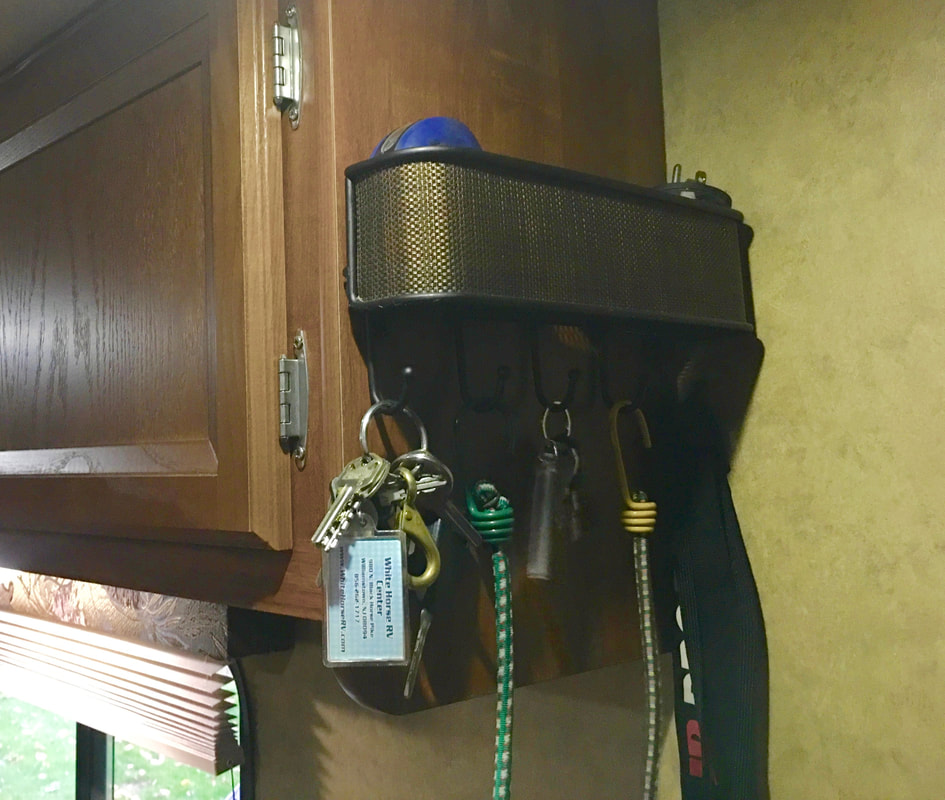
Take a little video tour with us.....
Now our trailer is always organized, ready, and feels like home no matter where we go!
Happy Travels!
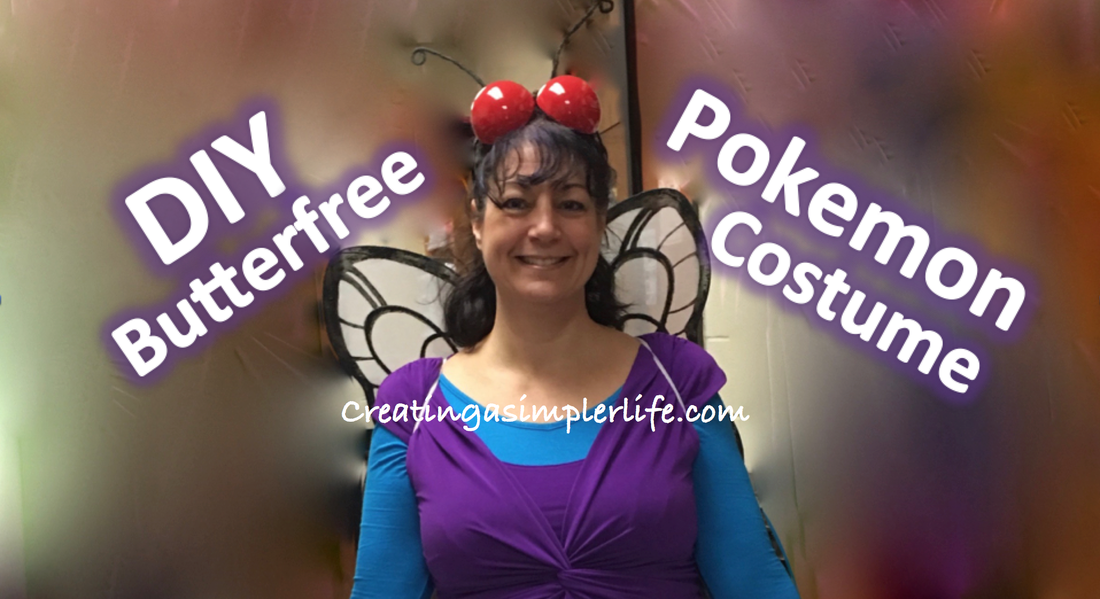
I already posted the Poliwrath Costume DIY, so now here's the Butterfree Costume DIY I said was coming soon!

Poliwrath costume - can be easily made into Poliwhirl (the happier version!). Picture is a link to the 'how to.'
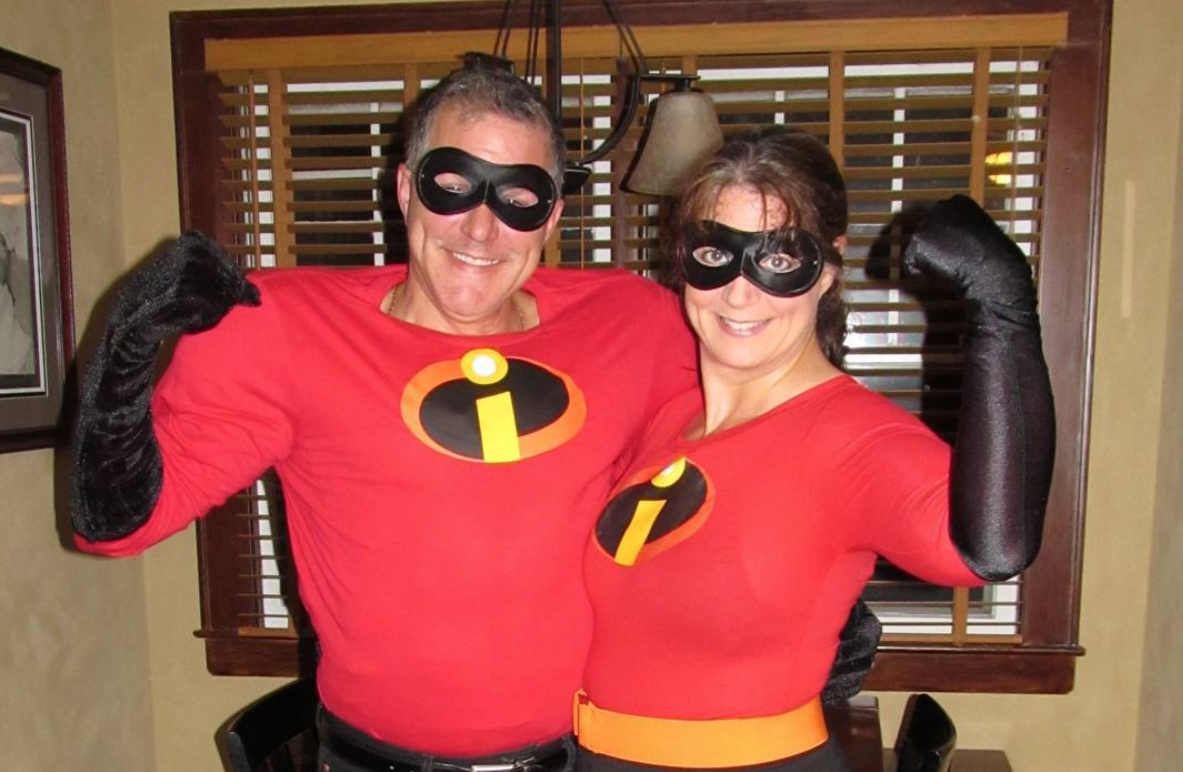
Also check out how to make these DIY Incredibles Costumes by clicking on the picture!
Supplies Needed:
How to:
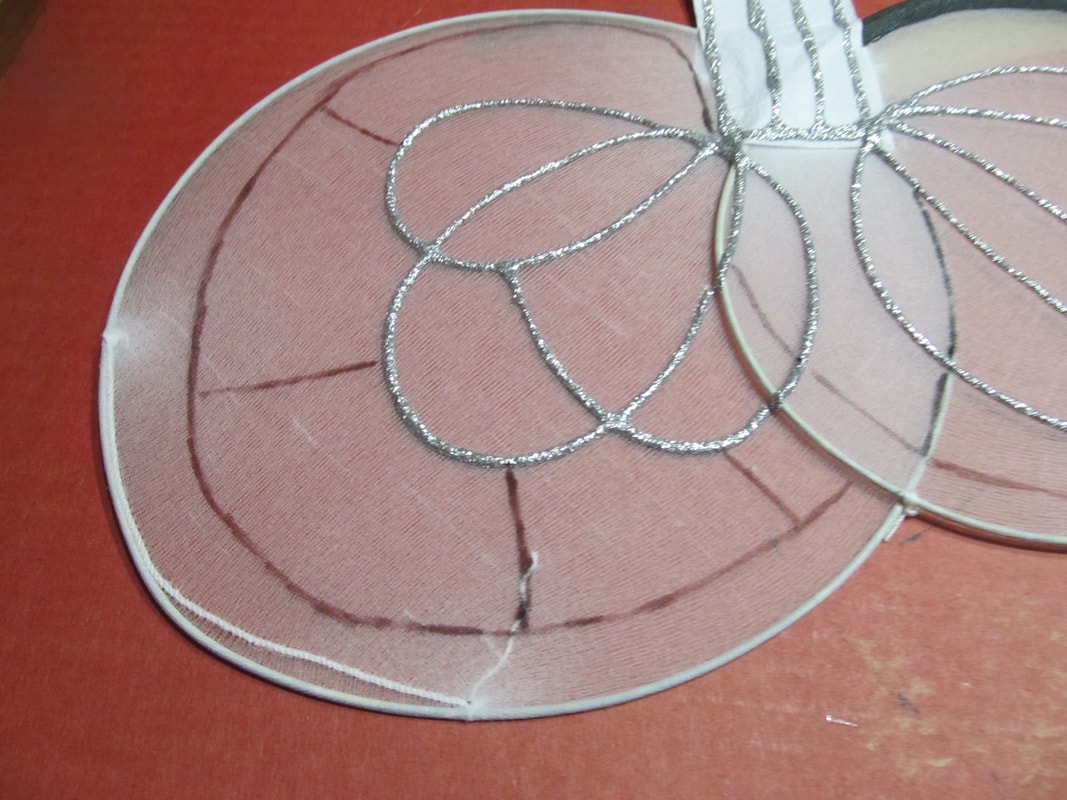
Use a marker to sketch the design onto the wings. Be sure to have cardboard underneath because the marker (and the paint) will go through!

Then use black to paint the design.

I painted both sides of the wings because I thought it looked better.
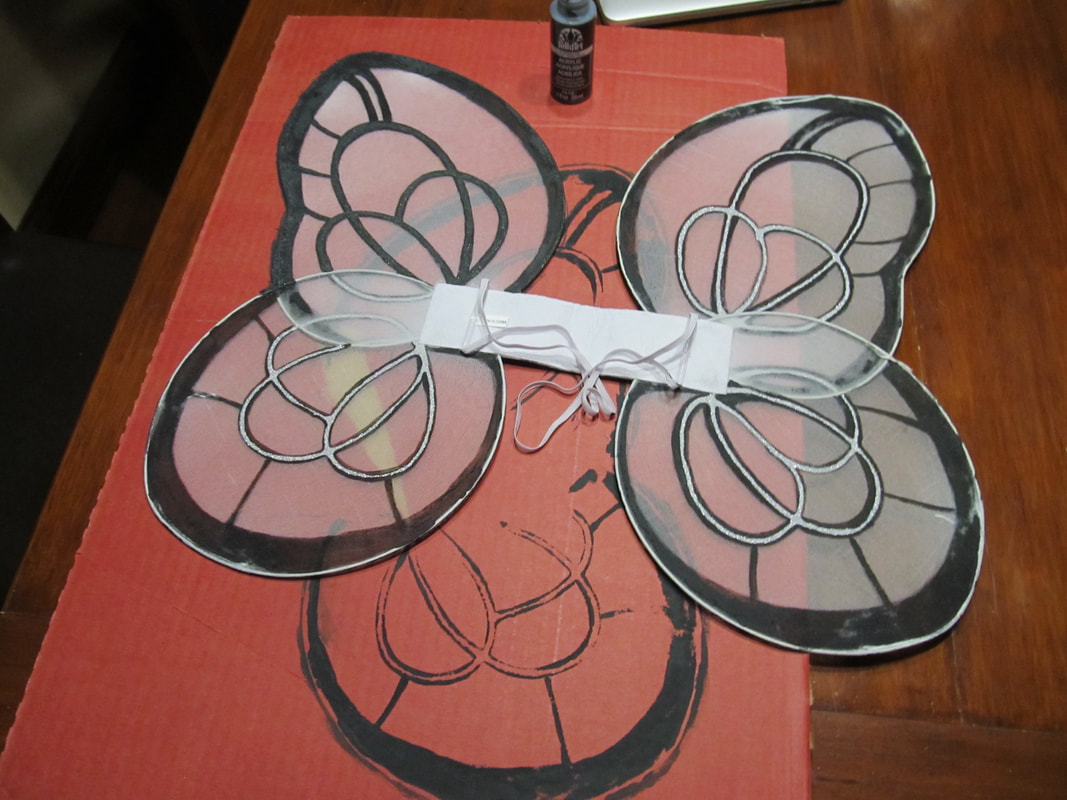
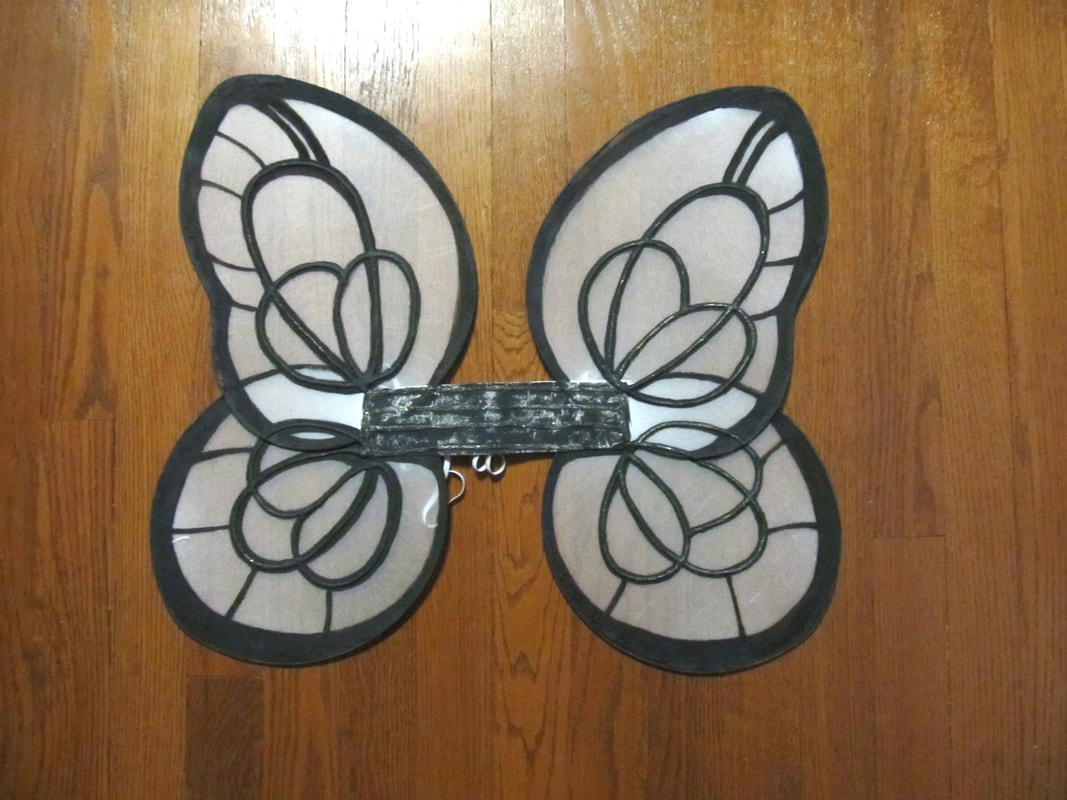
Finished wings!
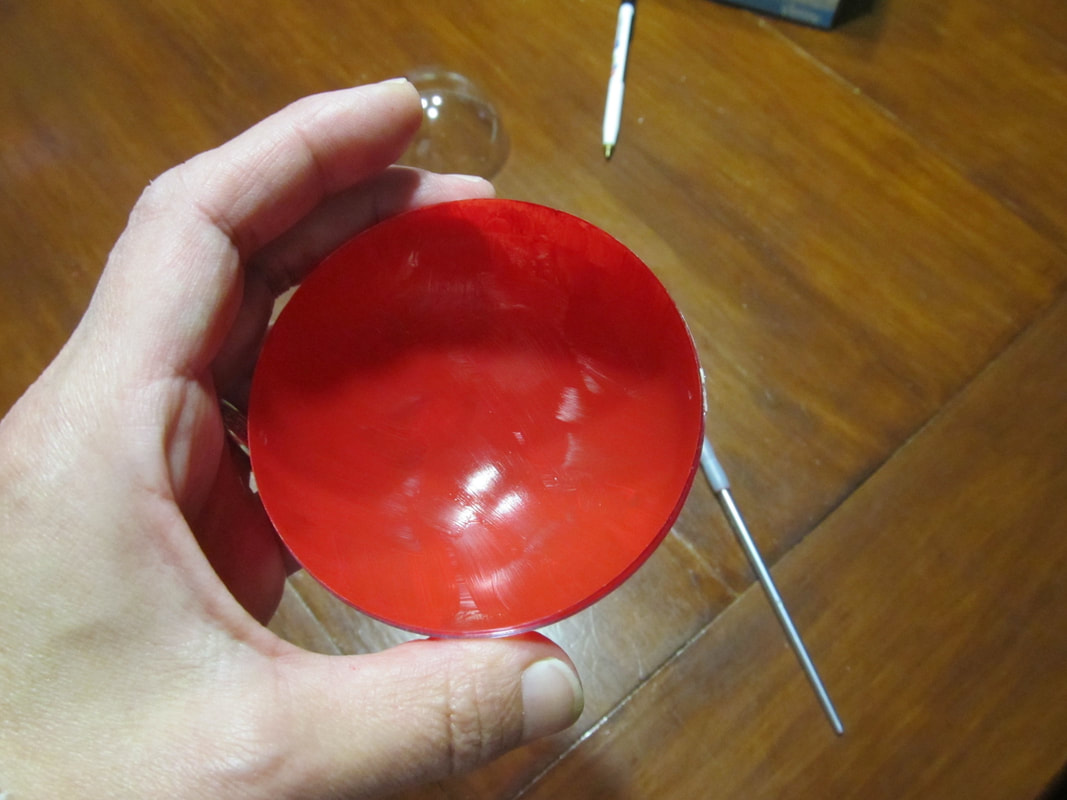
Paint the inside of two halves of an ornament red.
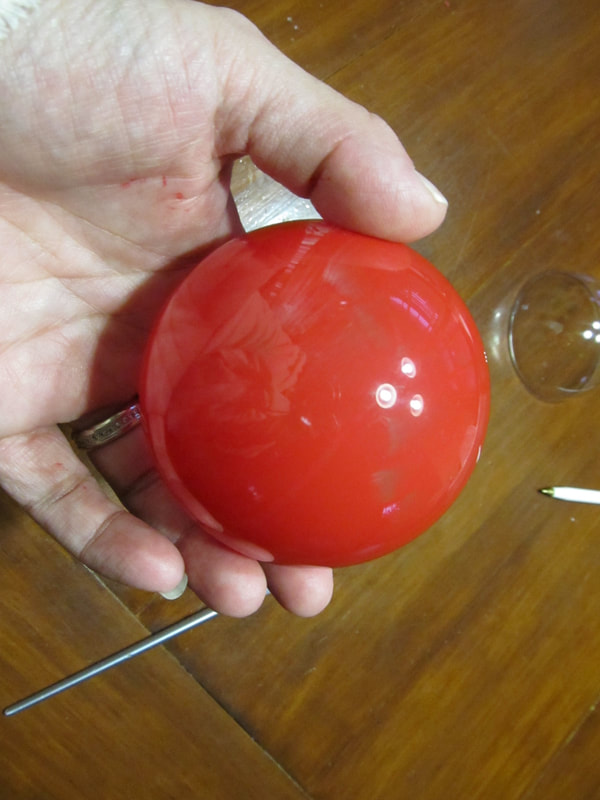
It takes two coats!
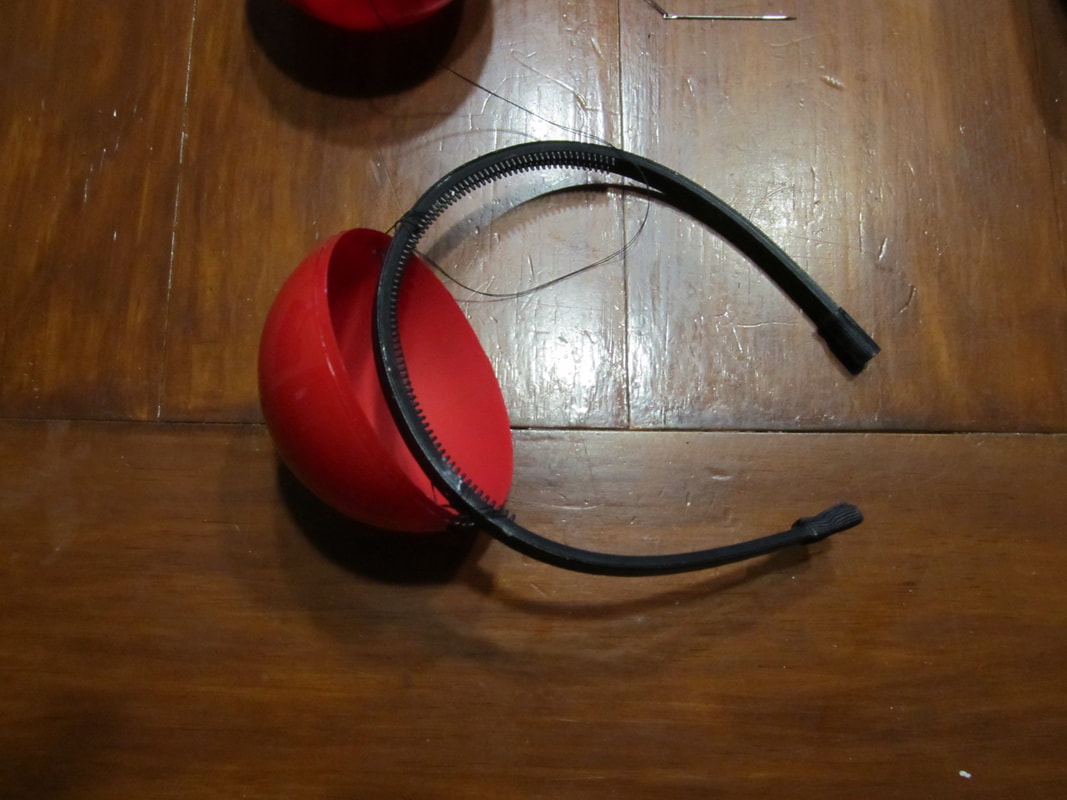
I drilled two holes on opposite sides of each eye so that I could sew them onto the headband. If you don't care about the headband you can simply glue them on.
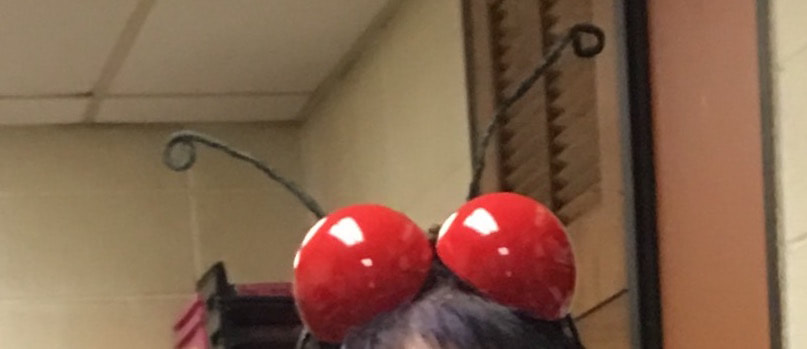
Create a curl on the end of two pipe cleaners and then connect them to the headband by simply wrapping them around!
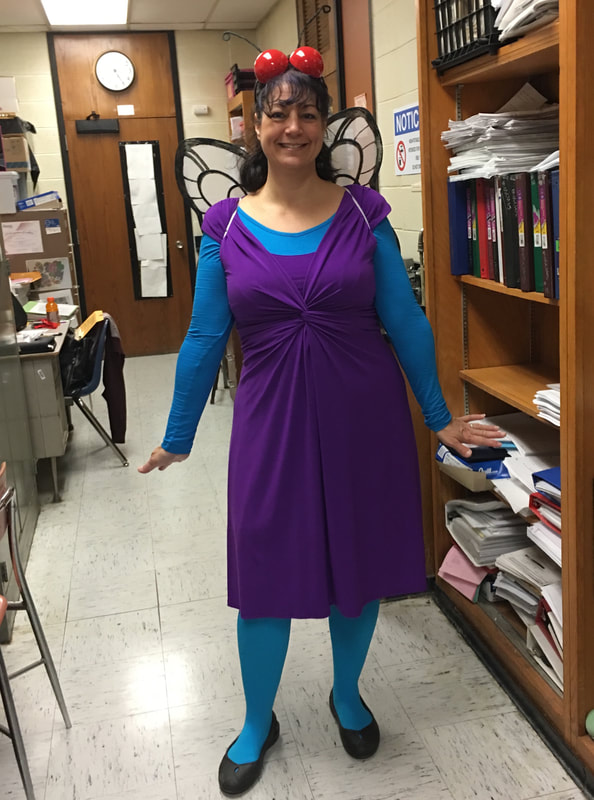
Excuse the mess in the background - it is a shared office at work!
Check our our other DIY craft ideas here and have a safe and happy Halloween!
Sincerely,
|

Hi there! I'm Kathie, the author behind Creating A Simpler Life blog. I'm excited to share our longterm projects (and planning) toward building our future retirement homestead in the Adirondack Mountains of New York. In the meantime I will be sharing all the other little things we do that are part of creating our simpler life!
Categories
All
Archives
July 2020
|


 RSS Feed