CREATING A SIMPLER LIFE OFF-GRID
  • Home/About
    • What does OFF-GRID mean?
    • MINIMIZING >
      • Home Size
      • Room by Room
      • Get Organized
      • Household Waste
    • MINIMIZE DEBT, MAXIMIZE SAVINGS >
      • Bills & Other Debt
      • Saving Money
      • Shopping Tips
      • Affordable Fun
    • BACKYARD CHICKENS >
      • The Coop
      • The Chickens
      • Feeding the Chickens
      • Fresh Eggs
    • HOME GARDENING >
      • Building the Garden
      • What We Grow
      • Seeds, Weeds, & More
      • Preservation & Storage
    • DO-IT-YOURSELF >
      • Health & Wellness
      • Simple Cleaning & Tips
      • Crafts & More!
      • Printables
    • CROCHET >
      • IDEAS & MORE
      • VIDEO TUTORIALS
  • HOMESTEAD
    • The 5 Year Plan PLUS! >
      • 2017
      • 2018
      • 2019
      • 2020
      • 2021
      • 2022
    • WHY AN EARTH SHELTERED HOUSE?
    • OFF GRID TINY TRAILER
    • BUILDING our HOMESTEAD from Scratch >
      • BUYING LAND & GETTING STARTED
      • BUILDING THE CONCRETE DOME
      • FROM DOME to HOME
      • SURVIVING OUR FIRST WINTER
    • HOMESTEAD MACHINERY >
      • GENERATORS
      • KUBOTA TRACTOR
      • ATV'S & UTV'S
      • WOOD CHIPPER
      • CHAINSAWS
      • LOG SPLITTER
      • POWER TOOLS
      • SNOWMOBILES
      • AUTOMOBILES
    • BUDGETING THE BUILD
    • SUSTAINABILITY >
      • WATER
      • FOOD
      • SHELTER
      • ENERGY >
        • SOLAR POWER
    • The Adirondacks >
      • Wildlife & Nature
      • Insects & Bugs
      • Things to Do
      • Water Fun
    • ADIRONDACK CRAFTS
  • VLOG
    • 2023
    • 2022
    • 2021

Blog

A little bit of anything and everything that's part of
​creating, enjoying, and living a simpler life!
Picture

DIY: ANTI-ANXIETY ESSENTIAL OIL BLEND

2/27/2016

 
Picture
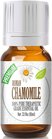
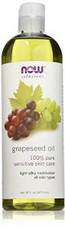
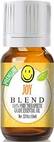
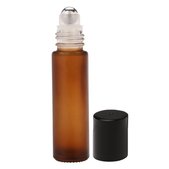
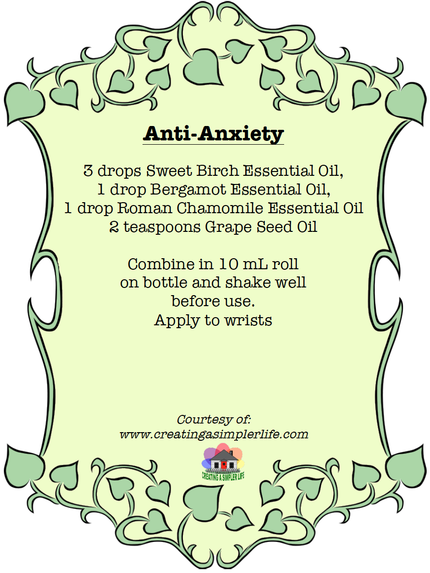
Feeling anxious lately?  Then this essential oil blend just might be for you!  Simply combine the ingredients in a 1 mL roll on bottle, shake well, and apply to your wrists whenever you are feeling a little anxious or if you just want to feel more relaxed!  It can be applied directly to the skin because it is diluted with a carrier oil (grape seed).  Feel free to use a different carrier oil such as olive oil.

NOTE: Always research the safety of using any essential oil before use!  Check with a doctor before using, especially if you are pregnant or nursing. This is not intended for use by children.
The following pictures are links to the supplies needed to make this anti-anxiety blend - Note that they are all affiliate links through Amazon.com:
Picture
Picture
Picture
Picture
Picture
Picture
Please note that essential oils for home health DO NOT replace a doctor or modern day medicine.   However, some can definitely be used to supplement, or, in the case of minor medical issues, be used instead of pharmaceuticals.  

Always use common sense and seek the advice of a medical professional before making any major medical decisions. 
Thanks for visiting!  

Check our our other Essential Oil Remedies & Recipes and our Essential Oils Etc. Pinterest Board for other great uses!

​Sincerely,
Picture

DIY EASTER PILLOW COVER

2/22/2016

 
Picture
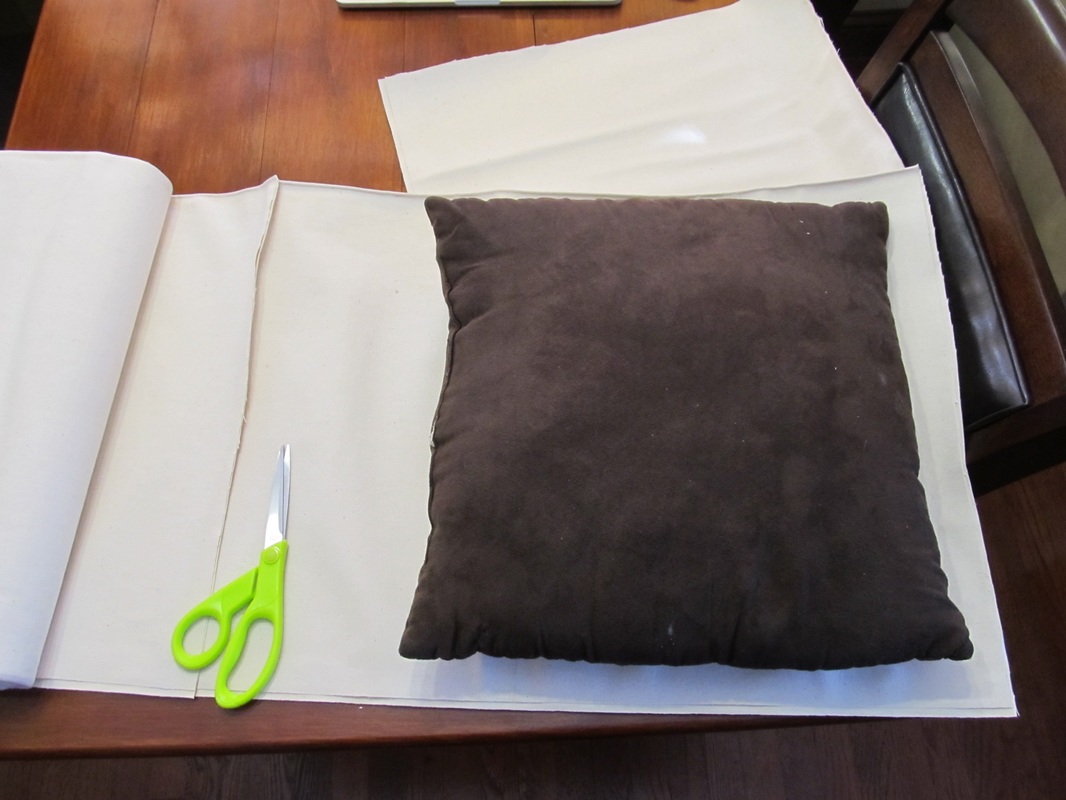
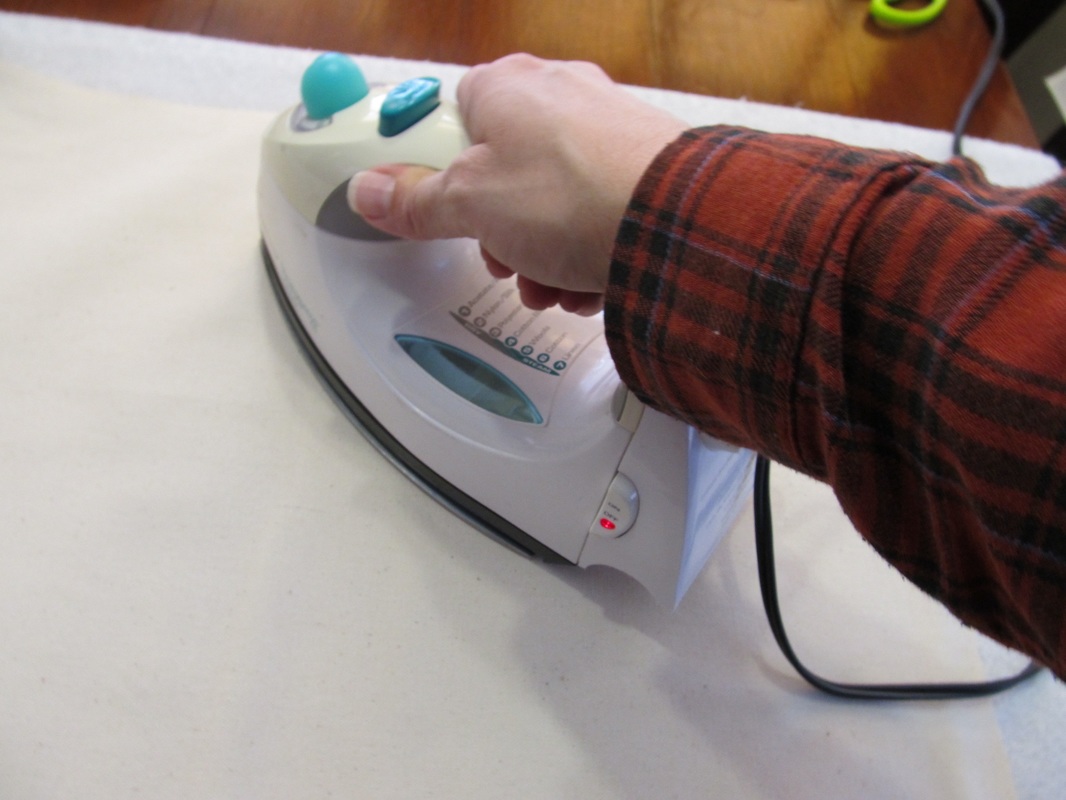
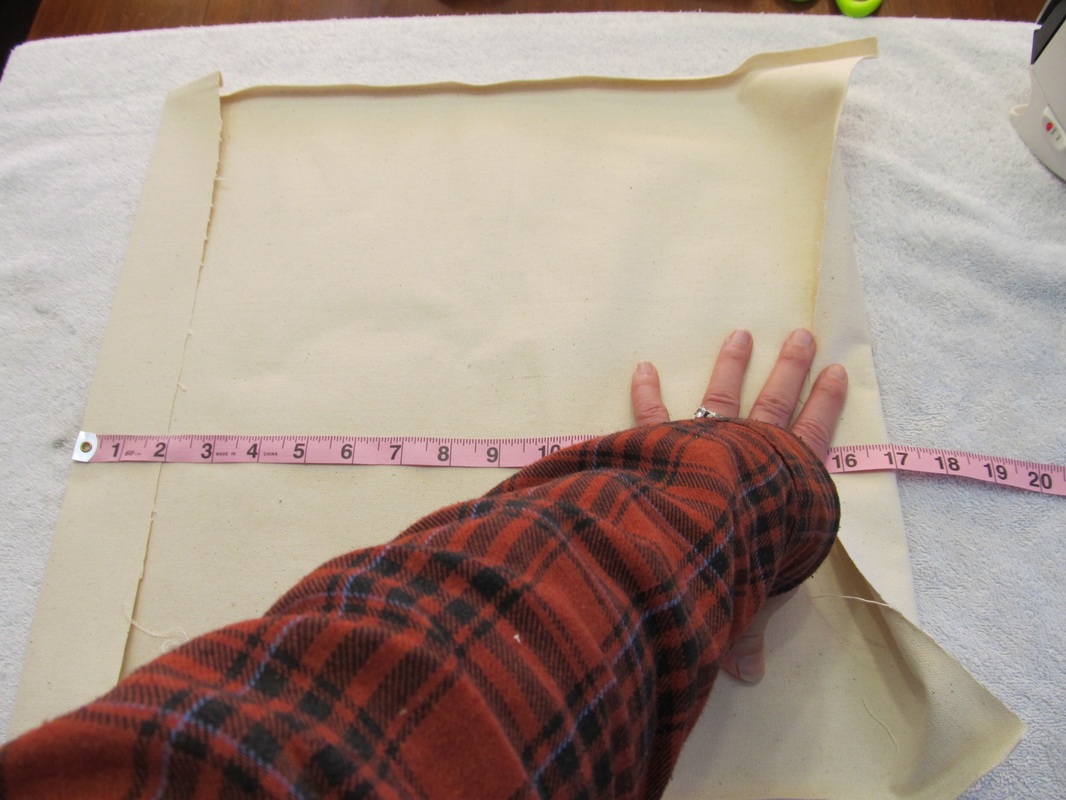
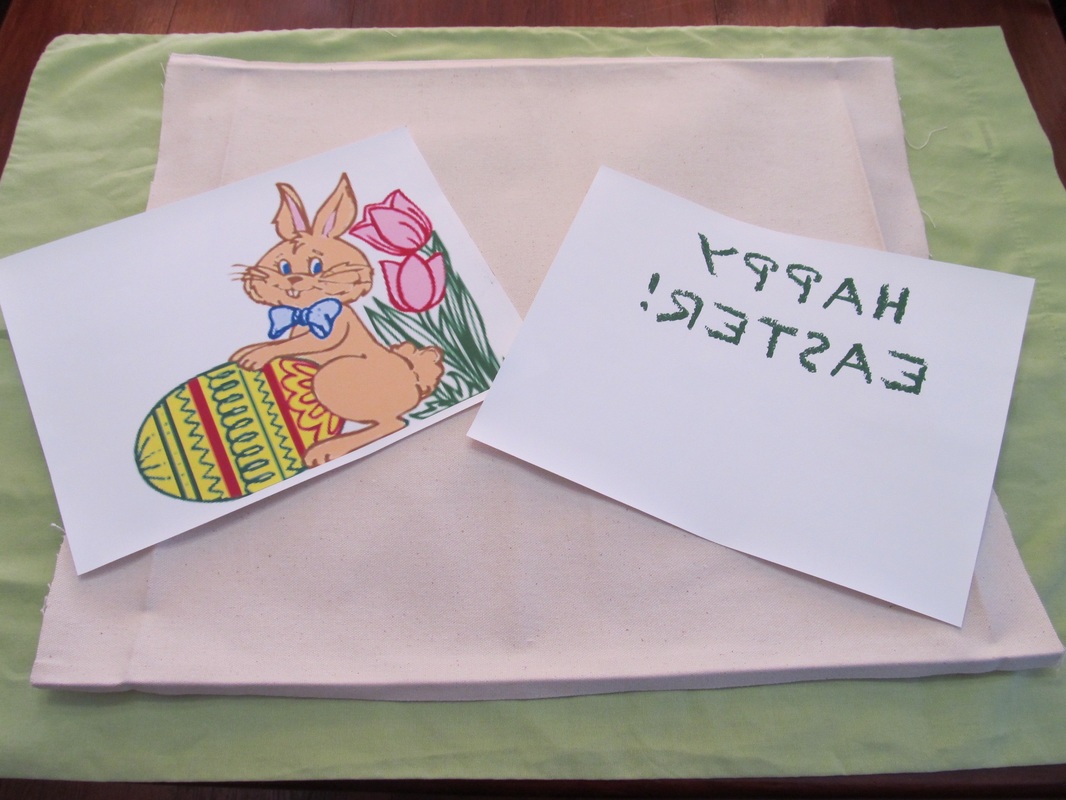
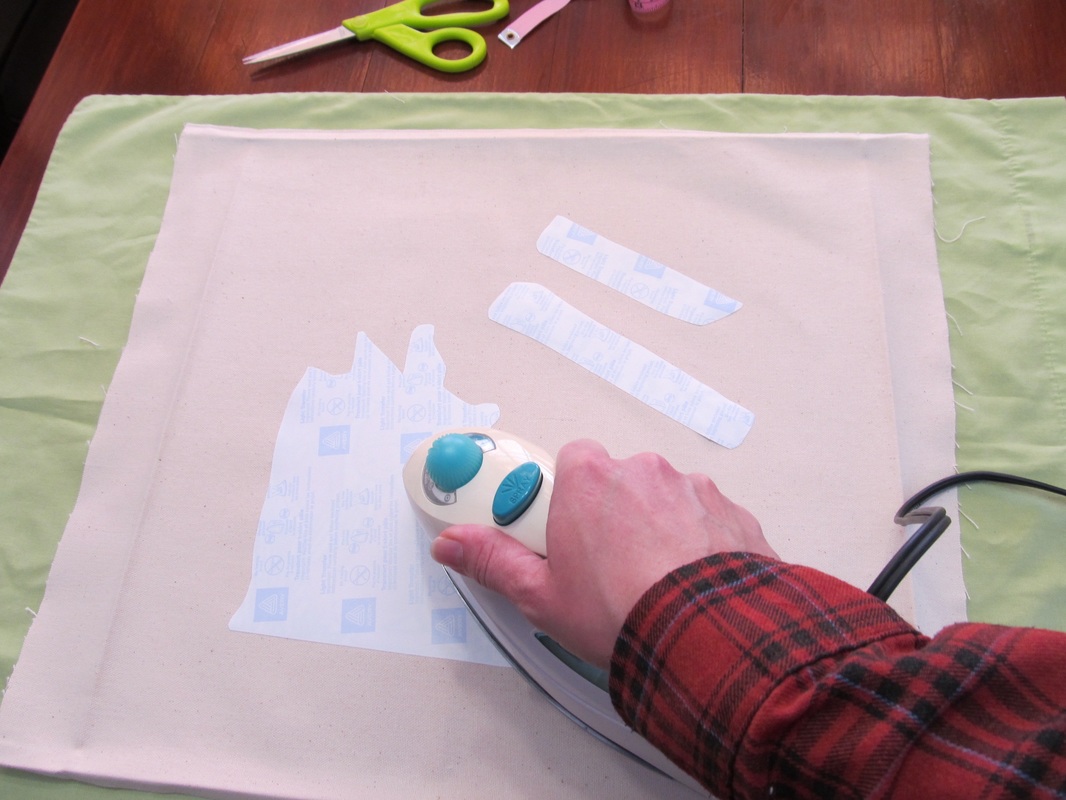
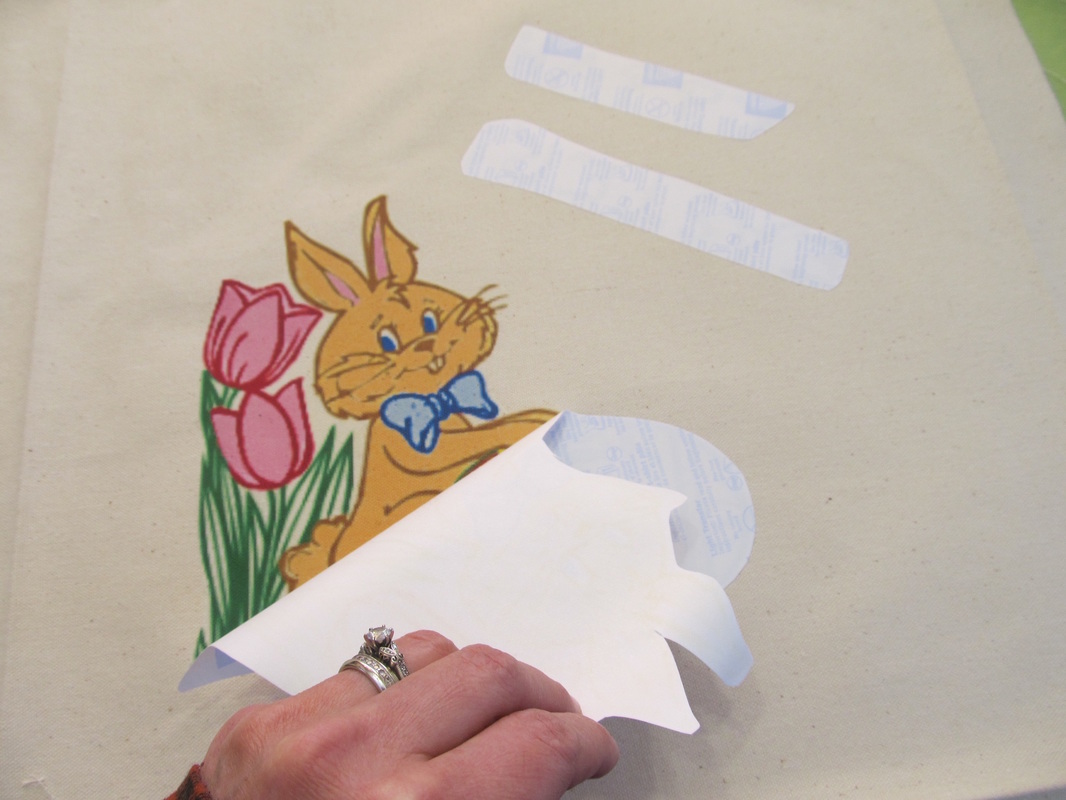
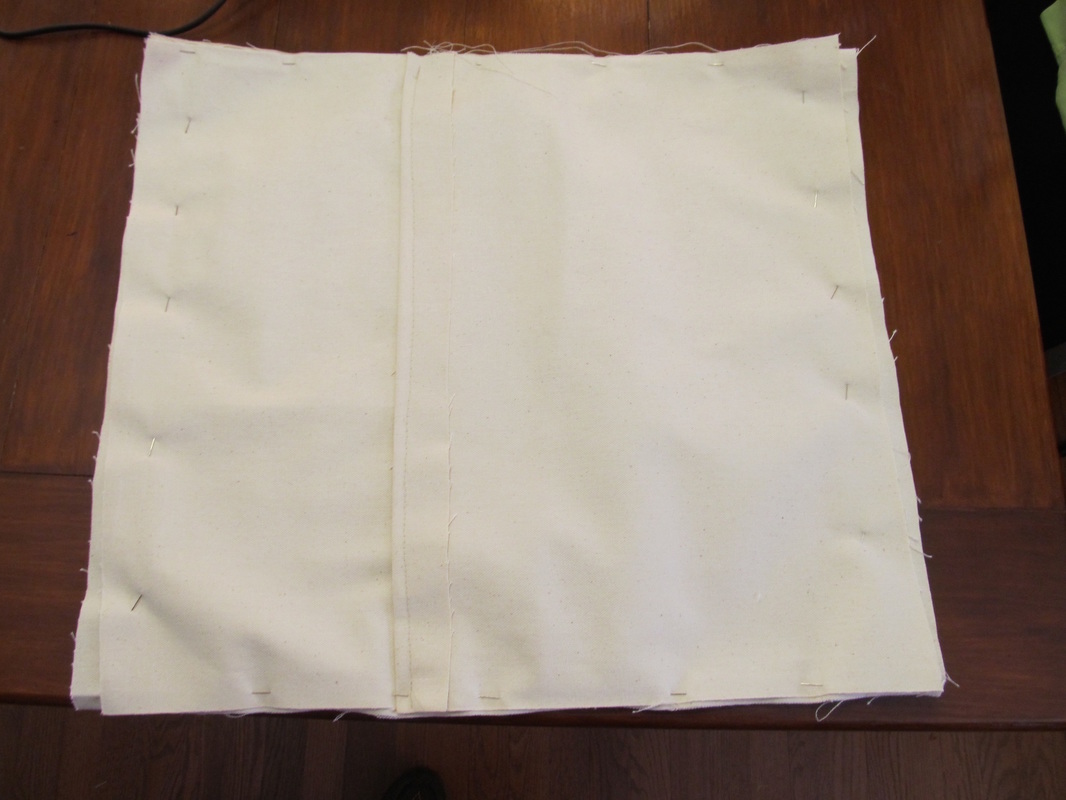
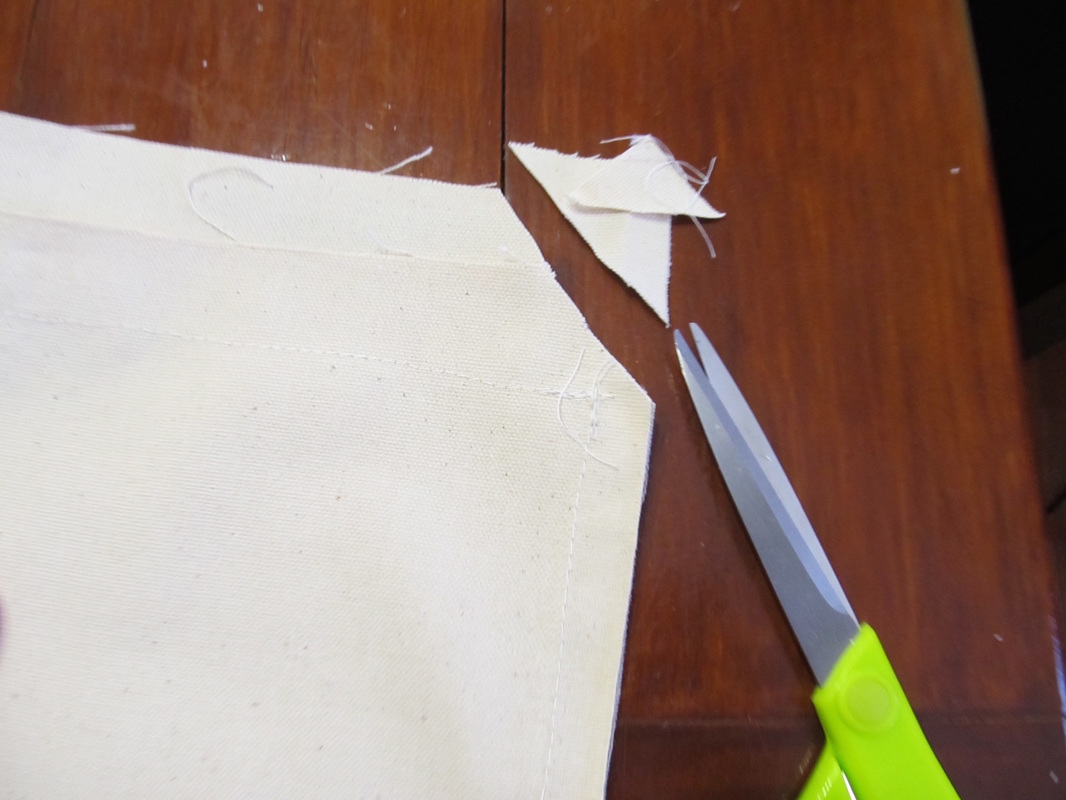
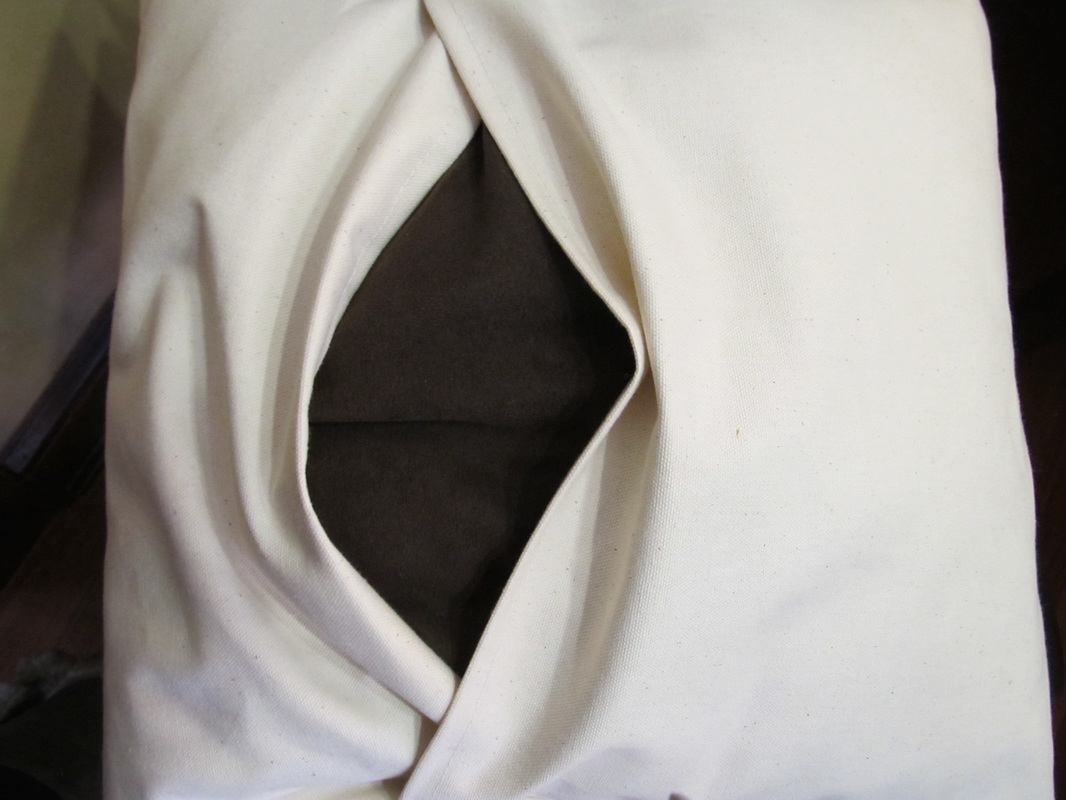
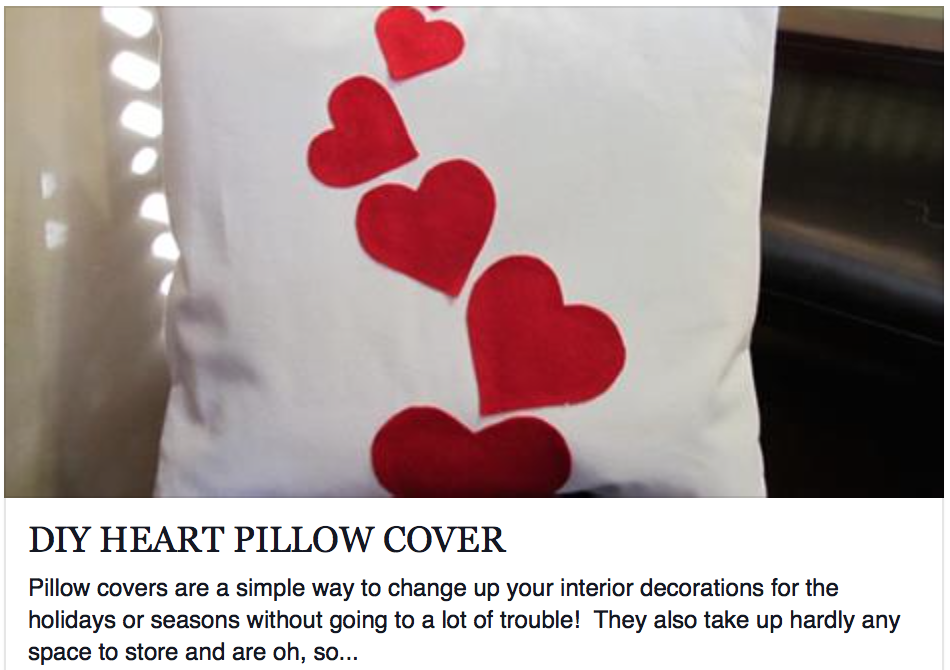
An easy DIY pillow cover to decorate your house for Easter!  Oh, so simple!
Supplies:
  • Cotton Canvas (4x 12 drop cloth at Harbor Freight is $8.99 and get 20% off!)
  • 2 Iron on transfer sheets (affiliate link)
  • Printer with color ink
  • Iron
  • Scissors
  • Sewing machine
  • Thread
Picture
Measure the pillow and cut the three pieces of fabric. Refer to link for more explicit instructions.
Simple DIY Envelope Pillow instructions from momtastic.
Picture
Iron the fabric.
Picture
Measure the hem distance vertically and horizontally (my pillow was 17" square) and iron the hem over so you can create your workspace for the decoration.
Picture
Download the two pdf files below and print them out. Note that the words need to be printed as a mirror image! This is usually an option under print options (it either says print mirror image or flip horizontally).
Download the pdf. of the rabbit here.
download "happy easter" words pdf file here
Picture
Cut out the image and words leaving about 1/8th of an inch all the way around them. Then iron them on according to the directions.
Picture
NOTE: it takes longer than you think and always be sure to really heat up any corners extra well and check them first. If they are not peeling easily, then push it back down and heat again!
Picture
Picture
Sew a seam on the two envelope pieces (the part that creates the envelope). Arrange all the pieces together inside out, pin together, and sew around the entire outside of the pillow using the ironed hems as a guide. You will actually be sewing along the ironed line.
Picture
After you sew around the entire edge of the pillow cover, cut off the inside corners at an angle.
Picture
Turn the cover inside out and put a pillow in!
Picture
Easy peasy!
Check out the instructions for this Heart DIY Pillow Cover by clicking on the picture below!
Picture
Thank you for visiting!

Check out our other DIY crafts & projects or our other Pinterest boards!
​
Sincerely,
Picture

SIMPLE & MEANINGFUL WALL DECOR

2/20/2016

 
Picture
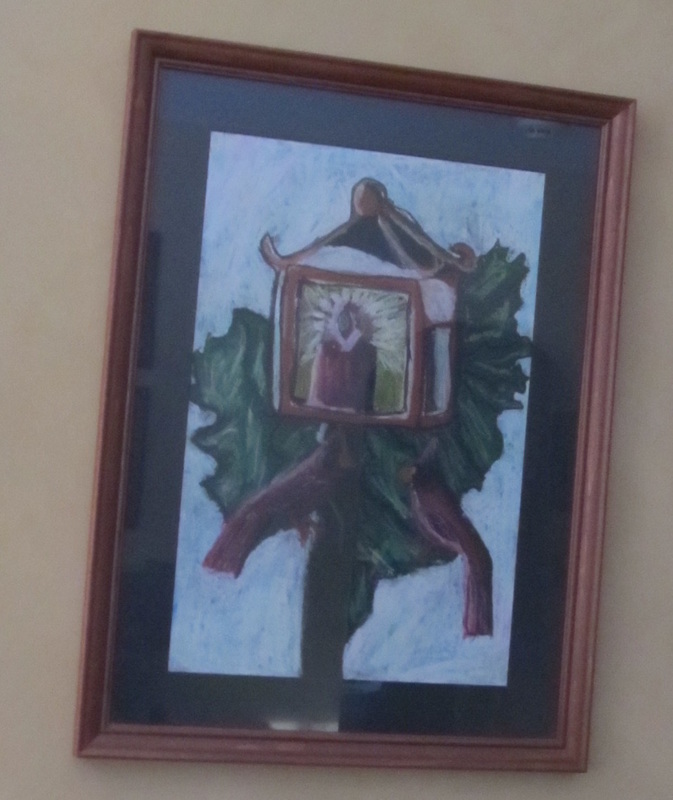
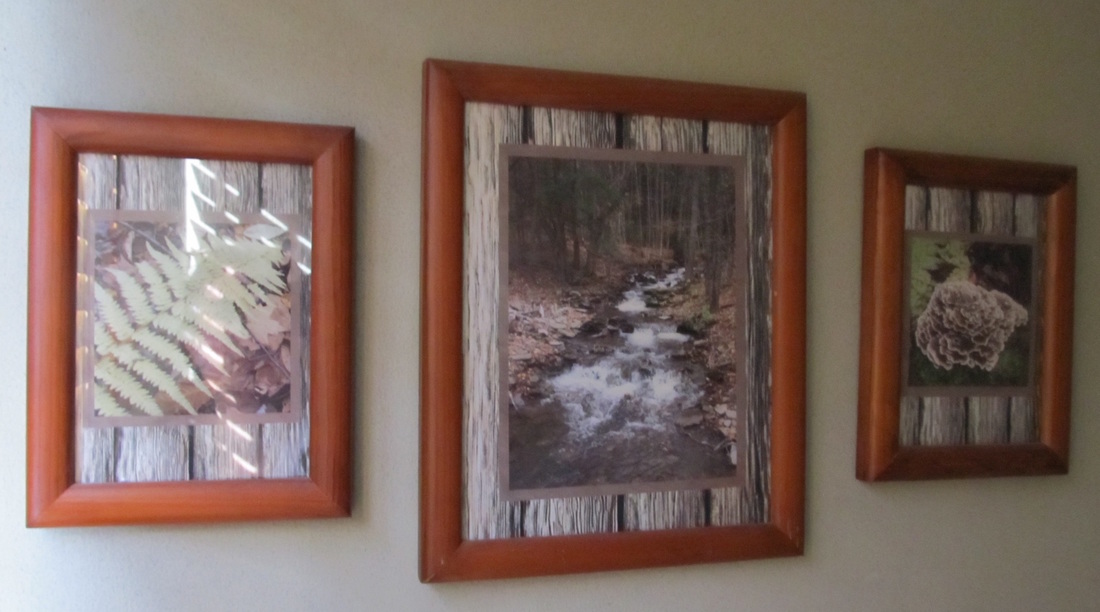
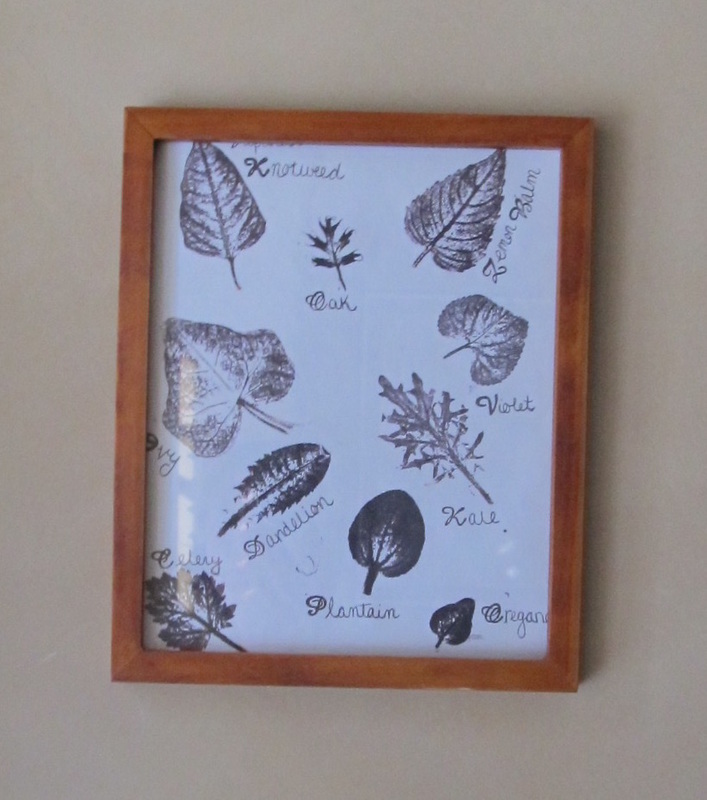
Why hang some strangers art on the wall?  Keep it simple and meaningful by using your children's art or even your own!  What's better than surrounding yourself with yours, your children's, or your relatives creations?

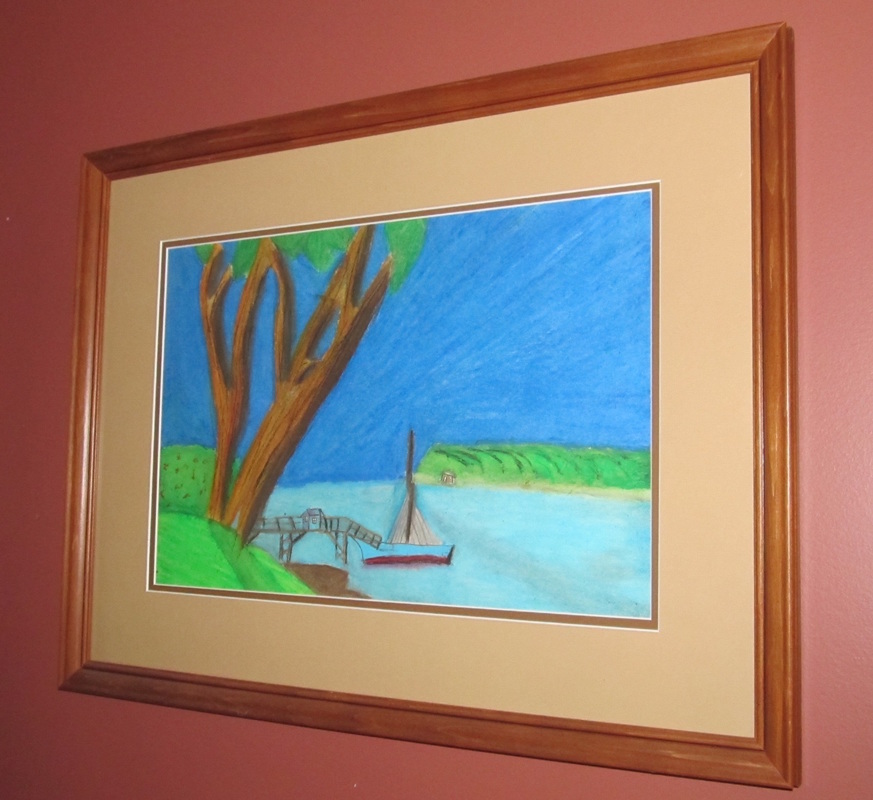
I have been saving my kids artwork since they were in elementary school.  I have switched different pictures for newer ones as the years went on and some have never come down! Some of the pictures were professionally matted and framed and other pictures I have framed myself.  An inexpensive option for matting pictures is Michaels craft stores (they always have a coupon). Whether you frame them yourself or pay someone else to do it, having your childrens, yours, or another special family members pictures on your walls around you is priceless!

Here are a few of my favorites hanging throughout our home:
Picture
Pastels by my daughter in 5th grade.
Picture
Pastels by my son in 5th grade.
Picture
Photographs taken by my daughter.
Picture
Charcoal sketch by my son in high school.
Picture
Ink stamped leaves from nature by my daughter.
Picture
Metal impression made by my son to be used as a mold, but I liked it for a wall hanging!
It feels wonderful to be surrounded by the creative projects of my children!

Thanks for visiting!

Sincerely,
Picture

KEEPING WARM THIS WINTER

2/16/2016

0 Comments

 
Picture
These are all common sense, but since the temperatures were recently  hovering around 0°F, yes ZERO , I thought it might be a good time for a little refresher with respect to keeping our home warm without breaking the piggy bank!
What can be done that costs nothing but time?
  • Block that drafty door!  This can easily be prevented by just laying a towel along the bottom.  
  • Cover up those windows with drapes. Yes, it will be dark, but it will keep the drafts out!
  • Put the window air conditioners away.  Why would you keep it in the window all year long?  They are made specifically to be able to put in and take out easily.
  • Keep south windows uncovered during day to let the sun in!  Even in the winter the Sun can help heat up your home so let the sunshine in during the day!  Pull the drapes shut again at night.
  • Switch the direction of your ceiling fan!  A ceiling fan should blow down in the winter. Why? Well, hot air rises due to lower density but what good is it doing you up near the ceiling?  
  • Dress for the season! It's winter out folks.  This means we should be wearing long sleeves and layers such as sweaters.  You do not, and should not be wearing a t-shirt in your house!
  • Close the fireplace flu and door!  Unless it has a tight door on the front heat will naturally go right up and out the chimney.  It is not even worth it to use the fireplace when it is really cold if it is not designed to minimize heat loss.
  • Put out pans of water.  The water will evaporate and create humidity in the room. Why is this good?  Because water vapor has a high specific heat.  This means it has the ability to absorb and hold heat for a long time.  Humidity in your home will absorb and hold the heat keeping it warmer.
  • Make sure the heaters are not blocked or covered with items that will prevent the heat from radiating outward into the house (and may also be a fire hazard).
  • Minimize exhaust fan use in bathrooms and kitchens.  Unfortunately the exhaust fans suck the nice warm air up and out of your house!
  • Baking in the oven?  When you are done and turn the oven off, just leave the door slightly ajar to let that nice warm air into the kitchen.
What can be done that requires some investment?
Note: some of these contain affiliate links. This means that if you click on a link and make a purchase I get a small percent of that sale.  For this reason I carefully choose every link to make sure that I really stand behind, and almost always, actually have used and or continue to use the product myself. Please feel free to contact me if you have any questions.
  • Find out where your drafts are with a Thermal Leak Detector.  Then decide whats necessary to stop those leaky drafts!
  • Seal drafty windows with a Window Insulating Kit.
  • Seal up drafty doors with a Double Sided Draft Blocker.
  • Use rubber or foam weatherstripping in any gaps around windows or doors.  Here is one for large gaps that is self sealing: Heavy Duty Weatherstrip Seal
  • Cover that air conditioner.  You can purchase either an interior or an exterior cover for your air conditioner if it must remain in place (wall or windows).
  • Cover the attic door with an Attic Stairway Cover Kit.
  • Buy a Programmable Thermostat for each zone (the more zones the better).  We purchased the same exact one for both zones in our home (upstairs and downstairs).  It allowed us to program the heat in separately for the weekdays when we are working and for the weekends when we are home.  It is easy to bypass if your schedule changes too!
  • Wrap those pipes with Tube Insulation.  If you have heat that uses hot water and it has to travel from the basement, you might want to wrap those pipes to keep some of the heat from escaping on the way up!  However....that said, we do use one side of our basement regularly.  On the side we use we painted the cast iron heating pipes black so that they will actually help to heat the area.  They get so hot we can't even touch them sometimes!
  • Wrap the hot water heater with a Heater Blanket.  Again, our heat uses the hot water tank so insulating it definitely helps!
  • Install radiator reflectors.  Here is an Instructables on how to make them on the cheap!
  • Keep the oil or gas burner CLEAN.  If you keep it clean and replace filters etc. regularly, it will burn the oil or gas more efficiently.  It's that simple.
  • Use a humidifier.  For the same reasons as stated earlier, only an actual humidifier will force the evaporation thereby working much quicker. 
I hope some of these suggestions were helpful and that you have a warm and wonderful winter :-)

You can read more on our website at
​Minimizing Heating & Cooling Bills

Thanks for visiting.

Sincerely,
Picture
Sources:
  • http://energy.gov/energysaver/tips-heating-and-cooling
0 Comments

DIY CROCHET MAGNETIC PHOTO FRAME

2/13/2016

 
Picture
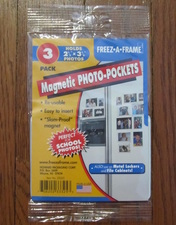
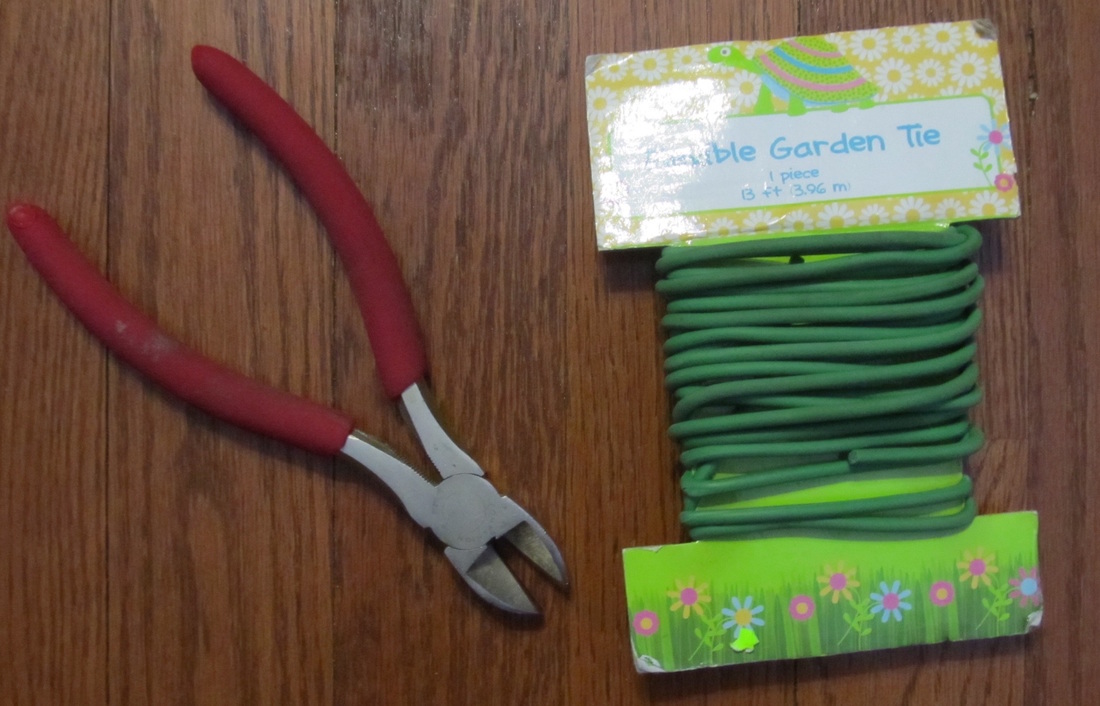
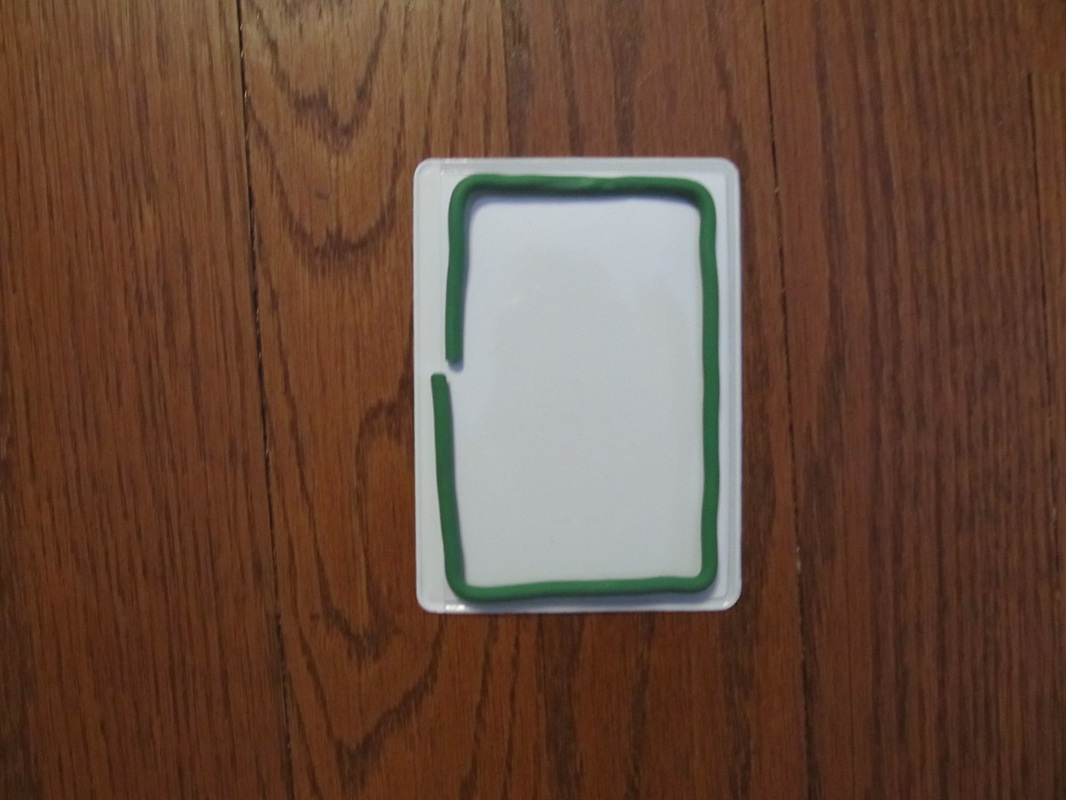
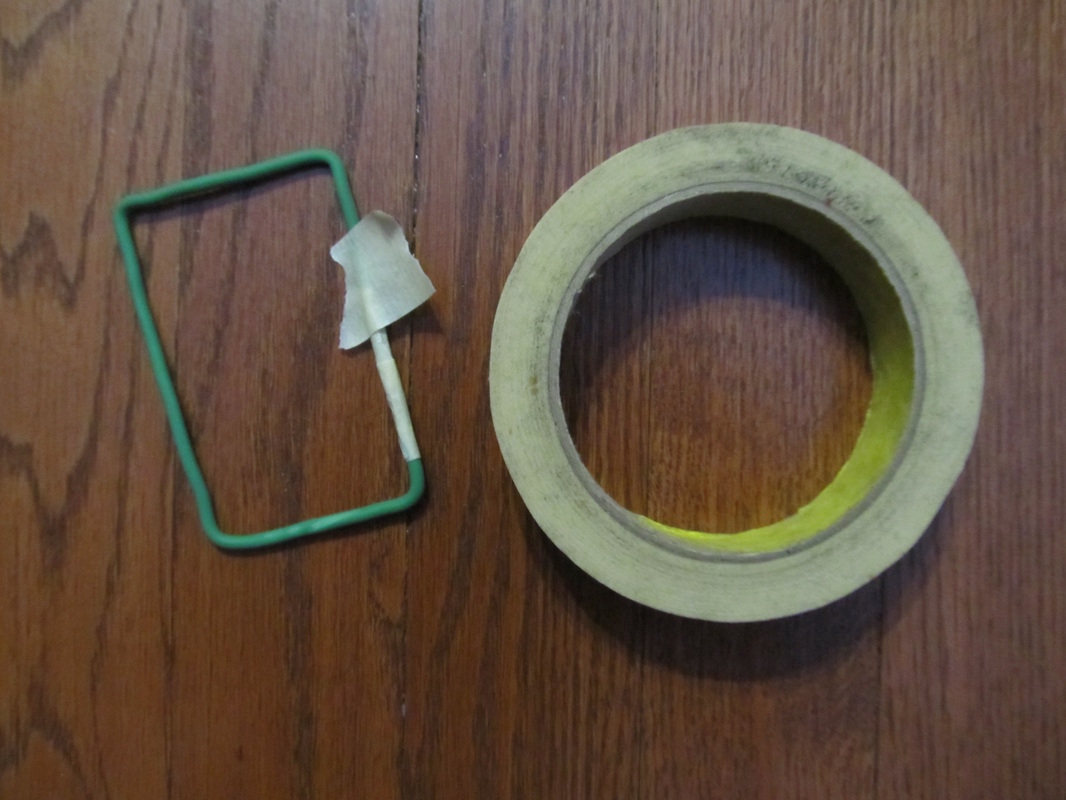
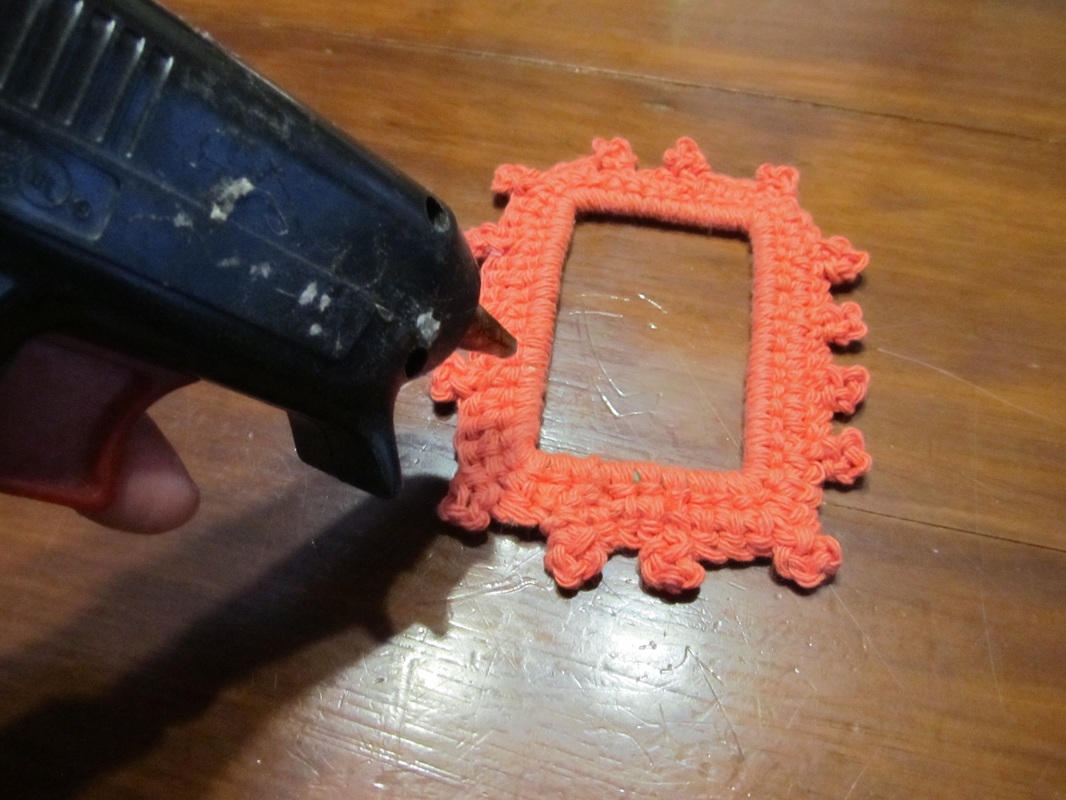
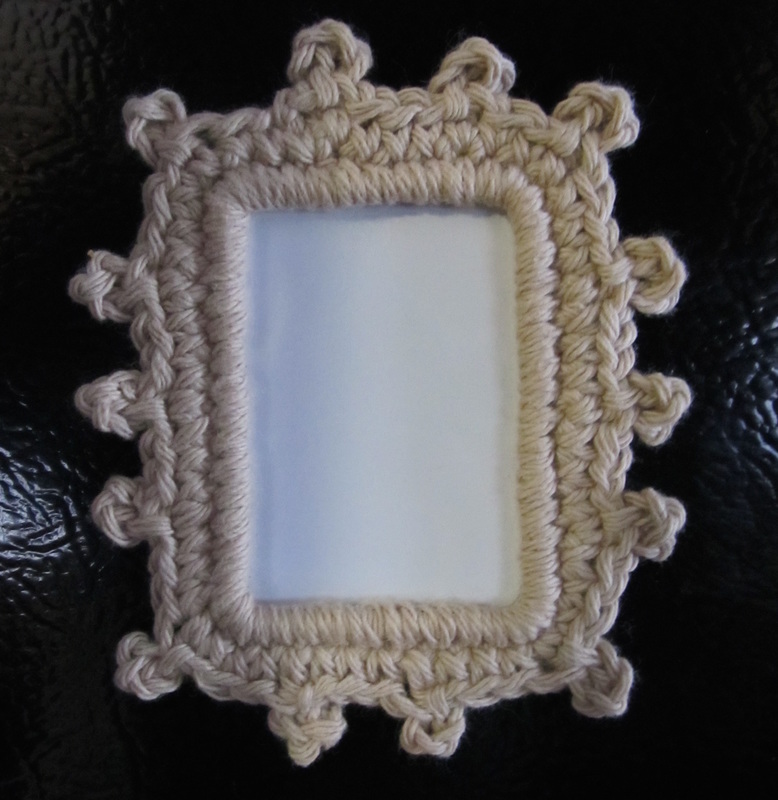
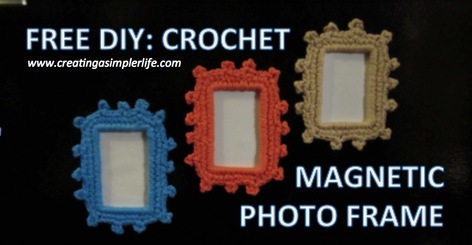
I love it when I find a really great buy that I can turn into something awesome!  Thats why I love these refrigerator magnets so much.  I found the plain magnets on clearance 3 for $1, and then another 20% off!  Of course I couldn't resist buying them! They honestly sat around for a few months until I came up with a great inexpensive way to use them creatively and that's what I am sharing it here with you today! 

Supplies Needed:
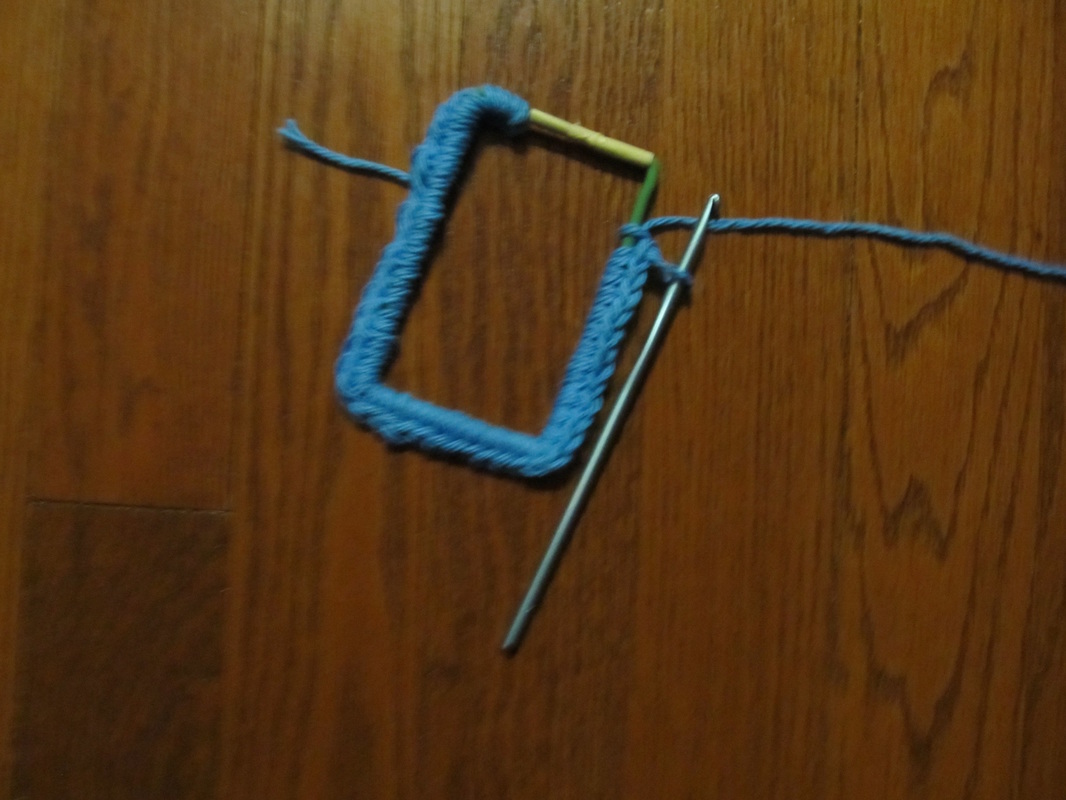
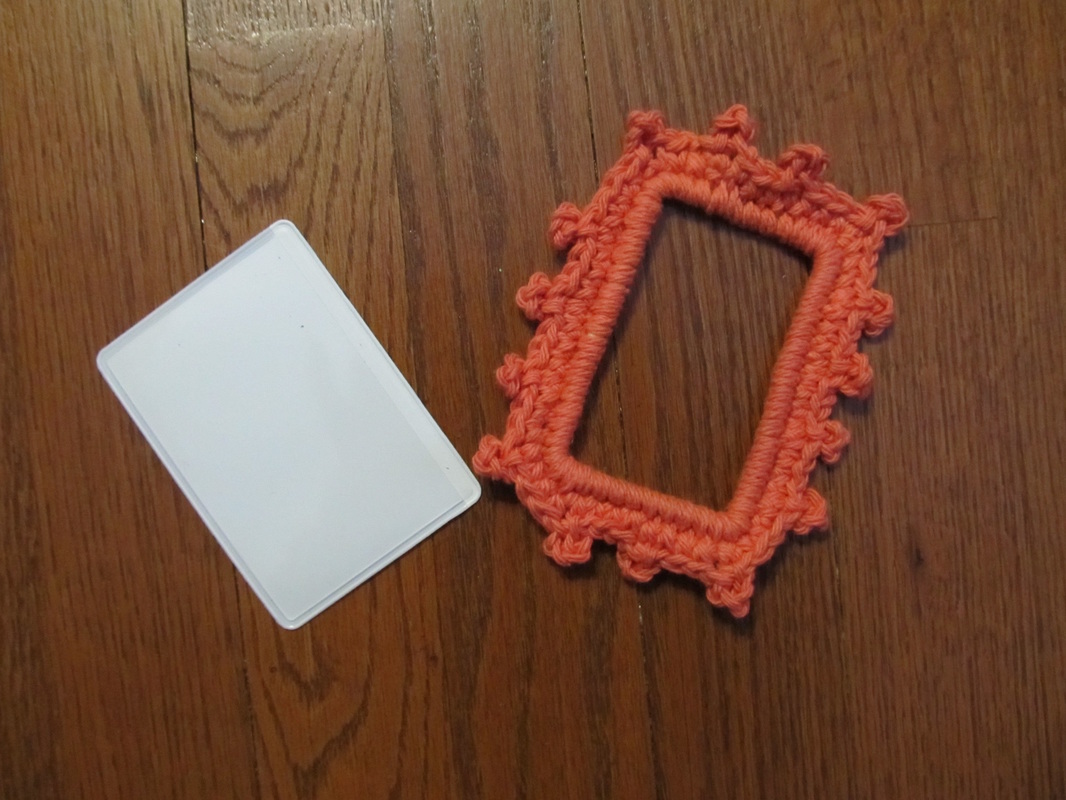
  • Magnetic Photo Frames - I found the same ones on Amazon (not on sale): Freez-A-Frame Wallet Size (affiliate link).
  • Lily Sugar'n Cream 100% Cotton Yarn - any color(s)
  • USA size 7 Crochet Hook
  • Yarn Needle
  • Wire - I used soft garden wire. Here is something similar from Amazon: Slim Soft Tie (affiliate link).
  • Hot Glue Gun
  • Hot Glue Stick
  • Wire Cutters
  • Scissors
Picture
Picture
Instructions:
Picture
Measure and cut the wire to the correct length. It needs to be smaller than the clear plastic that covers the photo.
Picture
Connect the cut ends of the wire using masking tape. I used old crummy tape because I know nobody will see it.
Picture
Single crochet around the entire wire. You want to keep it in multiples of four. I had 12 along the top and bottom and 16 on each side. Slip stitch to connect to first single crochet and chain 1.
Picture
Do the picot stitch for the second round making sure that it works out so that you have a picot in each of the four corners (if this is true, then the other picot stitches on the tops and sides will be evenly spaced. The Picot stitch is basically 4 sc, 4 chains, slip stitch to the 1st of the 4 chains, then single crochet in the next four stitches. No stitches are skipped. Use the picture for help if necessary. Finish off and weave loose ends with yarn needle.
Picture
Using the hot glue gun, apply a thin line of hot glue on the back side of the crocheted frame face. Immediately turn it over and place it onto the magnet backing being sure that you avoid the pocket edge - if you are not careful to avoid it you may accidentally glue it closed.
Picture
Fill with a special photo, hang it on your refrigerator or anywhere else you have a magnetic surface, and enjoy your handiwork!
Thank you for visiting!

Please check out my other FREE Crochet Patterns or our Crochet Only
and Crochet for the Kids Pinterest boards!

Sincerely,
Picture

10 FRUGAL KITCHEN SECRETS

2/8/2016

0 Comments

 
Picture
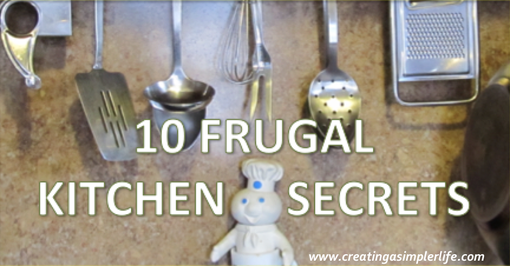
Well, maybe not necessarily secrets... but certainly great ideas that can save you money! You  know the expression "waste not, want not," right?  Do you practice this by being frugal at home? Do you use items to their fullest, or do you just simply throw them away without thinking about if they could still be useful to you and your family?  Either way, check out these super frugal household 'secrets' for the kitchen that can help you save a little money and be environmentally friendly at the same time!
Picture
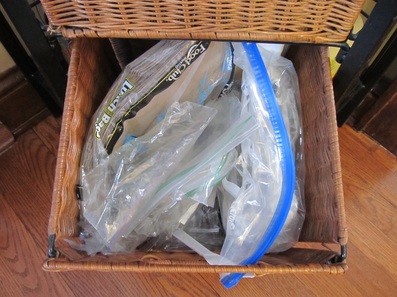
1. Reuse Freezer and Sandwich Bags - I know, they are plastic, but seriously, they really make storing things simple!  Food stays fresh, and other items are easily viewed in the bag making them easier to find.  But because they are plastic I make sure I re-use them over and over again (Only first-time-usefor food!).  Simply turn inside out, wash and rinse, then let them thoroughly dry.  Keep the used bags in a special spot so you know they have already been used once or more.  I keep them in a bin near the kitchen for easy access.  The used baggies, no matter their size, are great for so many purposes!  When you have absolutely worn them out or broken the zipper, then be sure to recycle them right along with your other plastic bags!
Picture
Picture
Picture
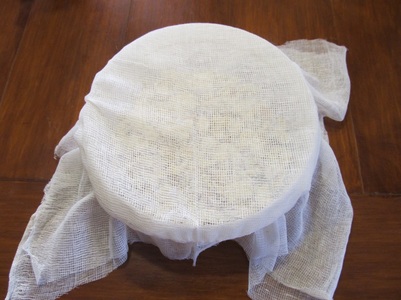
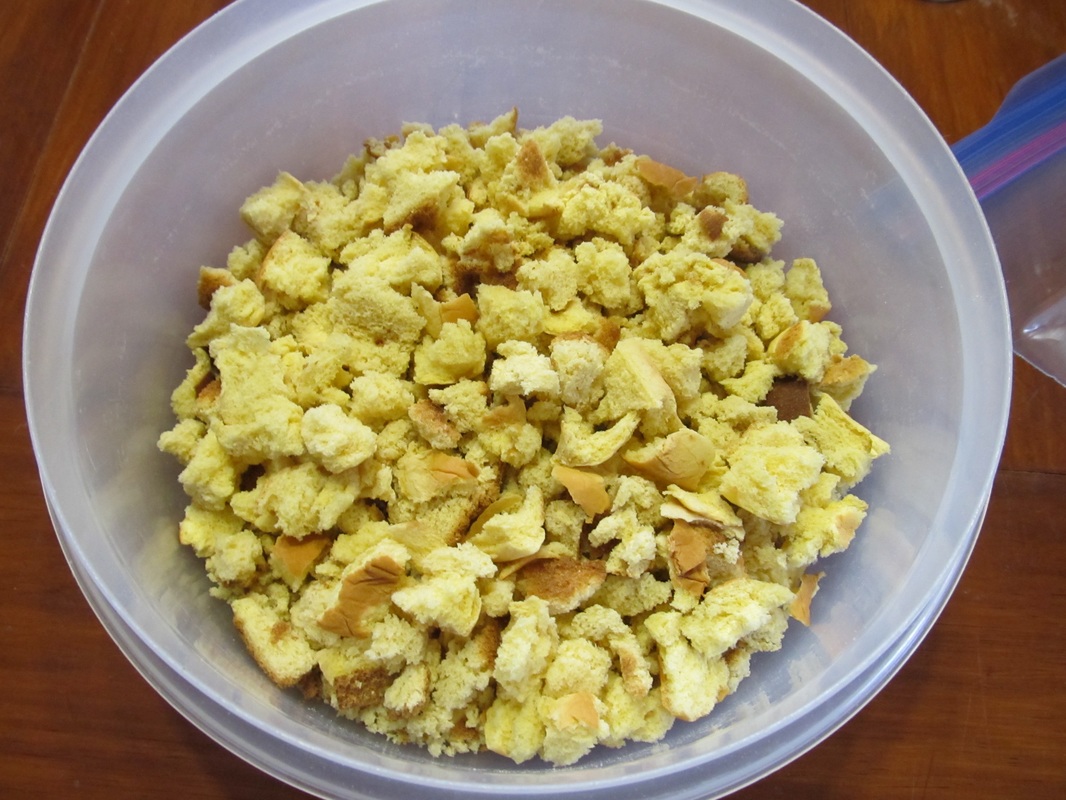
2.  Don't throw leftover bread away!  Save all those ends and leftover pieces nobody eats. Also save the leftover pieces that are already going stale!  Break or cut them up into crouton size pieces, put them in a container, and cover with cheesecloth so nothing but air can get in.  I use a giant rubber band around the outside to hold the cheesecloth in place.  Keep it accessible and give it a shake every now and then to keep the air circulating. When the pieces are completely dried out, put them in a baggie for storage.  When you are ready, use them as stuffing or crush them up and season them  to use as breadcrumbs.  Check out how I used them in my Apple Stuffing Recipe!
Picture
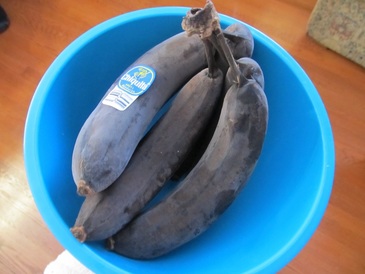
3.  Freeze brown and bruised bananas that nobody wants to make awesome banana bread!  Simply put them right into the freezer with the peel on. When you are ready to make the bread, take them out, let them defrost, peel the end off, squeeze out the banana and use it to make this yummy simple Banana Bread Recipe!
Picture
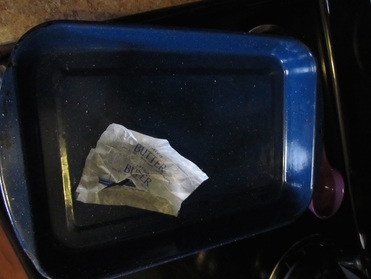
4.  Save butter wrappers in a baggie in the freezer to greese pans with.  That's right, don't throw those wrappers and small scraps of butter out! Save them in the freezer and when you need to grease a pan before baking in the oven, simply take one out and grease up that pan!  This is also a great way to save and use those little pats of butter you get at the diner!
Picture
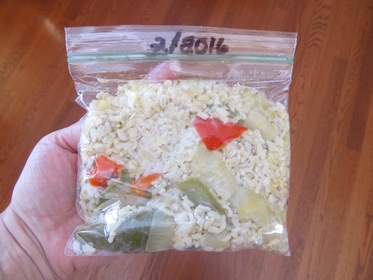
5. Freeze small amounts of leftovers for the best homemade soup you ever made!  We have all had times when we had leftovers that were not quite enough to save for another meal.  I am not talking about leftovers on someones plate, those are great to share with your pets or chickens. This is for those leftovers nobody touched.  Most people just throw them out, but I save every little bit in a freezer baggie, date it, and freeze it!  Then I make a soup that they can all be thrown into!  Check out this simple Homemade Soup Recipe that you can add all those great bits of leftovers to!
Picture
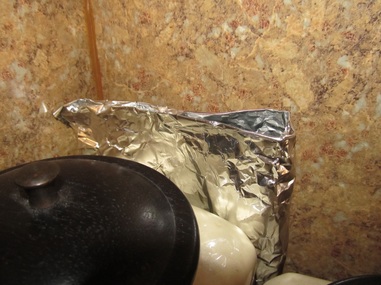
6.  Reuse Aluminum Foil - if its not ruined or super dirty, wipe it off if necessary and reuse it!  This stuff is expensive, and sometimes it is necessary for baking or cooking.  I don't use plastic wrap so aluminum foil is usually what takes it's place just to cover things in the fridge. It usually doesn't get dirty doing that job, so depending upon what it was used for and if the foil is in good shape, I save it and reuse it.  It is that simple. 
Picture
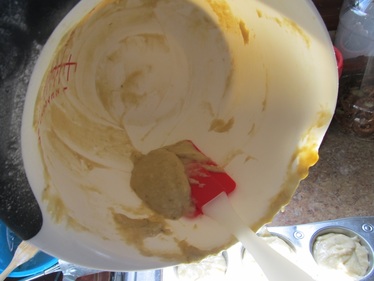
7.  Use rubber spatulas!  I love my rubber spatulas! I literally use them every single day for multiple purposes. Bottom line though, they are great for getting that last drop of mayonnaise, soup, batter, etc. out of the container with!  Why throw money literally down the drain by wasting good food that you left in the bottom of the container?  I have a set of multiple sized spatulas so that I can get into any size jar, but the smallest one is my absolute favorite! (Note: affiliate link).
Picture
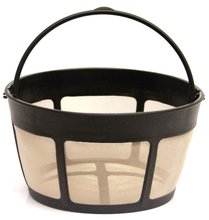
8.  Stop buying coffee filters! Buy a metal coffee filter than can be used over and over again. I actually bought two so when one is being washed I have an extra! (Note: affiliate link).
Picture
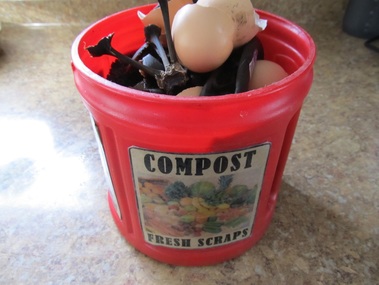
9.  Save those scraps!  All those egg shells and fresh produce peels and scraps?  Compost them and then use them to make your garden soil amazing instead of buying special compost! Read more about easy composting at Mother Earth News!
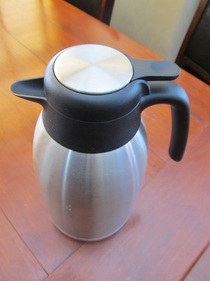
Picture
10.  Keep your coffee in a carafe. ​Why waste money keeping your coffee warm in the pot you cooked it in?  Why have to reheat a cup in the microwave later in the day when it never tastes good that way anyway? However, keep it in a  carafe and it stays warm and tasty all day long and you are not wasting money by throwing that expensive, cold and stale coffee away! (Note: affiliate link).
Thank you for visiting!

For more frugal ideas check out my
 Pinterest board
Everyday Ways to Save Money!

Sincerely,
Picture
0 Comments

RECIPES: FRIZZLED ONIONS & BANANA BREAD

2/6/2016

 
Picture
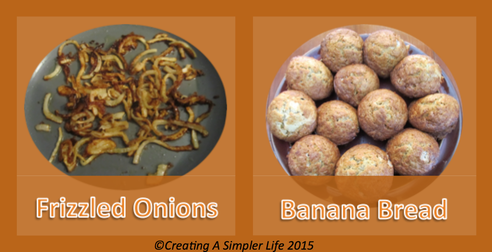
I love both of these recipes so much!  The frizzled onions are a great addition to any meal, but I especially love them because not only are onions healthy and delicious, but I grow them in my backyard!  Then there is the banana bread that you can see I cooked as muffins.  The aroma of the baking banana bread makes everyones mouth water...  Then when they are done and still warm, well, they never taste better than at that moment!  I especially like the banana bread because it uses up those old bruised, brown bananas that nobody wants to eat!  I simply freeze them (yes they turn black), and then defrost and use them to make the bread when I am ready.  This makes such a yummy sweet banana bread!  And finally, of course, these recipes are SIMPLE, SIMPLE, SIMPLE! 

Click on the button below the recipes to download the pdf file  and print one sheet of  8 1/2 x 11 cardstock paper.  Then cut out each of the 4 x 6 inch recipe cards.  They always come two recipes per sheet in an effort to not waste paper! 

Visit my Recipes Page to view or print out previous recipes (pdf files) or to download a FREE 4 x 6 Recipe Card Template (.dox file) for your own recipes! You can also check out my past Recipe Blog Posts here!

Watch Richie bake the banana bread recipe from scratch in cast iron bread pans!
Recipes are below the video.
Enjoy!

Picture
download pdf file for both recipes here!
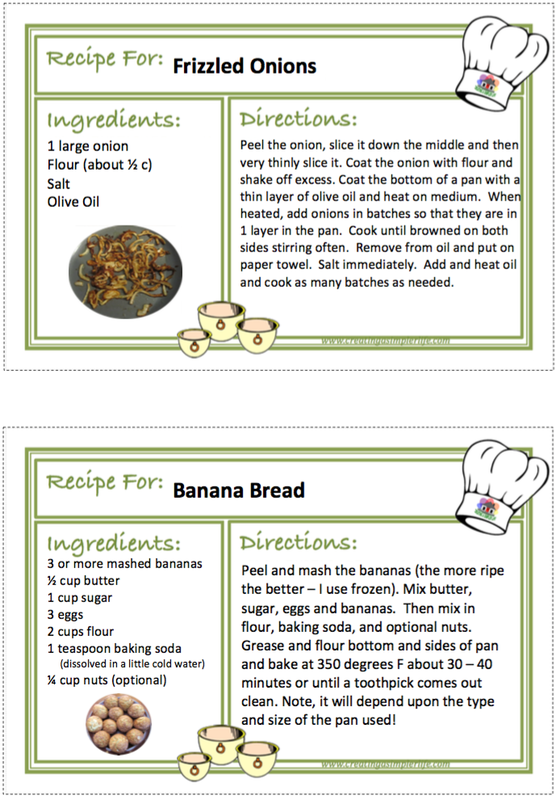
FYI: there are always two recipes because I do not want to waste paper!
​

Thank you for visiting!

​Please 'like' us on Facebook or join our mailing list 

so you never miss out on a blog post!

Sincerely,
Picture
    Picture
    Hi there! I'm Kathie, the author behind Creating A Simpler Life blog. I'm excited to share our longterm projects (and planning) toward building our future retirement homestead in the Adirondack Mountains of New York. In the meantime I will be sharing all the other little things we do that are part of creating our simpler life!
    Creating a Simpler Life

    RSS Feed

    Visit Creating A Simpler Life's profile on Pinterest.

    Categories

    All
    Adirondack Crafts
    Chickens
    Conservation
    Crochet
    Do It Yourself
    Energy Savings
    Essential-oils
    Essential-oils
    Food-storage-preservation
    Food-storage-preservation
    Gardening
    Health
    Health-wellness
    Health-wellness
    Homemade-remedies
    Homemade-remedies
    Homesteading
    Homesteading Dreams
    Inexpensive Fun
    Minimizing
    Organization
    Products We Sell
    Recipes
    Recycling
    Saving-money
    Saving-money
    Shopping
    Wedding & Shower DIY

    Archives

    July 2020
    June 2020
    April 2020
    March 2020
    March 2019
    January 2019
    December 2018
    October 2018
    August 2018
    July 2018
    June 2018
    April 2018
    March 2018
    February 2018
    January 2018
    November 2017
    October 2017
    September 2017
    August 2017
    July 2017
    June 2017
    May 2017
    April 2017
    March 2017
    February 2017
    January 2017
    December 2016
    November 2016
    October 2016
    September 2016
    August 2016
    July 2016
    June 2016
    May 2016
    April 2016
    March 2016
    February 2016
    January 2016
    December 2015
    November 2015
    October 2015
    September 2015
    August 2015
    July 2015
    June 2015

mrandmrscorbi@gmail.com
Contact Us - Privacy Policy - Disclaimer
Copyright 2022©Creating A Simpler Life, Inc. All rights reserved. Reproduction in whole or in part without permission is prohibited.
  • Home/About
    • What does OFF-GRID mean?
    • MINIMIZING >
      • Home Size
      • Room by Room
      • Get Organized
      • Household Waste
    • MINIMIZE DEBT, MAXIMIZE SAVINGS >
      • Bills & Other Debt
      • Saving Money
      • Shopping Tips
      • Affordable Fun
    • BACKYARD CHICKENS >
      • The Coop
      • The Chickens
      • Feeding the Chickens
      • Fresh Eggs
    • HOME GARDENING >
      • Building the Garden
      • What We Grow
      • Seeds, Weeds, & More
      • Preservation & Storage
    • DO-IT-YOURSELF >
      • Health & Wellness
      • Simple Cleaning & Tips
      • Crafts & More!
      • Printables
    • CROCHET >
      • IDEAS & MORE
      • VIDEO TUTORIALS
  • HOMESTEAD
    • The 5 Year Plan PLUS! >
      • 2017
      • 2018
      • 2019
      • 2020
      • 2021
      • 2022
    • WHY AN EARTH SHELTERED HOUSE?
    • OFF GRID TINY TRAILER
    • BUILDING our HOMESTEAD from Scratch >
      • BUYING LAND & GETTING STARTED
      • BUILDING THE CONCRETE DOME
      • FROM DOME to HOME
      • SURVIVING OUR FIRST WINTER
    • HOMESTEAD MACHINERY >
      • GENERATORS
      • KUBOTA TRACTOR
      • ATV'S & UTV'S
      • WOOD CHIPPER
      • CHAINSAWS
      • LOG SPLITTER
      • POWER TOOLS
      • SNOWMOBILES
      • AUTOMOBILES
    • BUDGETING THE BUILD
    • SUSTAINABILITY >
      • WATER
      • FOOD
      • SHELTER
      • ENERGY >
        • SOLAR POWER
    • The Adirondacks >
      • Wildlife & Nature
      • Insects & Bugs
      • Things to Do
      • Water Fun
    • ADIRONDACK CRAFTS
  • VLOG
    • 2023
    • 2022
    • 2021