Blog
A little bit of anything and everything that's part of
creating, enjoying, and living a simpler life!
creating, enjoying, and living a simpler life!

 Make it YOUR New Years resolution to buy PRODUCTS MADE IN THE USA! It can be hard, but the least you can do is try. Especially when it comes to the big ticket items bought only once every 5-10 years like appliances and furniture. This was one of our resolutions for 2015, and I am proud to say, "We did it!" Check out Our Top 4 Made in the USA Buys of 2015. WHAT DOES THE LAW STATE ABOUT WHERE A PRODUCT IS MADE? Any product (not food) sold in the United States must say exactly where it is made. So if you look closely enough, a product should state, "Made in the USA, Made in Mexico, Made in China, etc." somewhere on the packaging. Just having a picture of an American Flag, or calling itself American, or using the name United States, or a picture of the USA or anything of the sort DOES NOT MEAN IT IS MADE IN AMERICA. In fact, this is the perfect scam! They hope you are making the assumption from the name or the picture that it is made in America because if you looked any closer (and actually read what it says) you would realize it is NOT! It is getting harder and harder to buy items 100% made in the USA, but we can at least do our best to try! MADE IN AMERICA - EITHER QUALIFIED OR UNQUALIFIED
HOW TO KNOW FOR SURE:
Check out our MADE IN AMERICA Pinterest Board for more brands and items that are proudly MADE IN THE USA! Thank you for visiting! 
0 Comments
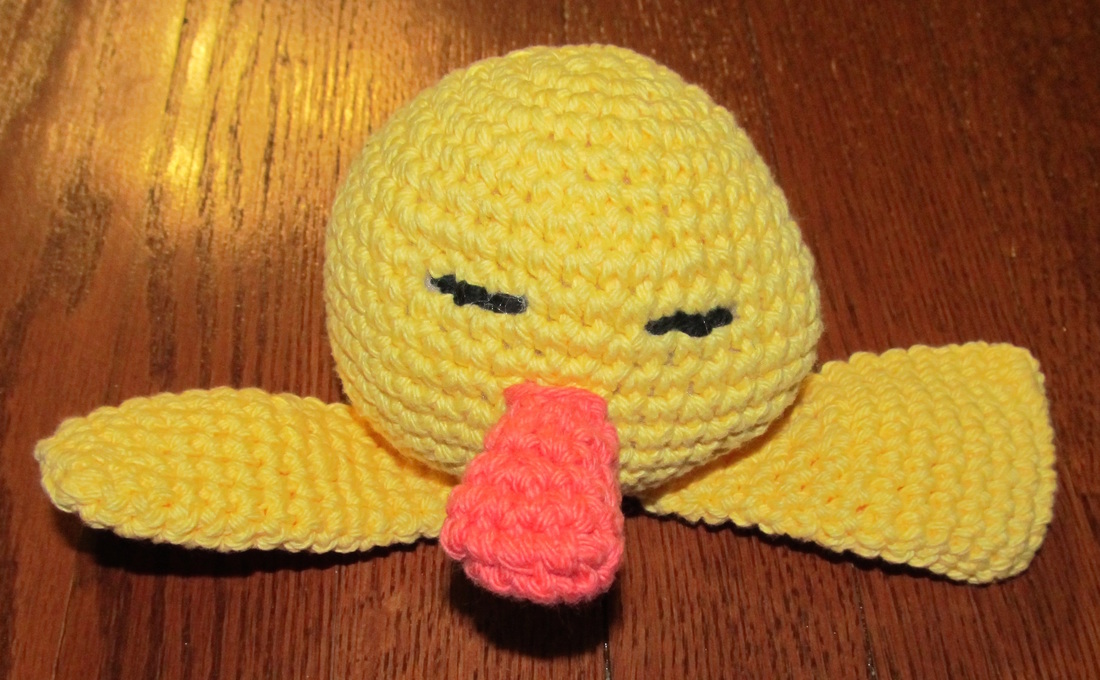
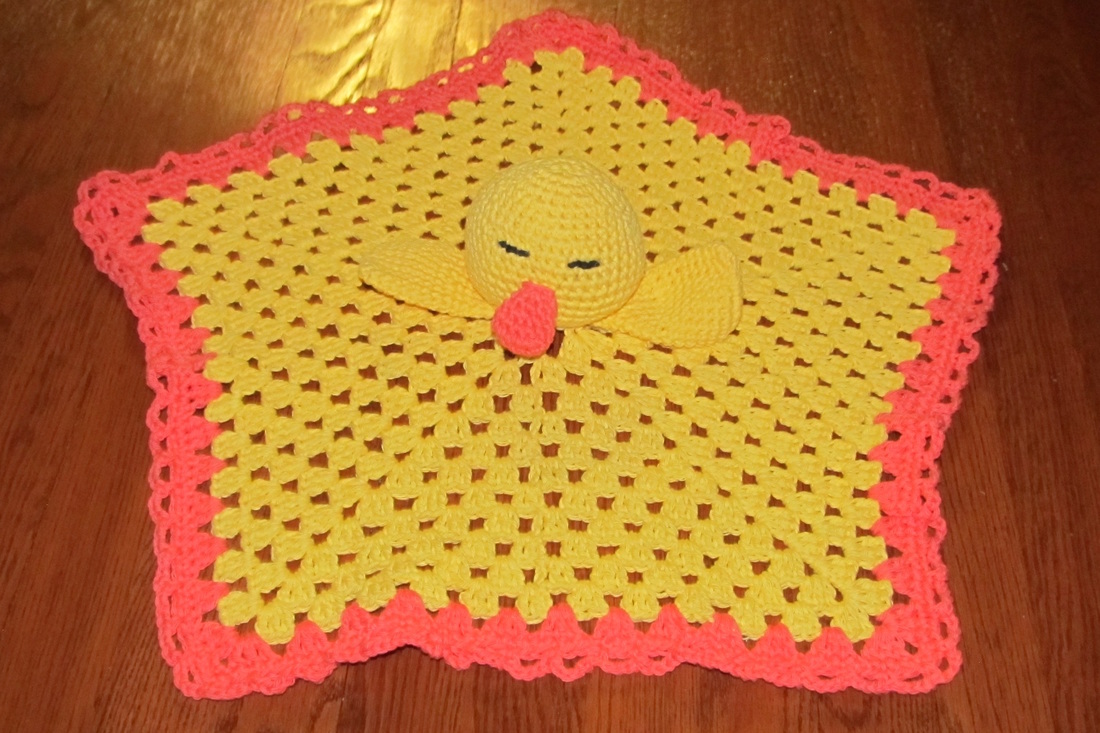
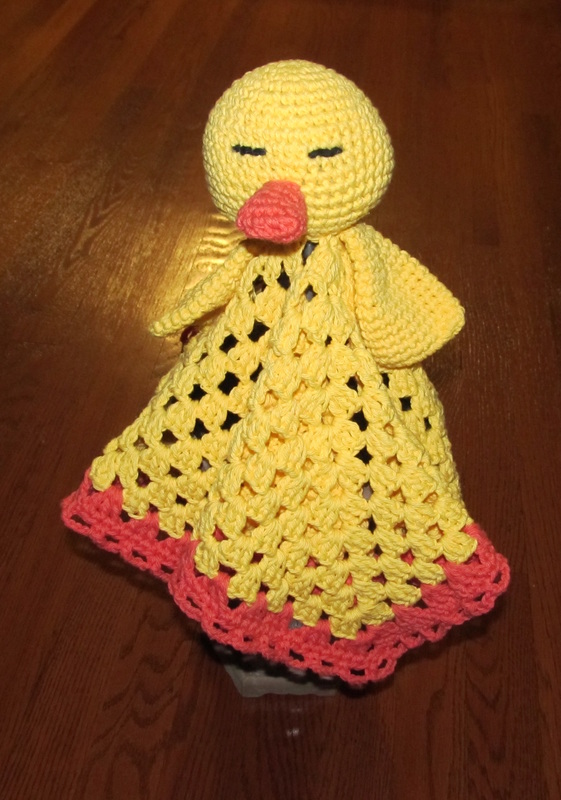
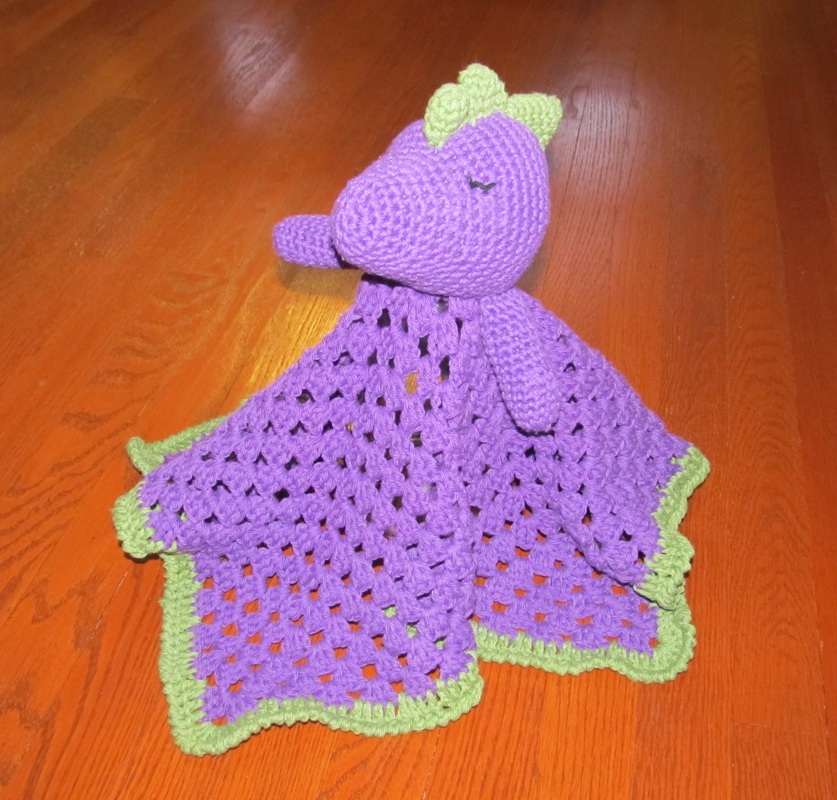
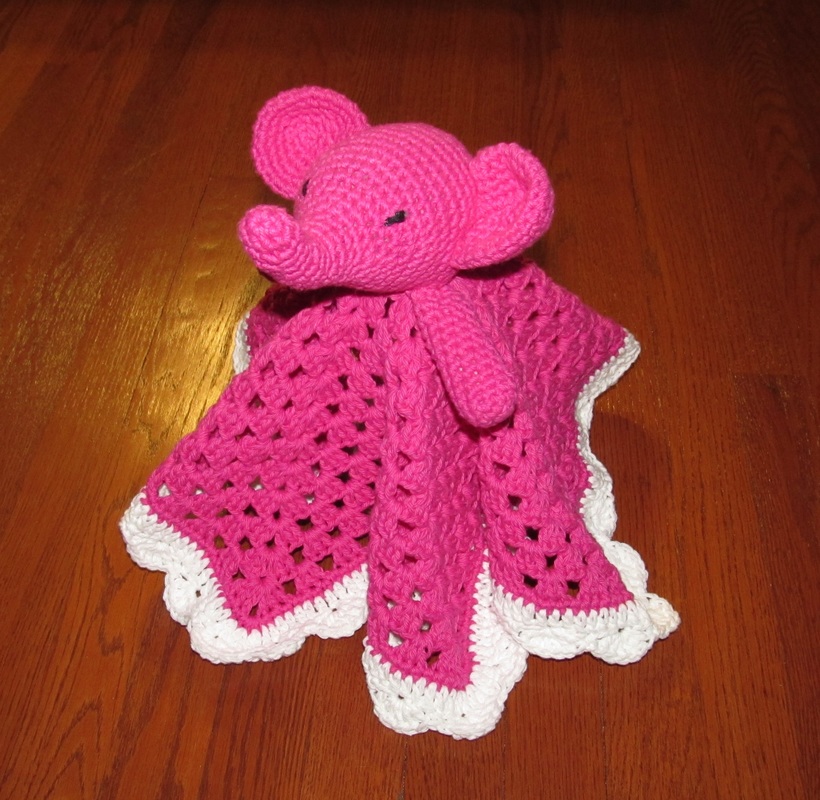
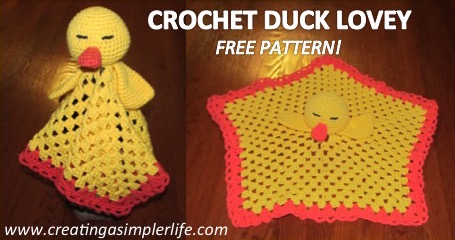 This lovey blanket was super, super, simple! Many of you already know, but for anyone new, please note that I have poor pattern writing skills....for some reason it just never clicked with me. For this reason I supplement with links to video tutorials that can be watched on tube. However, note that the stitches are all pretty basic and if you have crochet skills you should be fine. I just make these up and write them down as I go, so there really is no right or wrong. as long as it looks good when you're done, who cares? A child will love it no matter what :-) Please remember to feel free to contact me with any questions! Supplies Needed:
*Best price I can find for the Sugar'n Cream yarn is $1.99 for a 2.5 oz skein at Michaels Craft Stores. Even better if you print out and use their coupons each week - I print two coupons and bring my husband (They almost always have a 40% or 50% off one regular priced item!).
Make the Head: (I strongly suggest reading all the directions first and then watching the video tutorial if this is your first time making a ball shape).
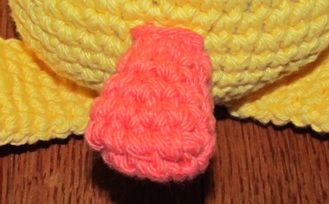
Make the Beak:
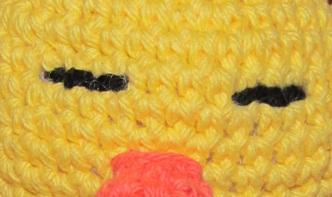
Sew on Eyes:
Make the Wings:
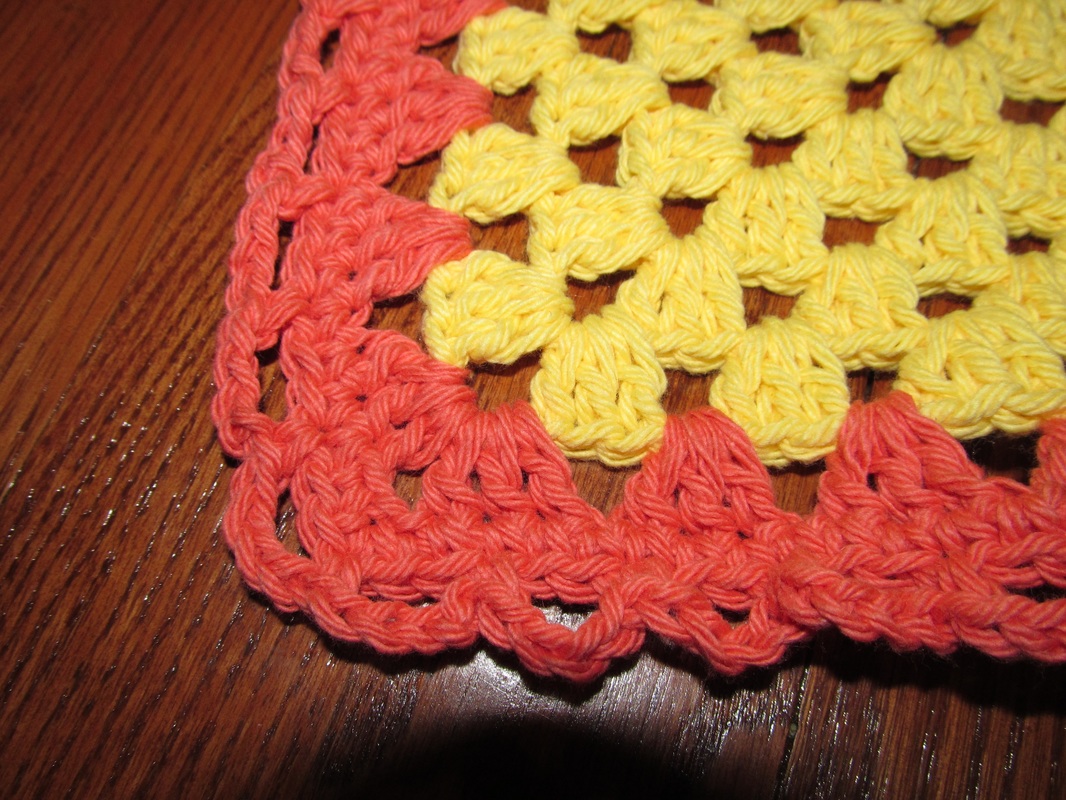
Make the Blanket: This is a basic granny square blanket with 5 corners instead of 4 and 14 rows with the last row in the edging color, one row of single crochet and the chain edge. If my directions are confusing, check out this granny square video tutorial. My pattern just adds an extra corner, but is done pretty much the same! The final blanket is approximately 18" x 18".
Finishing:
Check out the our other FREE crochet patterns here! Also check out the many crochet project patterns on our Pinterest Boards Crochet ONLY and Crochet for the Kids! NEW PATTERNS COMING SOON:
Thank you for visiting. Please like and follow us :-) Sincerely, 
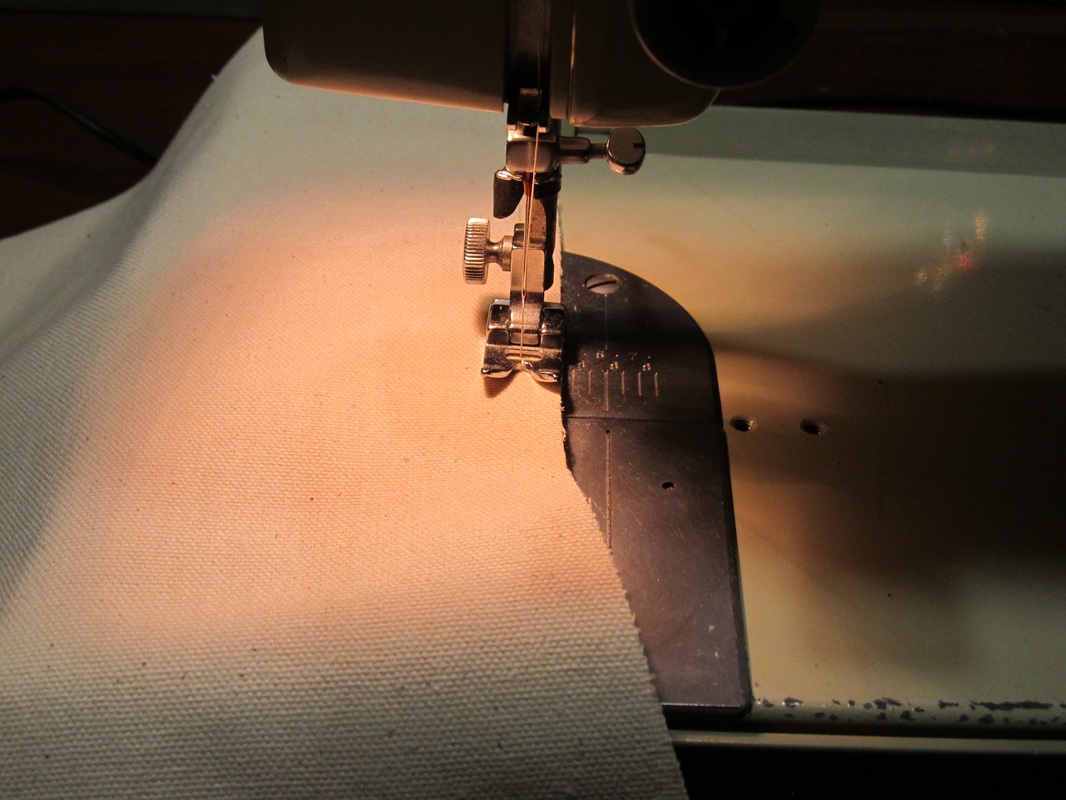
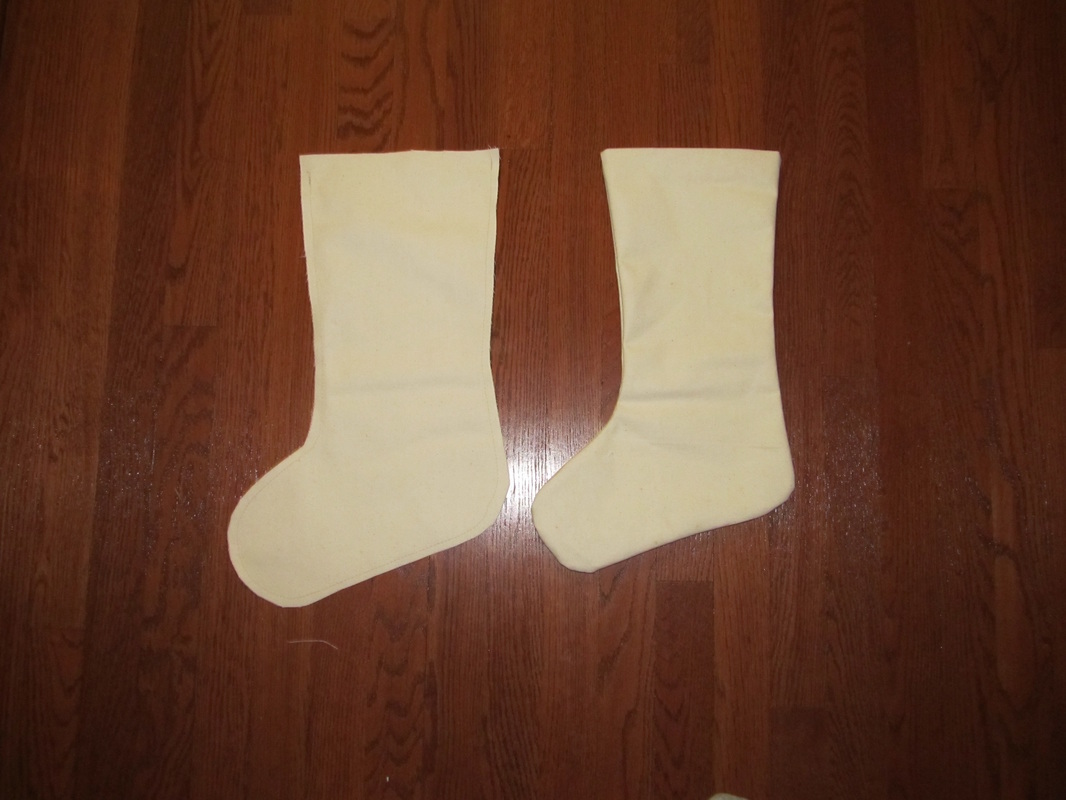
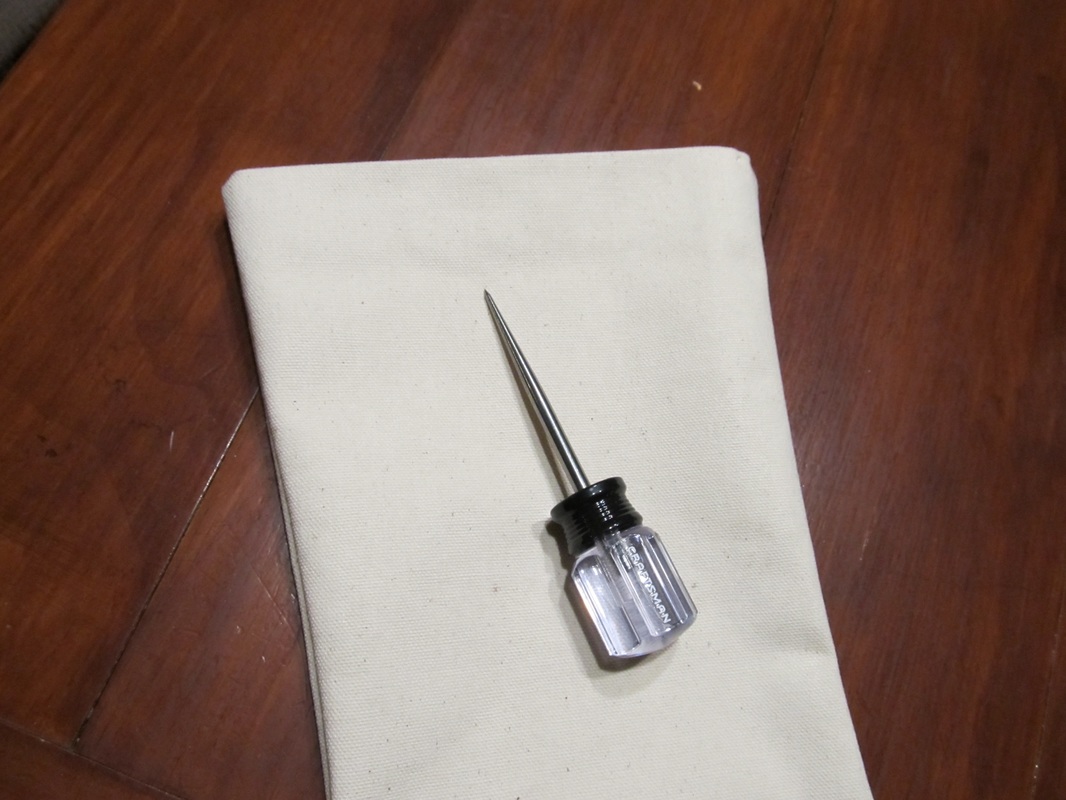
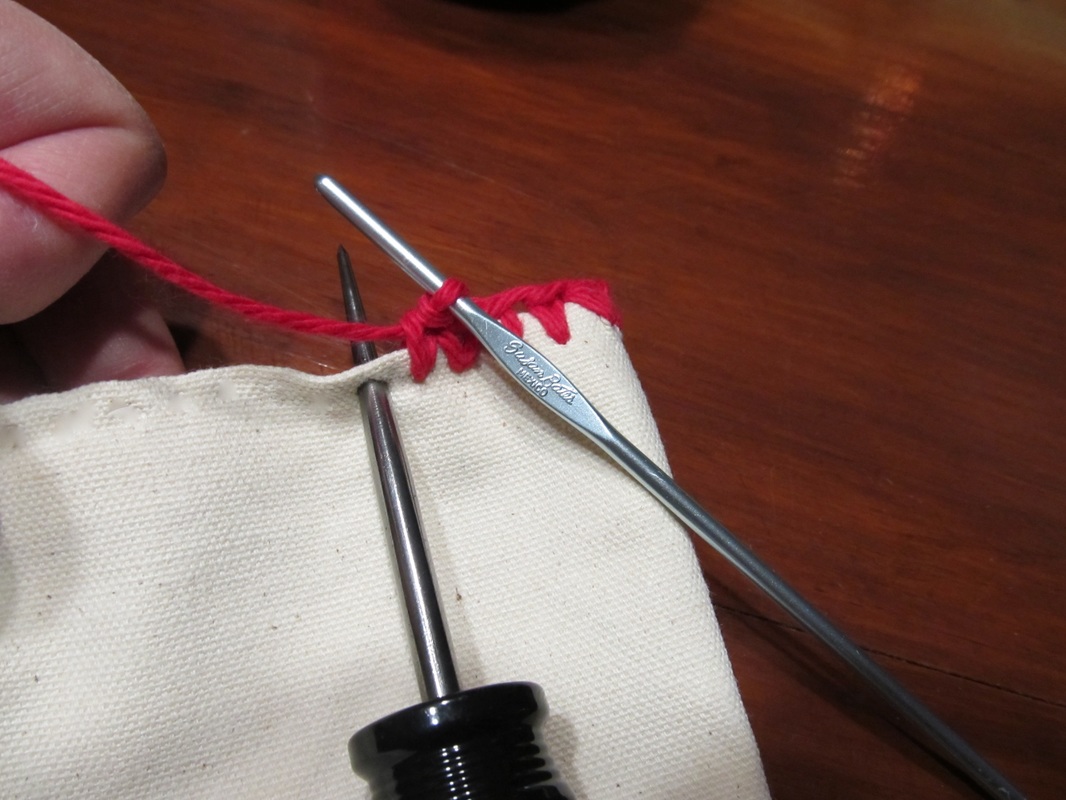
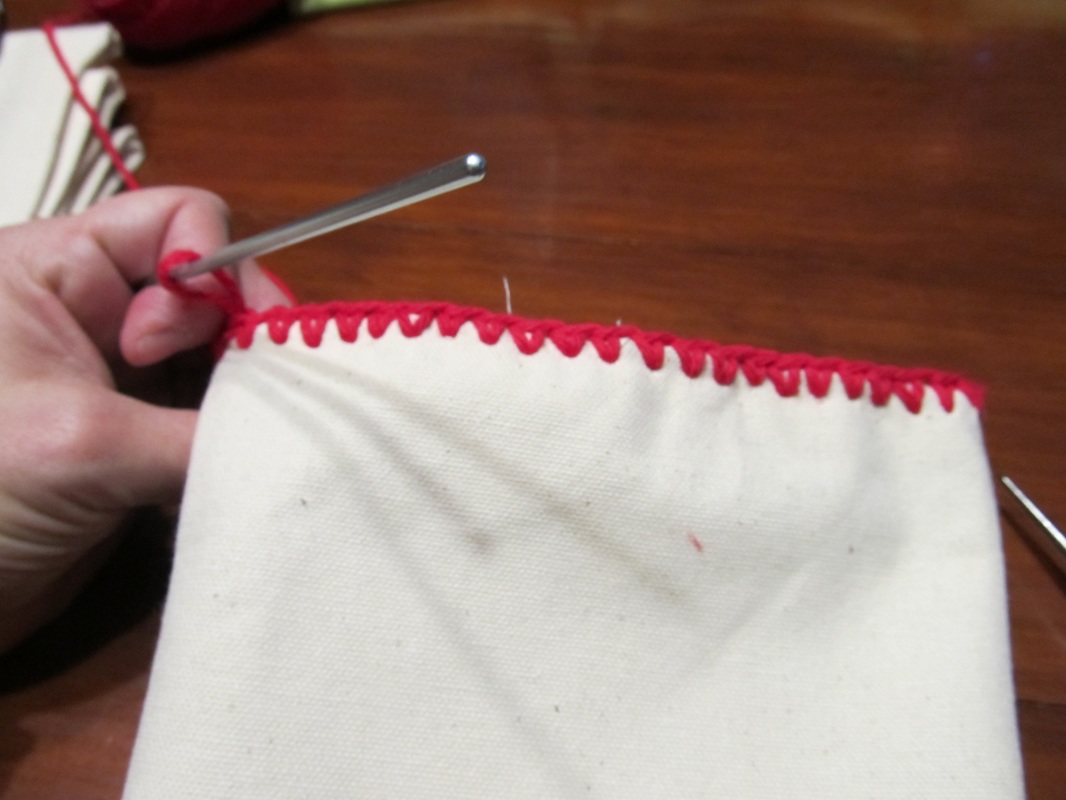
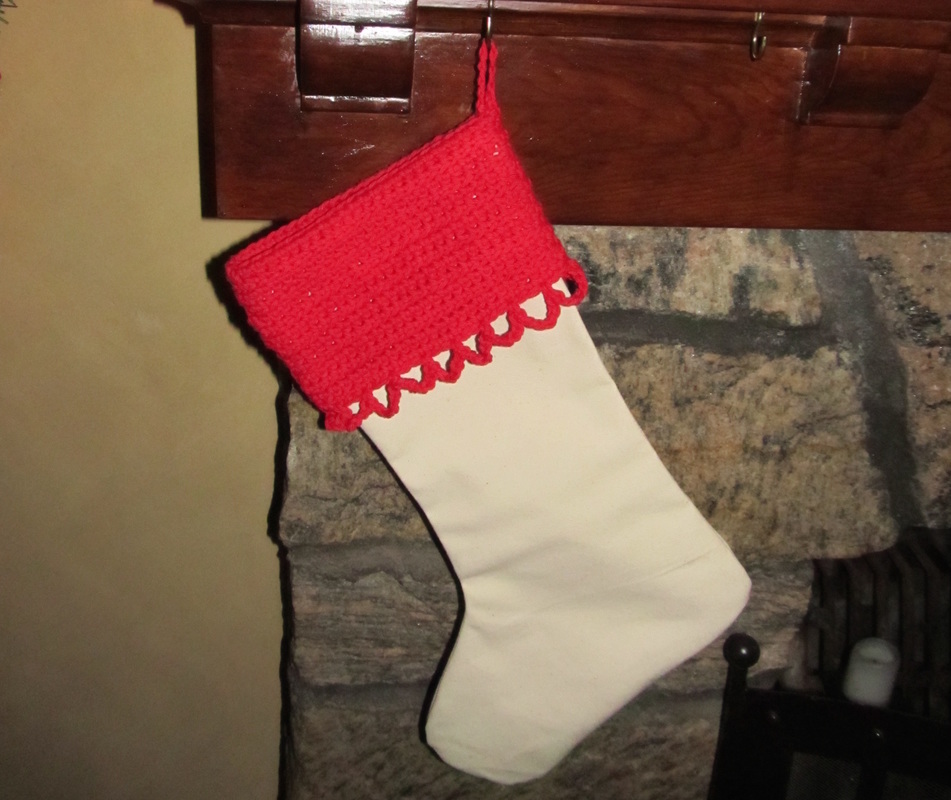
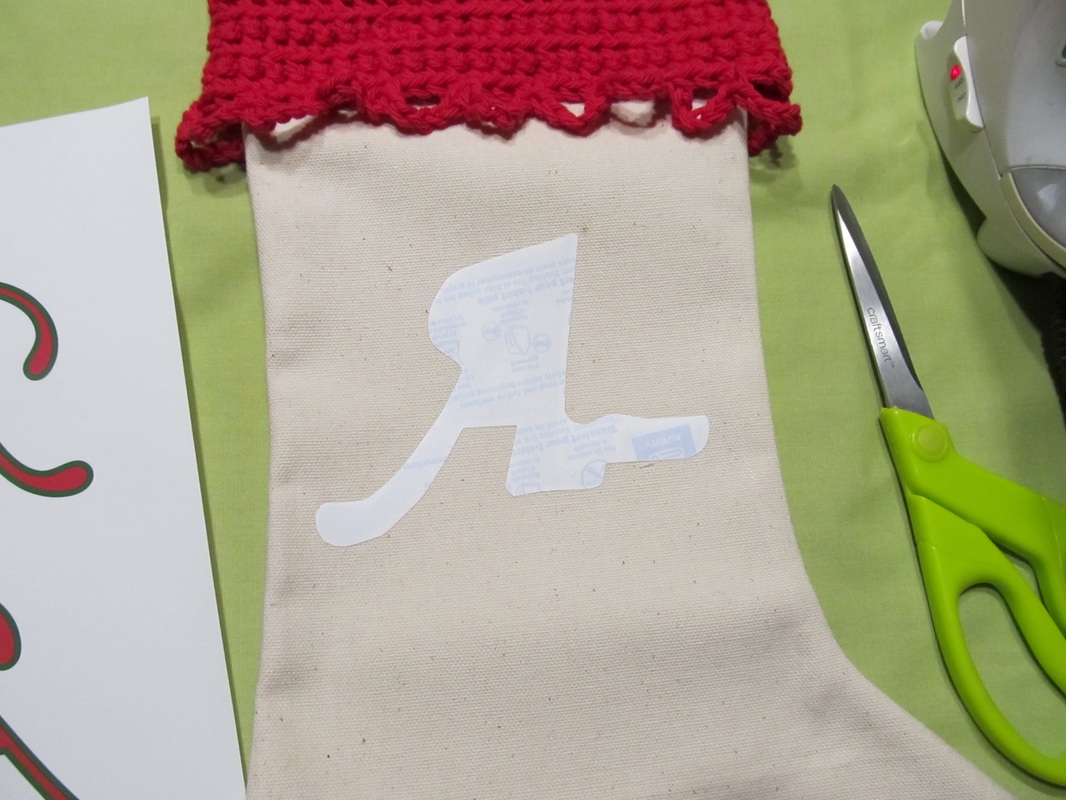
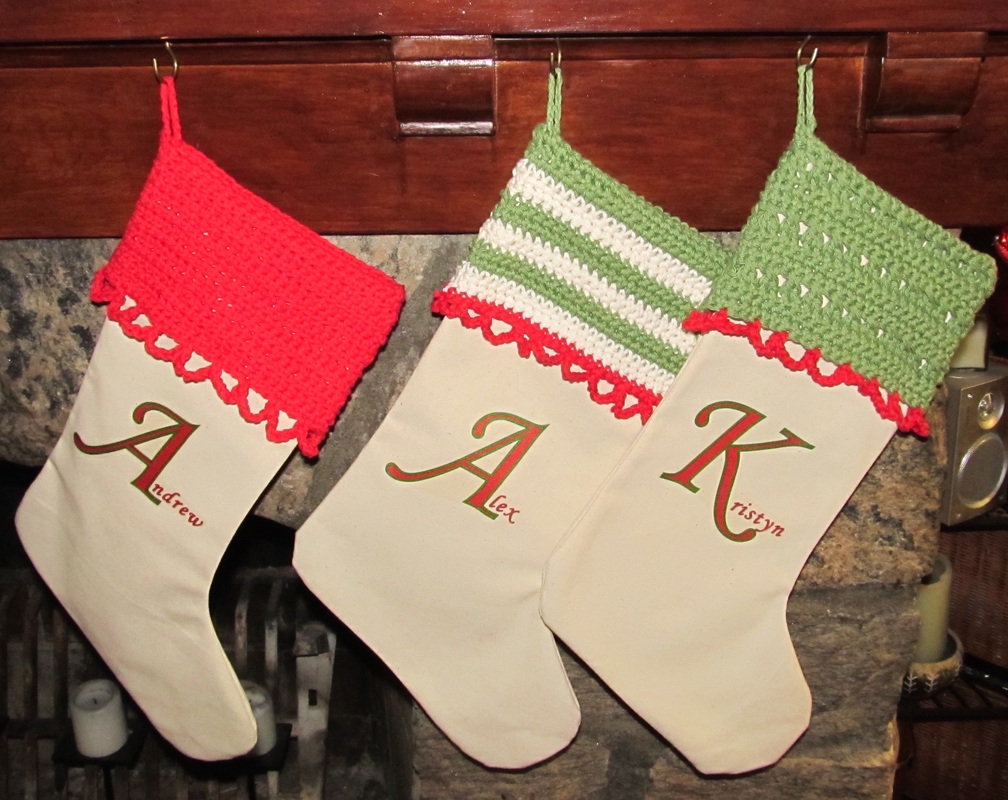
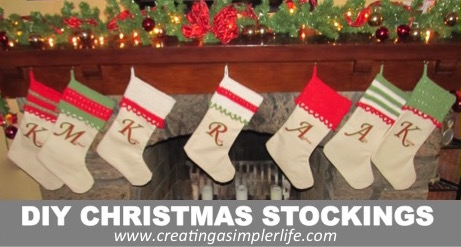 This year I needed to add to our Christmas Stockings. We have had the same ones now for about 10 years, but I needed to add a new person this year (my daughters boyfriend). The problem is I actually have a fireplace that they get hung by every year so I want them to look really nice. I am picky and those basic red and white faux fur stockings just don't cut it for me. My first inclination was to find the same ones I already had. Of course it didn't take long to realize that they don't make them anymore. I really shouldn't have been surprised....so then I thought maybe something similar? And again it didn't take long to realize that was also not happening. Nothing was similar enough...the one 'new' stocking would stand out like a sore thumb (I am picky!). What to do, what to do..... Finally I decided I would have to start from scratch and buy all new stockings. OK, no biggie. I must be able to find something I like......that is until I saw the prices! What I actually liked started at about $12.99 each! Multiply that by the seven (Yes 7!) and well, you get the picture. This was definitely NOT happening! What now? Well, the only idea left to me: make them myself! This turned out to be the best idea because every stocking is different, yet they all match just enough to look great hanging on the mantle! I can also make more over the years as our family continues to grow! Best of all, I can take pride in my accomplishment as I sit on the couch and admire them as they hang by my fireplace this year and every year to come :-) To make all seven took about 15 hours (that included a lot of breaks!). It also required a few skills: sewing (by hand or machine), crocheting, and using the computer to create iron on transfers. Check out our video how to or see the written instructions below :-) Supplies:
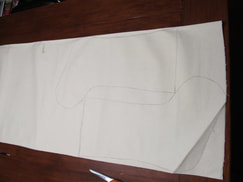
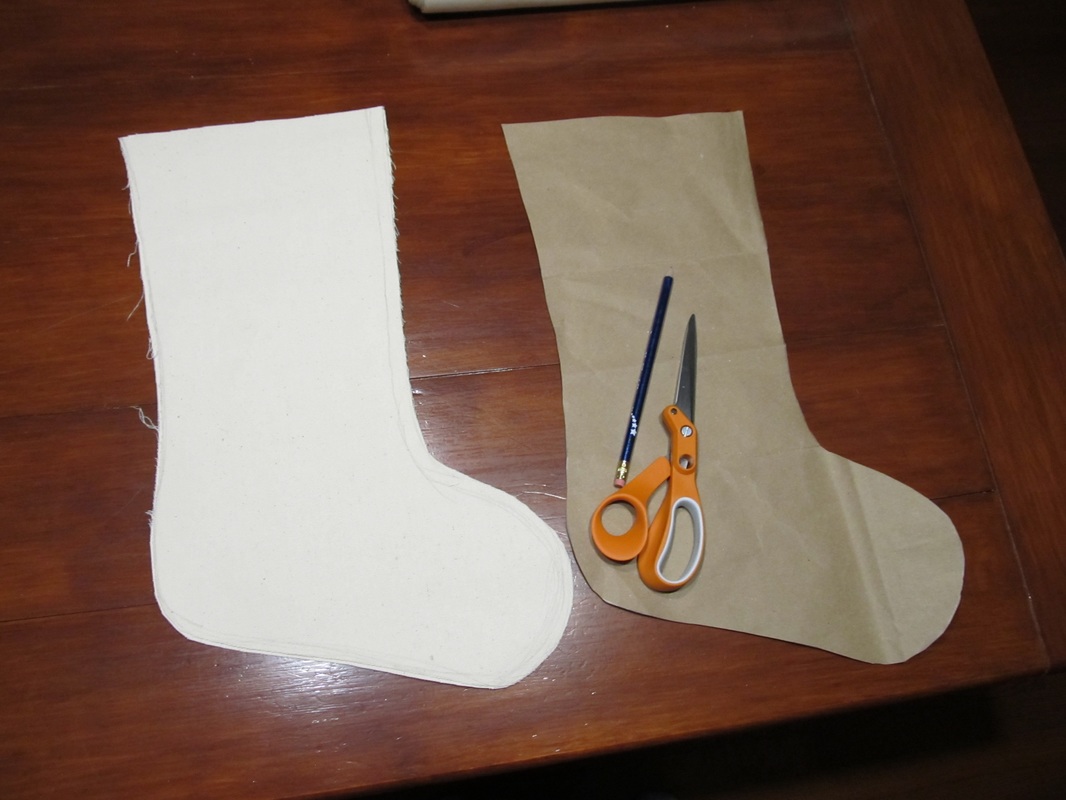
Directions: The first thing I did was create a stocking template. I did this by tracing a stocking I already had onto an opened paper grocery bag. I added a quarter inch extra around the outside for sewing and cut it out. The finished stockings are approximately 17" long (top to bottom), the foot is 10" wide, and the top is about 7" wide.
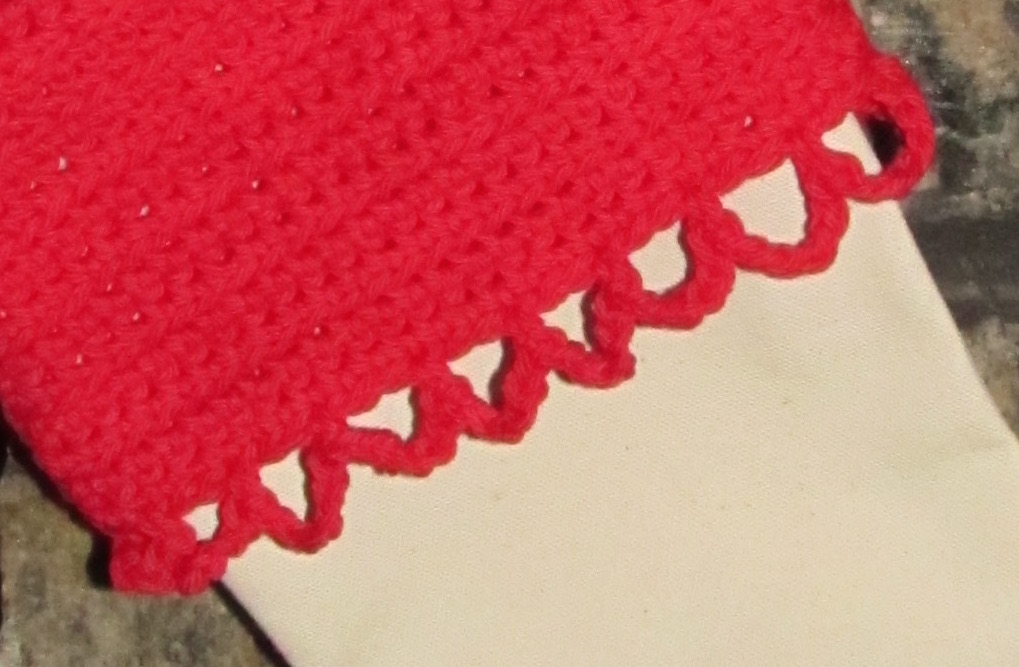
Here is a quick slideshow of the seven different crochet tops I made. Note that you can make the tops any way you want and in any colors or combinations of colors!
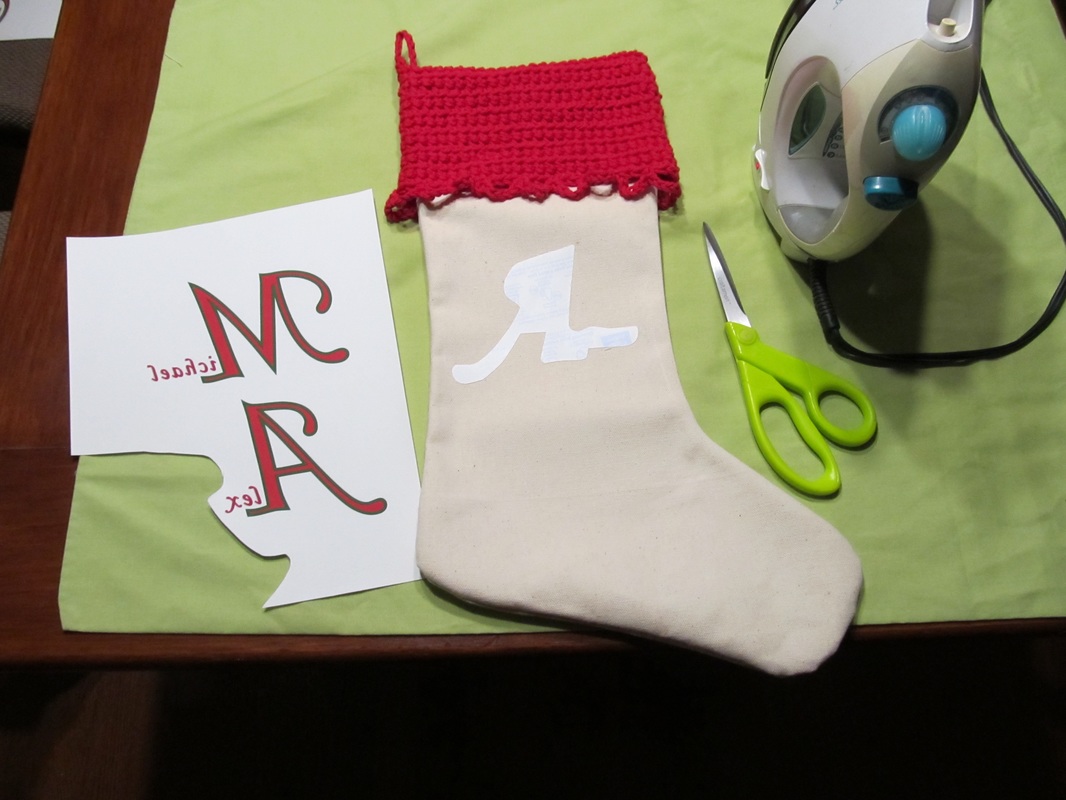
Below is a FREE .docx file that you can download, copy, paste, and change as needed depending upon the name (or names) you want to make. JUST REMEMBER THAT YOU MUST PRINT IT BACKWARDS. Heres how I Printed Backwards: On my macbook pro I was able to do this in the printer settings by going to "print", then under "copies and pages" choosing "layout" and then checking the box "flip horizontally." Print a test page first! Most printers have this option not matter what computer you are using. Note that some of them call it a mirror image instead :-) Thank you for visiting! Please like and follow us on Facebook :-) Also check out our DIY Christmas Ideas Board on Pinterest!
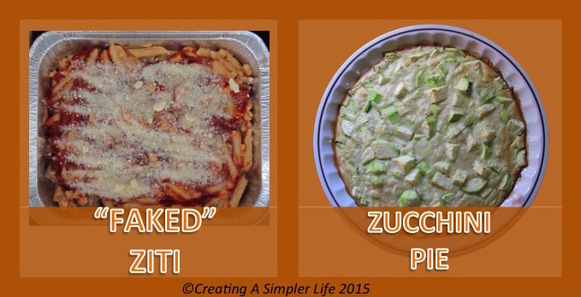 I just love baked foods in the winter. They are just so comforting. Not only does the oven make the house feel toasty warm, but you get a great cooking smell throughout! Notice that my "Faked" Ziti is in a metal tin? Thats because I usually make several at one time and freeze them for a quick and easy, ready to go meal in the winter. Just defrost and cook - my kind of weeknight/work-night meal! The zucchini recipe is actually from a work friend (thanks Andrea!). It is now one of my husbands favorites to make due to it's simplicity and its delicious taste. He has also changed it up and swapped out the zucchini for broccoli and or cauliflower. Last time he even added some chopped ham! Yum! The only limitations are your imagination... You can click on the recipes or use the button below to download the pdf file and print one sheet of 8 1/2 x 11 cardstock paper. Then cut out each of the 4 x 6 inch recipe cards. They always come two recipes per sheet in an effort to not waste paper! Visit my Recipes Page to print out previous recipes (pdf files) or to download a FREE 4 x 6 Recipe Card Template (.dox file) for your own recipes! You can also check out my past Recipe Blog Posts here! Enjoy! 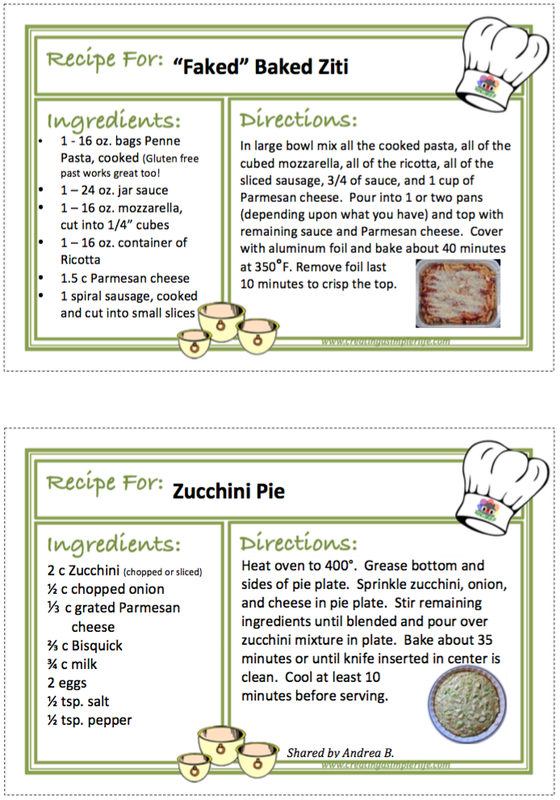 FYI: there are always two recipes because I do not want to waste paper! Please 'like' us on Facebook or join our mailing list so you never miss newly shared recipe cards!
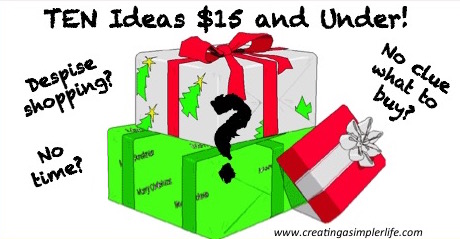 Hate shopping? Clueless about what to give someone this year? Tired of giving boring gift cards? Want to give a gift that is a little more creative but doesn't take a lot of time to do? Are you on a budget or limited to a certain amount of money? Here are some great ideas that would even be great for the FAMILY, FRIEND, OR OFFICE GRAB BAG! The best part is....I've done most of the work for you! All links below are affiliate links with Amazon. All shown prices are subject to change as many, if not all, are currently on sale for the holidays! Many of them can also be purchased elsewhere for better prices so always shop around, however I personally can not beat the convenience of shopping online! Be sure that you are also shopping through EBATES (sometimes there is cash back on Amazon) and that you are getting FREE SHIPPING if available. If I am not getting items shipped for free, then I am not buying! But thats just me.... 1. FOUR Movies and Snacks
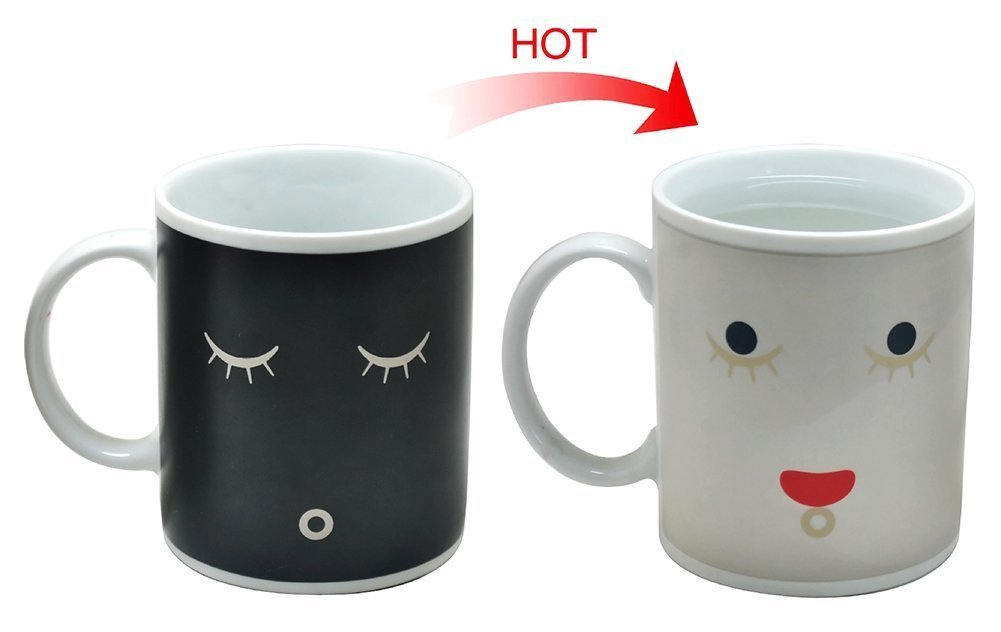
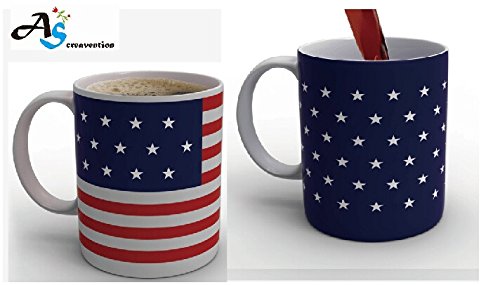
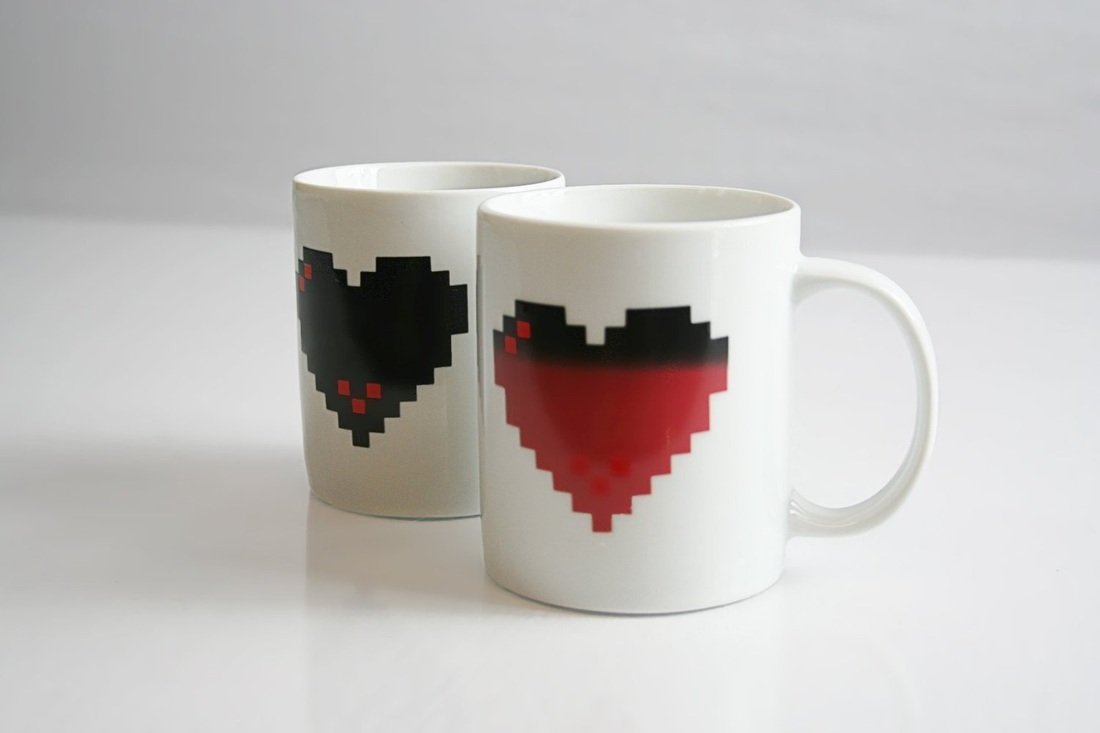
2. Not Just a Mug!
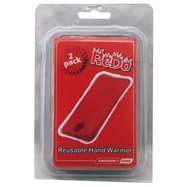
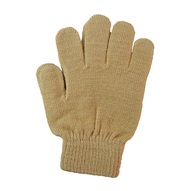
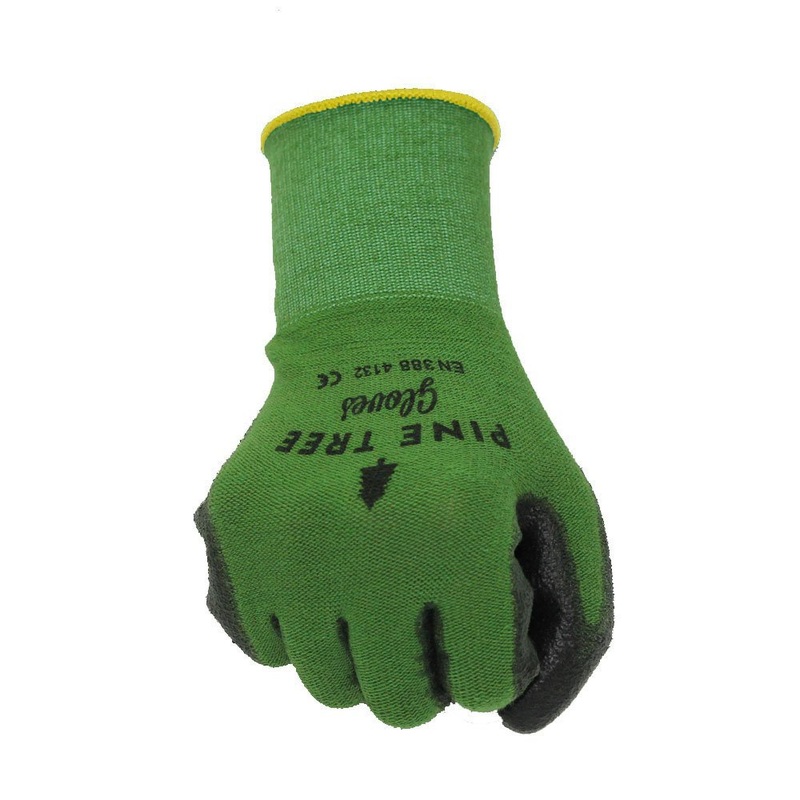
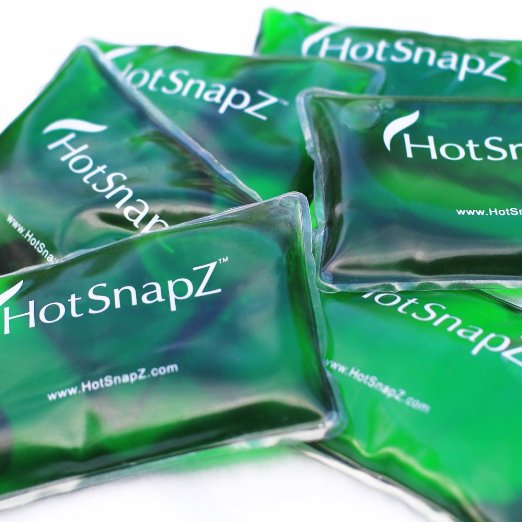
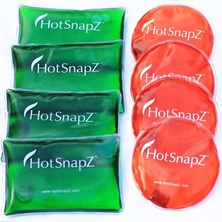
3. Reusable Handwarmers and Gloves
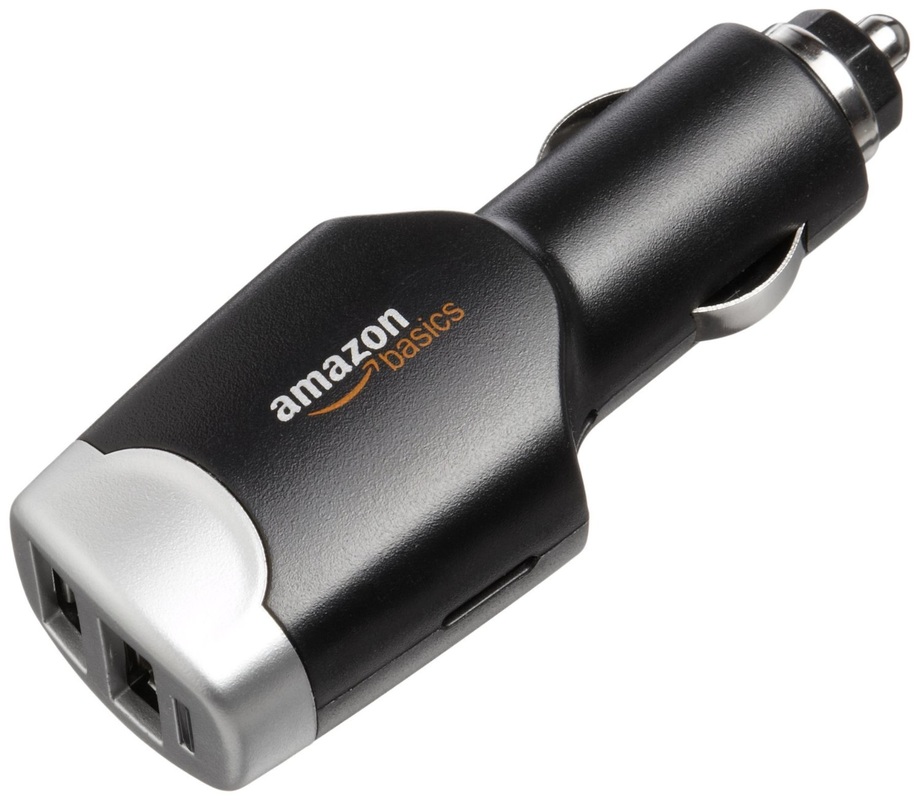
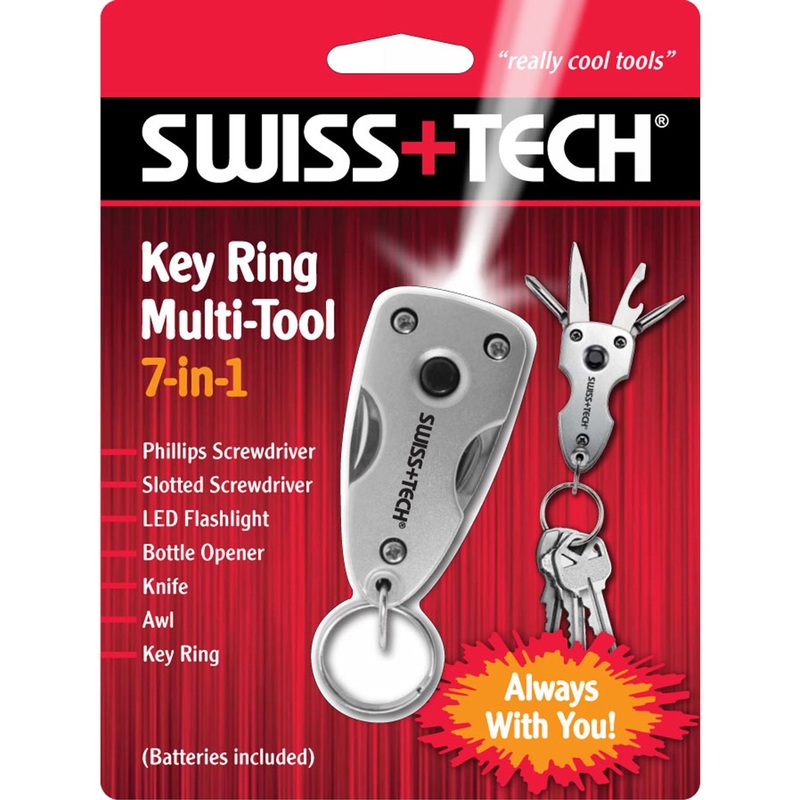
4. Key Chain and USB Charger Combo
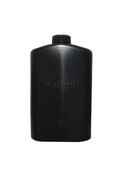
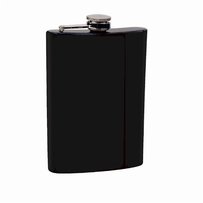
5. A Flask and a 'little something' to go with it!
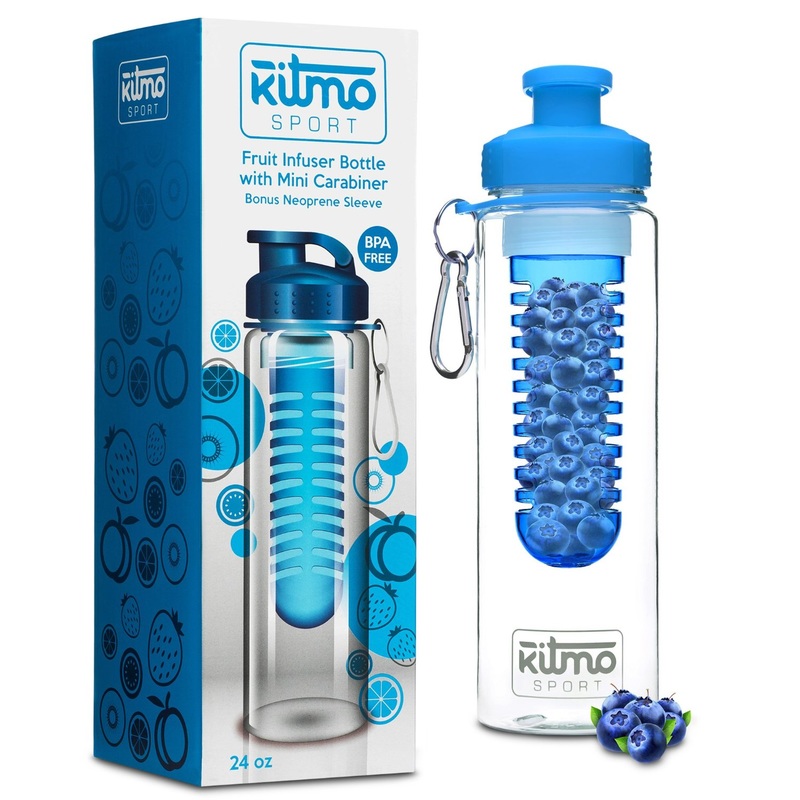
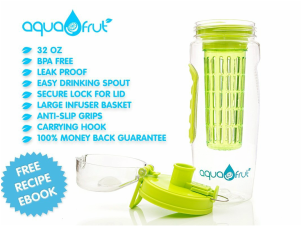
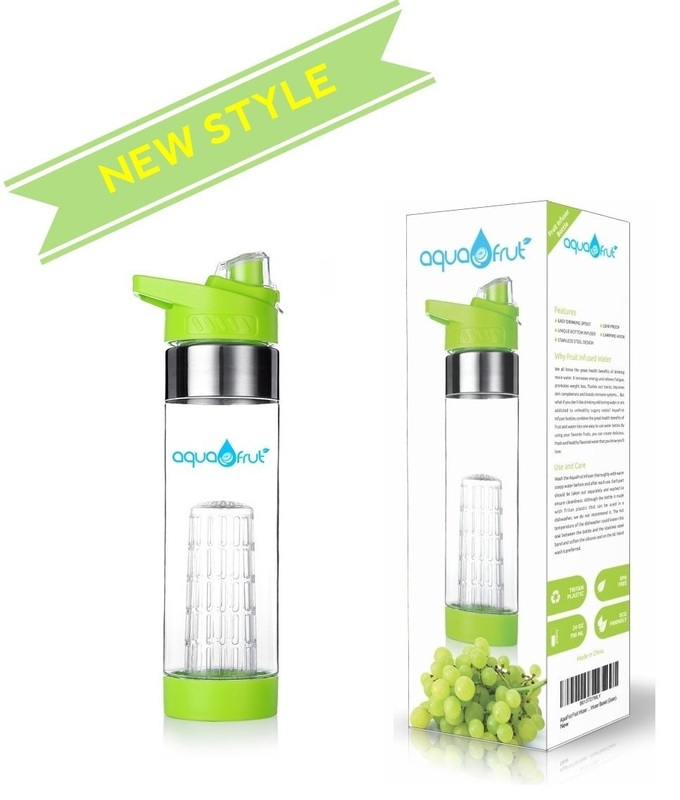
6. Infusion Water Bottle with Fresh Fruit!
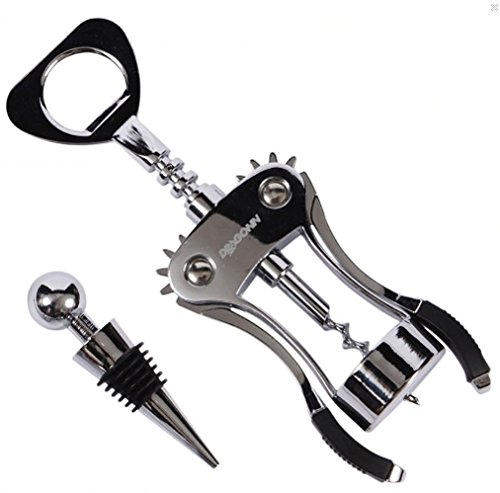
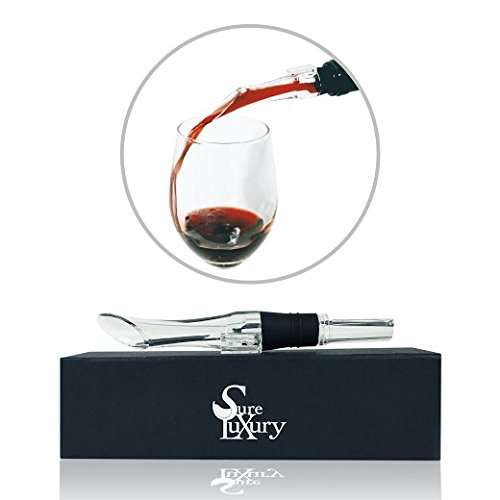
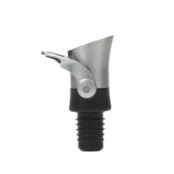
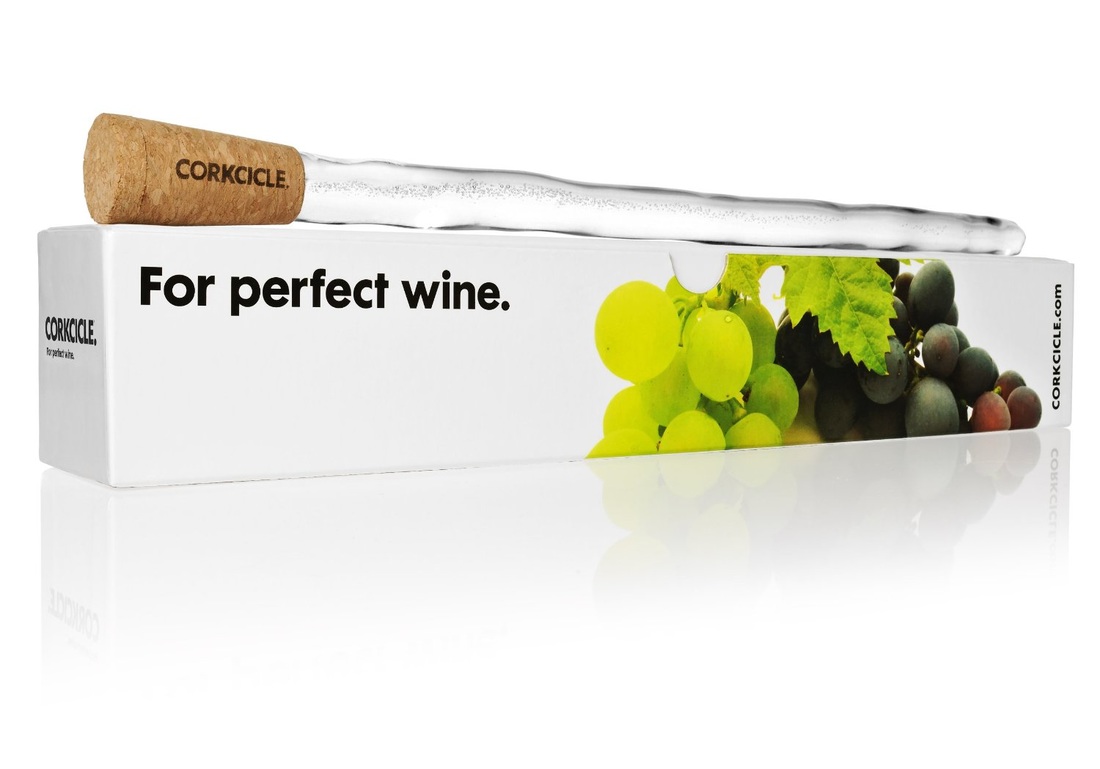
7. For Wine Lovers...
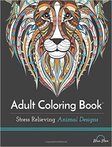
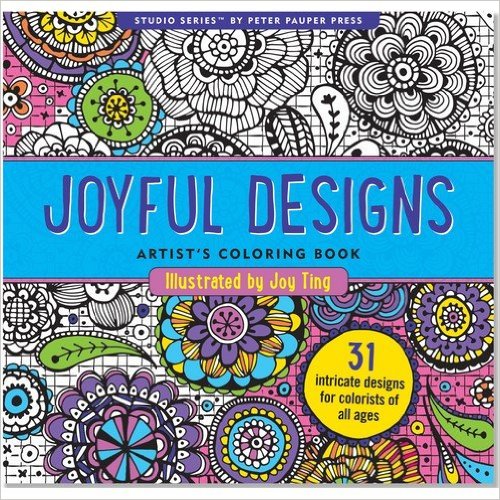
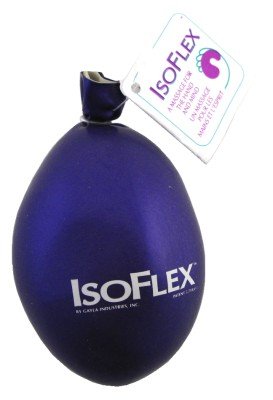
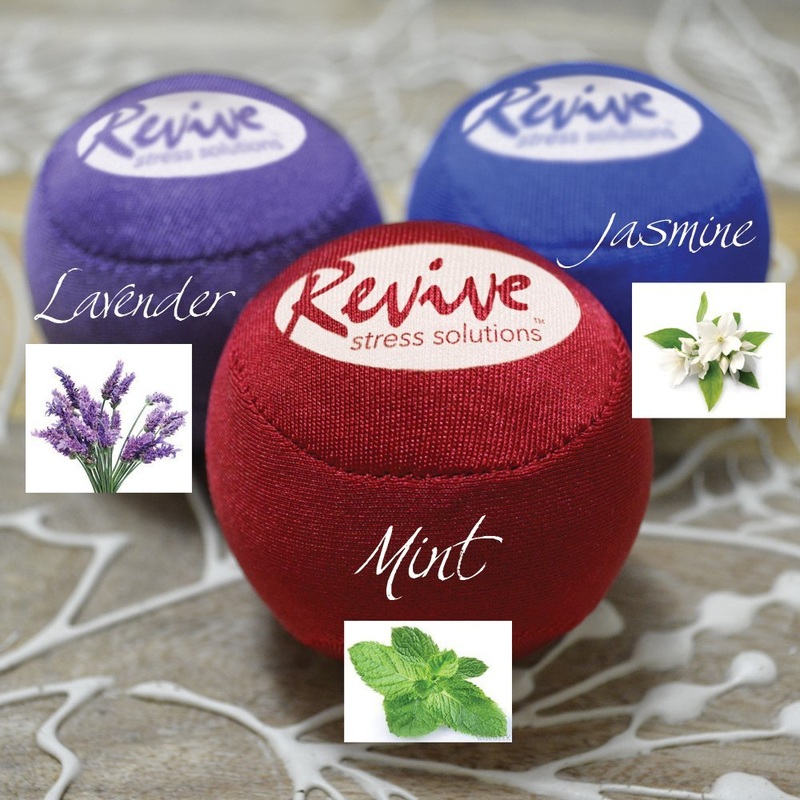
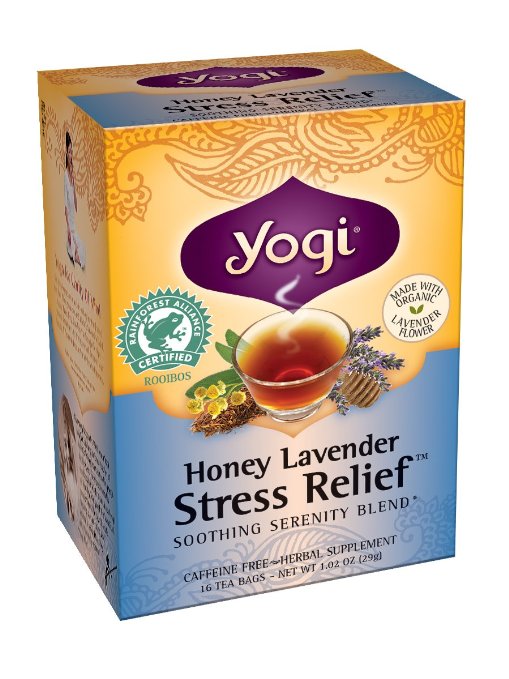
8. Stress Relievers....
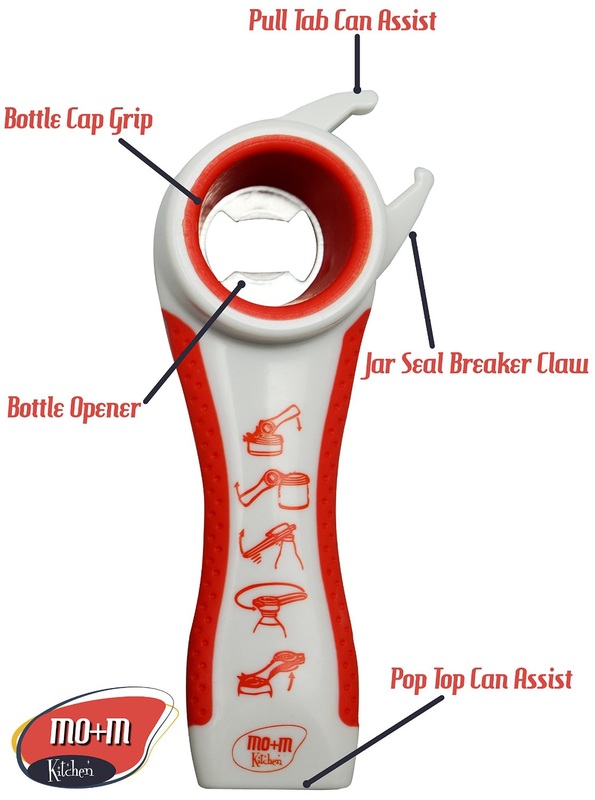
9. For the Kitchen....
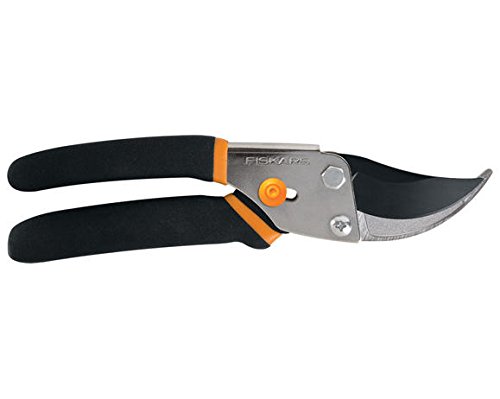
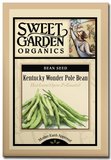
10. Garden Lovers....
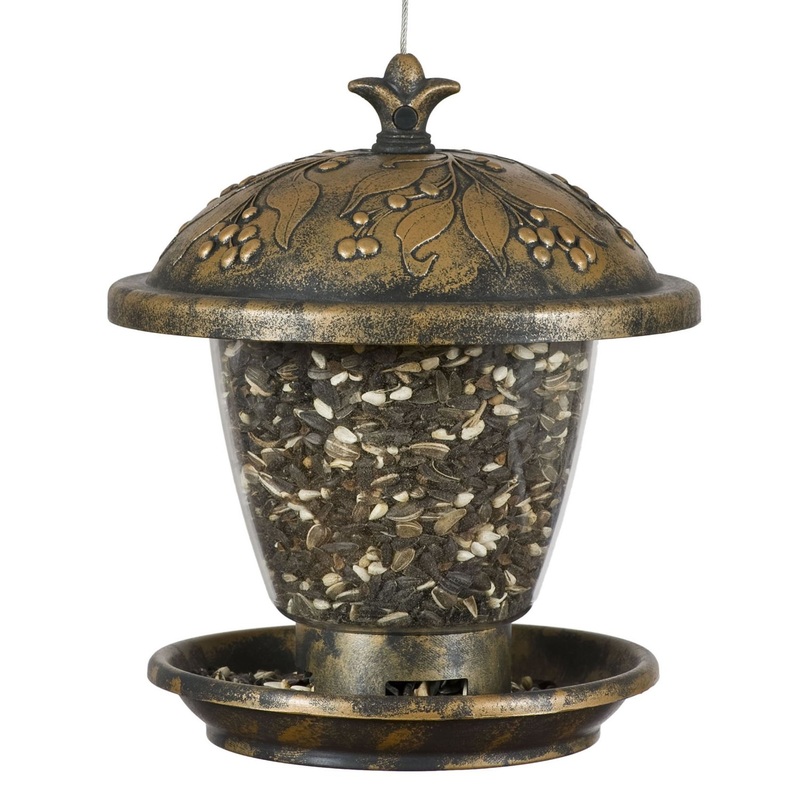
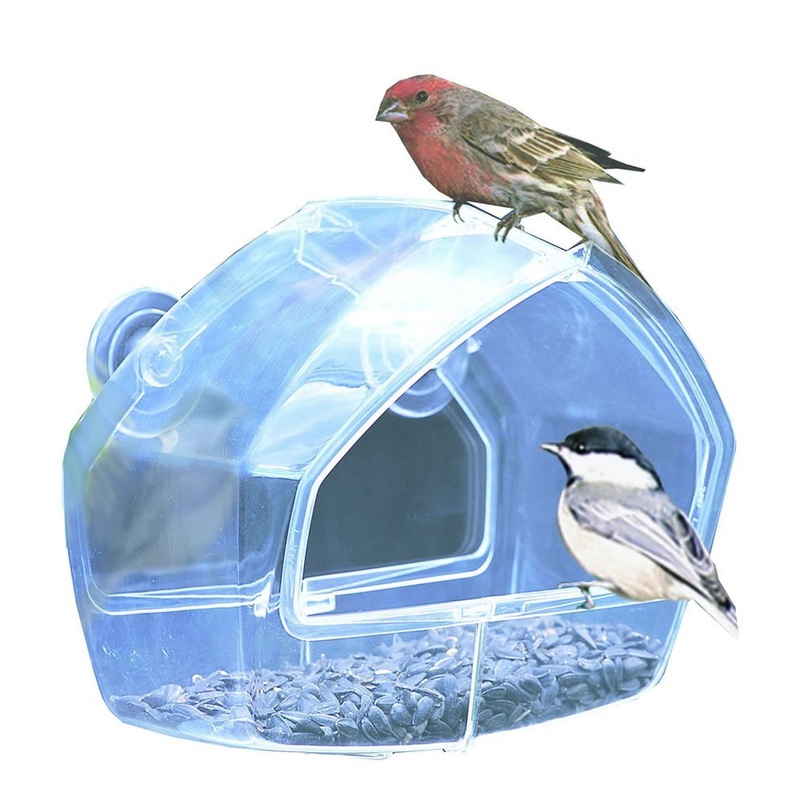
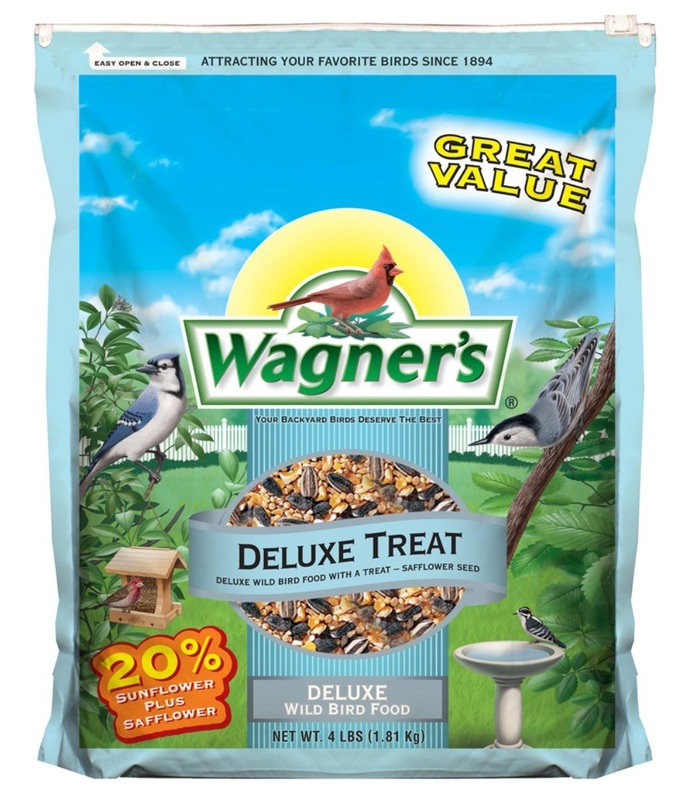
BONUS IDEA: For the Birds...
OTHER IDEAS TO SEARCH ON YOUR OWN:
Be creative and have some fun! Hope this post helps you do your holiday shopping this year ;-) Thanks for visiting! Sincerely, 
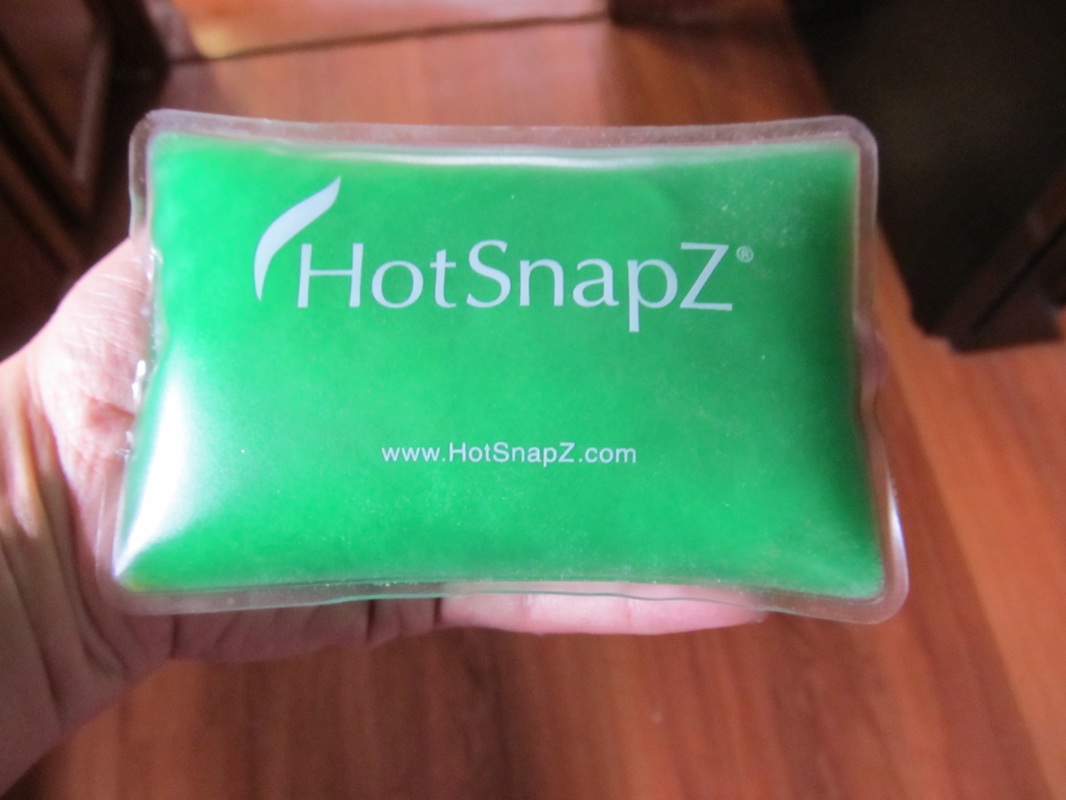
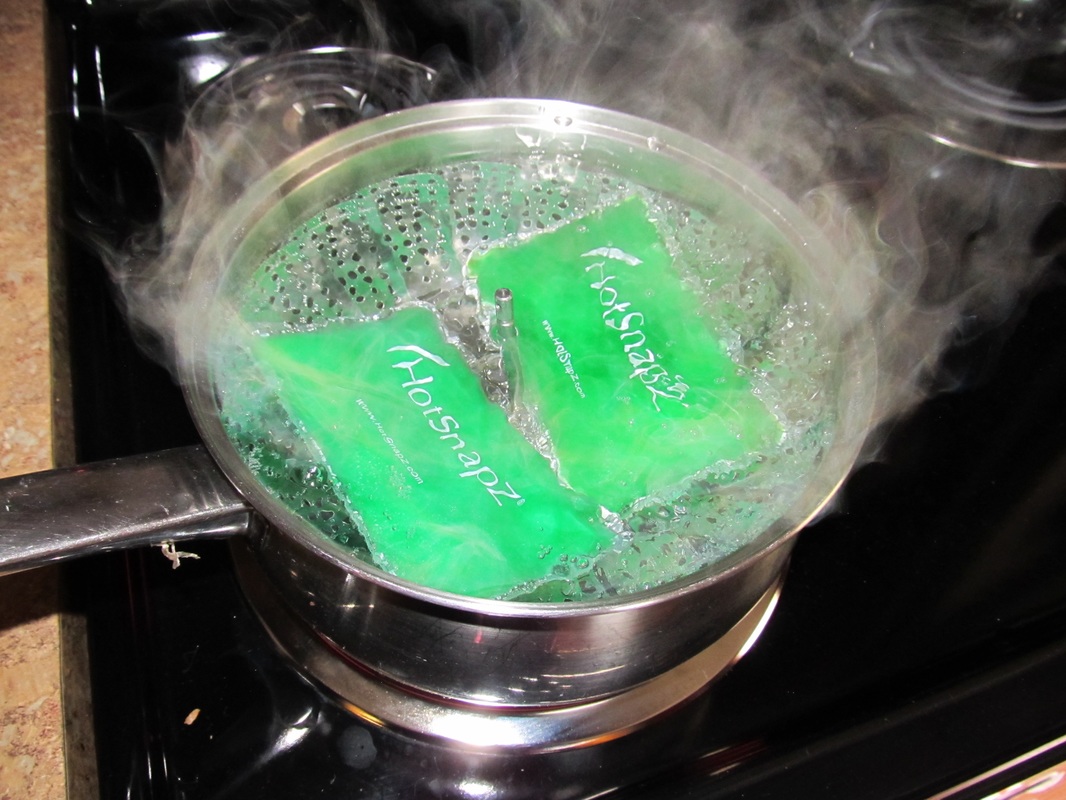
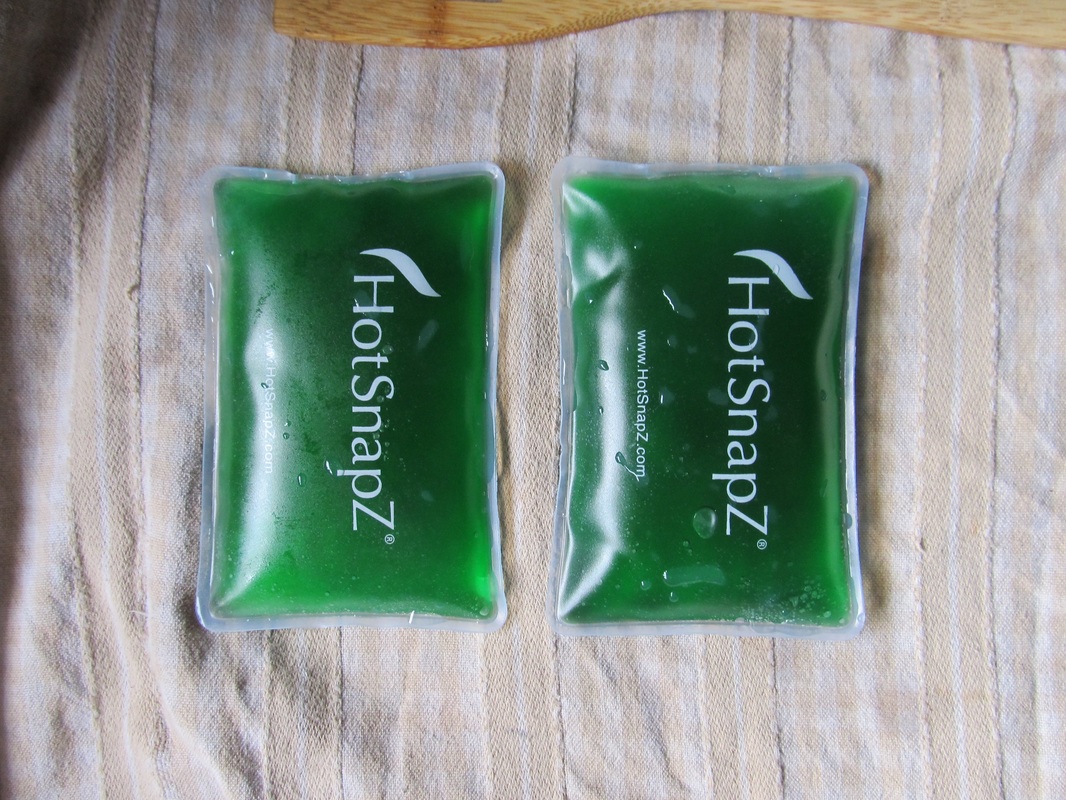
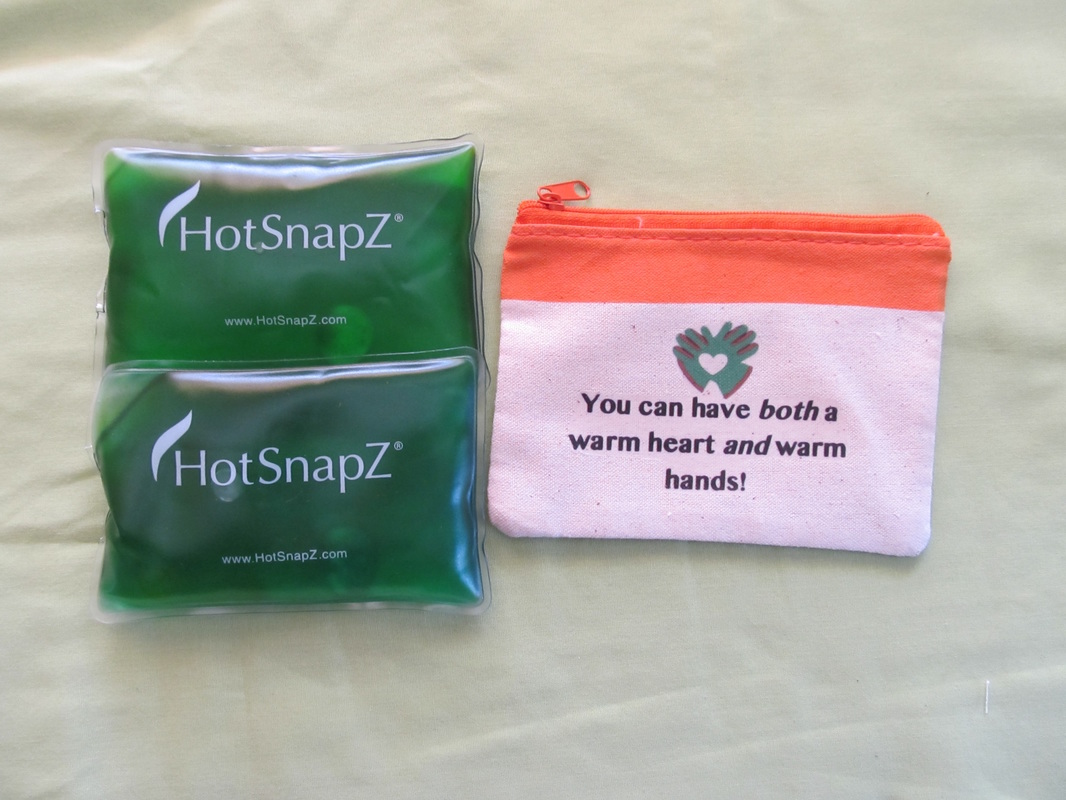
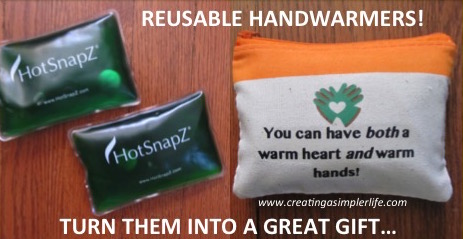 They aren't just for your hands! These reusable warmers have a multitude of uses you may not have thought of! There is a FREE printable for iron on transfer paper at the bottom of the post:-) I recently purchased these really awesome 'hand' warmers on Amazon. What makes them awesome is that they can be reused over, and over again. Of course the minute I received them we had to activate one of them to see how hot it got. Guess what....it got HOT! Then of course we had to see how easy they were to 're-sest.' It was amazing... a hand-warmer that did not need to be thrown out after one use!
There are other offers available, however these are the most cost effective. Yes, they are more expensive, but you need to think about how many uses you will get out of them! The only downfall....they only stay warm for about an hour or so. Not a very long time compared to the disposable versions. However, depending upon what you will be using them for, they are perfect! A list of great uses:
All of these uses only require a short amount of heating time so these reusable warmers are perfect! Recharging them is so simple too! Just boil in a steamer basket (water over steamer basket though) for about 12 - 15 minutes. I found it easier to just boil for the full 15 minutes to make sure all the crystals are liquified. The first time I did it I didn't wait long enough and after they cooled I realized there were already crystals inside. You do not want this because they could crystallize at any time rather than when you need them.
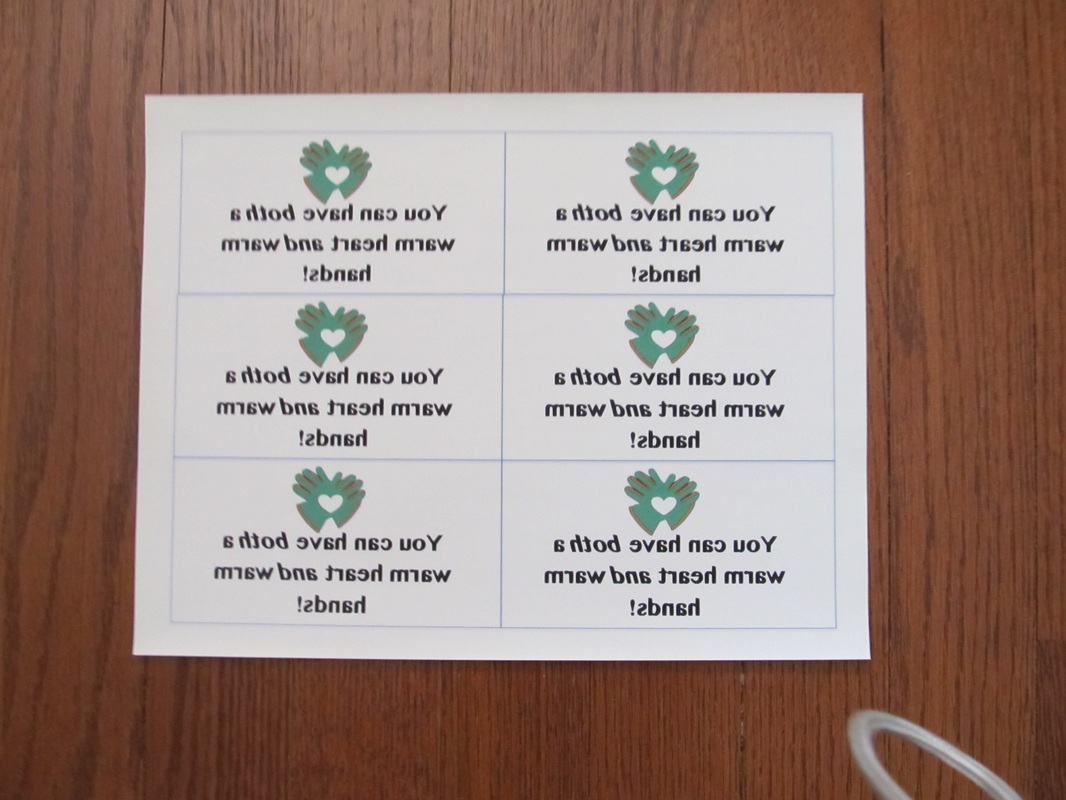
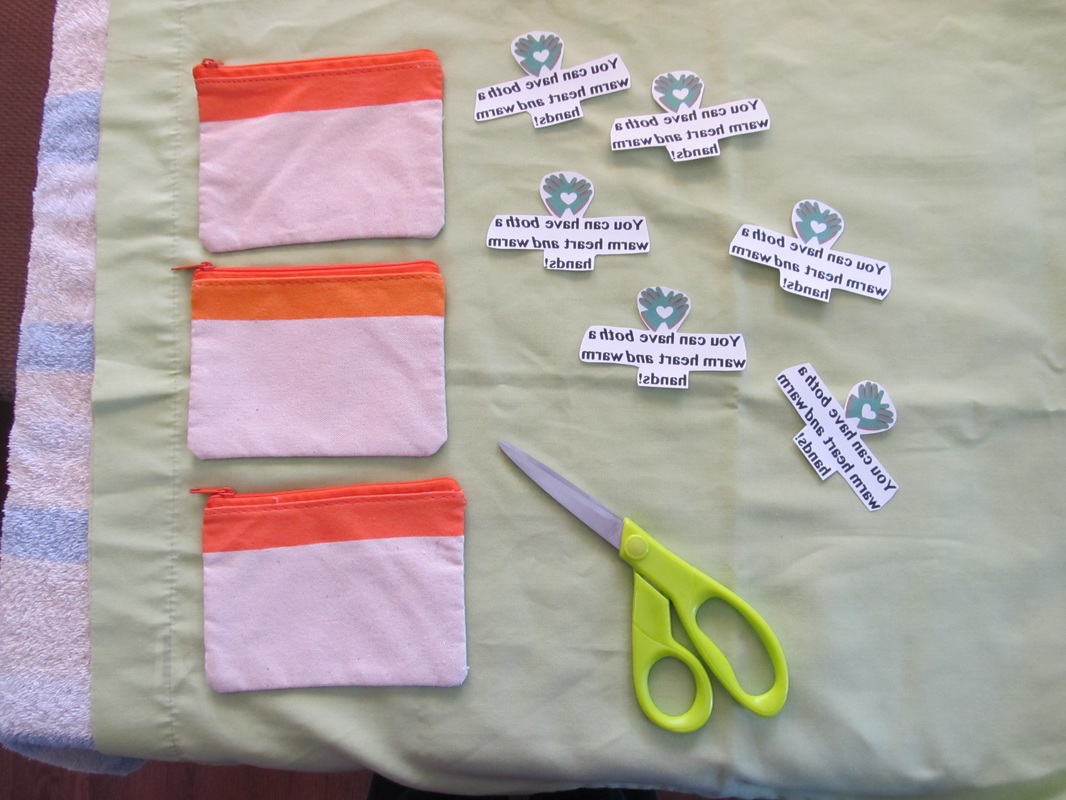
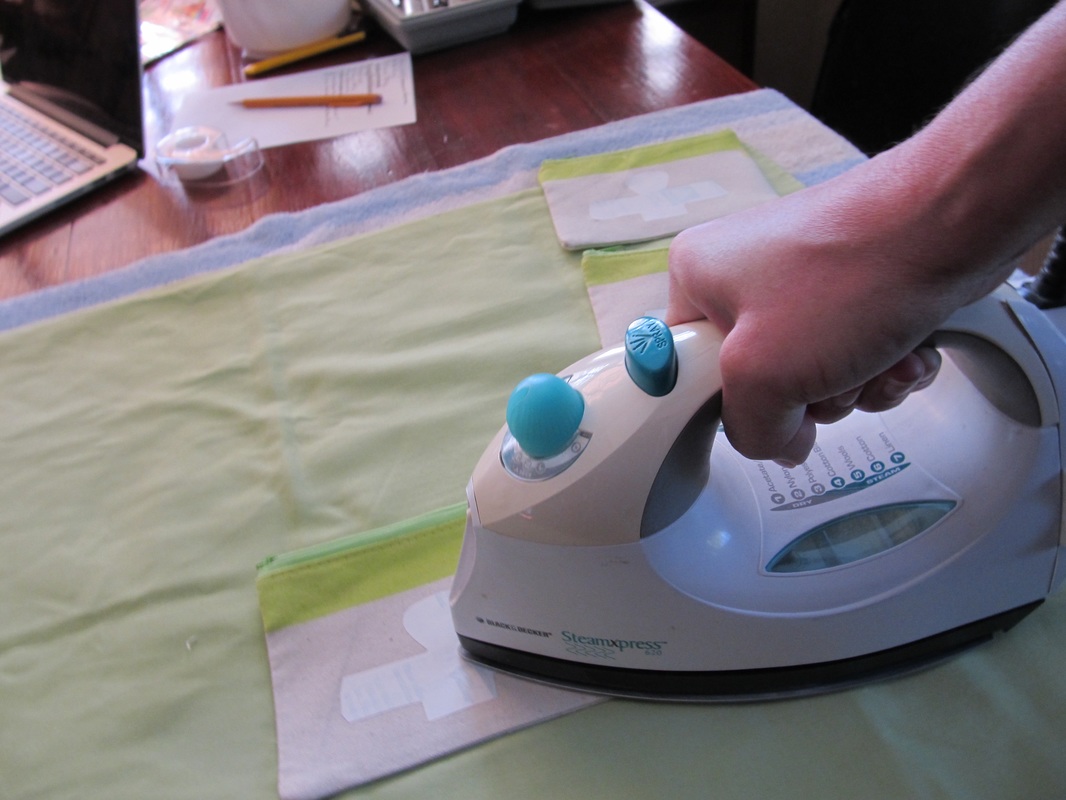
Make them into a gift! I decided that these were so awesome I would turn them into a gift for the holidays. I already had these little canvas pouches I had purchased on clearance and the warmers fit in perfectly! All I needed was something to make the the canvas pouches a little more fun so I added an iron on transfer I made. I can't find the same pouches anywhere but you can either make your own or buy something similar. Oriental Trading sells a drawstring canvas pouch that might work: http://www.orientaltrading.com/drawstring-bags-with-bright-trim-a2-14_121-11-0.fltr?xsaleSku=48/4055  Available at Oriental Trading for $10.75 per dozen.
Click on the button below to download the pdf file. Note it is already backwards so there is no need to change it before printing!
Thanks for visiting :-) Sincerely,
|

Hi there! I'm Kathie, the author behind Creating A Simpler Life blog. I'm excited to share our longterm projects (and planning) toward building our future retirement homestead in the Adirondack Mountains of New York. In the meantime I will be sharing all the other little things we do that are part of creating our simpler life!
Categories
All
Archives
July 2020
|


 RSS Feed