Blog
A little bit of anything and everything that's part of
creating, enjoying, and living a simpler life!
creating, enjoying, and living a simpler life!

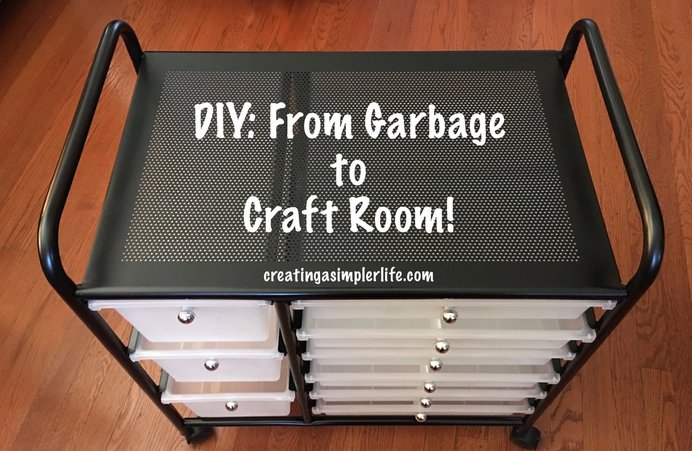
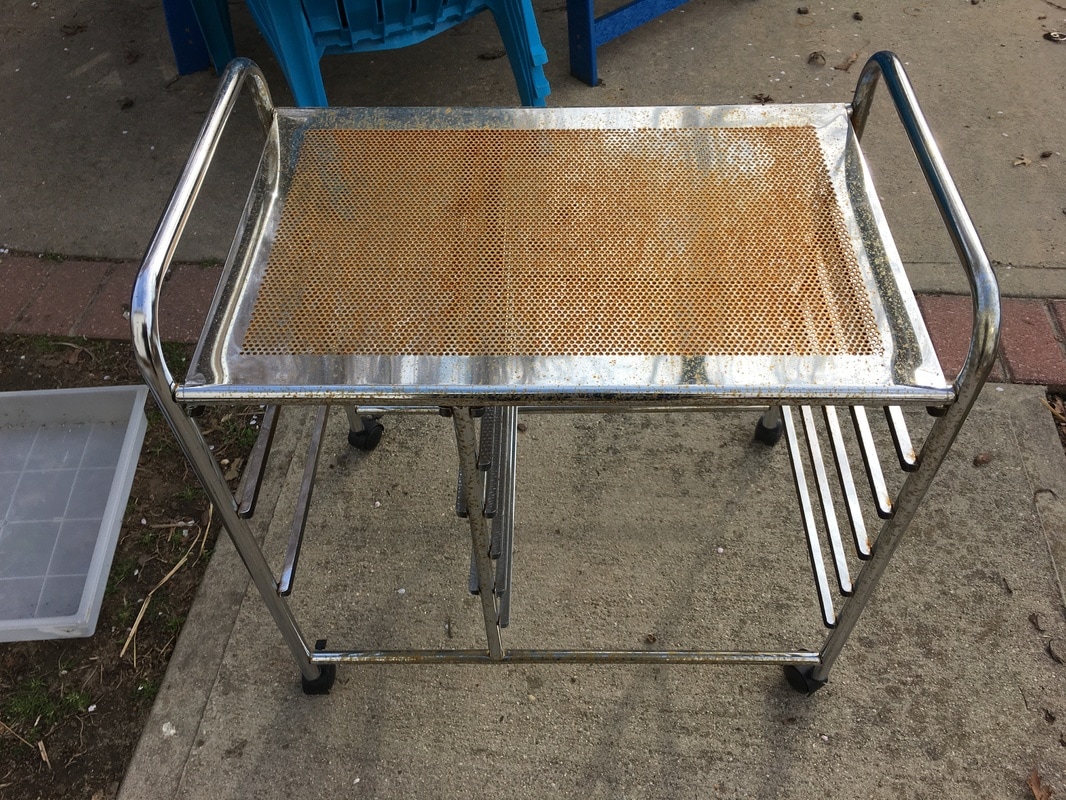
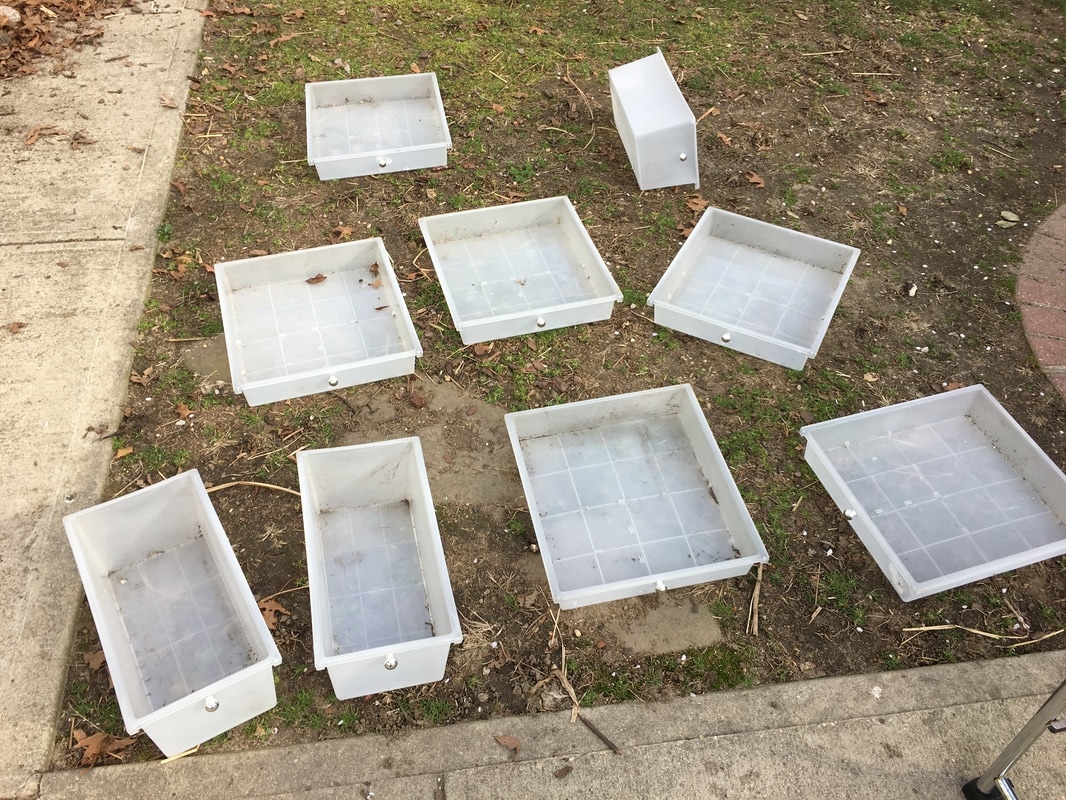
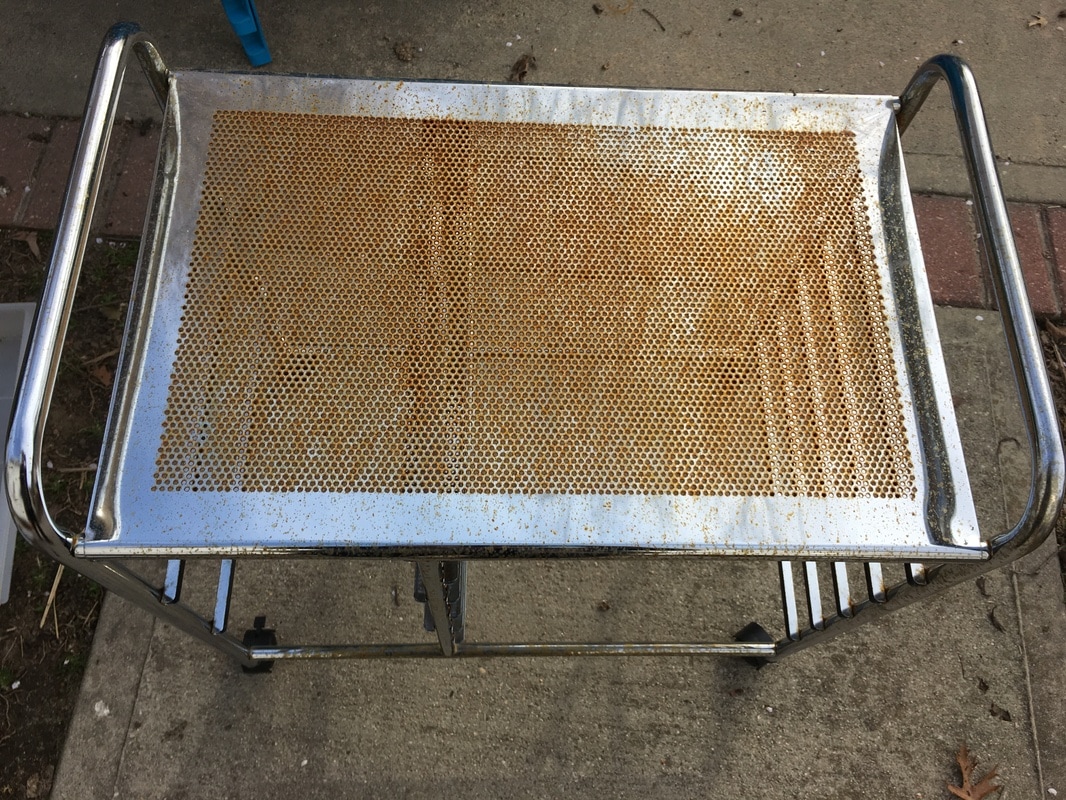
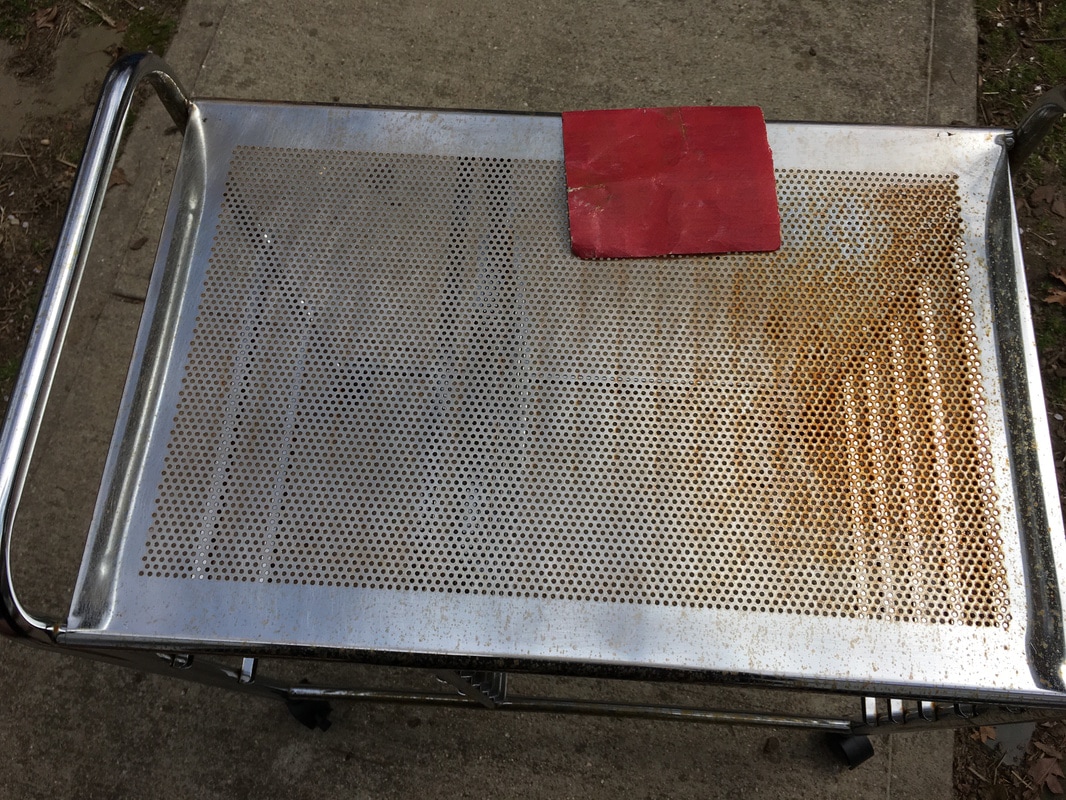
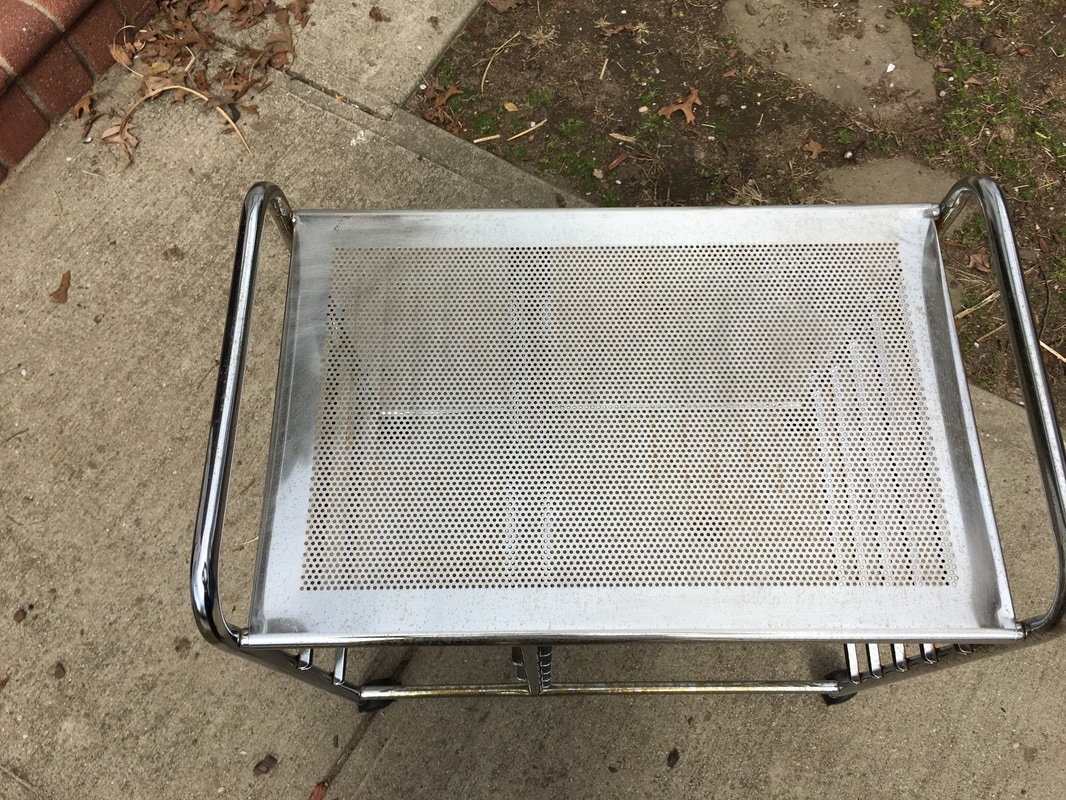
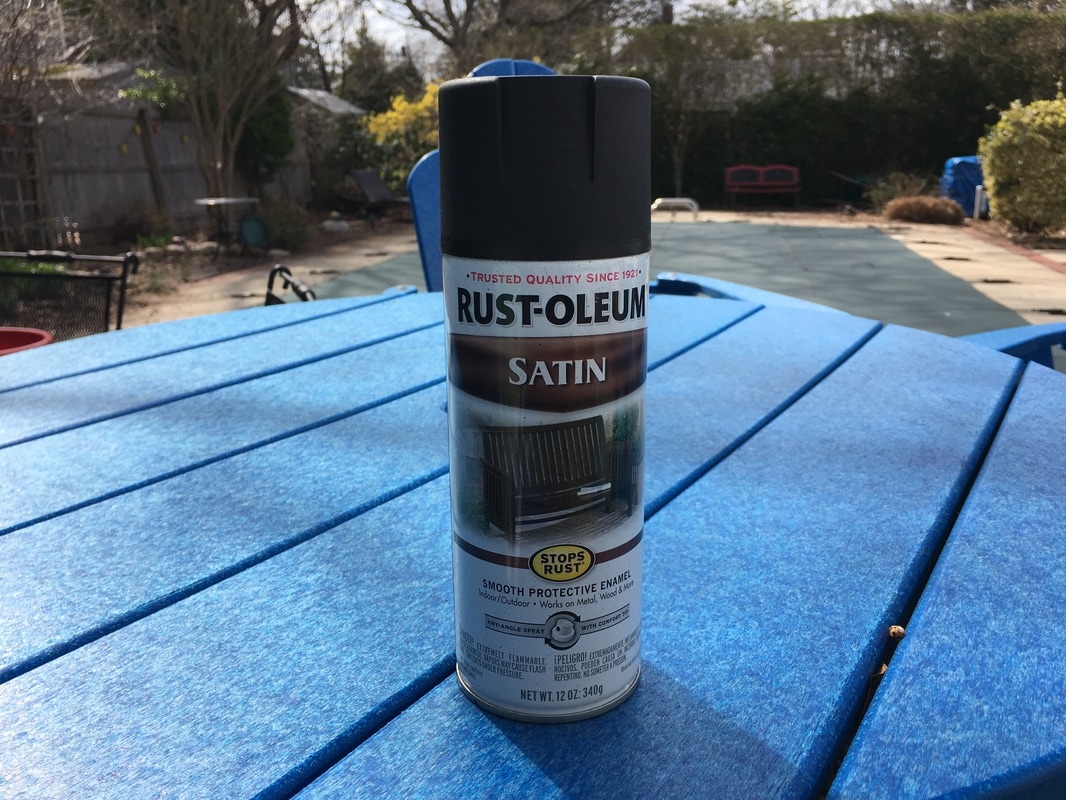
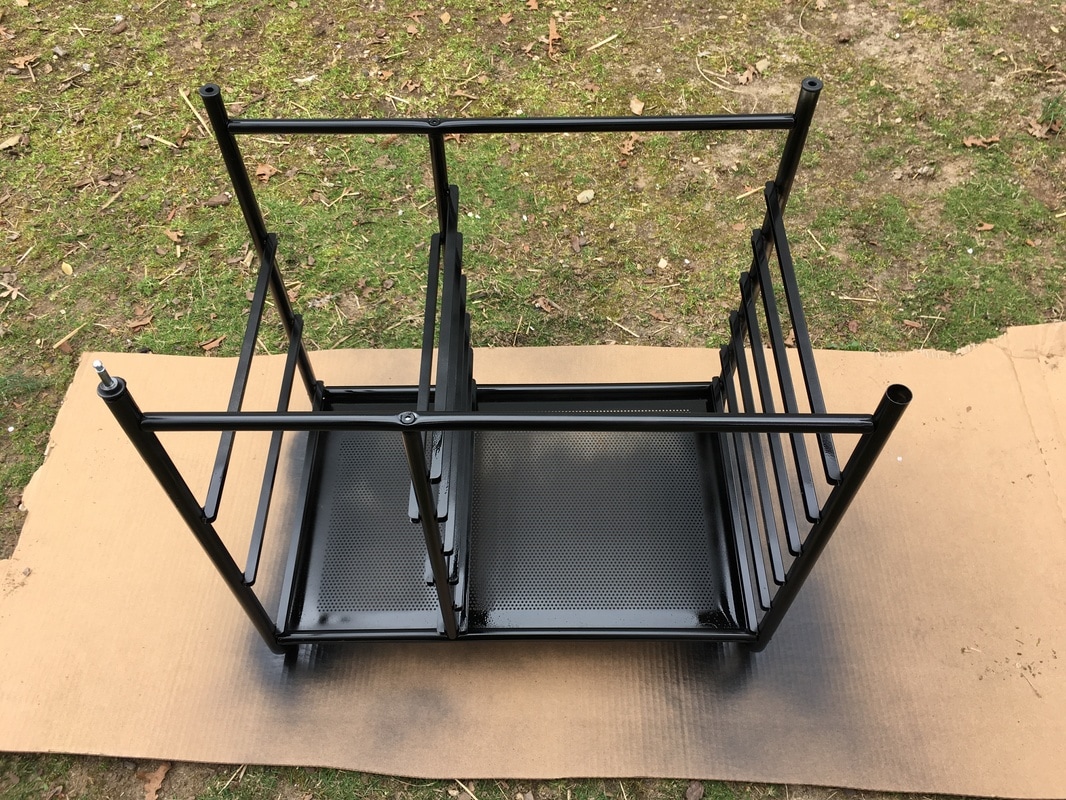
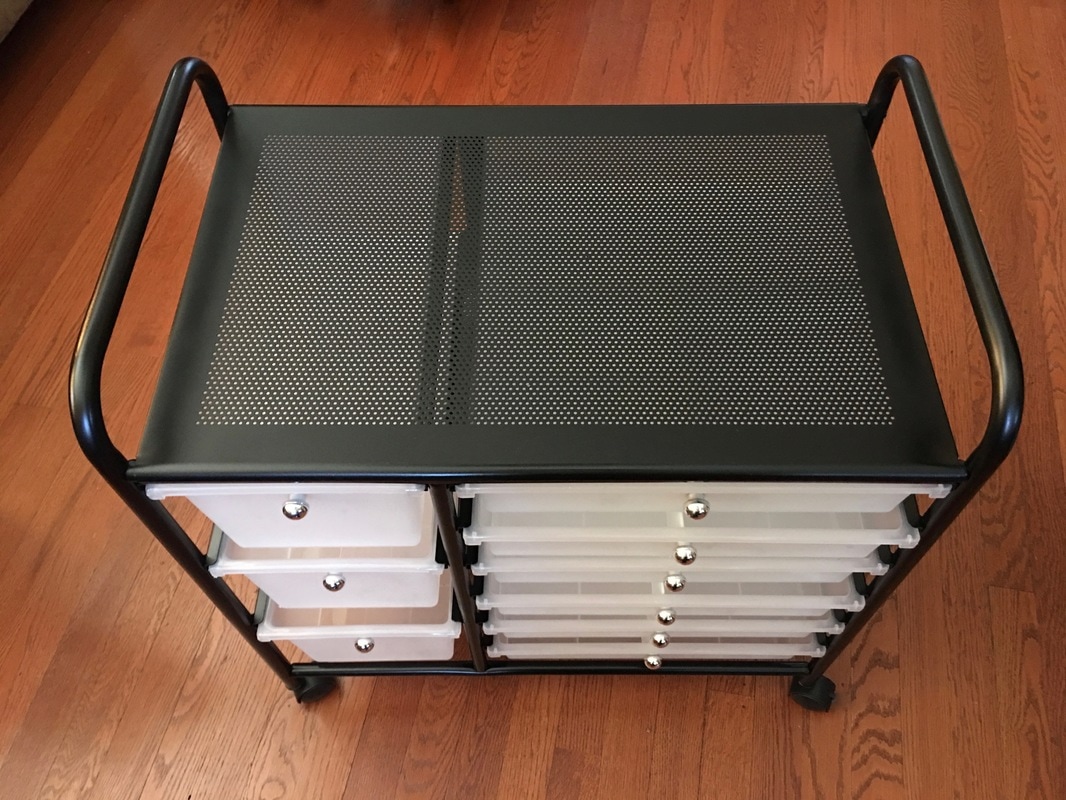
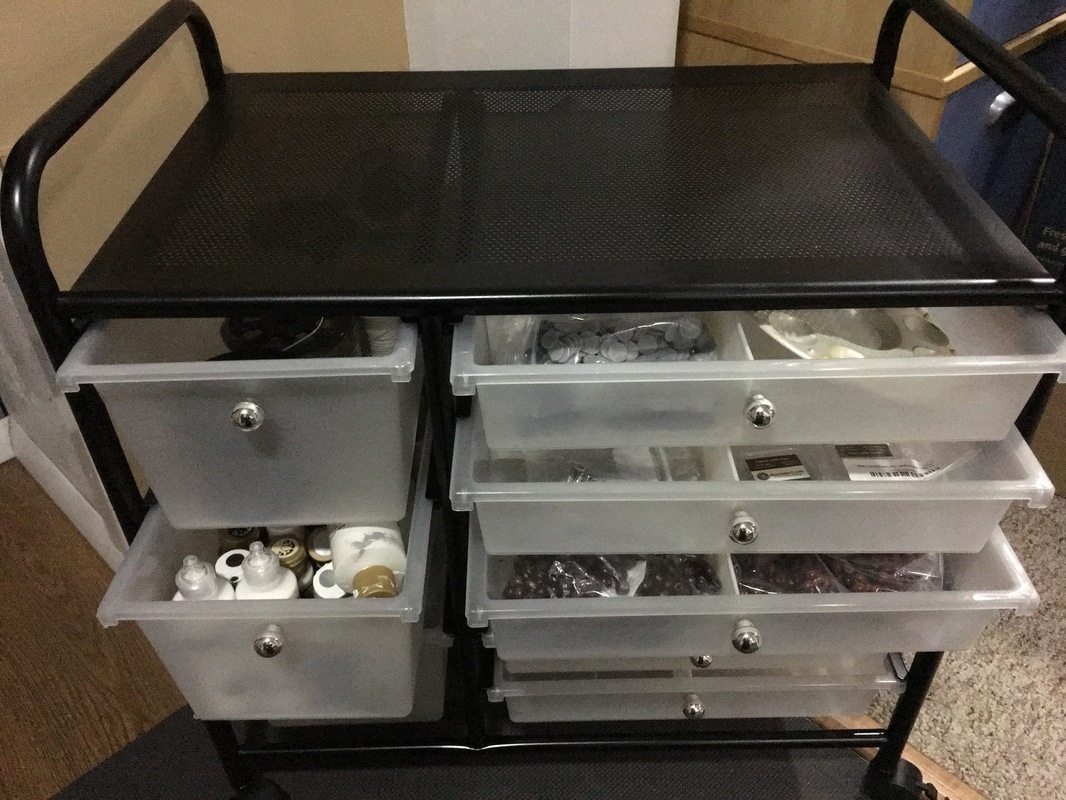
My husband pulled this 8 drawer chrome cart out of our neighbors garbage. It was a little rusty, but otherwise would be perfect for all my craft supplies. I think it is a great find because similar carts sell for upwards of $70 on Amazon! What to do, what to do.....so I simply sanded, wiped it down, and spray painted it! Now it is not only is perfect for all my supplies, but it looks brand new too!
Thanks for visiting!
Find more of our great DIY ideas here! And stay tuned for our book coming soon: "The ABC's of Creating A Simpler Life" which is full of tips for simplifying life in, well, super simple ways :-) Follow us and sign up for e-mail! Sincerely,
0 Comments

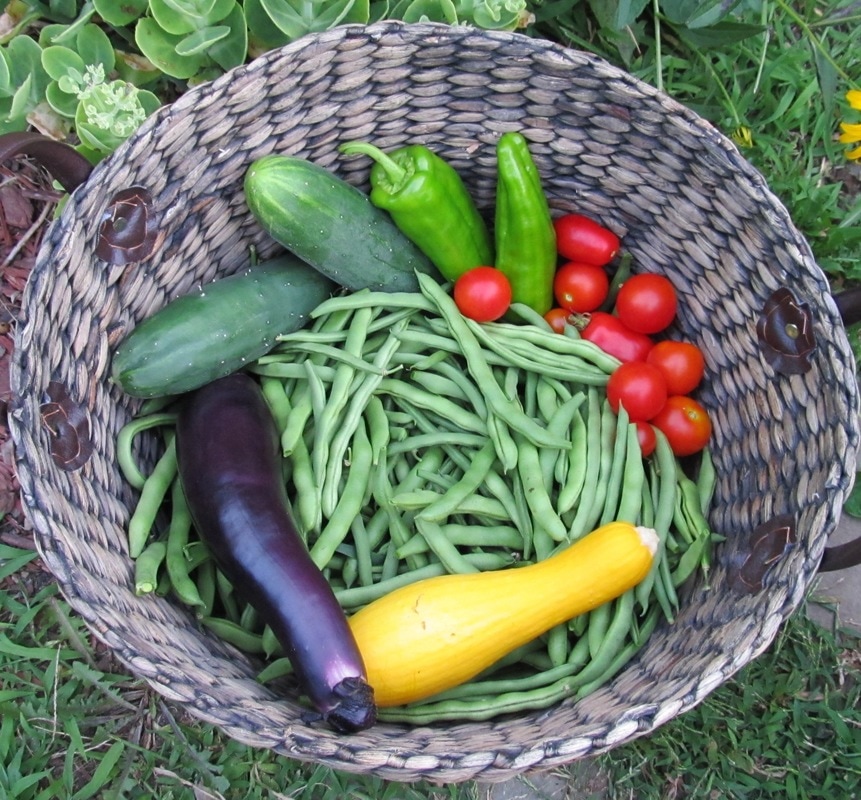
It's time to get the garden ready! I get so excited this time of year because I get to plant my favorite crop: string beans!
Years ago when we first started our garden we tried growing bush string beans. Unfortunately these felt like backbreaking work to bend over and pick them all. They also took up a tremendous amount of space in our small garden that we really wanted to put to better use. That led us to finally trying pole beans and that was the best decision we ever made. Here's why pole string beans are my absolute favorite vegetable to grow:
We grow two, soon to be three, pole beans varieties for different reasons:
The third type of bean will be grown for the first time this year! We are so excited because it is supposed to be a perennial. Yes, that's right, a bean we should never have to plant again because it will come back on its own year after year! We can't wait to try it! Read all about the Perennial String Beans here! Now we just need to figure out where to plant them so that they never get disturbed!
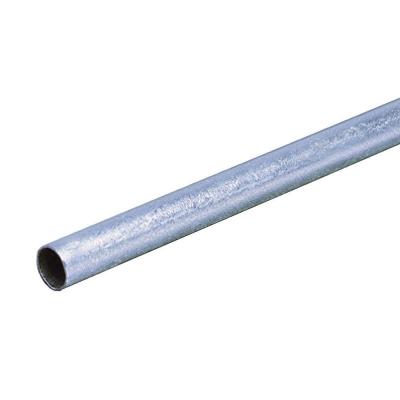
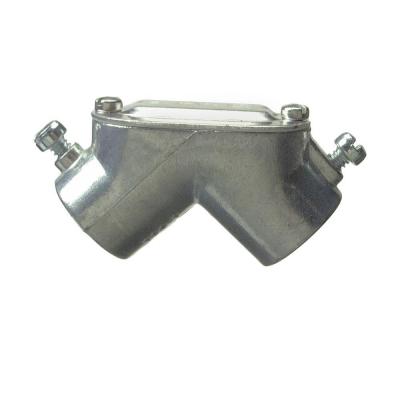
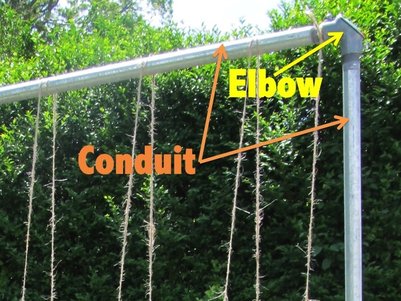
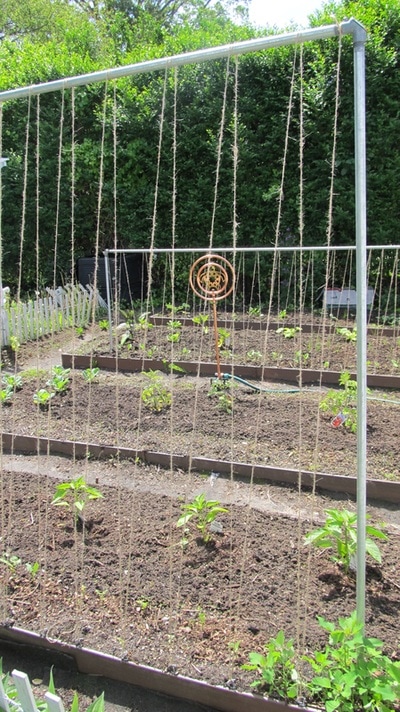
Growing pole beans is so simple that the hardest part about growing them is the poles! Yup, sounds silly, but the poles can be a pain in the neck. The beans can pull them down they can rot, etc. After years of minimal success we finally decided to make something more permanent. After a lot of research (of course) about growing pole beans, we finally decided to try building a pole built from electrical conduit, rebar, and twine. Yes, it was a small investment but the poles are still as good as the first year we built them, even with being moved around!
Supplies For 10' long by 5' high Pole Structure:
Instructions:
Thanks for visiting!
If you have time check out our other gardening ideas! We also have several gardening boards on our Pinterest Page! And of course we share lots of great ideas on Facebook too! Sincerely,
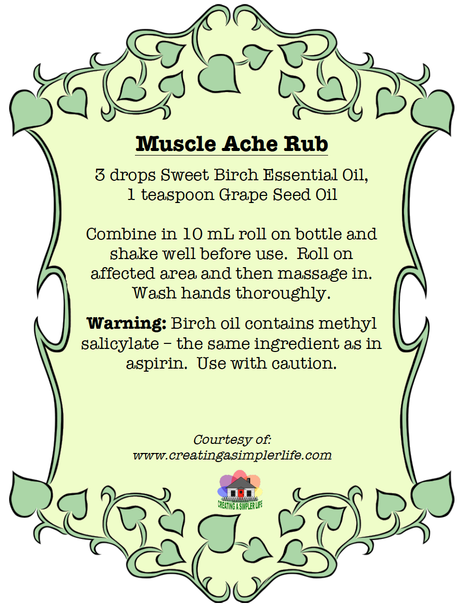
Ugh. My husband and I have been feeling pretty sore these days. With my daughter getting married in seven months we both are trying pretty hard to get in shape and that means we have been working a few muscles that most certainly are not used to the extra work!
But they do feel a lot better when we use this simple muscle rub afterwards! Just two ingredients and someone to help you rub it on.... and, well, you can see why it makes us feel better almost instantly! See below for purchasing ingredients and supplies through our affiliate: Amazon.com! *NOTE: the Birch oil in this recipe contains the same ingredient as in Aspirin and therefore should not be used in conjunction with anything containing Aspirin or Ibuprofen!
Please note that essential oils for home health DO NOT replace a doctor or modern day medicine. However, some can definitely be used to supplement, or, in the case of minor medical issues, be used instead of pharmaceuticals.
Always use common sense and seek the advice of a medical professional before making any major medical decisions. Thanks for visiting! Check our our other Essential Oil Remedies & Recipes and our Essential Oils Etc. Pinterest Board for other great uses! Sincerely,
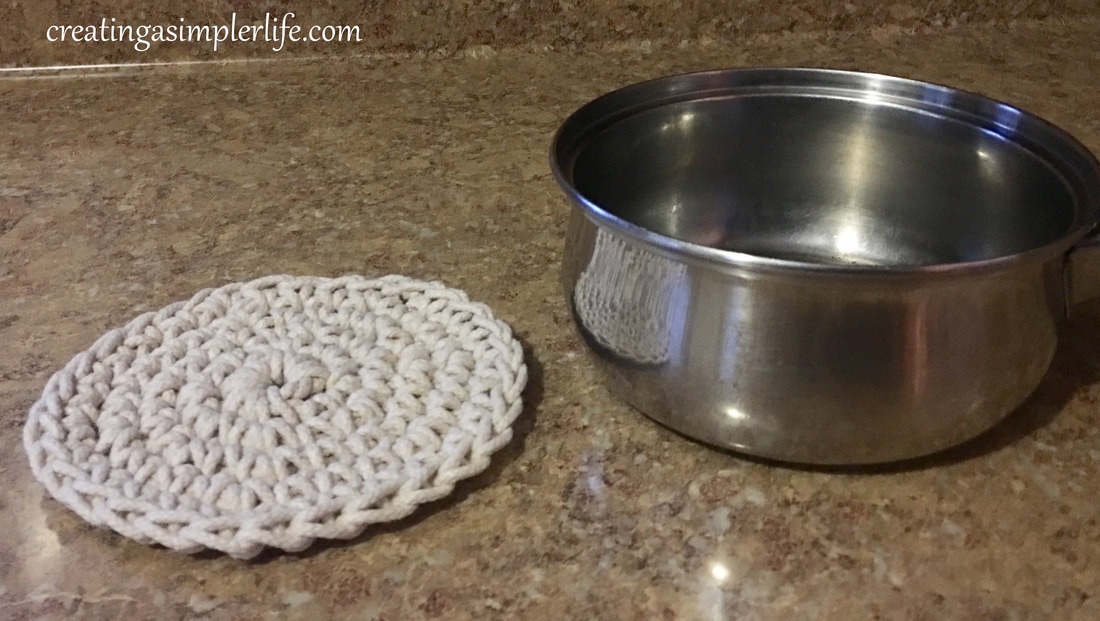
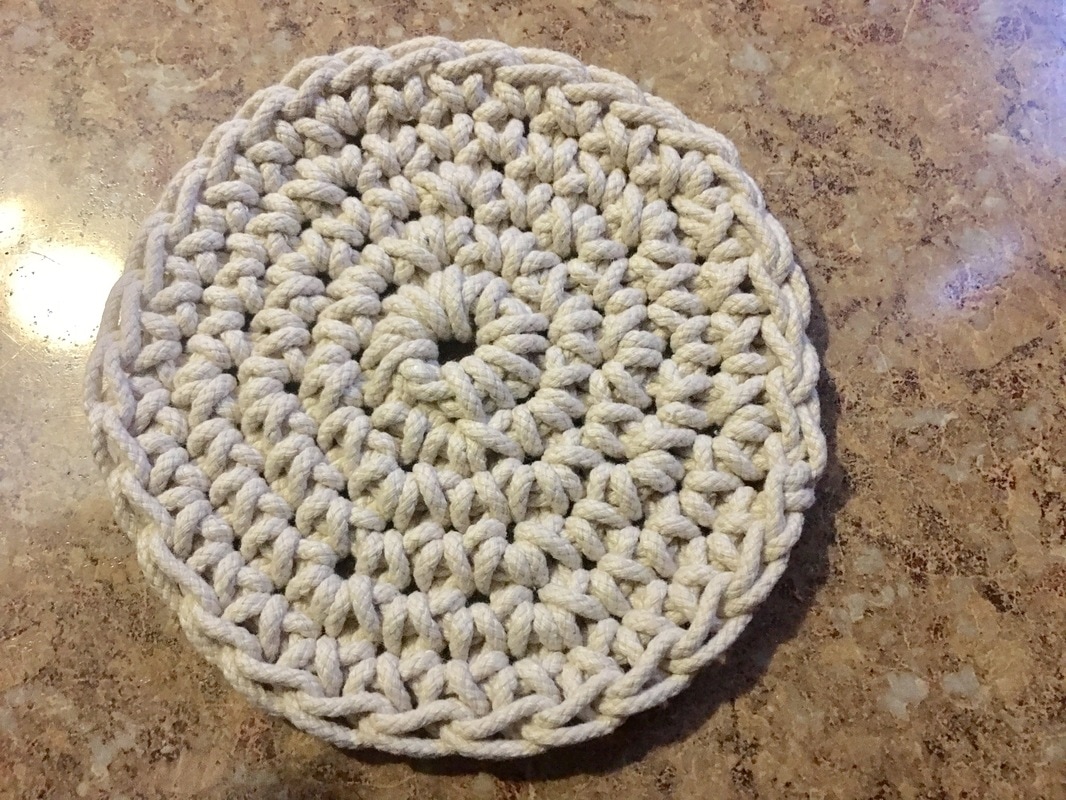
Simple, light duty, rope trivet....so simple it literally took me about 10 minutes to make and it fits my sauce pot perfectly :-)
Supplies: 6 mm hook 1 pkg. of 1/8" x 45', 20 lb cotton/poly rope. Directions: Crochet 5 chains and connect for center loop Row 1: Single crochet 8 times into center and mark the last stitch Row 2: Single crochet twice in each of 8 stitches around (total 16) Row 3: Single crochet in next two stitches, then do two sc in next, then one, then two - repeat around Row 4: Single crochet in next there, then two sc in next, repeating around until near the end of the rope. Finish off by doing a loop stitch and knotting off.
Thanks for visiting!
Check out our other FREE crochet patterns and ideas and follow us on social media :-) Sincerely,
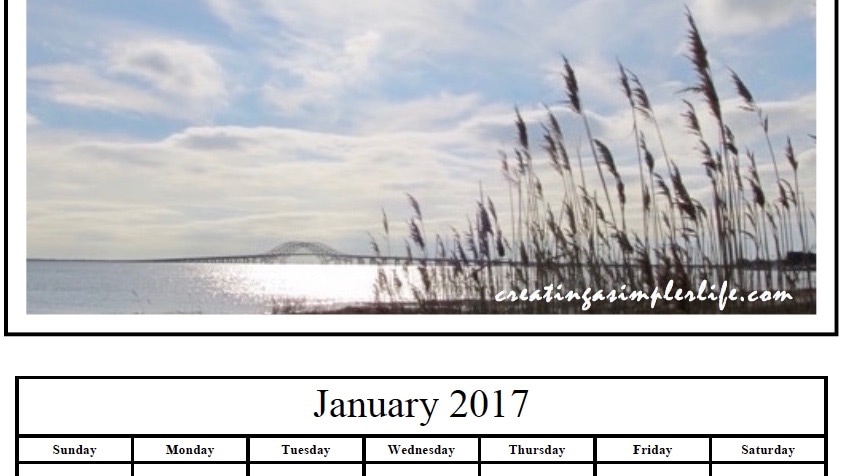 First of all, Happy New Year! I wish everyone a safe, healthy, simple, and genuinely wonderful year :-) If you are in need of a simple calendar to start the year off with, then have I got the answer for you! I know, I know. You just program all your important dates to remember into your smart phone. I'm just not there yet. I really enjoy sitting down and writing all my important dates by hand and then color coding and highlighting them all. I hang it inside my kitchen cabinet and can simply open the door and see the entire month at a glance. Oh, and it is large enough to read too! Recently when I was up in the Adirondacks helping take care of my mom after her Christmas Day injury (Read that post here.) I saw this great calendar the local Black Bear Restaurant gave out (see below). It's so simple I wasn't sure if they made it themselves or had it printed professionally, but I loved it! It was printed on 8.5" x 11" paper and stapled to a piece of thick black construction paper that was a little longer than the paper itself. Every page had the same 'picture' at the top, but was a different month. They didn't even use color printing, but the black and white on black construction paper was so simple, yet so perfect! 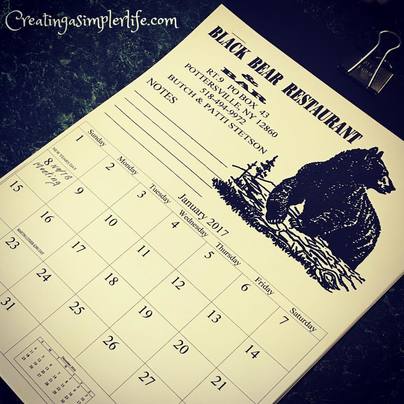 Great place to eat! Well, that got me to thinking, "How hard can it be to make your own calendar?" I began an online search right away and it wasn't long before I foundthe site: Homemade Gifts Made Easy. They had a very simple 2017 downloadable calendar template that could be personalized with one or more photos and a choice of calendar size (letter or A4). It is a microsoft word file so it was super simple to download and use! The directions are available on the site and are very easy to read and follow. Not only that, there is also a great video to watch and see it done if you prefer! I made two calendars: one for personal use with a different picture for each month and a business caledar that could be given out as an advertisement similar to the Black Bears Calendar above. Personal Photo Calendar Slide Show:If you like the calendar above and want to print a copy for your personal use, feel free! You can download a pdf of it by clicking the button above :-) The website provides very simple directions for inserting your photos. I also chose to add a separate text box with my website on top of each picture. I love the way it came out! All the pictures I chose were shared on our Instagram account over the last year (Follow us!). Simple Business Calendar (one photo):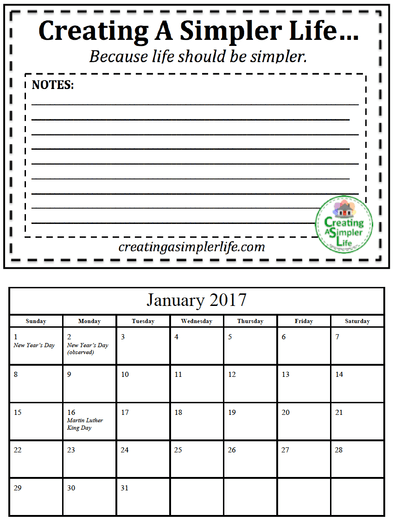 For the business calendar above, I used the same "picture" for every month. I printed them with two months to a page so that the entire calendar would be smaller (4.25" x 5.5"), and I also printed regular 8.5" x 11" calendars as well. All of them were, of course, stapled to construction paper and looked great when finished! In my opinion anyway.... If you want to create your own "business photo" like mine above, you can download the microsoft word template I created, with instructions to make it your own, by clicking on the button below. And lastly, here is the link to the awesome 2017 Calendar download I used to make both calendars that was created by Hommade Gifts Made Easy. And yes, I think you could make it into a great gift for someone too! Oooh, my parents anniversary is coming.....what a great idea! LINK TO DOWNLOAD AND MAKE YOUR OWN 2017 CALENDAR! Thanks for visiting. Please let me know if you make a calendar! I would love to know how it works out. Sincerely,
Don't forget to follow us on social media!

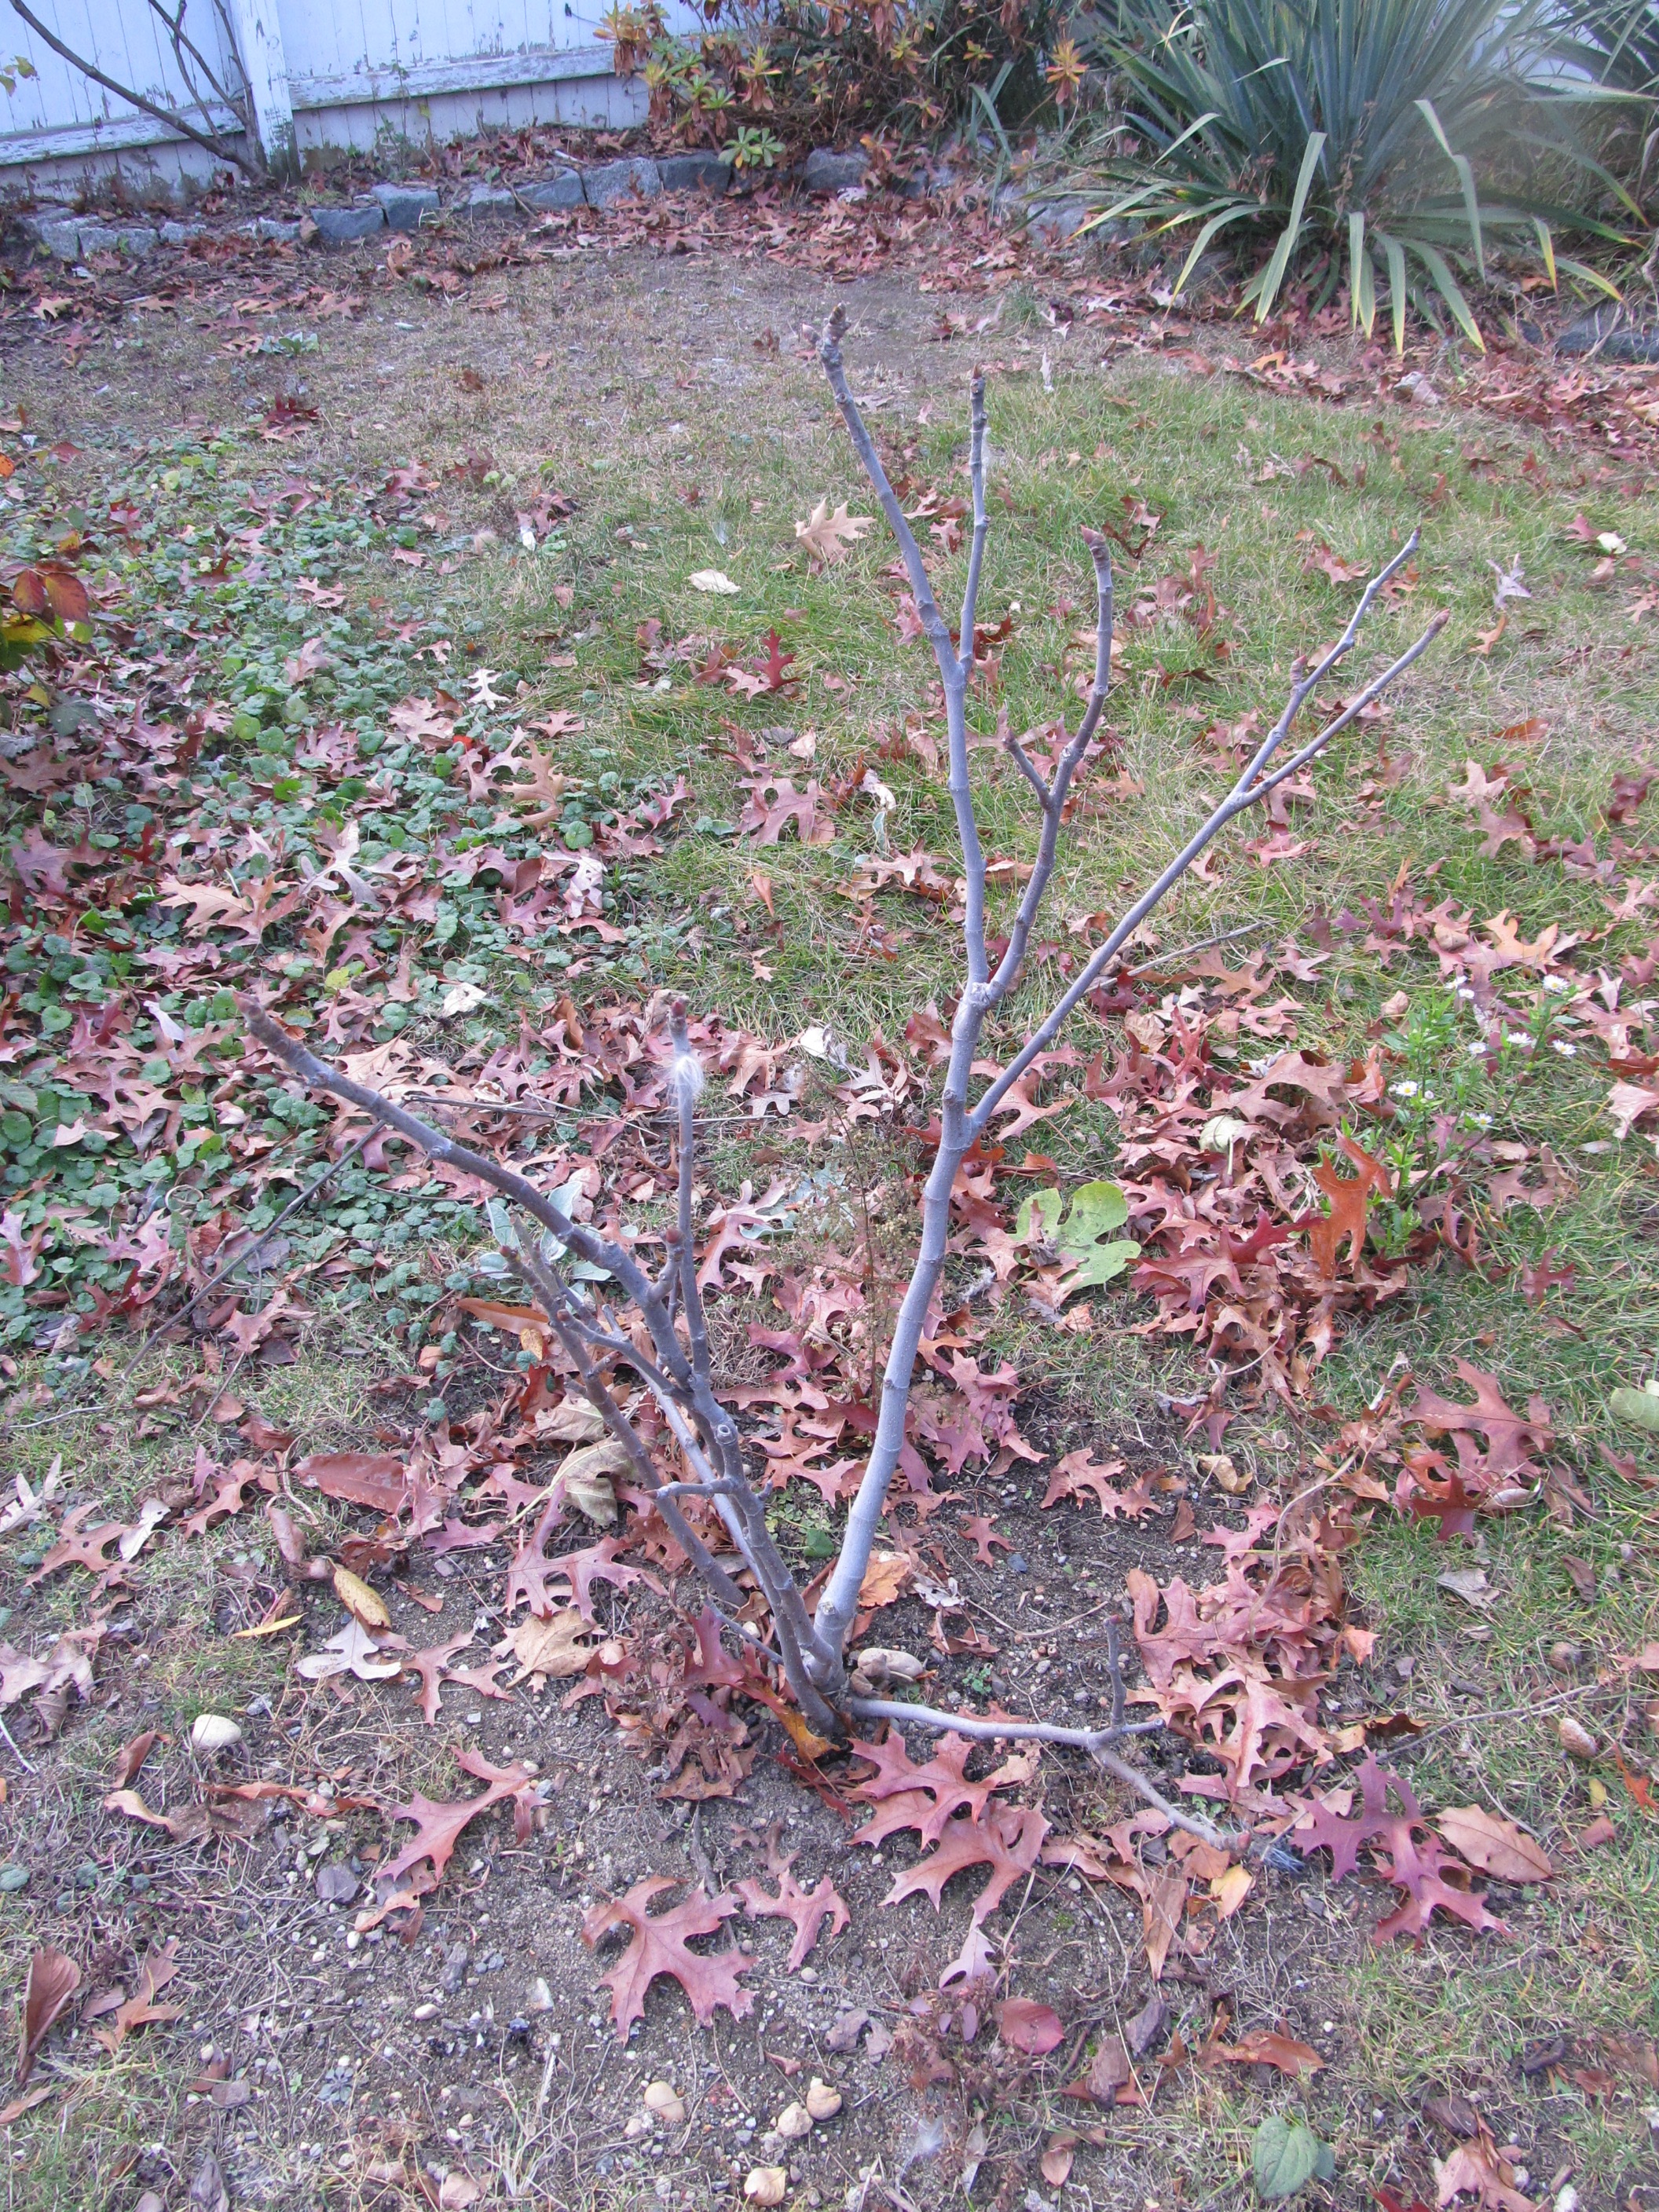
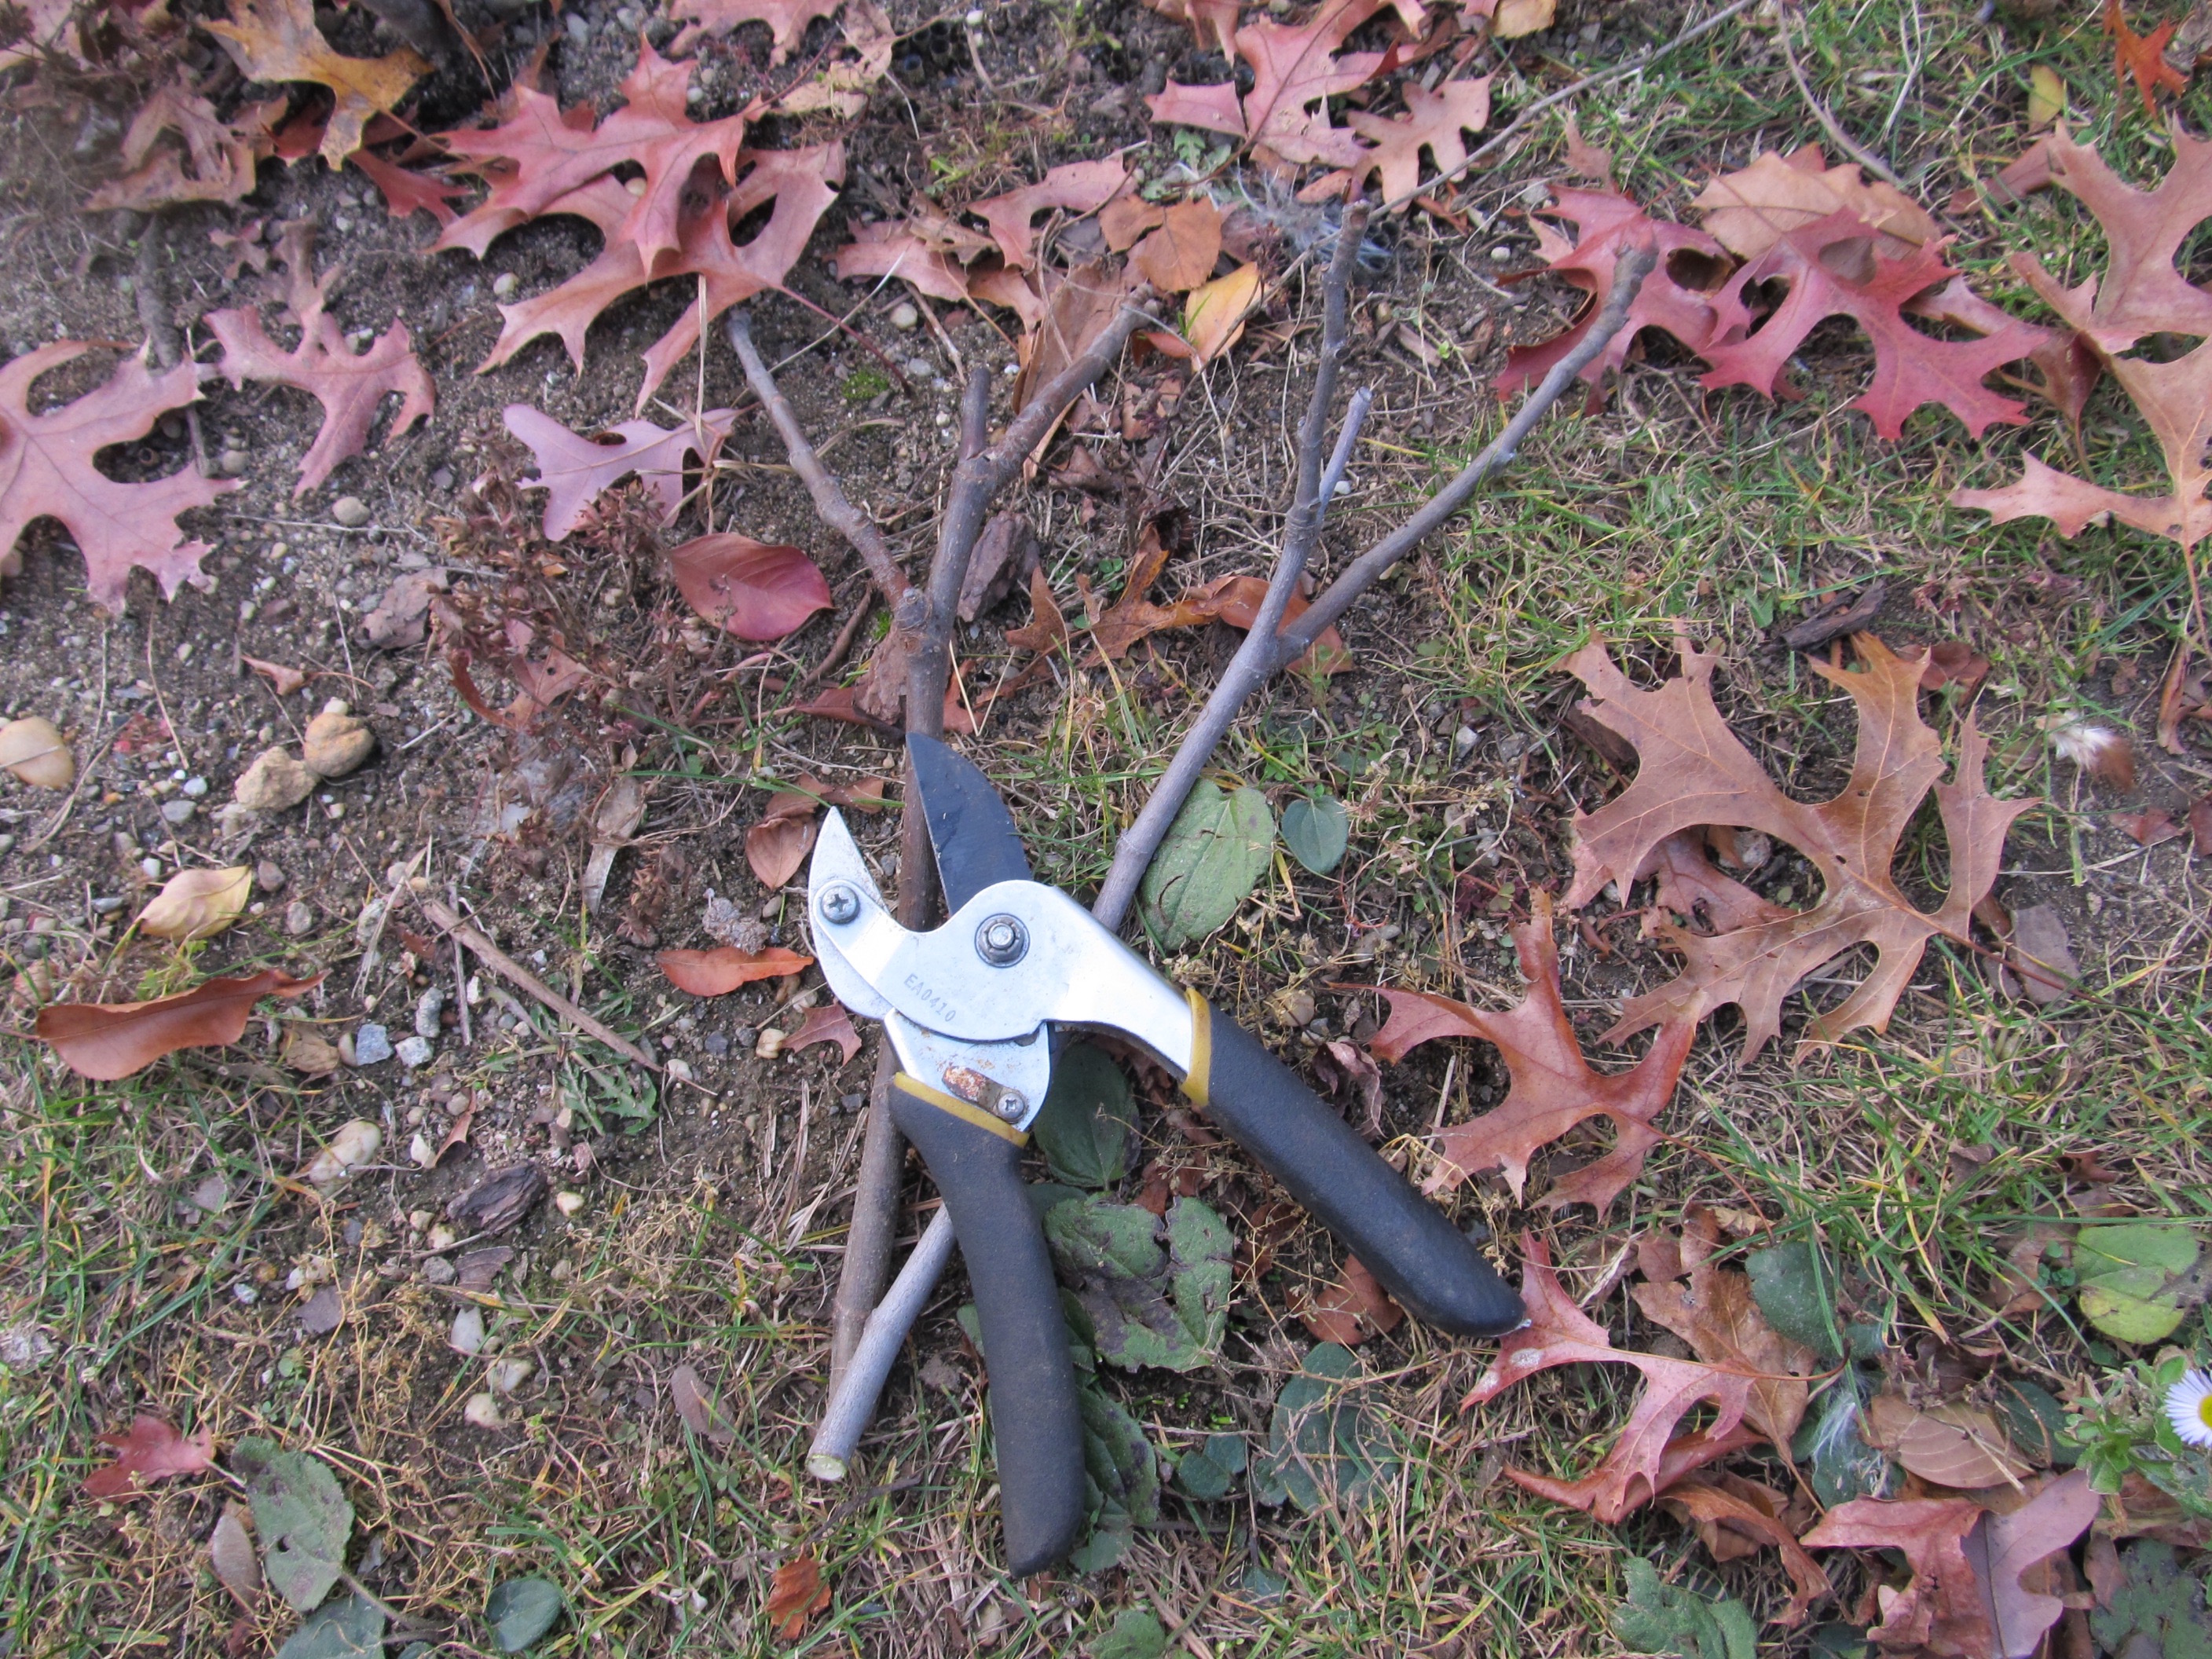
My daughter brought us home a fig tree this summer. After planting it began growing beautifully and even provided us with a few figs! We really want to see this little fig tree grow and produce over the next few years so it is necessary for us to protect it over the winter by 'wrapping' it.
Why wrap it?
What climates should wrap the tree?
When?
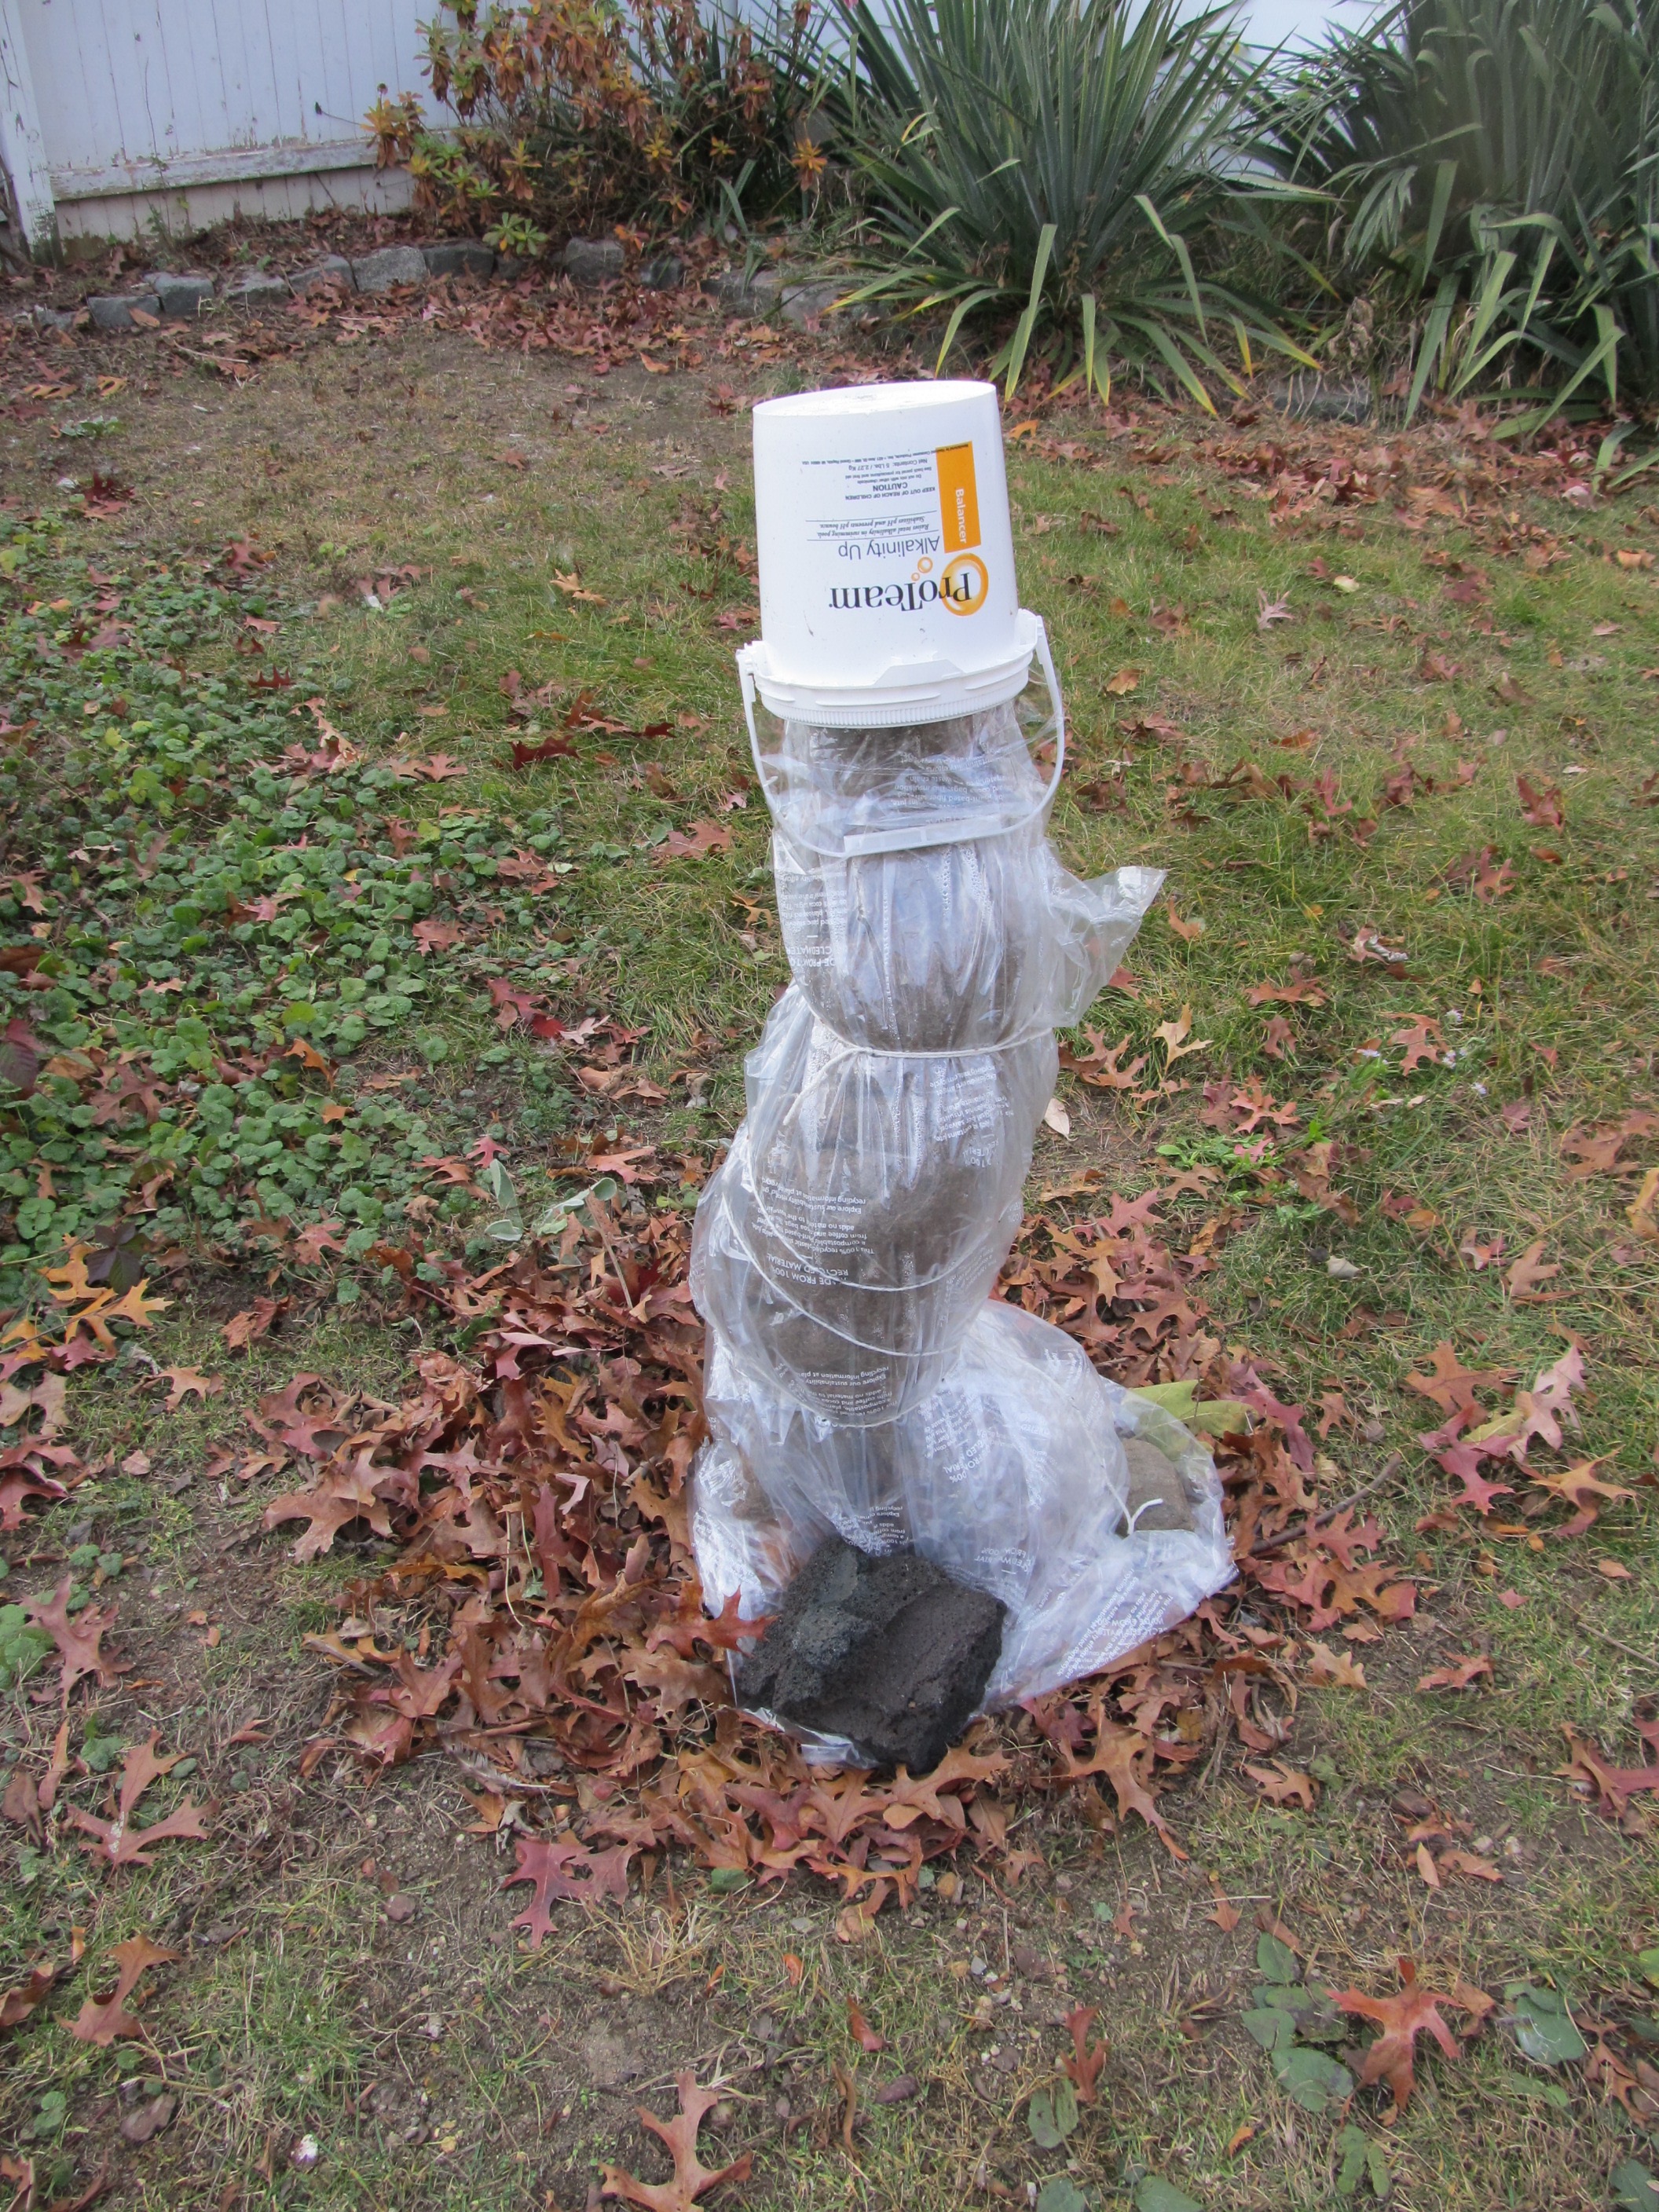
How to wrap it?
In the spring:
Here are some pictures:
Thanks for visiting!
Stay tuned for an update in the spring when we "unwrap' our fig tree. And please check out our social media links above! Sincerely,
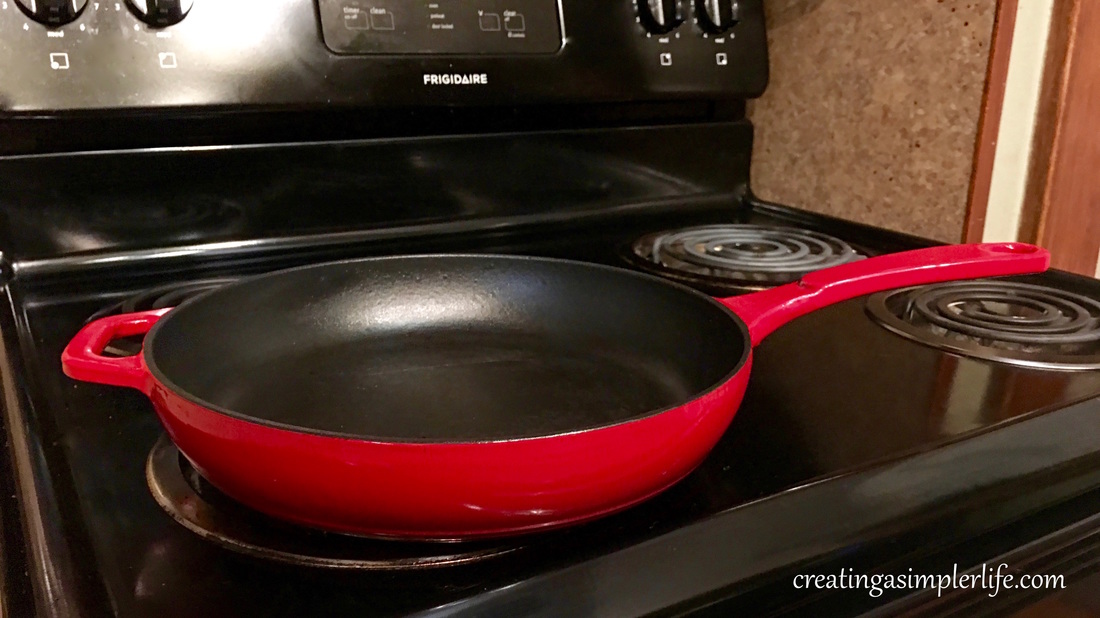
I seriously can't believe I am saying this: "I love my cast iron skillet." I really do, and believe me,I never thought I would ever even consider using cast iron!
Using cast iron was really sort of an accident for me. Cast iron is a pan that I have never even attempted to cook with. In fact, my go to pots and pans have always been stainless steel. But if you have ever had to sit and scrub and scrub and scrub to get a pan clean then you know what I mean when I say stainless can be a real pain in the $%#. I have also been through multiple skillets coated with teflon. I say multiple because never has a skillet lasted more than a year in my house before the teflon started to come off. Thats how often we use the skillet! More recently we were buying and using Green pans. They have a ceramic coating that is much healthier than using teflon and they did last a little longer. The big downside however was the price. Not cheap by any means and still needed to be replaced after a lot of use.
Cast iron was never an option for me. I didn't even consider it because I always thought it was cheap, horrible to cook on, and even more horrible to clean. I imagined needing to literally scrape eggs off the bottom of the pan and never really getting it clean....ever. So imagine my surprise when my daughter and future son-in-law cooked a meal for 8 people using ALL cast iron pans and I volunteered (unknowingly) to do the dishes! As soon as I saw what I had volunteered to wash I groaned and did my best to go at it with a smile on my face....only to find out how easy they all were to clean!! In fact, they were easier to clean than the Green pans I had at home which were supposed to be non-stick! After the simplicity of cleaning those cast iron pans that night, and eating amazing food that was perfectly cooked in them, I was 'sold' on how awesome cast iron can be!
I immediately purchased my first cast iron skillet and I have never looked back! I absolutely love cooking in the pan and am able to cook certain foods like steak and chicken indoors better than ever! I have since added more cast iron pans to my list of must have's for the future. Here is a simple list of why I love my cast iron skillet so much:
Some of the cons:
Even the 'cons' aren't so bad!
And check out this video of a comparisson between this skillet and the Lodge seasoned classic skillet in action and the MUST HAVE Kitchen Tools video below it!
Thank you for visiting :-)
If you like what you see please check out our other social media sites and consider following us! Sincerely,
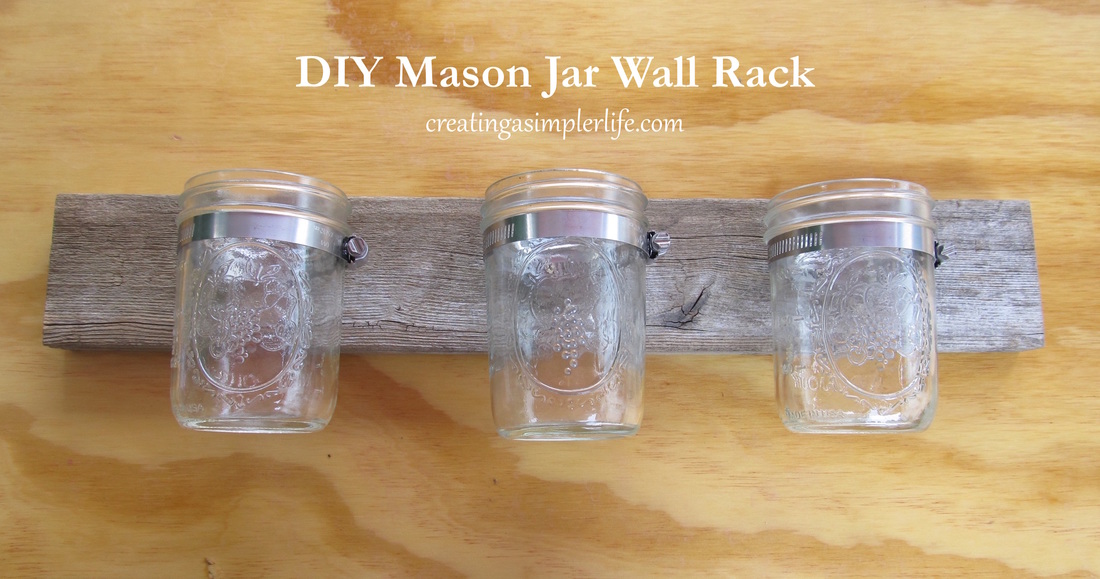
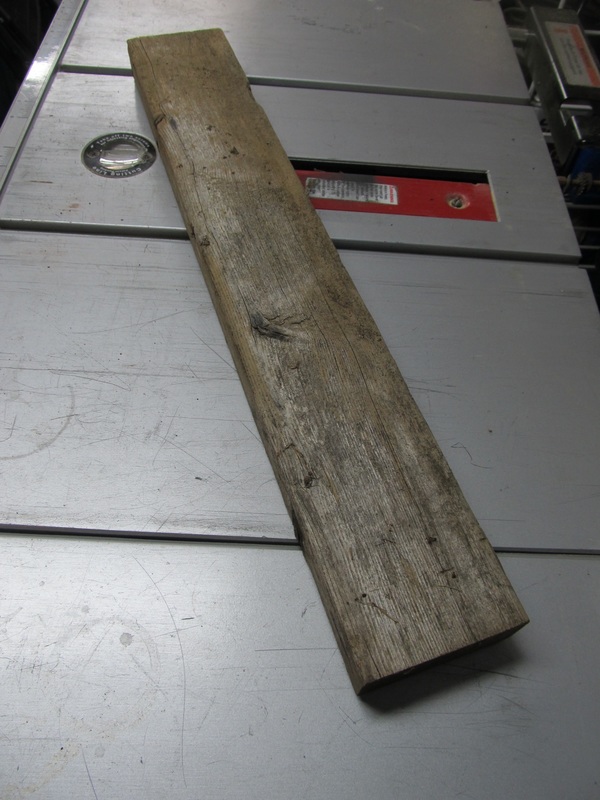
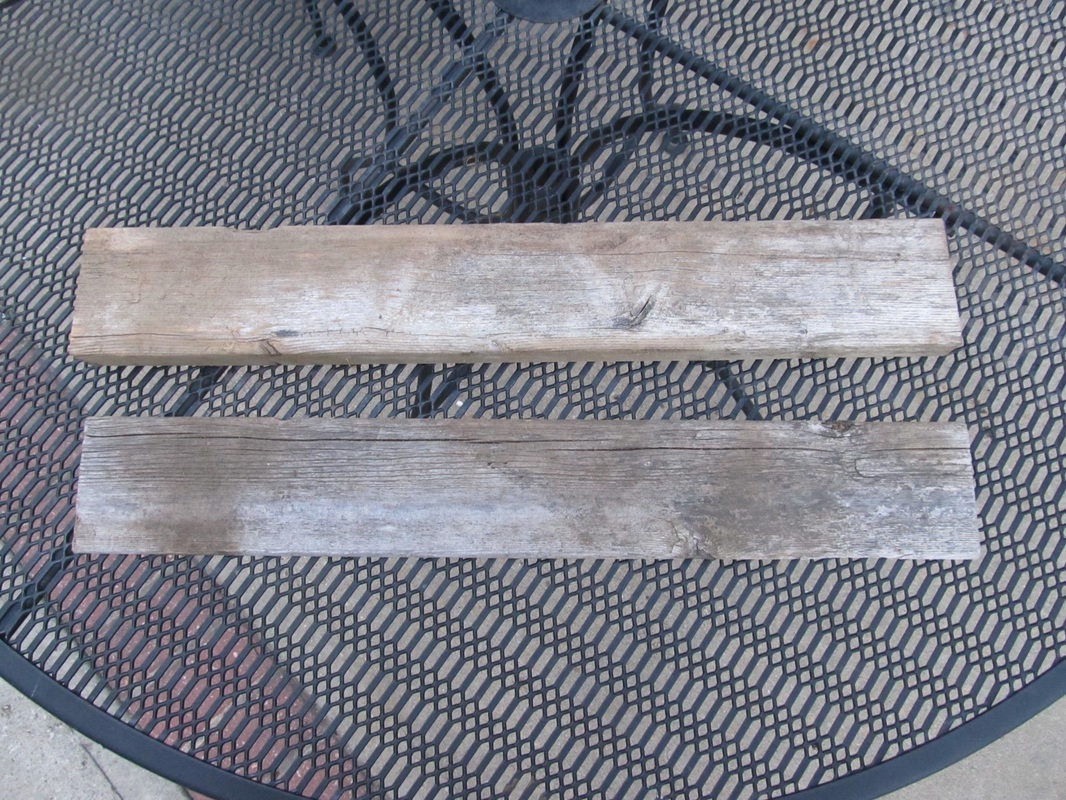
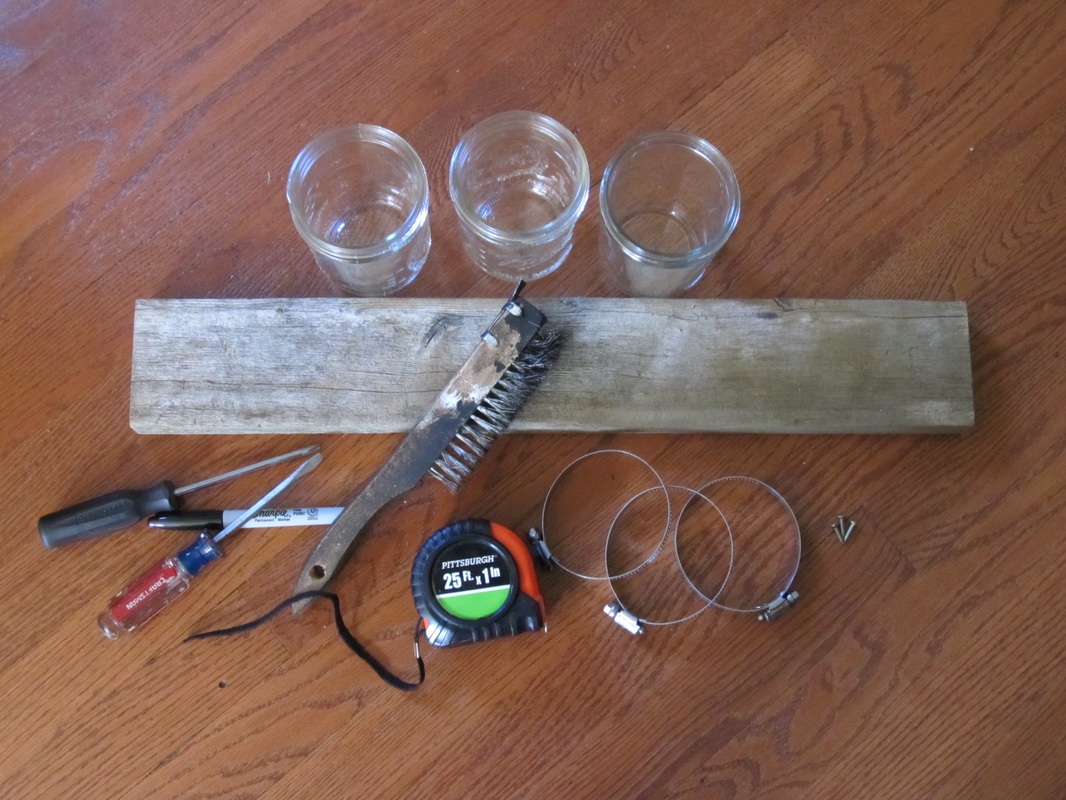
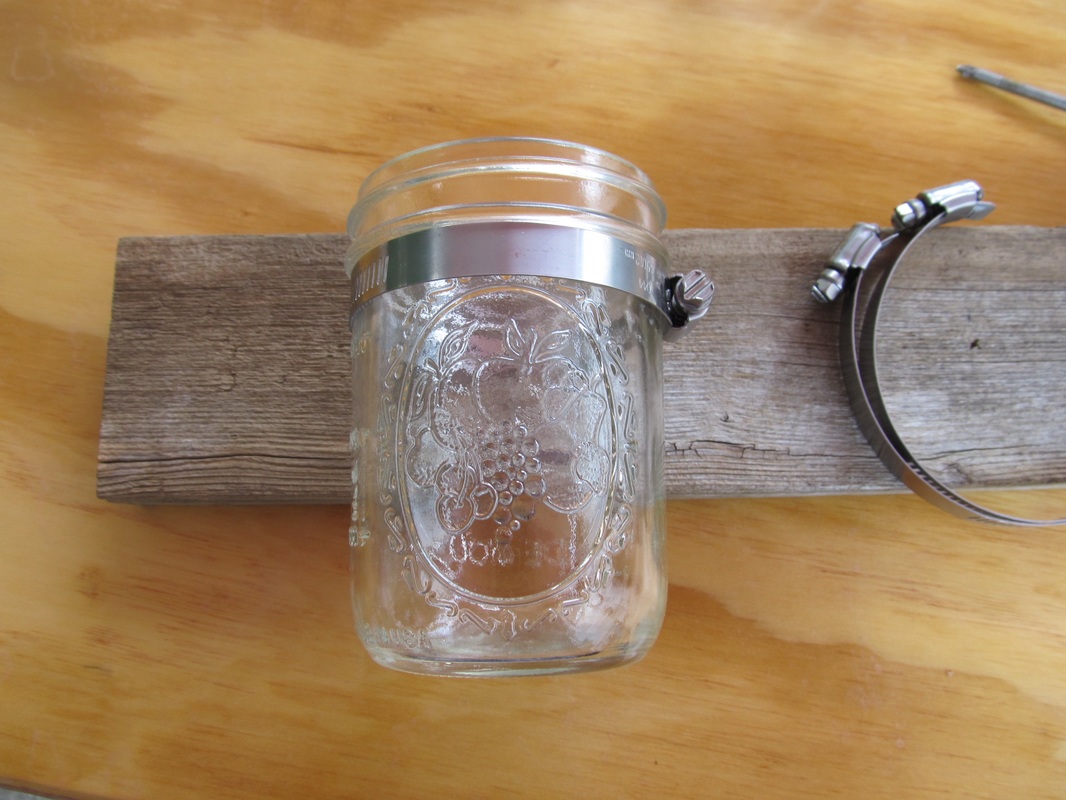
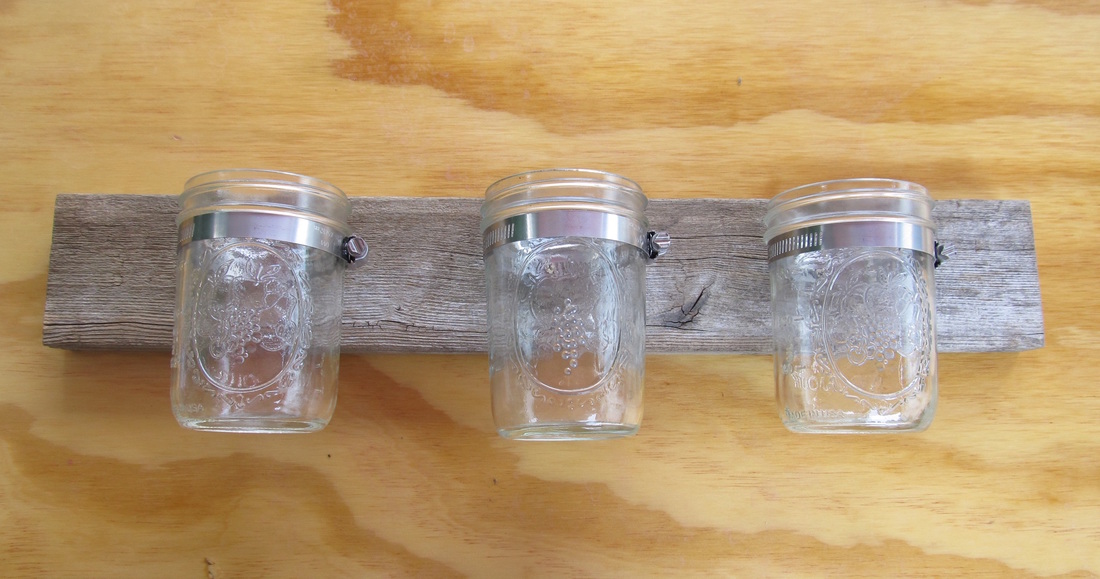
Recently there was this great video on Facebook showing how to make a mason jar wall holder/rack. I shared that video as a post on our Facebook page only to have my daughter comment that she wanted one! Of course being the crafty person I am, I absolutely had to make it for her. I have to tell you, it was super simple, just like the video implied! Thank you to My Fabulous Lifestyle for originally sharing the video on Facebook!
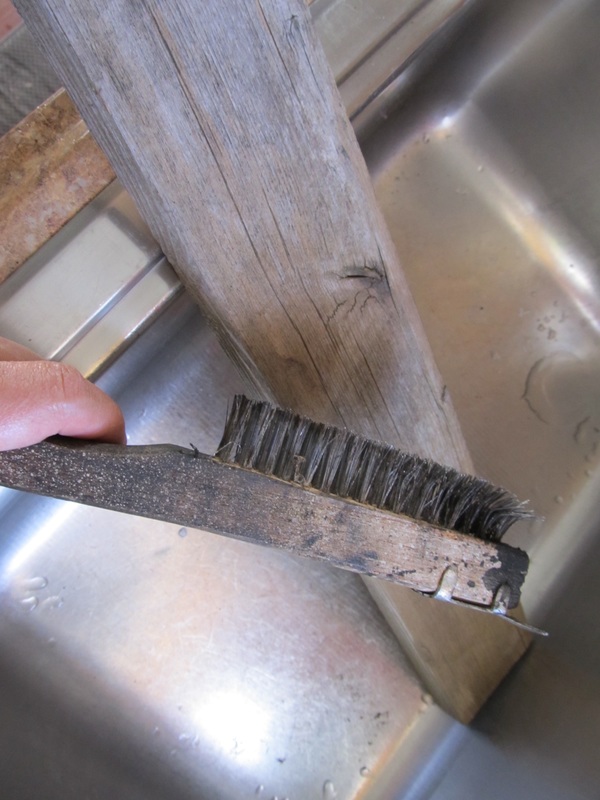
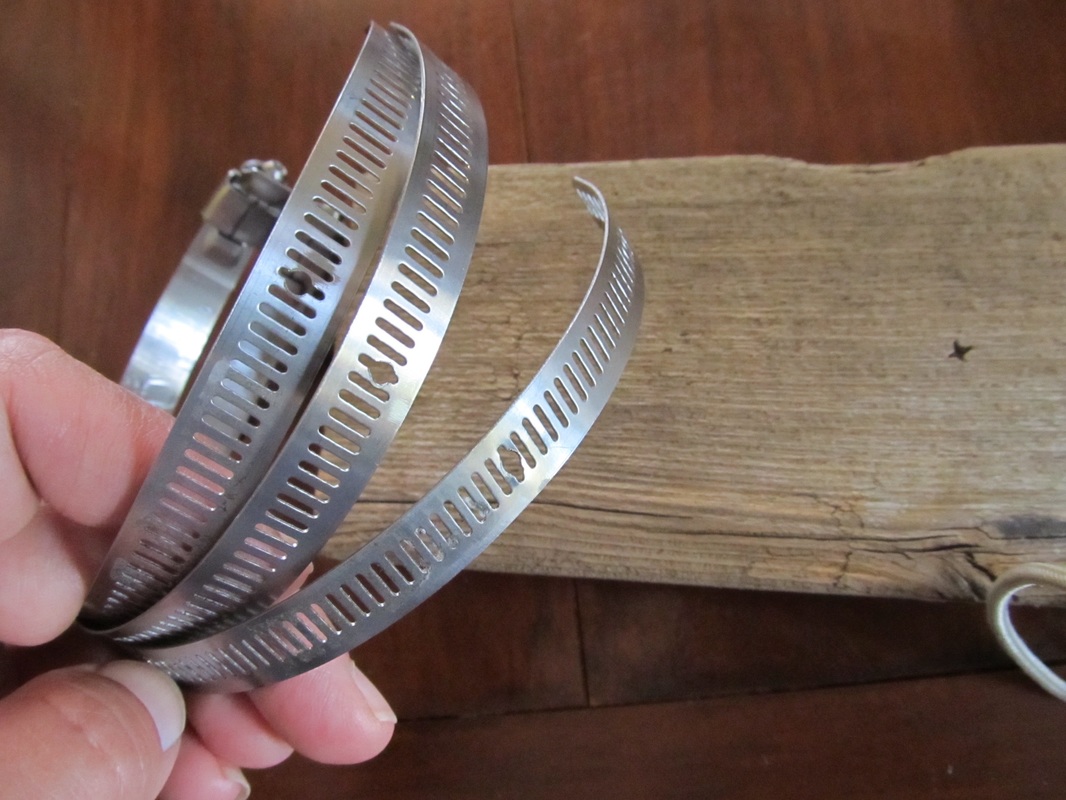
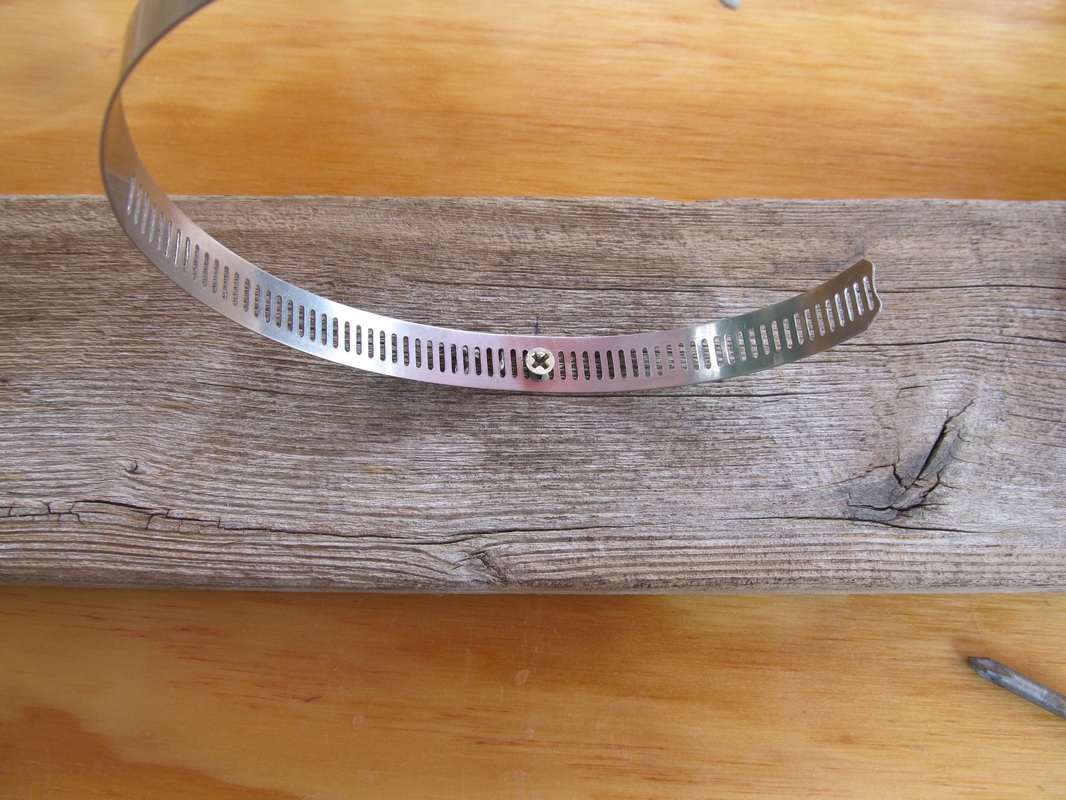
There are a few differences between the one I made above and the video: they chose to paint it a 'distressed' white, I chose natural unfinished weathered wood. Supplies Needed:
Check out our other Do-it-yourself Posts and our Crafty Things, DIY Home Projects, or Repurposing Pinterest Pages!
Thanks for visiting!
Sincerely,
It's that time of year again when I go back to teaching high school and lo and behold, I get sick. I guess you could call it my annual cold. Not only do the students inadvertently 'share' their illness', but the teachers do too! It is really inevitable. We can have up to 32 total students and teachers in a classroom with the door closed (by law) and a few windows open that rarely generate any breeze, especially if they open into a courtyard. We can bring in our own fans and sometimes, if we are really fortunate, we might get to teach in a room that has an air conditioner once or twice a day (most teachers move from room to room throughout the day). Just think about how many hands touch the knob on the door to the classroom with 9 periods a day in there and you can see why germs are so easily shared. And no matter how careful you are, they are in the air after every sneeze and cough too.
Ok, enough of that. We all know germs spread. But what can we do when we get a cold or the flu to help it go away faster and feel better sooner? It's already well known that these are viral and that antibiotics simply won't help. That leaves it up to you. It is pretty common knowledge to drink tea with lemon and honey, take hot steamy showers to help clear the sinus' and loosen up chest congestion, to keep the house at a cooler temperature, and to sleep in a semi-seated position to prevent post nasal drip. But what else can be done? After years of getting my 'annual' cold after returning to school in the fall I have come up with two tried and true remedies that I know help me, so hopefully they will help you too! Disclaimer: Always check with your doctor or healthcare professional before trying any new treatments or holistic medicines. Especially if you or your loved ones have pre-existing medical conditions. 
Ceramic Neti Pot
1. Neti Pot - Clear your sinus' and fight infection!
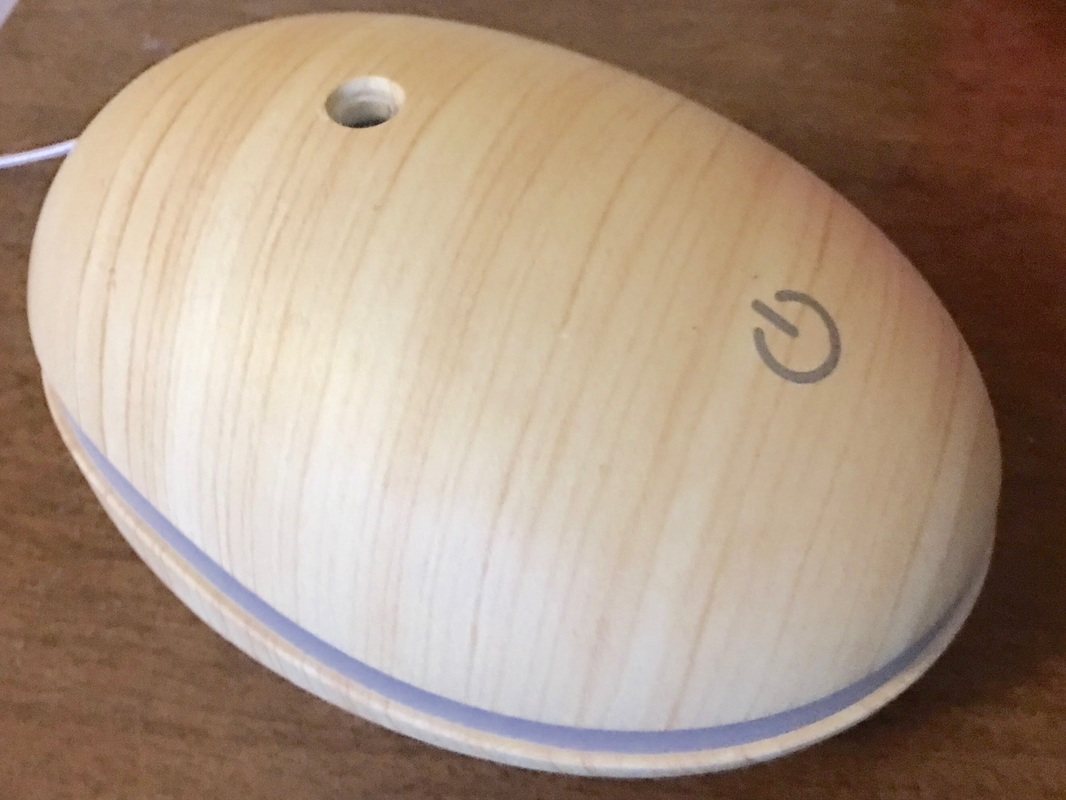
2. Diffusers: Breathe better and purify the air!
Thanks for visiting!
I hope you found this post helpful and that if you have a cold or the flu it helps you to feel better! :-) Sincerely,
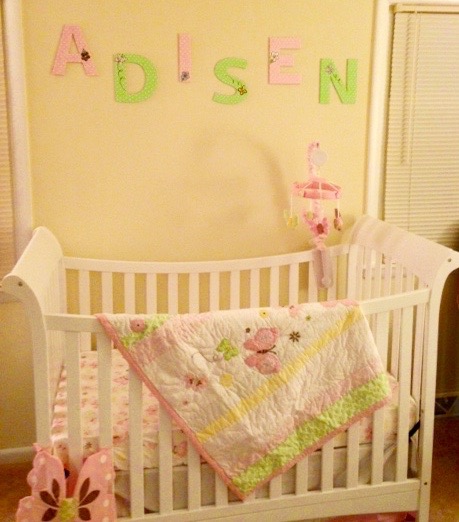
My daughters good friend has two children, the youngest of which was born recently. This friend of my daughters is very special to me because she has been in my daughters life since the 4th grade and she was also in my Girl Scout troop - yes I was a Girl Scout leader (I am also a lifetime Girl Scout!). For the first child my daughter asked if I would help her to paint the letters of the child's name to match the crib bedding her friend chose, and of course I said yes! After looking at some pictures of the bedding we came up with a color scheme and decided butterflies. We wanted the letters to be just different enough, but still match the room and I think we did a pretty good job as you can see in the picture below.
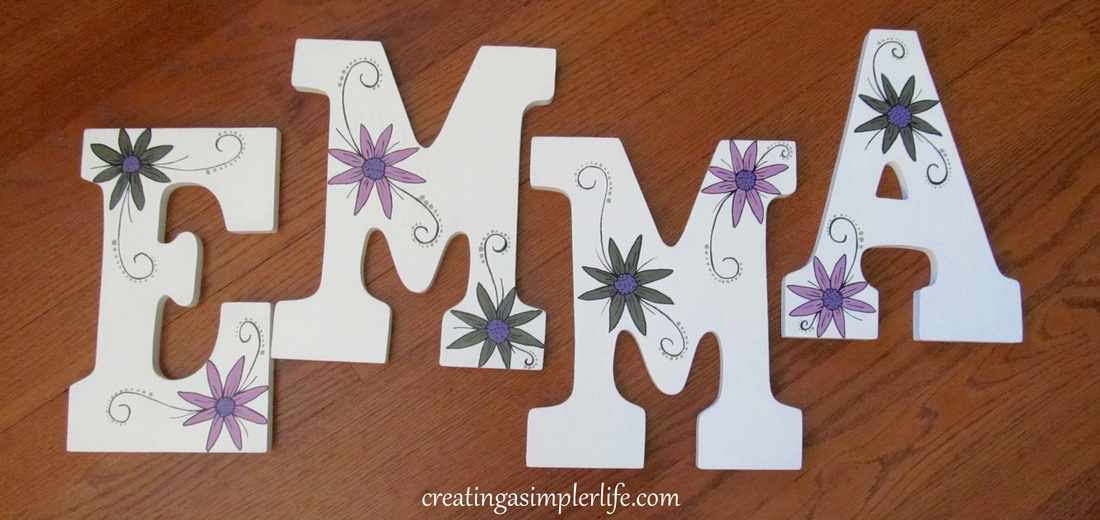
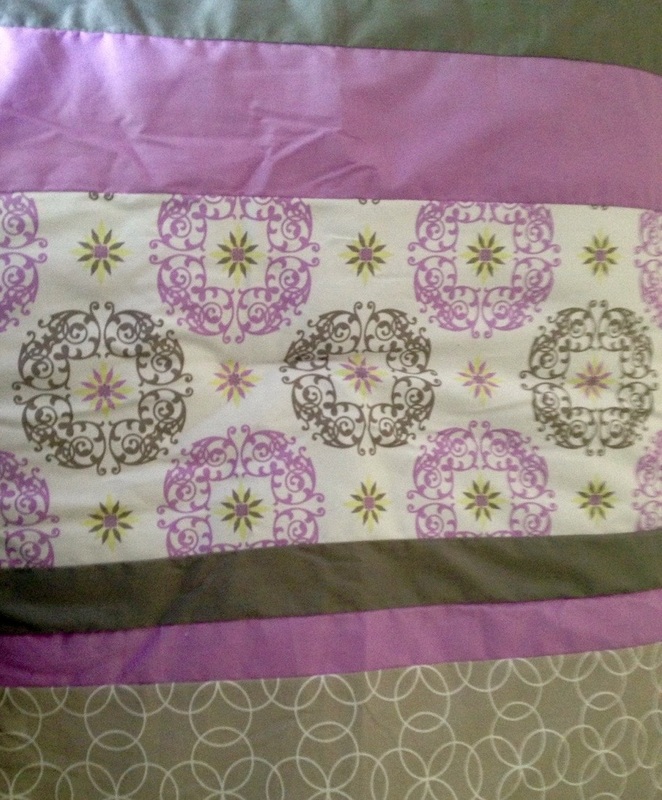
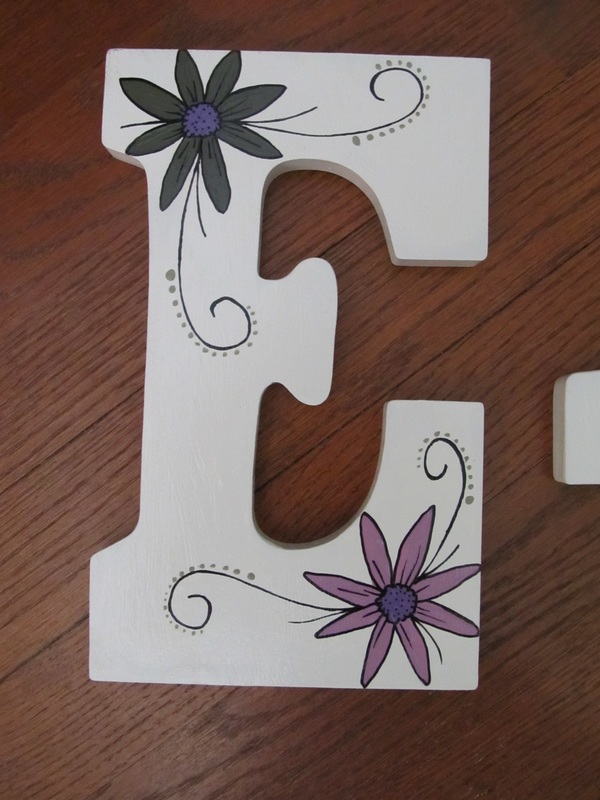
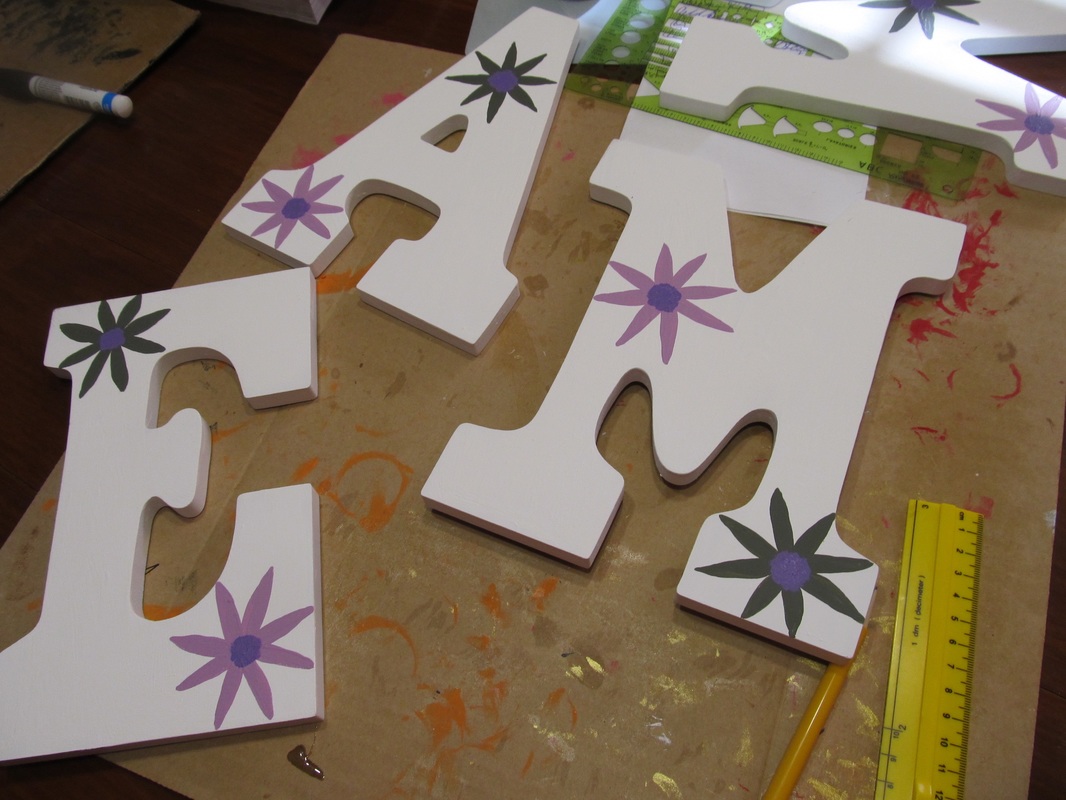
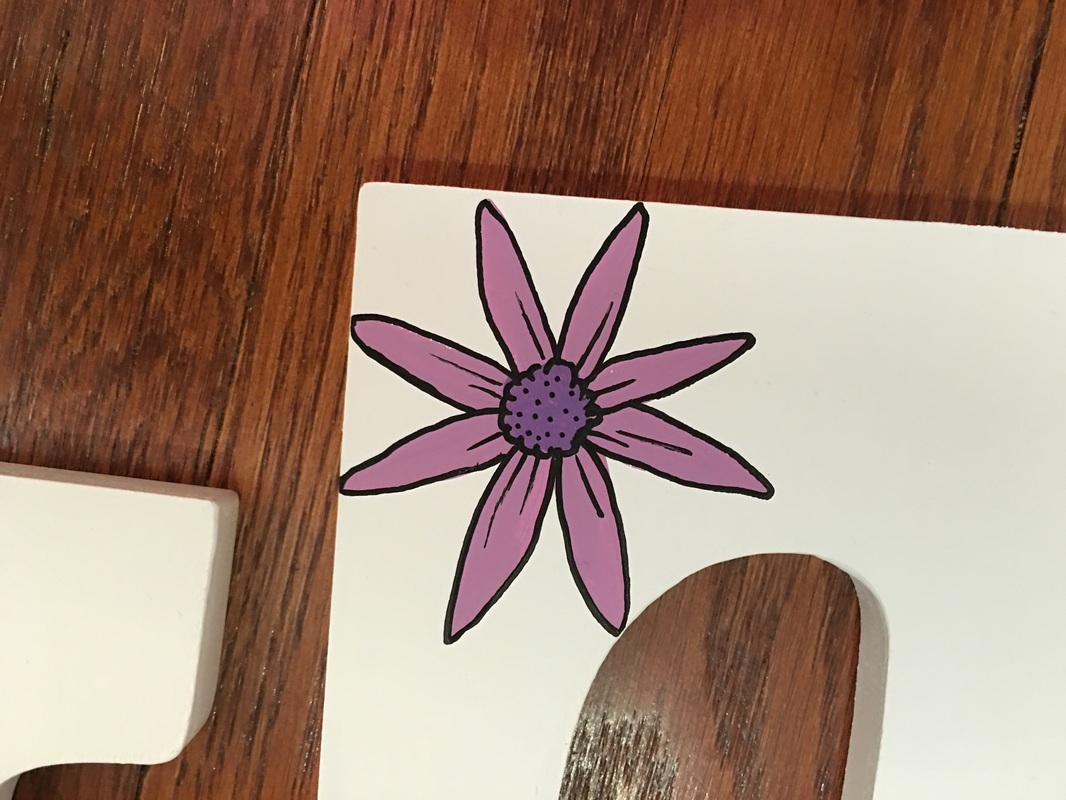
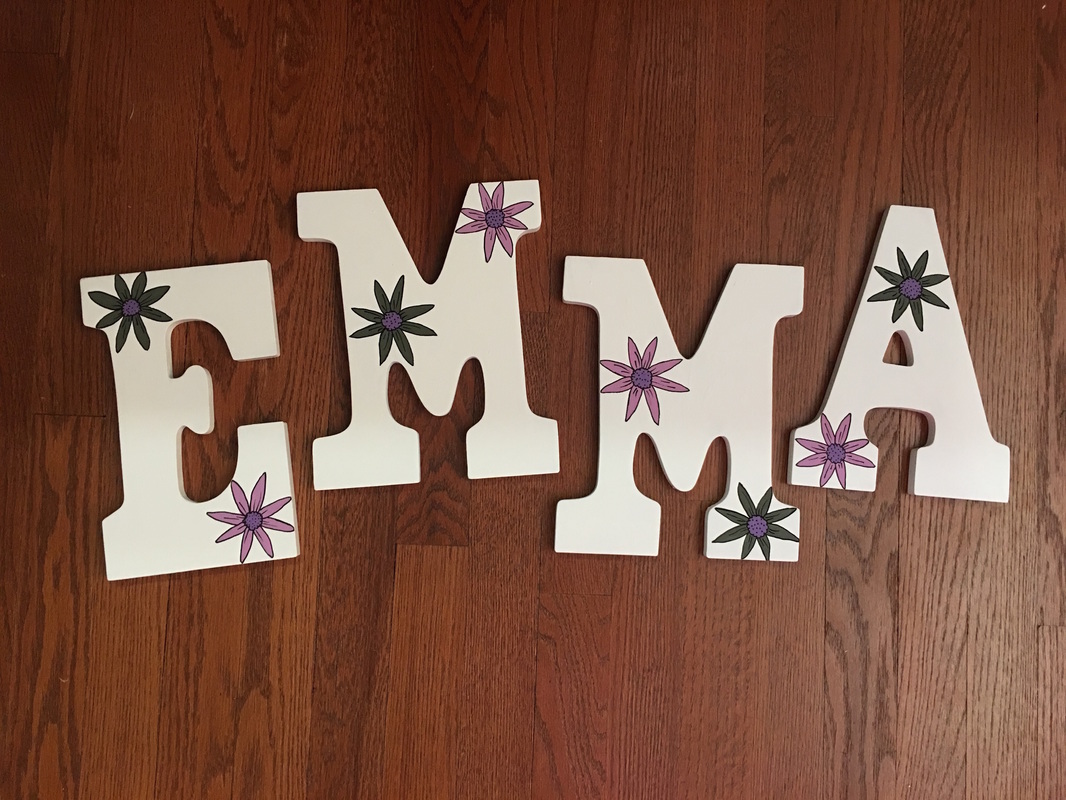
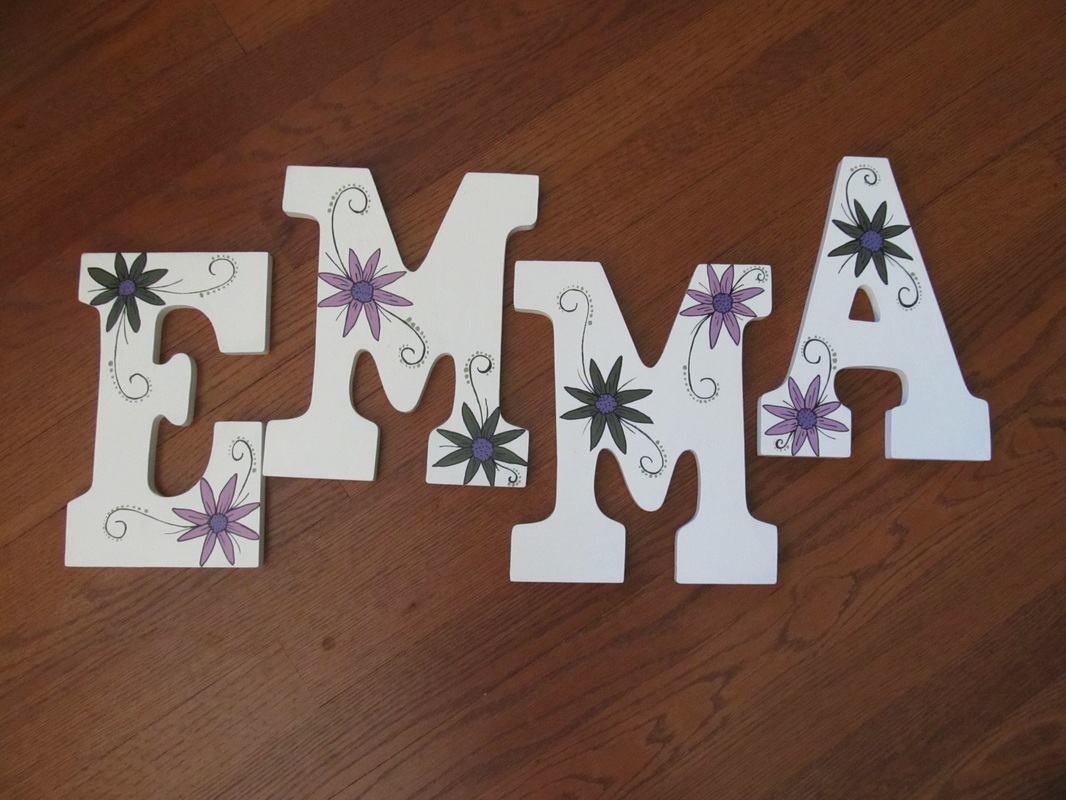
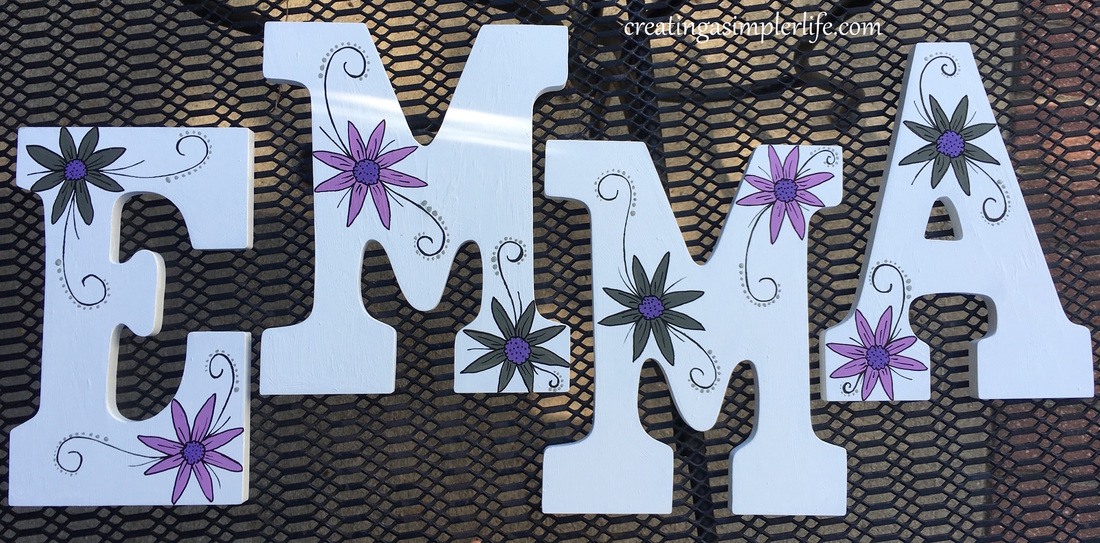
So of course when child #2 was born we needed to make more letters - fair is fair, right? So once again we got right to work on trying to match the bedding....this time it was flowers! Again, we wanted them to match just enough, but still be original and...... I think they came out pretty good!
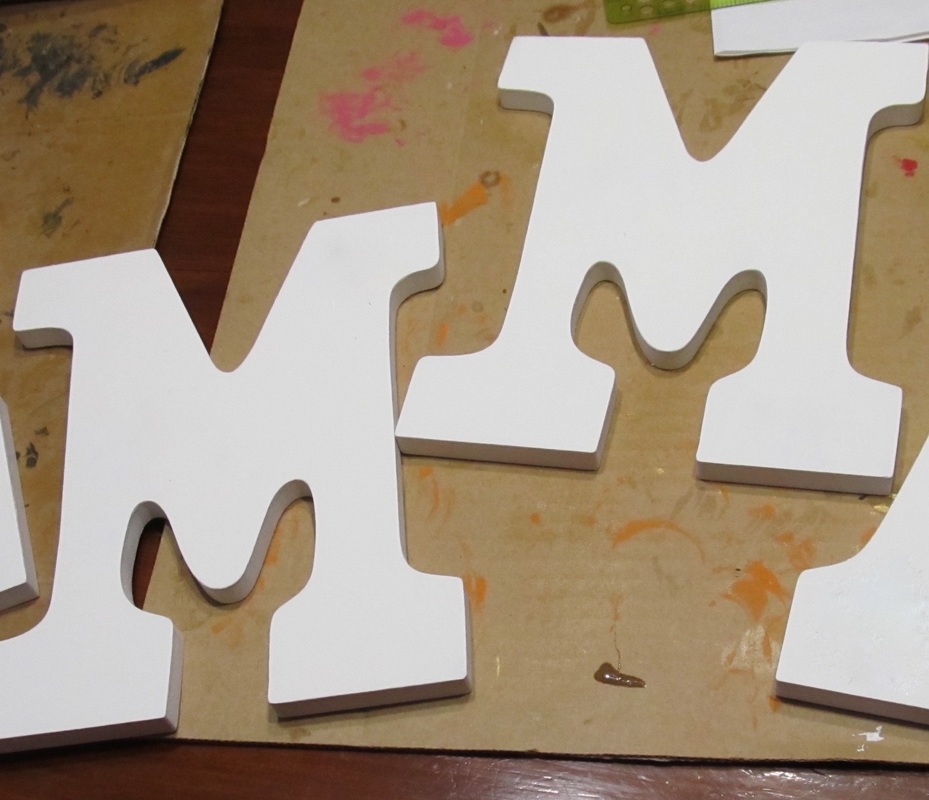
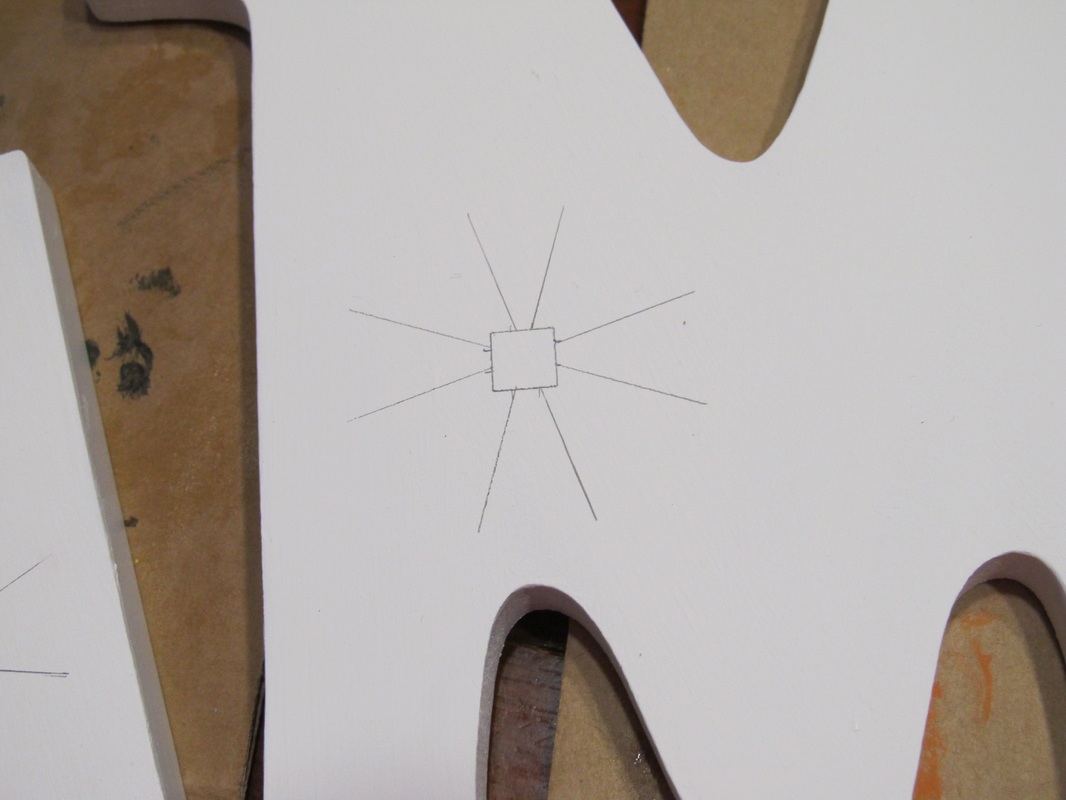
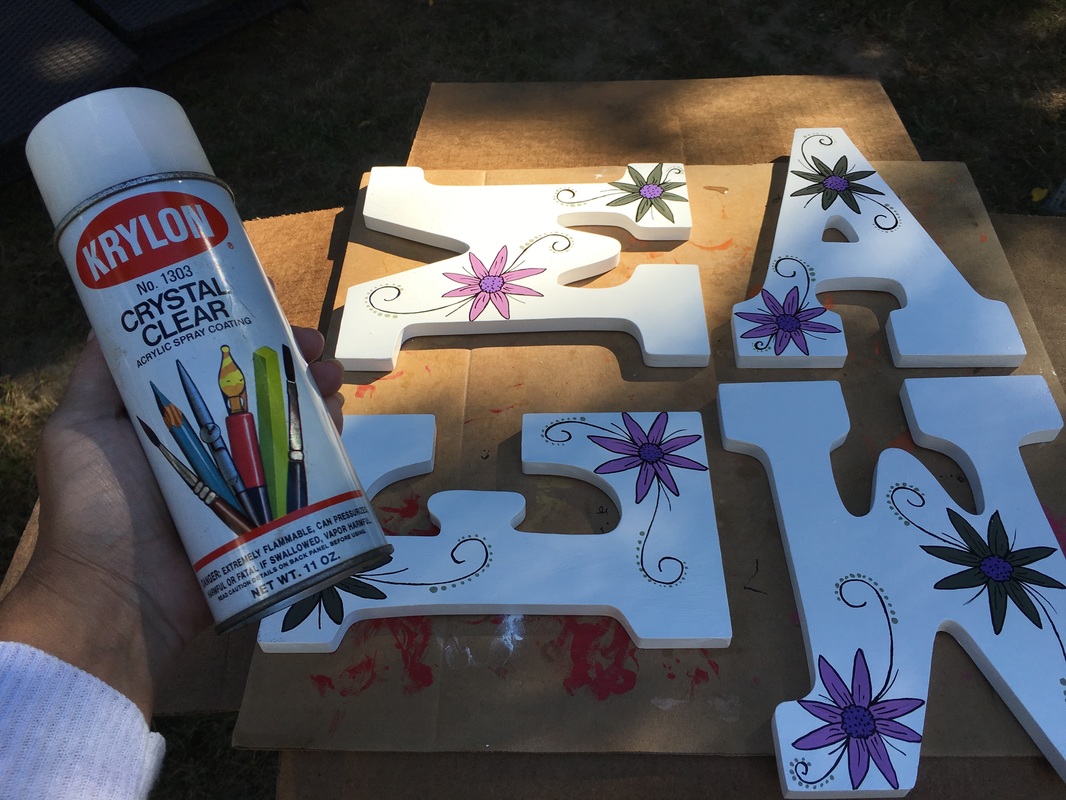
Once the colors and design are decided on, the process is really pretty simple!
Here's what we did:
Thanks for visiting!
Check out our other DIY crafts and projects on our website or on Pinterest! Sincerely,
|

Hi there! I'm Kathie, the author behind Creating A Simpler Life blog. I'm excited to share our longterm projects (and planning) toward building our future retirement homestead in the Adirondack Mountains of New York. In the meantime I will be sharing all the other little things we do that are part of creating our simpler life!
Categories
All
Archives
July 2020
|


 RSS Feed