Blog
A little bit of anything and everything that's part of
creating, enjoying, and living a simpler life!
creating, enjoying, and living a simpler life!

|
http://www.creatingasimplerlife.com
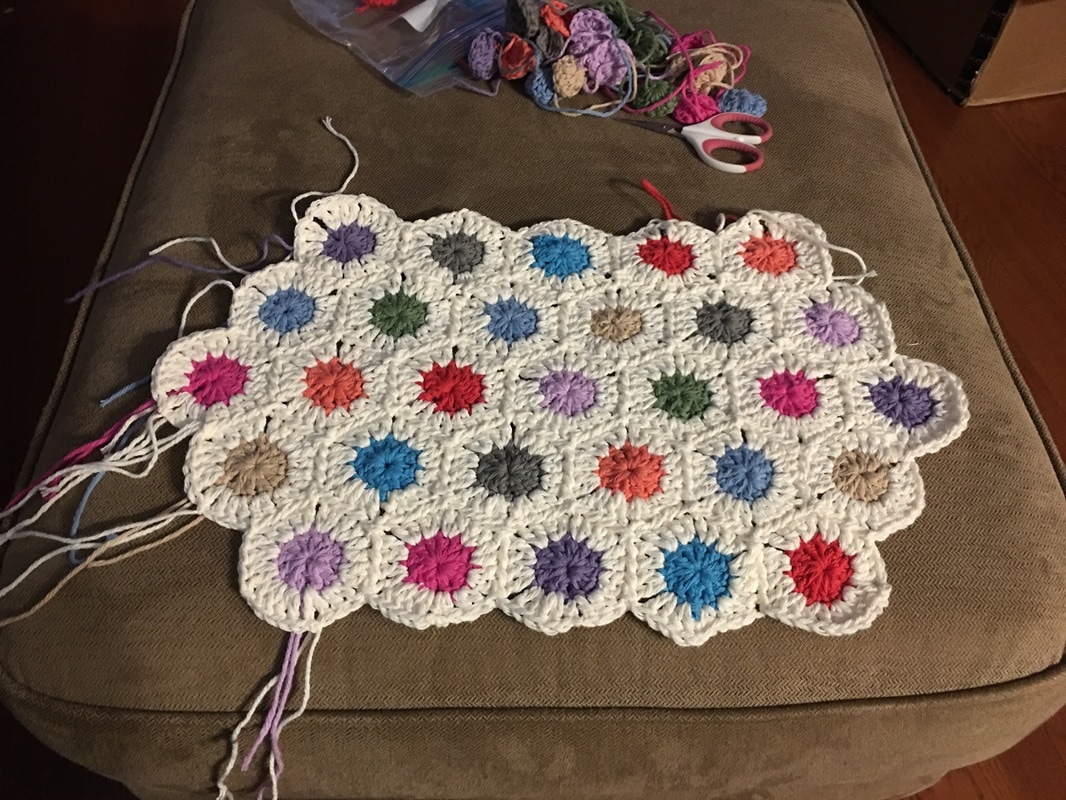
This is a great way to use up those leftover pieces of yarn that aren't big enough to do anything else with!
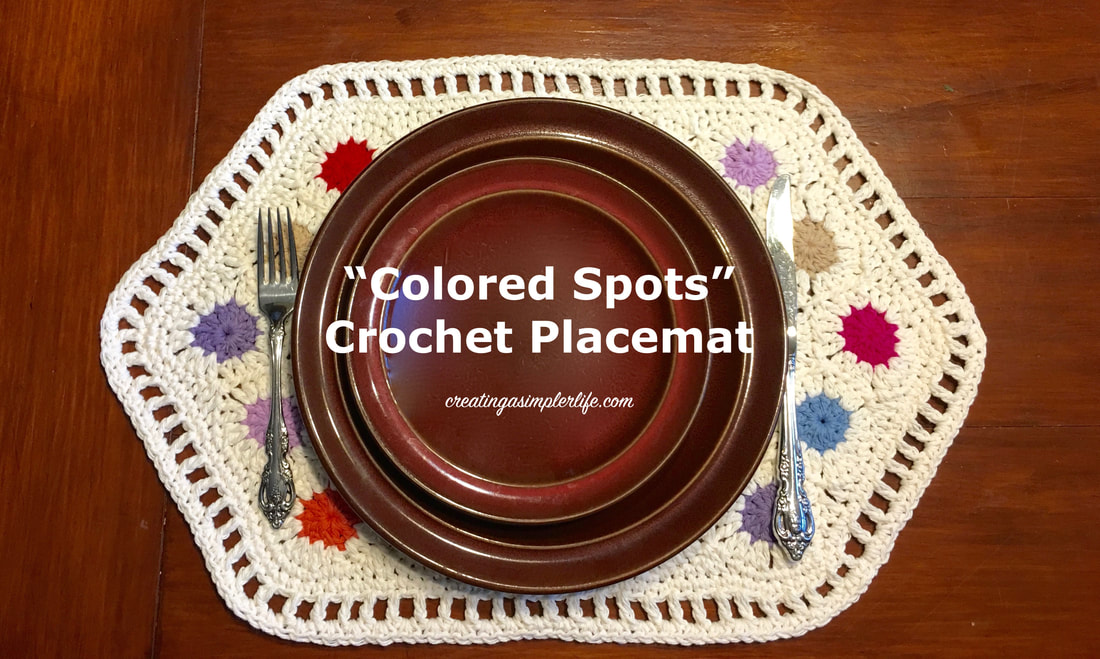
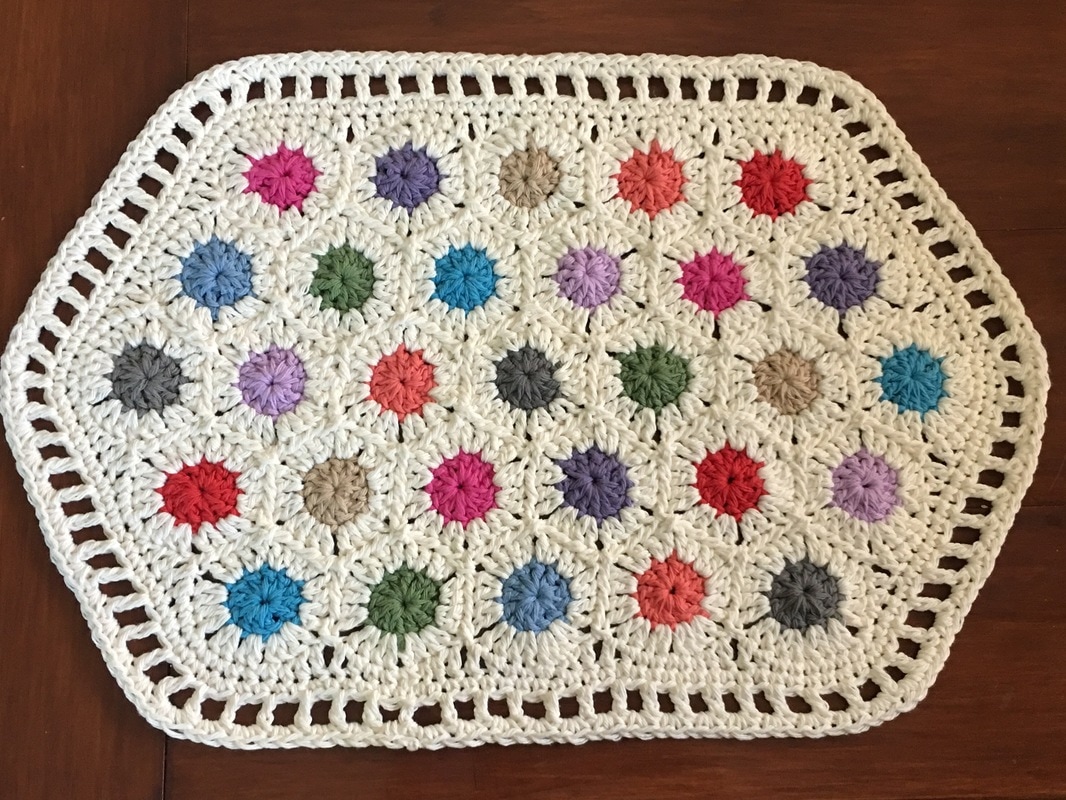
The beauty of this pattern is that the second row is basically the connecting row. There is no special connecting stitch to be done later on! I got the idea for this project from Atty's Blog Spot. She does it a little differently and she makes a blanket instead, but there are pictures that can help you get the idea if you are having any trouble. I kind of simplified the basic pattern, but it is generally the same only I make a placemat and add a border. Enjoy!
Supplies Needed:
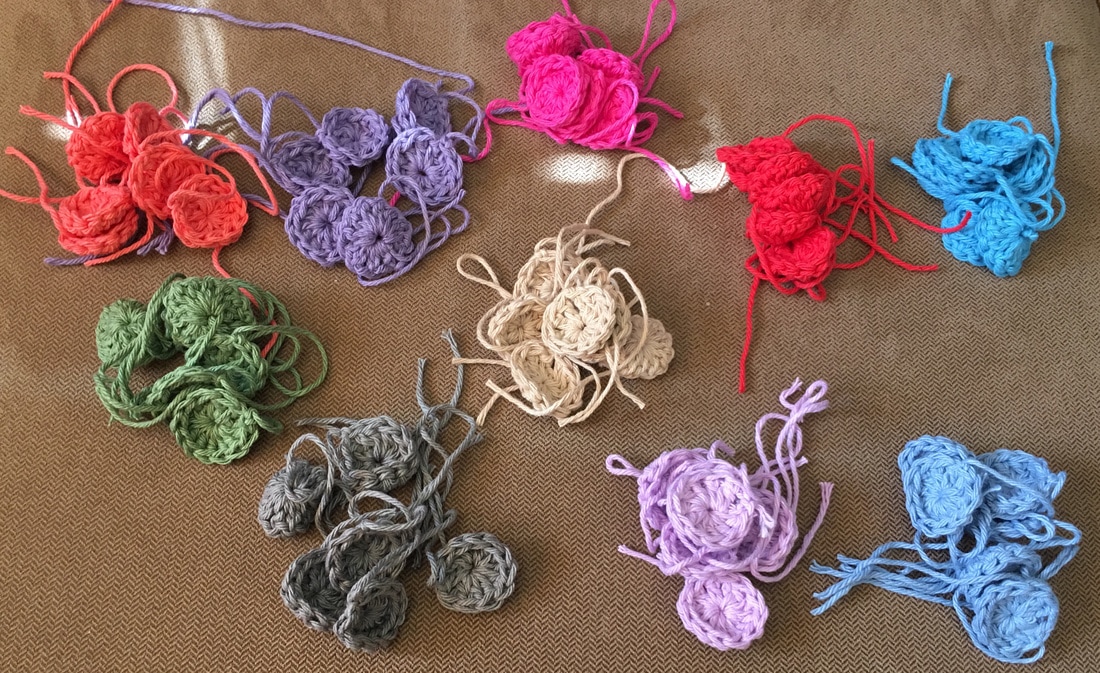
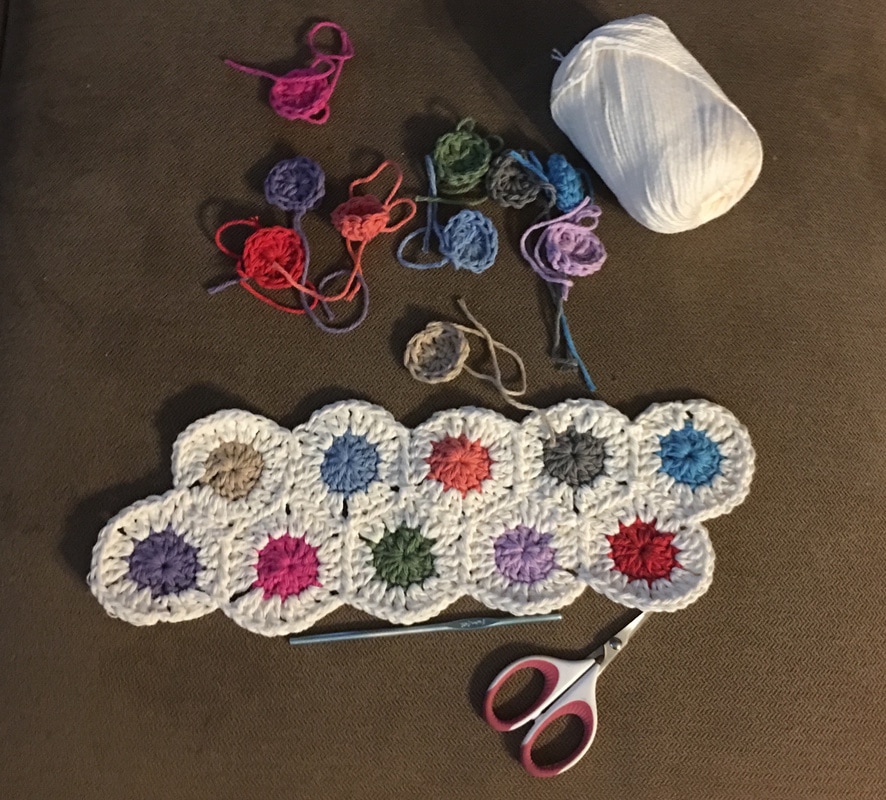
Make the Spots:
You need a total of 29 spots for each placemat Using scrap yarn...
**HINT: I just make 6 of every color this is enough to make 2 placemats with a couple left over.
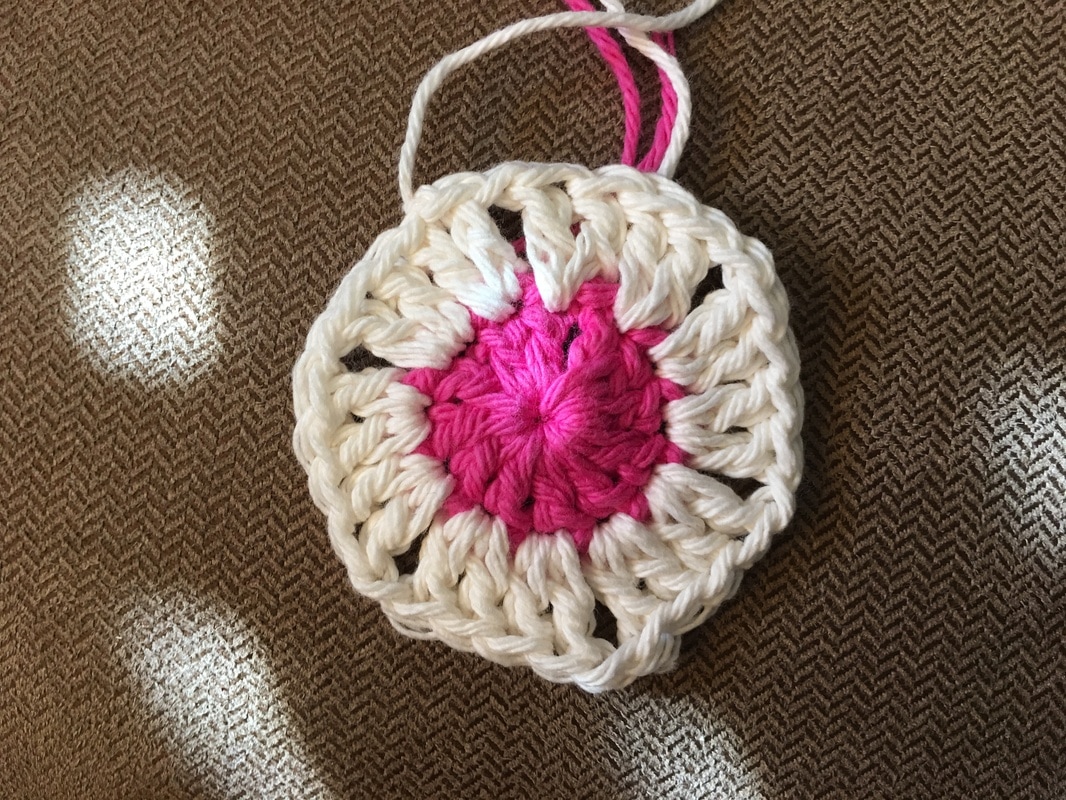
Complete First Spot:
Using your background yarn....
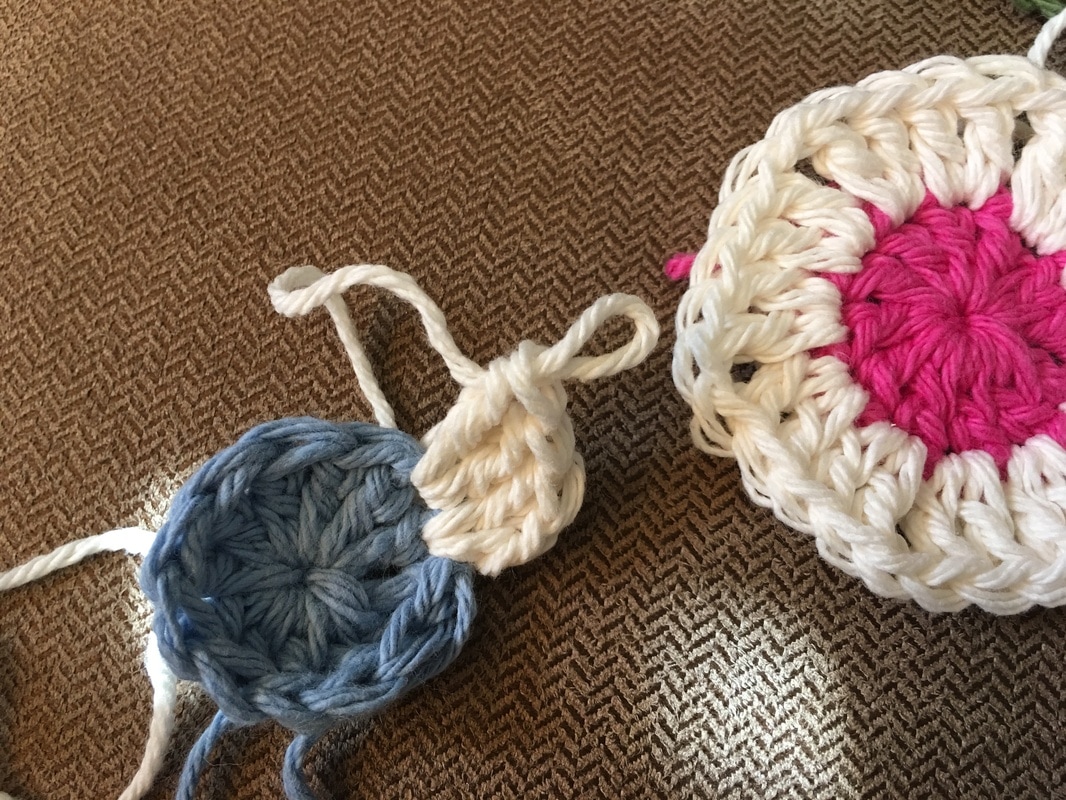
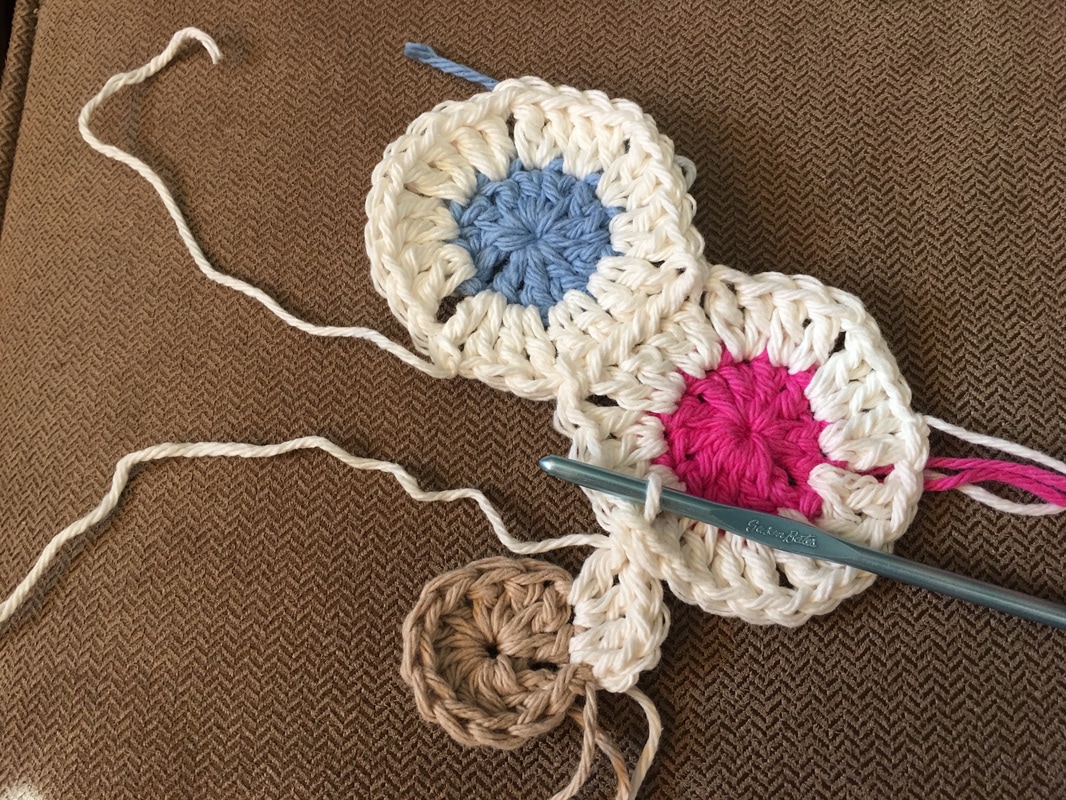
Add Second Spot:
Using background colored yarn...
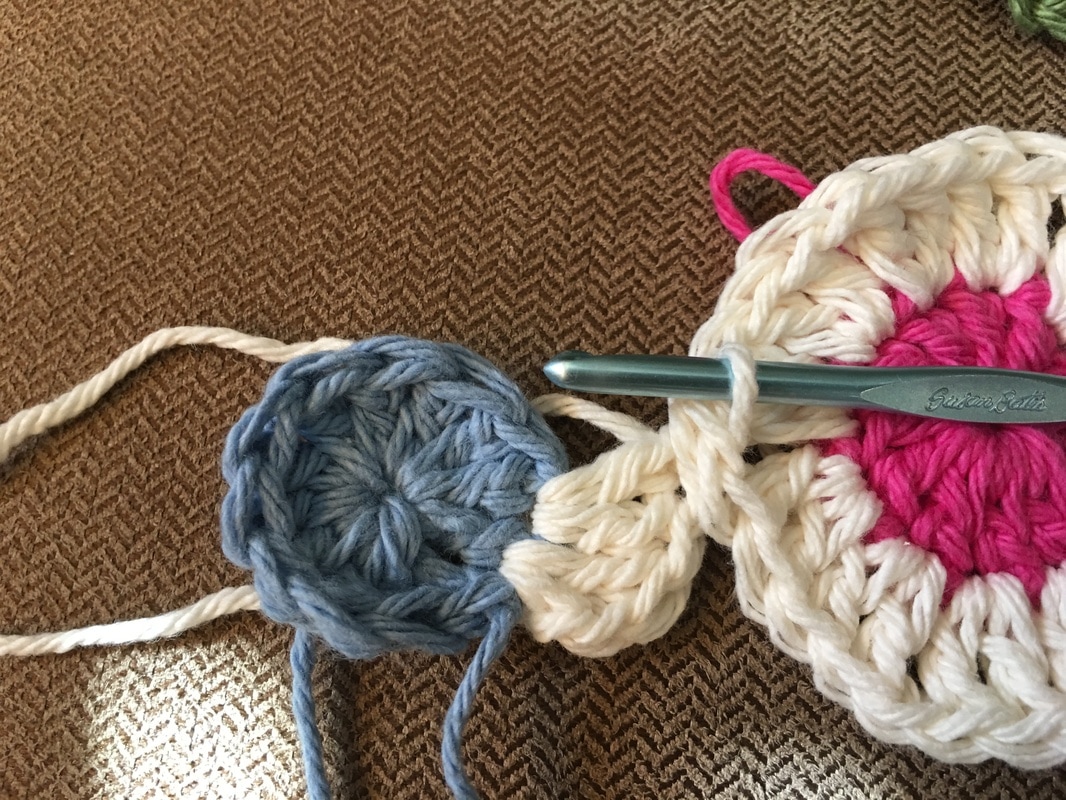
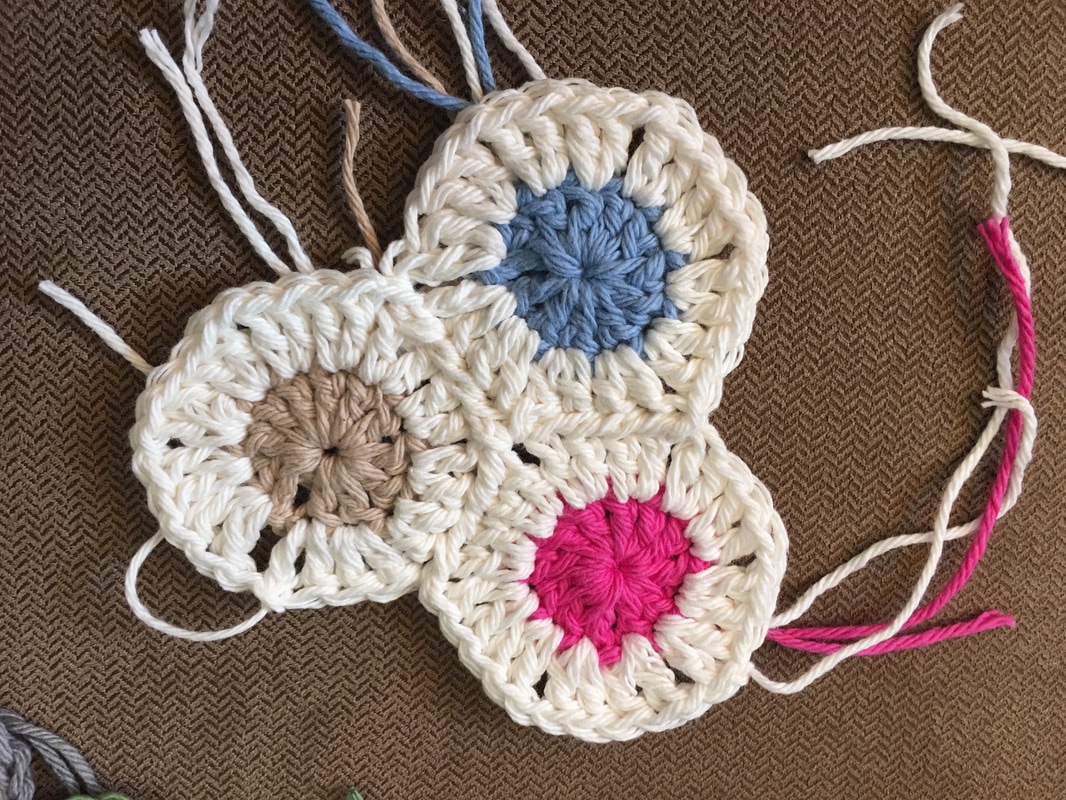
Add Third Spot:
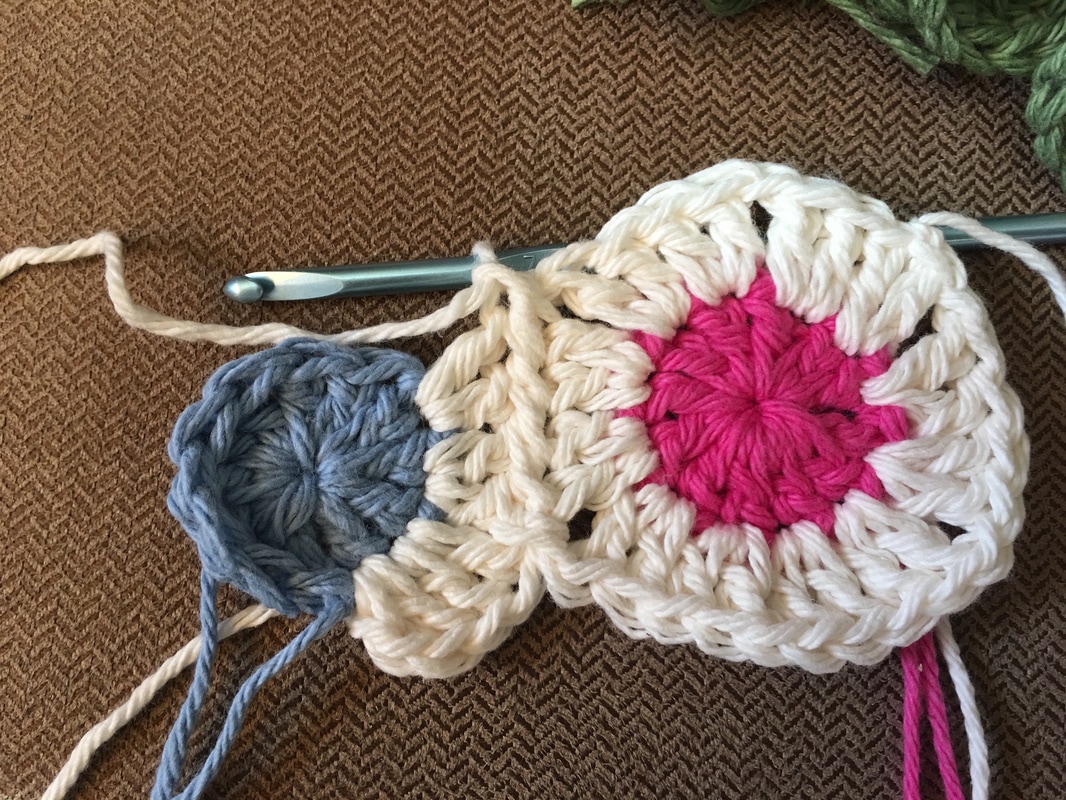
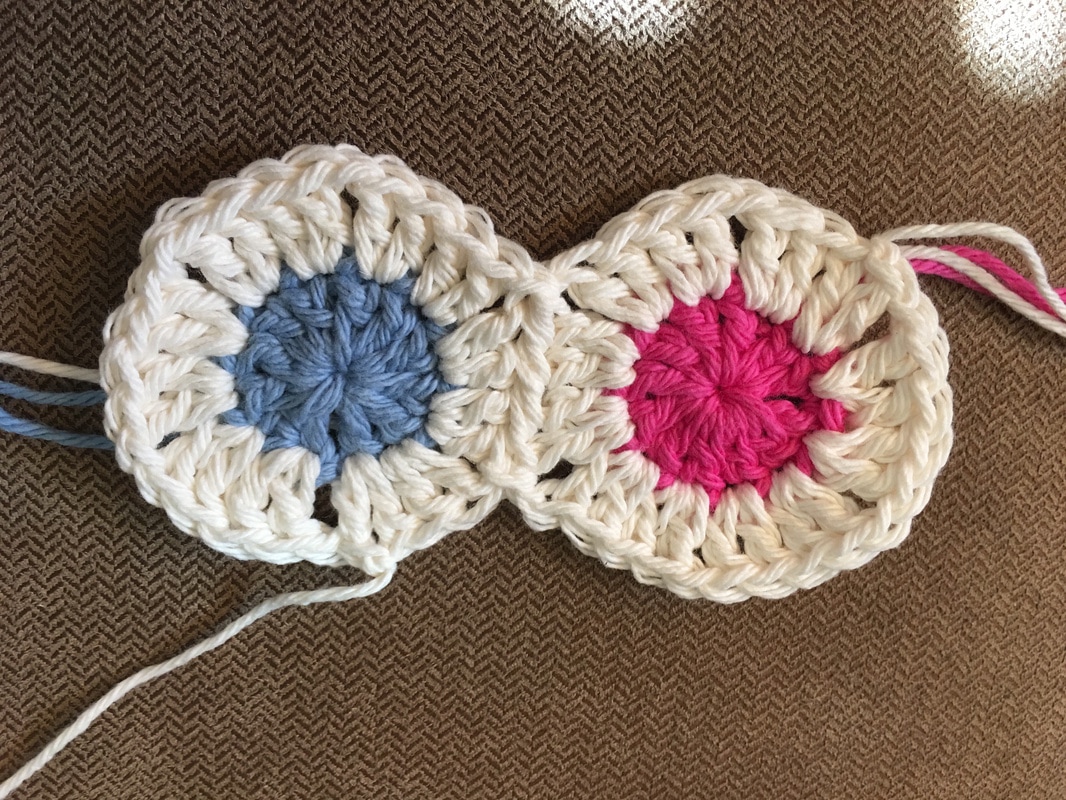
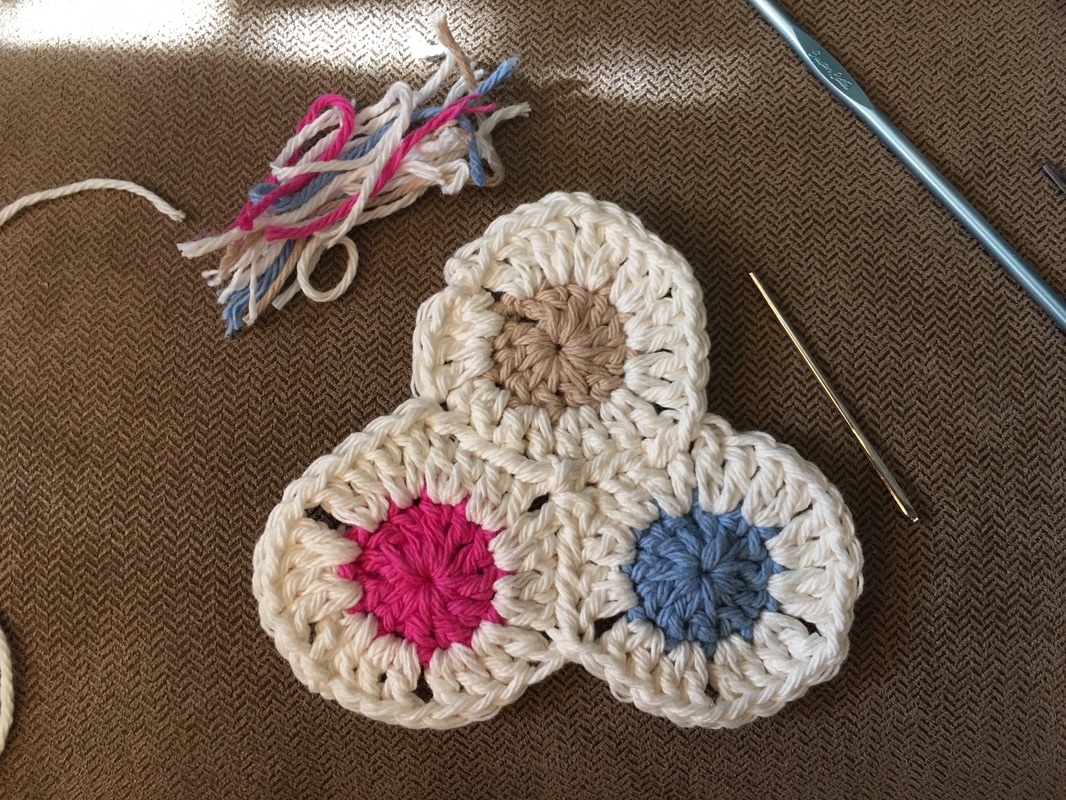
Continue to connect more spots..
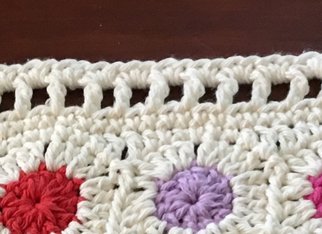
Crochet the Border:
Add the border!
It's beautiful! And it is for me...yes, I have finally made something for myself. Well, it is made with leftover scraps of yarn after all :-) How could I possibly give it away?
Thanks for visiting! Follow me on social media or sign up for e-mail to stay connected. Sincerely,
0 Comments
Leave a Reply. |

Hi there! I'm Kathie, the author behind Creating A Simpler Life blog. I'm excited to share our longterm projects (and planning) toward building our future retirement homestead in the Adirondack Mountains of New York. In the meantime I will be sharing all the other little things we do that are part of creating our simpler life!
Categories
All
Archives
July 2020
|


 RSS Feed