Blog
A little bit of anything and everything that's part of
creating, enjoying, and living a simpler life!
creating, enjoying, and living a simpler life!

|
http://www.creatingasimplerlife.com
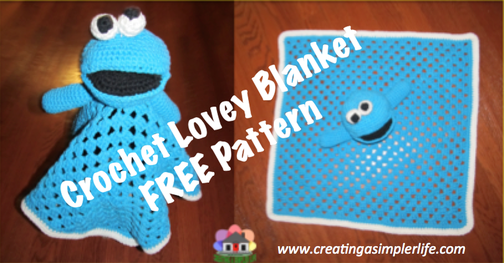 Here is the FREE Pattern I promised! Inspired by the famous Cookie Monster, this adorable 100% cotton lovey blanket is sure to please any little boy or girl! Many of you already know, but for anyone new, please note that I have poor pattern writing skills....for some reason it just never clicked with me. For this reason I supplement with links to video tutorials that can be watched on tube. However, note that the stitches are all pretty basic and if you have crochet skills you should be fine. Please remember to feel free to contact me with any questions!
 Make the Head: (I strongly suggest reading all the directions first and then watching the video tutorial if this is your first time making a ball shape).
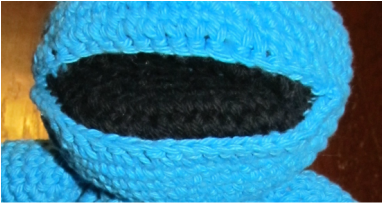
Make the Mouth:
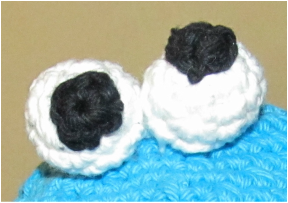
Make the Eyes:
Make the Arms:
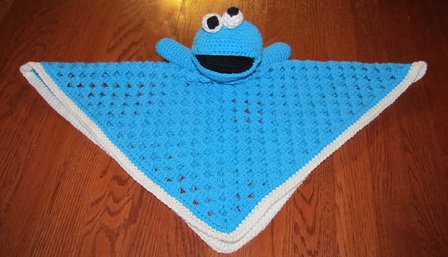 Make the Blanket: This is a basic granny square blanket with16 rows and 3 rows of single crochet around the edge. If my directions are confusing, check out this granny square video tutorial. It is slightly different, but comes out exactly the same! The final blanket is 20" x 20".
Finish the lovey blanket by weaving in all loose ends! Check out the FREE pattern for our Little Lamb Lovey Blanket too! Just click on the picture below to go to the post... 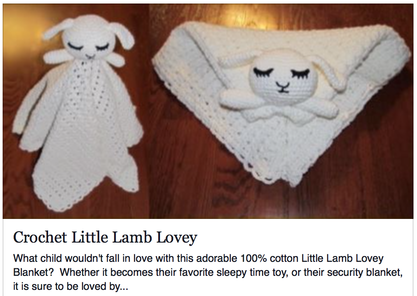 Check out the our other FREE crochet patterns here! Also check out the many crochet project patterns on our Pinterest Boards Crochet ONLY and Crochet for the Kids! Thank you for visiting. Please like and follow us :-)
0 Comments
Leave a Reply. |

Hi there! I'm Kathie, the author behind Creating A Simpler Life blog. I'm excited to share our longterm projects (and planning) toward building our future retirement homestead in the Adirondack Mountains of New York. In the meantime I will be sharing all the other little things we do that are part of creating our simpler life!
Categories
All
Archives
July 2020
|

 RSS Feed