|
http://www.creatingasimplerlife.com
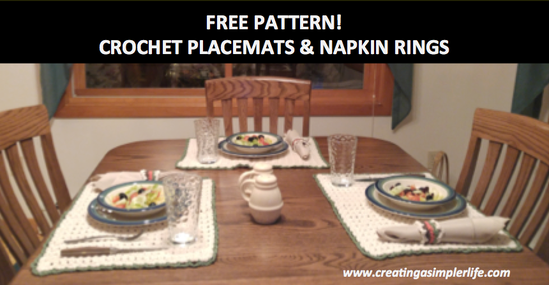
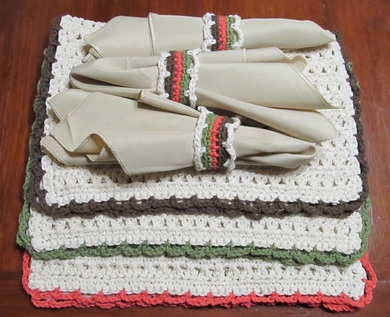
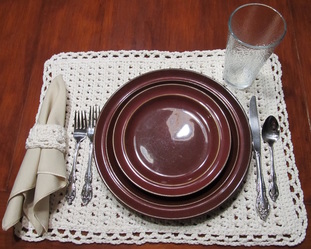
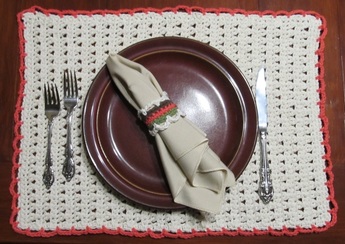
These placemats are simple to make and simple to care for! Made of 100% cotton, they can be washed and dried on the delicate cycle. Why not treat yourself to a matching set or make it as a gift for someone you love? Supplies Needed for Placemats:
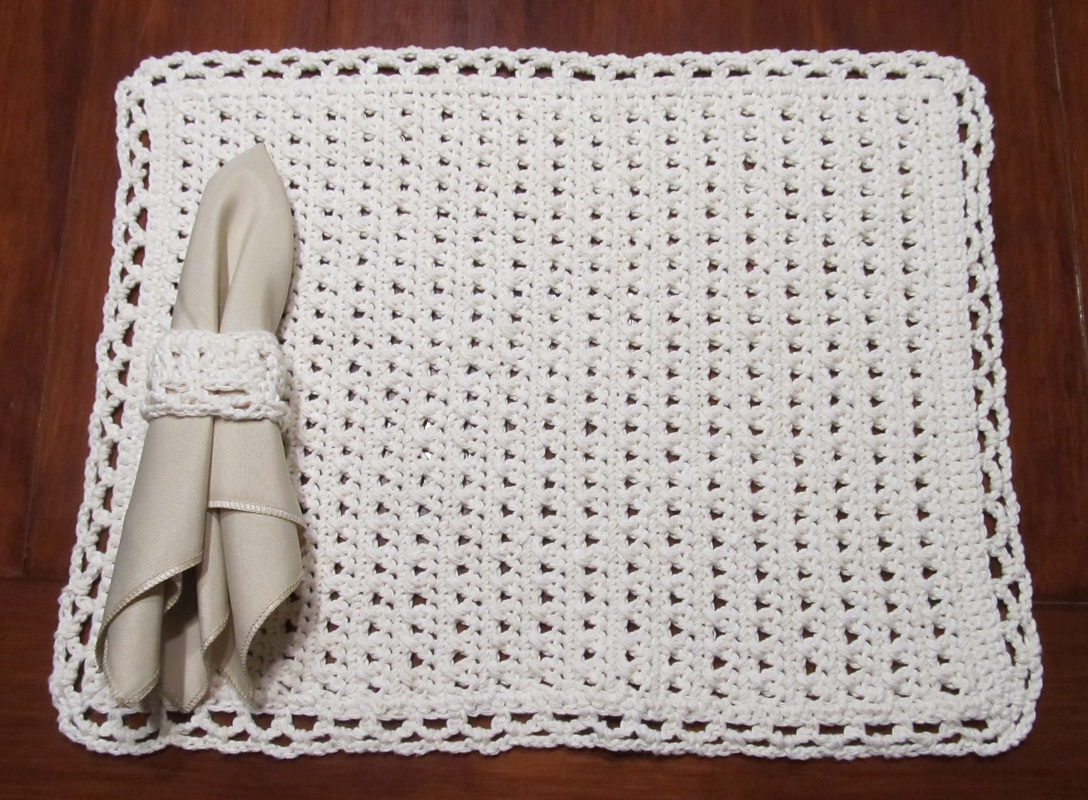
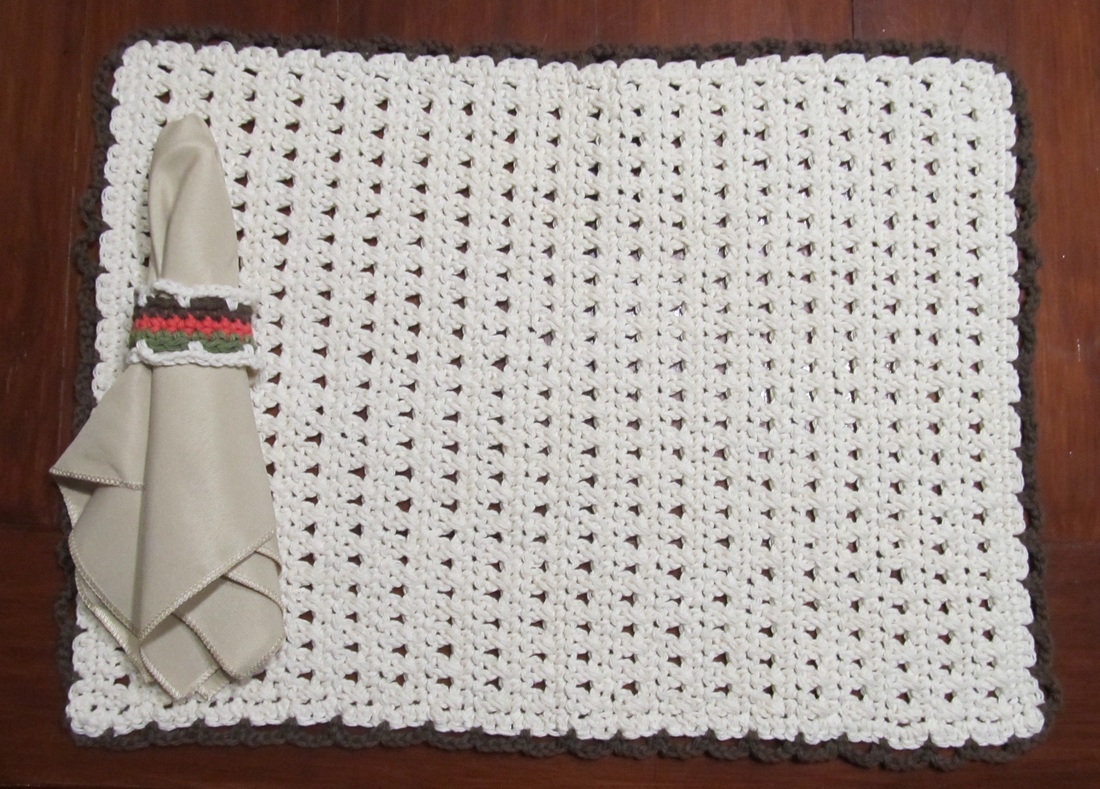
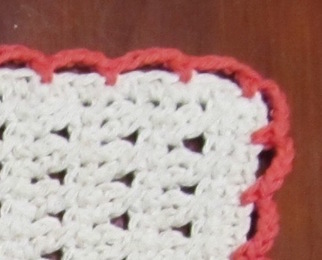
Make the Placemats: Chain 46 Row 1: single crochet in 2nd stitch from end and then in each chain accross (45 total). Row 2: chain 3 and turn work. [This is the Crossed Double Crochet shown in the video below] Double crochet in second stitch from end. Double crochet backwards into the stitch you skipped. Repeat the cross crochet to end of row and double crochet in final stitch. Row 3: chain 1 and turn. Single crochet in each stitch accross (45 total). Rows 4 - 41: Repeat the row 2/3 pattern nineteen (19) more times. Do NOT finish yet - continue on with the pattern for Border A or B (note that B is the same as A without the final row), or if you prefer, don't add any border at all! Not sure of the Cross Double Crochet? Then check this video tutorial on You Tube.
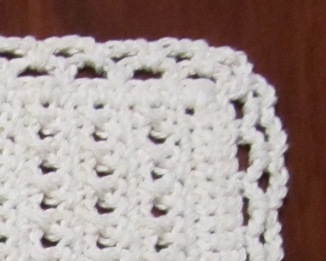
Choose A Border: If you want to add a border, note that Border B is the same as border A without the 3rd row! Border A: Row 1: single crochet accross the side, do 3 single crochet in the corner, single crochet accross bottom, 3 sc in corner, sc across other side, 3 sc in corner, sc accross top, slip stitch connect and chain 1 in corner. Row 2: single crochet in corner, chain 4, skip two stitches and sc into third. Continue pattern all the way around. Be sure to single crochet into the middle stitch at each corner. Slip stitch to connect when done. Row 3: single crochet into corner, chain 3, sc into loop of 4 stitches, chain 3 single crochet into next loop, and continue pattern to corner, sc into middle corner stitch, chain three and repeat pattern all the way around. Slip stitch to finish. Border B: Do Row 1 in the same color as the placemat as per instructions for Border A. Row 2: change color and follow same instructions as for Border A but end after row 2 (so skip row 3). Slip stitch to finish off and weave all loose ends.
Make the Napkin Rings: Supplies Needed:
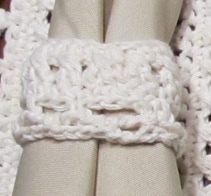
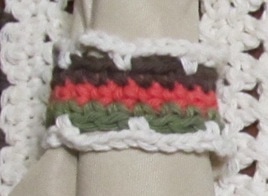
Directions For Napkin Ring A: Crochet 19 chains and connect into a circle with a slip stitch. Row 1: one single crochet (sc) in each stitch around for a total of 19. Row 2: Double crochet the cross stitch as follows (same as in the placemat pattern) - chain 3, skip 1 stitch and dc in next (2 from chain), go back and dc in the skipped stitch, then skip one again and dc in next stitch etc. Continue all the way around. Row 3: sc in each stitch around. Row 4: chain 4, skip two stitches and sc into third. Continue pattern all the way around. Slip stitch to connect when done. Row 5: chain 3, sc into loop of 4 stitches, chain 3 single crochet into next loop, and continue around. Slip stitch to finish and weave all loose ends in. Directions For Napkin Ring B: Crochet 19 chains and connect into a circle with a slip stitch. Row 1: chain one and do one single crochet in each stitch around (total 19). Connect with slip stitch. Rows 2-3: repeat row one changing colors after each row as desired. Border: using the same or a different color, single crochet in any stitch to begin, then chain 4, skip 2 and single crochet into third stitch from hook. Repeat the pattern all the way around. Slip stitch to connect to first single crochet and finish off. Repeat the same border on the opposite side of the napkin ring (so the top and bottom with have the border). Weave all loose ends. Please contact me through e-mail or on my Facebook page if you have any questions! Check out our Crochet Page for other FREE patterns! Thank you for visiting :-)
Comments are closed.
|
Hi there! I'm Kathie, the author behind Creating A Simpler Life blog. I'm excited to share our longterm projects (and planning) toward building our future retirement homestead in the Adirondack Mountains of New York. In the meantime I will be sharing all the other little things we do that are part of creating our simpler life!
Categories
All
Archives
July 2020
|



 RSS Feed