CREATING A SIMPLER LIFE OFF GRID
  • Home/About
    • MINIMIZING >
      • Home Size
      • Room by Room
      • Get Organized
      • Household Waste
    • MINIMIZE DEBT, MAXIMIZE SAVINGS >
      • Bills & Other Debt
      • Saving Money
      • Shopping Tips
      • Affordable Fun
    • BACKYARD CHICKENS >
      • The Coop
      • The Chickens
      • Feeding the Chickens
      • Fresh Eggs
    • HOME GARDENING >
      • Building the Garden
      • What We Grow
      • Seeds, Weeds, & More
      • Preservation & Storage
    • DO-IT-YOURSELF >
      • Health & Wellness
      • Simple Cleaning & Tips
      • Crafts & More!
      • Printables
    • CROCHET >
      • IDEAS & MORE
      • VIDEO TUTORIALS
    • Blog
  • HOMESTEAD
    • The 5 Year Plan PLUS! >
      • 2017
      • 2018
      • 2019
      • 2020
      • 2021
      • 2022
    • WHY AN EARTH SHELTERED HOUSE?
    • OFF GRID TINY TRAILER
    • BUILD VIDEOS IN ORDER
    • HOMESTEAD MACHINERY >
      • GENERATORS
      • KUBOTA TRACTOR
      • ATV'S & UTV'S
      • WOOD CHIPPER
      • CHAINSAWS
      • LOG SPLITTER
      • POWER TOOLS
      • SNOWMOBILES
      • AUTOMOBILES
    • BUDGETING THE BUILD
    • SUSTAINABILITY >
      • WATER
      • FOOD
      • SHELTER
      • ENERGY >
        • SOLAR POWER
    • The Adirondacks >
      • Wildlife & Nature
      • Insects & Bugs
      • Things to Do
      • Water Fun
    • ADIRONDACK CRAFTS
  • VLOG
    • 2023
    • 2022
    • 2021

Blog

A little bit of anything and everything that's part of
​creating, enjoying, and living a simpler life!
Picture
http://www.creatingasimplerlife.com

DIY RASPBERRY JELLY

8/29/2015

0 Comments

 
Picture
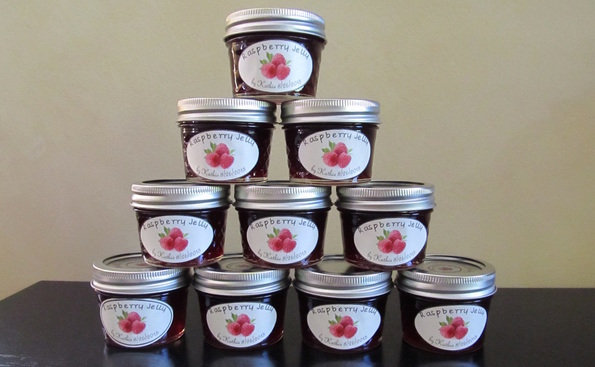
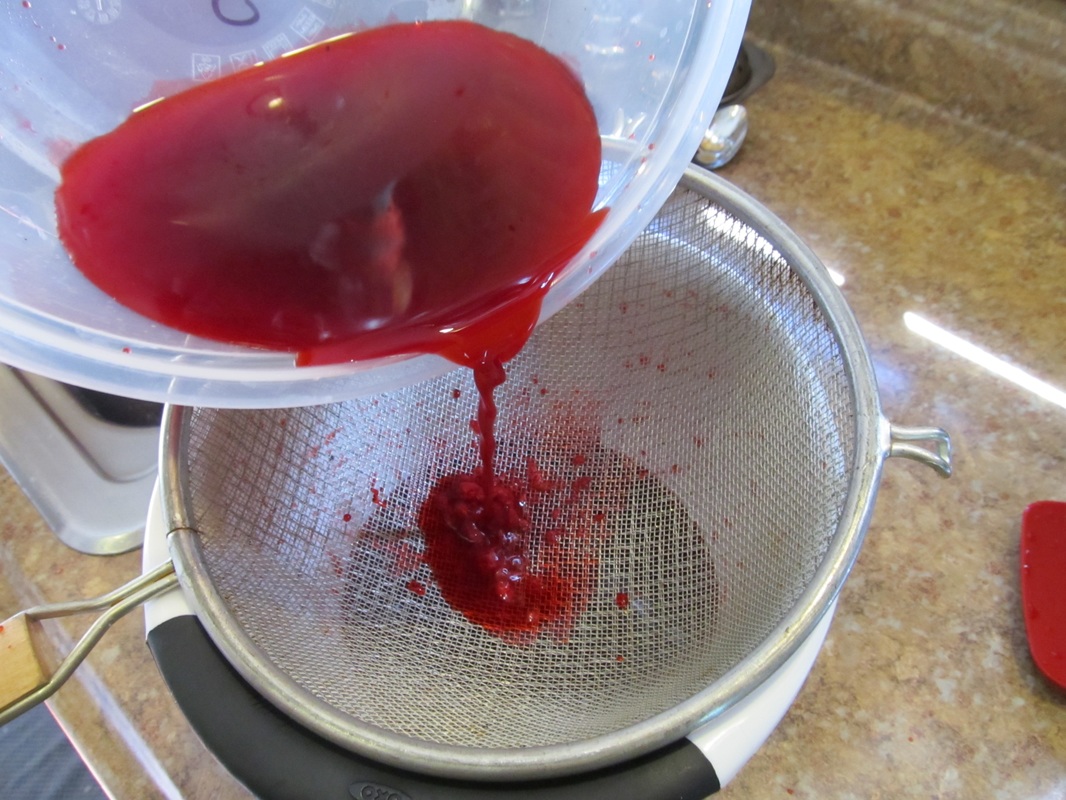
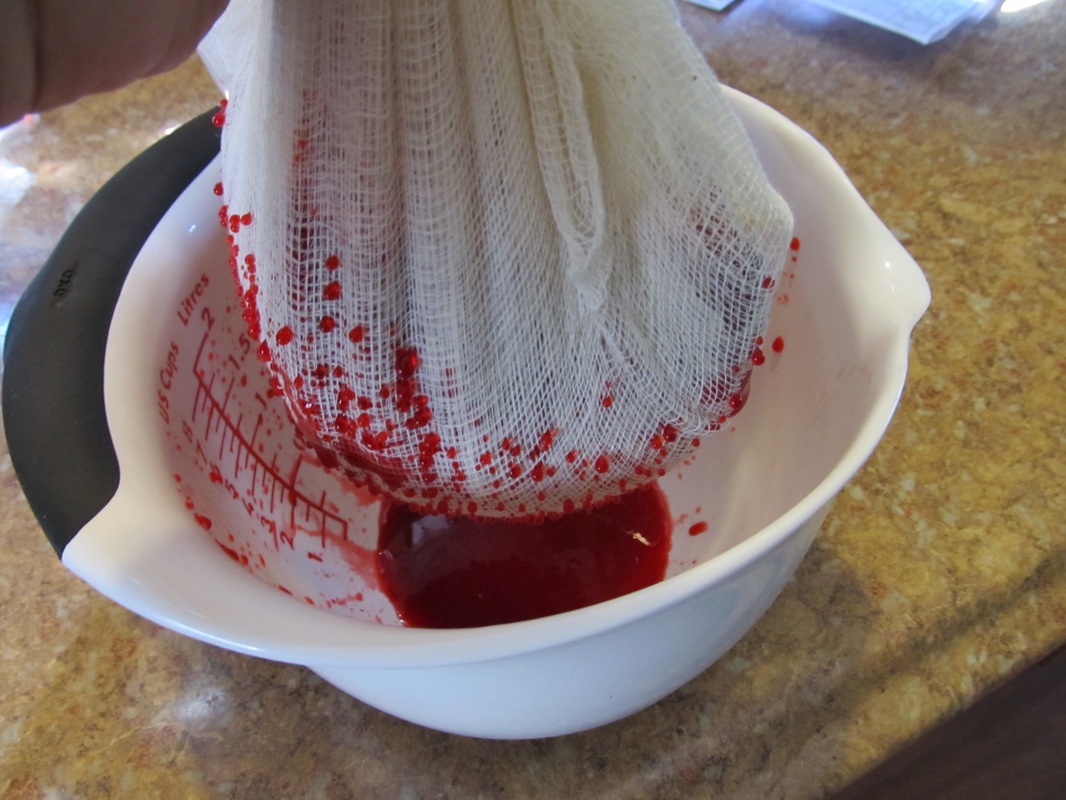
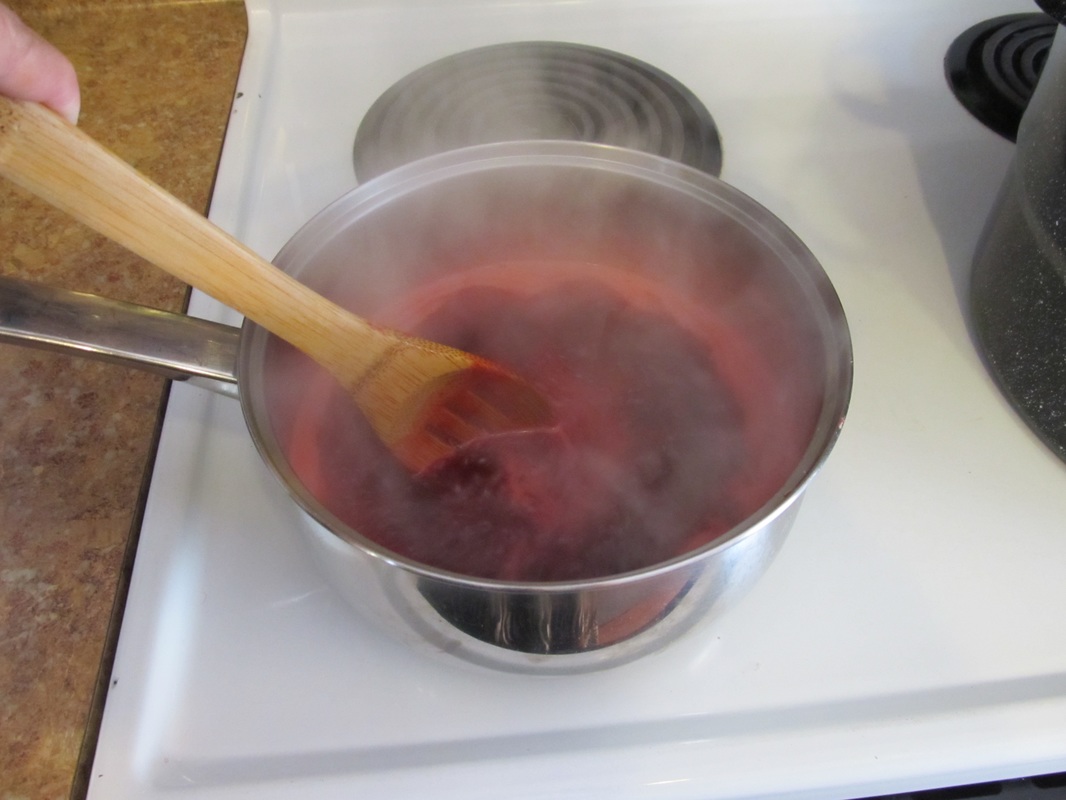
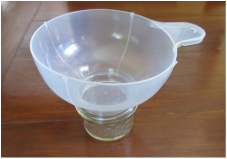
Making homemade jelly is something that has been on my to-do list for so long it is not even funny.  Years ago I made an attempt to can pickled cauliflower and it was an epic failure so I was not in any rush to give canning another try. Until now that is, and finally, SUCCESS!  I made homemade raspberry jelly using my very own homegrown raspberries (See Grow Your Own Raspberries) that I had stored in the freezer (See Freezing Raspberries) until I was ready. What could be better than that?

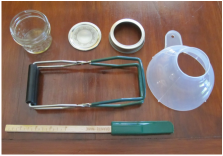
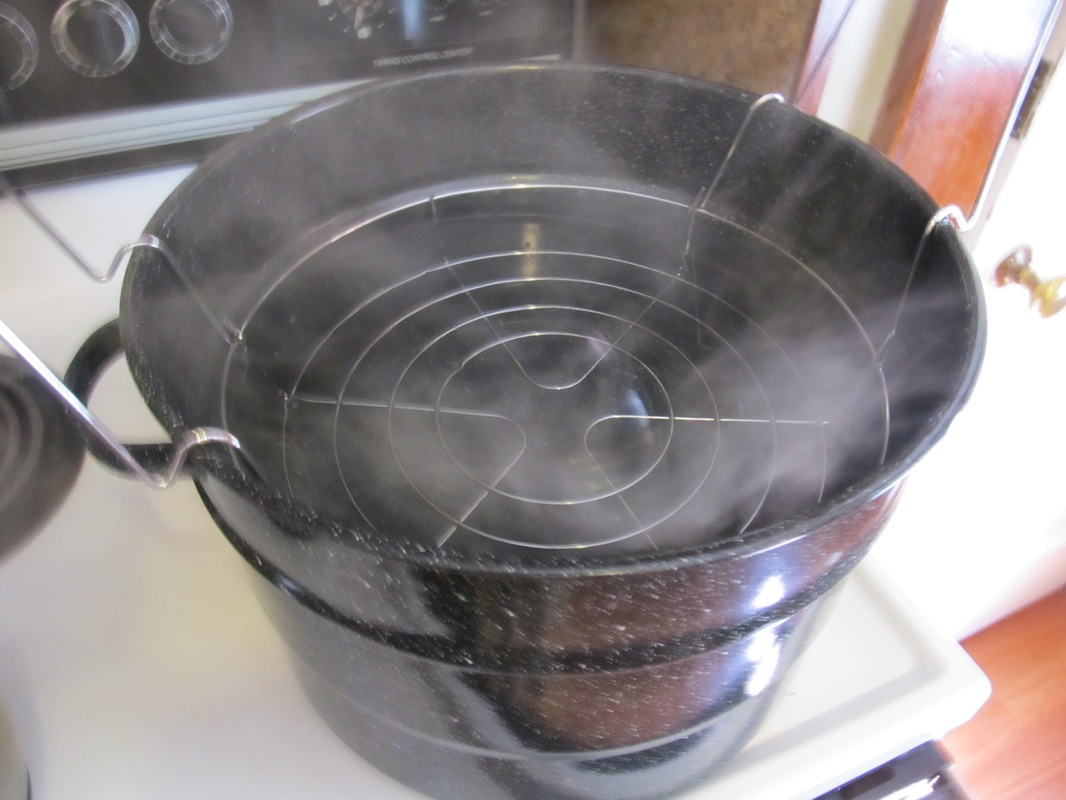
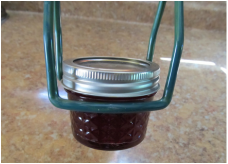
Thank you to Simply Canning for their excellent water bath canning instructions!  The information they shared was extremely helpful :-)

Check out the FREE Printable Jelly Jar Labels below!


Canning Jelly
Supplies Needed
  • Canning Pot with rack
  • Canning tools (small plastic spatula, funnel, jar grabber)
  • Large Pot
  • Small Pot
  • Medium Pot
  • Ladle
  • Wooden Spoon
  • Towel
  • Paper Towels
  • Ten 4 ounce jars with lids and rims
  • Cheesecloth
  • Bowls
  • Potato Masher
  • Fine Mesh Colander
Ingredients Needed
  • 3 tablespoons Ball Classic Pectin
  • 4 - 5 Pints Raspberries (2 2/3 cups raspberry juice)
  • 3 cups Sugar

Picture
Picture
Picture
Picture
Picture
Picture
Picture
Picture
Picture
Instructions:
  1. Wash jars and lids thoroughly (no need to sterilize since they will be processed 10 min).
  2. Press berries in bowl using a potato masher and then use colander to strain juice into another bowl.
  3. Add remaining berries to center of squared cheesecloth and close securely.  Gently squeeze out the berry juice into the bowl. This takes time. Check out How to Strain Seeds From Juice When Making Jelly (I actually added water to the remaining pulp and gave it to my chickens. They loved it!).
  4. Measure the exact amount of juice you end up with.  You need at least 2 2/3 c.  If you are a little low, then just add a little water or squeeze some more from the pulp.  If you have too much you can just take some out and use it to make something else (check out Raspberry Sauce Recipe).
  5. Add juice to medium sauce pot and set aside.
  6. Add 6-7" of water to canning pot and turn on high heat so it will come to a boil (it takes a while).
  7. Add 2" of water to large pot and bring to a boil.  Remove from heat and place jars in open end facing down to heat them up and keep them hot (As the water cools they will jump around a little bit.).
  8. Add water to the small pot and bring to a boil.  Remove from heat and add lids (not rims) to keep them hot.
  9. Have 3 cups of sugar in container ready to add when needed.
  10. Have the 3 tablespoons of pectin ready as well.
  11. On high heat slowly stir the 3 tablespoons of pectin a very little bit at a time into the raspberry juice. Bring it to a rolling boil stirring constantly (a boil that no matter how much you stir it it will not stop).
  12. Add sugar all at once stirring continuously until it dissolves. Then bring to a rolling boil again stirring constantly. Continue stirring at a rolling boil for one full minute and then remove from heat. 
  13. Fill one jar at a time as follows:  Using funnel and ladle, fill jar so there is 1/4" headspace at top.  Run a small plastic spatula around the inside wall of the jar to release any trapped air.  Wipe the rim of the jar with a paper towel. Put the lid on then screw the rim on to finger tightness.  Place on rack in canning pot so that none of the jars are touching each other (the rack should be raised so that it is hanging on the side of the pot).  
  14. When all 10 jars are done, lower the rack into the boiling water and cover the pot.  The water should be at a rolling boil for a full 10 minutes.  If the water is not at a full rolling boil, do not start timing the 10 minutes until it is. 
  15. When the 10 minutes is up, remove the cover and turn off the heat.  Allow to sit for 5 minutes.
  16. After 5 minutes, raise the rack and slowly remove each jar using the jar grabbing tool.  Place each jar gently on a towel (this could be on a tray) in a location where it will be allowed to sit for 24 hours.  
  17. Within a very short period of time you should hear a quick short 'pop' noise from each lid. This is good!  As the 1/4 inch headspace of air starts to cool it contracts and this is what pulls the lid in really tight to make the seal! Hence the 'pop' sound.
  18. After 24 hours, test the seal of each lid by pushing down on it.  If it pops back up, it is not sealed. You can keep it in the refrigerator and eat the jelly within one month.  If the seal is good, the jelly will last in a dark cool location for up to 1 year.
Jelly not fully set?
Jelly is a little runny (doesn't fully set):  Depending upon how 'runny' it is you can choose to do different things.  If it's not too runny you can try putting it in the refrigerator and see if this helps it to set.  If so, great, nothing else to do.  If it doesn't set after that and you are not ok with calling it and using it as a jelly the way it is, you can either use it as a sauce (like for pancakes) or re-process it using more pectin.  Just know that there is nothing wrong with it even if it is runny.  It is completely edible and will last just as long as 'set' jelly if the seals are good!

For other questions, concerns or problems check out the wealth of information available at 
The National Center For Home Food Preservation.
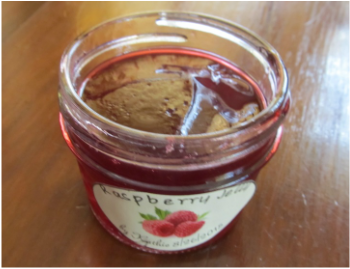
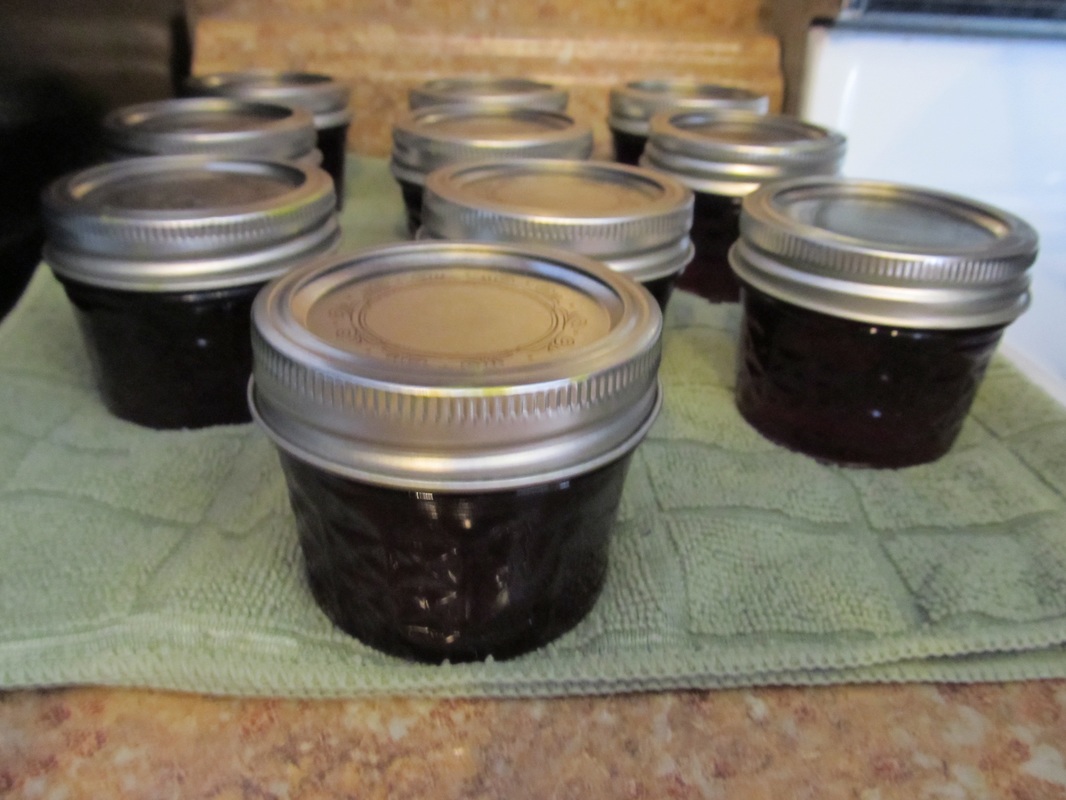
Picture
YUMMY!
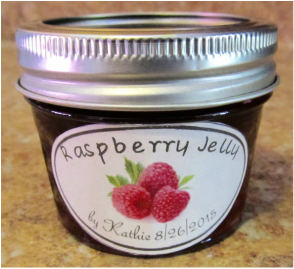
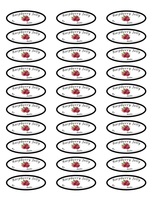
Free 4 ounce Jar Printable labels! 
This is a pdf file that is designed to be used with Avery White Address Labels 5160/8160 size 1" x 2 5/8".
Print a full sheet of labels, write in your name and the date, and choose to cut it out on the line or not!
Click on the picture or button below to download the pdf file.
Picture
Full Sheet of Labels
Picture
Example of One Label
click here to download raspberry jelly labels in pdf format!

Click here for FREE printable 4 x 6 recipe card!

Check out my post  Grow Your Own Raspberries!
Check out my post  Freezing Raspberries!
Picture
Check out the Graniteware Canning Kit that I bought, used, and now vouch for by clicking the picture or link! (affiliate link).
Please like us on Facebook, follow us on Pinterest and Instagram, and sign up to be on our Mailing List so you never miss a post!  Thank  you for your support :-)
0 Comments


Leave a Reply.

    Picture
    Hi there! I'm Kathie, the author behind Creating A Simpler Life blog. I'm excited to share our longterm projects (and planning) toward building our future retirement homestead in the Adirondack Mountains of New York. In the meantime I will be sharing all the other little things we do that are part of creating our simpler life!
    Creating a Simpler Life

    RSS Feed

    Visit Creating A Simpler Life's profile on Pinterest.

    Categories

    All
    Adirondack Crafts
    Chickens
    Conservation
    Crochet
    Do It Yourself
    Energy Savings
    Essential-oils
    Essential-oils
    Food-storage-preservation
    Food-storage-preservation
    Gardening
    Health
    Health-wellness
    Health-wellness
    Homemade-remedies
    Homemade-remedies
    Homesteading
    Homesteading Dreams
    Inexpensive Fun
    Minimizing
    Organization
    Products We Sell
    Recipes
    Recycling
    Saving-money
    Saving-money
    Shopping
    Wedding & Shower DIY

    Archives

    July 2020
    June 2020
    April 2020
    March 2020
    March 2019
    January 2019
    December 2018
    October 2018
    August 2018
    July 2018
    June 2018
    April 2018
    March 2018
    February 2018
    January 2018
    November 2017
    October 2017
    September 2017
    August 2017
    July 2017
    June 2017
    May 2017
    April 2017
    March 2017
    February 2017
    January 2017
    December 2016
    November 2016
    October 2016
    September 2016
    August 2016
    July 2016
    June 2016
    May 2016
    April 2016
    March 2016
    February 2016
    January 2016
    December 2015
    November 2015
    October 2015
    September 2015
    August 2015
    July 2015
    June 2015

mrandmrscorbi@gmail.com
Contact Us - Privacy Policy - Disclaimer
Copyright 2022©Creating A Simpler Life, Inc. All rights reserved. Reproduction in whole or in part without permission is prohibited.
  • Home/About
    • MINIMIZING >
      • Home Size
      • Room by Room
      • Get Organized
      • Household Waste
    • MINIMIZE DEBT, MAXIMIZE SAVINGS >
      • Bills & Other Debt
      • Saving Money
      • Shopping Tips
      • Affordable Fun
    • BACKYARD CHICKENS >
      • The Coop
      • The Chickens
      • Feeding the Chickens
      • Fresh Eggs
    • HOME GARDENING >
      • Building the Garden
      • What We Grow
      • Seeds, Weeds, & More
      • Preservation & Storage
    • DO-IT-YOURSELF >
      • Health & Wellness
      • Simple Cleaning & Tips
      • Crafts & More!
      • Printables
    • CROCHET >
      • IDEAS & MORE
      • VIDEO TUTORIALS
    • Blog
  • HOMESTEAD
    • The 5 Year Plan PLUS! >
      • 2017
      • 2018
      • 2019
      • 2020
      • 2021
      • 2022
    • WHY AN EARTH SHELTERED HOUSE?
    • OFF GRID TINY TRAILER
    • BUILD VIDEOS IN ORDER
    • HOMESTEAD MACHINERY >
      • GENERATORS
      • KUBOTA TRACTOR
      • ATV'S & UTV'S
      • WOOD CHIPPER
      • CHAINSAWS
      • LOG SPLITTER
      • POWER TOOLS
      • SNOWMOBILES
      • AUTOMOBILES
    • BUDGETING THE BUILD
    • SUSTAINABILITY >
      • WATER
      • FOOD
      • SHELTER
      • ENERGY >
        • SOLAR POWER
    • The Adirondacks >
      • Wildlife & Nature
      • Insects & Bugs
      • Things to Do
      • Water Fun
    • ADIRONDACK CRAFTS
  • VLOG
    • 2023
    • 2022
    • 2021