Blog
A little bit of anything and everything that's part of
creating, enjoying, and living a simpler life!
creating, enjoying, and living a simpler life!

|
http://www.creatingasimplerlife.com
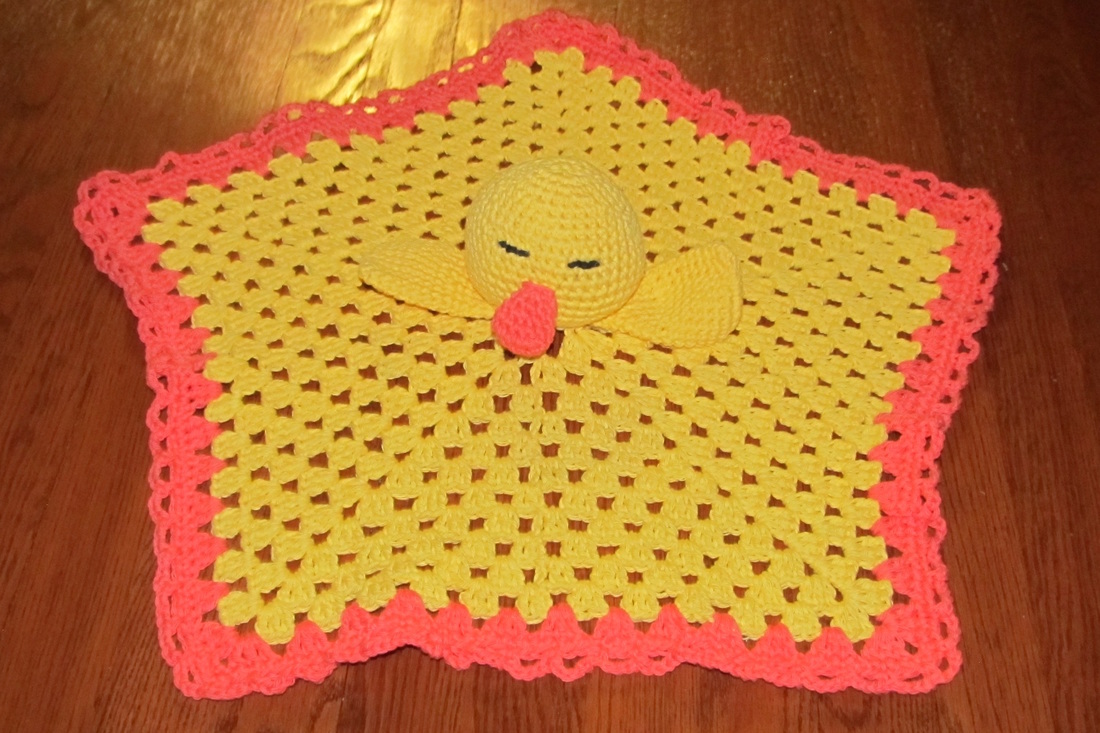
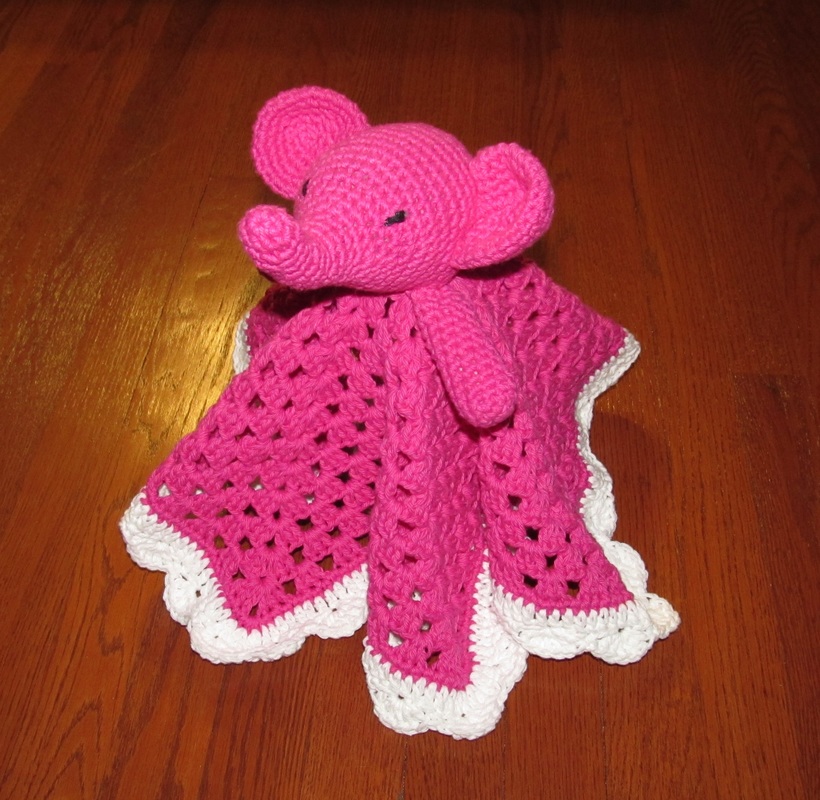
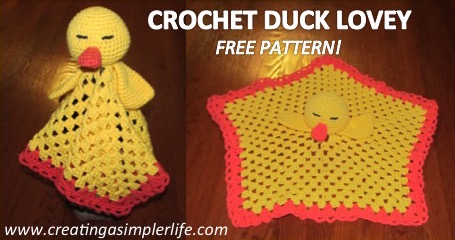 This lovey blanket was super, super, simple! Many of you already know, but for anyone new, please note that I have poor pattern writing skills....for some reason it just never clicked with me. For this reason I supplement with links to video tutorials that can be watched on tube. However, note that the stitches are all pretty basic and if you have crochet skills you should be fine. I just make these up and write them down as I go, so there really is no right or wrong. as long as it looks good when you're done, who cares? A child will love it no matter what :-) Please remember to feel free to contact me with any questions! Supplies Needed:
*Best price I can find for the Sugar'n Cream yarn is $1.99 for a 2.5 oz skein at Michaels Craft Stores. Even better if you print out and use their coupons each week - I print two coupons and bring my husband (They almost always have a 40% or 50% off one regular priced item!).
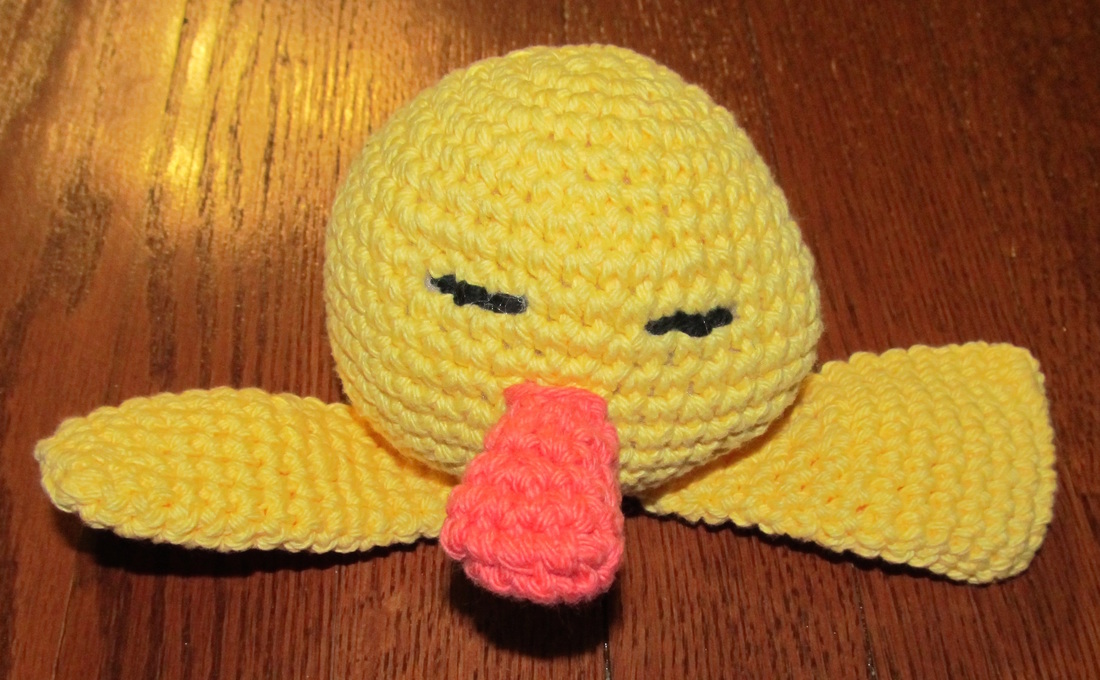
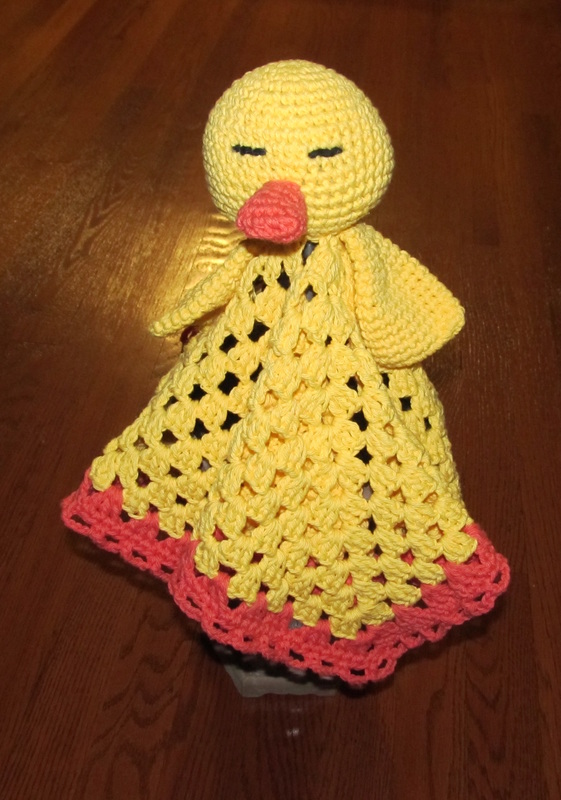
Make the Head: (I strongly suggest reading all the directions first and then watching the video tutorial if this is your first time making a ball shape).
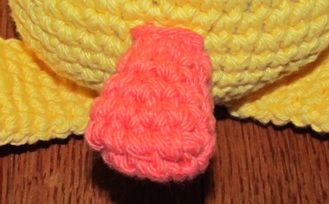
Make the Beak:
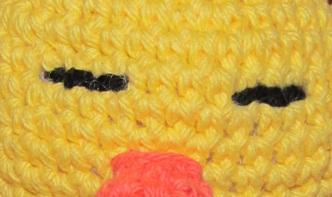
Sew on Eyes:
Make the Wings:
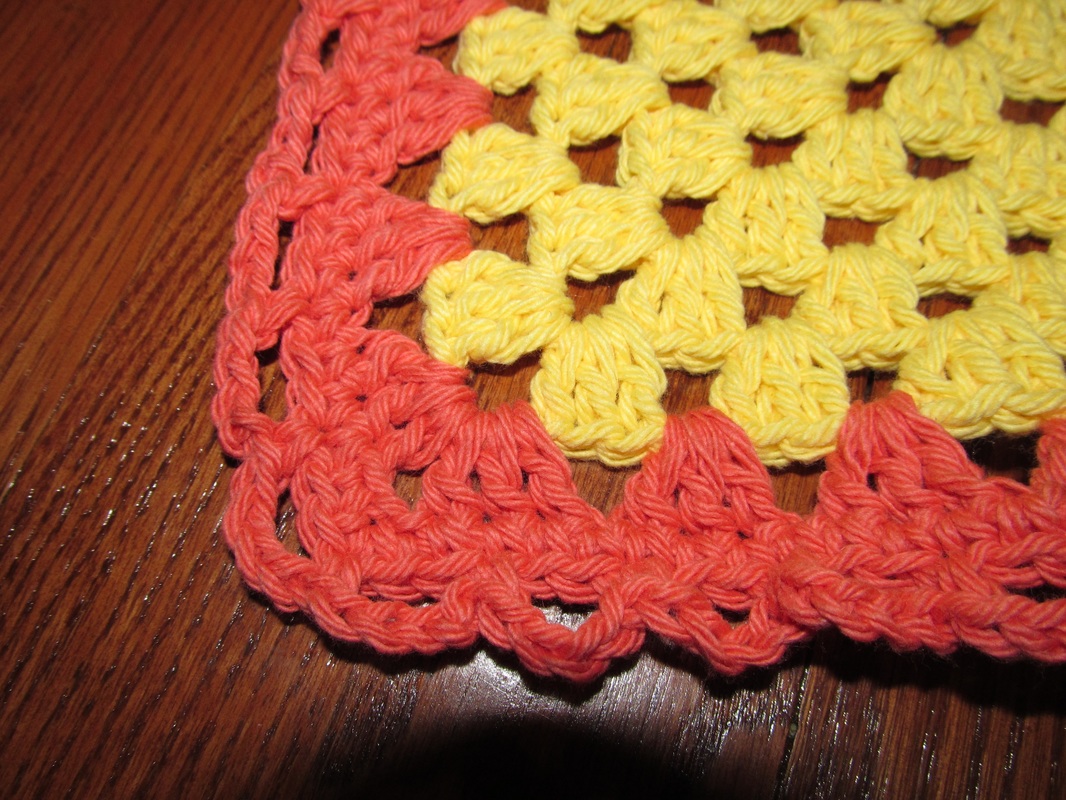
Make the Blanket: This is a basic granny square blanket with 5 corners instead of 4 and 14 rows with the last row in the edging color, one row of single crochet and the chain edge. If my directions are confusing, check out this granny square video tutorial. My pattern just adds an extra corner, but is done pretty much the same! The final blanket is approximately 18" x 18".
Finishing:
Check out the our other FREE crochet patterns here! Also check out the many crochet project patterns on our Pinterest Boards Crochet ONLY and Crochet for the Kids! NEW PATTERNS COMING SOON:
Thank you for visiting. Please like and follow us :-) Sincerely, 
4 Comments
Kay
5/3/2017 07:57:58 am
Adorable! I'm making one for a coworker but she doesn't yet know if it is a boy or a girl so I'm doing most of it but will do the trim in blue/pink when she finds out
Kathie
5/3/2017 11:05:20 am
Thank you so much Kay! Would love to see a picture when you complete it! If you are on Instagram you can tag Creating A Simpler Life or #creatingasimplerlife. Good luck and if you have any questions let me know?
Anna
6/28/2018 04:13:39 pm
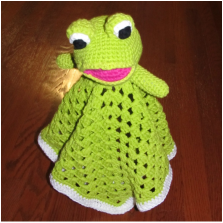
Thank you so much for sharing this pattern. I have made several of the ducks and have requests for more. I am looking forward to the frog lovey pattern.
Kathie
6/28/2018 05:18:58 pm
That is wonderful to hear! I love giving them as gifts too so I am glad to hear that people like them that much! Let me know how the frog turns out :-) Leave a Reply. |

Hi there! I'm Kathie, the author behind Creating A Simpler Life blog. I'm excited to share our longterm projects (and planning) toward building our future retirement homestead in the Adirondack Mountains of New York. In the meantime I will be sharing all the other little things we do that are part of creating our simpler life!
Categories
All
Archives
July 2020
|

 RSS Feed