Blog
A little bit of anything and everything that's part of
creating, enjoying, and living a simpler life!
creating, enjoying, and living a simpler life!

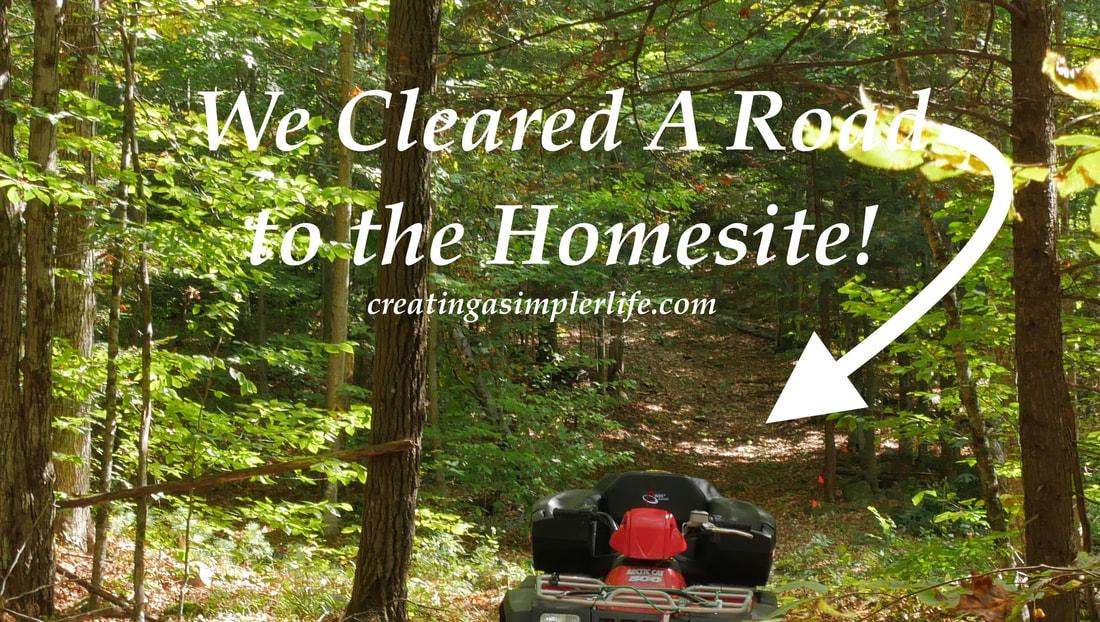
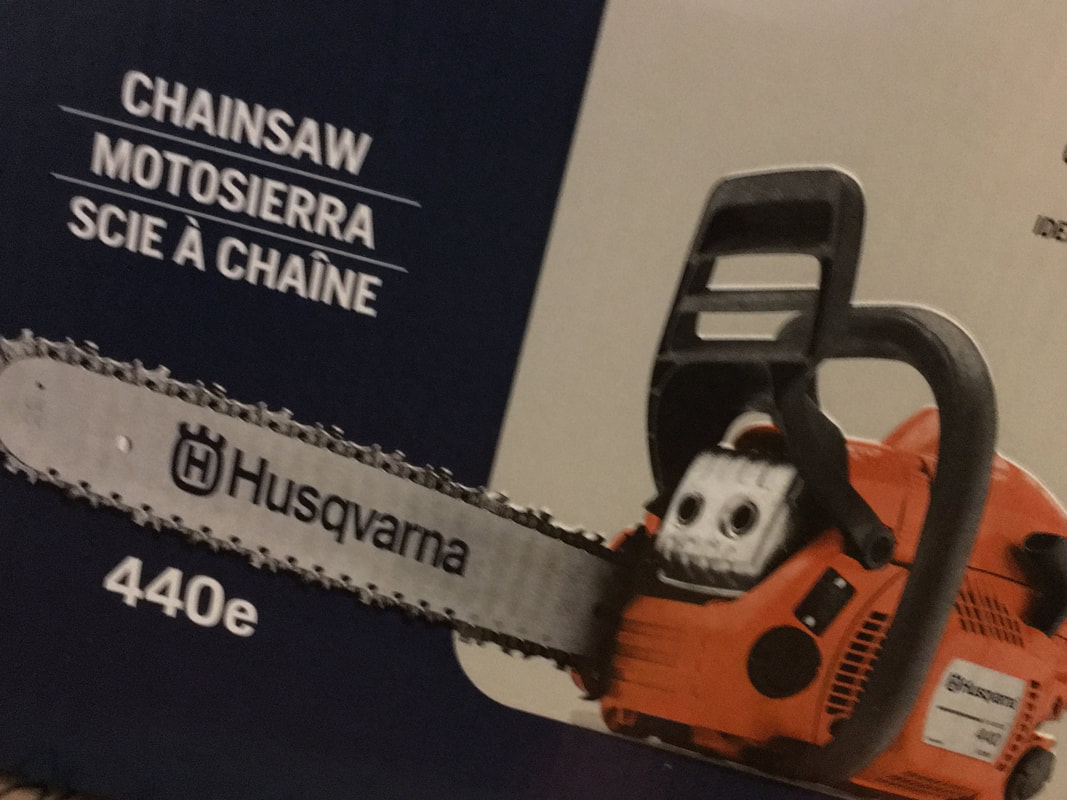
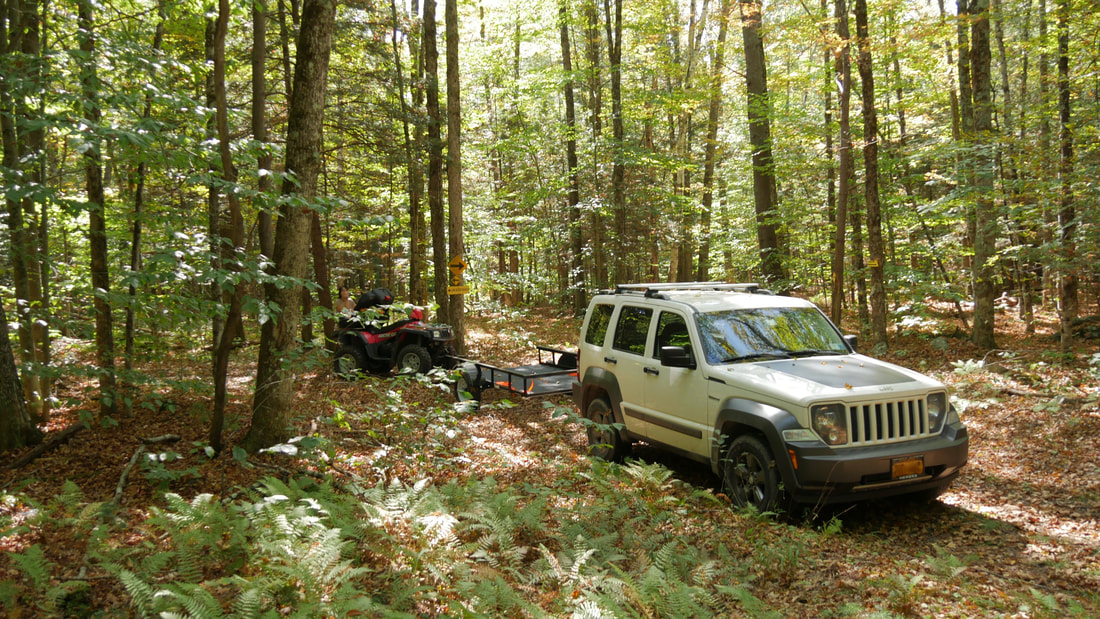
Choosing our homesite was pretty easy, in fact it is the reason why we chose to buy this land in the first place (read more here). However, a road, well thats a different story. With 30 acres of land I can honestly say we have yet to venture through all of it. There is much that we have yet to see, but the more we hike around the happier we are! Recently we were hiking around and found what appeared to be roads even though they had some trees fallen onto them. We realize now that these are old logging roads from many, many years ago. And believe it or not one of them goes right to the homesite we chose! This was so perfect a find that it solidified for us that we chose the perfect spot for our home. All we had to do was some general clearing so we bought a chainsaw and started clearing all the fallen trees and debris on the old road to the homesite! The road is wide enough to drive in with our 4 wheel drive jeep and truck. The only thing left to do is remove a few rocks and make a better 'bridge' over our somewhat seasonal stream! For now, however, it is the perfect rough road for our ATV!
I really wish we did before and after pictures, but we just weren't thinking since we were so excited to get started! Anyway, you can see the cleared road pretty well below. The flags are there so we could keep track of how wide we want it and a few rocks or stumps that we still need to remove. We also made a temporary bridge of some of the cut logs so the ATV could easily cross the seasonal stream. The first 300 feet was basically cleared already and just needed to be weed wacked (yes we used a handheld one and swung it back and forth) and we worked our #4@# off to clear another 400 feet beyond that and up the hill so now we have a driveway of about 700 feet to our homesite. It was a lot of work for the two of us over the course of a two day weekend so hopefully next time our adult kids will come along to help! After all, they are each getting 5 acres of their own :-)
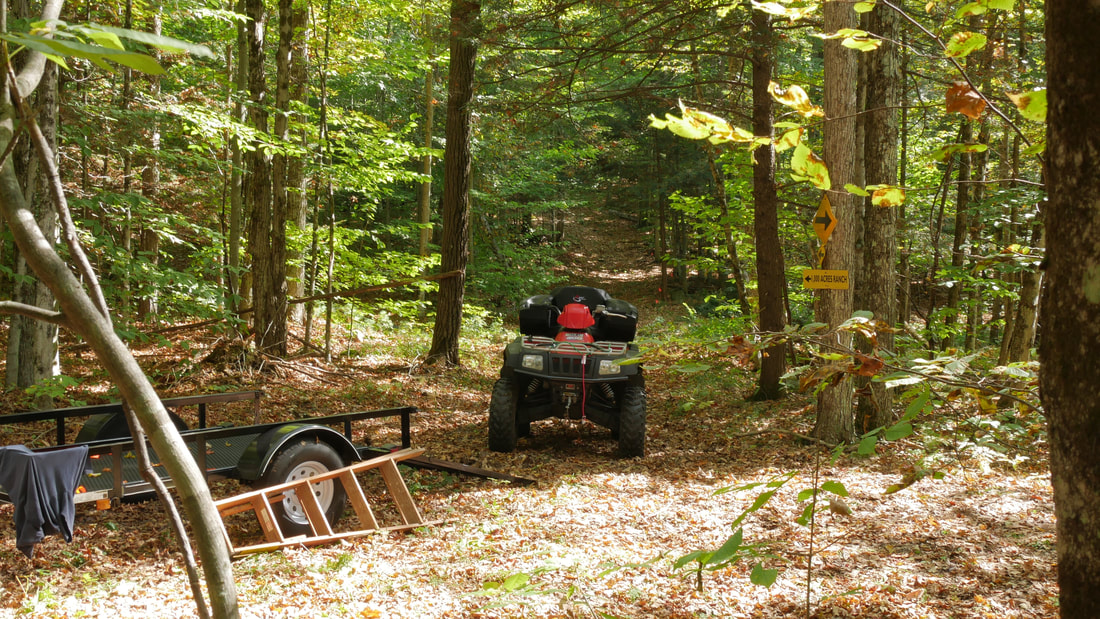
If you look straight ahead in front of our ATV you can see the beginning of the road we cleared. It goes up-hill so we can't wait to see how that will be in the winters. The road itself curves around to the left and continues for quite a bit before getting to the homesite.

This is a view of the road from where we would be parking at the homesite. We did make a small turn around that is to the left as well as a nice big learning for my husband to launch his drone from.
A few words on chainsaw safety: Take the time and spend the money to do it right! Here is the equipment we purchased for my husband (or myself) when using the chainsaw:
6 Comments
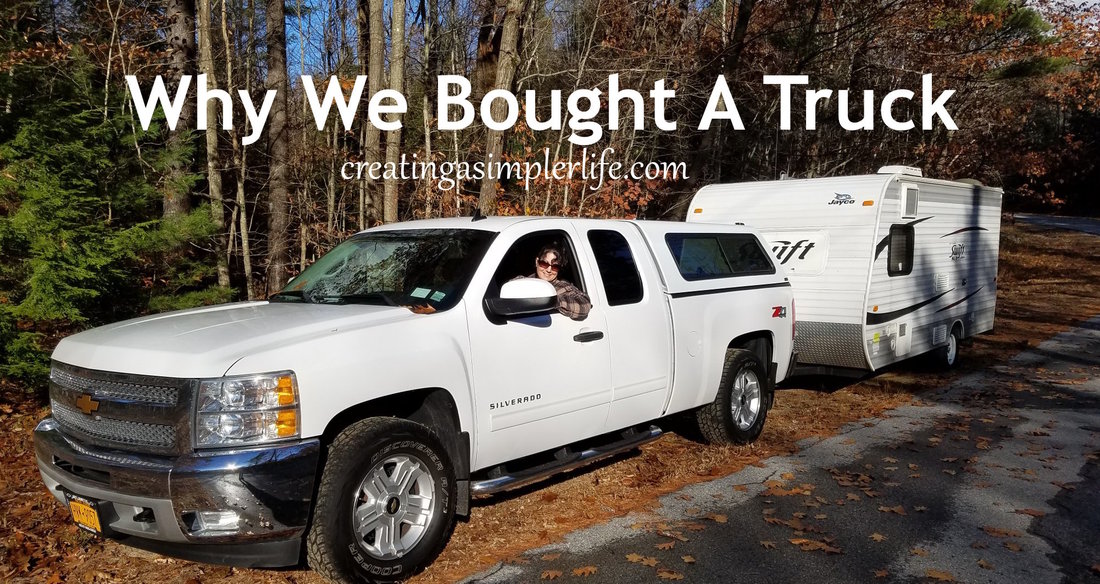
Well that's another mini-step crossed off of our to-do list for our homestead! We set a goal for buying a truck this fall and we can now check it off! And of course, having a truck really will simplify our lives in so many ways.
Here's how and why:
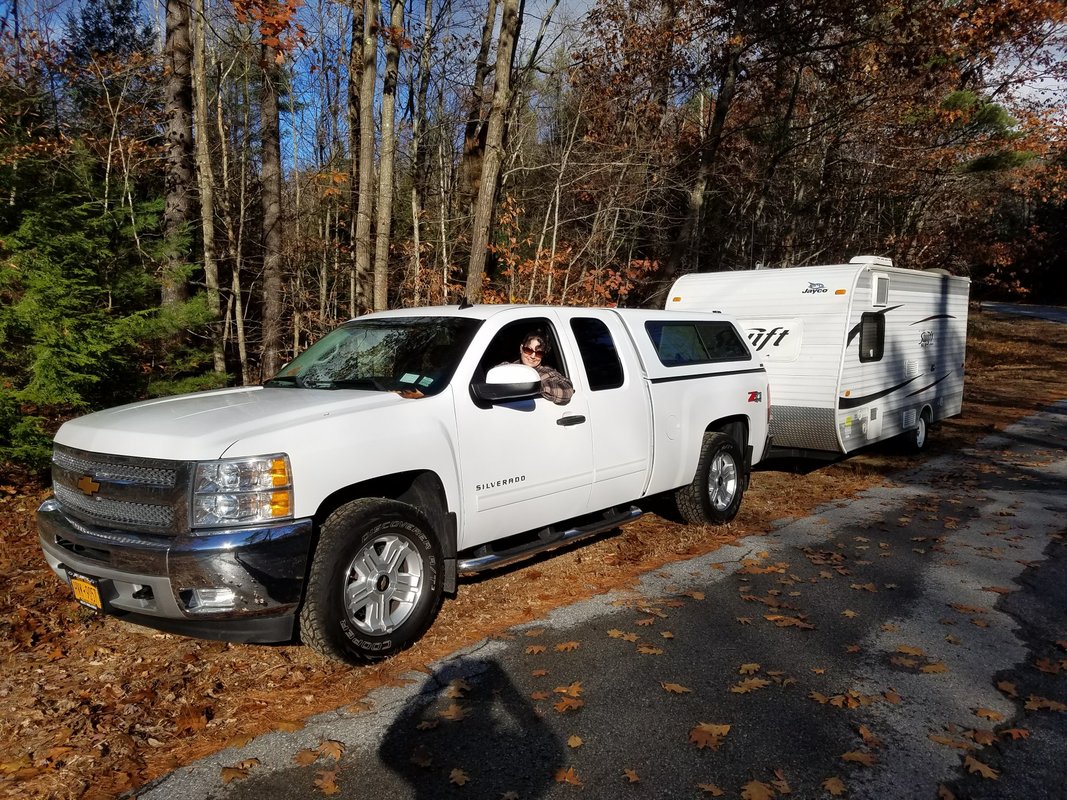
Yup that's me driving! The truck really makes pulling the trailer easy.
I am sure we will find many other reasons why having a truck is necessary in the Adirondacks. A few off the top of my head: it will make it easy to get our canoes and kayaks to the local River and it will be the perfect travel space for the dogs we plan on adopting one day (can't wait)!
Read more about our future homestead dreams here!
Sincerely,
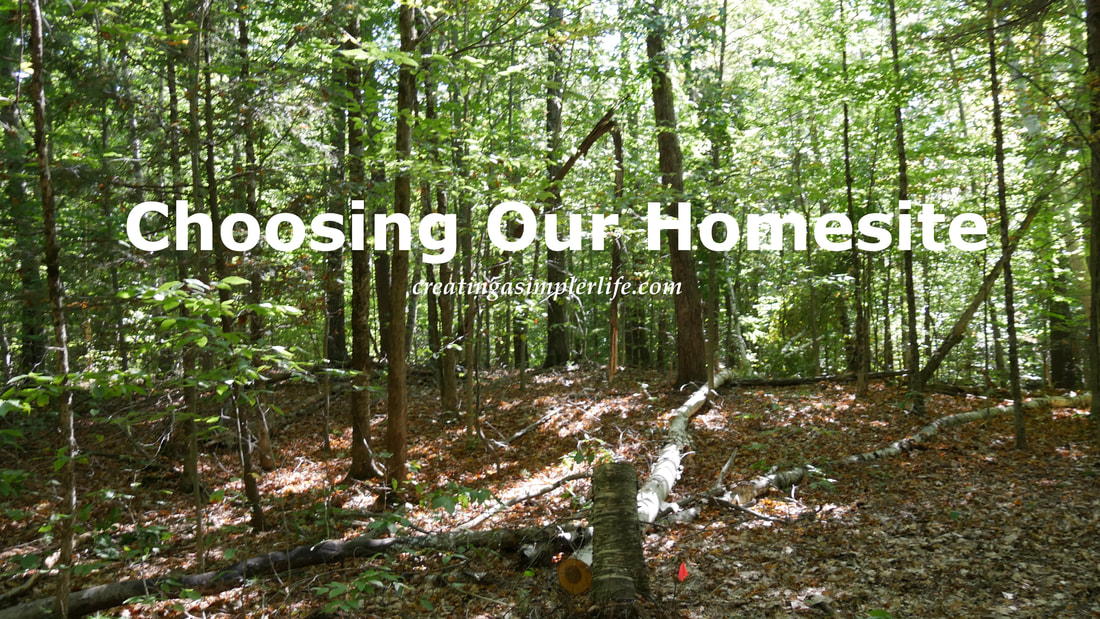
Choosing our homesite was pretty easy. With the type of home we are building, the homesite was pretty much one of the most important determinations with respect to the property we purchased (Read more about the land we purchased here).
We plan on building an earth sheltered home. This means that all, yes all, of the windows will need to be south facing to make the most of solar gain in the winter (we have plans for special windows to minimize gain in the summers, more on that in a later post). Also, even though it is an earth sheltered home we intend to have an entrance on the north side as well (most earth shelters only have an entrance on the south side). For those two reasons we needed a bermed location with a small slope to the north, but a larger slope to the south so we could 'blast' through it and have a level north entrance, but the other side would be all windows facing south. All trees to the south would also need to be cleared to allow full access of the sun all day. If all goes well will will just need to add some dirt over the top of the home! I know this sounds a little confusing, but you can check out these earth sheltered homes by Formworks in Colorado to see what we are sort of planning. We are in the process of working on plans with them and I will share those soon! 
This is the site. This is facing due south. We would need to cut through this small berm. The other side of the berm goes downhill for several hundred feet so we will have quite a bit of forest to clear. I know it is all hard to see/visualize, but since the house is relatively small (32 x 28) it should really work just right!

This is our south facing view from above the trees. My husband took this photo with his drone! We will have a view of those mountains once we clear away the trees to the south!
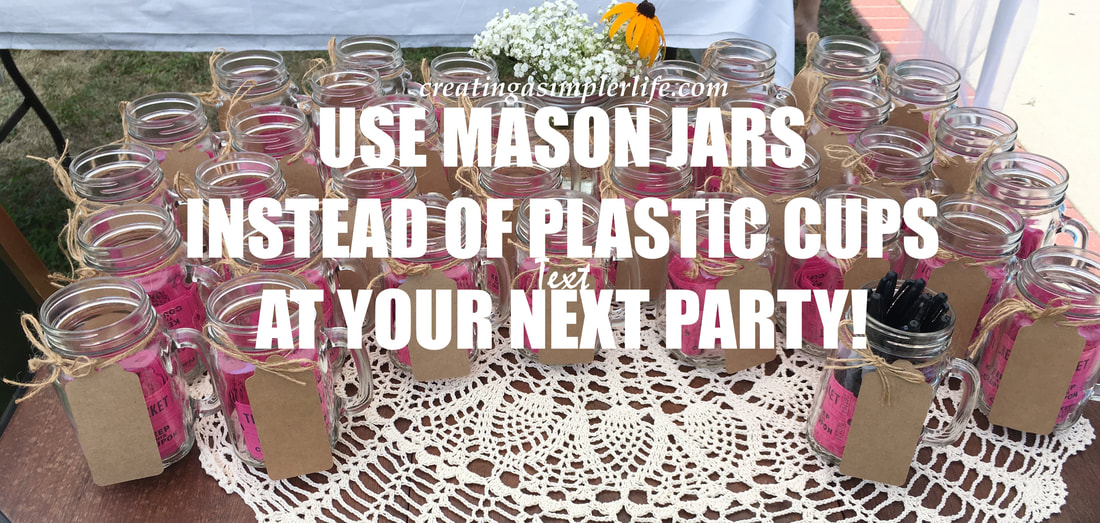
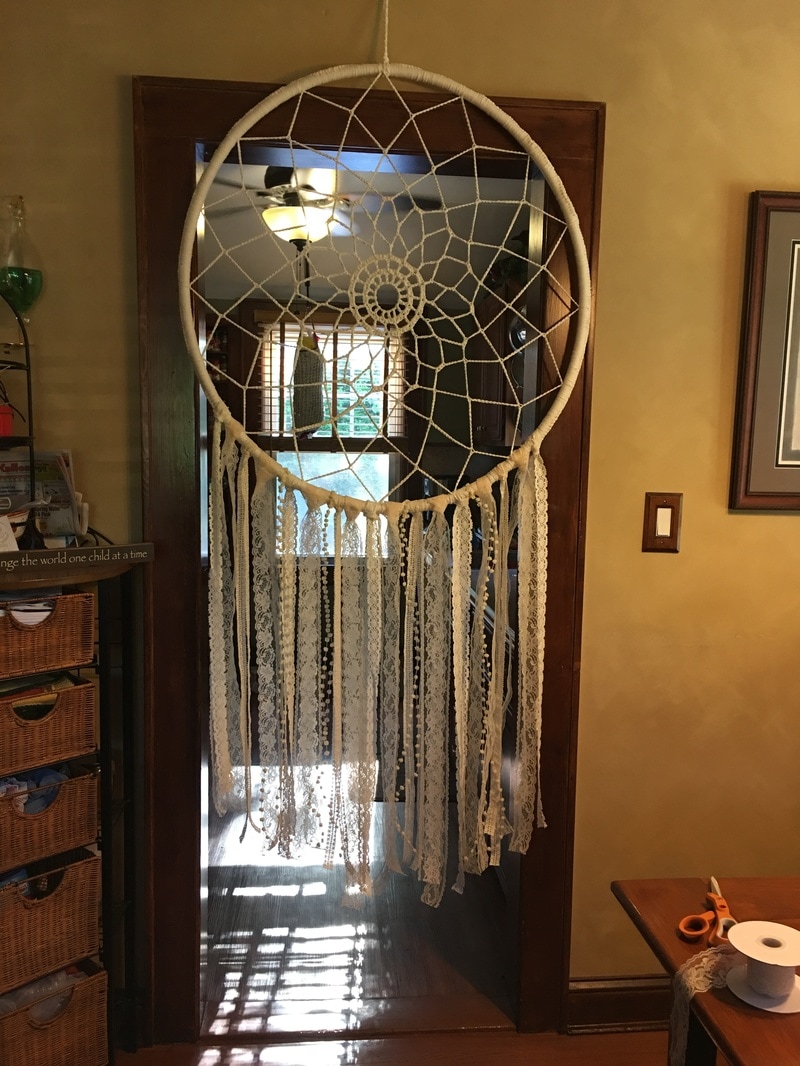
The past few months have been a little hectic for our family. My daughter, the oldest child, was married in September. She had a wonderful backyard wedding with about 250 people! Yes, 250! This was really only possible because it was in the backyard but it was well worth it. So basically over the next few months I will be posting about how we planned this tremendous party. In fact, I have already posted some information about her shower and making two different dream catchers(see them below) that were used as part of the ceremony and as decorations for the party. Today, however, is about using mugs instead of plastic cups.
I know, plastic is so much easier. You just use it and throw it away. But seriously, with 250 people, how many would we need to buy? I couldn't imaging the nightmare that this would create with garbage after the party. And after all, all the plates, silverware, etc. were going to be recyclable bamboo! So why would we ruin the environmental theme by using plastic cups? We wouldn't. And in fact, we used mugs for the bridal shower as well!

Bamboo utensil and plate. Note the mason jar in the background.
A lot of people questioned the cost. Believe it or not, in my opinion (and my daughters as well), the cost was worth it for several reasons. First, we weren't using plastic which we all know is not good for the environment because it literally never decomposes. Second, we allowed guests to bring them home as a souvenir. This was especially good for couples because they would have two to bring home and use. This was also good for use because we wouldn't be left with hundreds of left over mugs! However, any left over mugs could still be used for future parties, for gifts, or many other ways! And what made these extra cool is that regular mason jar lids screw right on to them so they could even be used for storage! Anyway, back to the cost. We did end up buying a few cases from Amazon and they were definitely more expensive.
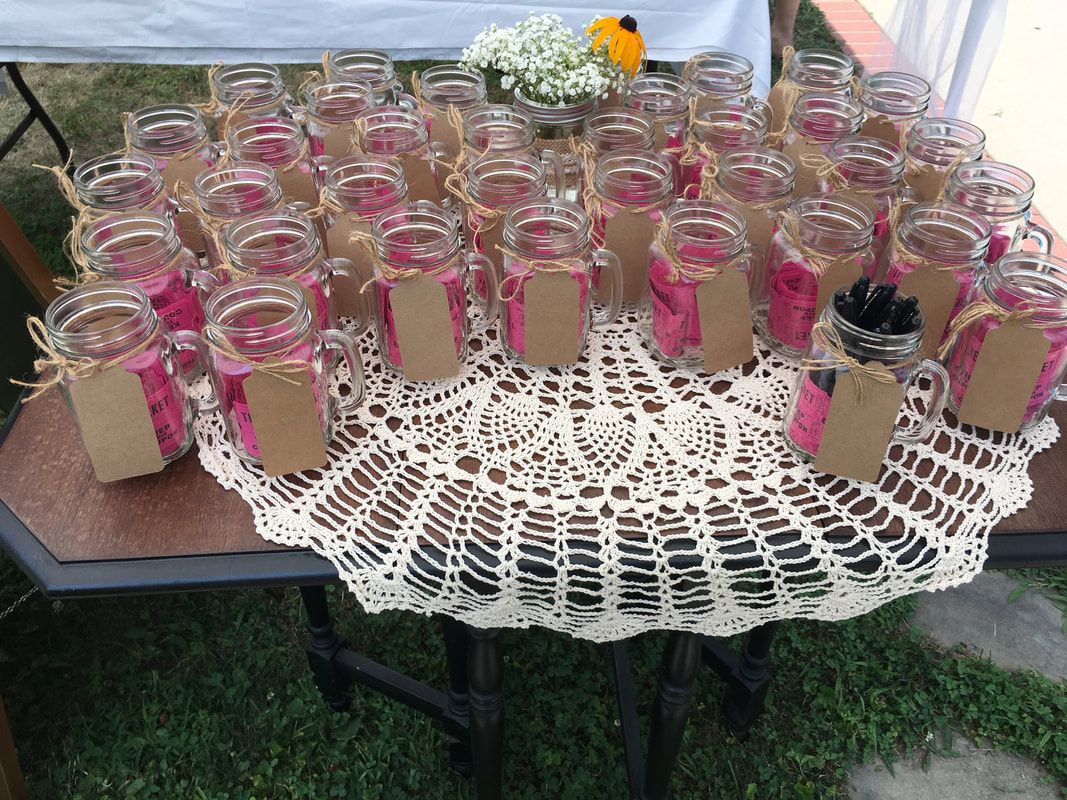
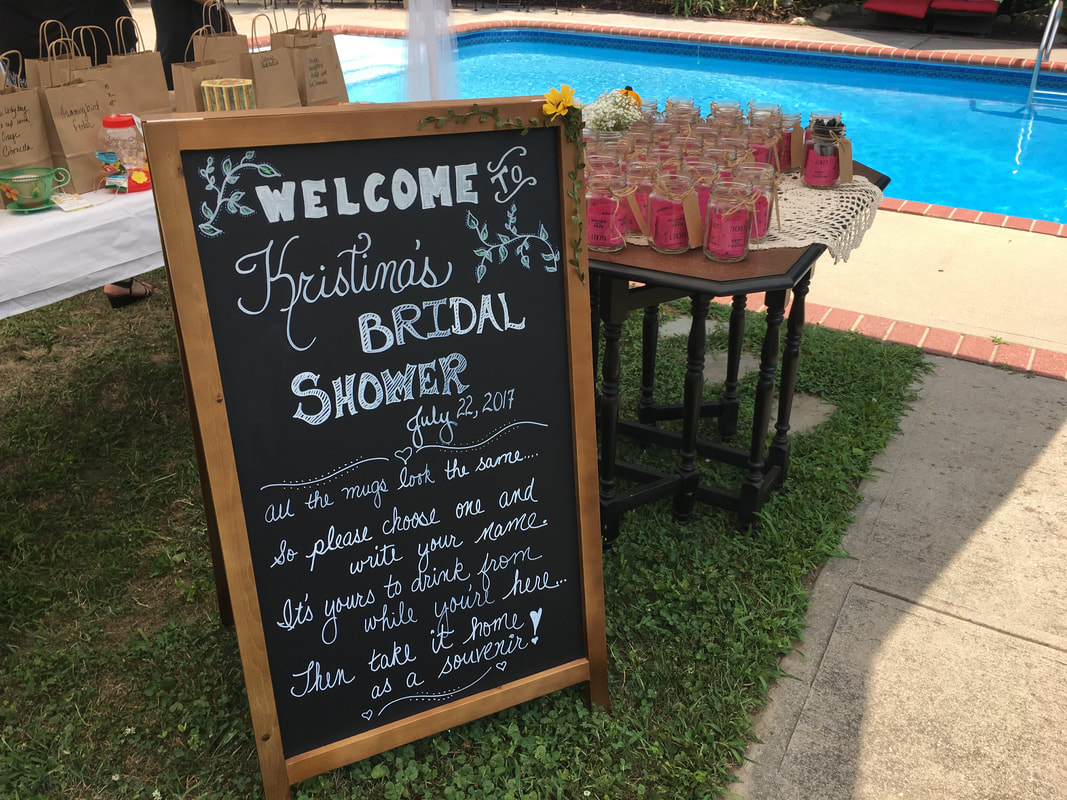
For the bridal shower we purchased the Libby Drinking Jar With Handle (Amazon affiliate link). A case cost 28.95 so we paid approximately $2.41 per mug. We had to do this because we needed them fast. Since there would only be about 40 or so people at the shower I simply tied a paper tag around each mug and let everyone write their own names on it for the party (note the mug filled with markers). The mugs are also filled with tickets for the 'Chinese' auction game! Directions were provided on the welcome sign shown below. Items purchased for the bridal shower mug display (affiliate links):
Video "How-to" (see pictorial below):
Pictorial:
For the wedding we had a lot more time to wait for delivery so we actually ordered about 12 cases of mugs from Dollar Tree. At dollar tree they were $1 per mug plus tax. Much more cost effective! But again, you need to have a lot of patience and time for delivery because I think they literally came from China. You also need to be prepared to go and pick them up at your local Dollar Tree Store. The unfortunate part of this was the fact that every mug came with a sticker on the bottom that took my husband and I three nights to peel off of the mugs in all twelve cases. Oh, and guess what! They were literally identical to the mugs we got from Amazon! Just no Libby name on the box! The Libby mugs didn't even have the name brand on the mugs either so they were really, truly, the same.
Items purchased for the wedding mug display (some are affiliate links):

Heres How They Were Done:

I created a list of everyone that responded "yes" to coming to the wedding in EXCEL by last name, first name. When the response date came and went I sorted the names alphabetically.
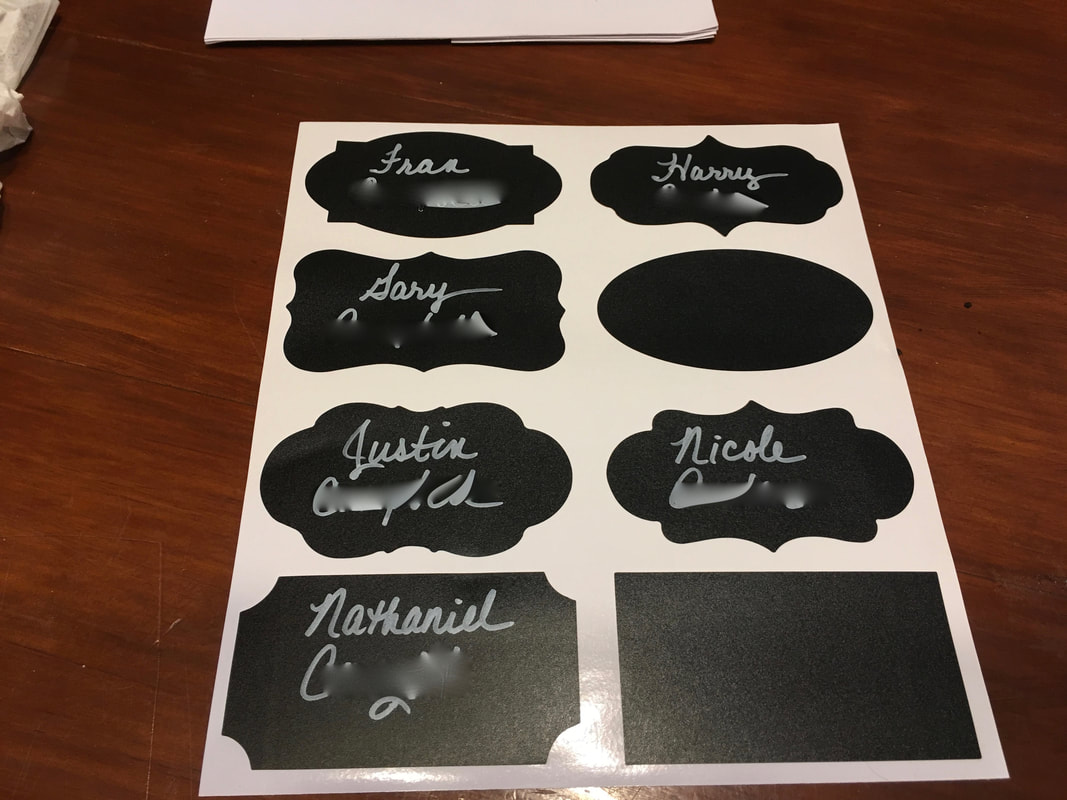
Then I used the permanent paint pen to write the names on the labels. I skipped the shapes I didn't really want to use.
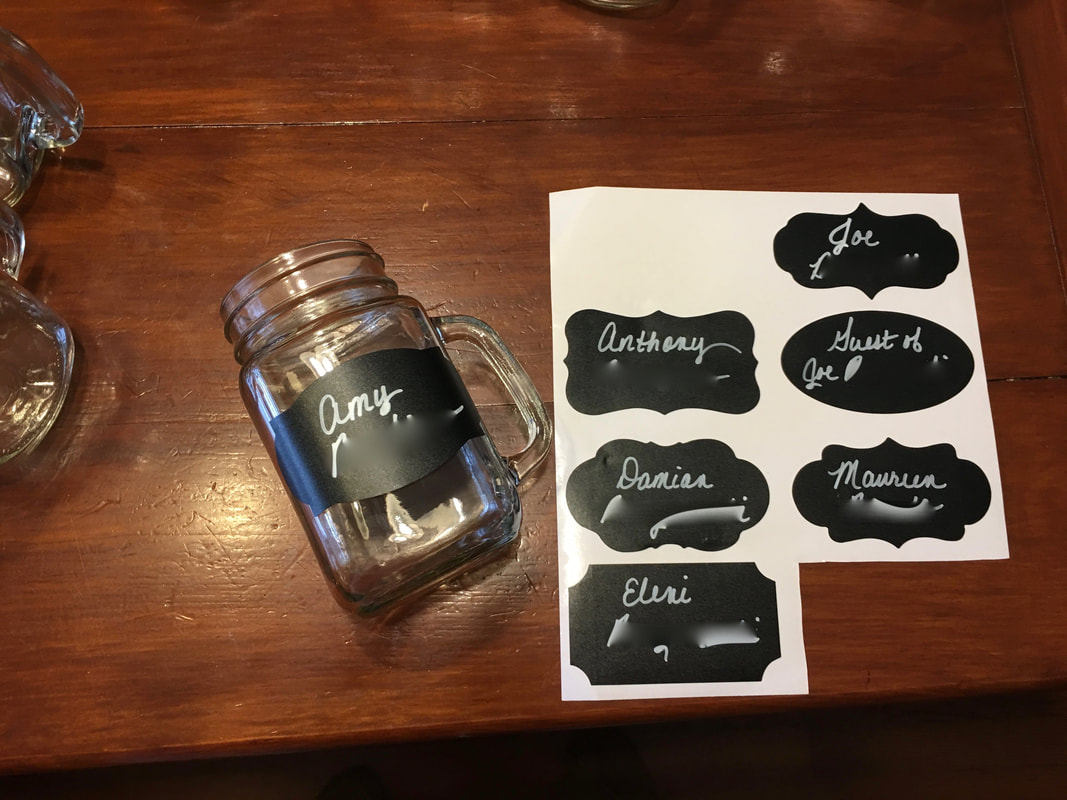
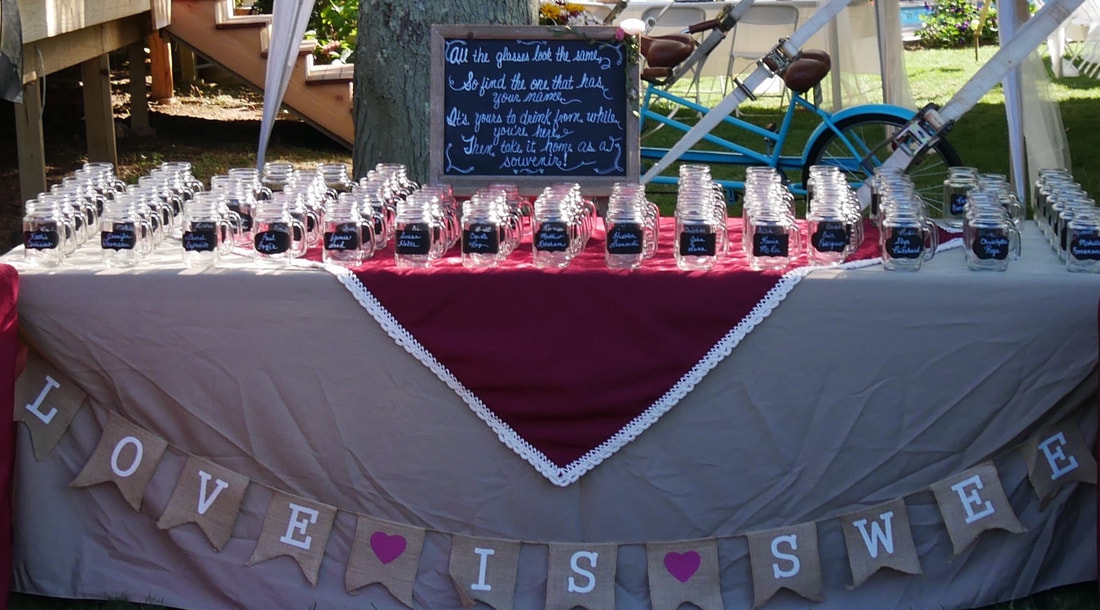
After all the names were written in alphabetical order, I carefully placed them onto the mugs.

The mugs were packed back into the cases in alphabetical order so they could easily be arranged on the table at the reception. This made it easy for guests to find their mug!
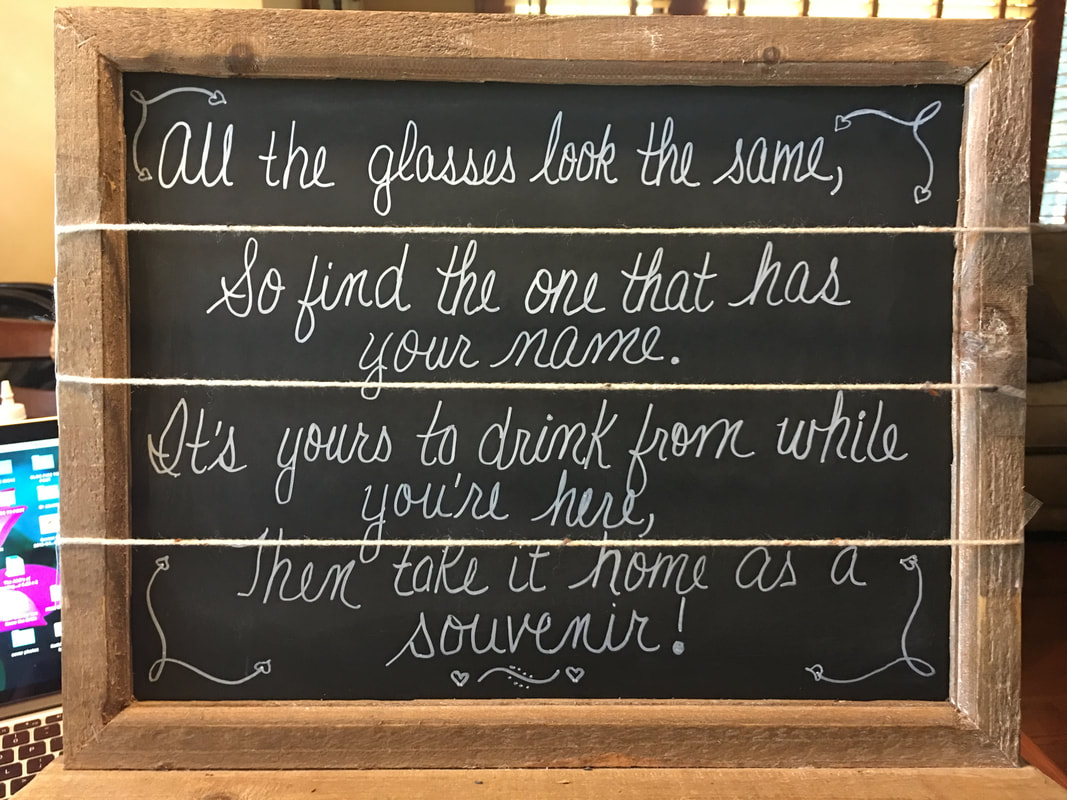
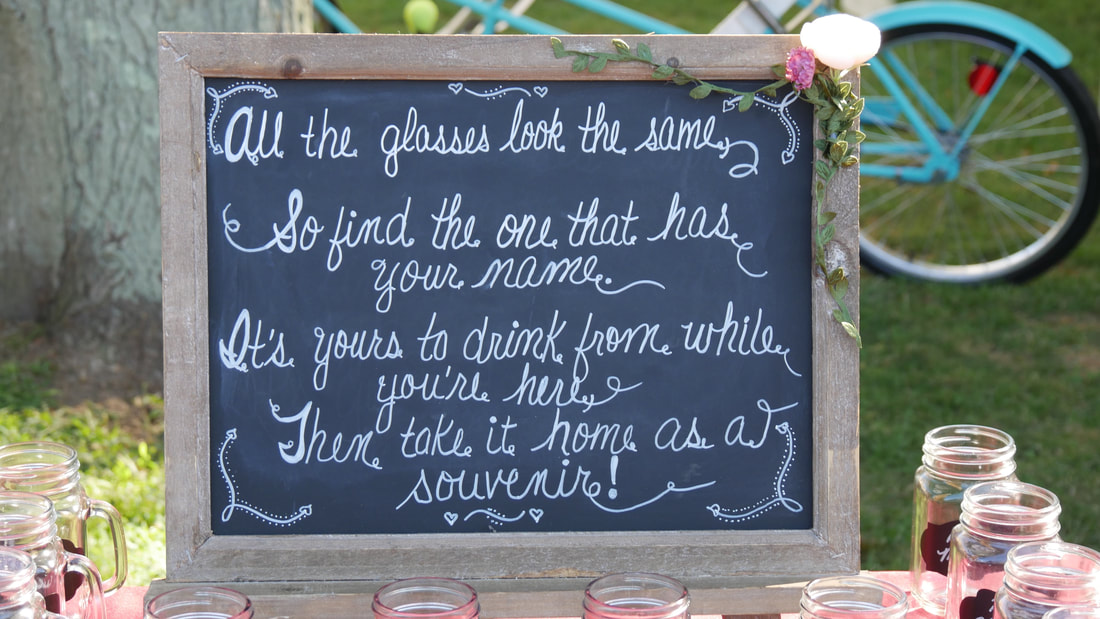
I used twine to divide the chalk easel into even sections so I could write the saying on it using the washable chalk paint pens. I used some hot glue to add flowers to the corner as a decoration (see picture below).

I even used the mugs to make these special Bride and Groom mugs! That post is coming soon too :-)
We have no regrets about using the mason jar mugs instead of plastic! One comment we recieved from guests at the shower was that it was a little difficult for them to drink from the mug being that it had the funny edge to screw on lids.
Because of that comment we provided optional drinking straws at the wedding. Some people chose to use them, and some didn't. I know, you think maybe it defeated the purpose because they too are plastic, however, the amount of plastic used by 100 or so straws was nothing compared to how many cups we would have gone through! We would love to hear from you so please share your thoughts and experiences with us! Check out our other DIY Shower and Wedding Ideas here. Sincerely,
This post contains affiliate links to Amazon.com.
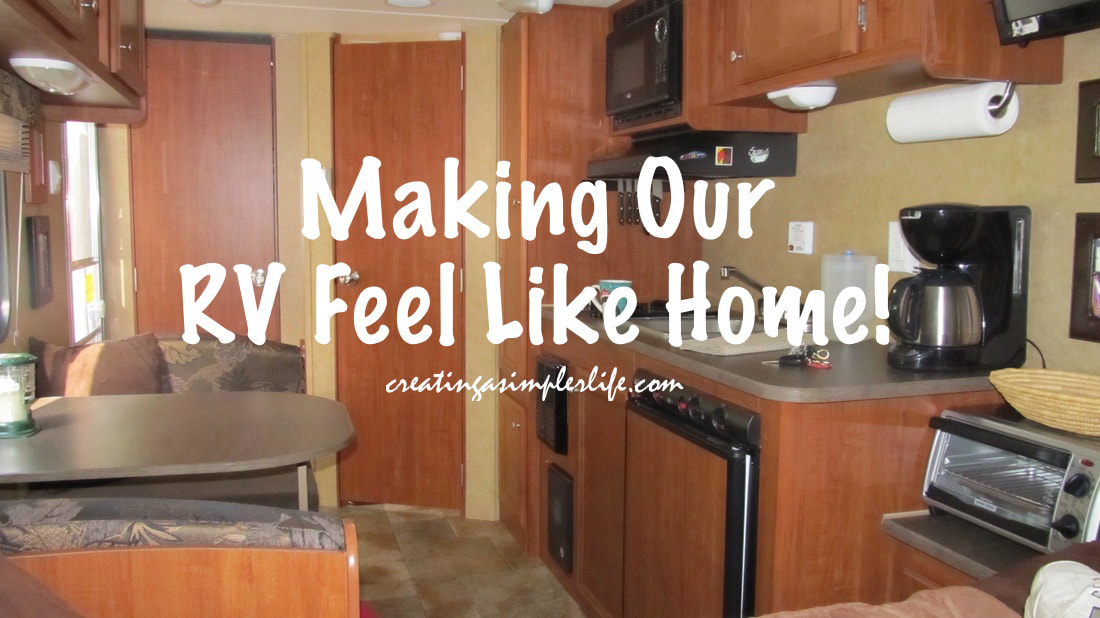
Having an RV (recreational vehicle) is awesome! It gives us the freedom to be able to travel and always have a comfortable place to sleep with no worries. It is also super convenient to just pull onto the side of the road if you have to go to the bathroom! No more painful waits for the next rest area or searching for a gas station with a working bathroom. Maybe that's just me. Either way having an RV with all the comforts of home and stocked with just about everything you need for traveling makes traveling simply delightful!
However, our RV, being inexpensive and small, did not come with most of the comforts we wanted nor did it have a lot of space for all of the above, so here is what we did to make it like home for us.
1. The Bed
We chose an RV that had a bed that never needed to be 'broken down.' In other words, in many smaller RV's the bed is also the kitchen table and benches. We made sure this was not the case for us so even though our RV is small (18') it has a permanent bed. The bed also had to be a decent size. Our RV is a queen size bed and this was very important to us. 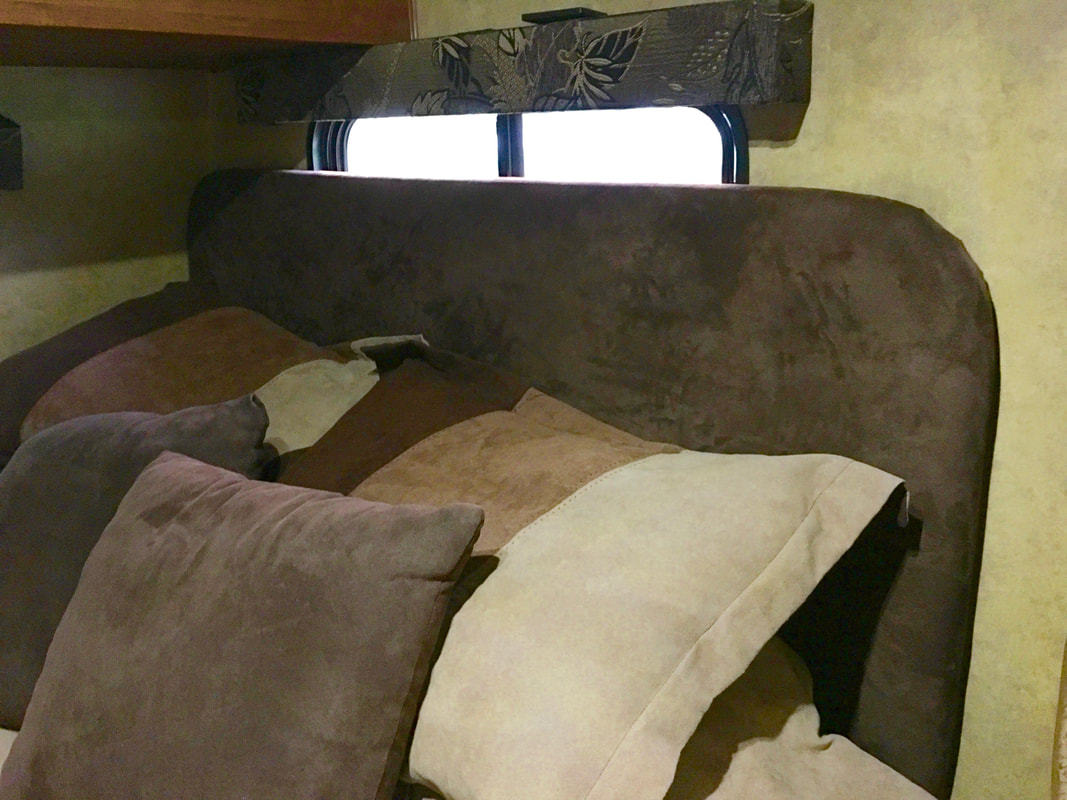
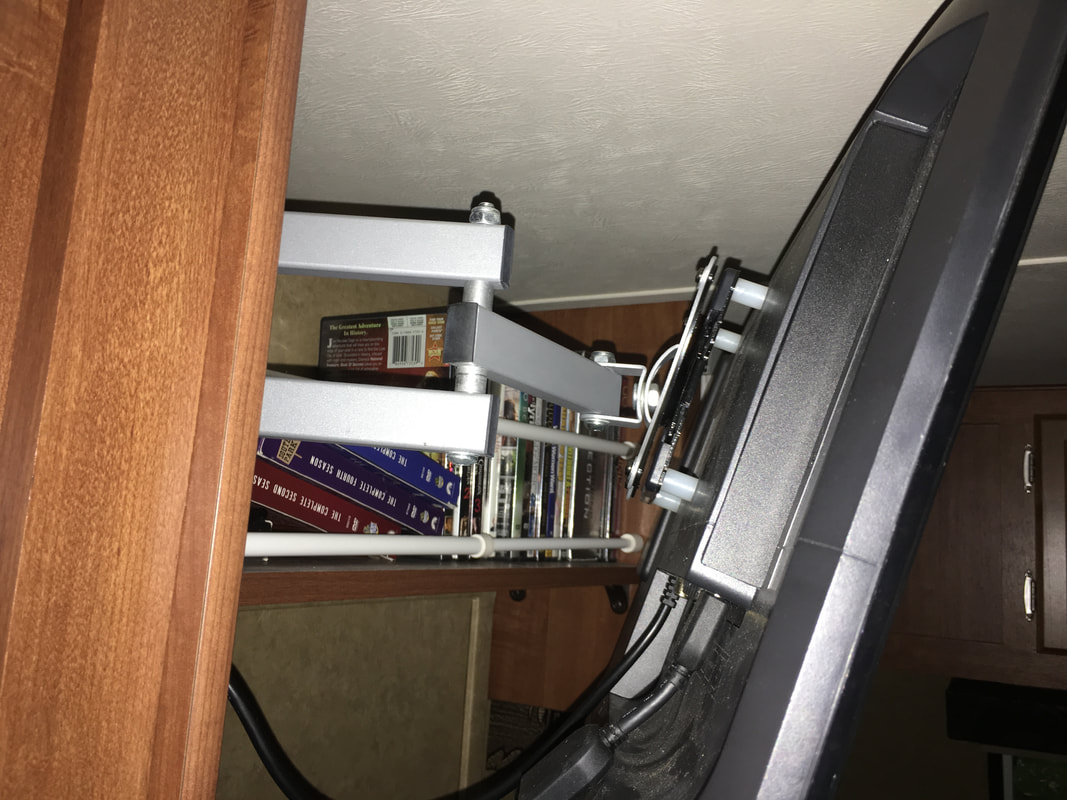
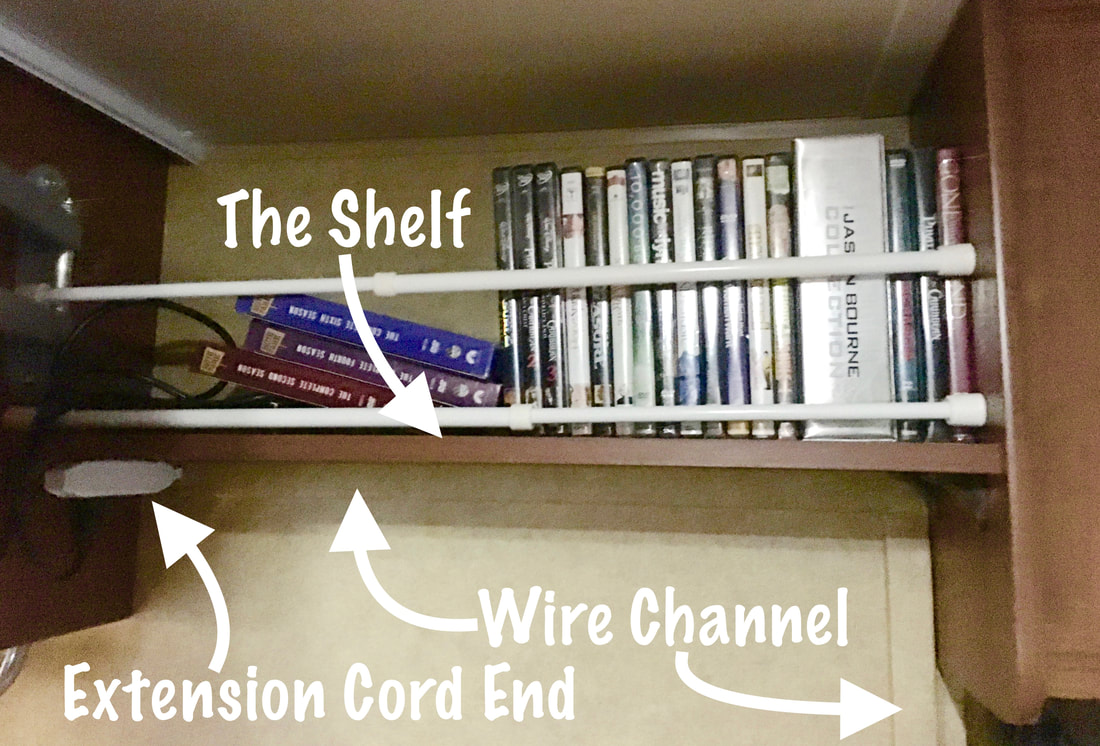
2. The Entertainment Center
OK, I know it is not camping if you have an entertainment center, but really. It's not exactly camping to stay in a nice trailer with the comforts of home anyway! At our age, we just don't care. We want to travel all around the country and at the end of the day we like to relax and watch some TV. Even if it is just a DVD, we don't care. It is relaxing. So Since our RV didn't come with an entertainment center we had to make our own! 
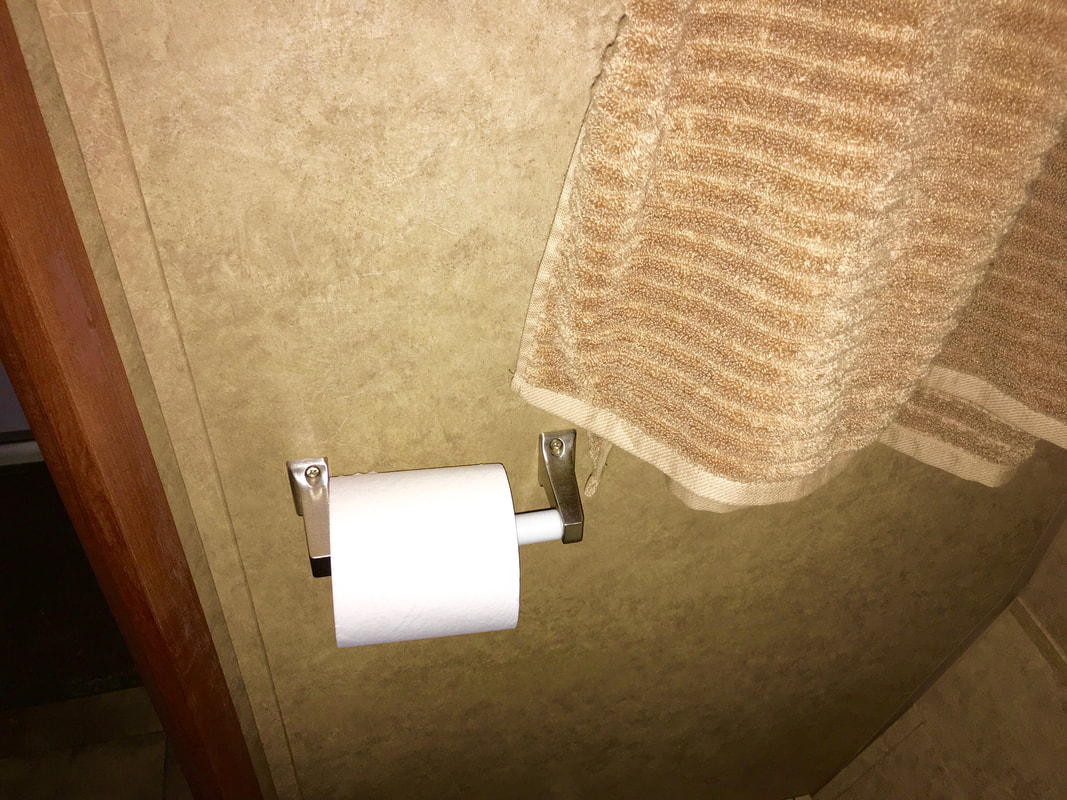
3. The Bathroom
I don't know about you, but this room is pretty important to me! In a small trailer you get a small bathroom. In our case it is really, really small. In fact, it only came with a tiny shower, a toilet, and a mirror on the wall! Nothing else but a door! 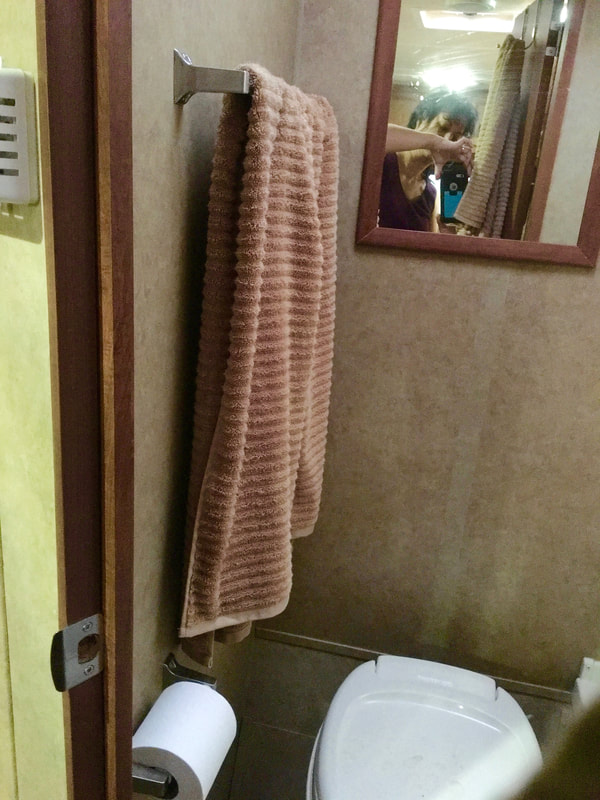
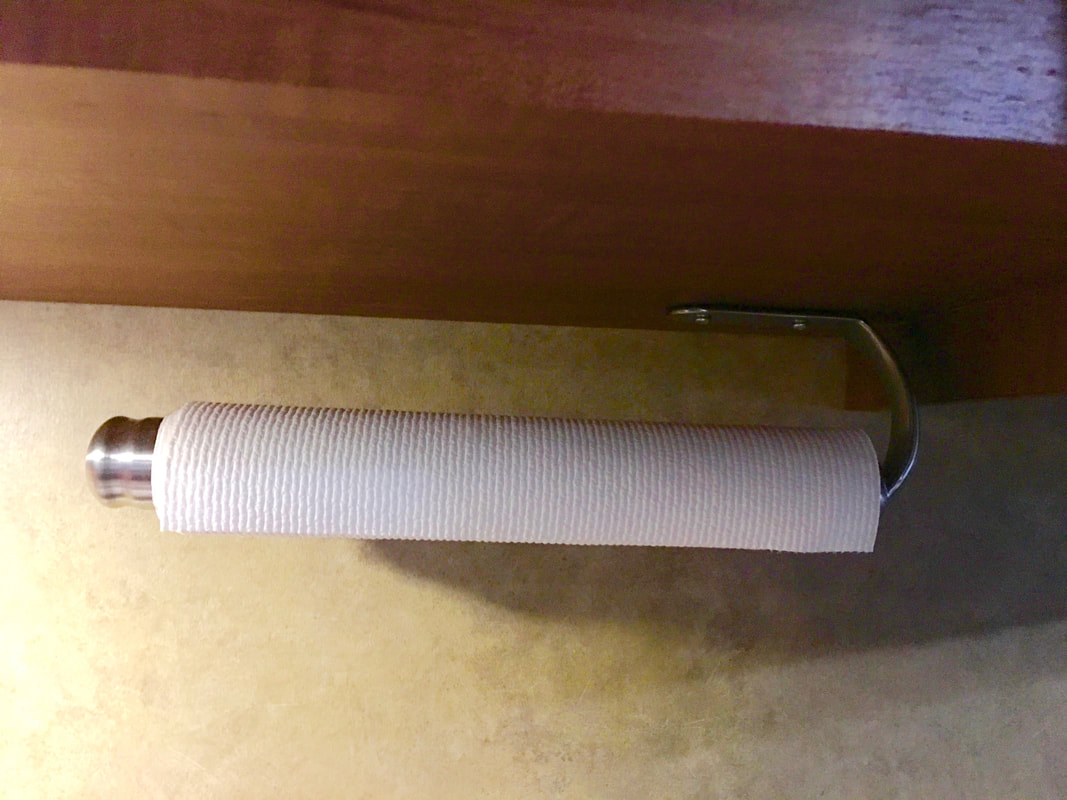
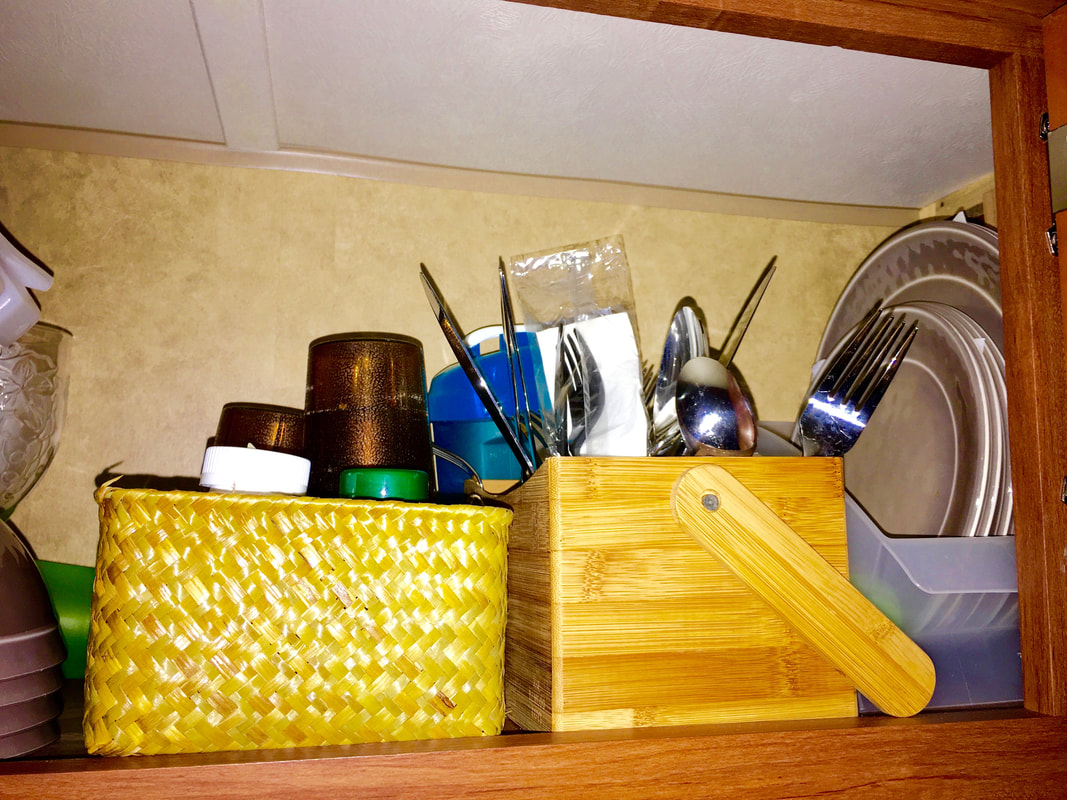
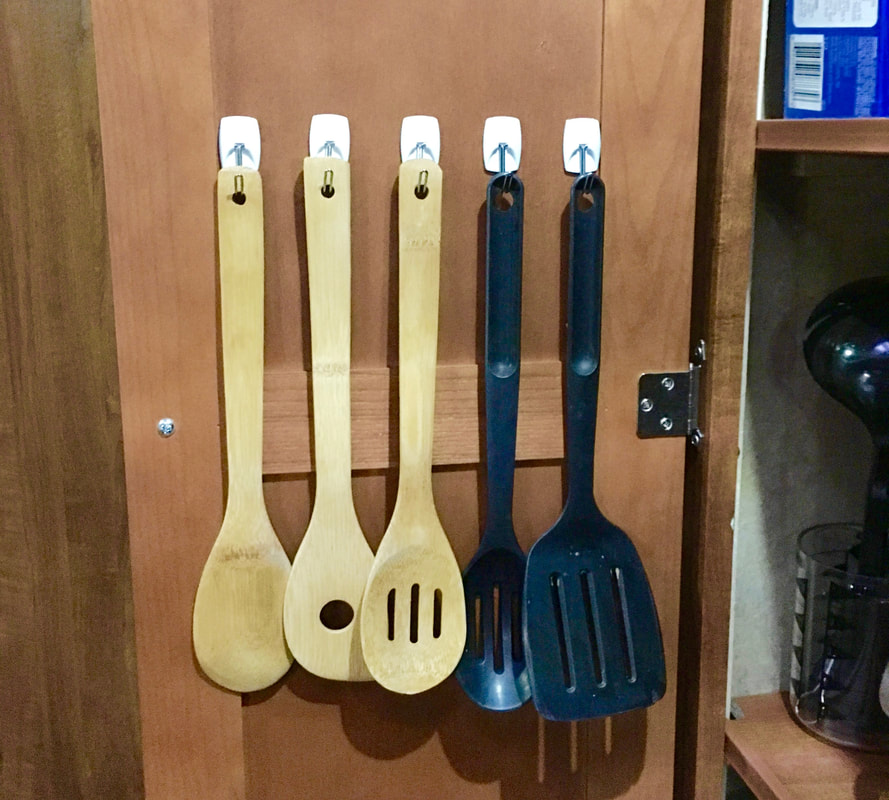
4. The Kitchen
Of course this is really part of the bedroom, the living room, and the dining room! Ha Ha. But who cares? It's still my kitchen and I knew I could improve upon it! 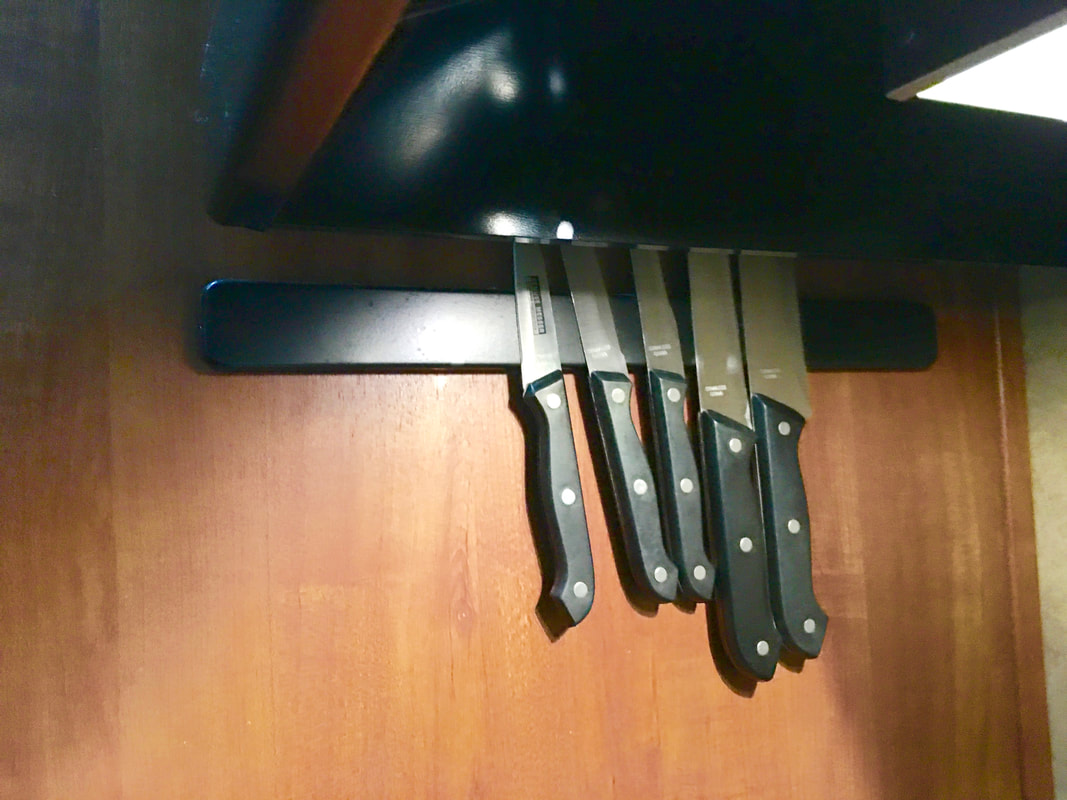
5. Key Holder
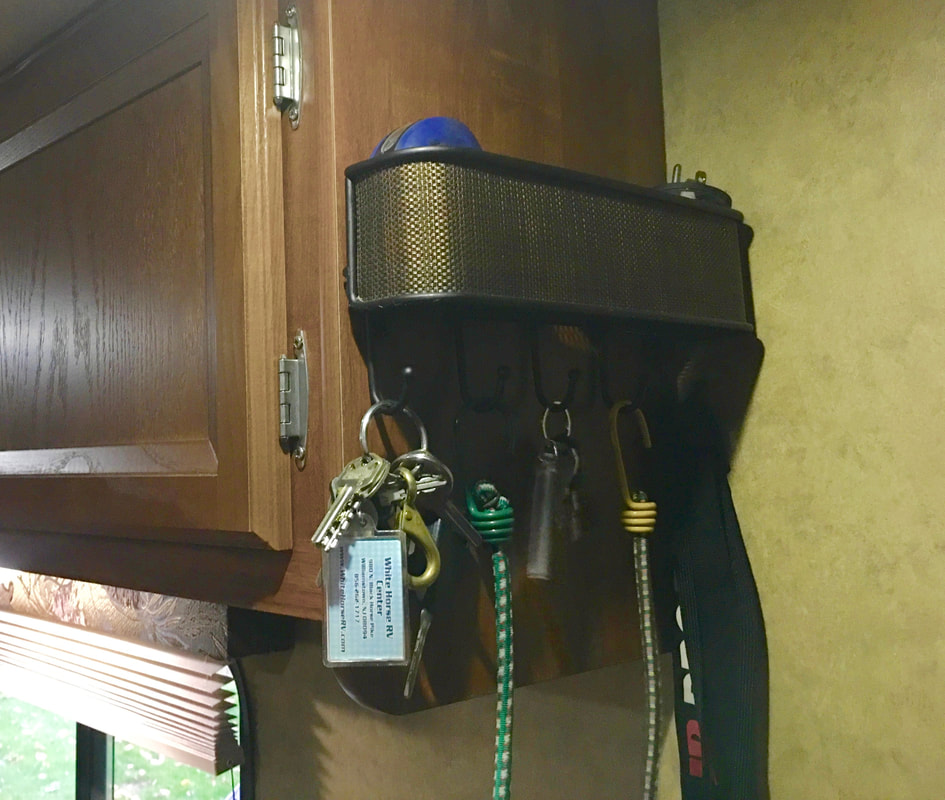
Take a little video tour with us.....
Now our trailer is always organized, ready, and feels like home no matter where we go!
Happy Travels!

I already posted the Poliwrath Costume DIY, so now here's the Butterfree Costume DIY I said was coming soon!

Poliwrath costume - can be easily made into Poliwhirl (the happier version!). Picture is a link to the 'how to.'

Also check out how to make these DIY Incredibles Costumes by clicking on the picture!
Supplies Needed:
How to:
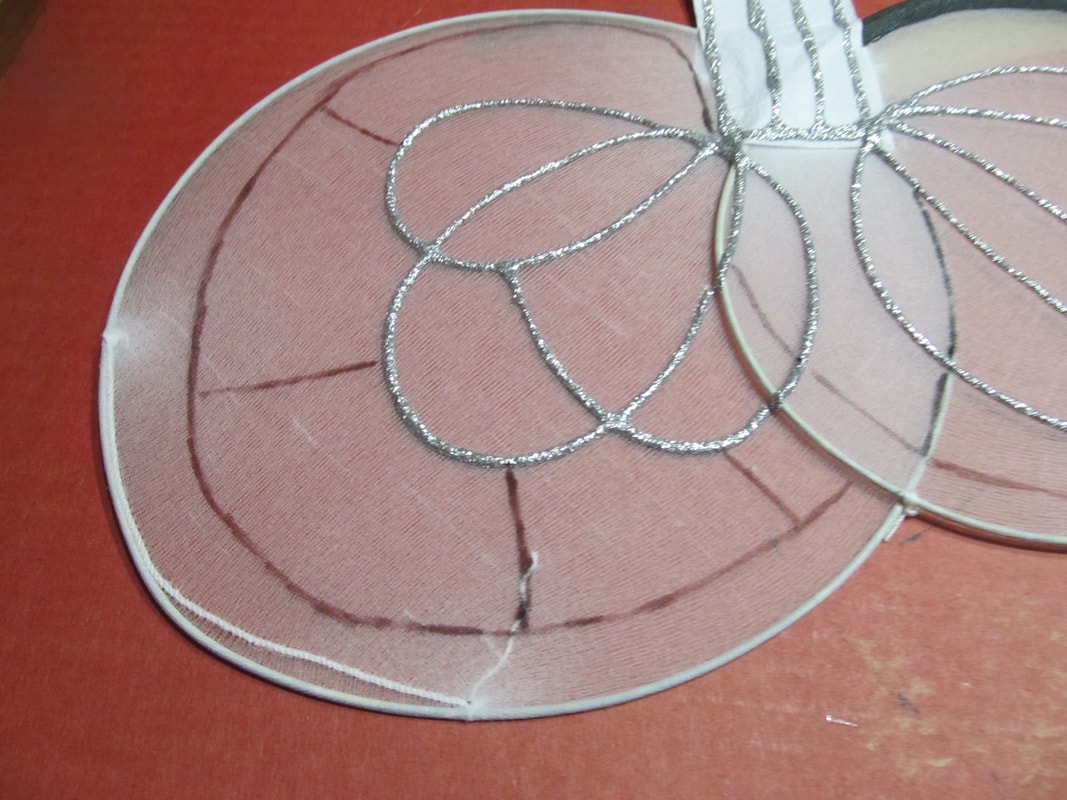
Use a marker to sketch the design onto the wings. Be sure to have cardboard underneath because the marker (and the paint) will go through!

Then use black to paint the design.

I painted both sides of the wings because I thought it looked better.
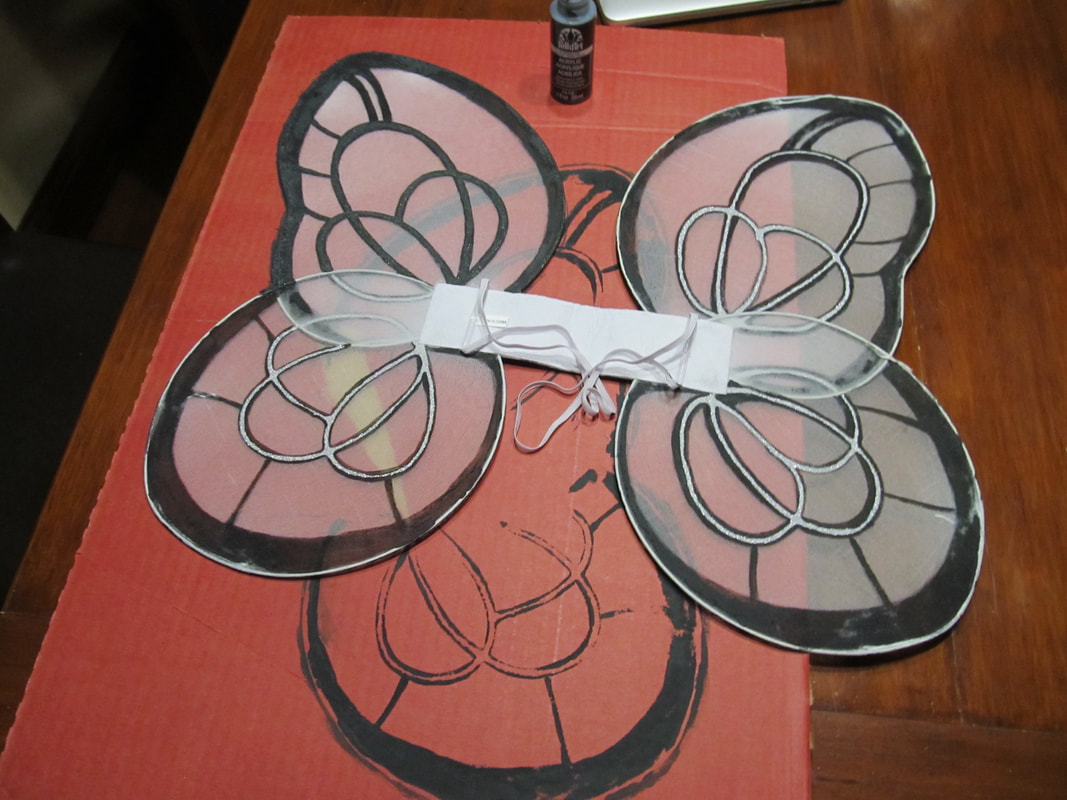
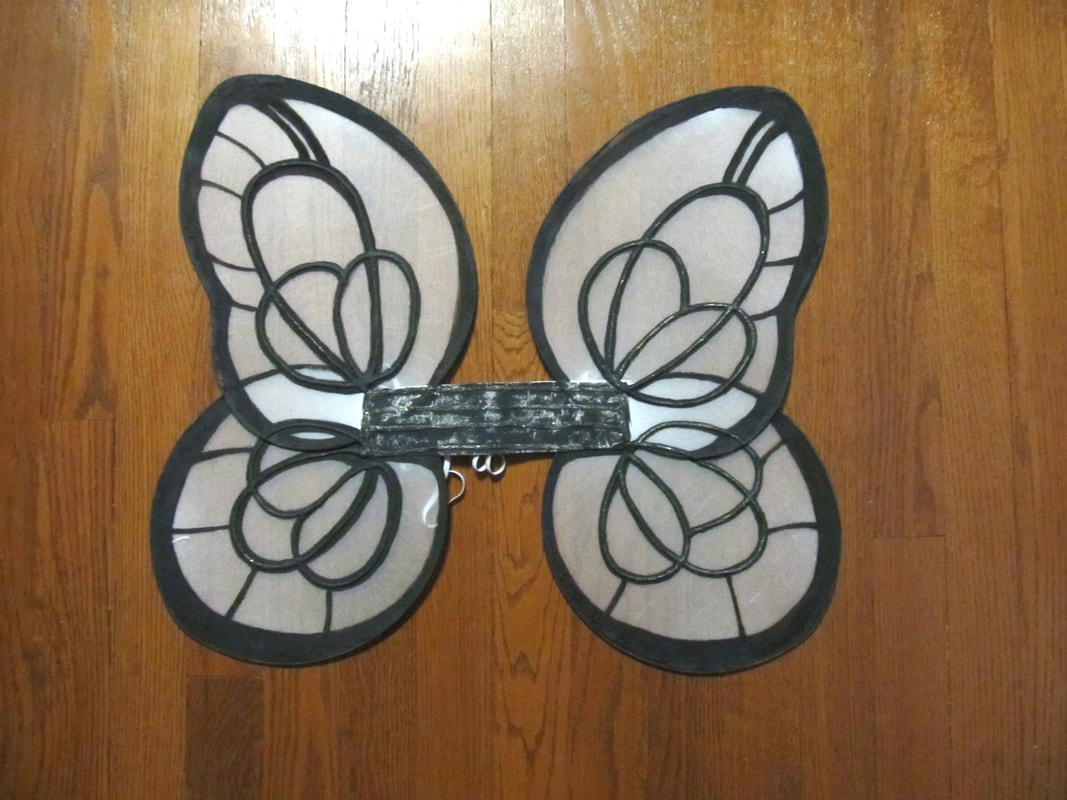
Finished wings!
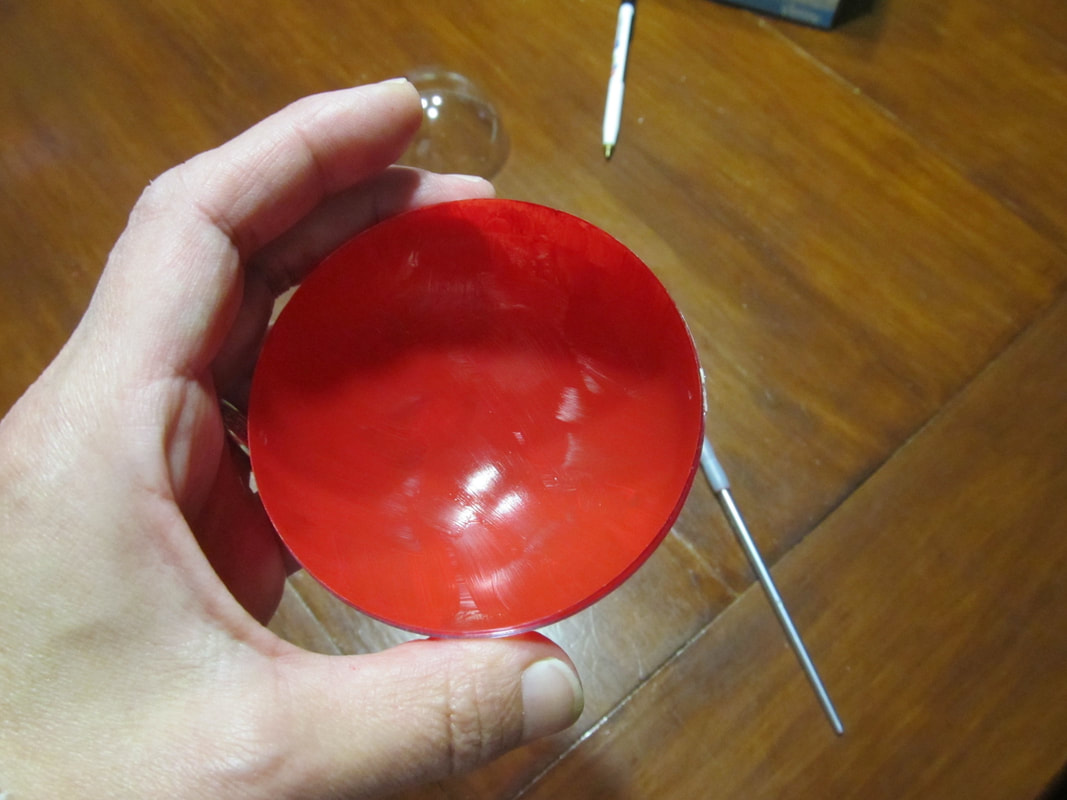
Paint the inside of two halves of an ornament red.
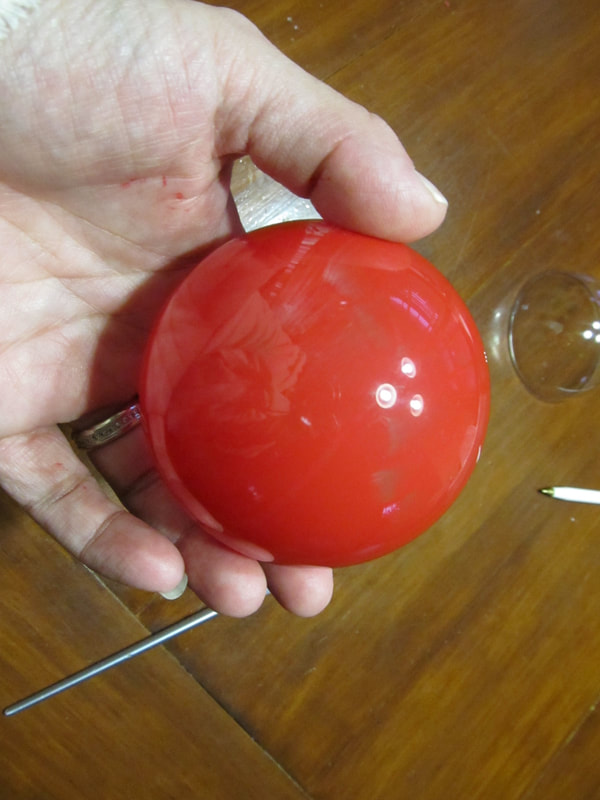
It takes two coats!
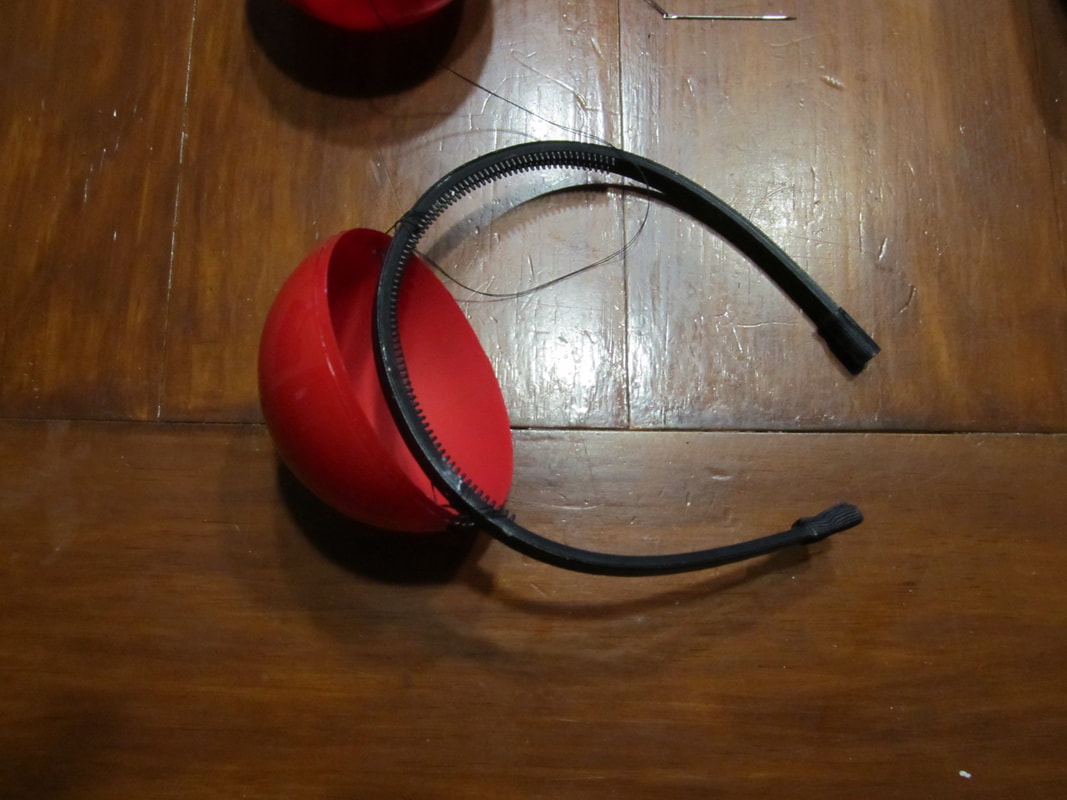
I drilled two holes on opposite sides of each eye so that I could sew them onto the headband. If you don't care about the headband you can simply glue them on.
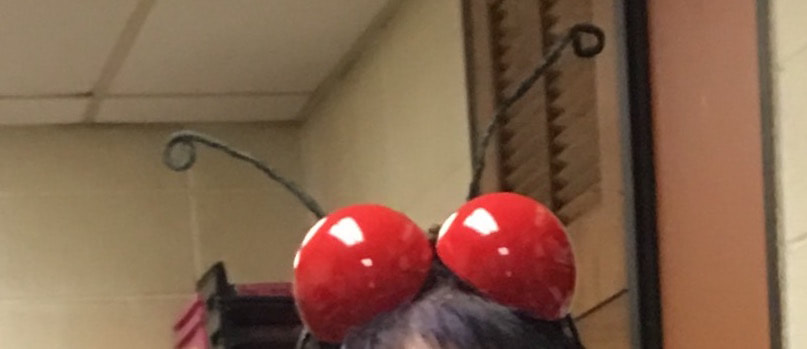
Create a curl on the end of two pipe cleaners and then connect them to the headband by simply wrapping them around!

Excuse the mess in the background - it is a shared office at work!
Check our our other DIY craft ideas here and have a safe and happy Halloween!
Sincerely,

Every year at work we have a departmental costume contest. This means we have to have a theme that is better than all the other department themes and that we all have to participate. Our department happens to have over 30 people so it is often hard to come up with really good ideas. A few years ago our theme was superhero's (Which of course there are plenty of!) so I made myself the mother from the Incredibles - Check out DIY Incredibles Costume here!

That was my favorite costume to date, especially because I always make an accompanying costume for my husband for any parties we go to.
The Poliwrath costume that this post is about would be another favorite but I didn't wear it, it was actually the costume I made for my husband. I made myself a Butterfree costume and that post will be coming soon (see below). 
As much as I like the Butterfree costume, I kind of wish I had made myself into Poliwhirl (the happy version of Poliwrath) because it would have been so much easier! You will see what I mean when you read the DIY Butterfree Pokemon Costume coming soon!
Poliwrath Costume Instructions:
Supplies:
How to:
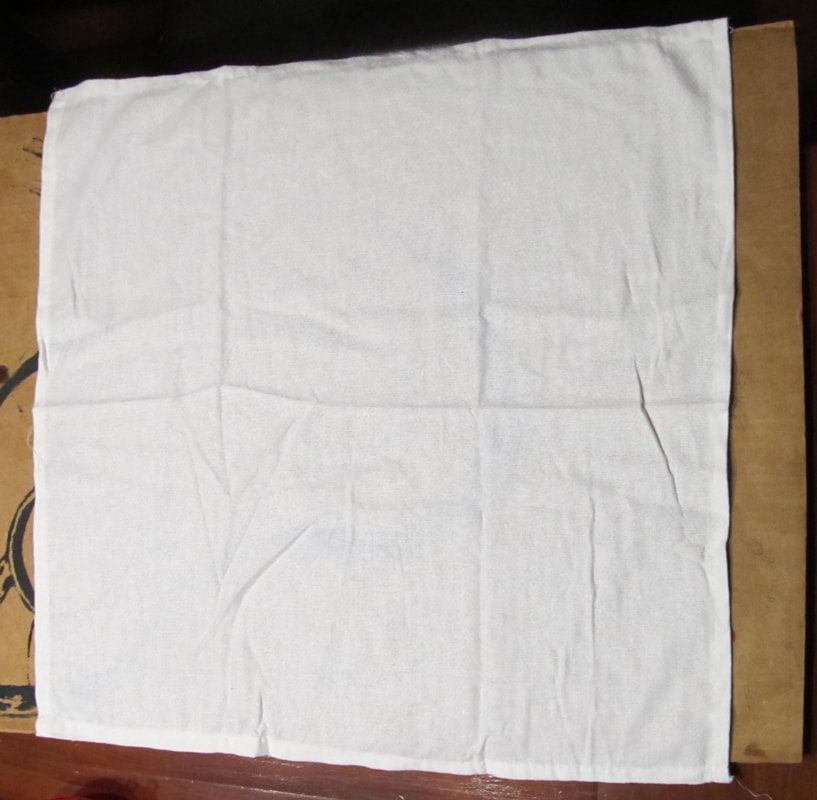
A square of white material. This is simply a white cotton rag used for cleaning (unused of course).
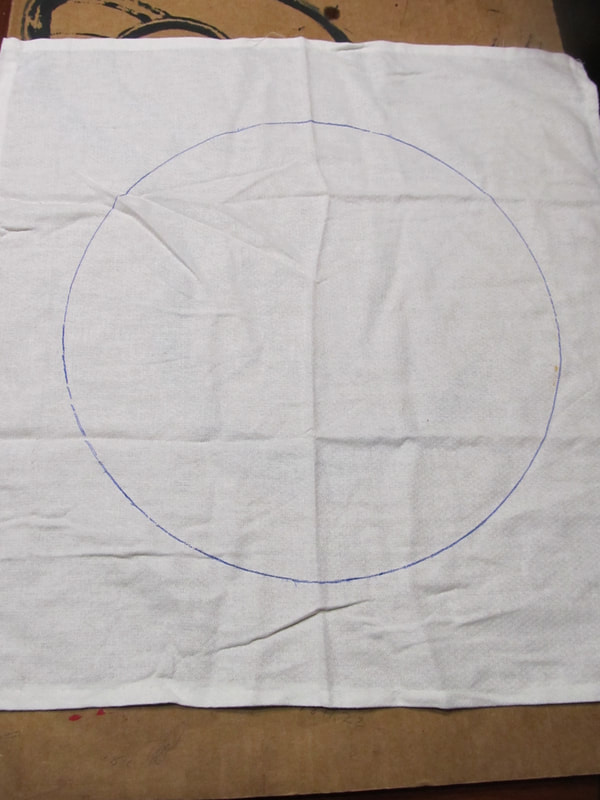
I used a large dinner plate to trace a circle on the cloth.
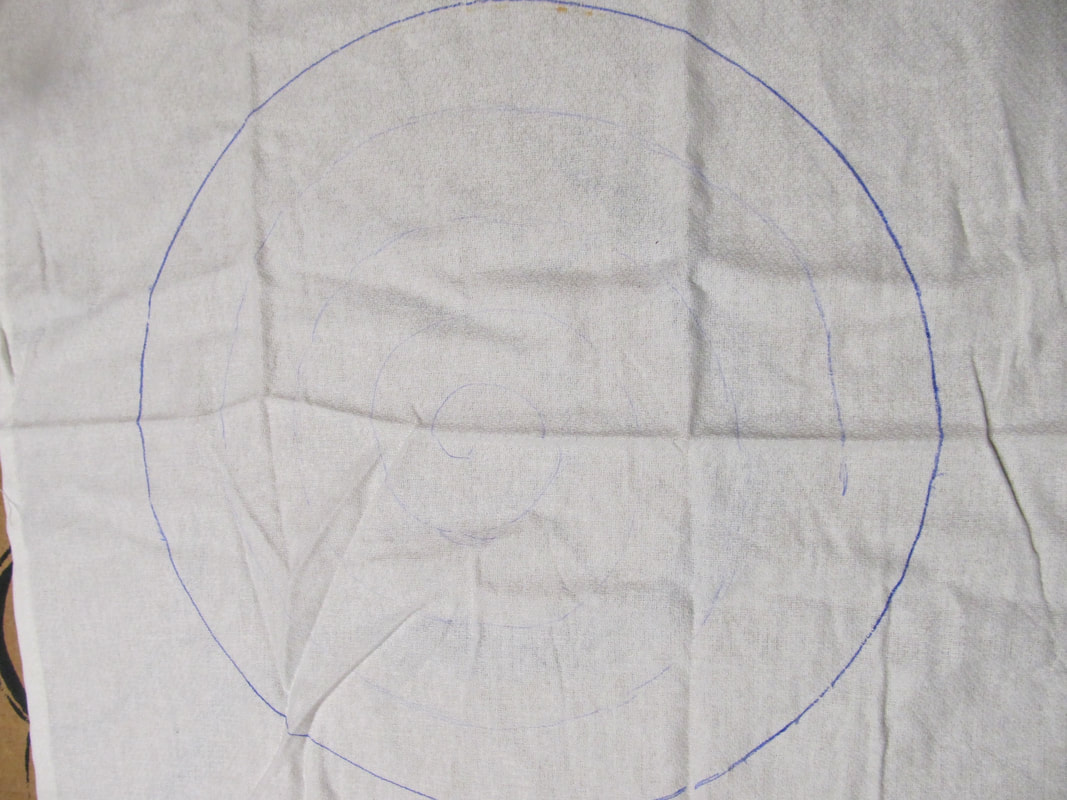
Then I very lightly sketched in a 'swirl.'
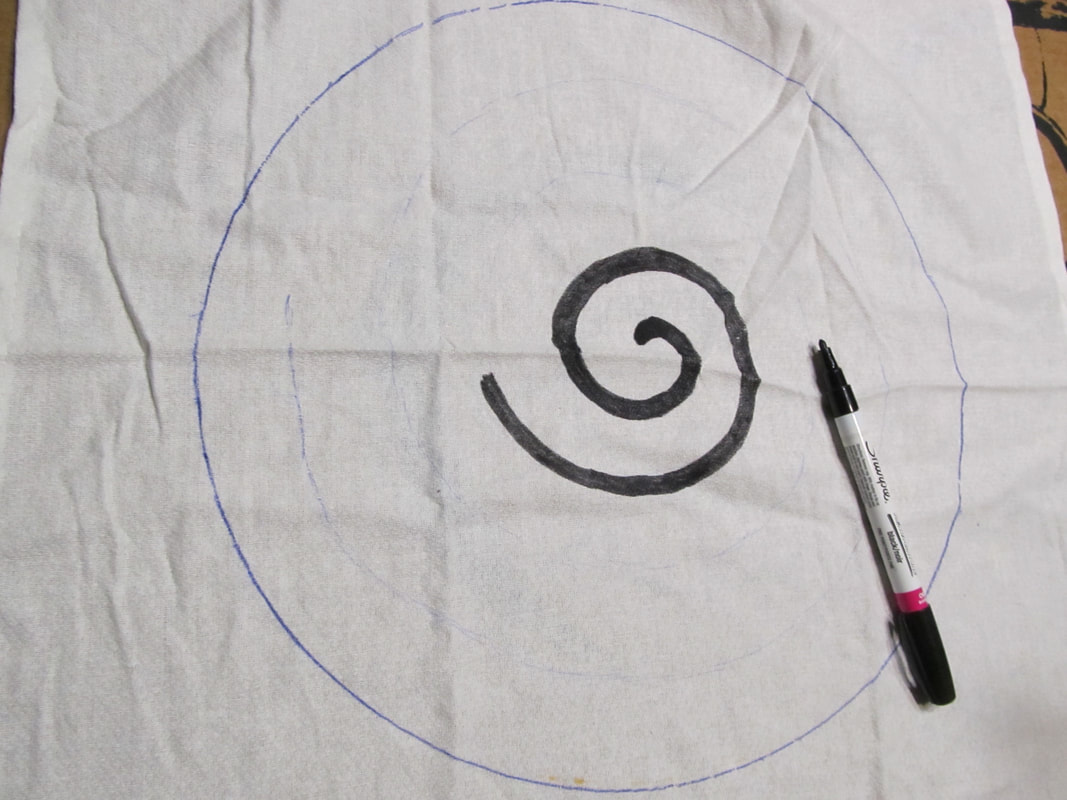
I used a black paint marker to draw in the swirl and make the line a little thicker.
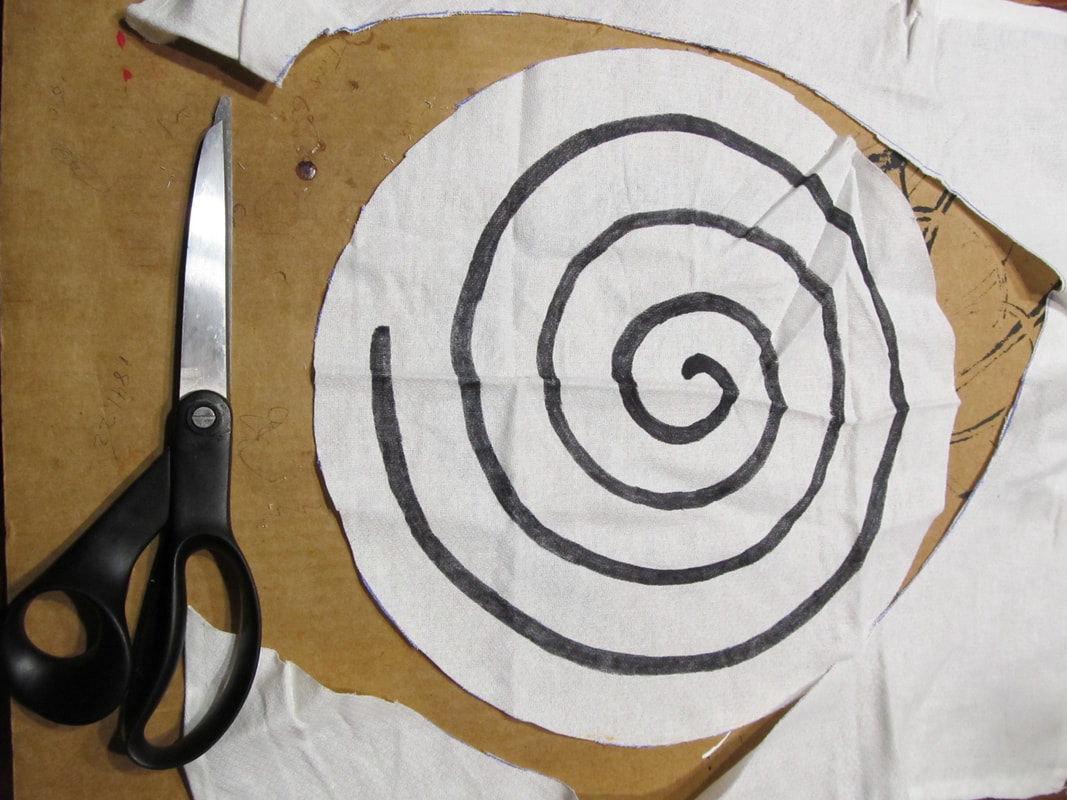
Cut it out....
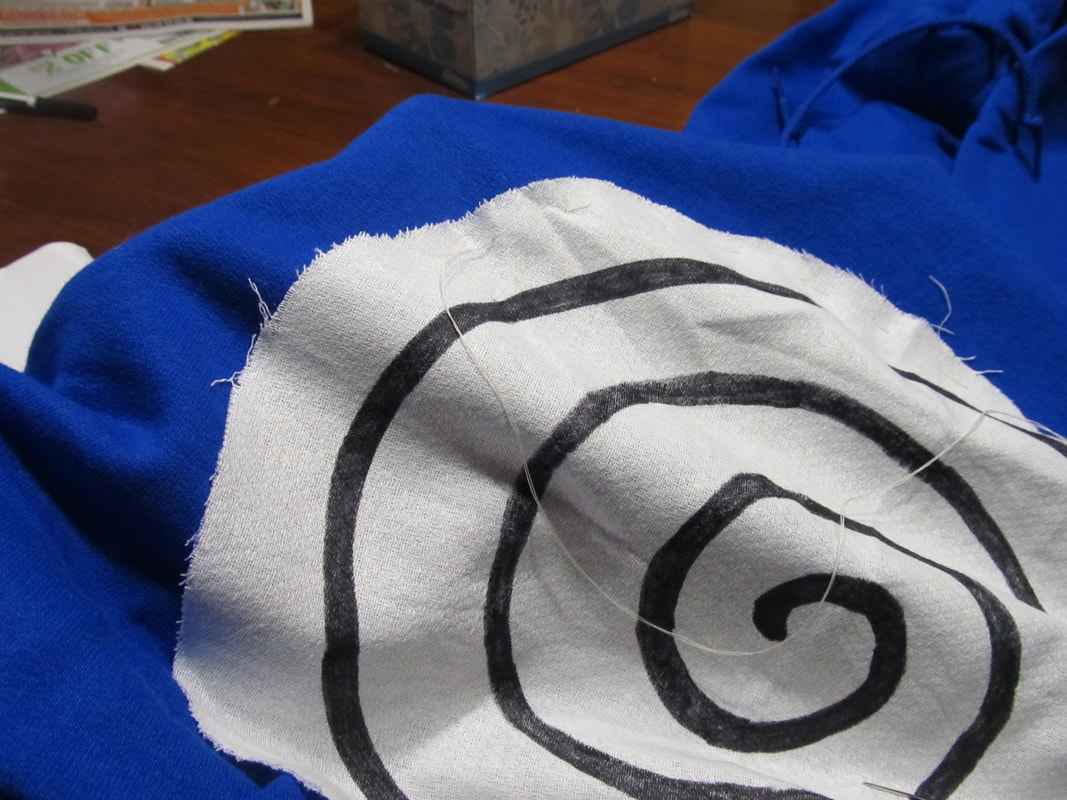
And sew it onto the front of the sweatshirt!

I don't know why I didn't take pictures of how I made the eyes!
Heres what to do:

A quick shoutout to my husband for being such a good sport! xoxo
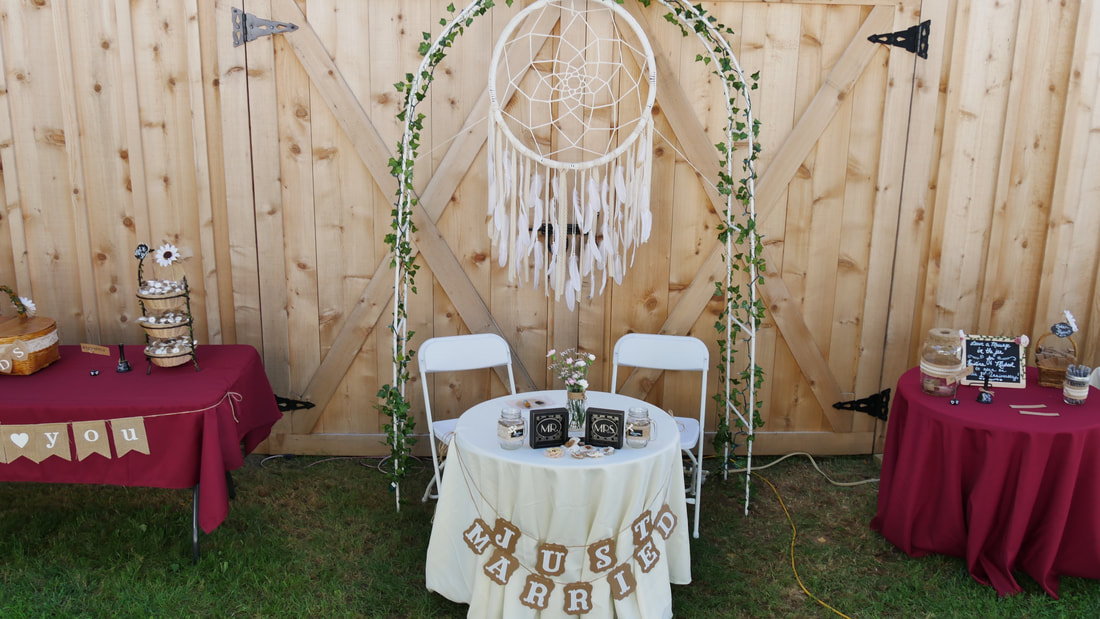
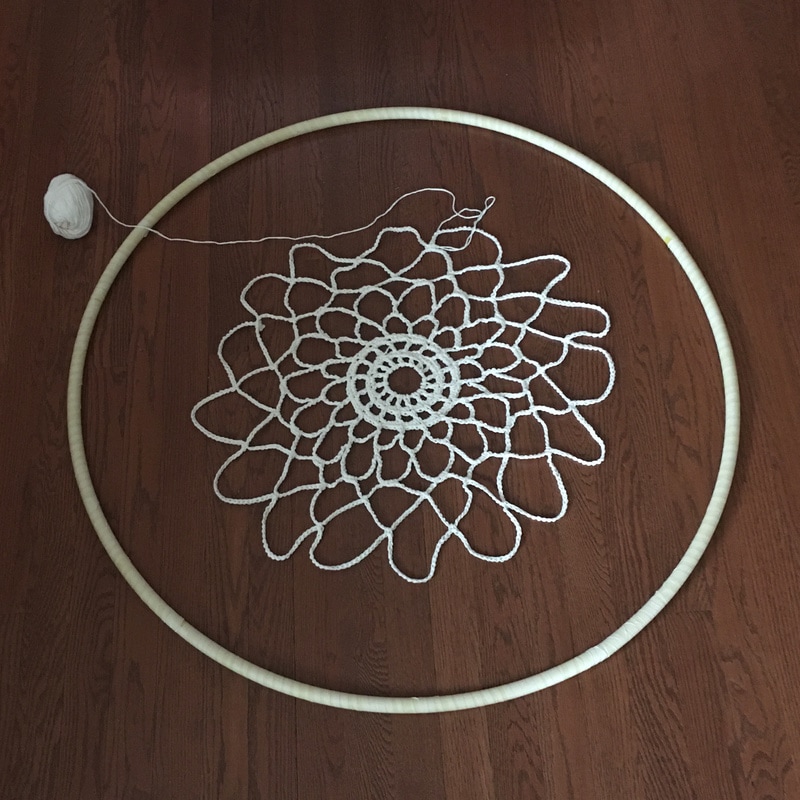
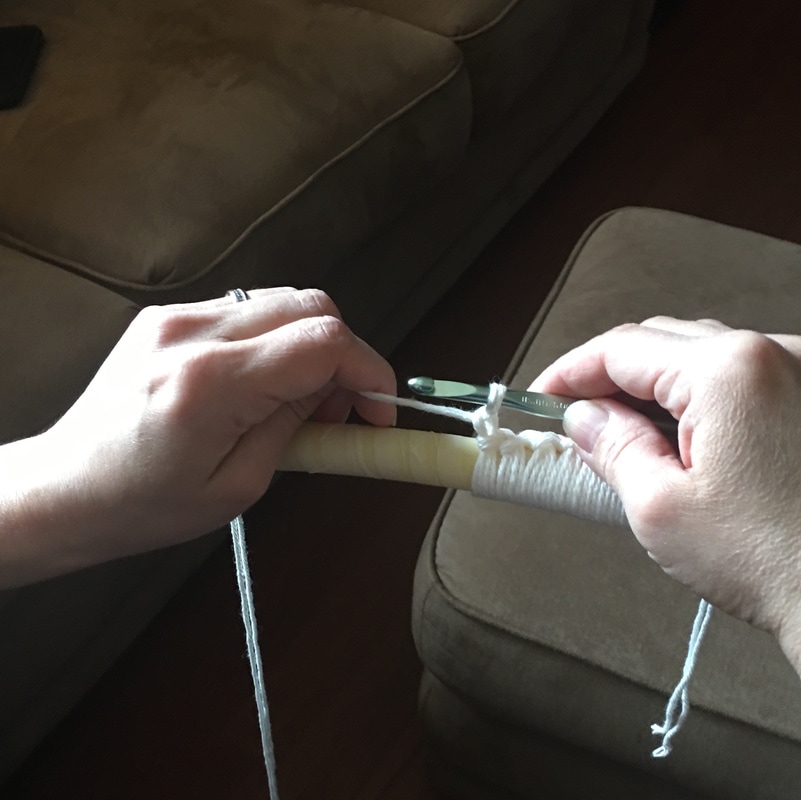
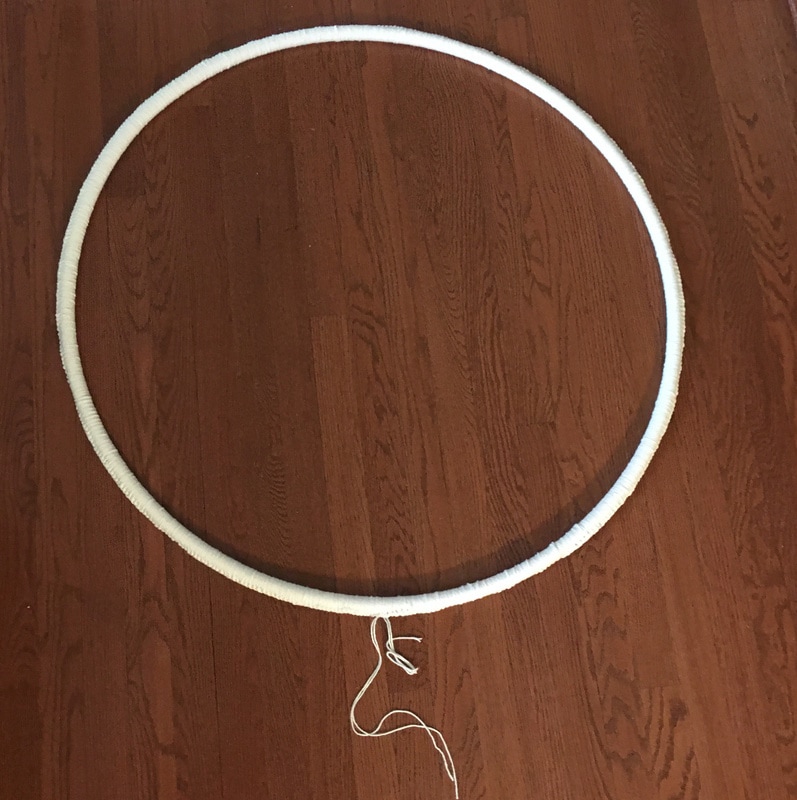
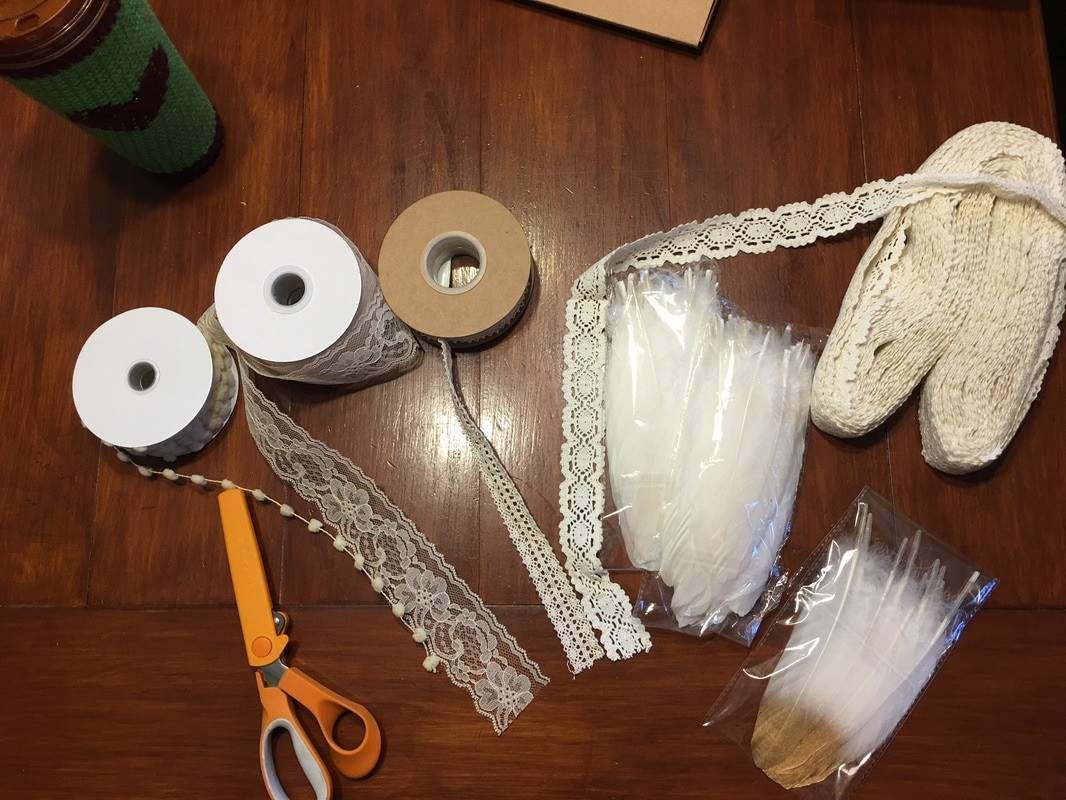
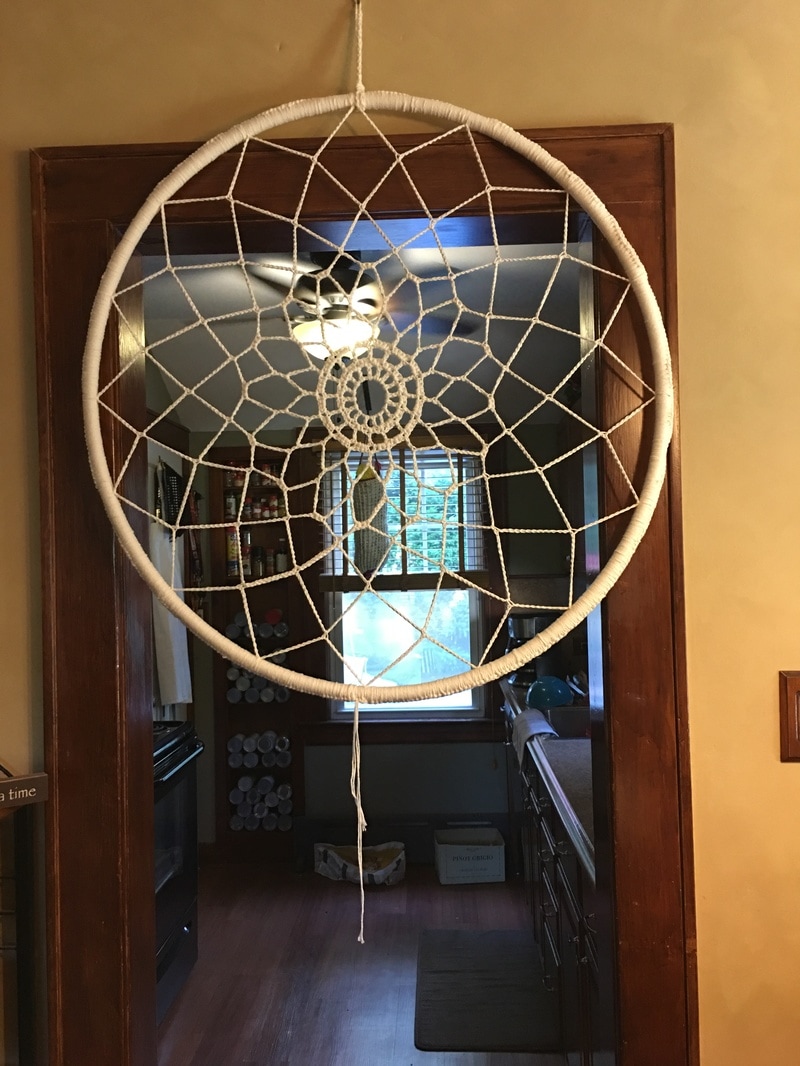
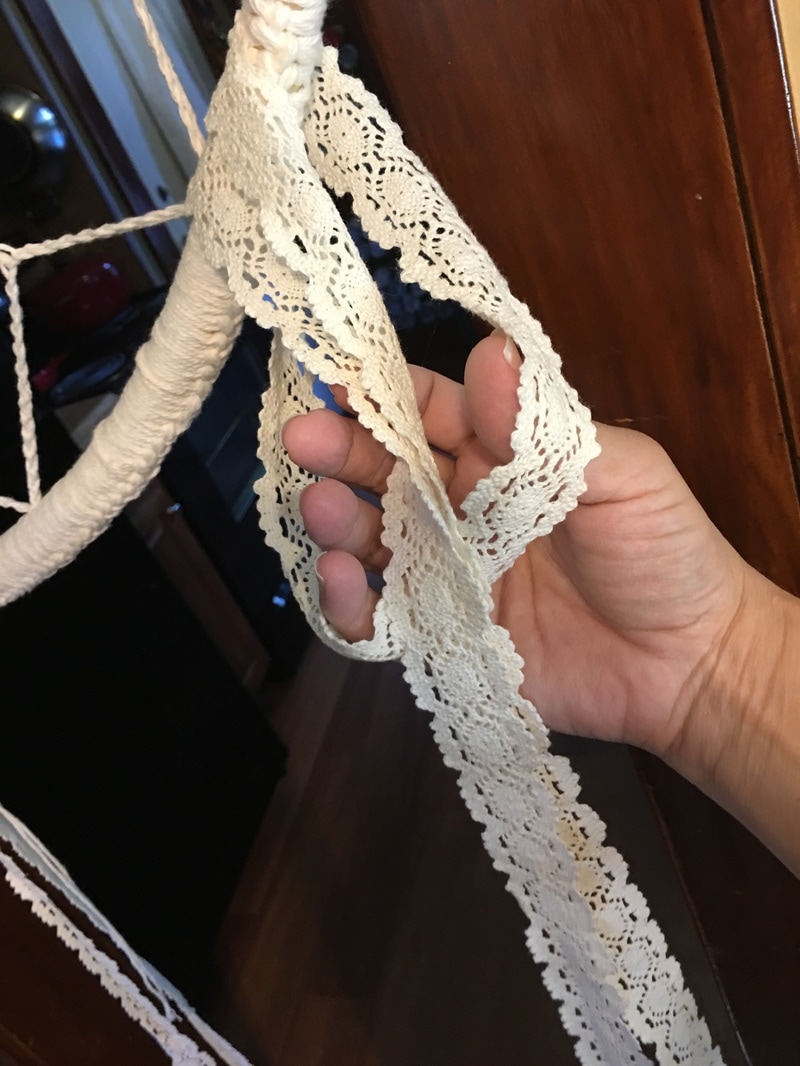
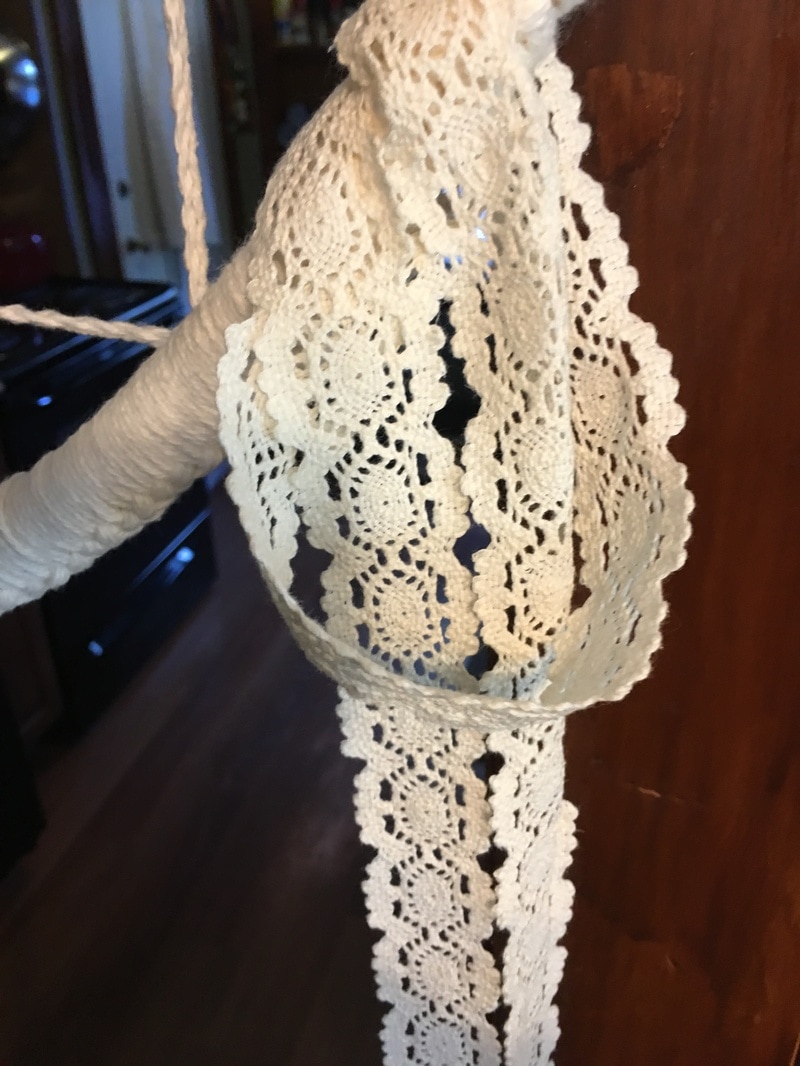
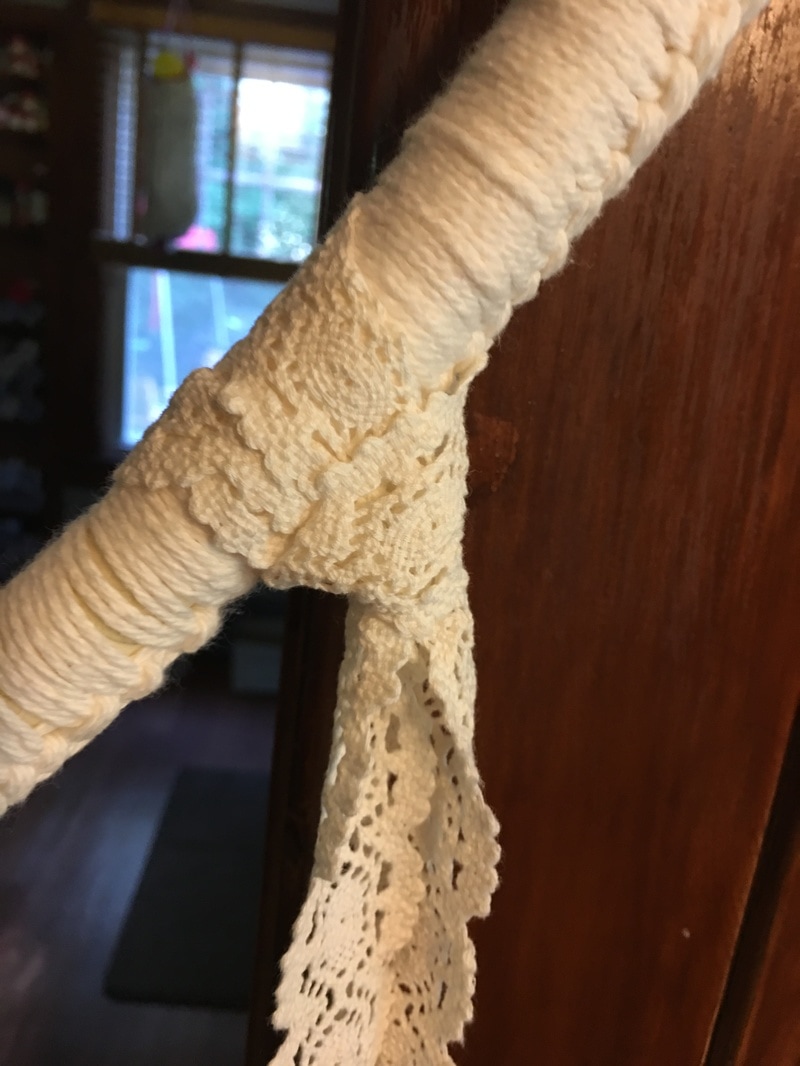
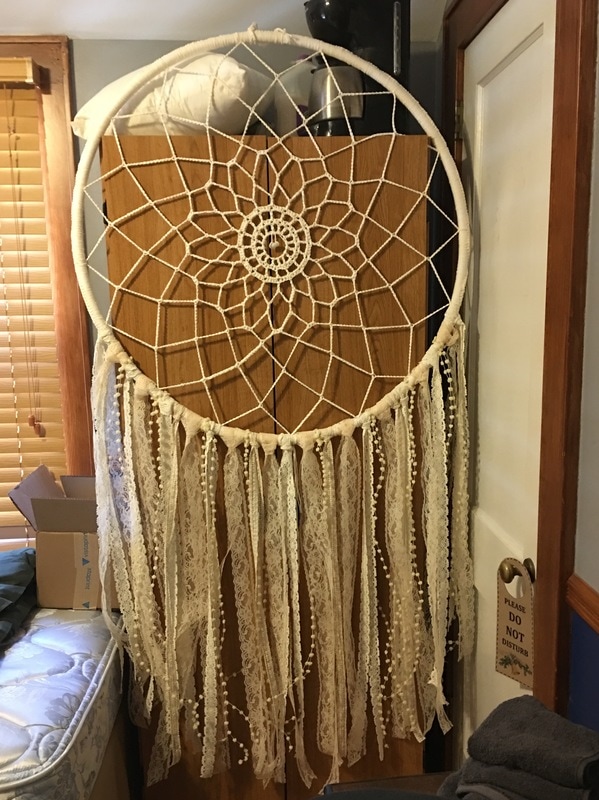
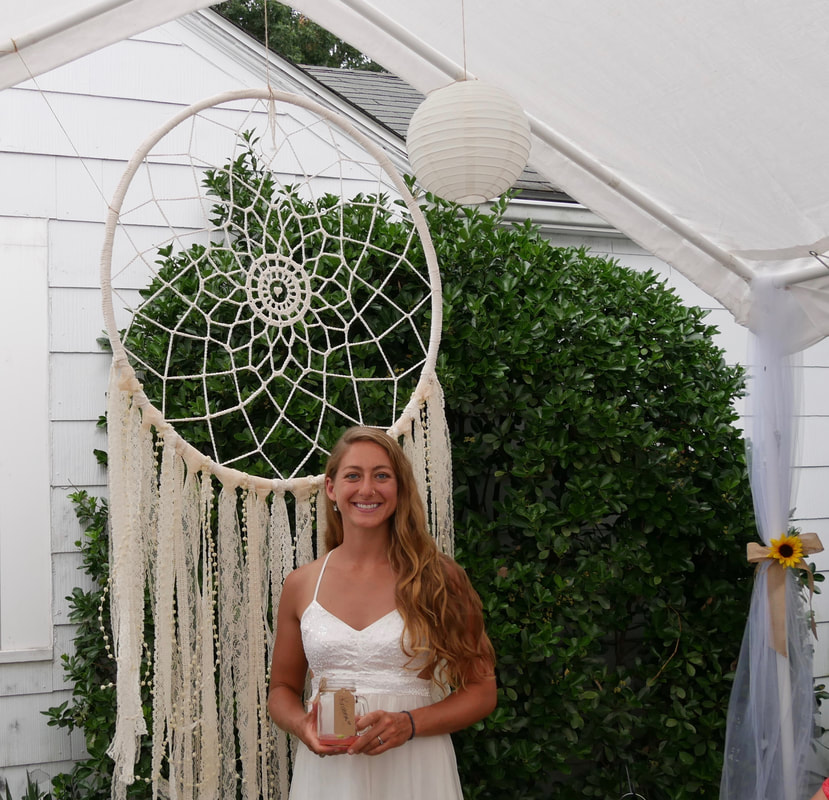
 My daughter is getting married and we are so excited to welcome her fiancé into our family. They have plans to get married down by the beach and hopefully the weather will be beautiful that day because my daughters father-in-law to be is making a birch arbor for them to be married under with this giant wedding dream catcher hanging at the back of it behind them. This is why the dream catcher had to be big. Really big. When all was said and done this beauty measured in at 3 feet wide and 5 feet tall! Wow! But of course none of that mattered to me as long as my little girl is happy. I made another simpler, and smaller, model that uses feathers to be hung behind their seats at the reception. Read more about DIY Giant Dreamcatcher with Feathers! Supplies Needed:
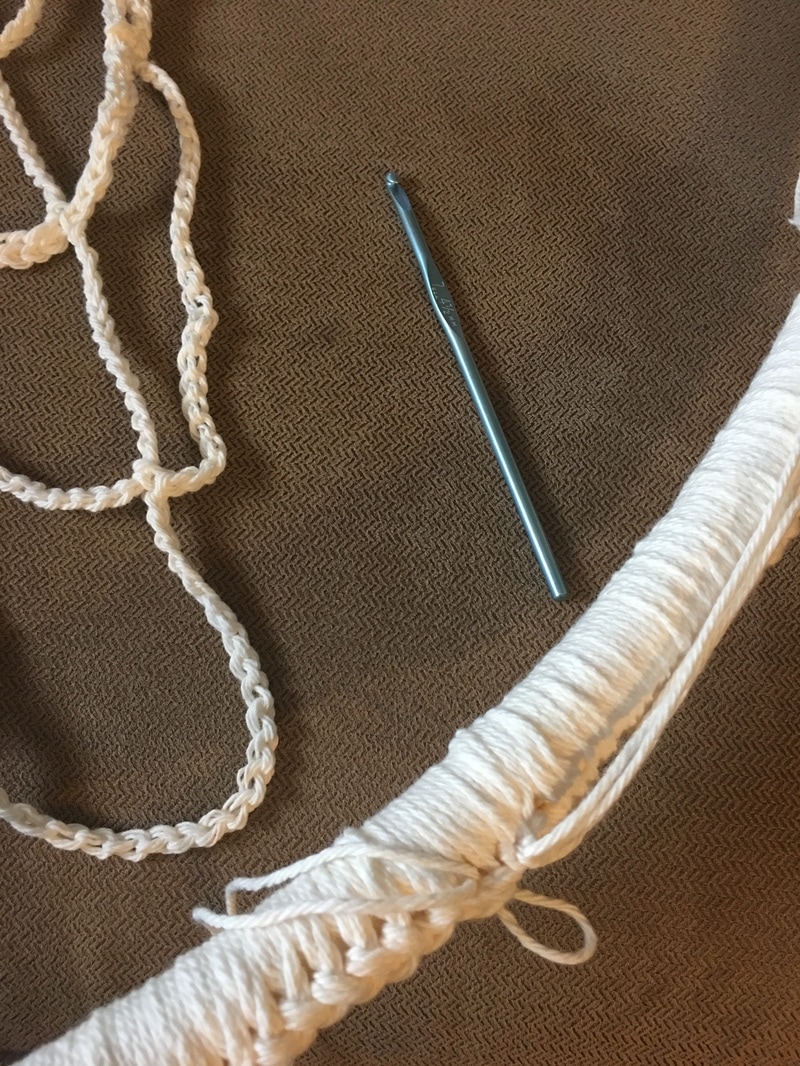
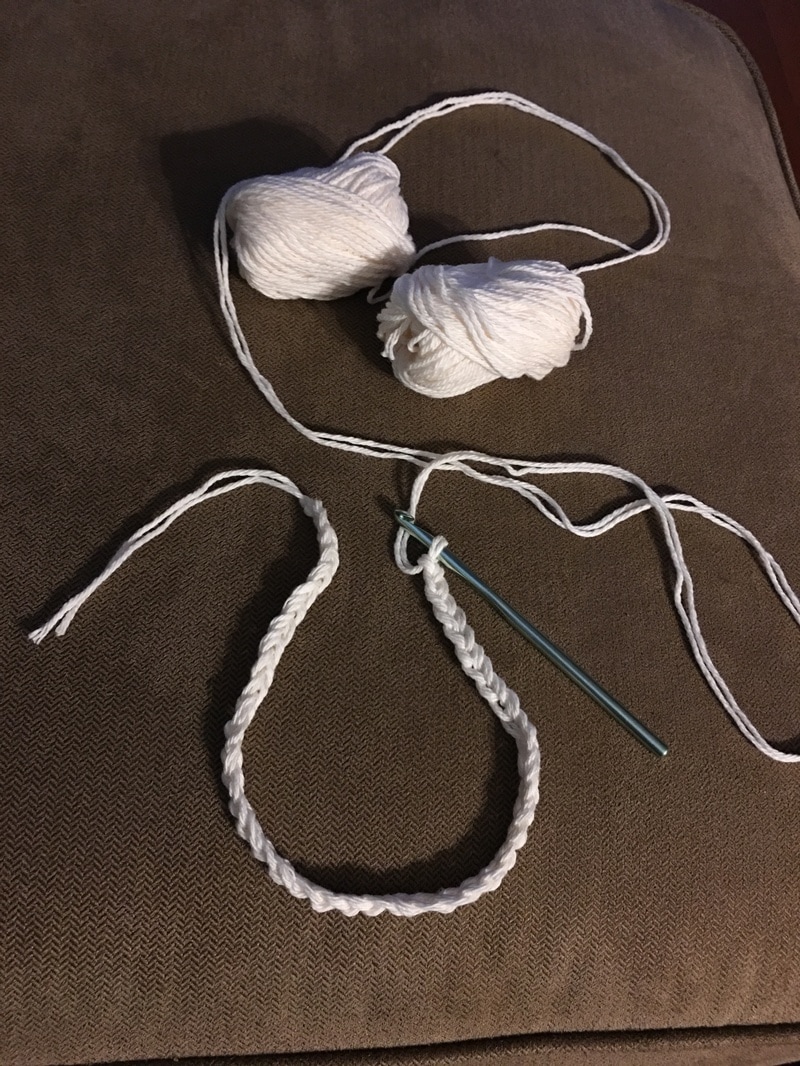
Video "How-To" (crochet directions and more pictures below):
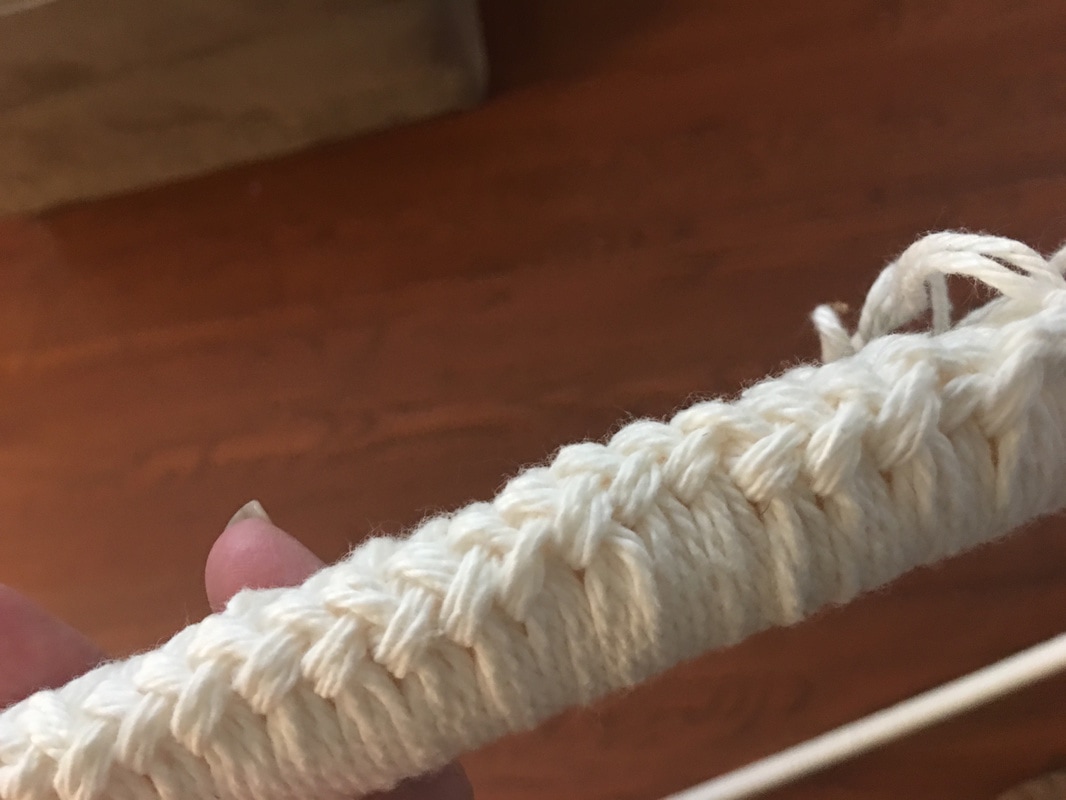
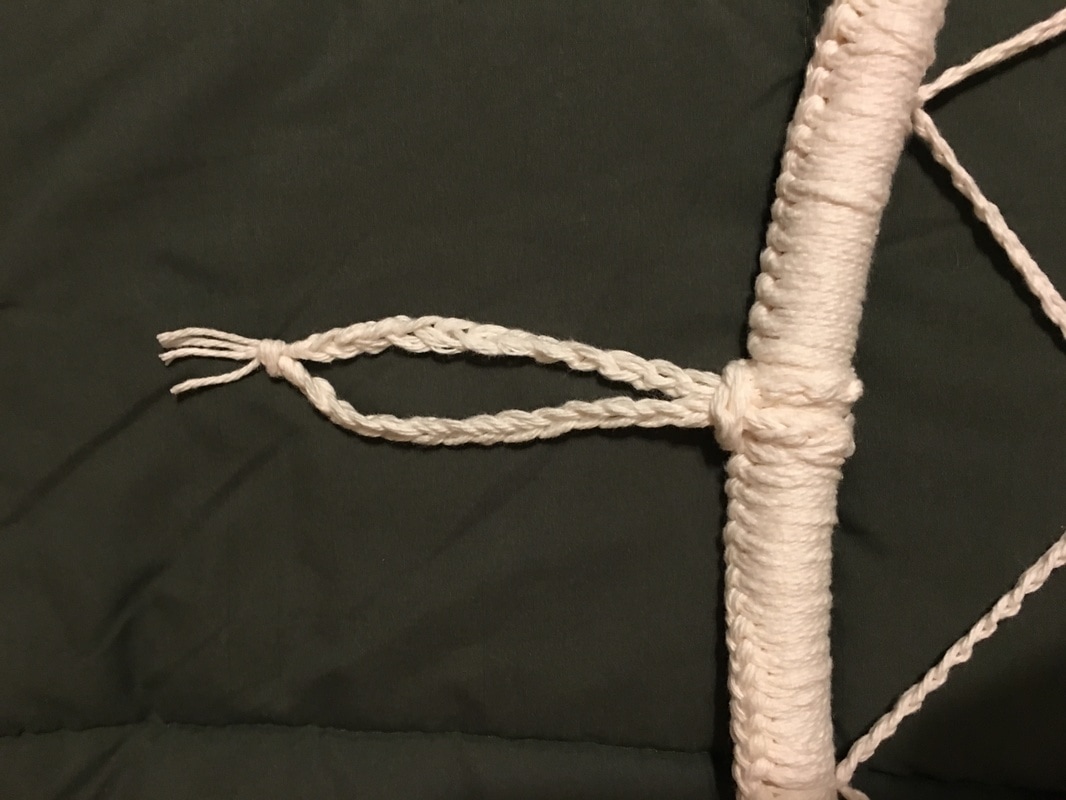
Hoop Crochet Center Directions: I really don't have directions per-say, I can just give you an idea of what I did. A couple of pointers ahead of time: - All stitches are into spaces, not into other stitches. This is important for spacing later on. - When you are finishing up your final loops to connect, make sure you have an even number. It helps to have an even number so you can connect the loops equally around the hoop later on. - For this reason, every row must be crocheted separately from every other row. You cannot do this pattern in the round. - To get to the center of each loop to start the next round I would slip stitch up the side of the first hoop in the level. When all is said and done you can't even see these extra stitches. The directions for this are in row 6 below.
 Thanks for visiting! Check out our other crochet patterns and ideas on our website or on our Pinterest boards and our DIY Shower & Weddings! Have a wonderful day:-) Sincerely,
The only, and I mean only, tomato I grow is the cherry tomato. To be more specific, I only grow heirloom sweet 100's. They are the only kind of tomato I actually like, and to be more direct, I really only like them fresh direct from the vine when they are super red, and super sweet! However, the vines produce so many that I simply cannot eat them all fresh!
These sweet 100 cherry tomatoes are called indeterminate tomatoes. This means they take a little longer to start providing the fruit, but once they do, well, they simply don't stop! In fact, I had heard of so many people complaining that they just don't know what to do with all of them that I wrote a post called "Save All Those Cherry Tomatoes" for a list of ways to make sure that no surplus goes to waste. Even my over ripe cherry tomatoes that have split are a delicious treat for my hens! Though I dry some, eat some fresh, and save a few to add to my favorite Cucumber Salad Recipe, I actually choose freeze the majority of them! Why? Well, to make my favorite Super Simple Fresh Cherry Tomato Sauce with (you can watch a video of how it's made if you check out that link)! And boy is it simple :-) 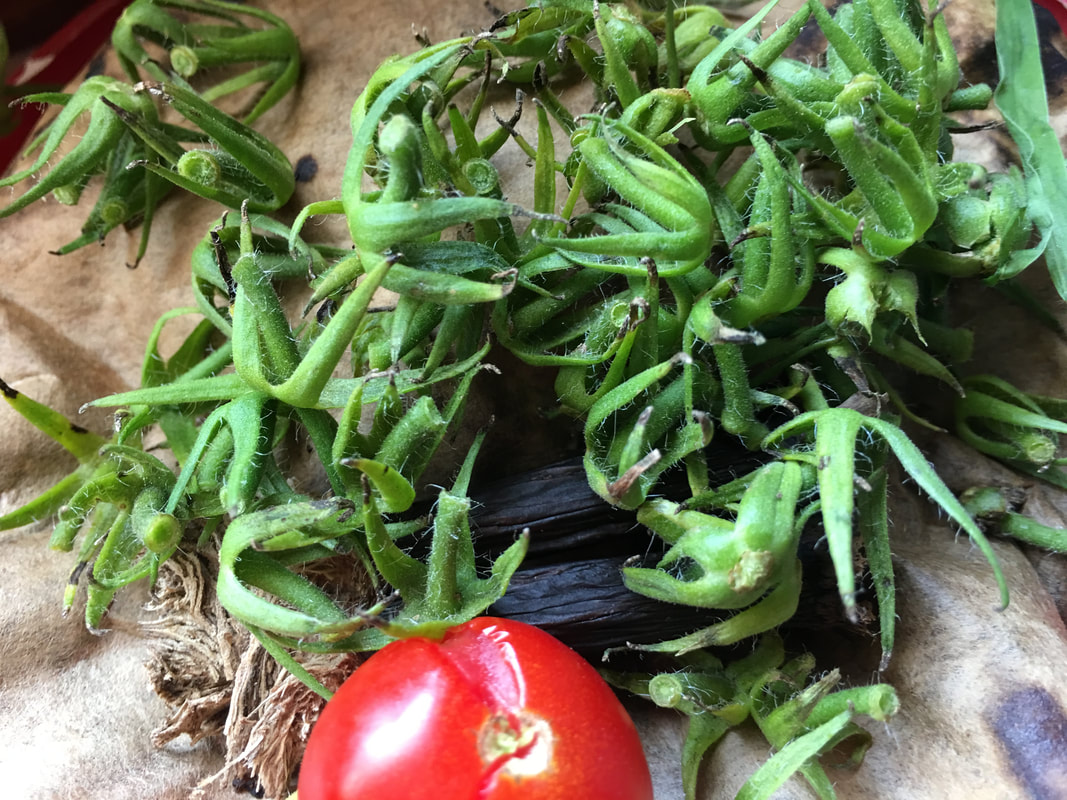
Remove stems and give over-ripe tomatoes to your chickens (if you have them)!
How I Freeze Cherry Tomatoes:
I simply continue to add cherry tomatoes to the same bag as they ripen and until the bag full. I write the date on the bag when it is filled and then I move it from the kitchen freezer to the basement freezer. This just assures that I use them in date order during the winter. Simple! 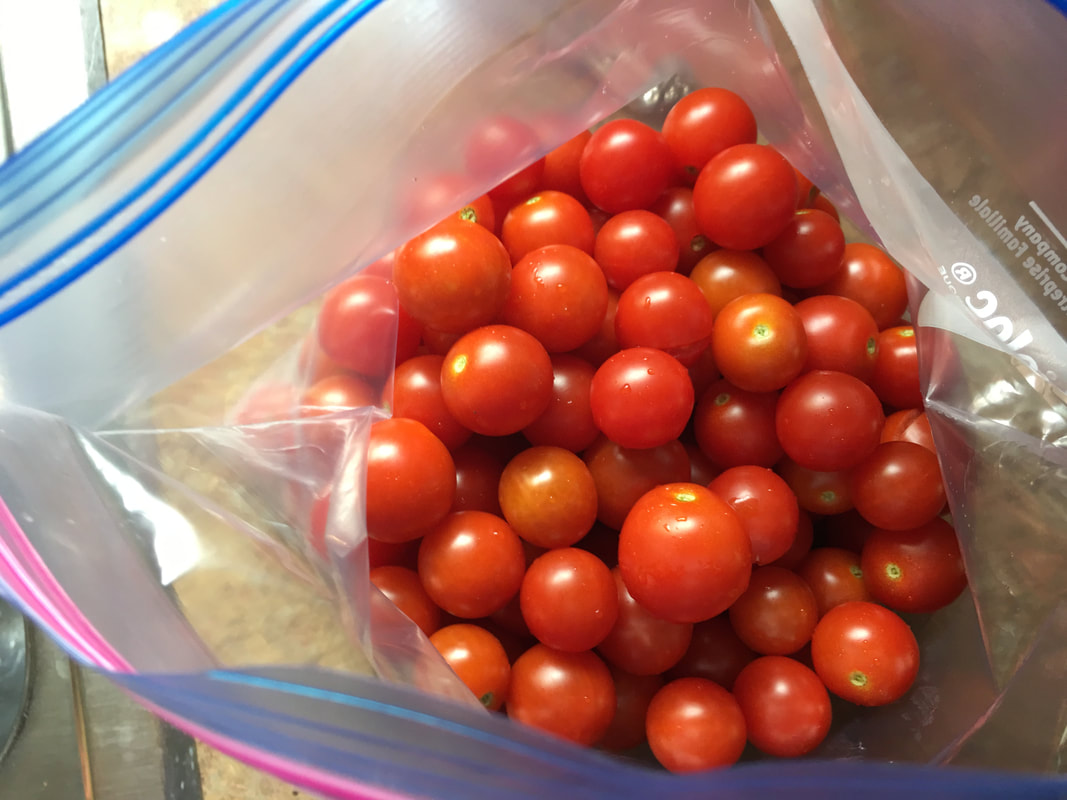
Simply put them right in a ziplock freezer bag! Only rinse if necessary.
Here's my super simple recipe:
NOTE: I use my frozen cherry tomatoes during the winter instead of the fresh. When blending the frozen tomatoes I simply and add some water so they blend better (Yes, I blend them frozen. No need to defrost so no planning is necessary!). This just means that the sauce has to be cooked a little longer, but believe me, it is just as delicious and it allows us to enjoy my fresh cooked cherry tomato sauce all winter long! YUM! 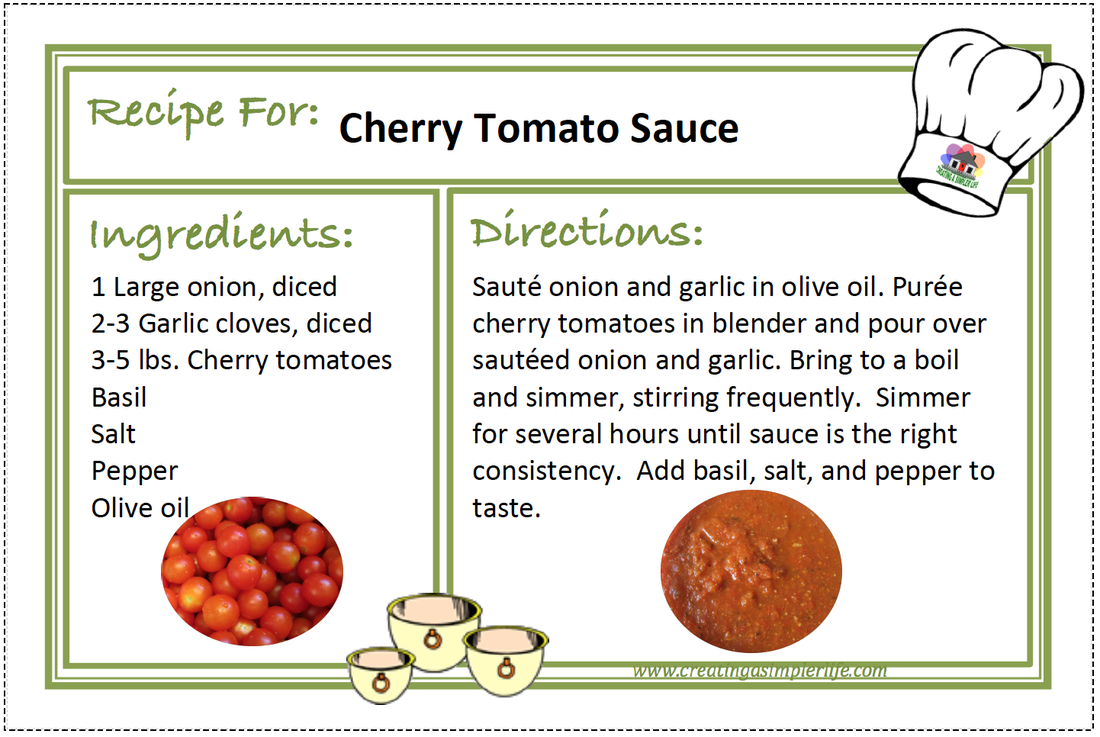
Enjoy!
Check our our other ways to preserve and save fresh fruits and vegetables and our easy recipes too! Sincerely,
I believe in using natural ingredients in my daily life and that is why I strive to use essential oils whenever possible. However, I don't have a lot of different kinds of oils (Of course this is because I like to keep things as simple as possible!). So I have a basic go-to assortment of what I call my Five 'Must-Have' Essential Oils because they cover just about everything I need to use them for on a daily basis. So whether you use essential oils already, are new to them, or if you're considering getting started, then these are the five oils I personally need on a daily basis!
Feel free to download and print our FREE instruction card about the Five "Must-Have" Essential Oils and their uses! It can be found below the video:-) 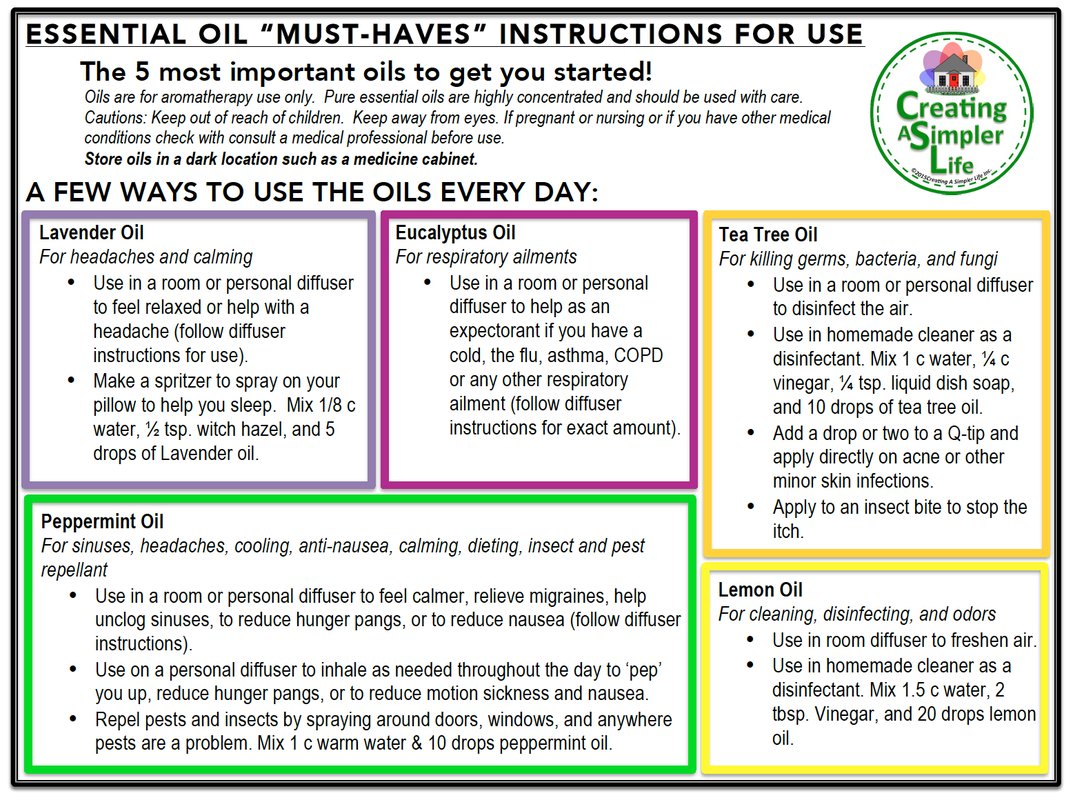
Thank you for visiting!
Check out our Essential Oil Pinterest Board for more uses and ideas! Sincerely,
|

Hi there! I'm Kathie, the author behind Creating A Simpler Life blog. I'm excited to share our longterm projects (and planning) toward building our future retirement homestead in the Adirondack Mountains of New York. In the meantime I will be sharing all the other little things we do that are part of creating our simpler life!
Categories
All
Archives
July 2020
|


 RSS Feed